My homemade peppermint bark recipe is a go-to whenever I need a quick and fun holiday dessert made with simple ingredients. Bark is a great way to use up extra chocolate bars or transform your favorite chocolate into a giftable treat for the holiday season. Crushed candy canes add festive flavor and holiday cheer.
My easy peppermint bark recipe is made with melted chocolate, crushed candy, and some peppermint flavoring. There is no sifting, tempering, or blending needed! Simply melt the chocolate in a double boiler or microwave-safe bowl, layer, and top with candy canes. For more easy Christmas desserts, try my Christmas crack recipe, toffee recipe, or peanut butter buckeye recipe.
Ingredients

Semi-sweet chocolate — semi-sweet chocolate forms the base of this two-layer bark. Select a high-quality chocolate because lots of flavor will come from this layer. Chop the chocolate bars before melting. You can use dark chocolate chips, too, in a pinch.
White chocolate — a bar of white chocolate melts smoother than white chocolate chips, so I recommend using white chocolate bars and chopping them into smaller pieces before melting. Because white chocolate is made mainly with cocoa butter, it’s easier to melt and more heat-sensitive, so be sure to stir it during the melting process.
Peppermint extract — stir in some peppermint extract to add an extra pop of peppermint flavor to the white chocolate layer. If you don’t have it, you can use additional candy canes or vanilla extract for extra flavor.
Candy canes — I like to use classic red and white candy canes for a traditional peppermint bark look, but you can use other colors or flavors if you like.
How To Make Peppermint Bark
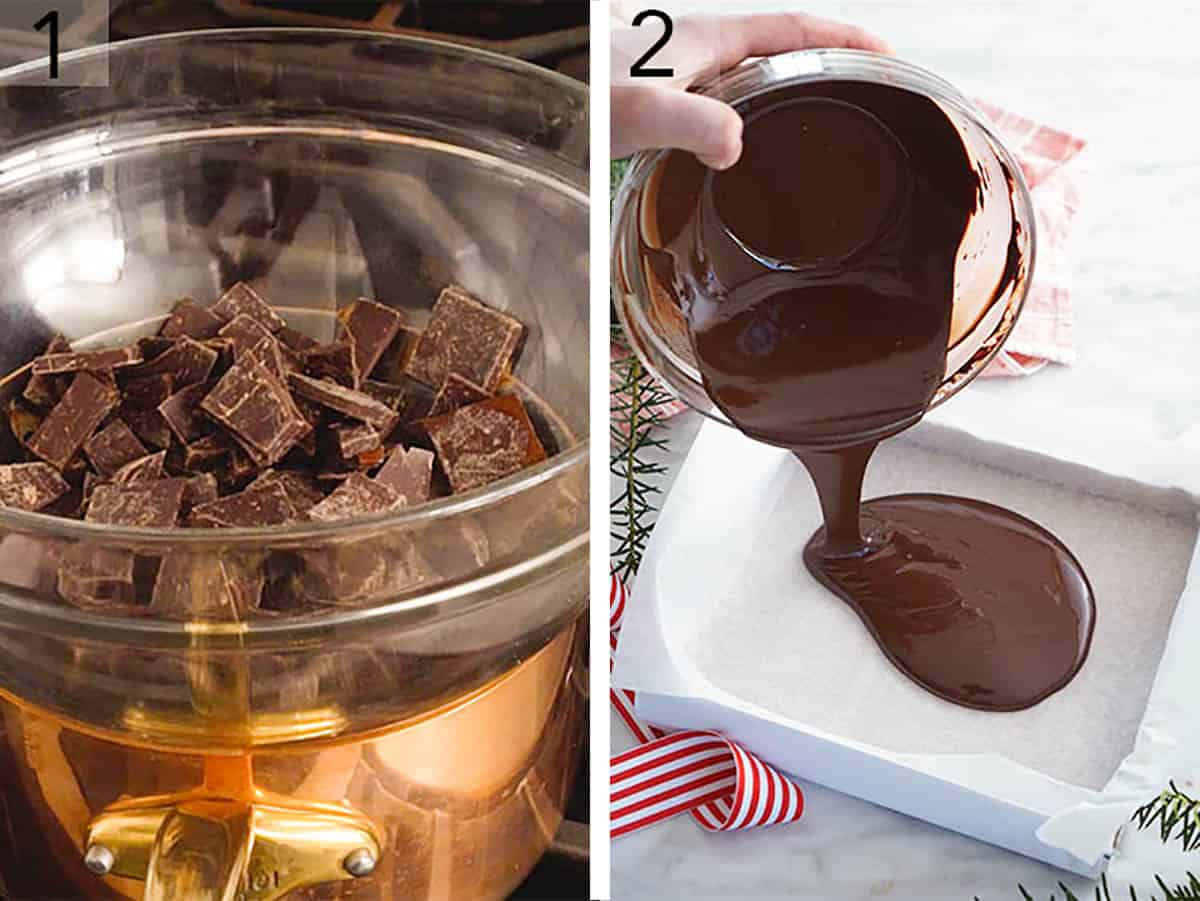
1. Place the semisweet chocolate in a medium heat-proof bowl and melt the chocolate by setting it over a pot of shallow simmering water, using a double boiler, or microwaving it in 30-second intervals at 50% power, stirring between each interval until smooth and fully melted.
2. Pour the melted semisweet chocolate into an 8×8-inch baking dish lined with parchment paper or wax paper. Leave an overhang so it’s easy to remove the peppermint bark once it sets.
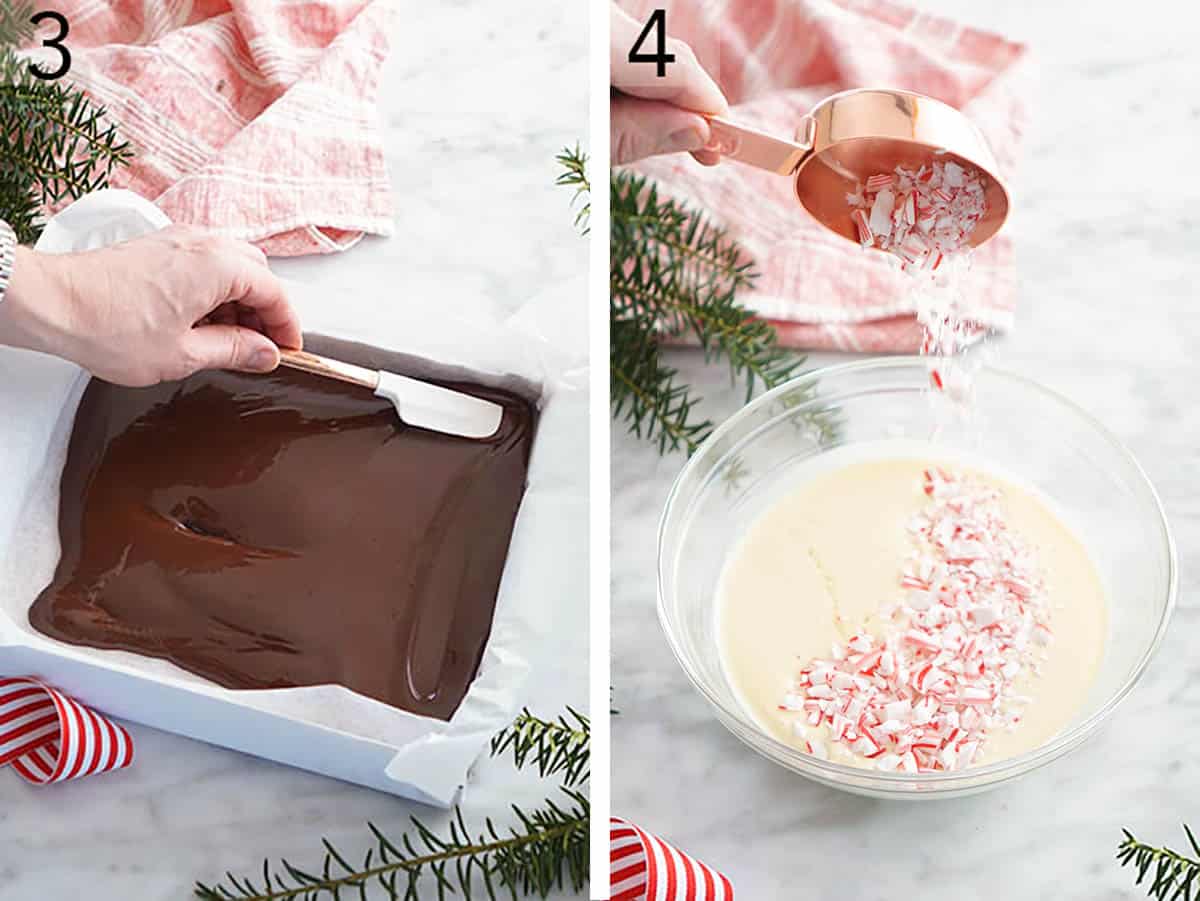
3. Spread the chocolate into an even layer in the prepared pan using a spatula. Chill until partially set or firm to the touch on top (but not completely solid).
4. Place the white chocolate in a separate bowl and melt it as you did the semisweet chocolate. To the melted white chocolate, add the peppermint extract and about ⅓ cup of crushed candy canes.
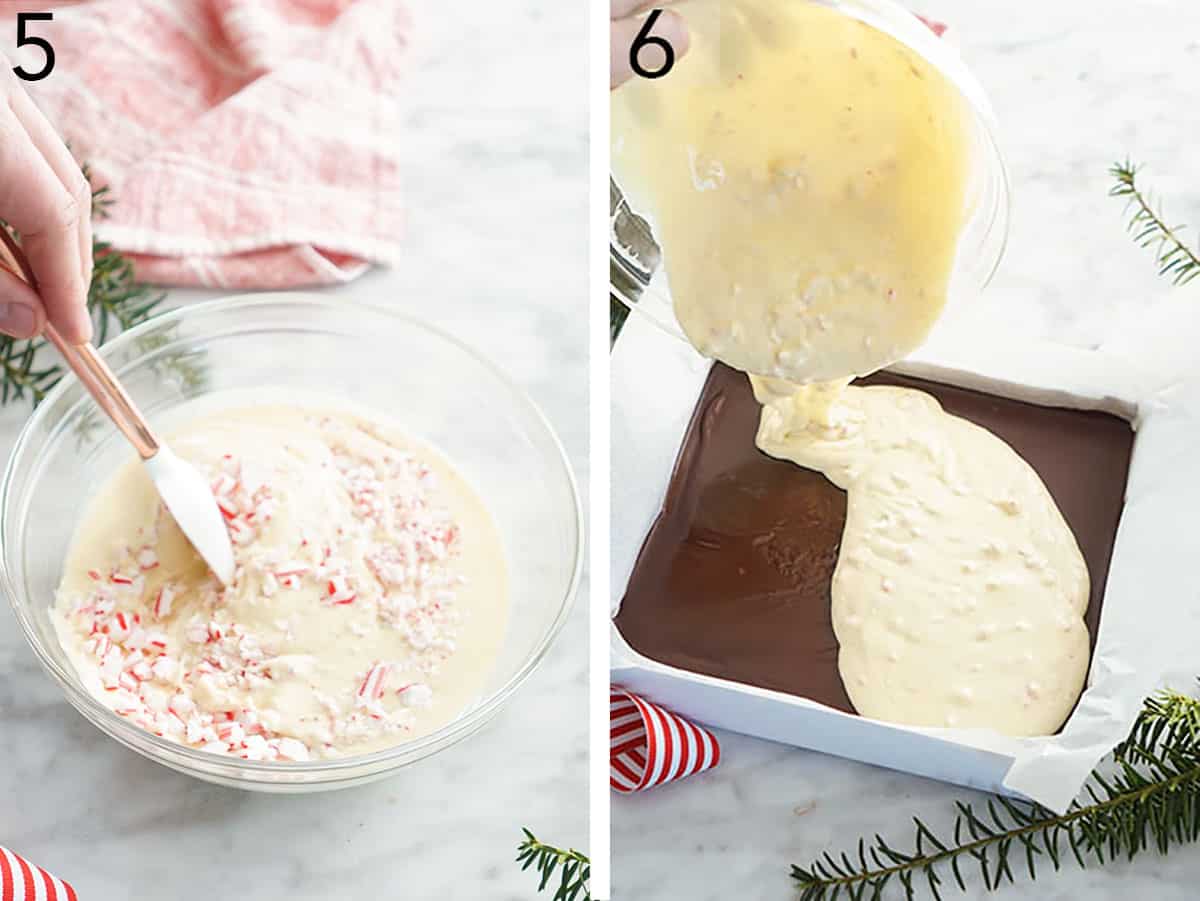
5. Fold the candy cane pieces into the melted white chocolate.
6. Pour the white chocolate onto the semisweet chocolate layer.
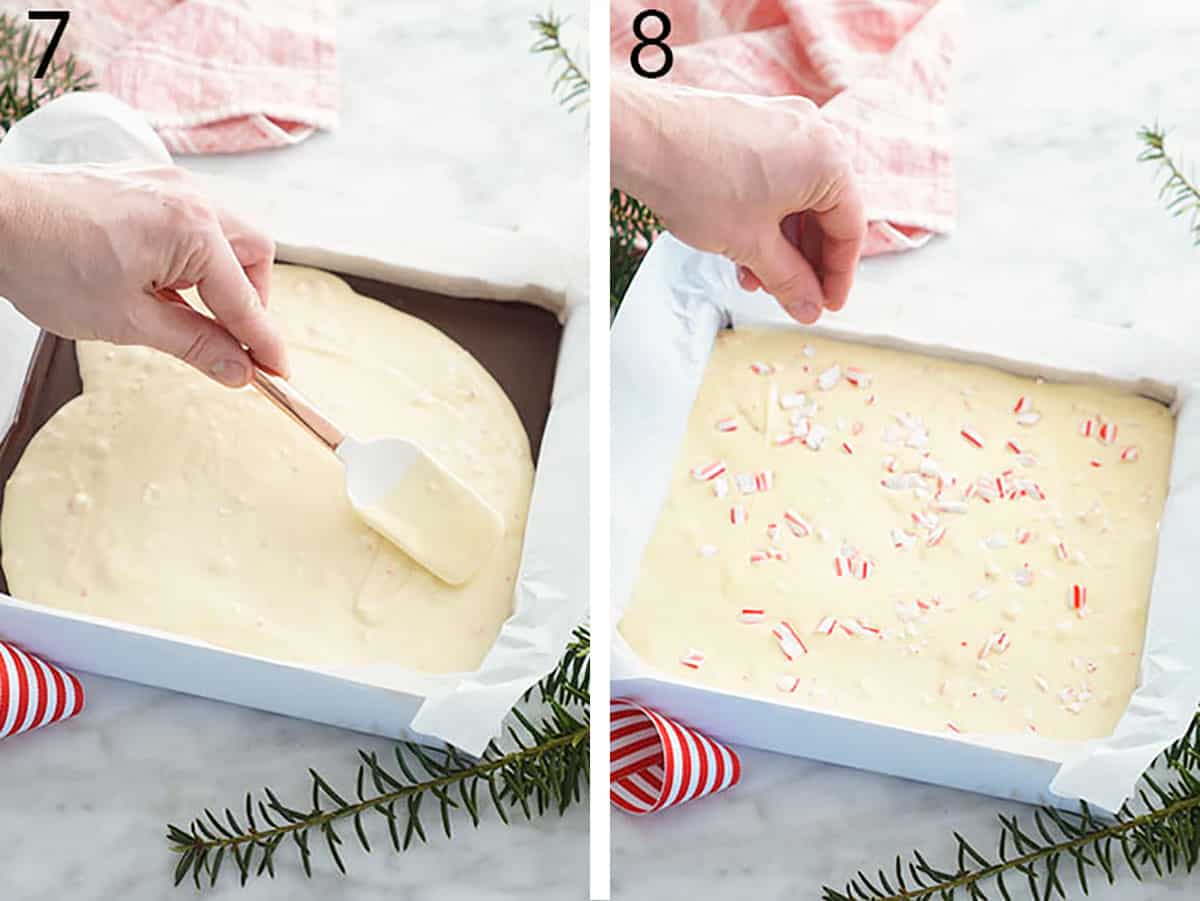
7. Smooth the white chocolate out with a spatula so it completely covers the other layer.
8. Sprinkle the remaining crushed candy canes on top. Refrigerate until completely set, about 1 hour. Remove the bark from the pan using the parchment paper overhang, and cut or break it into pieces. Enjoy!

For Thinner Bark, Use A Larger Pan
Depending on how you want to make this easy peppermint bark recipe, you can make thinner bark by using a 9×13-inch pan or a 12×18-inch baking sheet. Line the pan or cookie sheet with parchment paper or wax paper (leaving an overhang so removing the bark is easy) and spread the chocolate in thinner layers.
How To Store
Peppermint bark keeps well in an airtight container at room temperature for up to 1 week or refrigerated for up to 3 weeks.
How To Use Peppermint Bark
While I enjoy simply snacking on peppermint bark, there are so many other fun ways to use it!
- Pop the bark into cookie tins or treat bags to give as gifts.
- Chop it up into smaller pieces and add it to chocolate chip cookies, brownies, or blondies for a festive twist on classic recipes.
- Add it as a topping to garnish chocolate cupcakes.
- Use it to make my chocolate peppermint bark cookies.

Why Did My Layers Separate?
The trick for chocolate peppermint bark layers that stick together is to add the white chocolate layer before the semi-sweet layer is completely set. Separation of the top and bottom layers is more likely if the base layer is too firm and chilled for a longer period of time.
Refrigerate the first layer for about 20 minutes until the top is firm but the layer is not solid or cold. If you are making thinner bark, reduce the chill time by 5 to 10 minutes.
Can I Use Other Peppermint Candies?
For the best peppermint bark, use mini or large candy canes. You can also use peppermint sticks. These options are all easy to crush and chew. Peppermint candies like Starmints (peppermint hard candies) are very hard and unpleasant to chew, while soft peppermints can absorb moisture and become sticky or mushy.
Pro Tips For Making This Recipe
- Melt the chocolate slowly. Don’t rush this step! I prefer to set my glass bowl on a pot of gently simmering water on low heat and stir the chocolate often for the best peppermint bark. The chocolate is less likely to seize up if melted this way. If using the microwave method, heat on 50% power for short 30-second intervals and stir between each interval.
- If you use chocolate chips instead of chopped bars, add a teaspoon of coconut oil to the melted chocolate (both semi-sweet and white) after melting it. Chocolate chips can melt differently than chocolate bars, and the coconut oil will make them easier to spread and less hard once they set, making them easier to eat.
- Best white chocolate to use: Choose a white chocolate that contains real cocoa butter for easy melting. Avoid products labeled “morsels” for this recipe, as they will not melt smoothly.
- Crush the candy by hand. Crush unwrapped candy canes by placing them in a zip-top bag, folding a dish towel on top, and lightly rolling over it or banging it with a rolling pin or meat mallet until crushed. Doing this process by hand gives you more control over the size of the pieces than using a food processor would.
- Make a custom-sized pan. If you only have a large pan, you can use aluminum foil to create a custom-sized pan by folding the edges to make a wall to stop the chocolate from spreading further.
- Topping and mix-in options. If candy canes aren’t your favorite or if they are out of season, try topping the white chocolate layer with crushed pretzels, chopped toasted pecans, a sweet cereal, sea salt, toffee pieces, chocolate candies, or chopped candy bars.

Frequently Asked Questions
You can freeze it in a freezer-safe container or freezer bag for up to 3 months. Let it come to room temperature before enjoying it, as it will be very hard straight out of the freezer.
Because peppermint chocolate bark will keep well for 1 week at room temperature and 3 weeks in the refrigerator, you can make it quite far in advance, depending on when you want to serve or gift it.
Classic peppermint bark is made with a dark chocolate layer and white chocolate. But you can make this recipe with the chocolate you have on hand or with your favorite chocolate bar varieties. Try milk chocolate over a dark chocolate layer or milk chocolate with white chocolate.
If you’ve tried this peppermint bark recipe, then don’t forget to rate the recipe and let me know how you got on in the comments below, I love hearing from you!

Peppermint Bark Recipe
Video
Equipment
- 8” baking pan
- Mixing Bowls
- Offset spatula
Ingredients
- 12 ounces semisweet chocolate chopped (375g)
- 16 ounces white chocolate chopped (450g)
- ½ teaspoon peppermint extract
- 7 candy canes crushed
Instructions
- Line an 8×8-inch baking dish with parchment paper or wax paper. (For thinner bark, use a large baking sheet.)
- Place the semisweet chocolate in a medium heat-proof bowl. You can melt the chocolate by setting it over pot of shallow simmering water or using a double boiler, stirring until smooth. Or, microwave the chocolate in 30-second intervals at 50% power, stirring between each, until smooth and fully melted.
- Pour the melted chocolate into the pan and spread it into an even layerwith a spatula. Chill until partially set or firm to the touch on top, about 20 minutes.
- Place the white chocolate in a separate bowl, and melt it as you did the semisweet chocolate, then stir in the peppermint extract. Sprinkle in about ⅓ cup of crushed candy cane and fold into the white chocolate.
- Pour the white chocolate onto the set semisweet chocolate layer and smooth out with a spatula. Sprinkle the remaining crushed candy cane on top. Regrierate until completely set, about 1 hour.
- Remove the bark form the pan using the parchment paper, and cut or break it into pieces. Store leftover peppermint bark in an airtight container at room temperature for up to 1 week or refrigerated for up to 3 weeks.
Notes
- Melt the chocolate slowly. Don’t rush this step! I prefer to set my glass bowl on a pot of gently simmering water on low heat and stir the chocolate often for the best peppermint bark. The chocolate is less likely to seize up if melted this way. If using the microwave method, heat on 50% power for short 30-second intervals and stir between each interval.
- If you use chocolate chips instead of chopped bars, add a teaspoon of coconut oil to the melted chocolate (both semi-sweet and white) after melting it. Chocolate chips can melt differently than chocolate bars, and the coconut oil will make them easier to spread and less hard once they set, making them easier to eat.
- Best white chocolate to use: Choose a white chocolate that contains real cocoa butter for easy melting. Avoid products labeled “morsels” for this recipe, as they will not melt smoothly.
- Crush the candy by hand. Crush unwrapped candy canes by placing them in a zip-top bag, folding a dish towel on top, and lightly rolling over it or banging it with a rolling pin or meat mallet until crushed. Doing this process by hand gives you more control over the size of the pieces than using a food processor would.
- Make a custom-sized pan. If you only have a large pan, you can use aluminum foil to create a custom-sized pan by folding the edges to make a wall to stop the chocolate from spreading further.
- Topping and mix-in options. If candy canes aren’t your favorite or if they are out of season, try topping the white chocolate layer with crushed pretzels, chopped toasted pecans, a sweet cereal, sea salt, toffee pieces, chocolate candies, or chopped candy bars.









Hi —So I’m a little confused. On the recipe it calls for “peppermint oil.” Yet on the video you say “peppermint extract.” However, printed on the recipe when you say “extract,” the words read “peppermint oil.” I happened to have the extract and it worked well, but I’m still a bit confused. Love your recipes! Thx!
Easy to follow and very tasty
I made this peppermint bark recipe yesterday and it is soooo yummy!! I used the swirl method when adding my white chocolate since I thought was such a pretty look. This recipe is so easy and so delicious! Thanks John!!
I love this way to do Peppermint Bark. I used to put the white chocolate on top without swerving it around into the dark chocolate and it never stayed together. I like to mail this to my kids and grand kids so this way gets it delivered in great condition. Thanks
WOW!!
Yummy!