
This post may contain affiliate links. Please read our disclosure policy.
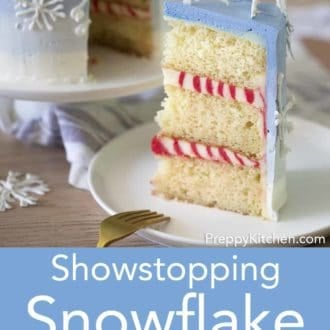
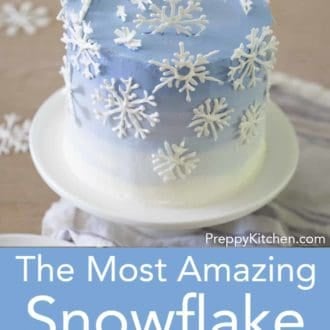
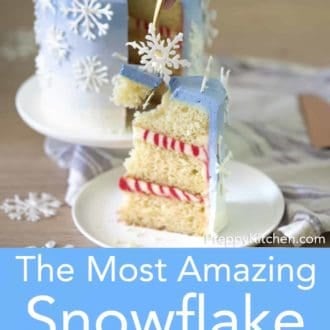
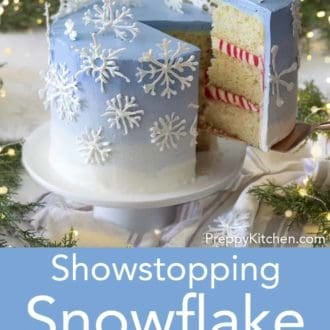
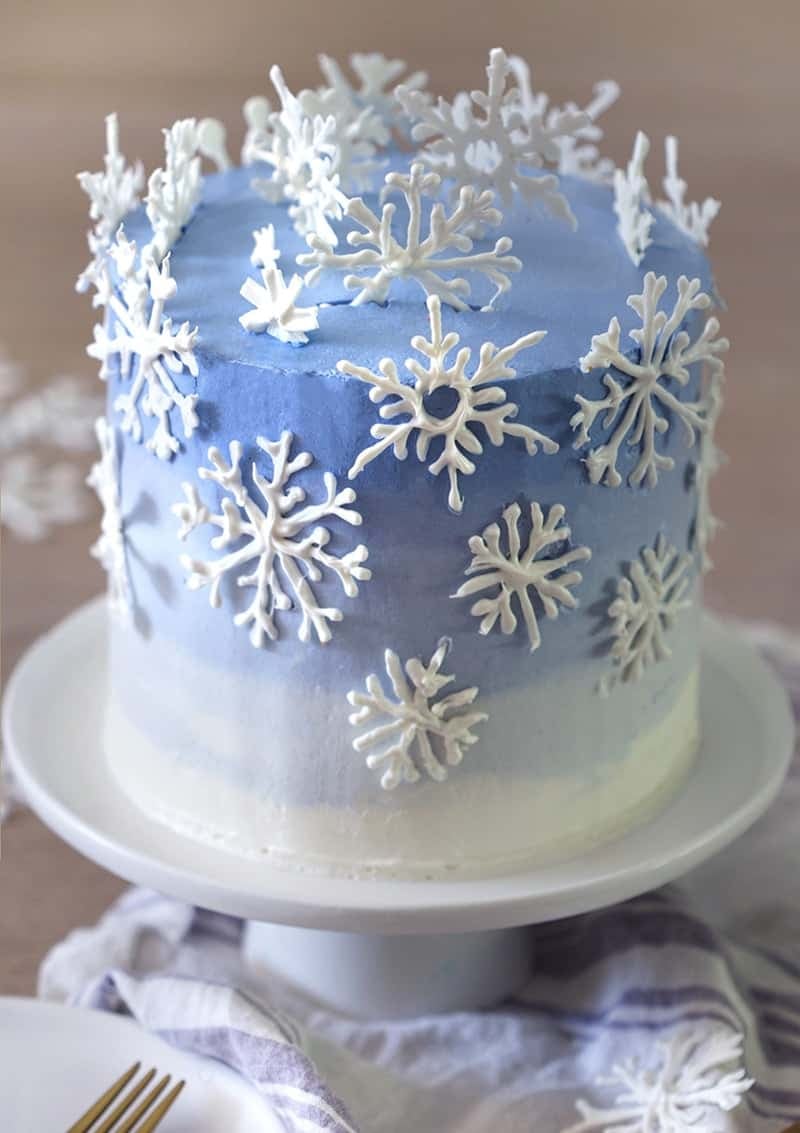
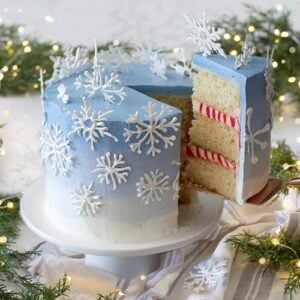
A special time of year calls for a special cake! This ombré peppermint snowflake cake is a winter wonderland showstopper! Candy melt snowflakes cover this peppermint-kissed cake with a candy cane surprise in every piece.

Can a Christmas cake be chic?? I had this idea of piping candy melt snowflakes for an ombré cake covered in buttercream and I love how it came out! So simple but delicate and beautiful. Also, completely delicious!
Pro Tips for making a Snowflake Cake
- If you’re not using 6-inch pans, double the recipe for 8-inch pans or triple the recipe for 9-inch pans.
- Measure your flour correctly! Adding too much flour to the recipe is the most common mistake. The best, and easiest way to measure flour is by using a scale. If you don’t have one then fluff your flour with a spoon, sprinkle it into your measuring cup, and use a knife to level it off.
- You can substitute whole milk yogurt for the sour cream if desired, I do it all the time and can’t really tell the difference.
- To get FLAT layers that are moist inside and out try using cake strips! You can buy a set on the shop page or make your own from foil and paper towels at home. I made a whole blog post on it so check it out if you’re interested!
- Clean the bowl of your mixer really well, fat is the enemy of meringue.
- Monitor the temperature of your sugar syrup closely, you don’t want it to get too hot.
- Add your pieces of room temperature butter in slowly.
- You’ll need to give the buttercream a quick whip to bring it back to life if it’s not getting used immediately as it will lose consistency quickly.
- Don’t panic when you add the butter to the meringue and it turns to soup, just keep adding the butter and it will work out.
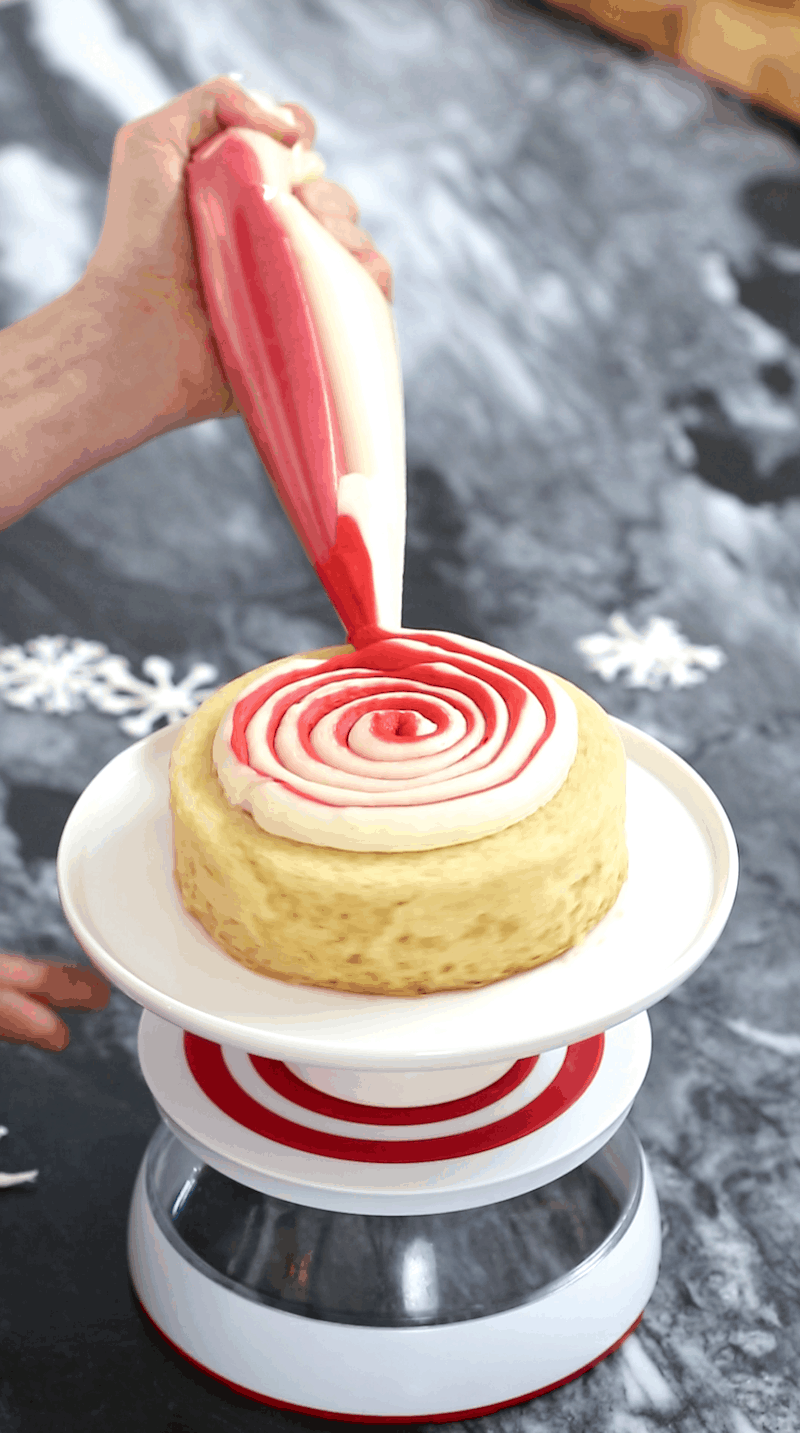
- To pipe the two-tone frosting you fill one bag (1/2 way full) with white frosting, one bag with blue frosting and then put both bags in a third piping bag. No need for a tip, just snip about an inch off each bag.
About those Snowflakes
- Candy melt is really easy to work with but it does harden quickly so keep a HOT glass of water close by while you pipe and dip your piping bag into it at regular intervals to keep the candy melt at the right temperature. Click here for the printable template I used as a guide for my snowflakes.
- I used the printable template with some parchment paper taped over and the snowflakes came right off after cooling on the counter for a few minutes.
- Your snowflakes don’t have to be perfect and uniform, real ones are all a bit different after all! You will be whipping up a batch of Italian buttercream for this cake so click over for my IMBC recipe and step-by-step. You will divide the buttercream into several batches and tint them in various shades of blue for the ombré.
If you find cake decorating to be a bit intimidating then check out my How to Decorate a Cake post, it has lots of helpful tips and a full how to video.
How to make a snowflake Cake
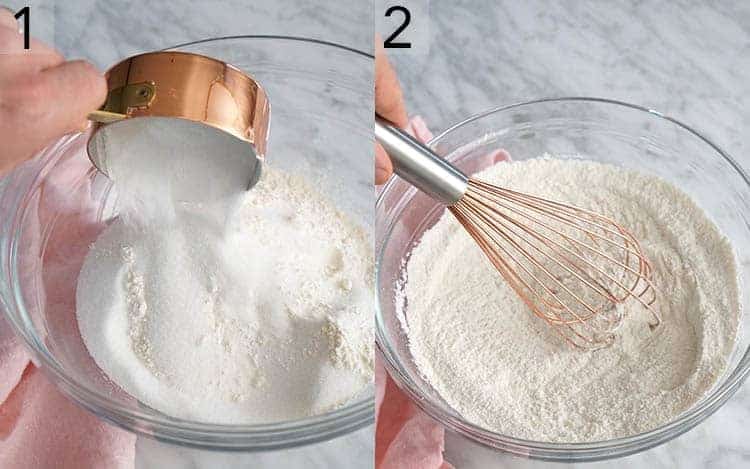
1. Preheat oven to 350 degrees F. Butter and paper three 6-inch cake pans. I use cake strips on my pans for more even baking. Add the flour, salt, baking soda and powder and sugar to a large bowl. I usually like to sift the dry ingredients into the bowl but it’s not a must.
2. Whisk the dry ingredients together then set aside.
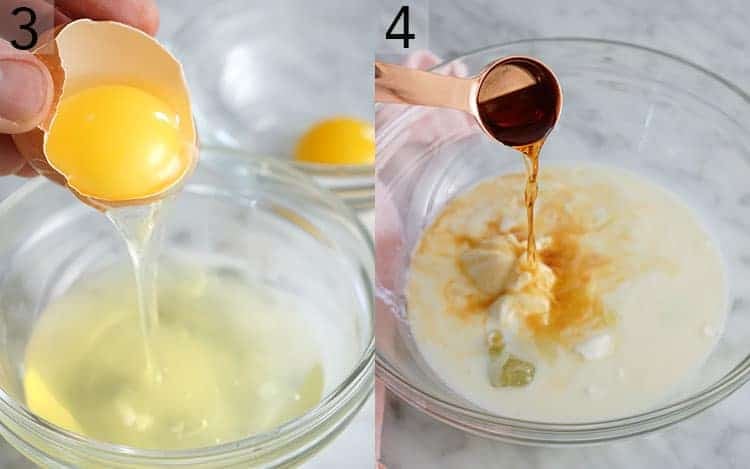
3. Separate the egg whites from the yolks one at a time into a small bowl transferring each white to a large bowl after separation. This is the best way to avoid a broken yolk ruining the whole batch. It’s actually totally fine to get some yolk mixed into the wet ingredients but it will definitely matter when you make the Italian meringue buttercream!
4. Beat the egg whites, sour cream, milk, peppermint extract and vanilla together in a medium bowl.
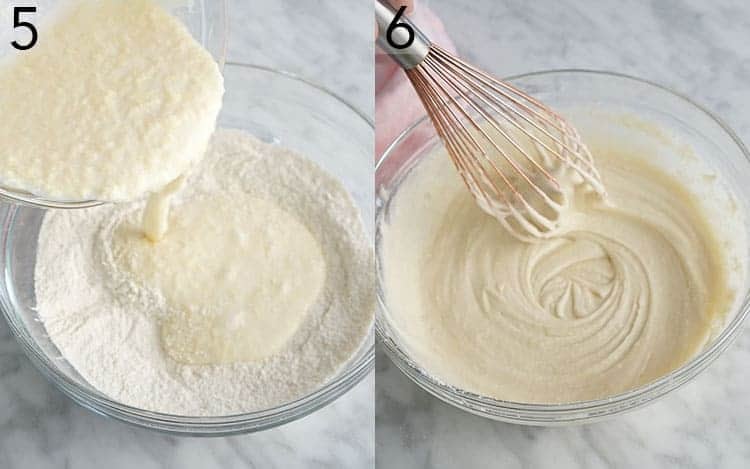
5. Pour the wet into the dry.
6. Whisk together until smooth.

7. Divide the mixture evenly into the cake pans. Bake for about 30 minutes until the centers are springy to the touch and the edge is just pulling away from the pan. Transfer to wire cooling rack and let cool completely.
8. To make the American buttercream: Whip the butter for about 3- 5 minutes using a paddle attachment (stand-up mixer). Beat in the confectioner’s sugar slowly. Add the cream, vanilla and a pinch of salt. Beat until you have an even, fluffy consistency. Divide the frosting into two batches. One will remain white while the other will be colored with red food coloring.
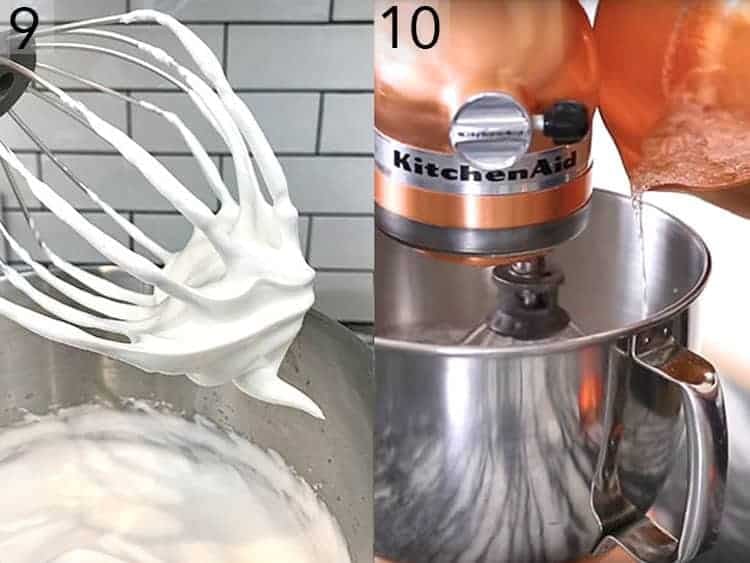
9. To make the Italian buttercream: Beat the room temperature egg whites, salt and cream of tartar, slowly add in 1/3 cup of sugar and continue beating until soft peaks form. In a medium saucepan add the remaining sugar and 1/3 cup water then place on medium-low heat. Stir until sugar melts and becomes clear. Maintain at medium-high heat until temperature reads 240F.
10. Drizzle the sugar into the mixer immediately. Run mixer until meringue is cool/tepid. Add room temperature butter into running mixer one tablespoon piece at a time. Add the salt and vanilla if using. Beat until butter is combined and mixture has reached a silky consistency. Create a gradient by adding different amounts of blue food coloring to remaining buttercream batches.
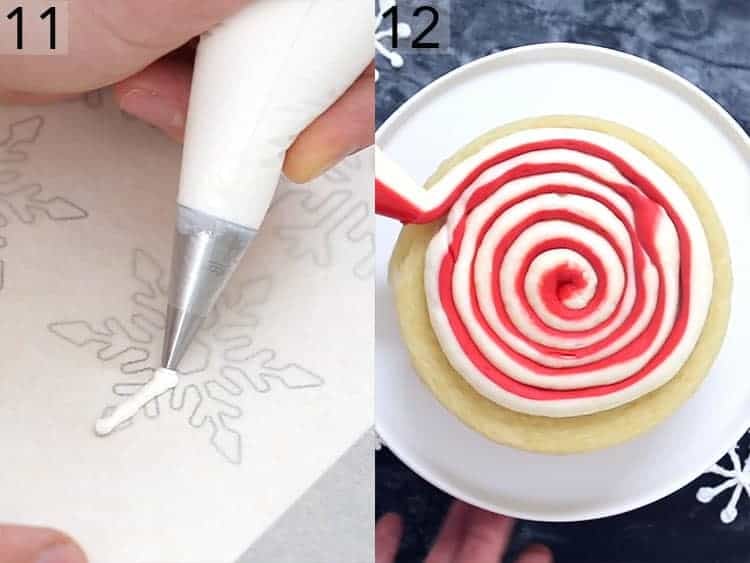
11. To make the Snowflakes: Melt candy melts in the microwave. Transfer to the piping bag and snip off the tip. Pipe snowflakes onto a piece of parchment paper. This can be done freehand or over a snowflake stencil.
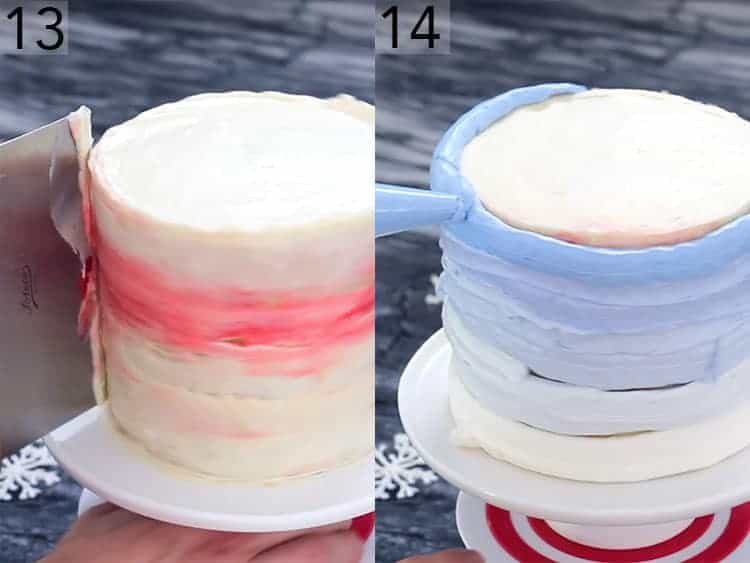
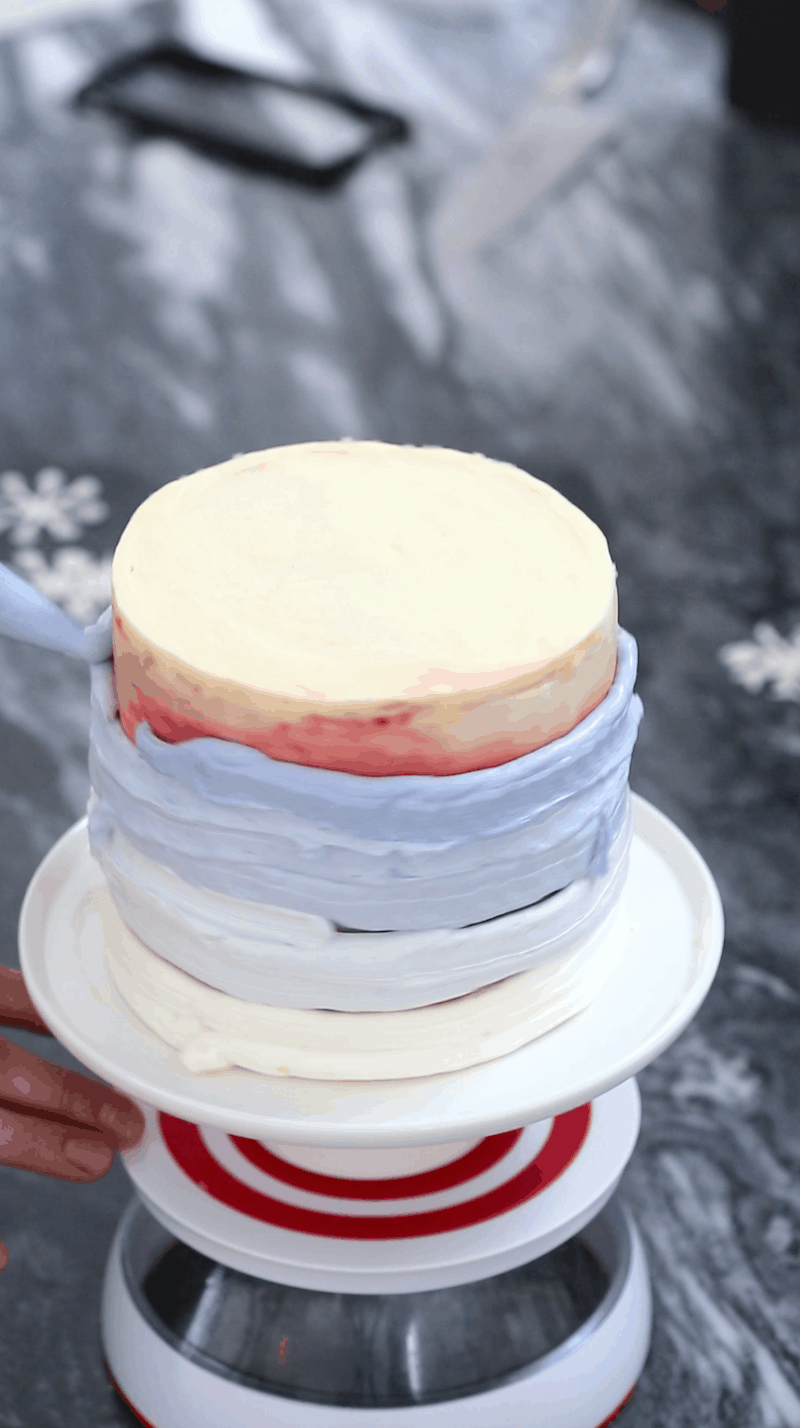
13. Use the remaining American buttercream to pipe a thin layer onto the outside then smooth. This layer is called a crumb coat, it helps keep your outer layer nice and clan and also helps to stabilize the cake. It’s usually best to chill the cake so the frosting firms up before proceeding to the next step.
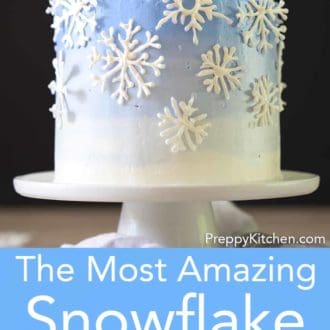
14. Give each batch for Italian buttercream a very quick whip just before use to restore the silky consistency. Transfer each color to its own piping bag and snip the tip off. Pipe the ombre colors from lightest on the bottom to darkest on top.
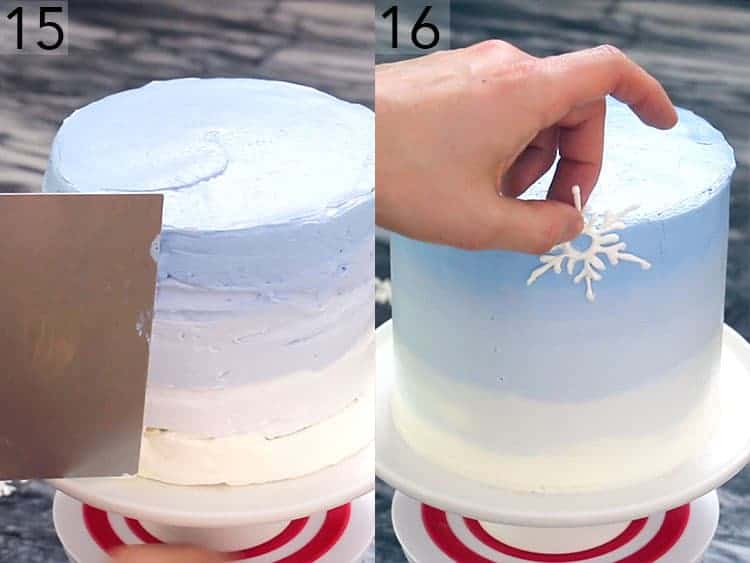
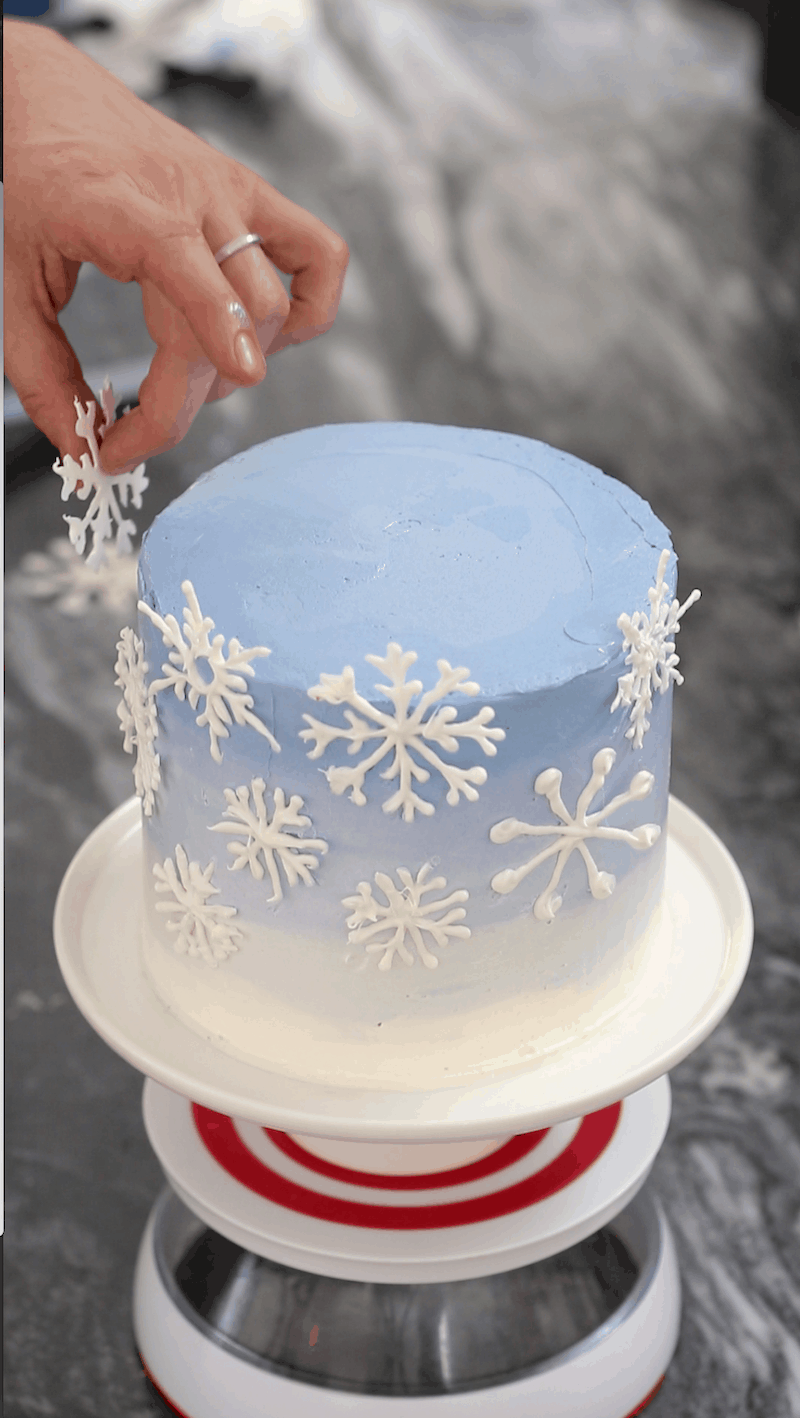
16. Carefully place snowflakes on cake
If you’ve tried this snowflake cake recipe then don’t forget to leave a rating and let me know how you got on in the comments below, I love hearing from you!
Snowflake Cake
Ingredients
INGREDIENTS
For the Buttercream:
- 3 teaspoon vanilla
- 1 lb confectioner's sugar
- 1 cup unsalted butter room temperature
- 3 tablespoon heavy whipping cream
- blue food coloring
- red food coloring
For the Cake:
- 1 2/3 cups all purpose flour
- 1 cup sugar
- 1/4 teaspoon baking soda
- 1 teaspoon baking powder
- 3/4 cup unsalted butter room temperature
- 3 egg whites
- 3 teaspoon vanilla extract
- 1/2 cup sour cream
- 1/2 cup whole milk
- 1 teaspoon peppermint extract
For the Snowflakes:
- ⅔ cup candy melt
- parchment paper
For the Italian Buttercream:
- 4 large eggs
- 1 1/3 cup sugar
- pinch kosher salt
- 16 oz unsalted butter cut into 1-inch pieces
- 1 teaspoon vanilla extract
- 1/4 teaspoon cream tartar
Instructions
INSTRUCTIONS:
For the Cake:
- Preheat oven to 350 degrees F.
- Butter and paper three 6-inch cake pans. I use cake strips on my pans for more even baking.
- Sift and mix dry ingredients in a large bowl.
- Beat the wet ingredients together in a medium bowl.
- Add wet to dry ingredients and mix until combined
- Divide the mixture evenly into the cake pans.
- Bake for about 30 minutes until the centers are springy to the touch.
- Let cool completely.
For the Buttercream:
- Whip the butter for about 5 minutes using a paddle attachment (stand-up mixer).
- Beat in the confectioner’s sugar slowly
- Add the cream and vanilla. Beat until you have an even, fluffy consistency.
- Transfer a white batch to a piping bag. Add red food coloring to another batch and transfer to a piping bag. Snip off the tips of both and add to a larger piping bag. Pipe a spiral between each layer.

- Pipe and smooth a crumb coat with excess.
For the Italian Buttercream:
- Beat the egg whites, salt and cream of tartar, slowly add in 1/3 cup of sugar and continue beating until soft peaks form. In a medium saucepan add the remaining sugar and 1/3 cup water then place on medium-low heat. Stir until sugar melts and becomes clear.Maintain at medium-high heat until temperature reads 235-240F.
- Drizzle the sugar into the mixer immediately. Run mixer until meringue is cool/tepid. Add room temperature butter into running mixer one tablespoon piece at a time.
- Add the salt and vanilla if using. Beat until butter is combined and mixture has reached a silky consistency.
- Create a gradient by adding different amounts of blue food coloring to remaining buttercream batches. Transfer each color to its own piping bag. Pipe the ombre color and smooth with an offset spatula.

For the Snowflakes:
- Melt candy melts in the microwave.
- Transfer to the piping bag and snip off the tip.
- Pipe snowflakes onto a piece of parchment paper. This can be done freehand or over a snowflake stencil.
For the Assembly:
- Pipe the red and white buttercream between each cake layer.
- Pipe white, then blue buttercream, lightest to darkest starting from the bottom.
- Smooth with an offset spatula.
- Add snowflakes.

Notes
- If you’re not using 6-inch pans, double the recipe for 8-inch pans or triple the recipe for 9-inch pans.
- If you see little clumps of butter after you mix the wet ingredients don’t panic, it all works out by the time you mix in the dry ingredients. You can even use melted butter and warm the milk and sour cream up a bit if you like.
- You can substitute whole milk yogurt for the sour cream if desired, I do it all the time and can’t really tell the difference.
- To get FLAT layers that are moist inside and out try using cake strips! You can buy a set online or make your own from foil and paper towels at home. I made a whole blog post on it so check it out if you’re interested!
Nutrition
Have you tried this recipe? Tag me today!
Mention @preppykitchen and tag #preppykitchen!
SaveSave


