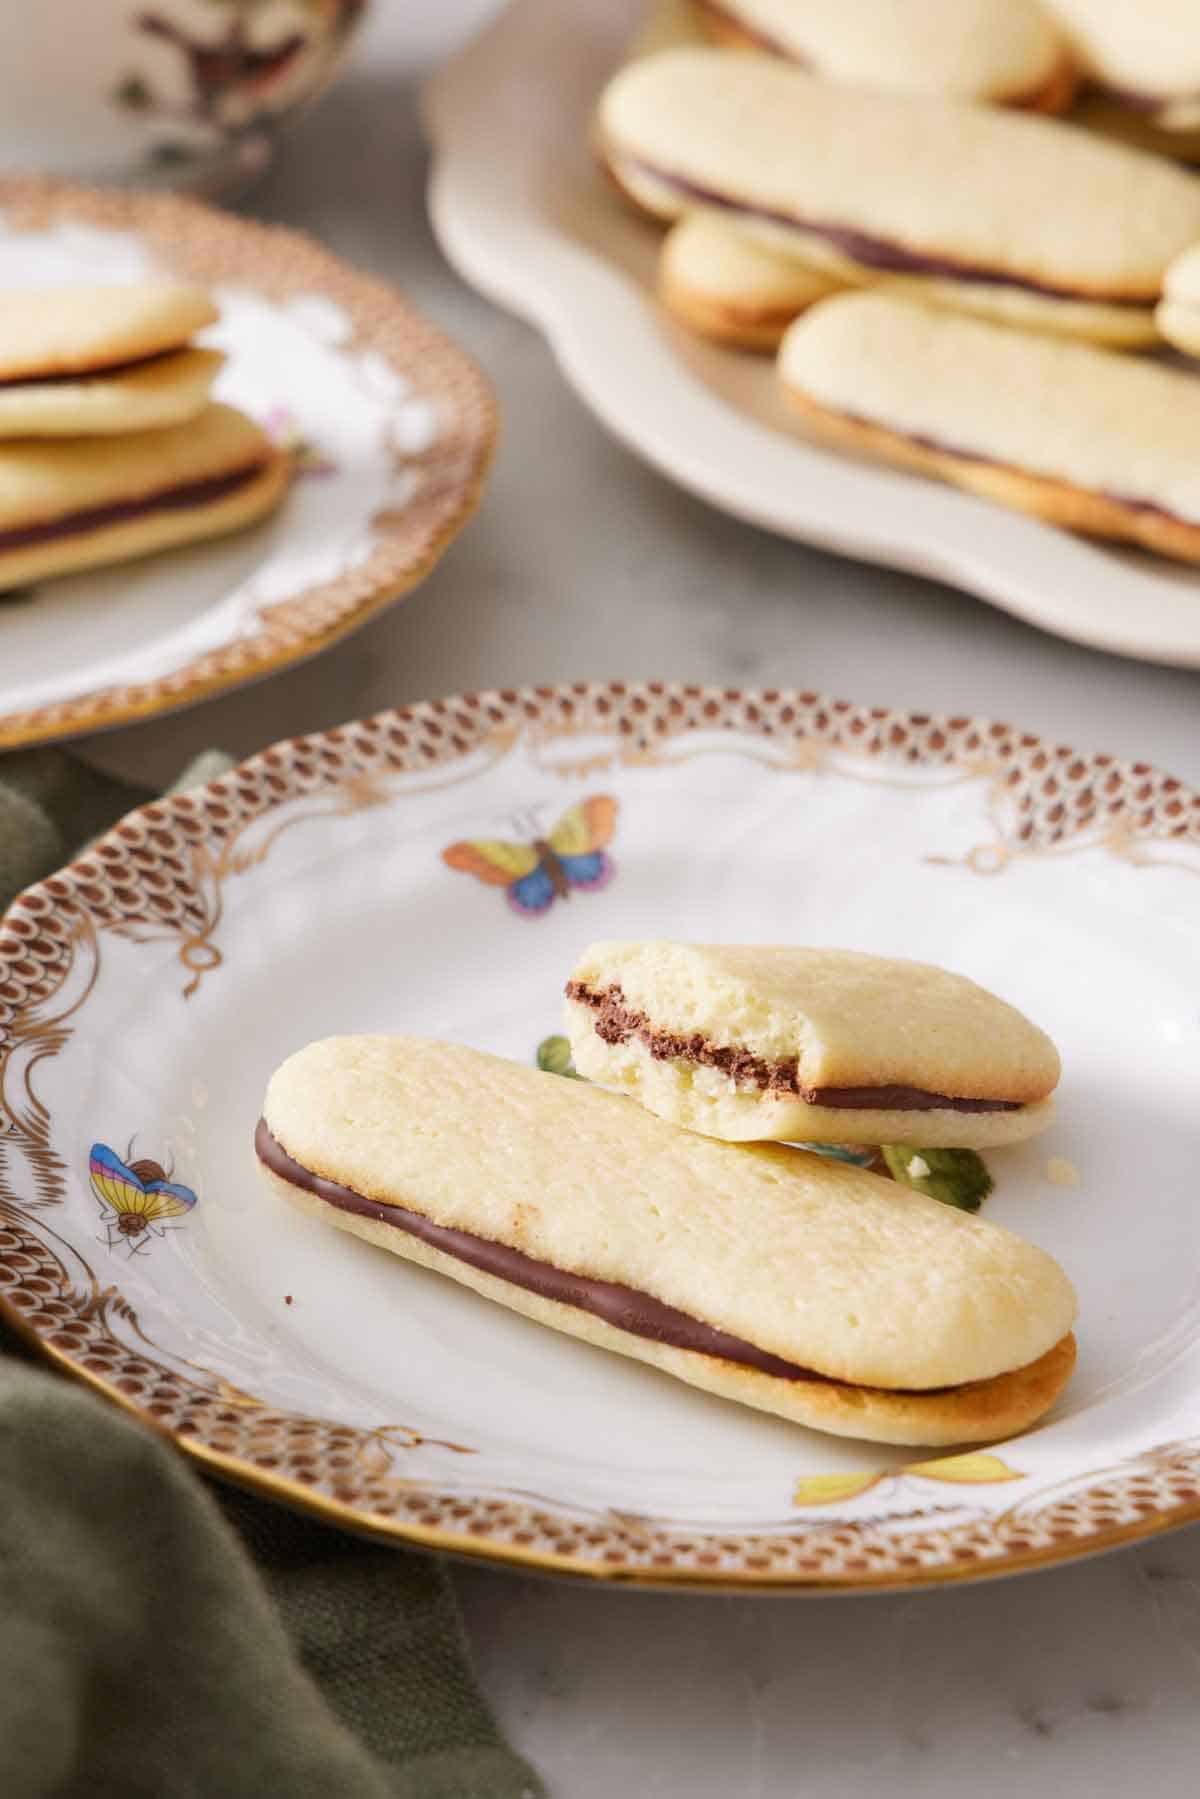
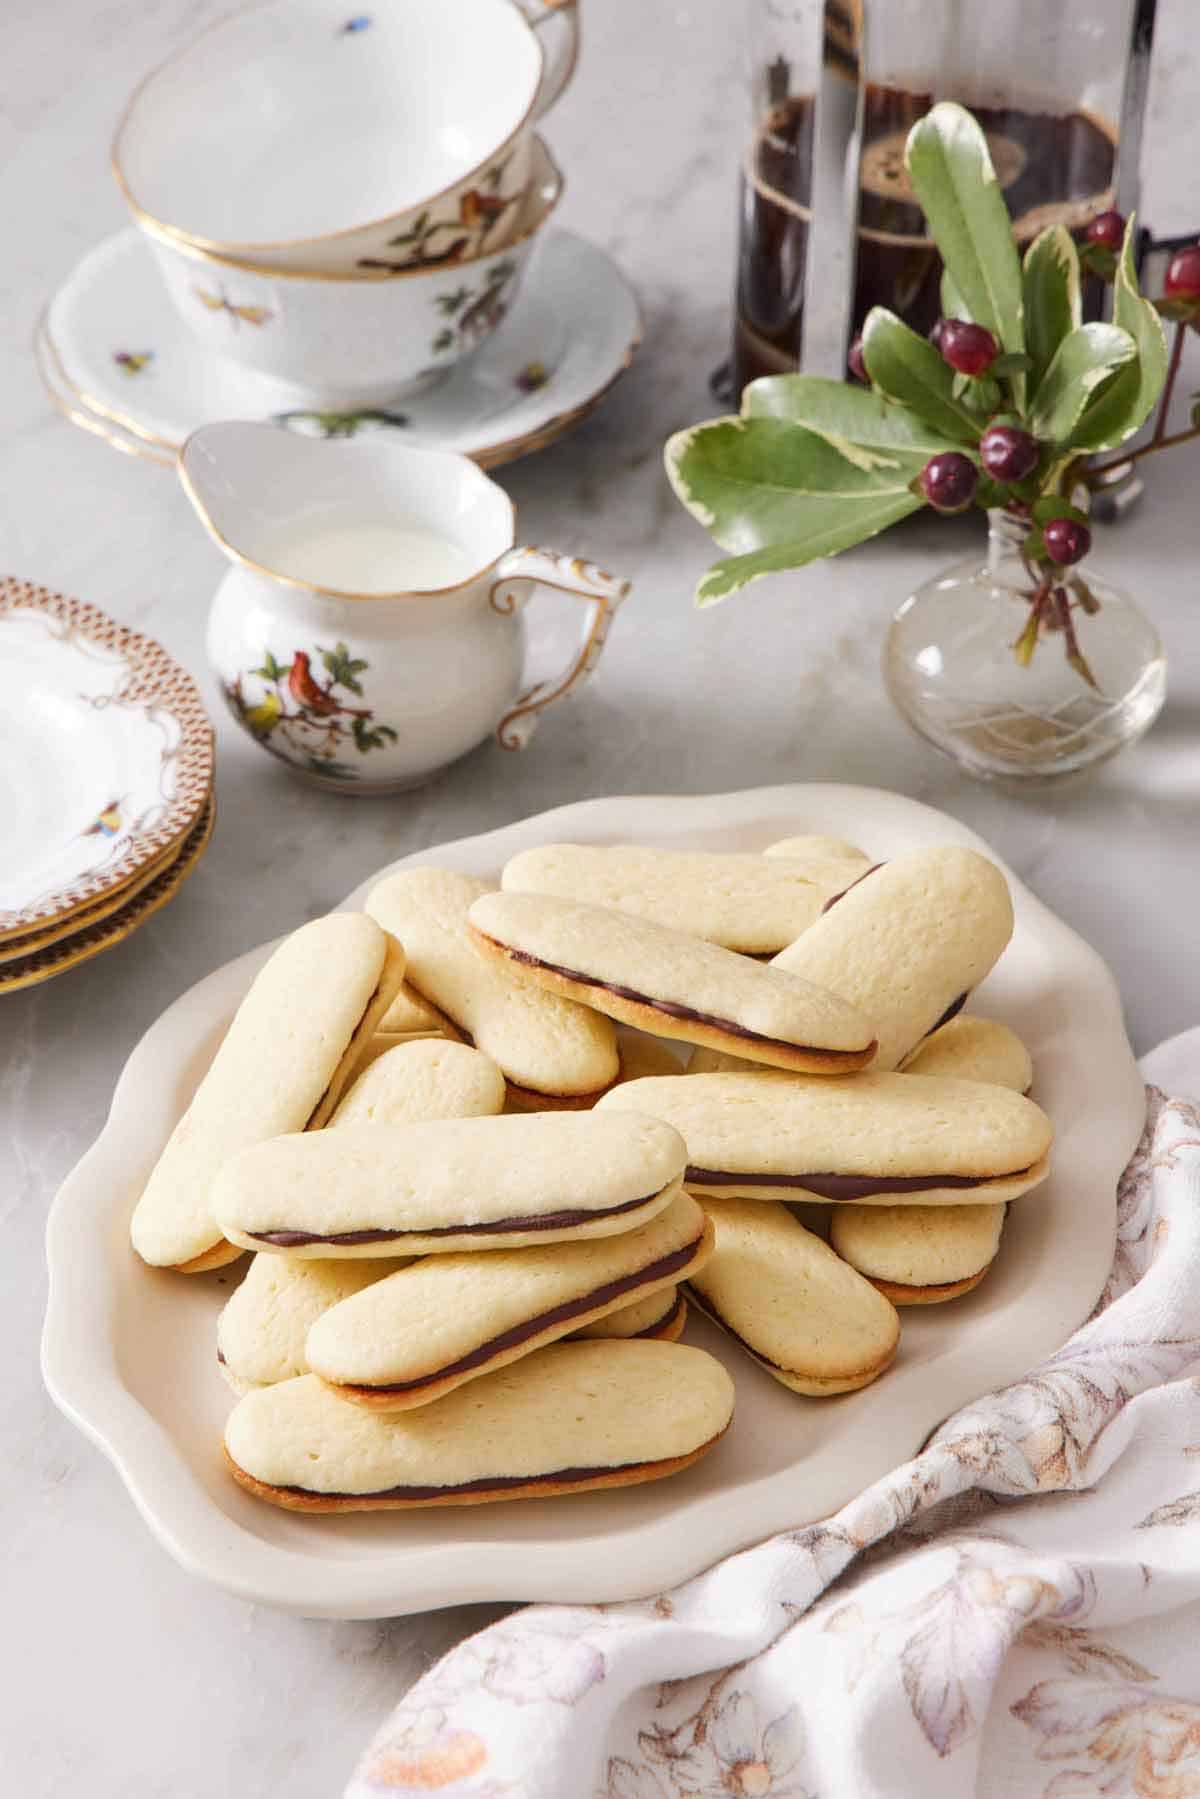
Crisp, buttery cookies with a rich chocolate filling: Yes, I am talking about Milano cookies! These popular store-bought oval-shaped sandwich cookies are so easy to make at home, and the 1-ingredient chocolate filling is simply decadent. Snack on them whenever you feel like it, or enjoy them dipped into your morning coffee or with afternoon tea.
While Pepperidge Farm Milano cookies consist of a simple yet indulgent chocolate filling, their range now includes fun flavors like mint chocolate, orange chocolate, raspberry chocolate, and more! In the post, I share delicious variations you can try for delicious homemade Milano cookies. For more cookie recipes, try my thumbprint cookies, rainbow cookies, and chocolate chip cookies.
Ingredients
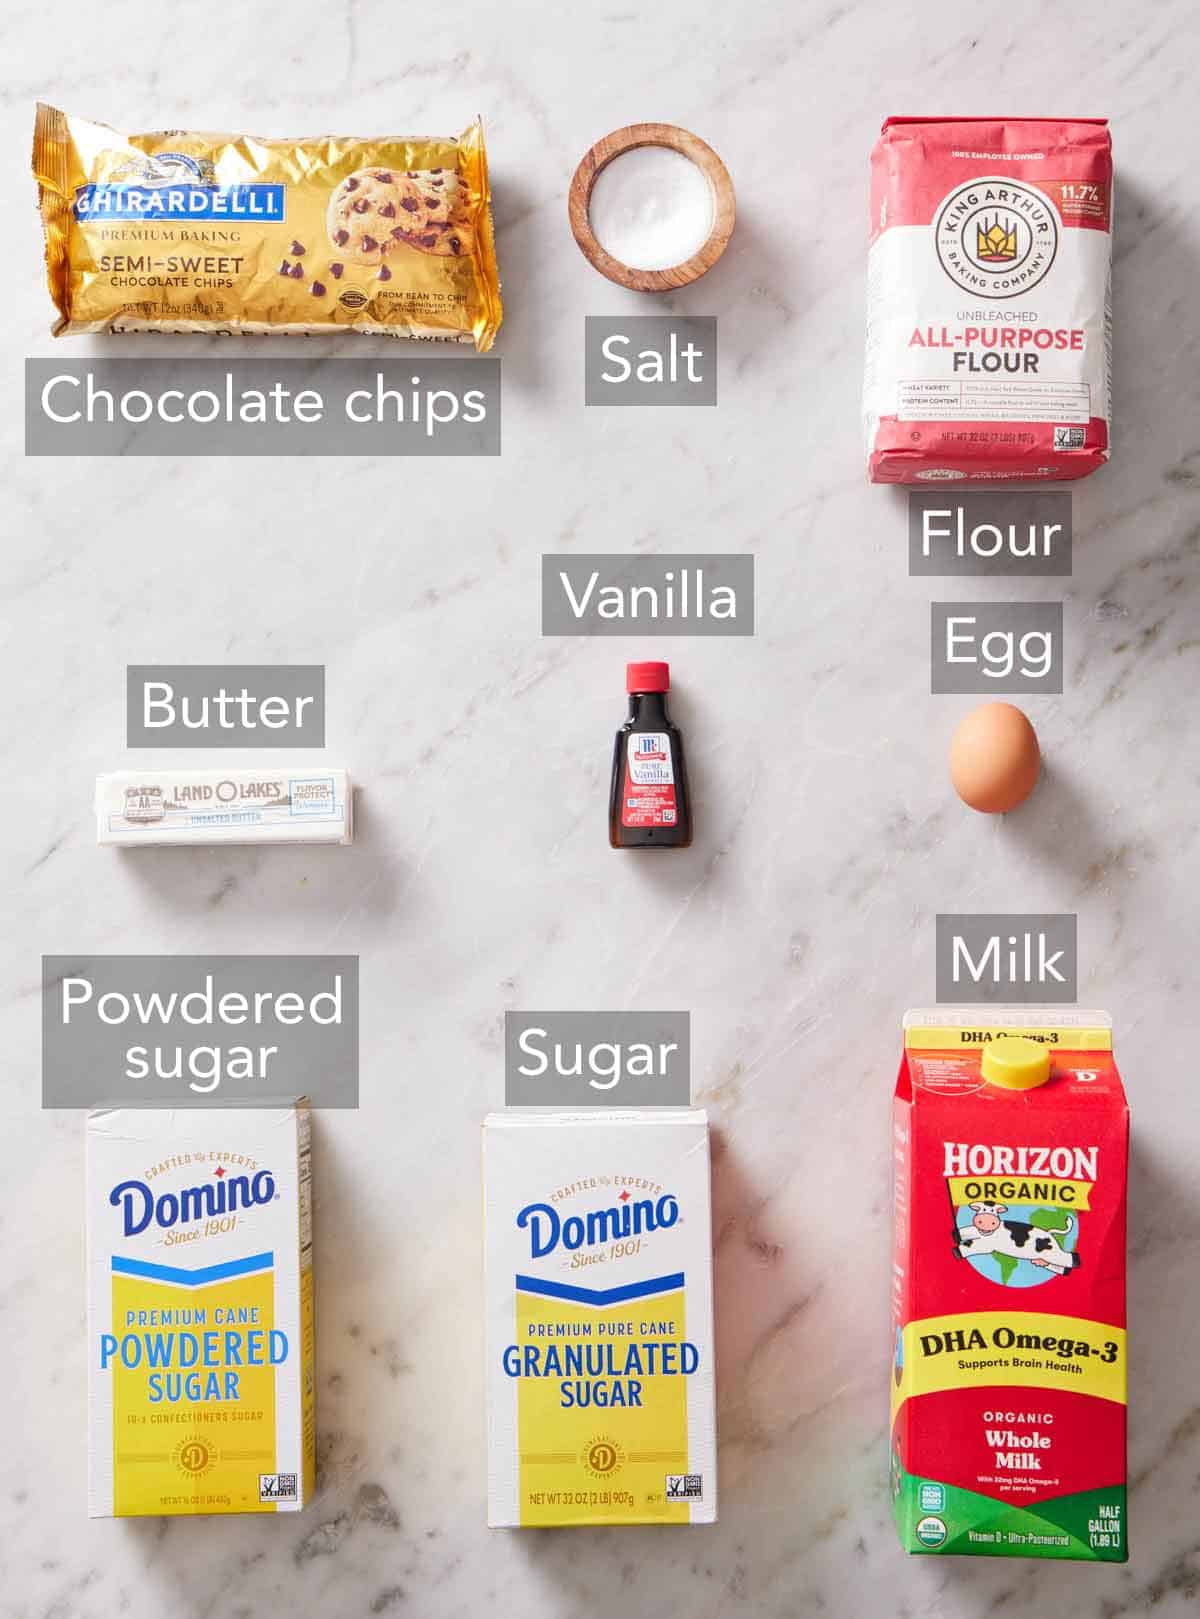
Butter — since you’ll add a little salt to the cookies, be sure to use unsalted butter so the cookies don’t end up salty.
Sugar — you need both granulated sugar and powdered sugar. Powdered sugar tenderizes the cookies, giving them a texture that’s similar to shortbread cookies.
Egg — a whole egg adds richness and structure to the cookie dough.
Vanilla — use good vanilla extract, not vanilla essence, which is synthetically flavored.
Flour — you just need all-purpose flour for the perfect cookies that are light and crisp.
Milk — milk adds softness and moisture to the cookie dough, which makes it easier to pipe.
Dark chocolate filling — all you need is semi-sweet chocolate chips for the simple chocolate filling. Opt for a good quality chocolate since the flavor will shine.
How To Make Milano Cookies
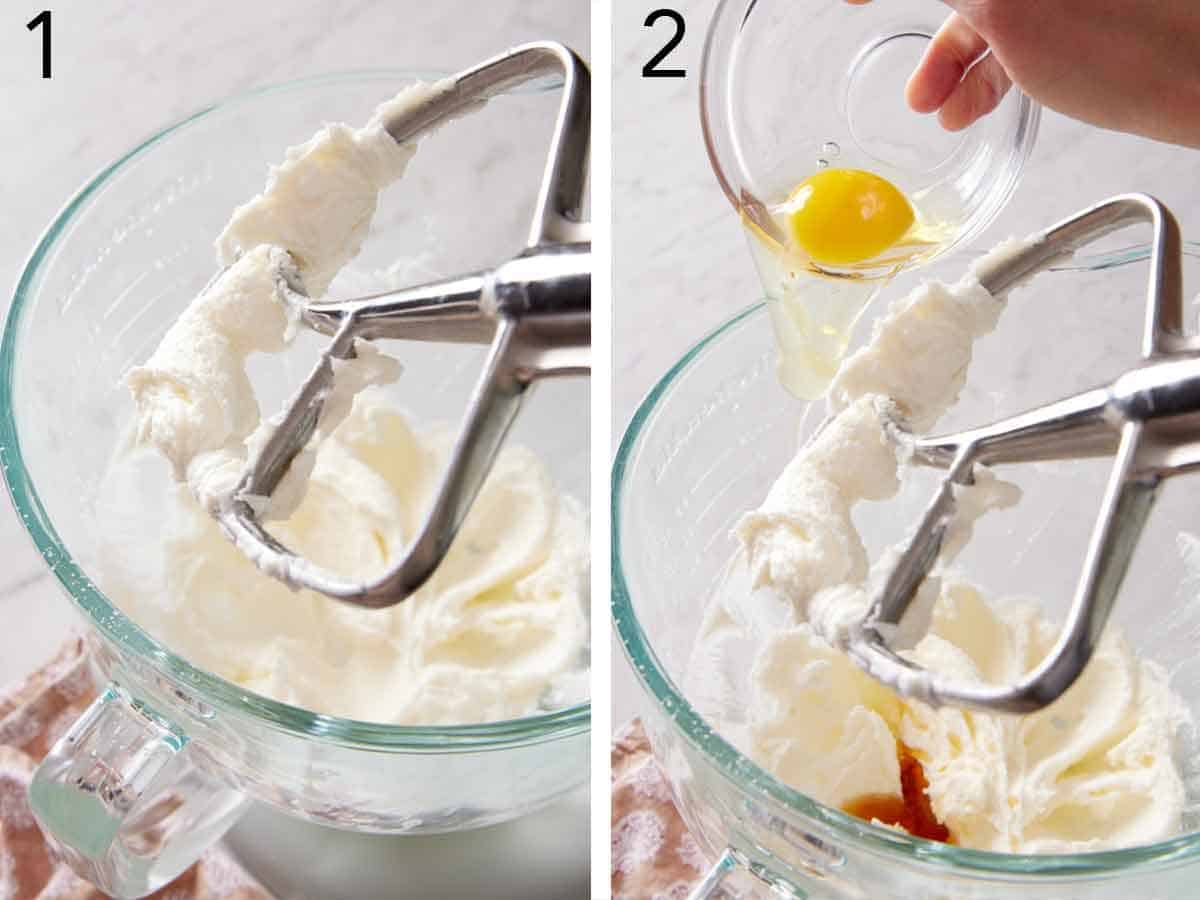
1. Place one oven rack in the top third of the oven and one in the bottom third, then preheat the oven to 350°F. In the large bowl of a stand mixer fitted with a paddle attachment, combine the butter, powdered sugar, and granulated sugar. Beat until light and fluffy.
2. Add the egg and vanilla extract and beat on medium-low speed for about 1 minute. The egg may not be fully incorporated, but that’s fine as it will mix in properly in the next steps.
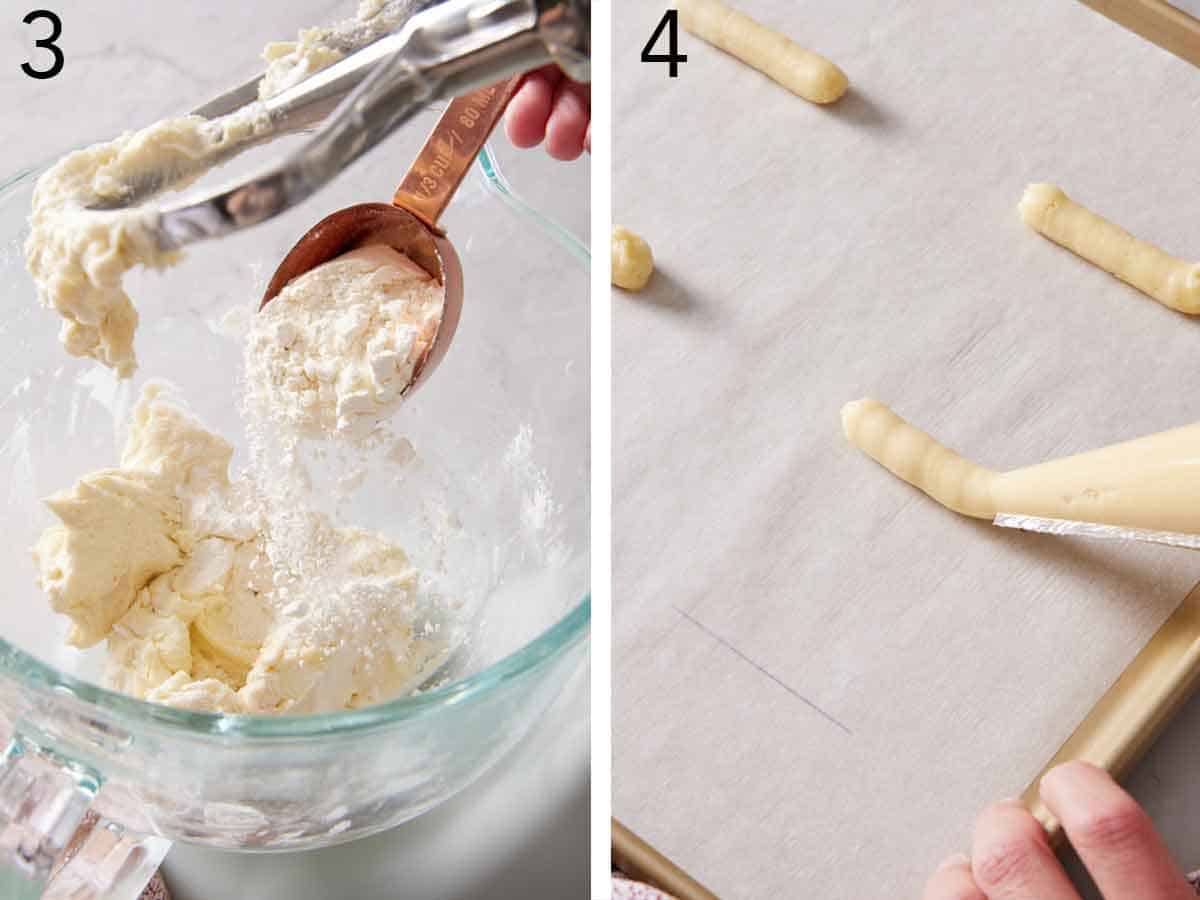
3. Add the salt and then the flour in two parts, alternating with the milk. Mix on low speed just until combined.
4. Transfer the Milano cookie dough to a piping bag. Cut a ¾-inch wide opening off the tip of the piping bag. Line two large baking sheets with parchment paper. Pipe log-shaped cookies onto the parchment paper. Bake the cookies for 9 to 10 minutes, rotating the trays from top to bottom rack and giving them each a 180-degree turn after 5 minutes of baking until the tops are dry and the bottom edges are lightly golden.
Then turn off the oven and crack the oven door open 6 inches. Leave the cookies in the oven for 10 more minutes to help dry them out and crisp up. Transfer to a cooling rack to cool completely.
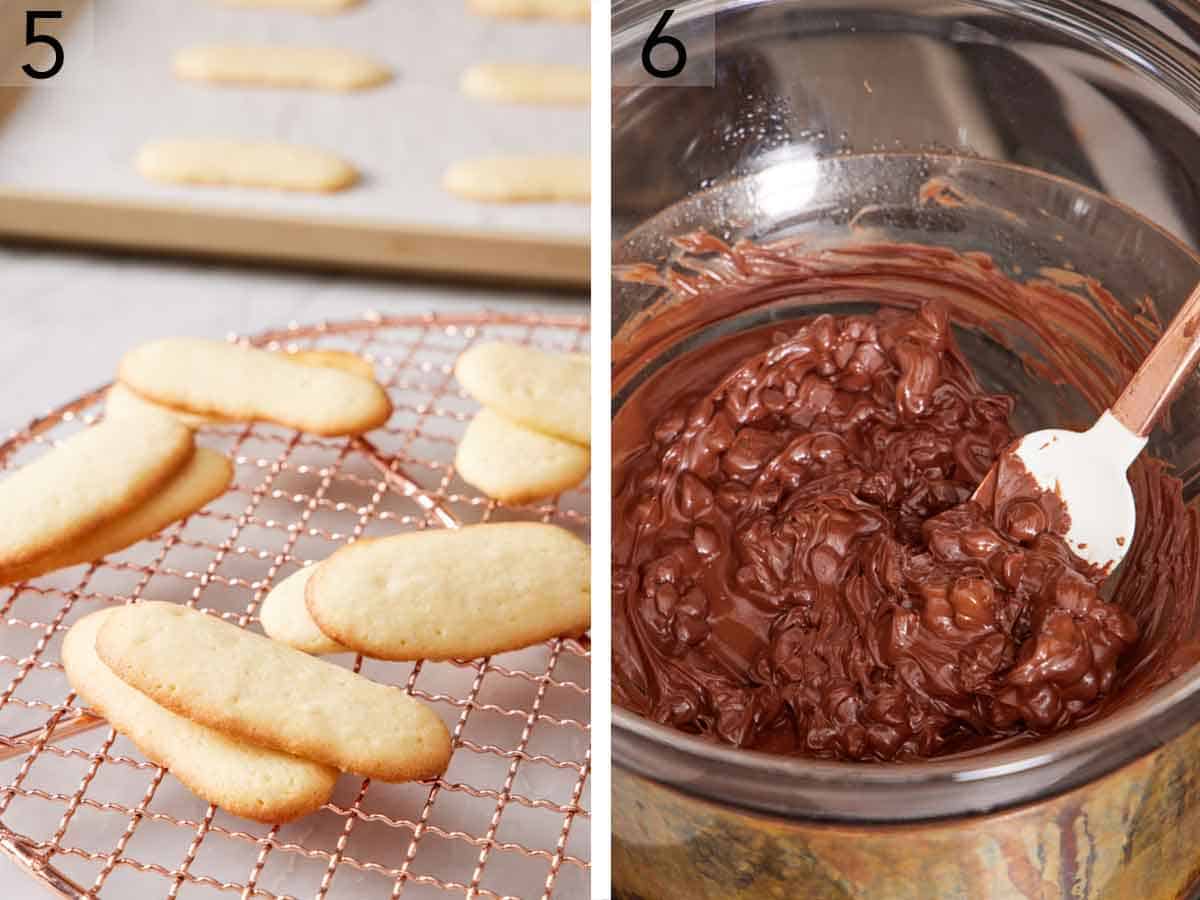
5. Match cookies that are similar in size and shape to create pairs so they sandwich together nicely.
6. Make the chocolate filling by melting the chocolate chips over a double boiler until smooth. Let the chocolate cool for about 10 minutes, stirring occasionally, until it thickens slightly so it is not too runny to spread onto the cookies.
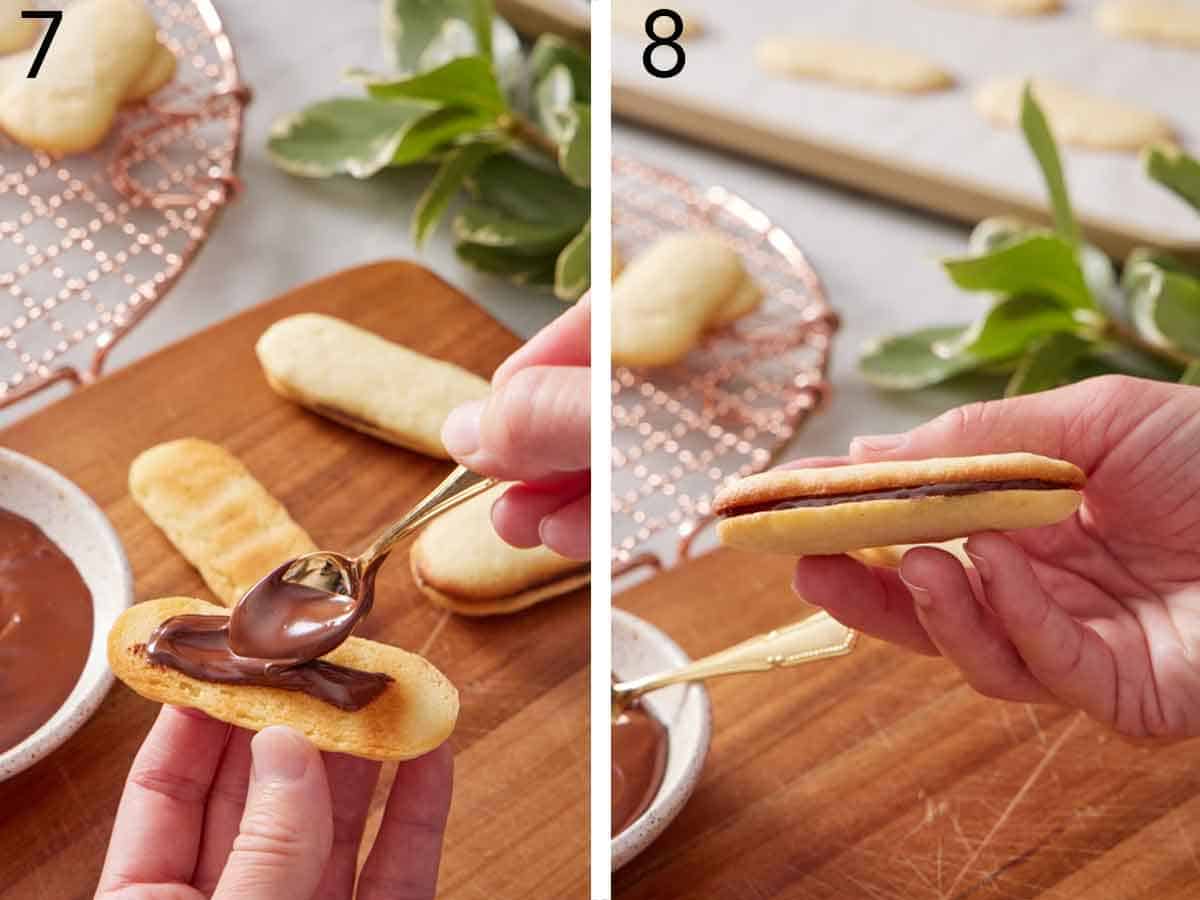
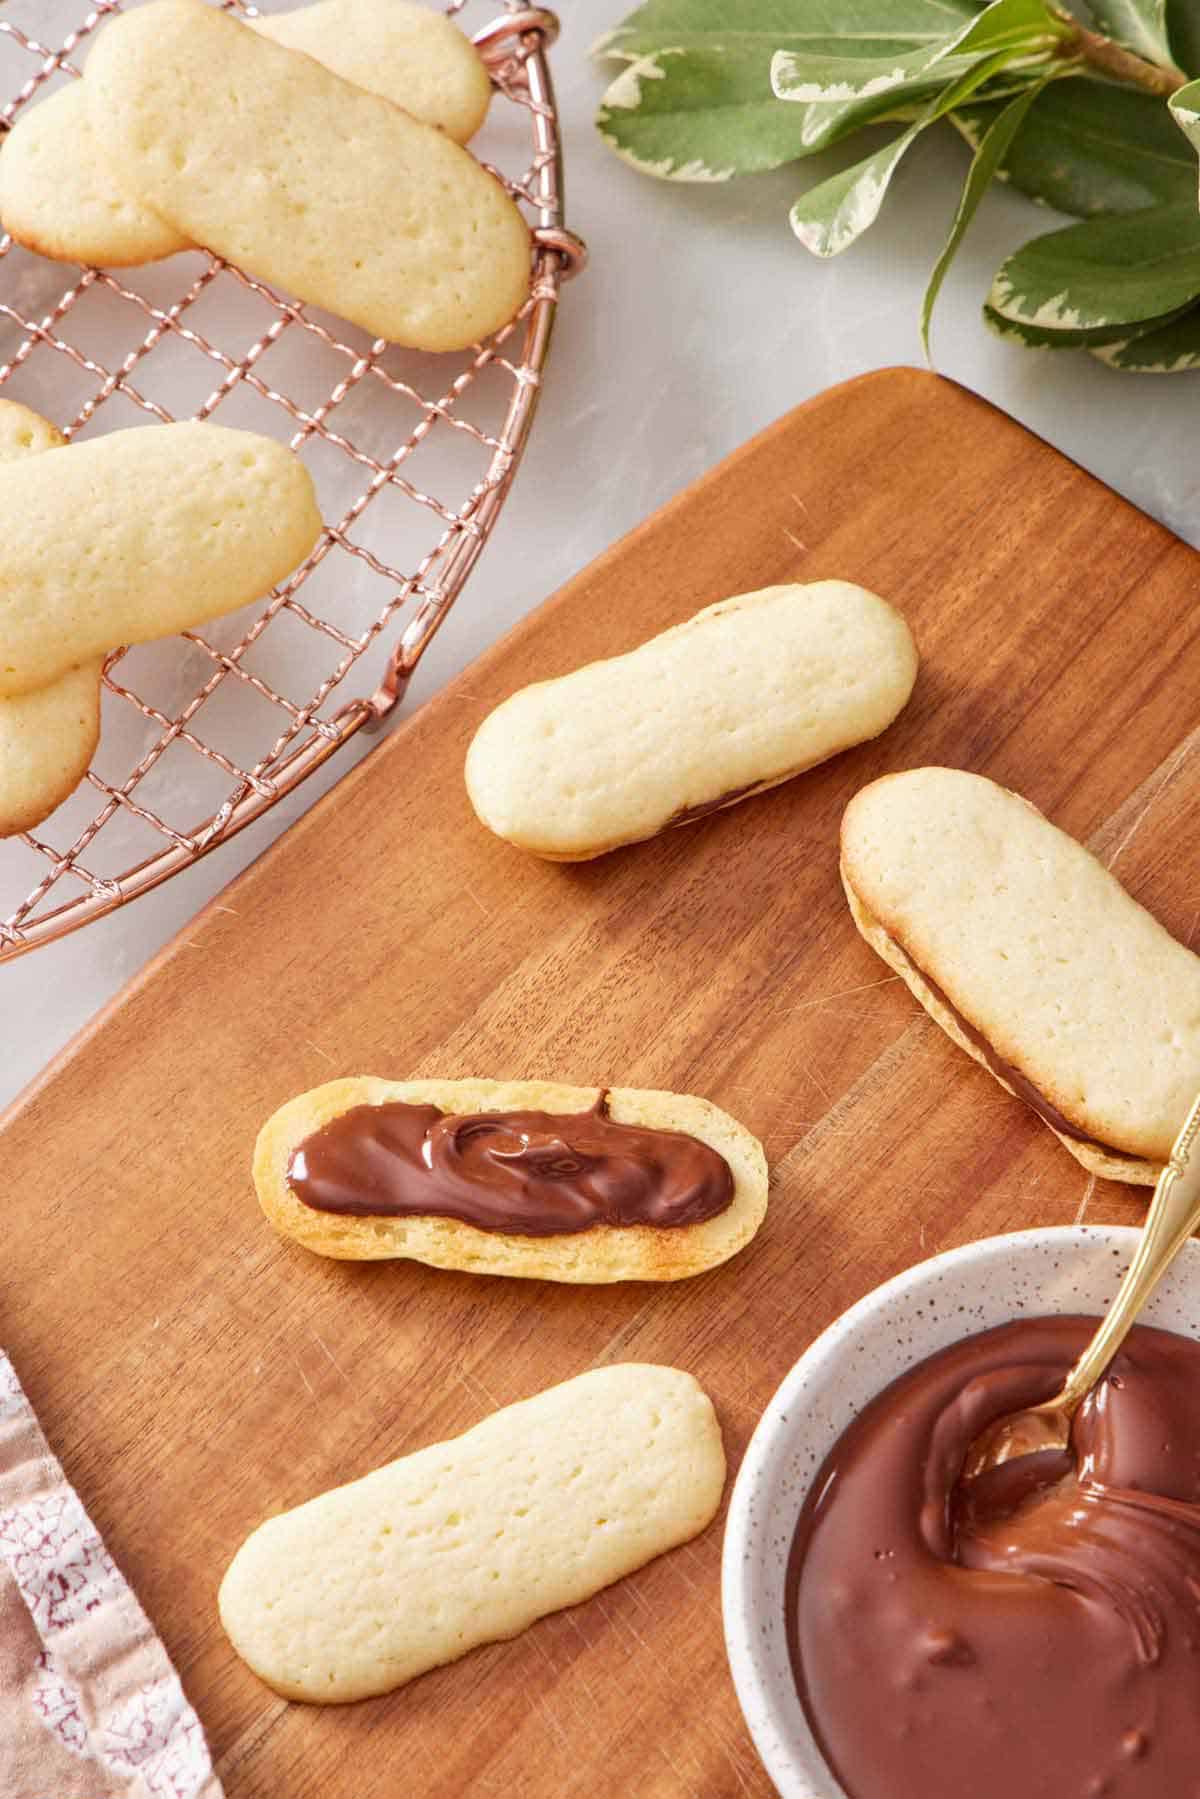
7. Spread about 1 teaspoon of the melted chocolate across the flat side of one of the cookies, reaching almost to the edges.
8. Top with the other similarly sized cookie and gently press the two together until the chocolate reaches the edges of the cookies (but does not spill over). Set the sandwich cookies aside to cool and set completely.
Use A Scale To Measure Ingredients
I can’t stress the importance of using a kitchen scale to weigh the dry ingredients for the best Milano cookies. This is especially true for flour, too much of which will yield dry, crumbly cookies instead of a buttery cookie that is crisp but tender. If you don’t have a scale, fluff the flour in its container, spoon it into the measuring cup, and level off the top with a knife.
Piping The Perfect Cookies
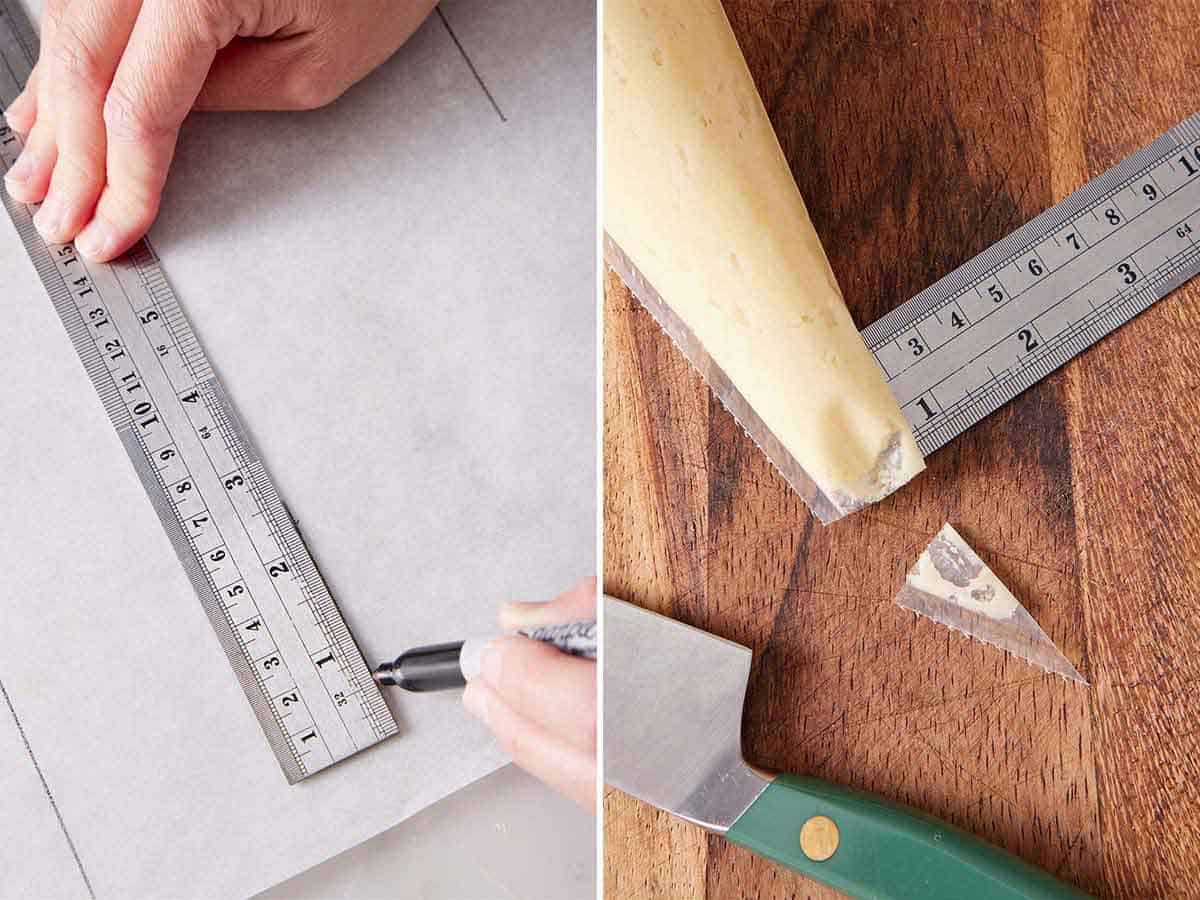
After you transfer the Milano cookie batter to a pastry bag, cut a ¾-inch wide opening off the tip of the piping bag. For accuracy, I like to lay the piping bag flat on a cutting board and measure with a ruler, then cut across the tip of the bag with a paring knife. I know it seems a bit fussy, but if the opening is any bigger, you can pipe too wide of a line, and the cookies will spread too much during baking.
For perfectly sized cookies with an oval shape, use a permanent marker or pencil to draw 2½-inch long lines on the parchment paper sheets, spacing them 3 inches apart. Then, turn the parchment paper over so that the marker side faces down. (This keeps the marker from getting in your cookies!) This step is optional, but I like making these guidelines so I know exactly how much to pipe. It’s a little extra step that is so easy and worth it for the perfect cookies!
Flavor Variations
- Peppermint Milanos: For tasty mint Milanos, add ½ teaspoon peppermint extract to the melted chocolate. For even more mint flavor, you can sprinkle finely crushed candy canes onto the chocolate filling before adding the second cookie.
- Orange Milanos: For a hint of citrus, add 1 teaspoon fresh orange zest or ½ teaspoon orange extract to the cookie dough when adding the vanilla extract. You can also stir ½ teaspoon of orange extract into the chocolate filling for more flavor.
- Use other chocolate: Instead of semi-sweet chocolate, you can melt milk chocolate, white chocolate, or even ruby chocolate to use for the filling.
How To Store
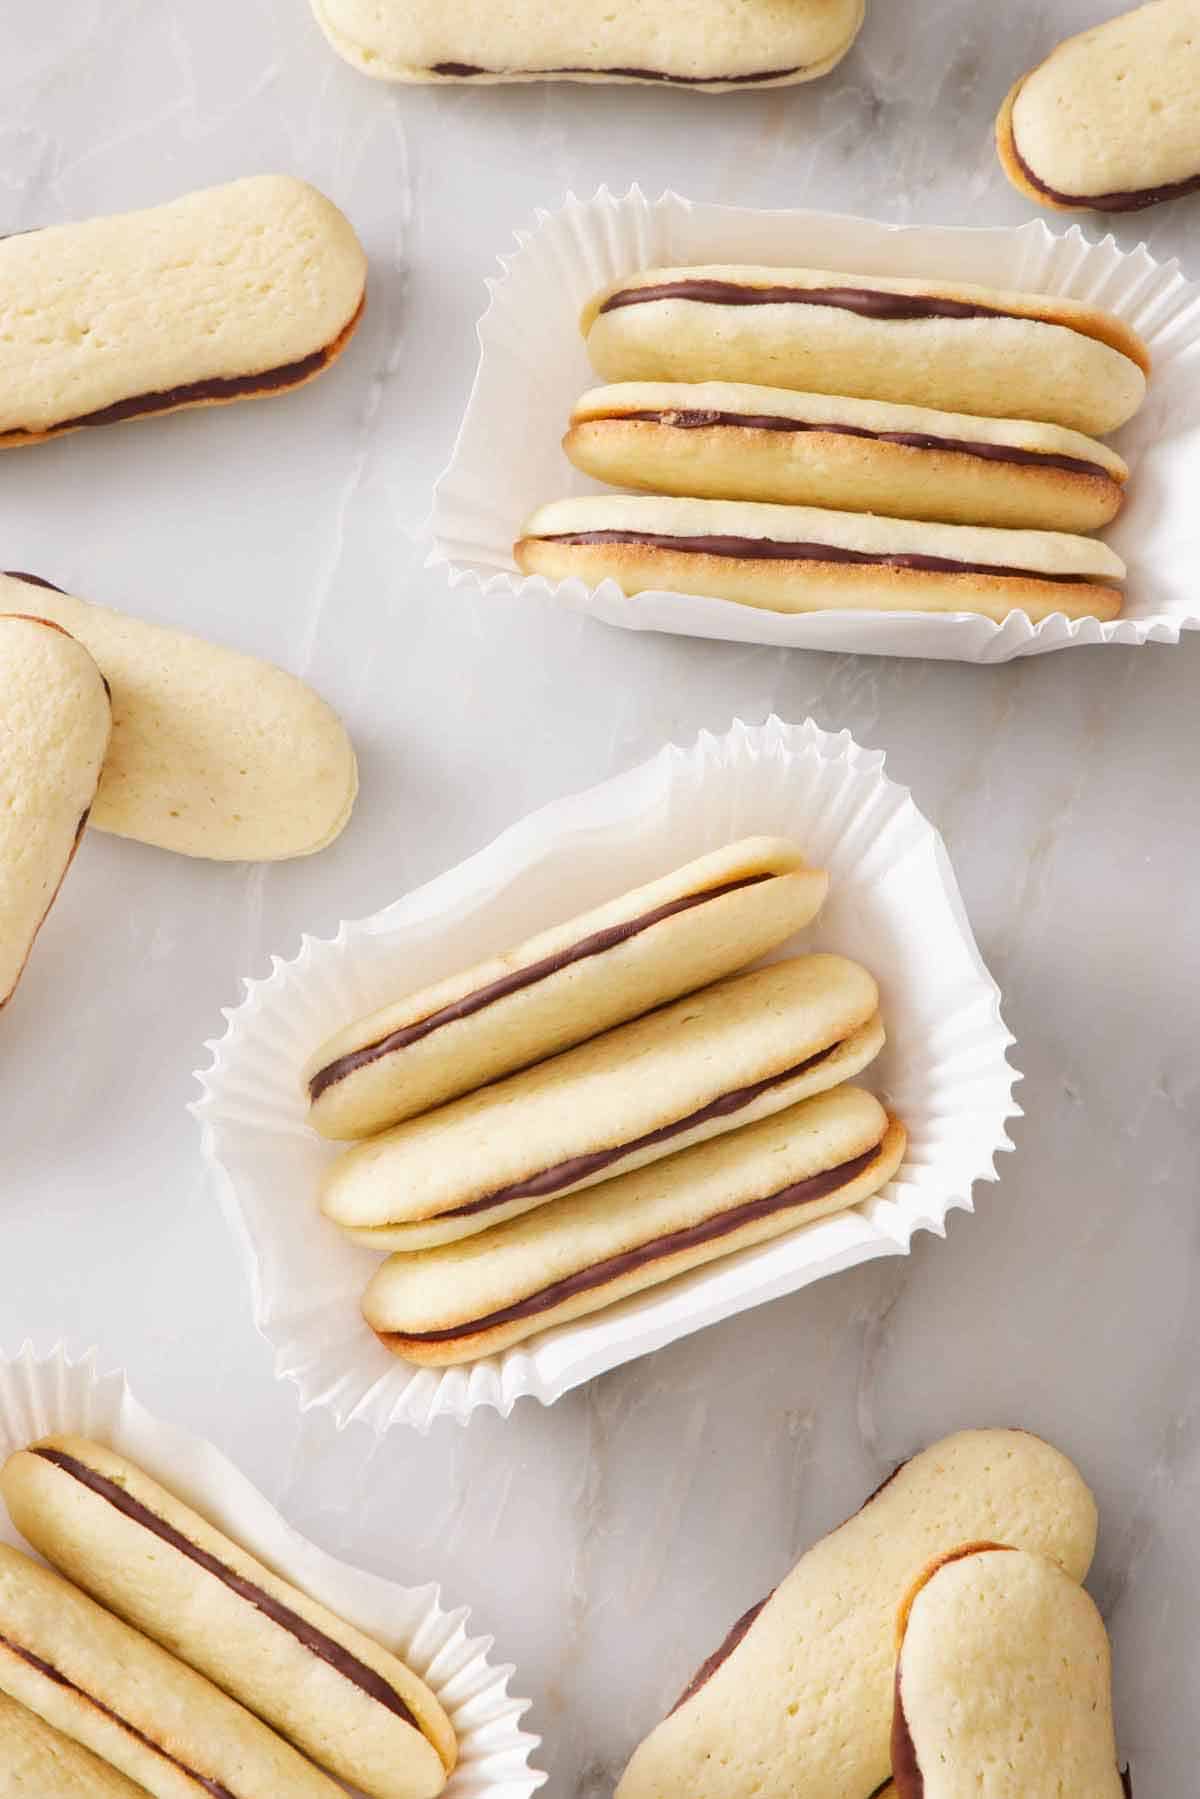
Once the chocolate has set completely, store Milano cookies in an airtight container at room temperature for up to 5 days.
Pro Tips For Making This Recipe
- Use room temperature ingredients. Make sure to set the egg, milk, and butter out in advance so they do not go into the stand mixer cold. See my tutorial for how to soften butter quickly if you forget to set it out beforehand.
- If your parchment paper slides easily on the cookie sheet, spray each baking sheet lightly with nonstick spray before laying down the parchment paper. This allows the paper to stick to the tray as you are piping the cookies.
- Test filling one cookie first. If the melted chocolate is too runny or drips down the sides of the cookies, let it cool for a few more minutes, stirring occasionally. Then try spreading it again.
- Alternative filling: You can also use chocolate ganache to fill these cookies. The ganache takes a bit longer to cool and set up once spread in the cookie, so I recommend refrigerating them to firm up.
Frequently Asked Questions
Yes! Use a 1:1 gluten-free baking mix instead of all-purpose flour. You may need to add 1 to 2 additional tablespoons of milk for a piping consistency since gluten-free flour absorbs more liquid than regular all-purpose flour.
Milano cookies are inspired by Italian-style cookies, but they are not actually Italian. Milano cookies were created by Pepperidge Farm, an American company, in the 1950s. In addition to the traditional chocolate Milano cookie, they also sell different flavors.
While you can freeze Milano cookies, they will lose most of their crisp texture when they thaw out. If you don’t mind them being a little soft, go ahead and freeze them for up to 3 months in a freezer bag or freezer-safe container.
If you’ve tried this Milano cookies recipe, then don’t forget to rate it and let me know how you got on in the comments below. I love hearing from you!

Milano Cookies Recipe
Equipment
- Stand mixer with paddle attachment or handheld electric mixer
- Double boiler
Ingredients
Cookies:
- ½ cup unsalted butter (113g), softened
- ½ cup powdered sugar (60g)
- ½ cup granulated sugar (100g)
- 1 large egg room temperature
- 1 teaspoon vanilla extract
- ½ teaspoon salt
- 1½ cups all-purpose flour (180g)
- 1 tablespoon whole milk
Chocolate filling:
- 1 cup semi-sweet chocolate chips (180g)
Instructions
- Place one oven rack in the top third of the oven and one in the bottom third. Preheat the oven to 350°F.
- In the bowl of a stand mixer fitted with a paddle attachment, combine the butter, powdered and granulated sugar. Beat on low speed for 30 seconds, just until combined. Increase the speed to medium and beat for about 3 minutes, until light and fluffy.
- Scrape down the sides and bottom of the bowl. Add the egg and vanilla extract. Beat on medium-low speed for about 1 minute. (The egg may not be fully incorporated, but the dough will smooth out once the flour is added.)
- Add the salt and then the flour in two parts, alternating with the milk. Mix on low speed between each addition, just until combined. Scrape down the sides and bottom of the bowl as needed.
- Transfer the dough to a piping bag. Cut a ¾-inch wide opening from the tip of the piping bag. (I like to lay the piping bag flat on a cutting board and measure with a ruler, then cut across the tip of the bag with a paring knife.)
- Line two large baking sheets with parchment paper. Pipe log-shaped cookies about 2½-inches long and about ¾ to 1 inch wide, leaving about 2 inches of space between each. (You should be able to fit 4 rows of 5 cookies on each sheet tray.)
- Bake the cookies for 9 to 10 minutes, rotating the trays from top to bottom rack and giving them each a 180-degree turn after 5 minutes of baking, until the tops are dry and the the bottom edges are lightly golden.
- Turn off the oven and crack the oven door open about 6 inches. Leave the cookies in the oven for 10 more minutes to help dry them out and crisp. Transfer to a cooling rack to cool completely.
- Match cookies that are similar in size and shape to create pairs.
For the Chocolate Filling:
- While the cookies are cooling, place the chocolate chips in a medium, heatproof bowl.
- Fill the base of a double-boiler or small pot with 1 inch of water. Place over medium-high heat and bring the water to a simmer. Reduce the heat to medium-low and place the bowl of chocolate chips over the top, ensuring that the bottom of the bowl does not touch the water.
- Cook for 4 to 6 minutes, stirring occasionally, until the chocolate is fully melted and smooth. Remove the bowl from the heat.
- Let the chocolate cool for about 10 minutes, stirring occasionally, until it thickens slightly.
- Spread about 1 teaspoon of the melted chocolate across the bottom of one of the cookies, reaching almost to the edges. Top with its similarly sized cookie and gently press the two together until the chocolate reaches the edges (but does not spill over). If the chocolate is too runny or drips down the sides, let it cool for a few more minutes, stirring occasionally, then try spreading it again.
- Set aside the cookies to cool completely. Repeat with the remaining pairs of cookies.
- Let the chocolate cool and set completely (You can refrigerate the cookies to speed this up).
Notes
- Use room temperature ingredients. Make sure to set the egg, milk, and butter out in advance so they do not go into the stand mixer cold. See my tutorial for how to soften butter quickly if you forget to set it out beforehand.
- If your parchment paper slides easily on the cookie sheet, spray each baking sheet lightly with nonstick spray before laying down the parchment paper. This allows the paper to stick to the tray as you are piping the cookies.
- Test filling one cookie first. If the melted chocolate is too runny or drips down the sides of the cookies, let it cool for a few more minutes, stirring occasionally. Then try spreading it again.
- Alternative filling: You can also use chocolate ganache to fill these cookies. The ganache takes a bit longer to cool and set up once spread in the cookie, so I recommend refrigerating them to firm up.









Leave a Reply