
This post may contain affiliate links. Please read our disclosure policy.
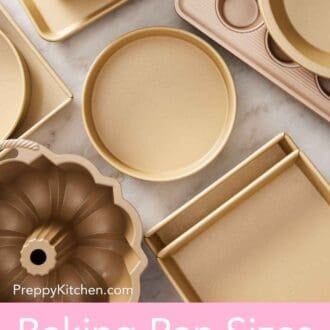
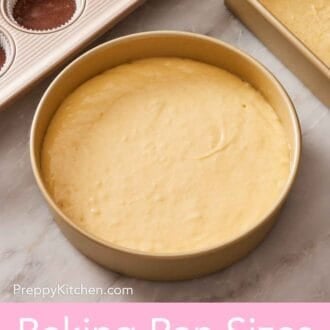
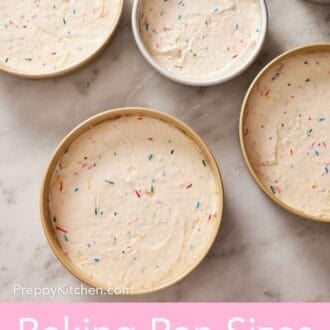

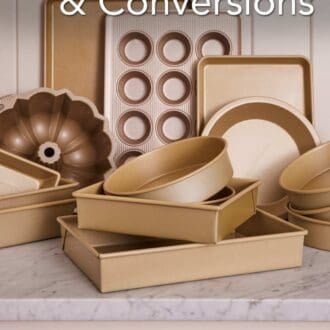
My comprehensive guide to baking pan sizes and conversion will teach you all about the surface area, volume, and depth of the most common baking pans. Plus, learn how to convert recipes to different pans!
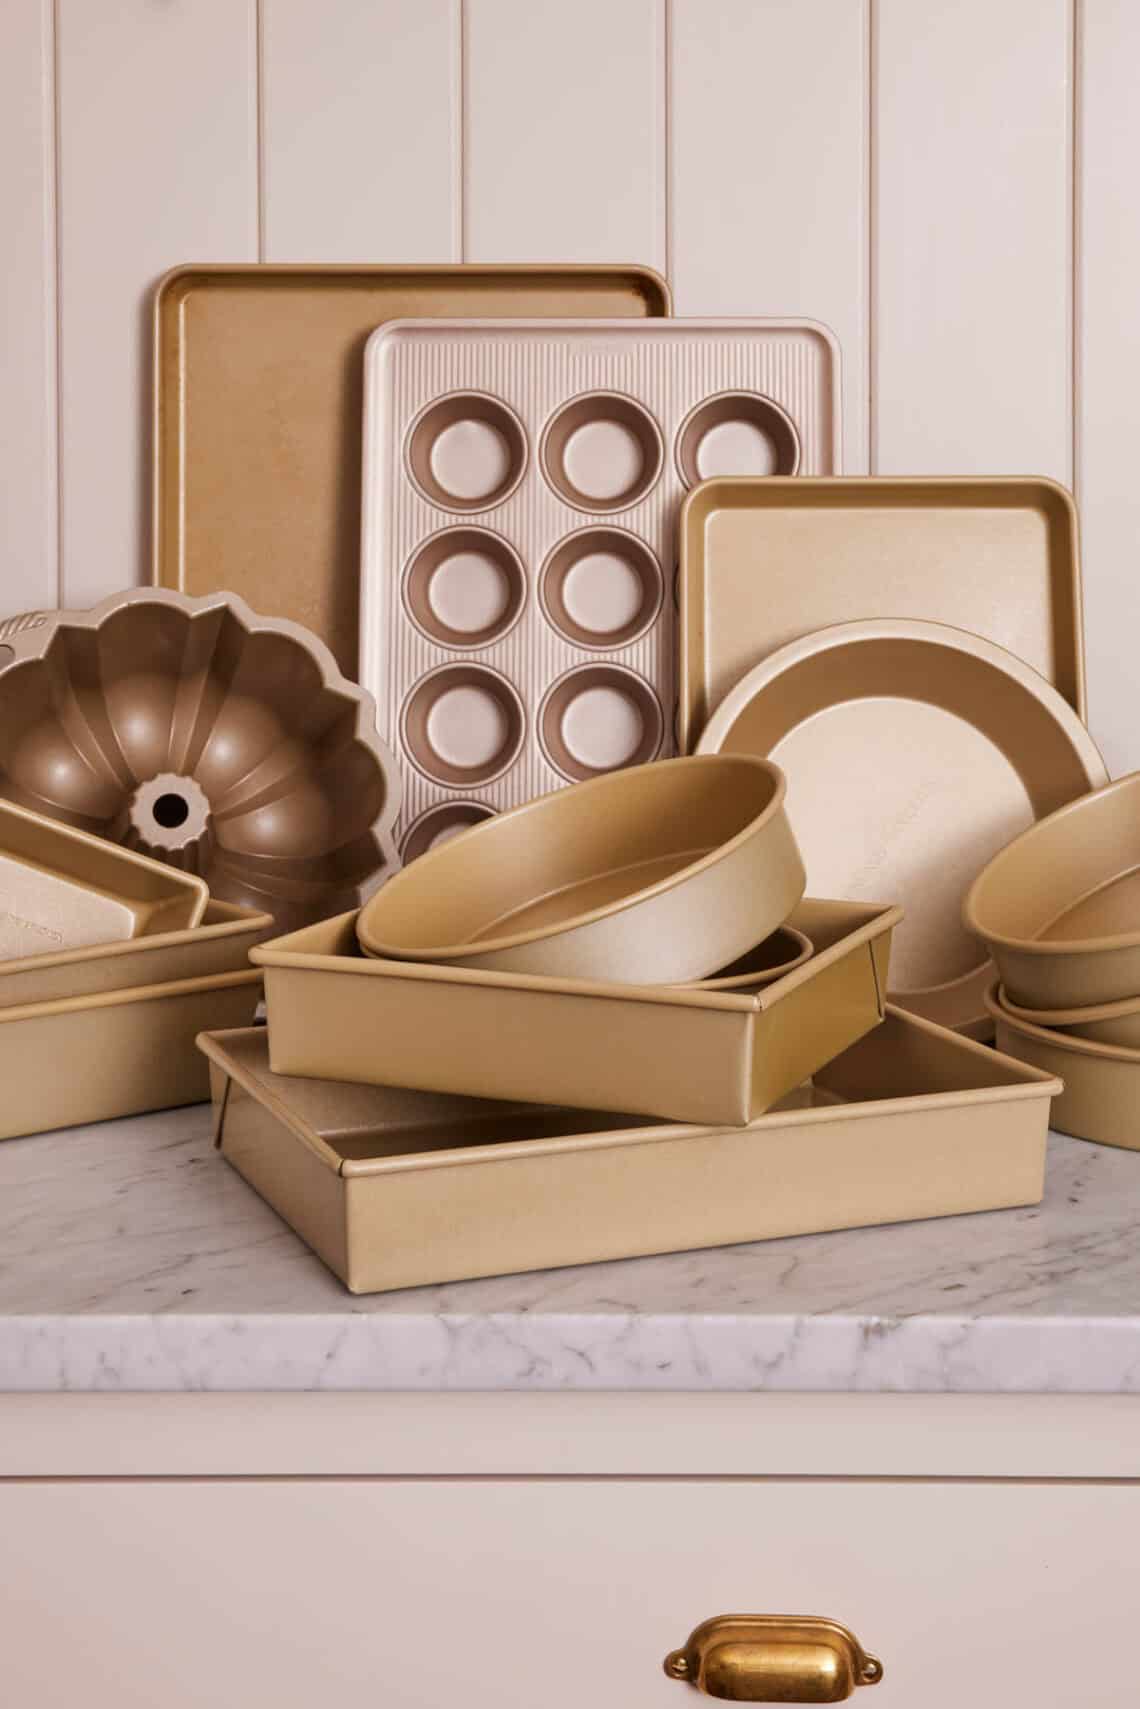
The question I get most often from readers (by a wide margin) is some version of “the recipe calls for X pan, can I use Y pan instead?” The answer is almost always yes, you can swap. But it’s not always as simple as putting the batter in a different pan—there is a small amount of math you have to do first, because the volume difference between two pans that look almost identical can be enormous.
I taught math and science before I baked for a living, and this knowledge comes in handy all the time when it comes to calculating volumes for baking pans. This guide teaches you the conversion process I actually use in my kitchen, and has charts for all of the most common baking pans with total volume and how much batter you can fit in each one. Conversions come down to a basic formula in 3 simple steps—once you know it, you can swap pans without ruining a cake ever again!
“This has been a game-changer for my cake baking! I have a chocolate cake recipe that my kids have requested as cupcakes, but I never felt confident in switching the pan. After I read this I gave it a try and they turned out perfectly!”
Jackie
The 4 Measurements You Need
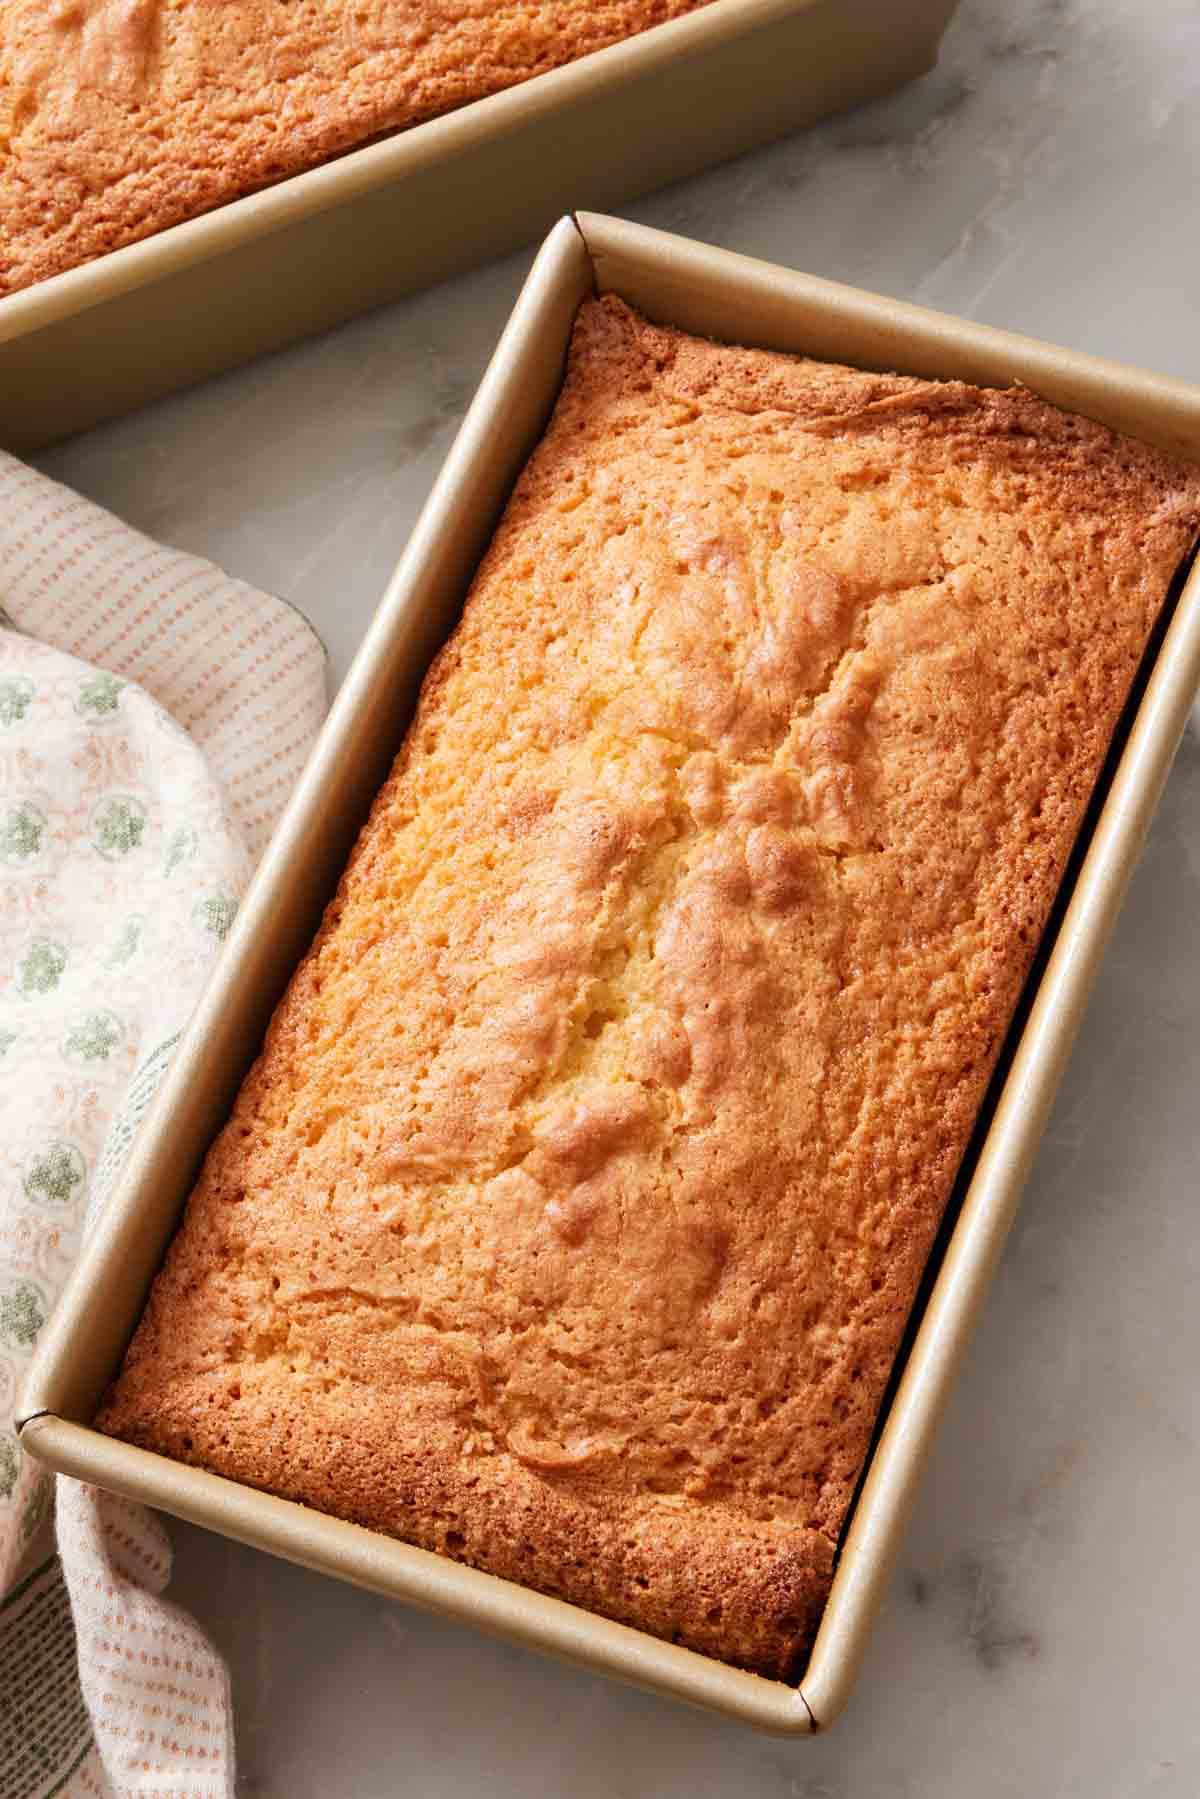
Every cake pan has three measurements that matter for conversions and one to keep in mind when filling the pan. Once you know these, you’ll be able to convert your recipes to all kinds of cake pans, turning sheet cakes into cupcakes, or loaf cakes into Bundts!
1. Surface Area (the bottom of the pan)
The surface area is how much floor the pan has (aka how big the bottom of the pan is). This helps you calculate the cubic inches to find the total volume of a pan. The surface area is also what determines how much the batter spreads between different pan sizes, which can affect bake time.
2. Volume (how much batter the pan holds)
There are two volumes to know—the total volume of the pan and how many cups of batter the pan can hold before it overflows in the oven. These volumes are the key determining factor to know if your recipe will fit in a certain cake pan, or how you need to divide the batter among multiple pans.
3. Depth (how tall the pan walls are)
Depth matters more than people think. Tall or shorter sides affect the overall volume of the pan, which can mean one pan holds several cups more or less than another. When recipes call for a specific pan, the depth is part of the spec.
4. The Two-Thirds Rule
You don’t fill cake pans all the way to the top—you fill them half to two-thirds full. The remaining third is room for the cake batter to rise. If a recipe makes 6 cups of batter and you pour it into an 8-cup pan, you’ve filled the pan 75%. This may work for some recipes, but it can easily overflow for others that rise significantly in volume during baking. I break down these differences in the charts below.
Volume Chart for Every Common Pan
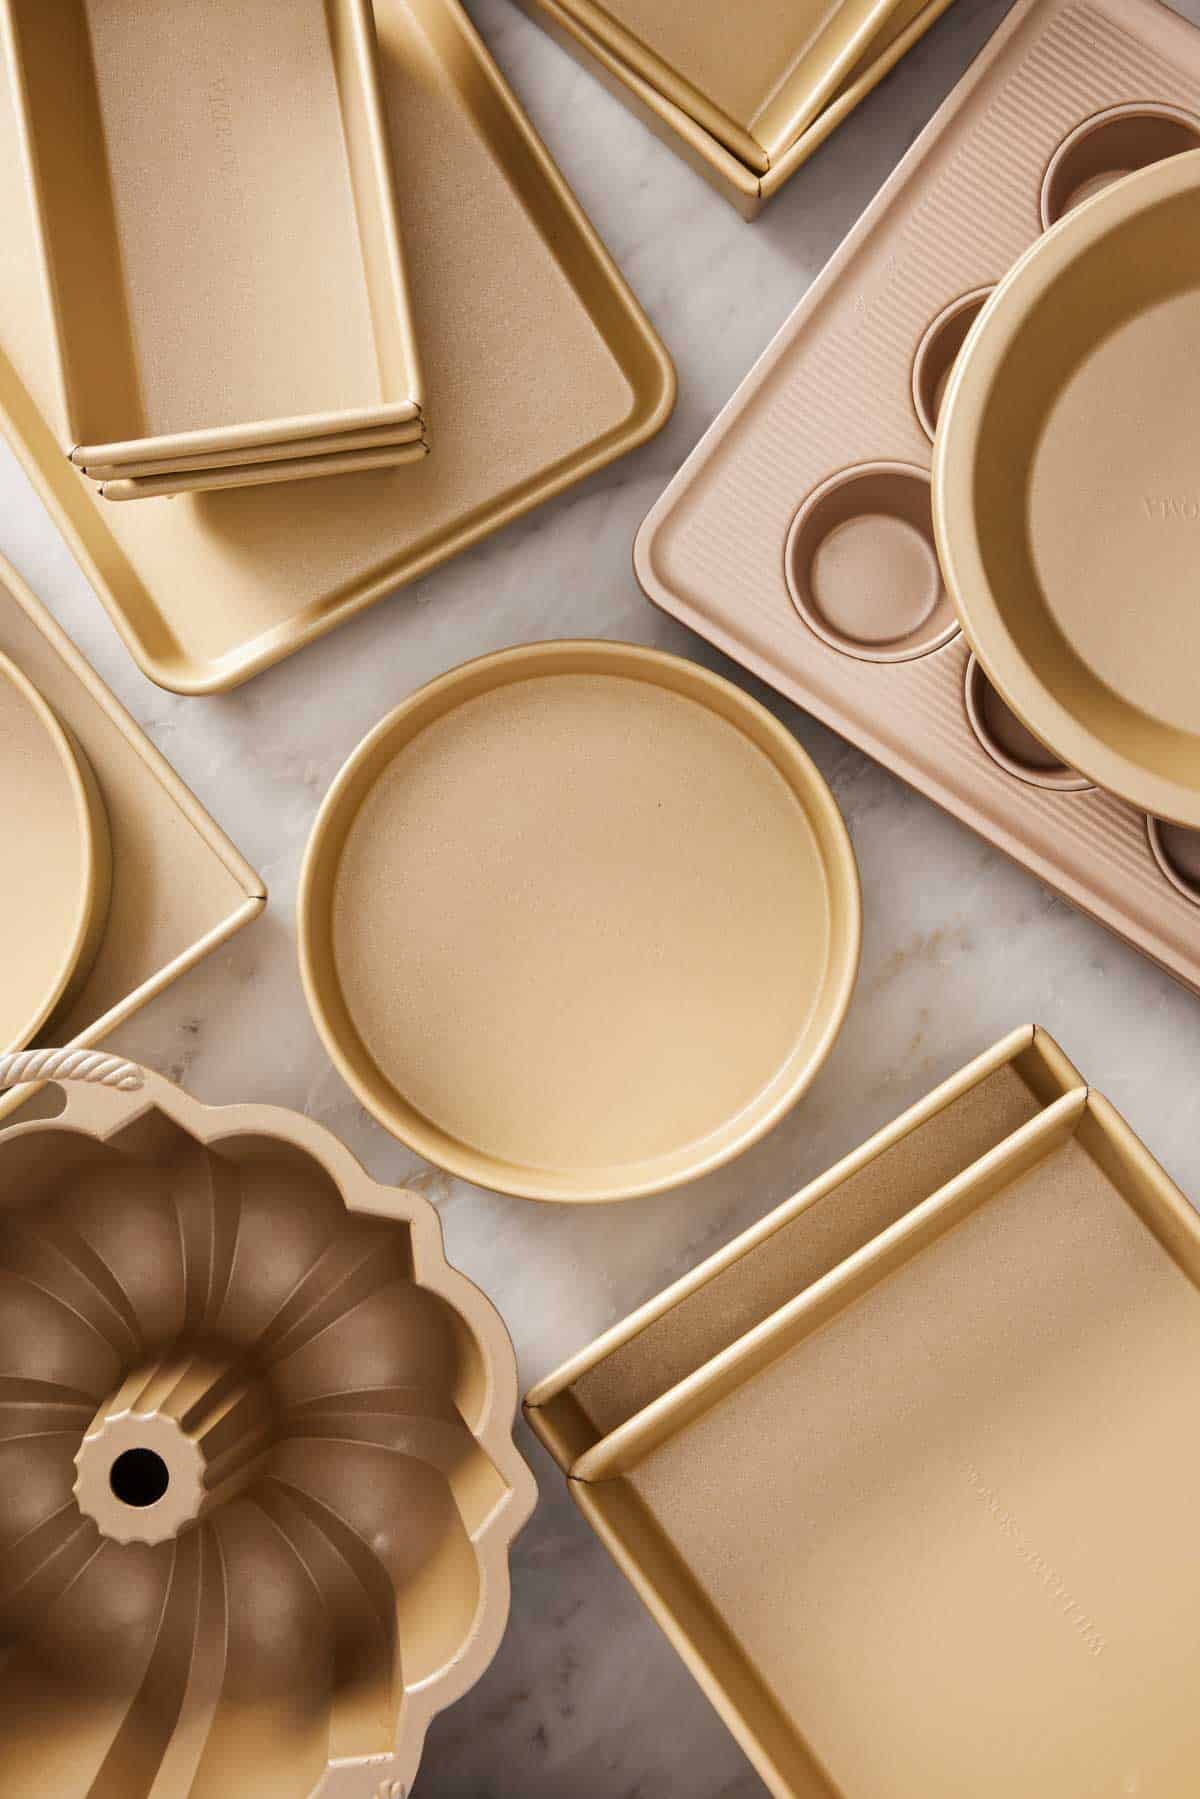
This is your comprehensive resource for the sizes and volumes of all of the common baking and cake pans!
The Total Volume listed is the full capacity (filled to the rim). For actual baking, you need to know the maximum amount of batter you can add to a pan without it overflowing. The Max Batter Volume is two-thirds of the total volume of each pan. Unfortunately, many pan size guides out there list the total volume and say that is how much batter can fit in your pan—this is wrong! The batter needs room to expand, so do not fill it more than two-thirds, unless your recipe specifically says it’s okay.
To calculate metric volume conversions, 1 cup = 240ml.
Round Cake Pans
This chart is for standard round cake pans that are 2 inches deep with straight sides.
| Baking Pan Size | Total Volume (& Surface Area) | Max Batter Volume |
|---|---|---|
| 6″ round | 4 cups (28 sq in) | 2⅔ cups |
| 8″ round | 6 cups (50 sq in) | 4 cups |
| 9″ round | 8 cups (64 sq in) | 5¼ cups |
| 10″ round | 11 cups (78 sq in) | 7¼ cups |
Square and Rectangular Pans
This chart is for standard square and rectangular cake and baking pans that are 2 inches deep with straight sides.
| Baking Pan Size | Total Volume (& Surface Area) | Max Batter Volume |
| 8″ square | 8 cups (64 sq in) | 5¼ cups |
| 9″ square | 10 cups (81 sq in) | 6⅔ cups |
| 10″ square | 12 cups (100 sq in) | 8 cups |
| 11×7-inch cake pan | 10 cups (77 sq in) | 6⅔ cups |
| 9×13-inch cake pan | 14 cups (117 sq in) | 9¼ cups |
Loaf Pans
Loaf pans trick readers the most. An 8×4-inch vs. a 9×5-inch pan looks nearly identical, but the 9×5 actually holds twice the batter. Make sure you measure your loaf pan, and reference the recipe’s notes or this chart to convert to a different size before baking. If you don’t want to change the recipe, but your loaf pan is smaller, use the two-thirds rule or max batter volume, and bake off the additional batter in a muffin pan.
| Baking Pan Size | Total Volume (& Surface Area) | Max Batter Volume |
| 3×5” mini loaf pans(2.25” deep) | 2⅓ cups (15 sq in) | 1½ cups |
| 8×4″ loaf pan (3” deep) | 4 cups (32 sq in) | 2⅔ cups |
| 8.5×4.5″ loaf pan (1-pound; 2.75” deep) | 6 cups (38 sq in) | 4 cups |
| 9×5″ loaf pan (1¼-pounds; 2.75” deep) | 8 cups (45 sq in) | 5¼ cups |
Cupcake/Muffin Tins
These are the volumes for muffin pan wells without liners. With liners added, the amount of batter can increase or decrease slightly, depending on the style of the liner.
| Baking Pan Size | Total Volume | Max Batter Volume |
| Mini muffin pan (wells = 1″ deep) | about 2 tablespoons | 1 tablespoon + 1 teaspoon |
| Standard muffin pan (wells = 1.5″ deep) | about ⅓ cup | ¼ cup |
| Jumbo muffin pan (wells = 1.75″ deep) | about 1 cup | ⅔ cup |
Specialty Pans
Measure your pans to be certain you know the size of each style. Bundt pans are difficult to calculate volume with a math formula since they have intricate designs. Make note of the volume given on the package if you are buying a new one, or use the water method below, to determine your pan’s exact volume.
| Baking Pan Size | Total Volume (& Surface Area) | Max Batter Volume |
| 8″ springform pan (2.5″ deep) | 8¾ cups (50 sq in) | 5¾ cups |
| 9″ springform pan (2.5″ deep) | 10 cups (64 sq in) | 6⅔ cups |
| 9″ springform pan (3″ deep) | 12 cups (64 sq in) | 8 cups |
| 10″ springform pan (2.5″ deep) | 12 cups (78 sq in) | 8 cups |
| 10″ springform pan (3″ deep) | 16 cups (78 sq in) | 10½ cups |
| 10″ Bundt pan (shorter sides) | 10-12 cups; varies by design | 6⅔-8 cups |
| 10” Bundt pan (taller sides) | 16 cups | 10½ cups |
| Angel Food Cake Pan (10” diameter, 4.4″ deep) | 18 cups | 12 cups |
| 9″ tube pan (3″ deep) | 12 cups | 8 cups |
| 10” tube pan (4” deep) | 16 cups | 10½ cups |
| 10×15″ jelly roll pan (1″ deep) | 10 cups (150 sq in) | 6⅔ cups |
| Quarter sheet pan (roughly 9×13″ and 1″ deep) | 8 cups (117 sq in) | 5¼ cups |
| Half sheet pan (12.5×17.5” or 13×18″ and 1″ deep) | 15-16 cups (218-234 sq in) | 10-10½ cups |
How To Find The Volume of Your Pan
The chart above covers the most common pans. But if you have an oddly-sized pan—an oval casserole dish, a vintage Bundt, an irregularly shaped ceramic dish—here’s how to calculate the volume yourself.
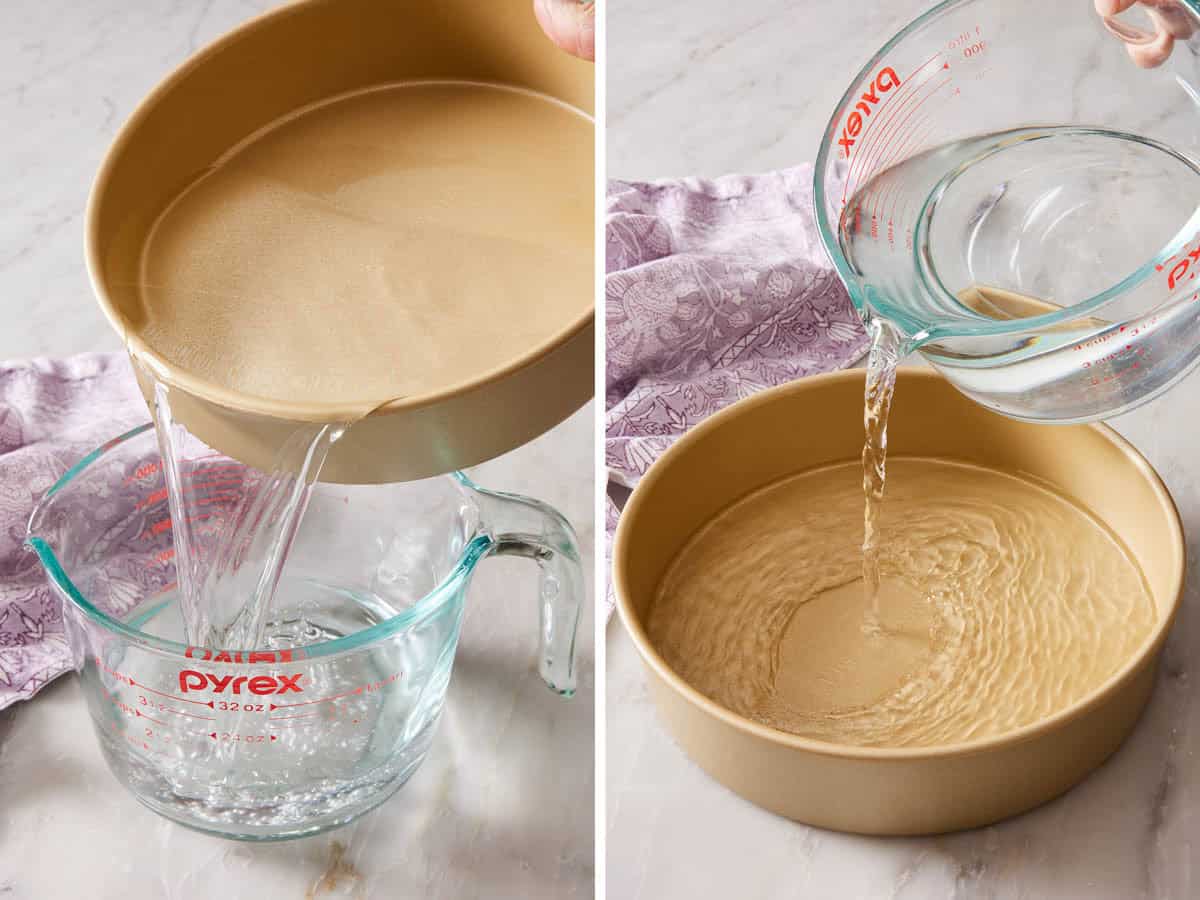
The Easy Method: Use Water
This method allows you to skip all the math! It’s also ideal for pans that are irregular in shape, like Bundt pans.
To find the volume: Set the pan on the counter, get a 1-cup measuring cup, and pour water in one cup at a time, counting until the pan is full. Whatever number you stop at is the pan’s volume. Or, fill the pan to the very top with water, then pour the water into a large bowl with measurement markings. Both methods work! I do this any time I get a new pan, and I write the cup capacity on the bottom of the pan in permanent marker. It takes 30 seconds and is endlessly valuable for converting recipes.
The Math Method: Calculating Pan Volume Yourself
Step 1: Calculate the Surface Area
Choose the formula for the type of pan you are calculating:
- For a square or rectangle: Length × Width. A 9×13 pan: 9 x 13 = 117 square inches. A 9-inch square pan is 9 x 9 = 81.
- For a circle: π x r². (The radius is half the diameter.) For a 9-inch round pan, the radius is 4.5. So 4.5 x 4.5 x 3.14 = 63.6 square inches (we round up to 64).
- For an oval: Half-length x Half-width x π. An 8×12 oval pan: 4 x 6 x 3.14 = 75 square inches.
Step 2: Multiply by Pan Depth
Once you have the surface area:
- Surface area × depth = total volume in cubic inches. For a 9-inch round pan that’s 2 inches deep: 64 x 2 = 128 cubic inches.
Step 3: Convert Cubic Inches to Cups
There are roughly 14.4 cubic inches per cup.
- Cubic inches ÷ 14.4 = total volume. For a 9-inch round pan, that’s 128 ÷ 14.4 = 8.889 cups of total volume.
How To Calculate Pan Size Conversions
Once you know the volumes (or surface areas) of the pan you have and the original pan the recipe calls for, you can divide them to find out how you need to adjust the recipe.
- If your pan is larger than the original recipe pan: divide your pan’s volume by the recipe pan’s volume to get a multiplier above 1.0. Multiply every ingredient by that number.
- If your pan is smaller than the recipe pan: divide your pan’s volume by the original recipe pan’s volume to get a multiplier below 1.0. Multiply every ingredient by that number.
Example: A recipe calls for an 8×8 square pan (volume = 8 cups). You have a 9×13 (volume = 14 cups). 14 ÷ 8 = 1.75. (This means you need to increase the original recipe by an additional 75%.) Multiply every ingredient by 1.75. Or, if you don’t want to fuss with partial eggs and quarter-cup measurements, simply do 1.5x the recipe and accept that the cake will be slightly thinner than the original. I do this all the time—it’s almost never worth trying to use half of an egg if 1.5x gets you close enough with whole ingredients.
Tested Pan Swaps (No Math Required)
These are the swaps that match volumes closely enough that you can use them without changing the recipe. I’ve tested every one of these in my kitchen over the years!
One 8-inch square = One 9-inch round. Both pans have the same volume, so the bake time is identical between them. This is the reliable swap I use most often in baking!
One 9-inch square = One 10-inch round = One 11×7-inch rectangle. All are right around the same volume. The bake time will be slightly lower for a 10-inch round since it has a greater surface area than the other two.
One 9×13-inch rectangle = Two 9-inch rounds. The two rounds will bake about 5 minutes faster than the 9×13, but they are close enough not to mess with converting volumes between the two. This is the standard swap for turning a sheet cake recipe into a layer cake. Depending on the recipe, you may be able to fit three 9-inch rounds in a 9×13 sheet cake pan.
One 9×13-inch rectangle = Two 8-inch squares. The volumes are slightly different, but not enough to worry about converting. The bake time may be slightly less if you are converting a 9×13 to two square pans since the surface area is greater.
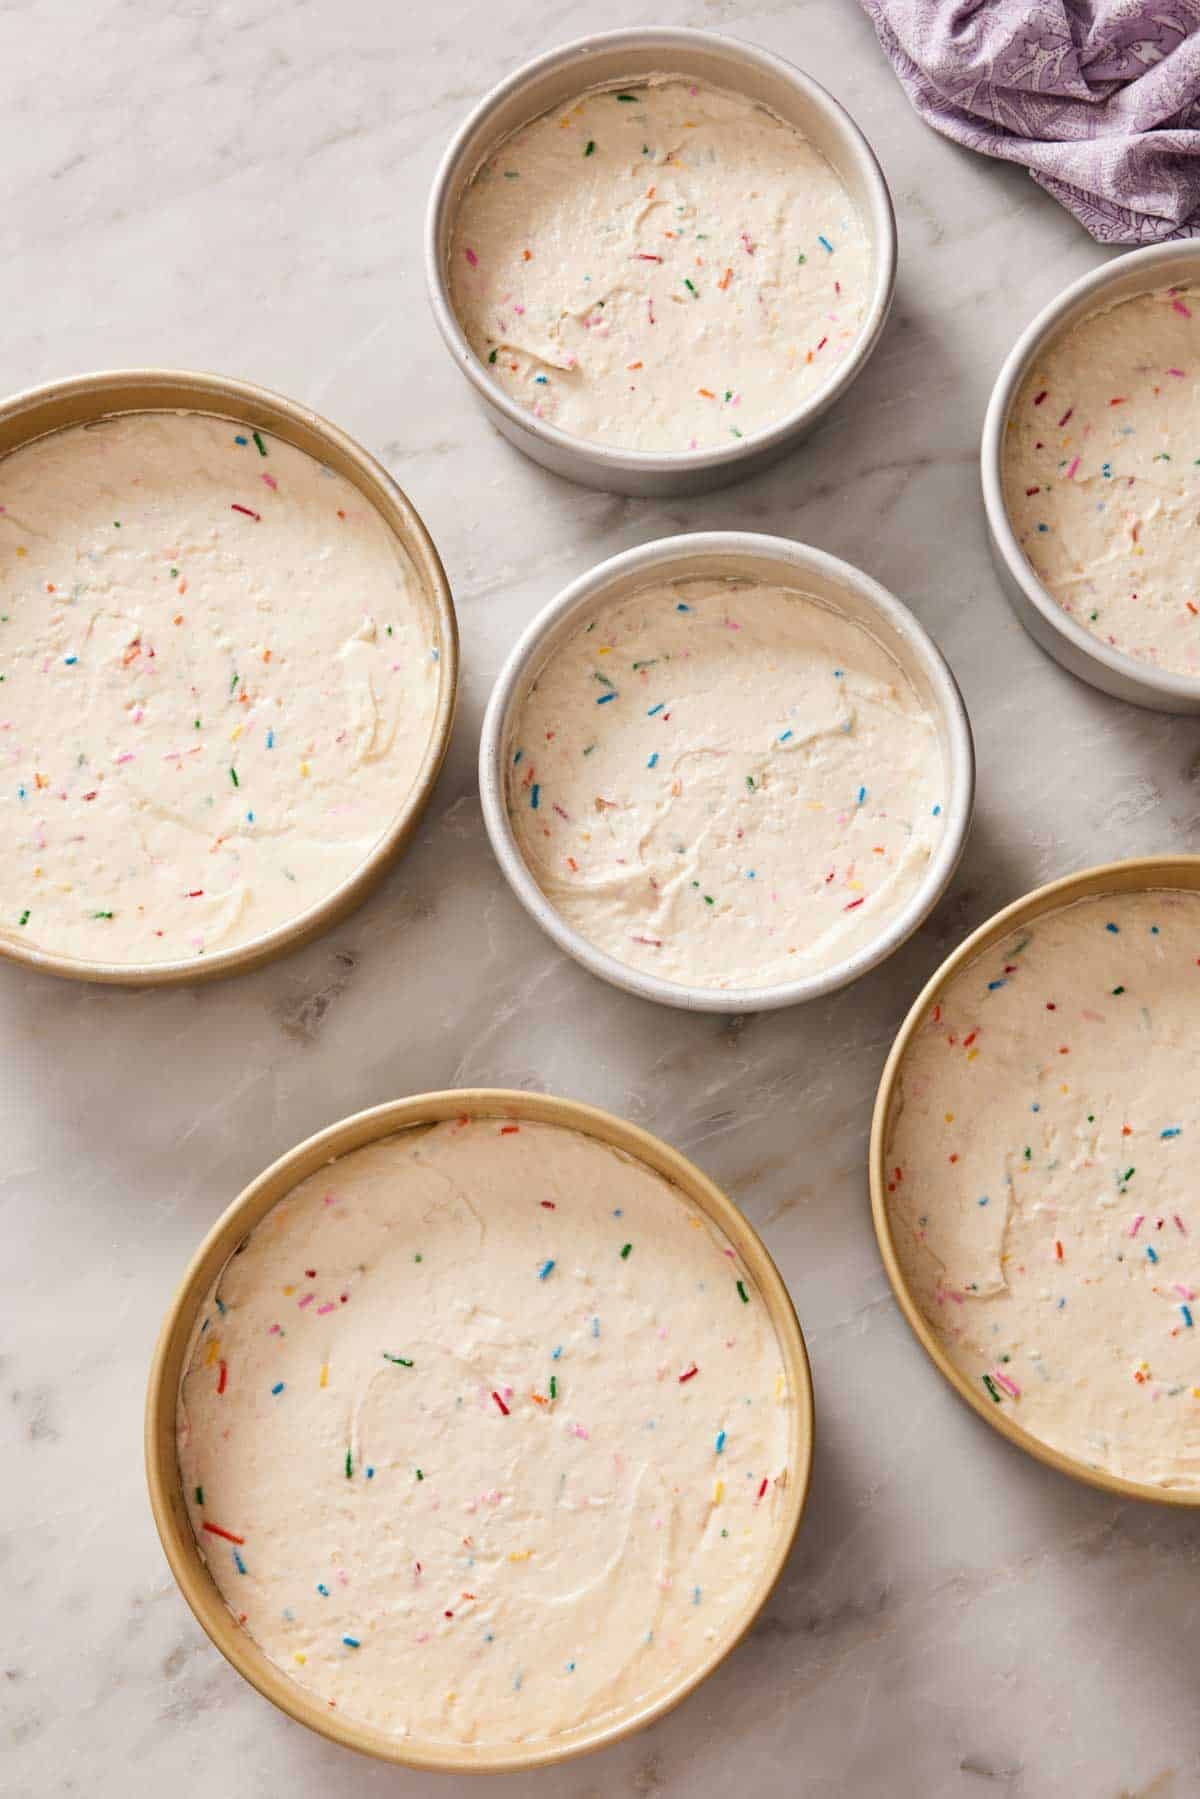
One 8-inch or 9-inch round = Two 6-inch rounds. This is an easy way to convert a larger layer cake into a smaller one! The max batter volumes for each are roughly the same, so the bake times will be similar, but keep an eye on them in the oven.
One 9-inch round = Two 8×4-inch loaves. If converting from a round pan to loaf pans, keep in mind the bake time will be longer because the batter is deeper.
One 9-inch round = One 9×5 loaf pan. The loaf is deeper and narrower than the round pan, so the bake time will be substantially longer. Add 15-20 minutes to the original bake time and then start checking it.
One 10- to 12-cup Bundt = Two loaf pans. The size of the loaf pan can vary based on the amount of batter in the bundt, but usually, you can use either an 8.5×4.5 or a 9×5 loaf pan. The bake times will be about the same since all of them have a similar batter depth.
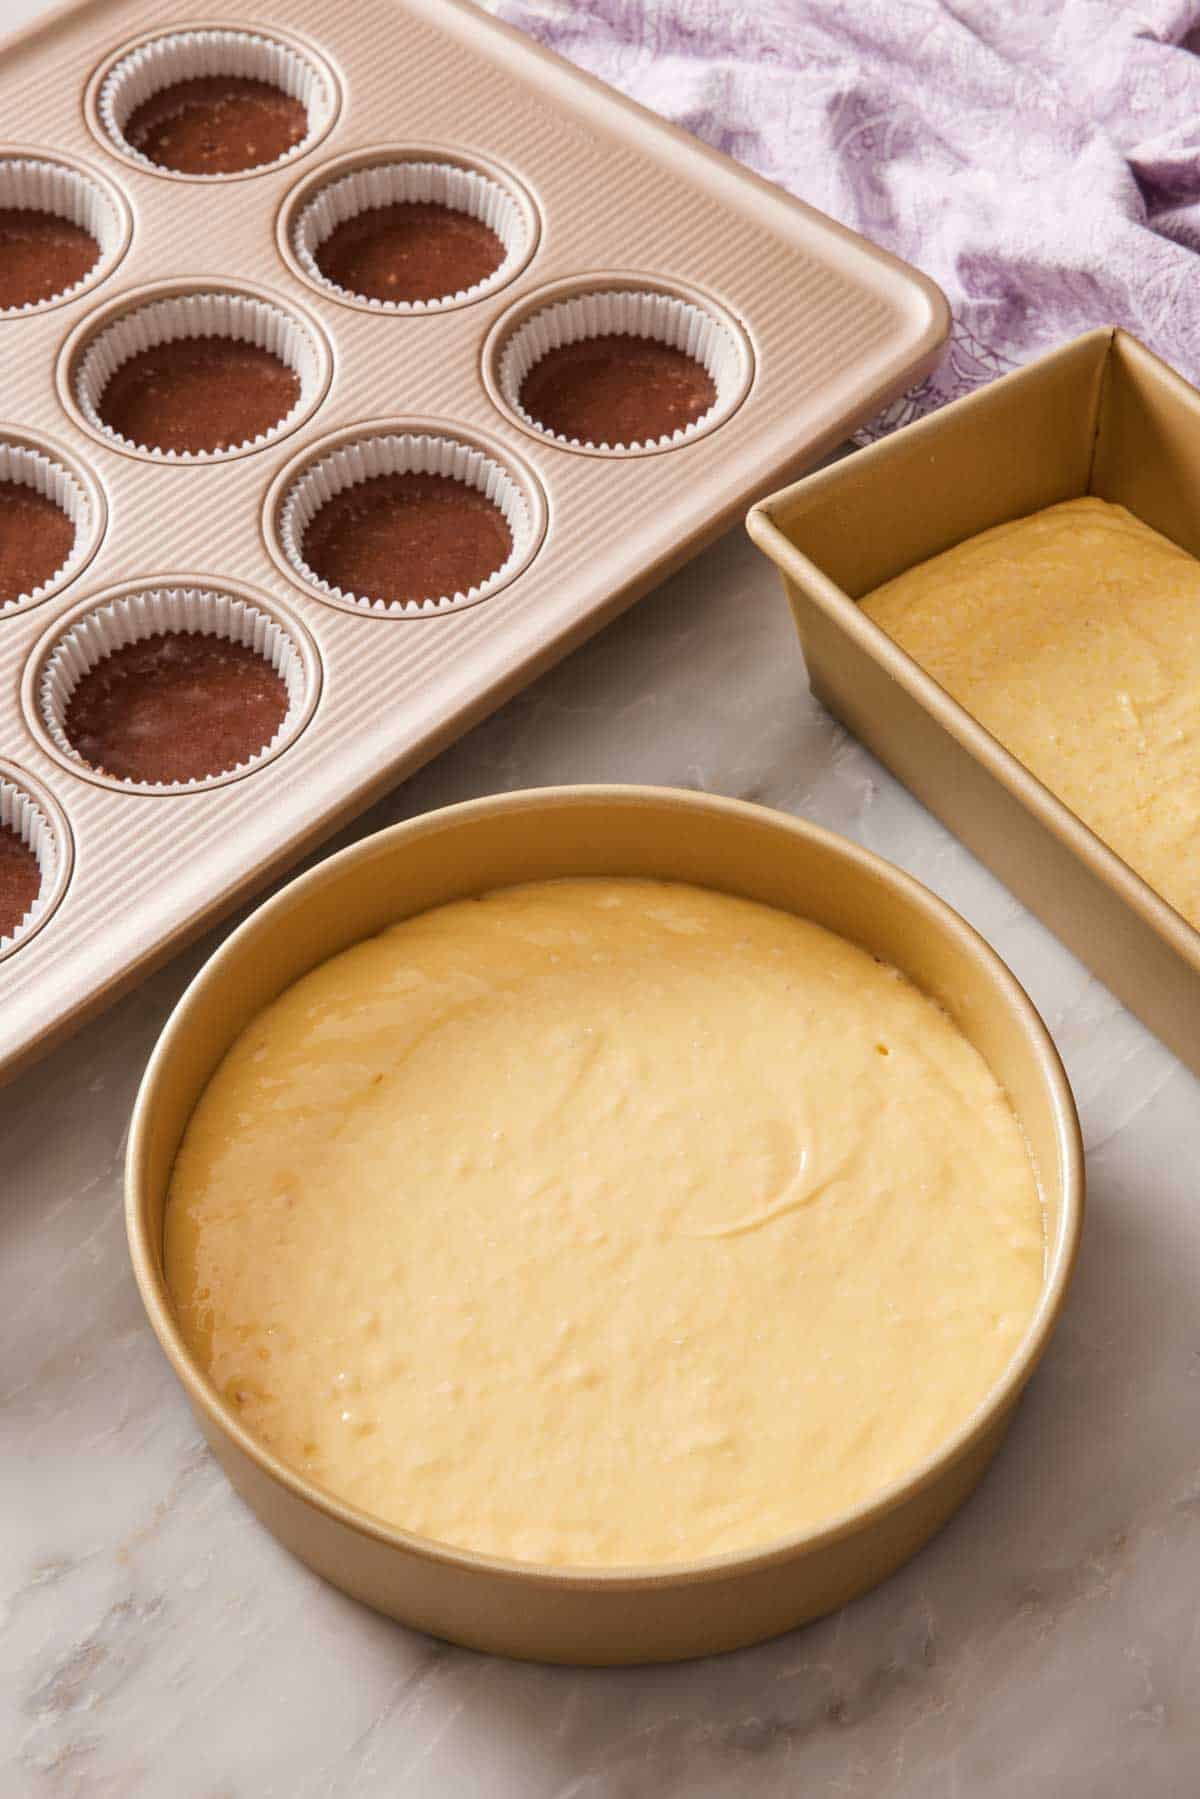
Cupcakes ↔ 9×13 sheet cake. A sheet cake recipe can make anywhere from 24 to 48 cupcakes, depending on the amount of batter in the pan. If you want to turn cupcakes into a sheet cake, make sure it yields at least 18 cupcakes (for a thin cake) or double it. If the recipe makes 12 cupcakes, I would at least double it, but you can likely triple it for a taller sheet cake.
Cupcakes ↔ 8-inch round pans. A 48-cupcakes recipe will make three 8-inch cake layers (and vice versa). A 36-cupcake recipe = two 8-inch layers, and a 24-cupcake recipe = two thinner 8-inch layers. This is a good conversion to know for birthday parties! I often change a layer cake to cupcakes for kids’ birthdays or cupcakes to a layer cake for an adult celebration.
Muffins ↔ 8.5×4.5-inch loaf pan. One batch of 12 muffins easily converts to a tall 8.5×4.5 loaf and vice versa. You can also use a 9×5-inch loaf for a wider loaf. The bake time will roughly double for muffins to a loaf, and be half as long for a loaf made into muffins.
What Changes When You Swap Pans
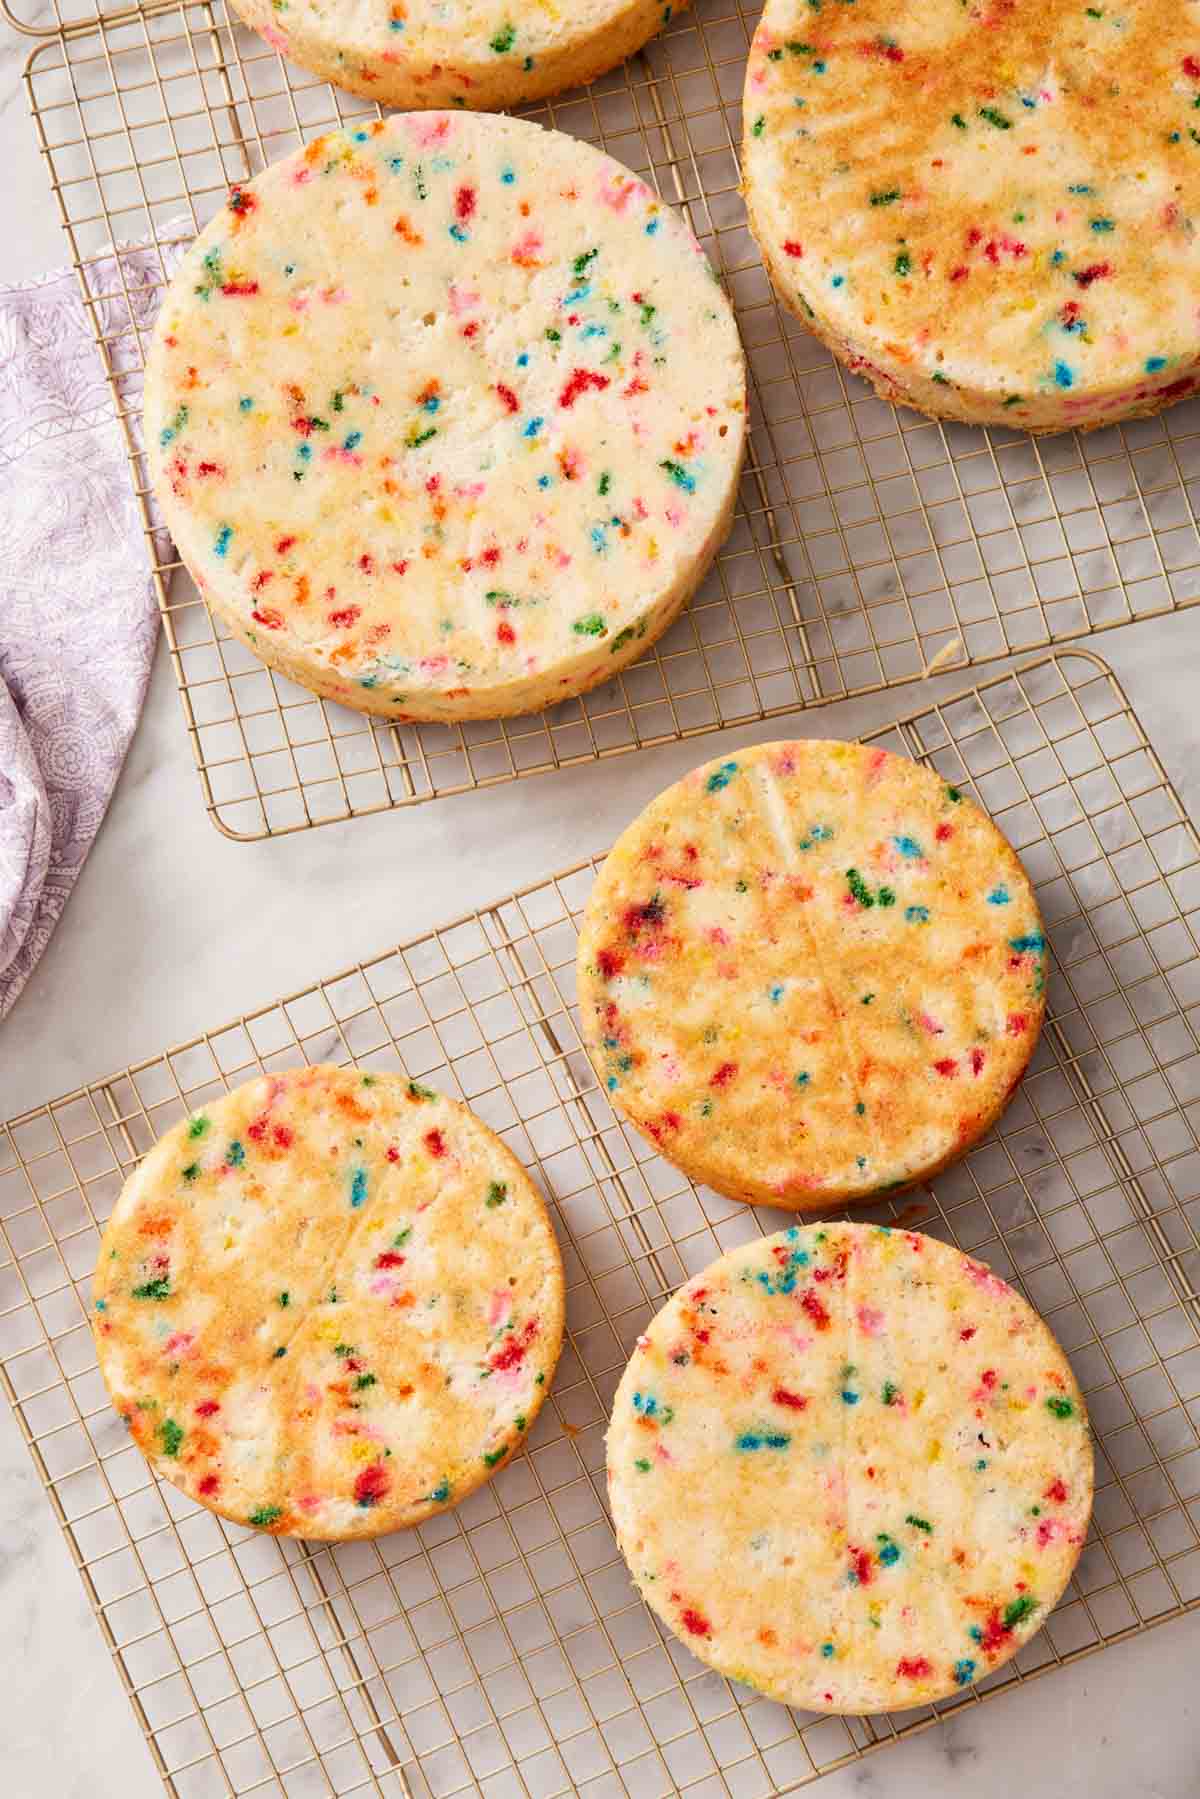
While the volume is a bit more straightforward to convert, you need to consider how the bake time will also change. Here’s why and how much.
Wider, shallower pan = faster bake. If you take a 9×5-inch loaf recipe and bake it in a 9-inch round pan, the batter spreads thinner, more surface area is exposed to oven heat, and the cake bakes faster. Plan to reduce the bake time by anywhere from 5-20 minutes, depending on the type of batter and the difference in pan depth, and always check it early with a toothpick or by pressing in the center.
Narrower, deeper pan = slower bake. A 9-inch round cake recipe baked in a 9×5 loaf pan makes the batter much deeper, so the heat takes longer to reach the center, and the bake time greatly increases. Generally, plan to add 20-50% to the bake time.
Round to square, same surface area = same bake time. The 8-inch square ↔ 9-inch round swap doesn’t change anything. Keep the recipe as written.
Pan material can change bake time independently. Glass and dark metal both accelerate browning. Ceramic insulates more and increases the bake time by a few minutes. Light metal pans, like silver or natural aluminum, are the default most recipes assume for their given bake times, unless a specific pan is called for in the recipe. More on this in the section below!
Always start checking early. Whatever you do, when you swap a pan, start checking for doneness at least 5-10 minutes before the recipe says. The first sign of overbaking is usually the edges going dry or very dark brown (and there’s not coming back from that). A toothpick that comes out clean or with a few moist crumbs (not wet batter), or if the center feels springy to the touch, is the doneness target for almost every cake.
Pan Material Matters: Glass, Metal, Ceramic, and Color
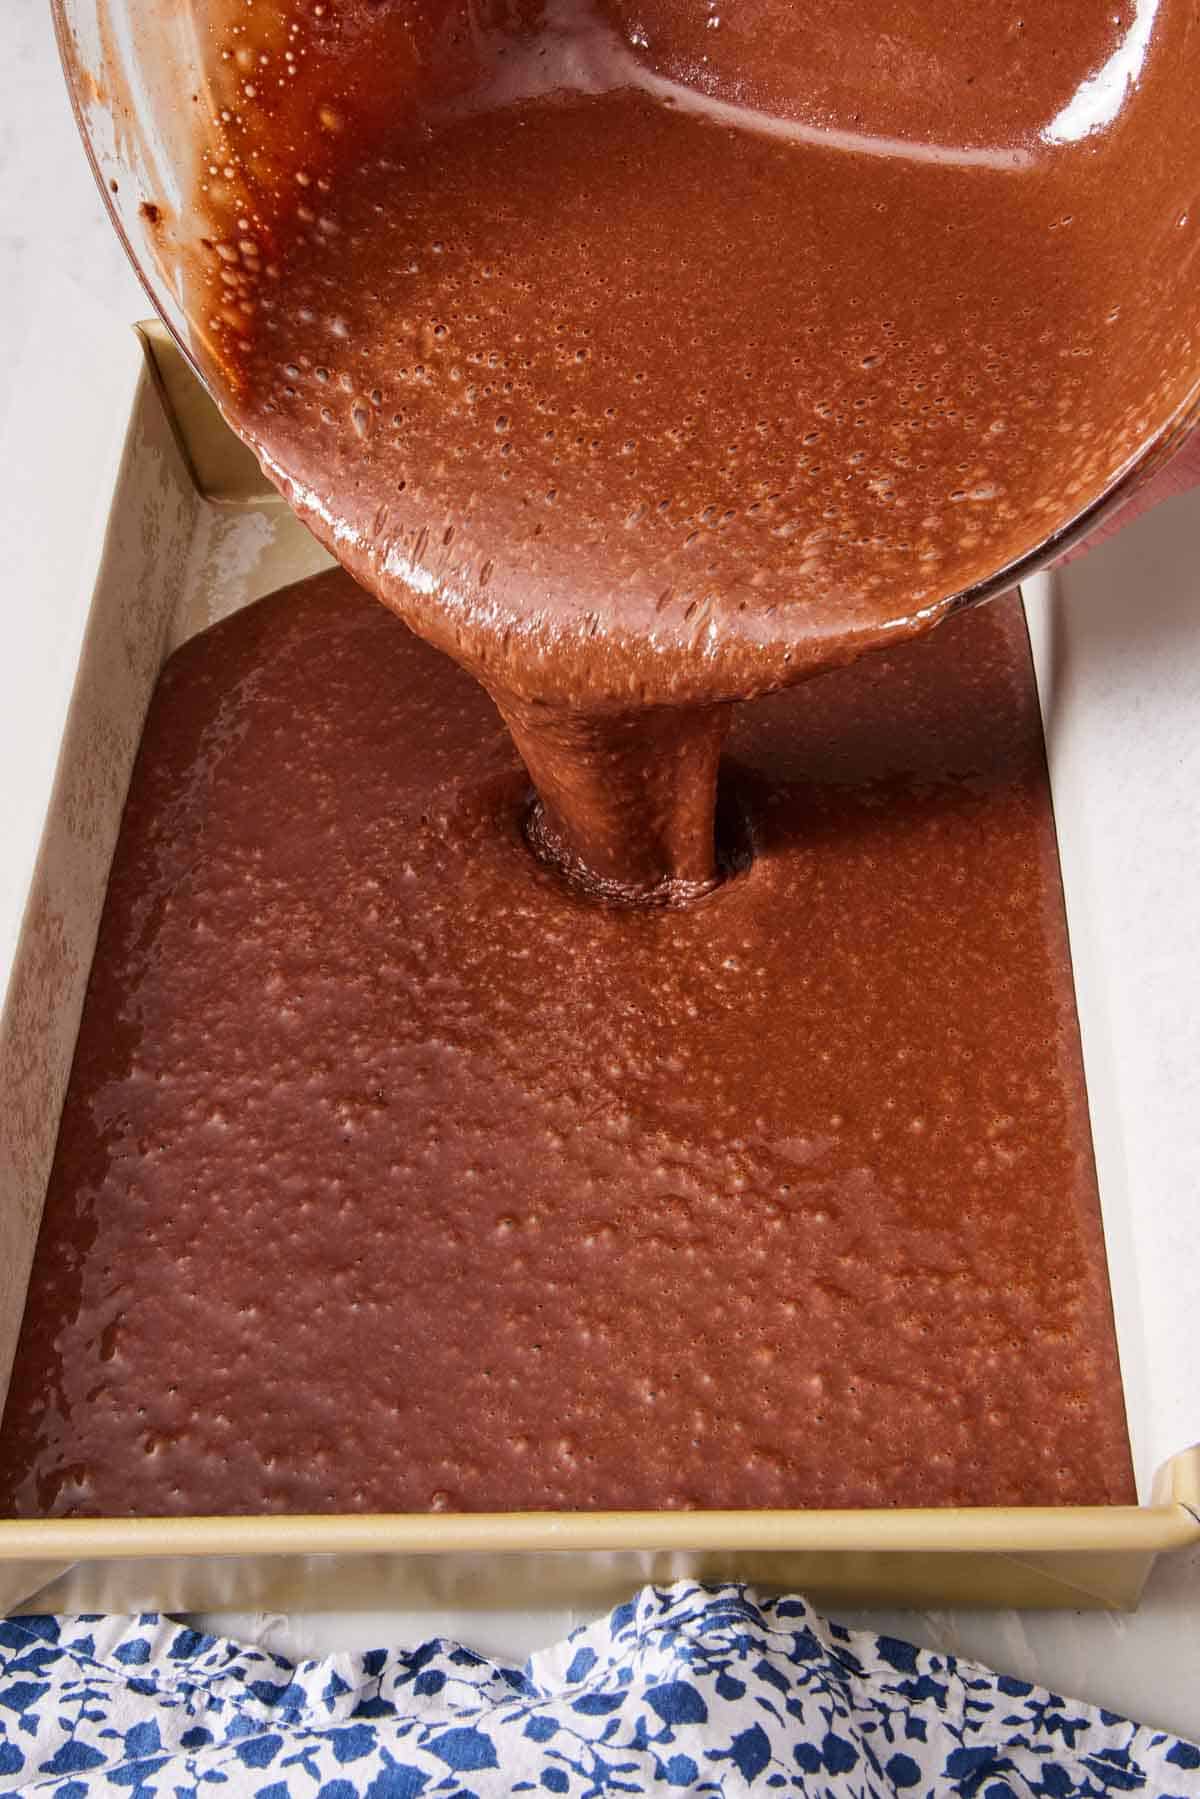
Aside from volume and pan size, the type of material you are using matters significantly to how a recipe bakes.
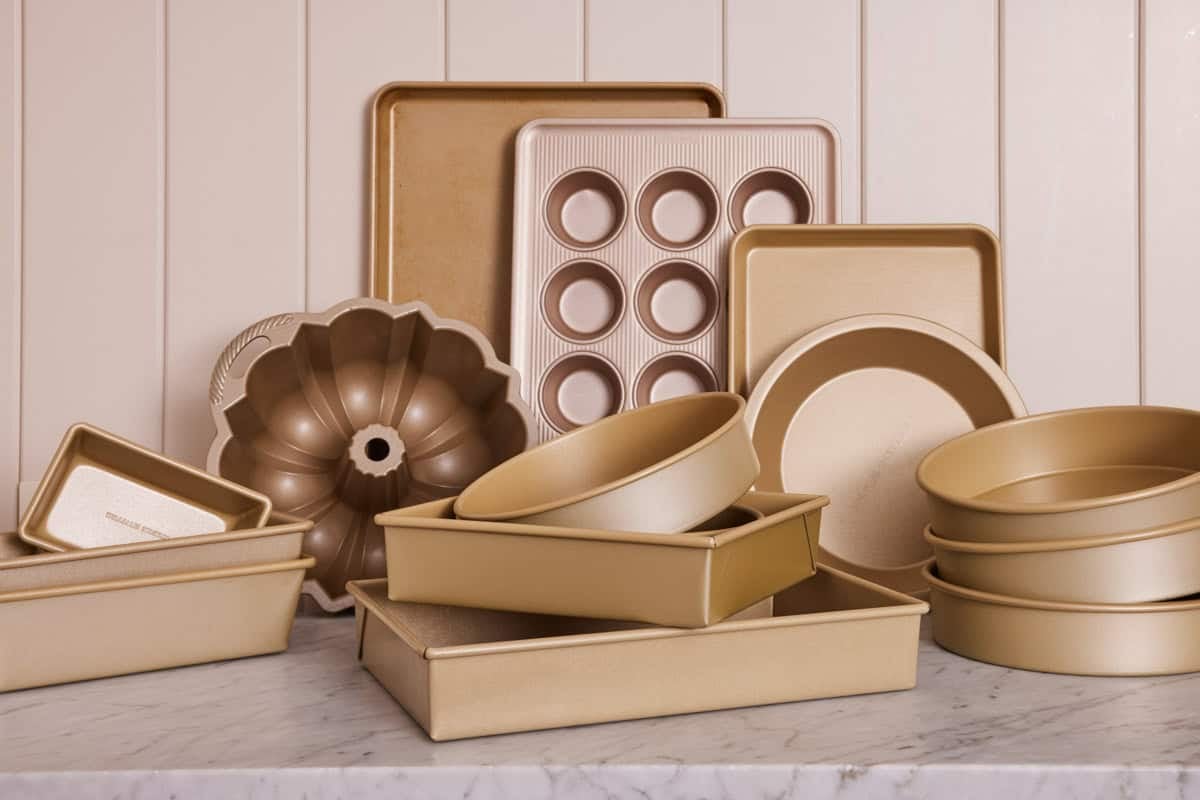
Light-colored natural aluminum or non-stick light steel are the standards for baking, and the materials almost every recipe is written for. It conducts heat evenly, browns predictably, and gives you the bake times printed in cookbooks. If you’re buying a cake pan, buy one of these. I use William Sonoma Gold Touch nonstick stainless steel pans, which fall into this category. They are a touch darker than aluminum, but I have found that they don’t brown much more, and they are significantly less intense than dark pans.
Dark-coated nonstick metal absorbs and radiates more heat, browning the edges and bottom faster. The general rule, given by many of these cookware manufacturers, is to reduce the oven temperature by 25°F when using a dark pan with a recipe written for a light pan. This will help keep the outer crust from getting too dark or potentially burning.
Glass (Pyrex, Anchor Hocking) conducts heat slowly but holds it once hot. Glass pans take longer to come up to temperature than metal, but stay hot longer after coming out of the oven. The conventional advice is to also reduce the oven temperature by 25°F, but I actually don’t do this. Since it takes longer to heat it, the lower temperature can change how the cake rises. Just keep an eye on the pans in the oven, and you may need to pull them out a few minutes sooner. Glass pans are fine for brownies and bars, but are less ideal for layer cakes that need a precise rise.
Ceramic and stoneware behave similarly to glass. They are slow to heat, hold heat well, but brown unevenly. They are best for casseroles and rustic bakes, and actually my go-to pan for cinnamon rolls. The slower heating and less browning work to their advantage, making soft and pillowy rolls. It’s not what I’d reach for when a recipe calls for a 9×13-inch cake pan, though.
Silicone I avoid for cakes. Sweet batters with high sugar content brown adequately in silicone, but the lack of heat conduction means cakes baked in silicone often have a pale, slightly damp bottom. They are fine for muffins or quick breads where you’re going to peel a paper liner off anyway, but still not my top choice. Not what I’d use for a layer cake.
Pans You Cannot Substitute
Some pans are designed for specific jobs, and the cakes that go in them won’t behave correctly anywhere else.
Angel food cake pans (uncoated tube pans with removable bottoms). The batter has to physically climb the ungreased walls as it bakes to rise properly. If you put angel food batter in a buttered springform pan, the cake won’t grip the sides, and it will collapse when you turn it out. For this reason, you need to run a knife between the cake and the pan to remove it, so a tube pan with a removable bottom is ideal.
Springform pans for cheesecakes. A traditional cheesecake needs the 2.5 to 3-inch sides of a springform to support its tall structure, plus the removable sides allow it to release without flipping. A 9-inch round cake pan can’t do the job. If you want to bake a cheesecake recipe in a different type of cake pan, make cheesecake bars! They are a bit thinner and designed to be lifted out or cut from the pan.
Popover and muffin-top pans. These pans are designed with specific well shapes and sizes to force the batter to rise in a particular way. Unless the pan specifically calls out a pan substitute, they are difficult to reliably swap.
The ⅔ Rule (And When to Break It)
For most cake batters, fill the pan about two-thirds full, leaving room for the batter to rise and not overflow. There are a few exceptions to this, though.
Break the rule to fill less, around half, for:
- Chemically leavened bakes that rise dramatically (chiffon cakes, sponge cakes, some chocolate cakes that include hot water)
- Pans that are wider than they are very shallow (like a half sheet pan), where batter doesn’t have to rise much to reach the top.
Break the rule, filling it more (up to ¾) for:
- Yeasted breads in loaf pans, where the dough is supposed to dome significantly above the rim
- Brownies, bars, and cheesecakes, which barely rise
- Pound cakes and dense butter cakes that rise modestly
When in doubt, use the recipe’s details as your guide. If a recipe mentions a doneness indicator that it will look “slightly puffed,” then you can fill the pan more. If it says something like “very fluffy and risen near the top of the pan,” then you should fill no more than two-thirds.
Frequently Asked Questions
Yes, significantly. A wider, shallower pan bakes faster (more surface area exposed to heat). A narrower, deeper pan bakes more slowly (the heat takes longer to reach the center). For most swaps, expect bake time to change by 5-20 minutes, and start checking it at least 10 minutes before the recipe’s stated time.
For a dark pan, yes, reduce the oven temperature by 25°F. But only do this if using a dark-coated metal pan in place of a different pan called for in the recipe. For a glass pan, I recommend keeping the temperature the same.
More Tutorials To Try
Learn more cake-baking skills with one of these baking tutorials:
- The 5 Main Cake Mixing Methods — the main types of cake batters for everything from layer cakes to cupcakes.
- A Baker’s Guide To Cheesecake — learn why a springform pan matters and how to bake a crack-free cheesecake
- How to Get Flat Cake Layers — once you have the right cake pan, use this trick to make layers that are flat and stable for stacking.
- How to Line a Cake Pan — the prep your pan needs for cakes to release easily without tearing
- How to Decorate a Cake — for a professional-quality finish






