This Basque cheesecake recipe is an absolute show-stopper. With its “burnt” or caramelized exterior and airy, mousse-like filling, it will disappear in a flash! It’s so simple to make, too, because there’s no need for a water bath or crust. The quick cheesecake batter goes directly into a prepared springform pan!
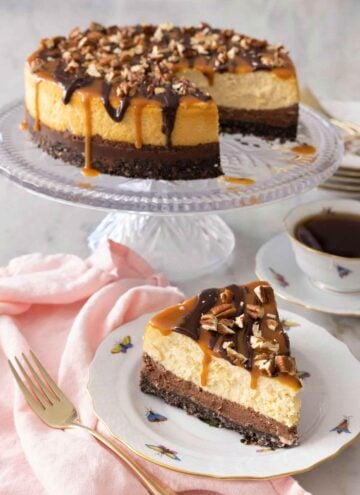
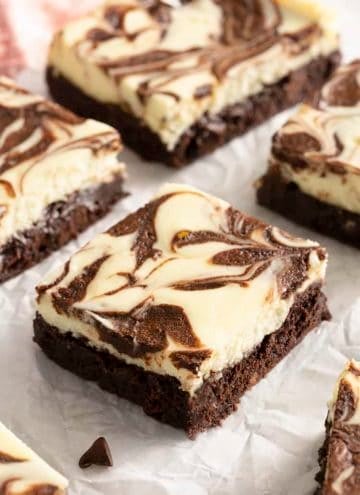
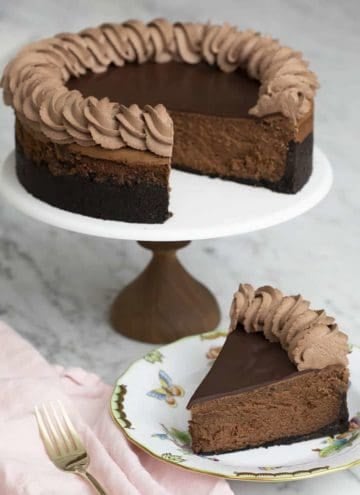
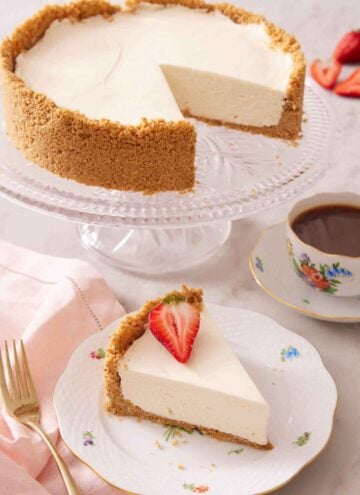
One of my favorite qualities about a Basque burnt cheesecake is that it’s very forgiving, given its rustic appearance. Bake it at a high temperature so it puffs up and then deflates dramatically with a caramelized burnt top. Unlike a traditional cheesecake, there’s no need to worry about a perfectly smooth, crack-free surface — it’s all part of this dessert’s charm! For more cheesecake recipes, try my chocolate cheesecake, no-bake cheesecake, and strawberry cheesecake.
What Is Basque Cheesecake?
Also known as tarta de queso, Basque cheesecake hails from the Basque region of Spain, more specifically, La Viña restaurant in San Sebastián. The burnt cheesecake is like a combination of an airy soufflé and crème brûlée, making it difficult to stop at just a single slice!
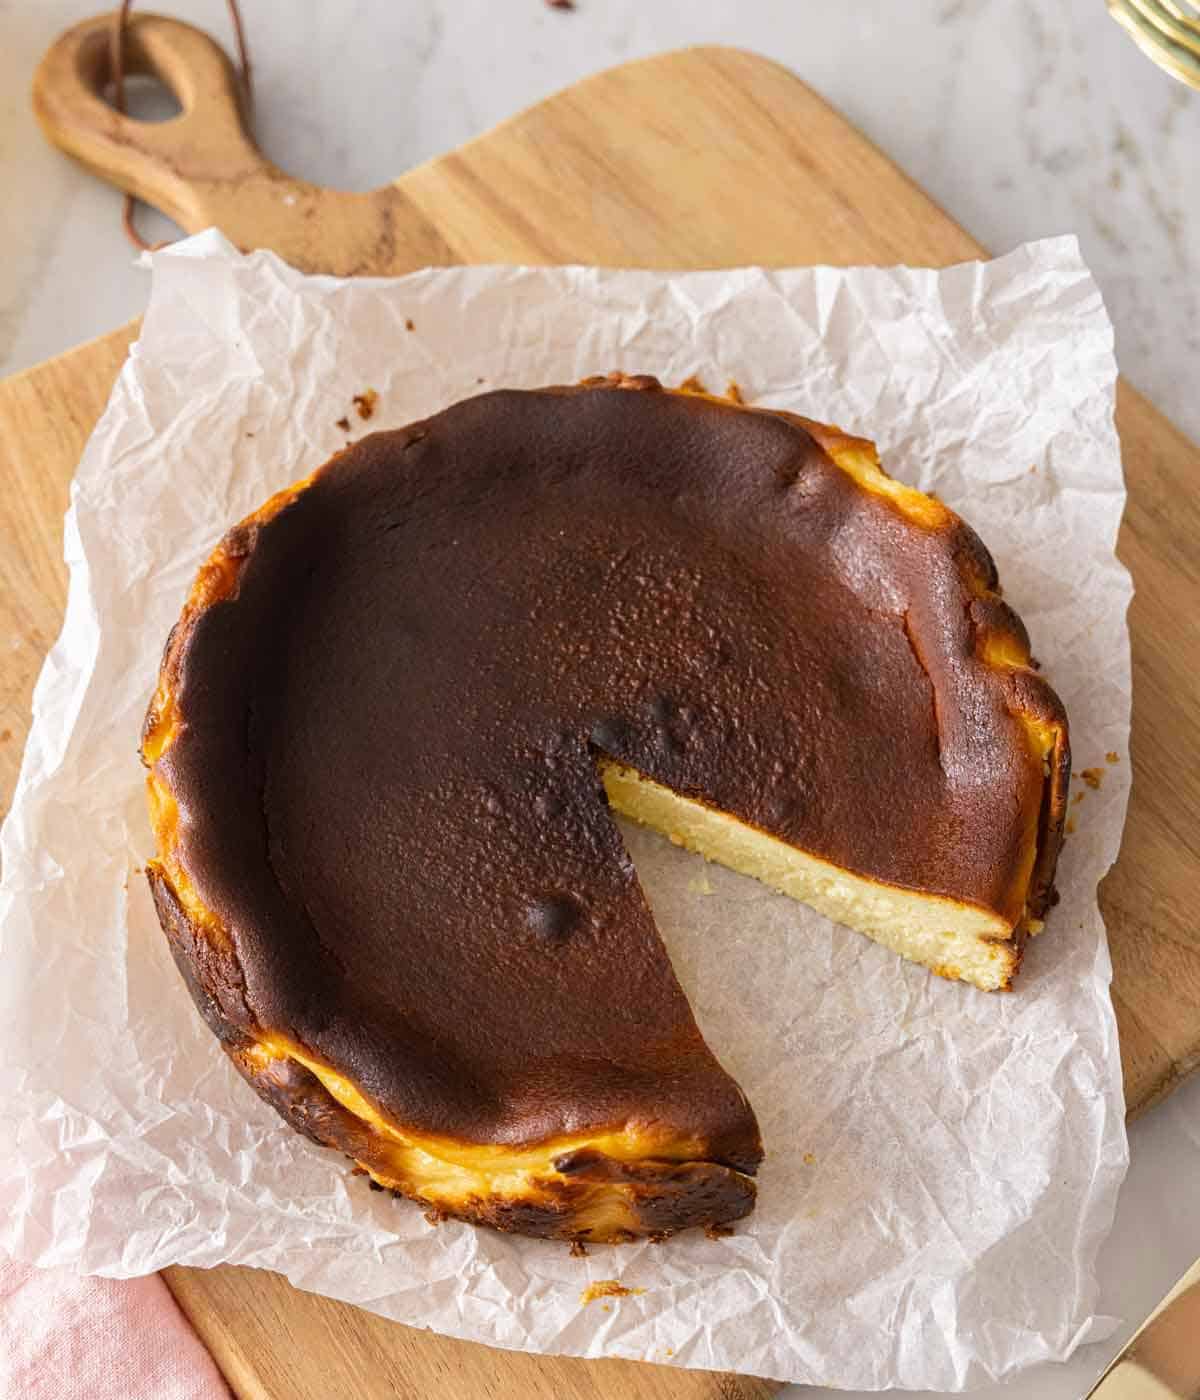
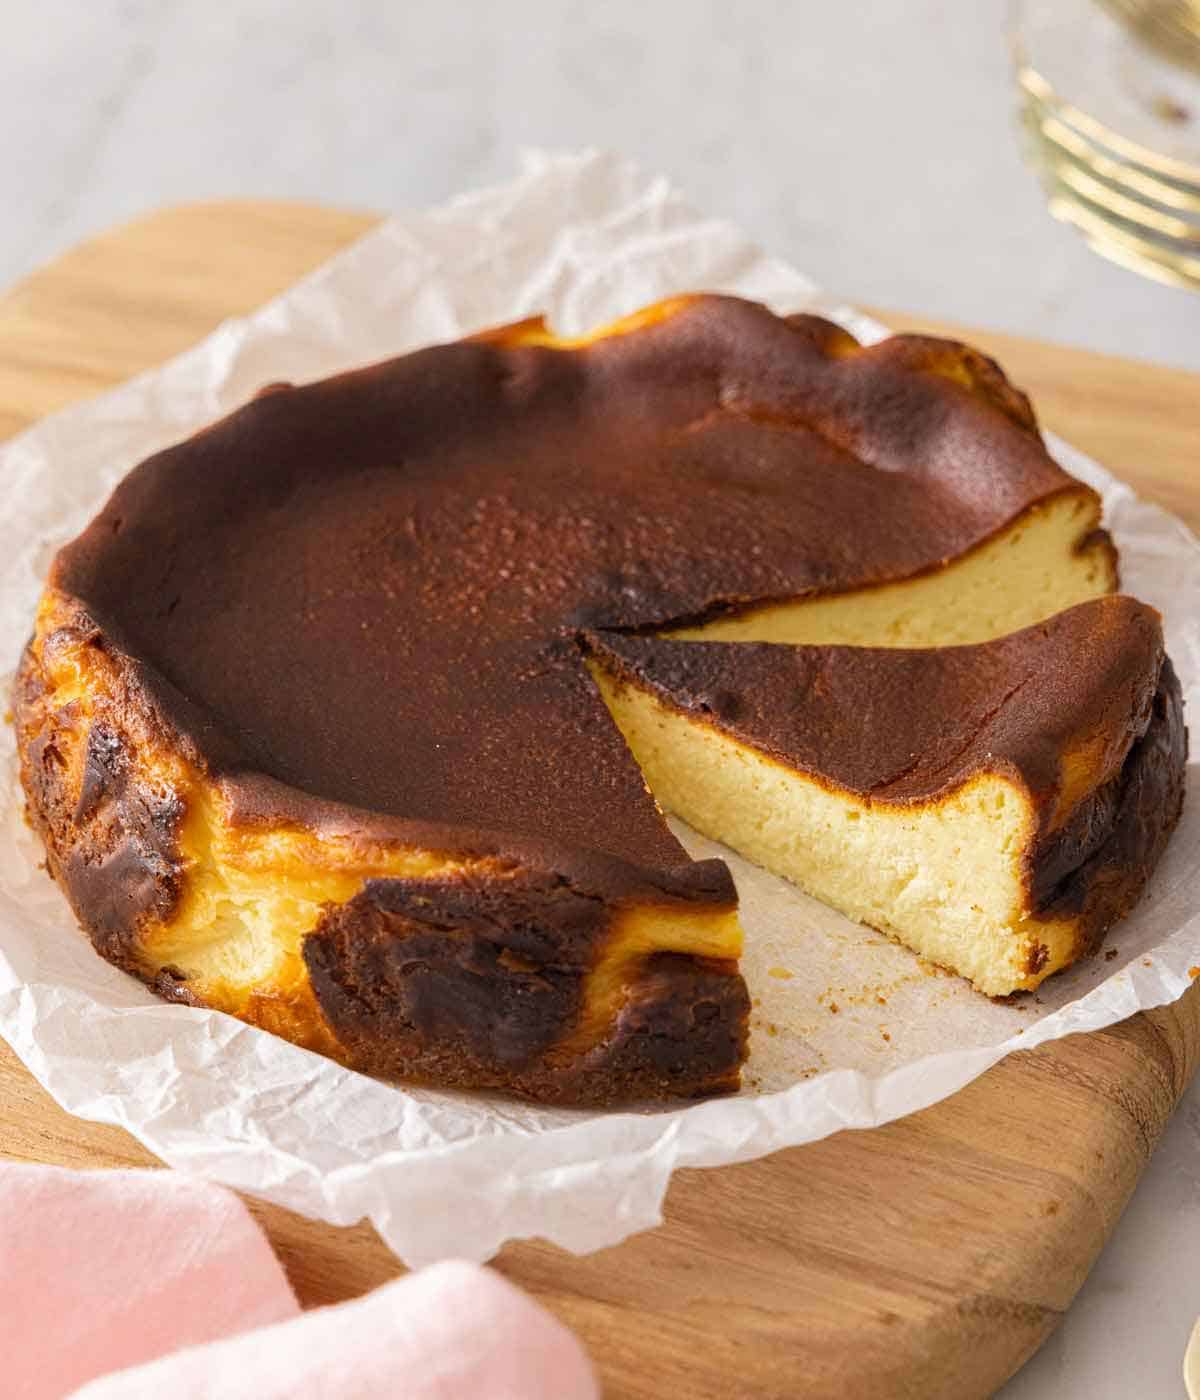
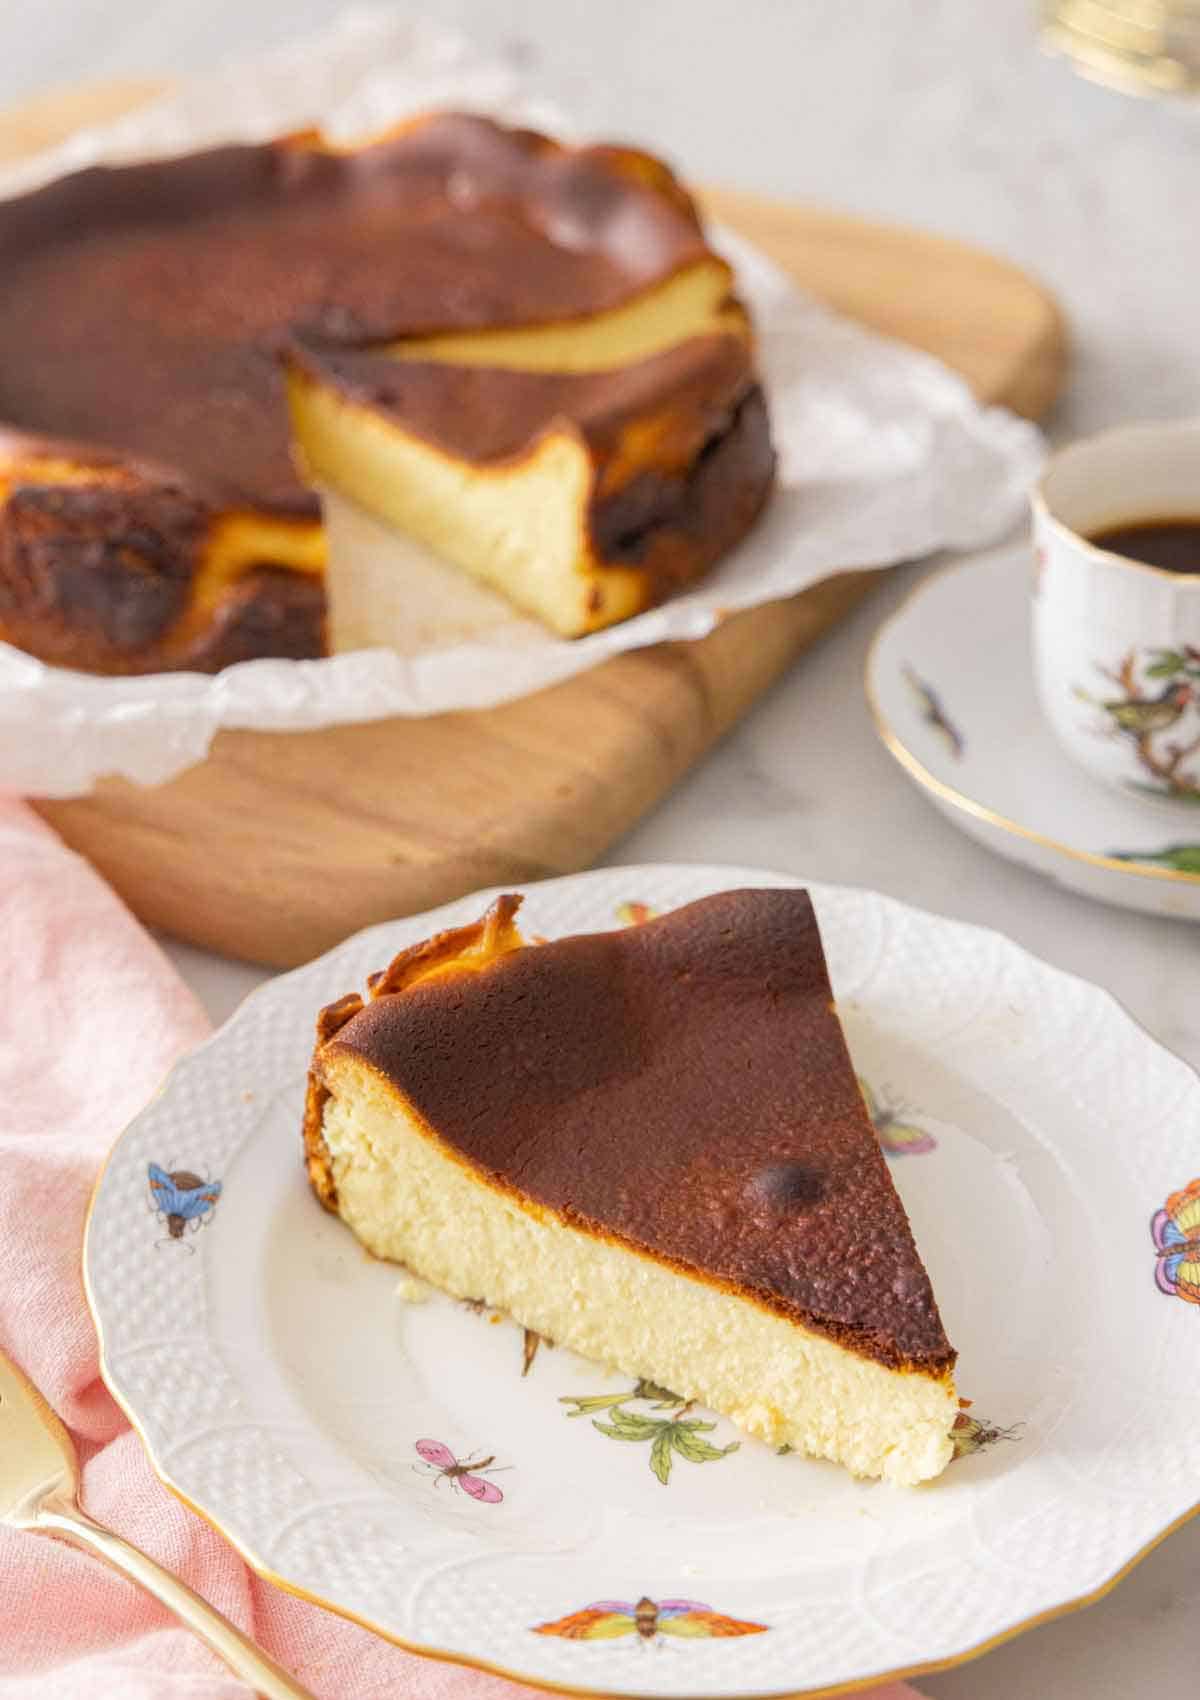
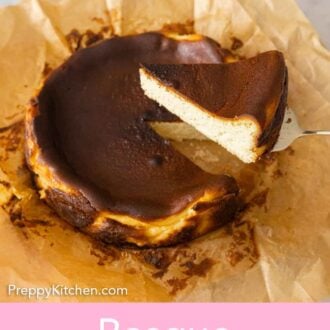
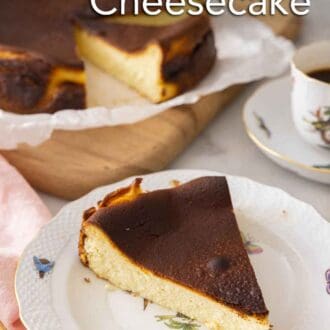
Basque cheesecake has a very rustic appearance, with a sunken center and creases on the side from parchment paper. This is part of its appeal! Pair its looks with the ever so slightly bitter browned surface and lighter-than-air middle, and you have a dessert that everyone will love.
While this crustless cheesecake is often served close to or at room temperature, feel free to serve it how you like. Whether you like it cold, like regular cheesecake, or slightly warmer, it will taste incredible!
Breaking The Cheesecake Rules
This Basque cheesecake goes against most classic American cheesecake recipe techniques. Here’s how:
- You bake it at a higher temperature so the outside can intentionally “burn” and caramelize, and the inside stays quite soft and creamy.
- There is also no water bath, making this an excellent recipe for any home bakers who have put off attempting cheesecakes!
- You’ll line the pan with sheets of parchment paper. After baking and chilling the cheesecake, you’ll notice the sides have creases imprinted in them from the parchment paper, which adds to the Basque cheesecake’s rustic look.
- For this kind of cheesecake, you want it to puff dramatically and then sink, creating a crater in the middle and taller sides.
Ingredients
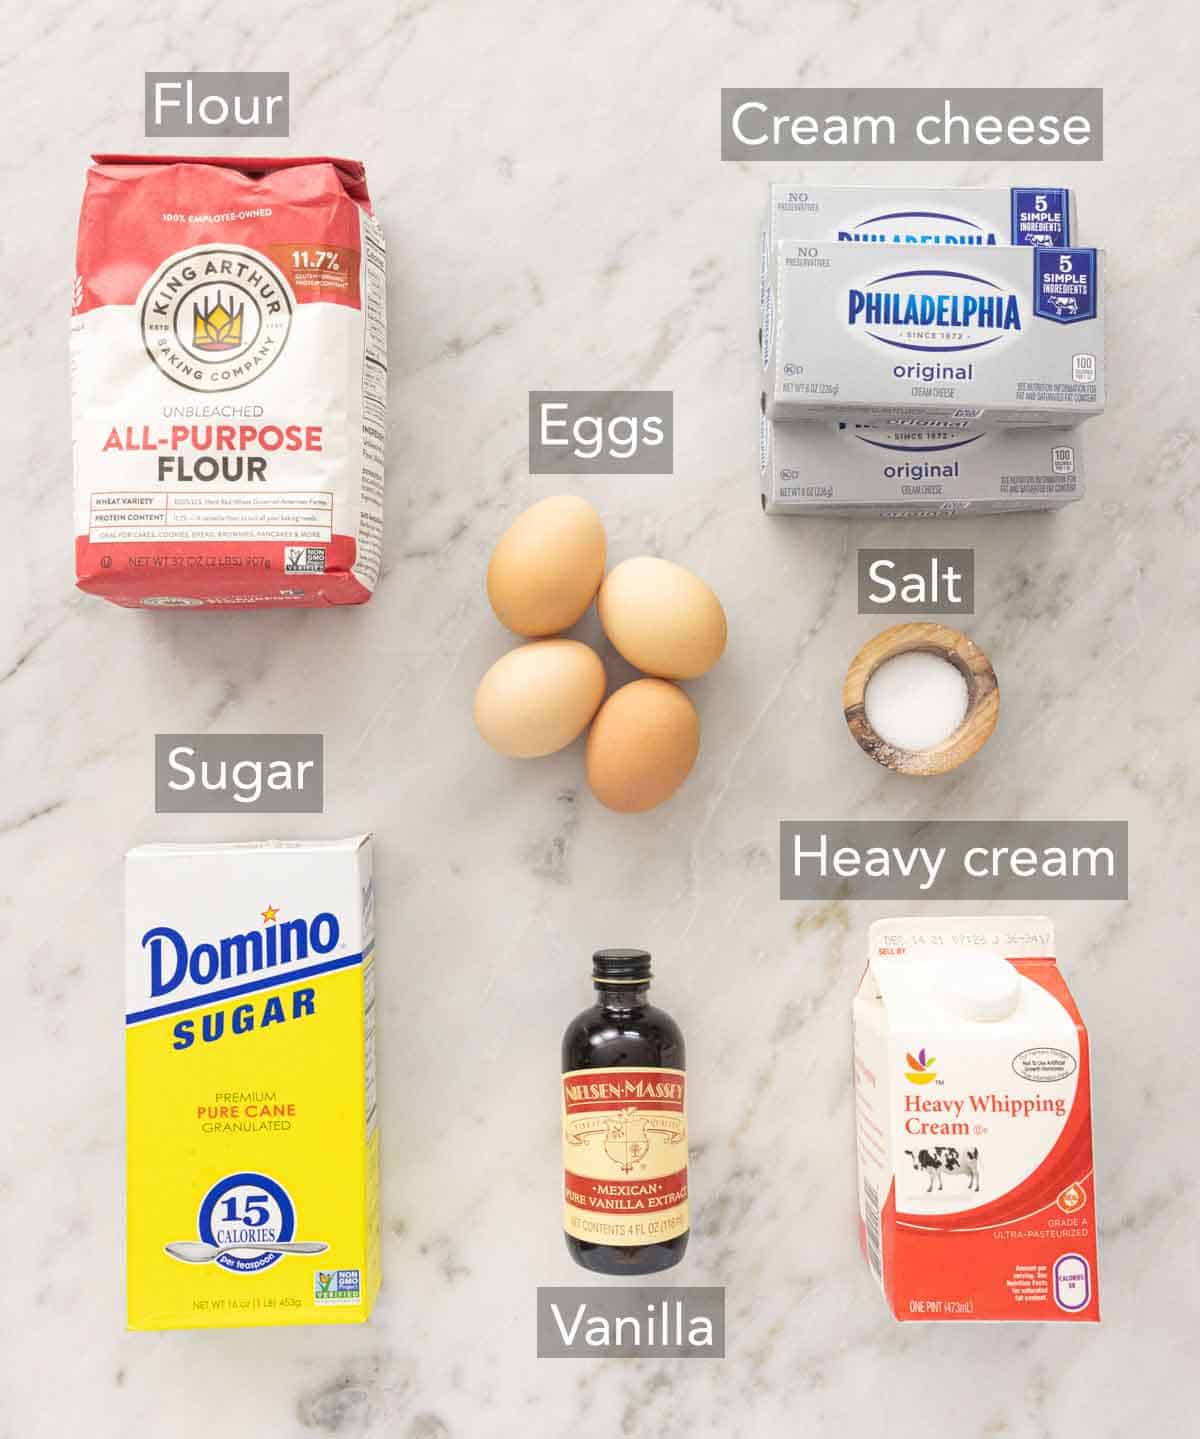
Cream cheese — brick-style full-fat Philadelphia cream cheese is a must for this recipe!
Sugar — granulated sugar adds just the right amount of sweetness to the crustless cheesecake without it being cloying.
Salt — salt rounds out the flavor.
Vanilla — use good vanilla extract or scrape a vanilla bean of its seeds for pretty flecks in the cheesecake.
Eggs — large eggs add richness to the Basque cheesecake and also helps the batter puff up during baking.
Flour — a little flour stabilizes the cheesecake and helps to prevent major cracks from forming. (But if they do, don’t worry. Cracks can add to the unfussy look of this cheesecake.)
Cream — heavy cream makes this cheesecake unbelievably smooth and rich. I do not recommend swapping for a low-fat option.
How To Make Basque Cheesecake
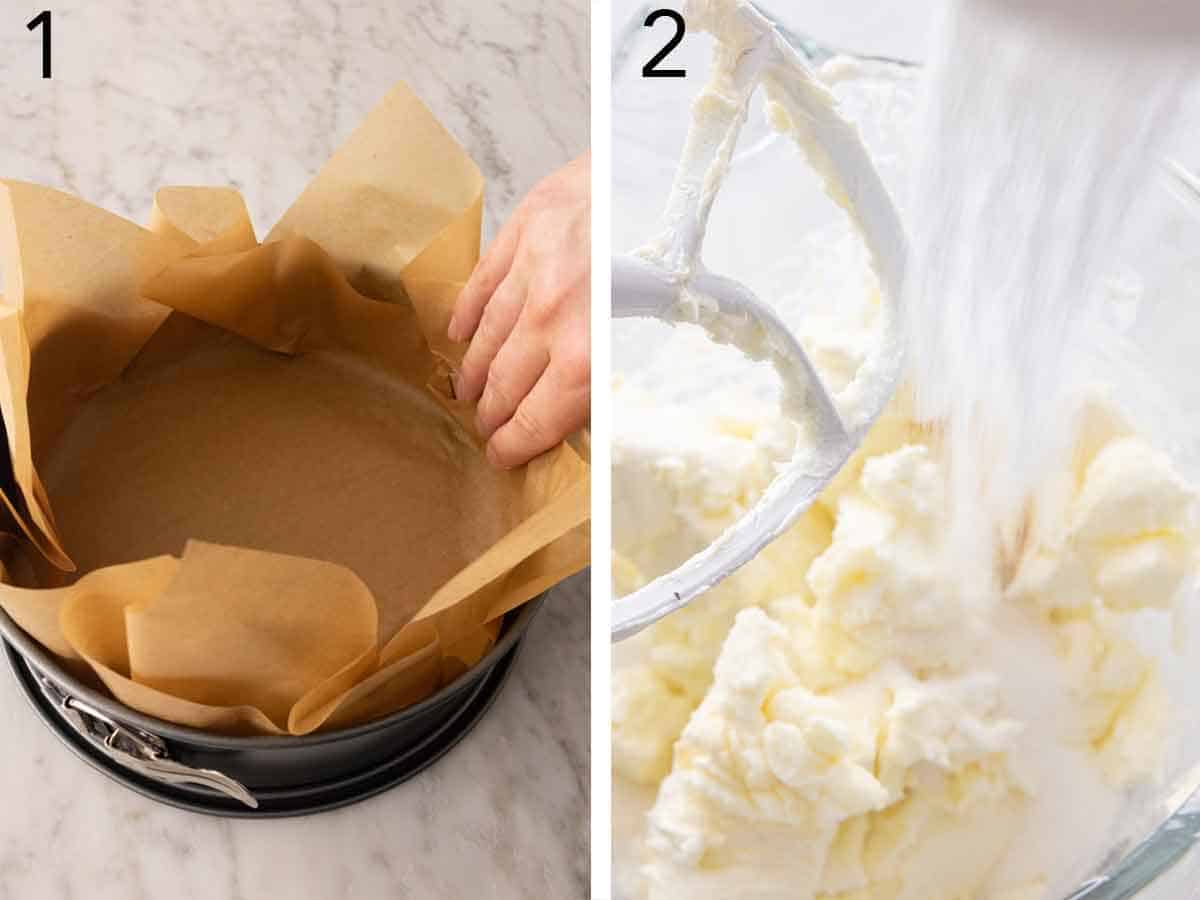
1. Line a 9-inch springform pan with a 12×17-inch sheet of parchment paper, pressing into the bottom and up the sides and letting the excess hang over the edge.
Place another parchment sheet in the pan, overlapping the first sheet and pressing it into the pan to make sure the entire pan is lined with paper. The paper will crease, and that is actually ideal to add to this rustic cheesecake’s charm. Place the prepared pan on a baking sheet.
2. In the bowl of a stand mixer with a paddle attachment, beat the cream cheese, sugar, vanilla extract, and salt on medium-low speed until very smooth.
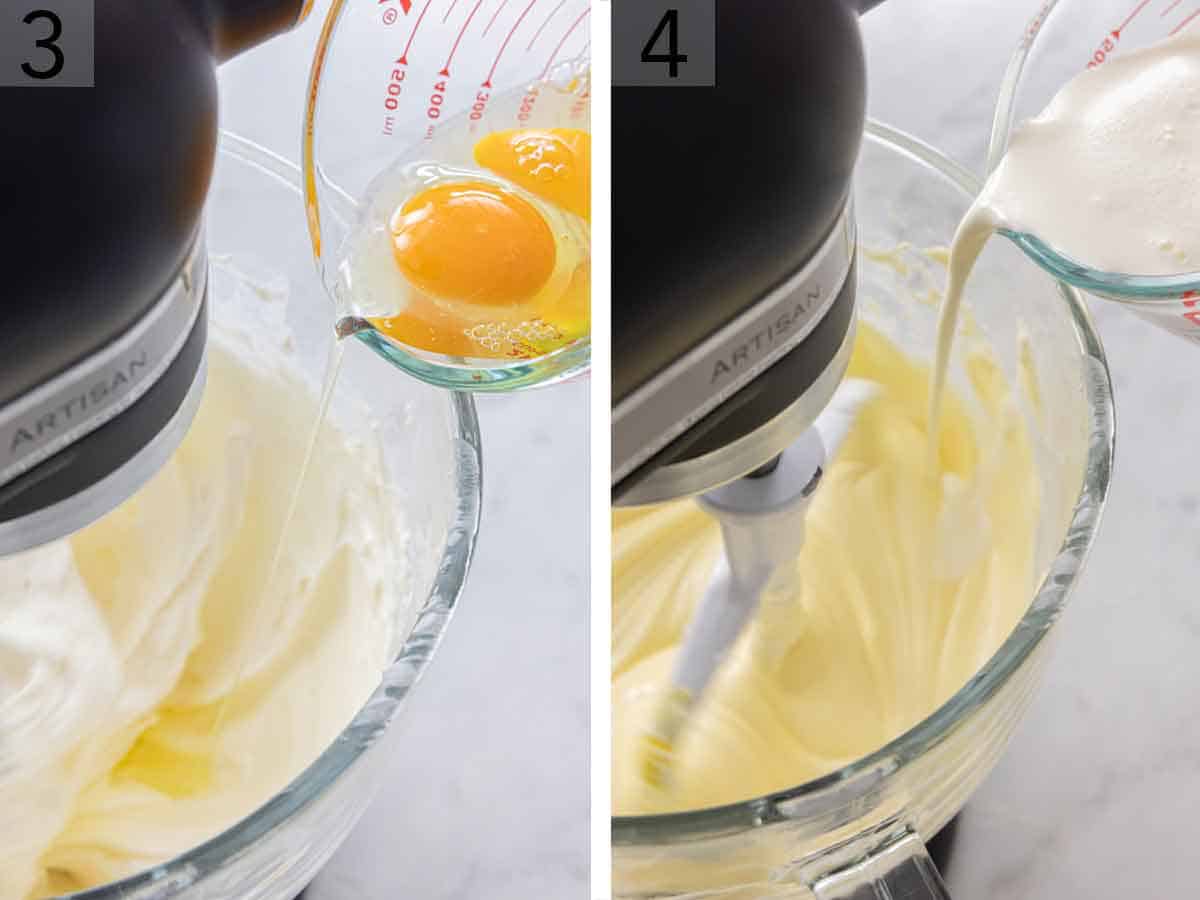
3. Beat in the eggs, one at a time. Scrape the sides of the bowl between each addition.
4. With the mixer on low speed, slowly pour in the heavy cream.
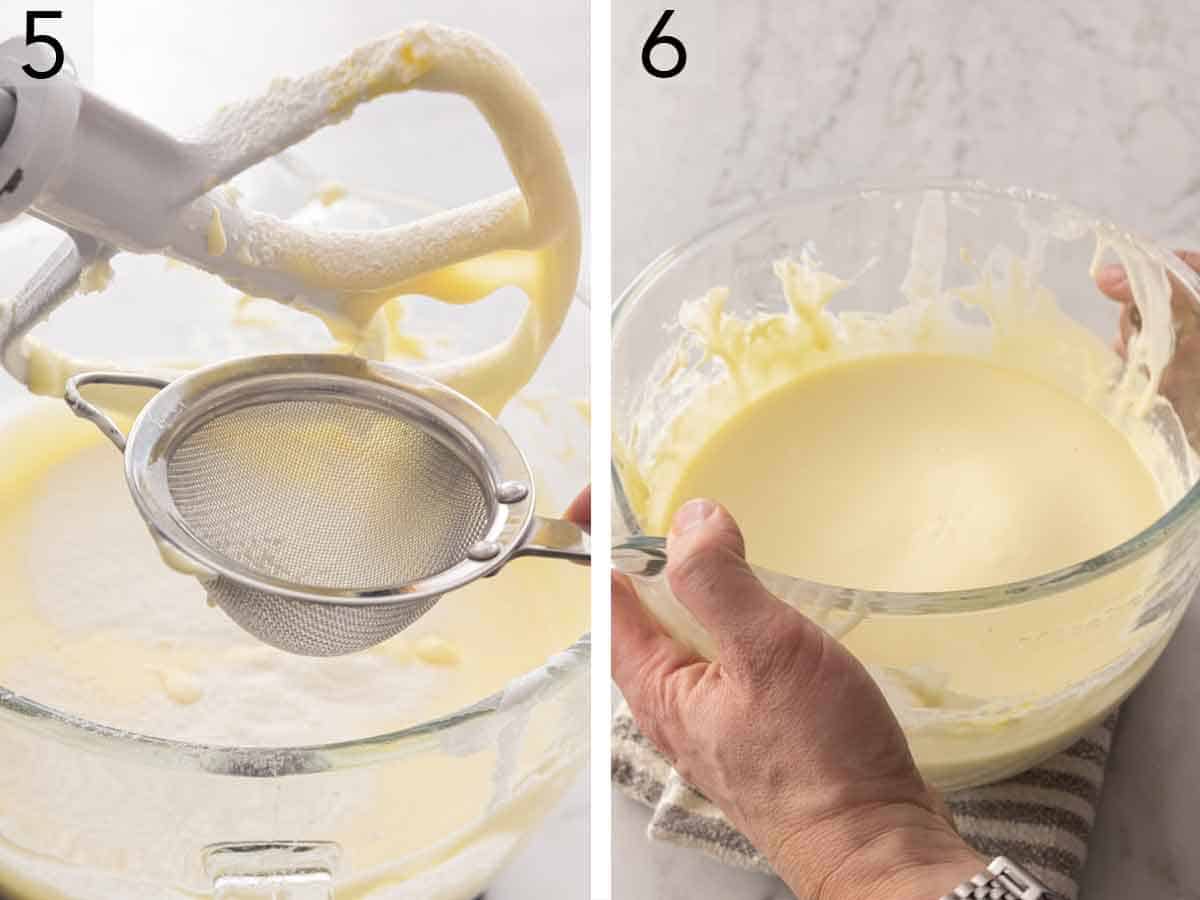
5. Sift in the flour and beat just until combined.
6. Gently tap the bowl on the counter several times to help remove any air bubbles trapped in the batter.
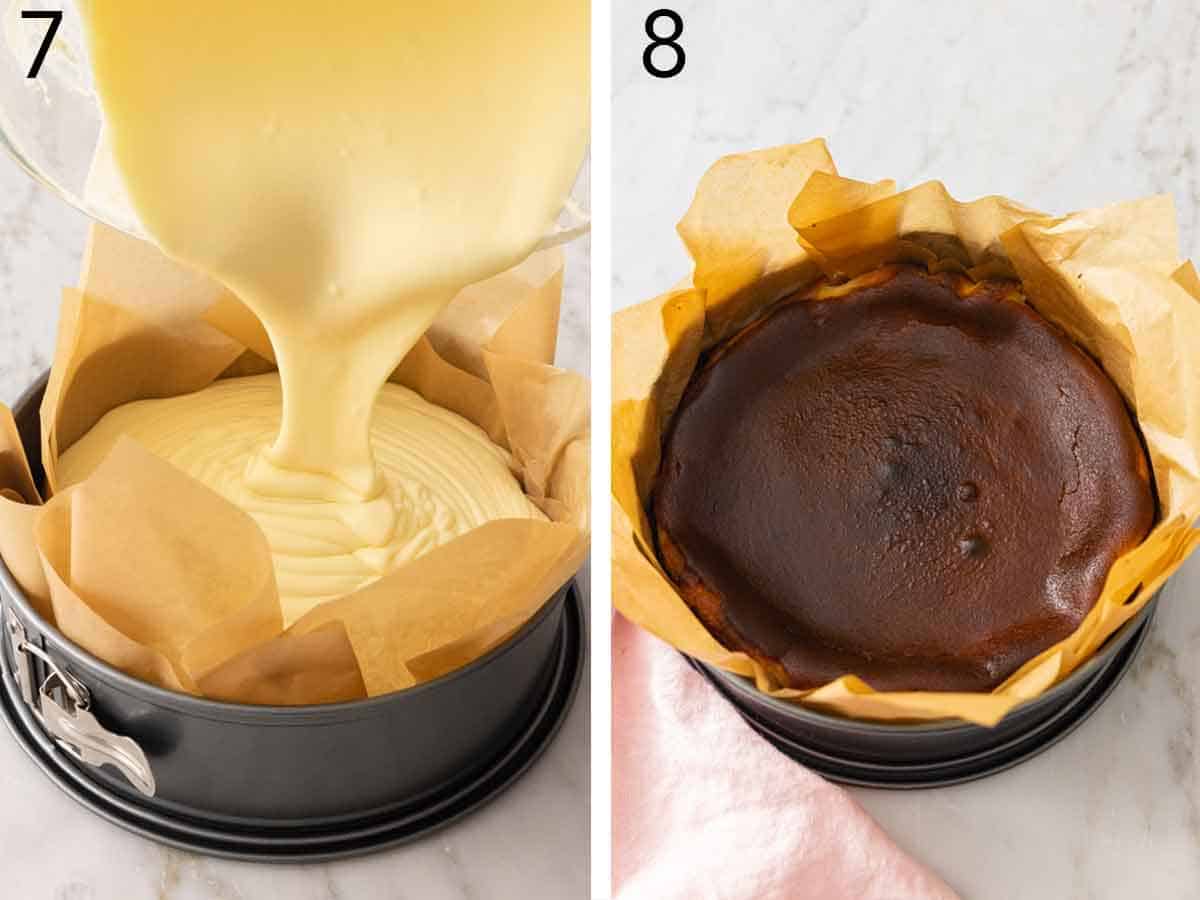
7. Pour the batter into the prepared pan.
8. Bake at 400°F for 45 minutes, or until the cheesecake is very puffy and the top is dark brown (somewhere between the color of milk chocolate and dark chocolate). Place the cheesecake on a wire rack and let cool to room temperature. Then refrigerate, uncovered, for at least 5 hours or up to 2 days. When you’re ready to serve, unlock the sides of the pan and remove the cheesecake. Carefully peel the parchment paper away from the cheesecake before slicing and enjoying.
Do I Have To Use A Springform Pan?
You can use a 9-inch cake pan with 3-inch tall sides if you do not have a springform pan. I prefer using a springform pan because it is so easy to remove the Basque cheesecake from the pan. But a regular cake pan will work fine.
How To Serve Burnt Basque Cheesecake
You really don’t need to dress up this cheesecake much, if at all. With its airy center and caramelized surface, its bare presentation is a show-stopper.
But if you’d like to add a little something, here are some topping ideas:
- Whipped cream and fresh fruit.
- Strawberry jam
- Lemon curd
- Hot fudge
- Caramel sauce
Can I Make It Ahead Of Time?
Basque cheesecake is a great make-ahead dessert option! You can bake this crustless cheesecake up to 2 days in advance. I find that the flavor deepens as it sits, so I usually make it a night ahead of time. This is really convenient because it chills overnight in the refrigerator, and I know for certain it’s had enough time to set.
Pro Tips For Making This Recipe
- Use room temperature ingredients. For a smooth, lump-free batter, set your refrigerated ingredients out on your counter in advance. The heavy cream and eggs only need about an hour, but the cream cheese may need several hours at room temperature. To speed things up, you can heat the cream cheese in the microwave for 20 seconds at 50% power. To quickly warm up cold eggs, place them into a bowl of warm water for 5 minutes.
- Add citrus zest to flavor the batter. Add 1 tablespoon of lemon zest or orange zest to the cheesecake batter for a subtle citrus element that really makes the vanilla pop.
- Use the broiler. If the top of the cheesecake is not browned enough to your liking, you can turn on the broiler at the end of baking. Keep a very close eye on it, as the top can go from deeply browned to very black in a few quick seconds.
- Chill uncovered. If you cover the pan with plastic wrap or aluminum foil, condensation may form and will ruin the look of the cheesecake’s surface. And don’t skip the chilling, either! For the flavors to fully develop and the middle to set, it needs to be refrigerated for several hours.
- Keep the cheesecake in the springform pan until it has chilled. Do not take it out of the springform pan until it thoroughly chills in the refrigerator. You want to ensure the cheesecake keeps its shape until it’s completely set.
- For neat slices, use a sharp knife and wipe it clean between slices.
Frequently Asked Questions
Full-fat brick-style cream cheese (not the kind that comes in a tub) is the best option for cheesecake. Neufchâtel can work as a substitute in a pinch. I do not recommend a dairy-free or vegan cheese alternative for this recipe.
You can! Once the cheesecake has chilled and set completely (at least 5 hours, uncovered, in the refrigerator), you can freeze it whole or in slices for up to 3 months. Wrap the cheesecake up in multiple layers of plastic wrap and a layer of aluminum foil before transferring it to a freezer-safe bag. When you’re ready to eat it, thaw the whole cheesecake overnight in the refrigerator or cheesecake slices for a few hours in the refrigerator.
Yes. If you’re looking for a gluten-free Basque cheesecake, swap the flour for cornstarch. It will have essentially the same effect on the batter as all-purpose flour in this recipe.
If you’ve tried this Basque cheesecake recipe, then don’t forget to rate it and let me know how you got on in the comments below. I love hearing from you!
Basque Cheesecake Recipe
Video
Equipment
- 9 inch springform pan
Ingredients
- 3 (8-ounce) blocks cream cheese room temperature (678g)
- 1 cup granulated sugar (200g)
- ¾ teaspoon salt
- 2 teaspoons vanilla extract
- 4 large eggs
- 2 tablespoons all-purpose flour
- 1½ cups heavy cream (360mL)
Instructions
- Preheat the oven to 400F. Line a 9-inch springform pan with a 12×17-inch sheet of parchment paper, pressing into the bottom and up the sides and letting the excess hang over the edge. Place another parchment sheet in the pan, overlapping the first, pressing it into the pan to make sure the entire pan is lined with paper. (Don’t worry about creases in the paper. It gives character to this rustic cheesecake!) Place the pan on a baking sheet.
- In the bowl of a stand mixer with a paddle attachment, beat cream cheese, sugar, vanilla, and salt on medium-low speed until very smooth, about 3 minutes. Beat in the eggs, one at a time, scraping down the bowl between additions. Sift in the flour and beat just until combined.
- With the mixer running on low speed, slowly pour in the cream. Once it’s all added, scrape down the bowl, and beat on low speed until smooth and well combined, about 30 seconds more. Gently tap the bowl on the counter several times to help remove any potential air bubbles in the batter. Pour the batter into the prepared pan.
- Bake for 45 minutes, or until the cheesecake is very puffy and the top is dark brown (somewhere between milk and dark chocolate). Place the cheesecake on a wire rack and cool to room temperature. (The cake will fall as it cools.) Refrigerate, uncovered, for at least 5 hours or up to 2 days.
- When you’re ready to serve, unlock the sides of the springform pan and remove. Carefully peel back the parchment paper away from the cheesecake before slicing.
Notes
- Use room temperature ingredients. For a smooth, lump-free batter, set your refrigerated ingredients out on your counter in advance. The heavy cream and eggs only need about an hour, but the cream cheese may need several hours at room temperature. To speed things up, you can heat the cream cheese in the microwave for 20 seconds at 50% power. To quickly warm up cold eggs, place them into a bowl of warm water for 5 minutes.
- Add citrus zest to flavor the batter. Add 1 tablespoon of lemon zest or orange zest to the cheesecake batter for a subtle citrus element that really makes the vanilla pop.
- Use the broiler. If the top of the cheesecake is not browned enough to your liking, you can turn on the broiler at the end of baking. Keep a very close eye on it, as the top can go from deeply browned to very black in a few quick seconds.
- Chill uncovered. If you cover the pan with plastic wrap or aluminum foil, condensation may form and will ruin the look of the cheesecake’s surface. And don’t skip the chilling, either! For the flavors to fully develop and the middle to set, it needs to be refrigerated for several hours.
- Keep the cheesecake in the springform pan until it has chilled. Do not take it out of the springform pan until it thoroughly chills in the refrigerator. You want to ensure the cheesecake keeps its shape until it’s completely set.
- For neat slices, use a sharp knife and wipe it clean between slices.



Leave a Reply