

This post may contain affiliate links. Please read our disclosure policy.
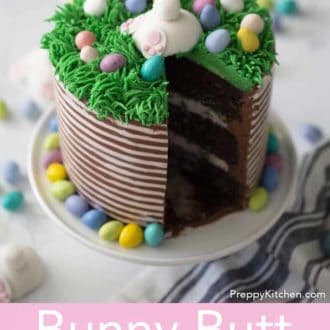
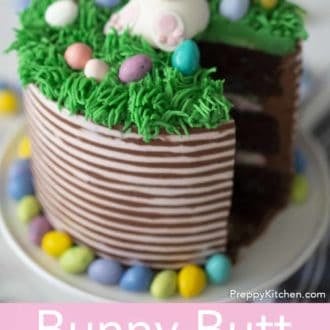
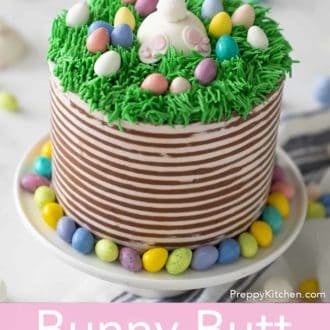
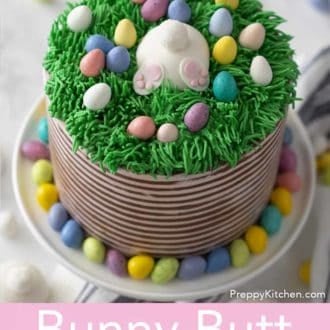
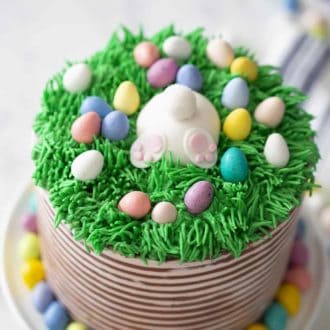
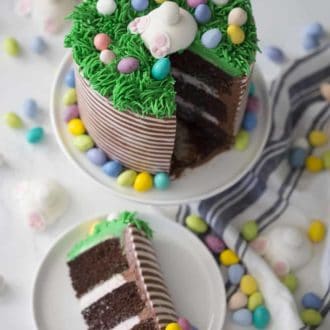
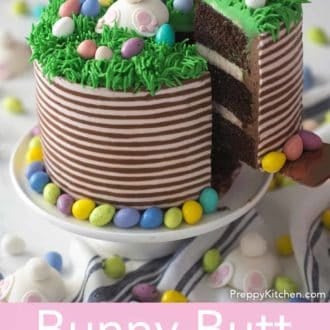
You might know I have a thing for bunny butts, see exhibit “A” and I just had to incorporate one into my chocolate Easter cake this year. I plopped it in some piped buttercream grass with a scattering of chocolate eggs and loved it! I’ll admit to being a bit ambitious with the stripes on the side but it’s the perfect use for a smoothing comb it you have one! If you don’t want to deal with fondant the cake would still look pretty cute with just the grass and chocolate eggs.
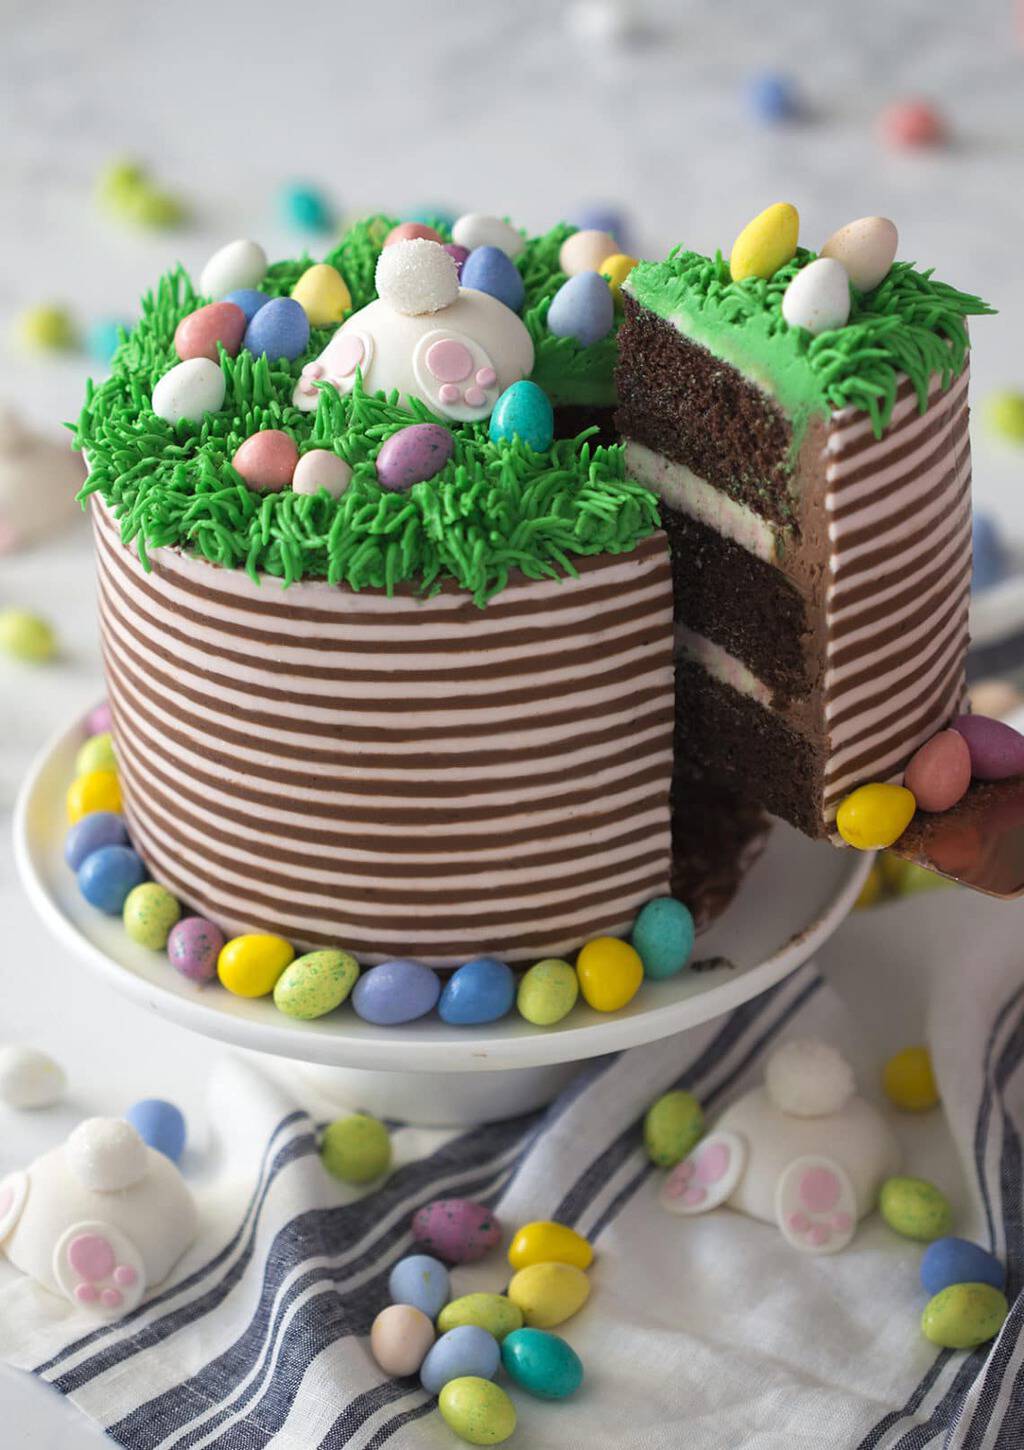
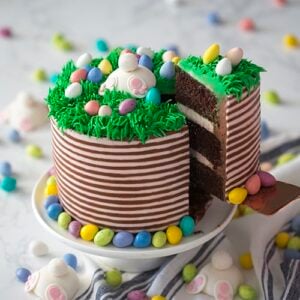
A special holiday calls for a special cake, which in this case has lots of stripes a bunny butt on top and the most moist and rich chocolate cake ever inside! So first off, if you’re a bit intimidated by the design scheme here but still want to make a really pretty Easter cake then click over for my robin’s nest cake! You can make that as is or use this chocolate cake recipe for it.
I make cakes all the time and it’s easy to fall into a bit of a rut, so I wanted to try something new. Instead of a smooth side I used my comb to cut grooves into the buttercream that I could turn into stripes by adding a contrasting color on top and smoothing away the excess.
The key is to have a smooth but slightly firm buttercream, which you smooth with a straight edge then use the toothed side of the comb to create the stripes.
Don’t let your buttercream sit too long before using as it will loose consistency, give it a final whip, transfer into the piping bag and assemble the cake.
Once you’ve combed your grooves then it’s time to chill the cake so the buttercream firms up. Afterwards you’ll add some soft pink buttercream to the side of the cake, smooth and remove the excess.
If everything went according to plan you should have lots of nice and even stripes on the side of your cake creating a good deal of visual interest!
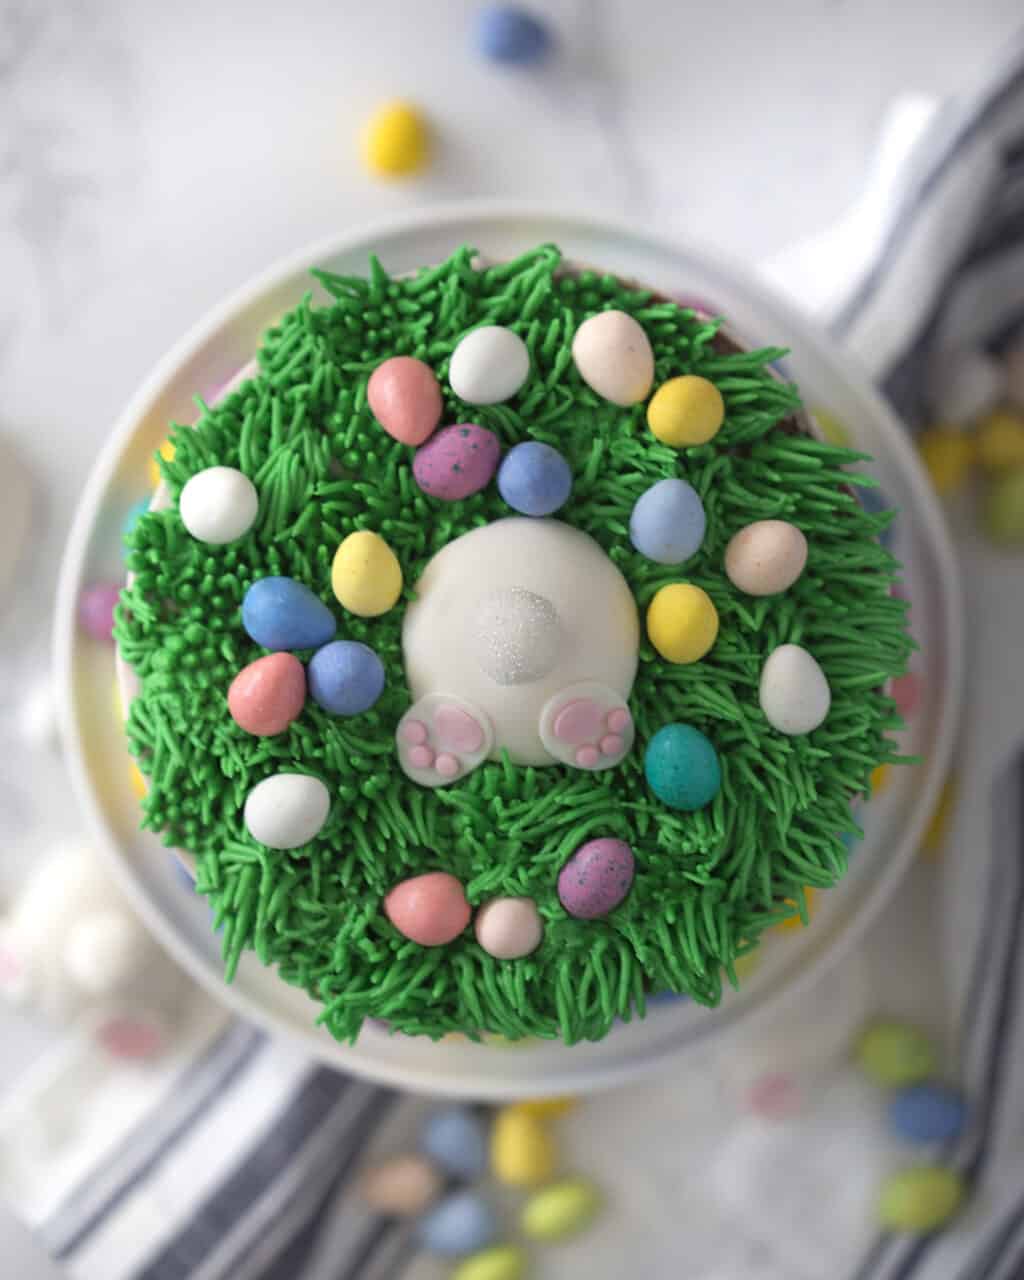
Now you could always use a grass tip to cover the entire cake then finish off with the bunny butt and chocolate eggs if you don’t have that comb or are not a fan of detail work. It will still look and taste great! For those of you who don’t want coffee in your batter it can easily be replaced with milk or water. I love coffee in my chocolate recipes because it really amplifies the chocolate flavor, you don’t really taste the coffee.
Making the bunny butt out of fondant is really easy, and this is from someone who HATES working with fondant!
Steps to Make This Cake
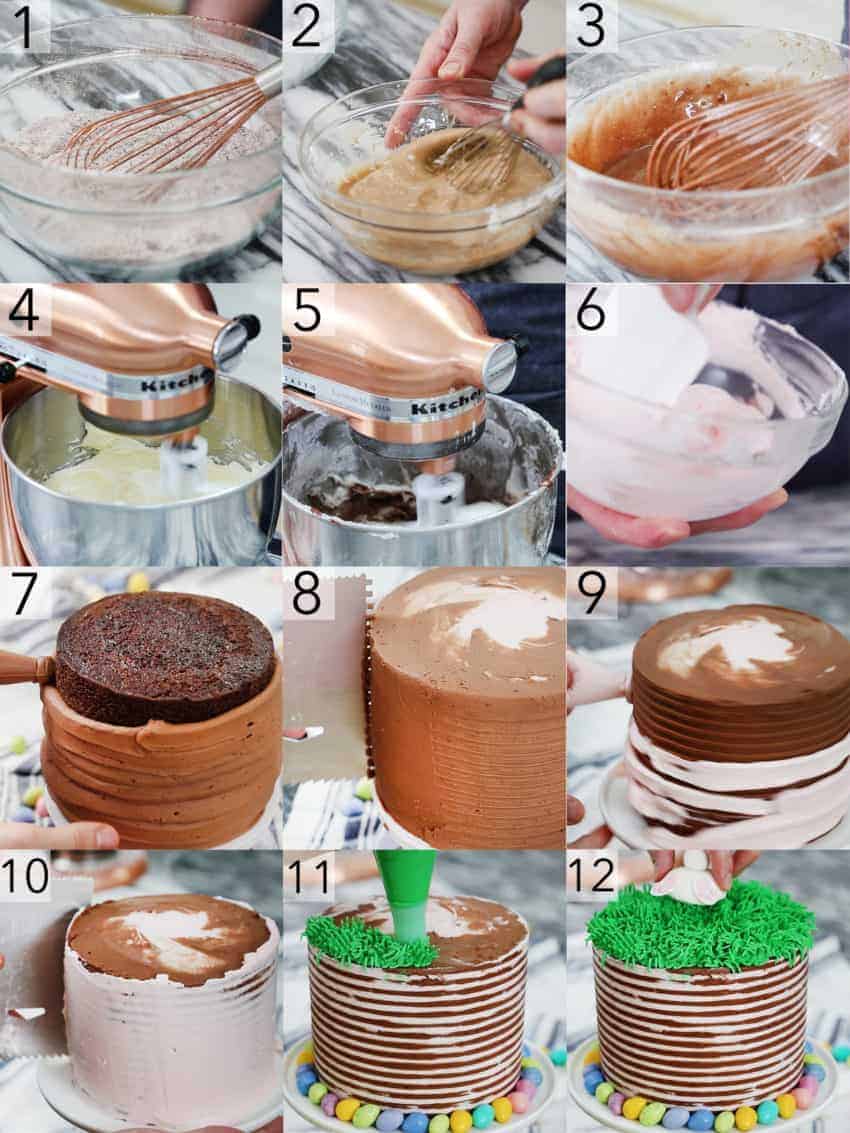
1. Sift dry ingredients, whisk together and set aside.
2. Combine wet ingredients in a large bowl and whisk together. I always make sure they’re at room temperature or even a bit warm. If you notice little clumps of butter, don’t worry about it!
3. Add wet to dry and mix for a minute or two until the batter is smooth. Add evenly to baking pans. Bake at 350F for 30 min or until centers are set.
4. In a stand mixer fitted with a paddle attachment, cream the room temperature butter, confectioners sugar and salt until fluffy. Add a dash of cream and vanilla. Separate into 4 batches. 3 batches can be equal, the last must be double the others.
5. Add melted and cooled dark chocolate and cocoa powder to the largest batch. Mix until smooth. Transfer to a piping bag and snip off the tip.
6. Use a drop of soft pink food coloring in one batch. Mix until desired color is reached. Save about 1 cup of the pink. Add 2 tsp cream to soften the consistency. Transfer both pink buttercreams to piping bags. Snip off the tips. Add a drop of green to another batch. Mix until you get a soft green. Transfer to a piping bag. Snip off the tip. Add pink and green bags to 1 piping bag fitted with a large round tip. Add multiple drops of the green food coloring to another batch. This will be used for the grass. Transfer to a piping bag fitted with a grass tip.
7. Pipe the pink/green swirl between each layer. Cover the cake with chocolate buttercream. Pipe pink buttercream on the top of the cake. Smooth with an offset spatula and scraper. Transfer to the fridge to chill for about 10 min.
8. Use a comb to create a grooved, horizontal stripe pattern. Chill the cake again for about 10 min. Using the softened pink buttercream with added cream, pipe over the grooves. Smooth with a scraper.
9. Pipe softened pink buttercream with added cream, pipe over the grooves.
10. Smooth with a scraper.
11. Pipe grass on top of the cake. Arrange a skirt of chocolate eggs along the bottom.
12. Add the bunny butt and chocolate eggs.
If you’ve tried this recipe then don’t forget to rate the recipe and let me know how you got on in the comments below, I love hearing from you!
Bunny Butt Cake
Ingredients
INGREDIENTS:
For the Cake:
- 1 ½ cup all-purpose flour 190g
- 1 ½ cup granulated sugar 300g
- ¼ cup cocoa powder 25g, nice quality
- ¾ tsp baking powder 3g
- ½ tsp baking soda 3g
- ½ tsp kosher salt 3g
- ¼ cup sour cream 120g, room temp
- ½ cup buttermilk 118mL, room temp
- 2 eggs room temp
- ¾ cup coffee 177mL, hot, strong
- ⅓ cup vegetable oil 79ml
- 2 tsp vanilla 10mL
For the Buttercream:
- 2 lbs confectioners sugar 907g
- 5 sticks butter 565g, unsalted, room temp
- Pinch salt
- 2 tbsp cocoa powder 15g, nice quality
- 1/4 cup dark chocolate 45g, chopped, melted
- 2 tsp vanilla extract 10mL
- 1 tbsp heavy cream 15mL
- Soft pink food coloring
- Green food coloring
For the Bunny Butt:
- ½ cup fondant
- Pink food coloring
Instructions
INSTRUCTIONS
For the Cake:
- Preheat oven to 350 degrees F. Butter and flour 3 six inch cake pans.
- In a large bowl, sift the dry ingredients together until incorporated. Including the sugar.
- In another bowl, whisk together the wet ingredients until combined. (The batter will be clumpy! Do not worry!)
- Add the wet ingredients to the dry ingredients. Mix until combined.
- Distribute the batter into three 6-inch cake pans fitted with damp baking strips.
- Bake for 30 min or until the centers are set and the cake is springy to the touch.
For the Buttercream:
- In a stand mixer fitted with a paddle attachment, cream the room temperature butter, confectioners sugar and salt until fluffy. Add a dash of cream and vanilla.
- Separate into 4 batches. 3 batches can be equal, the last must be double the others.
- Add melted and cooled dark chocolate and cocoa powder to the largest batch. Mix until smooth. Transfer to a piping bag and snip off the tip.
- Use a drop of soft pink food coloring in one batch. Mix until desired color is reached.
- Save about 1 cup of the pink. Add 2 tsp cream to soften the consistency.
- Transfer both pink buttercreams to piping bags. Snip off the tips.
- Add a drop of green to another batch. Mix until you get a soft green. Transfer to a piping bag. Snip off the tip.
- Add pink and green bags to 1 piping bag fitted with a large round tip.
- Add multiple drops of the green food coloring to another batch. This will be used for the grass. Transfer to a piping bag fitted with a grass tip.
For the Bunny Butt:
- Roll white fondant against a cup or glass with a rounded bottom to create the body of the bunny
- Roll out 2 medium ovals for the feet.
- Dye some fondant pink. Cut out circles for the pads of the bunny feet. Add them to the white ovals. Place the feet on the body.
- Roll a ball. Dip in water then in white sanding sugar. Attach to the body for a tail.
For the Assembly:
- Pipe the pink/green swirl between each layer.
- Cover the cake with chocolate buttercream. Pipe pink buttercream on the top of the cake. Smooth with an offset spatula and scraper. Transfer to the fridge to chill for about 10 min.
- Use a comb to create a grooved, horizontal stripe pattern. Chill the cake again for about 10 min. Using the softened pink buttercream with added cream, pipe over the grooves. Smooth with a scraper.
- Pipe grass on top of the cake.
- Add the bunny butt and chocolate eggs.
- Arrange a skirt of chocolate eggs along the bottom.
Notes
Nutrition
Have you tried this recipe? Tag me today!
Mention @preppykitchen and tag #preppykitchen!
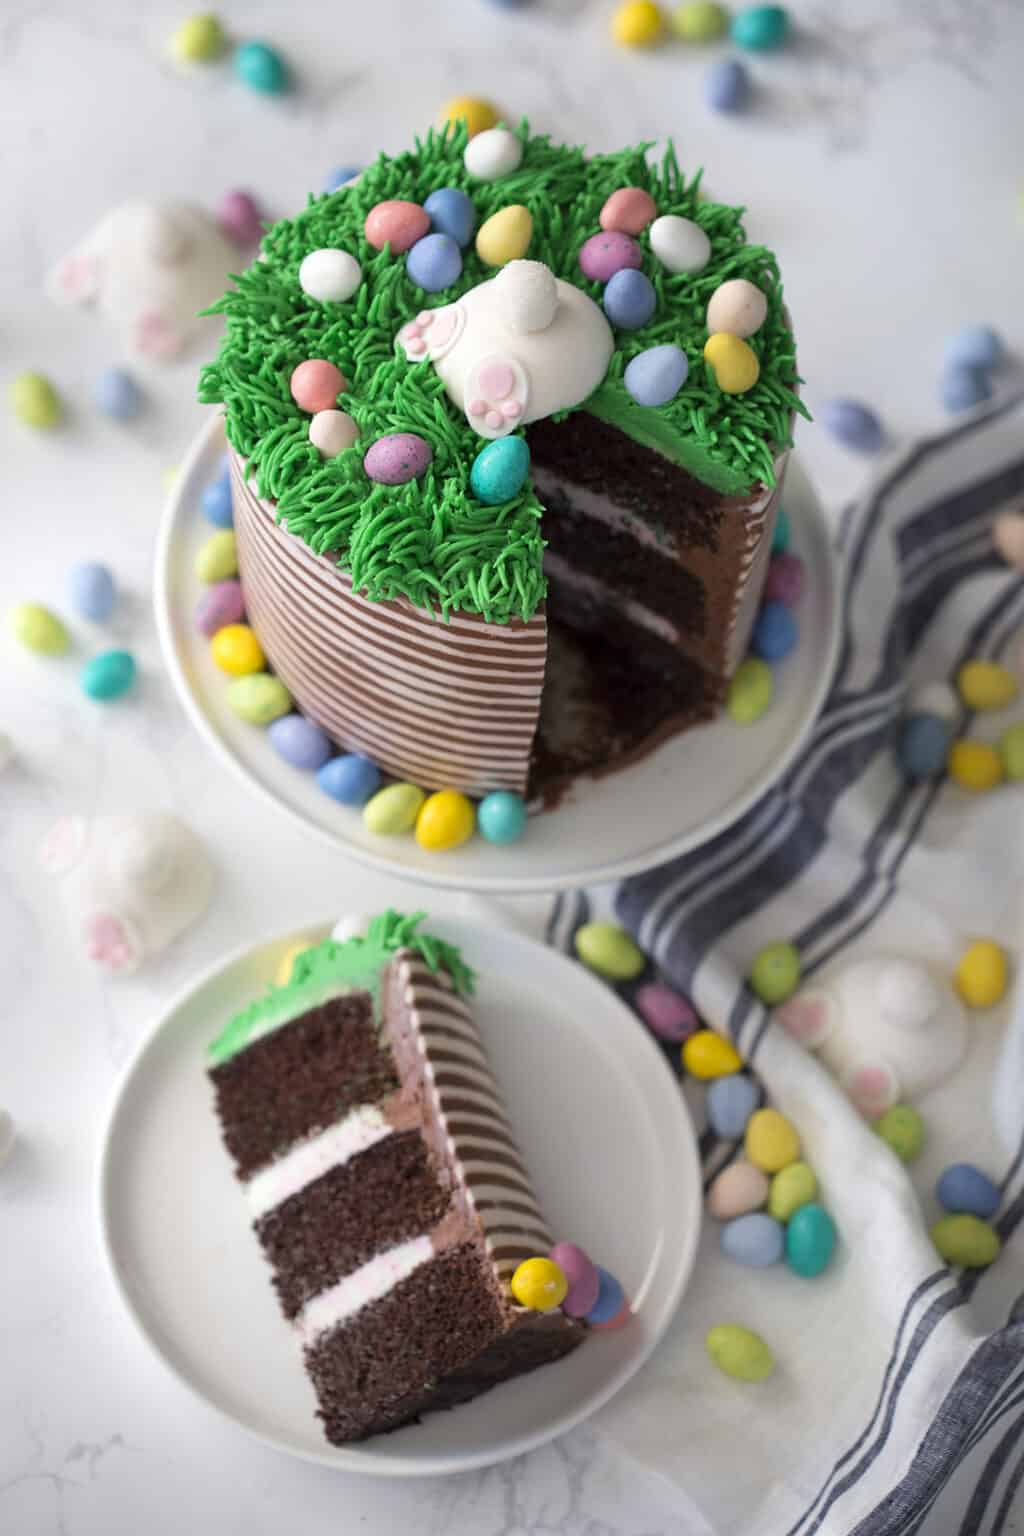
This recipe is really moist and chocolatey, no need for any simple syrups or glazes to improve the cake and you can switch up the decoration scheme so it can be a year round affair.
How to Make an Easter Bunny Cake
How to Make an Easter Bunny Cake
Full Recipe: https://preppykitchen.com/bunny-butt-easter-cake/
A special holiday calls for a special cake, which in this case has lots of stripes a bunny butt on top…






