

This post may contain affiliate links. Please read our disclosure policy.
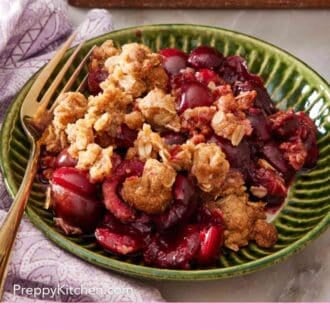
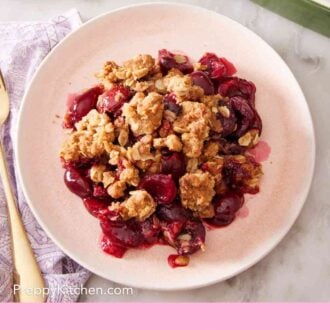
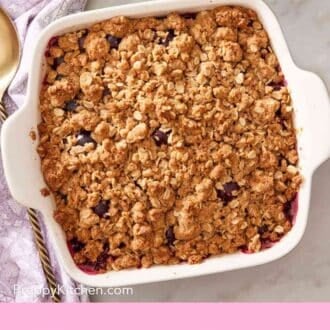
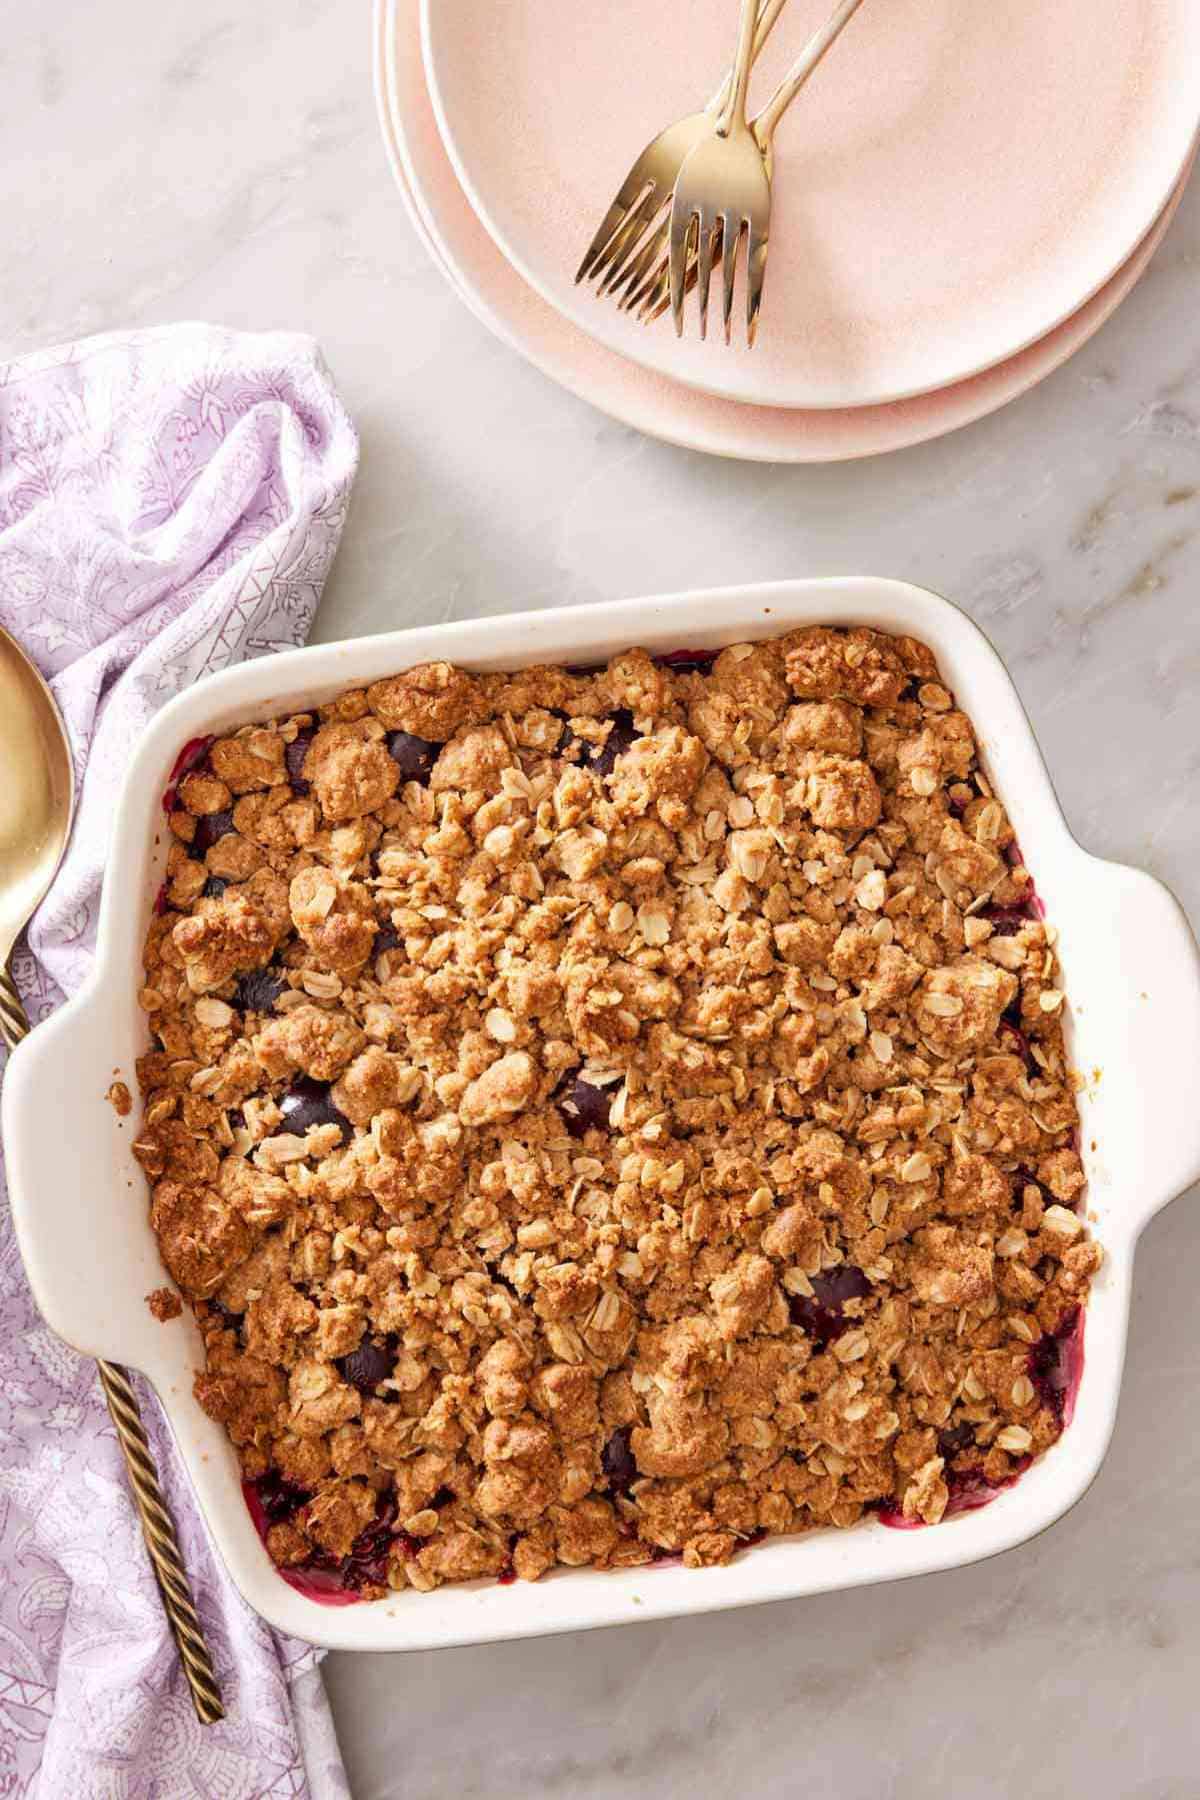
There’s no better way to celebrate summer cherry season than with my fresh Cherry Crisp recipe. This easy dessert is brimming with the sweet-tart flavor of juicy cherries and a buttery brown sugar oat crisp topping. It takes only 15 minutes to assemble before baking into the perfect summer dessert.
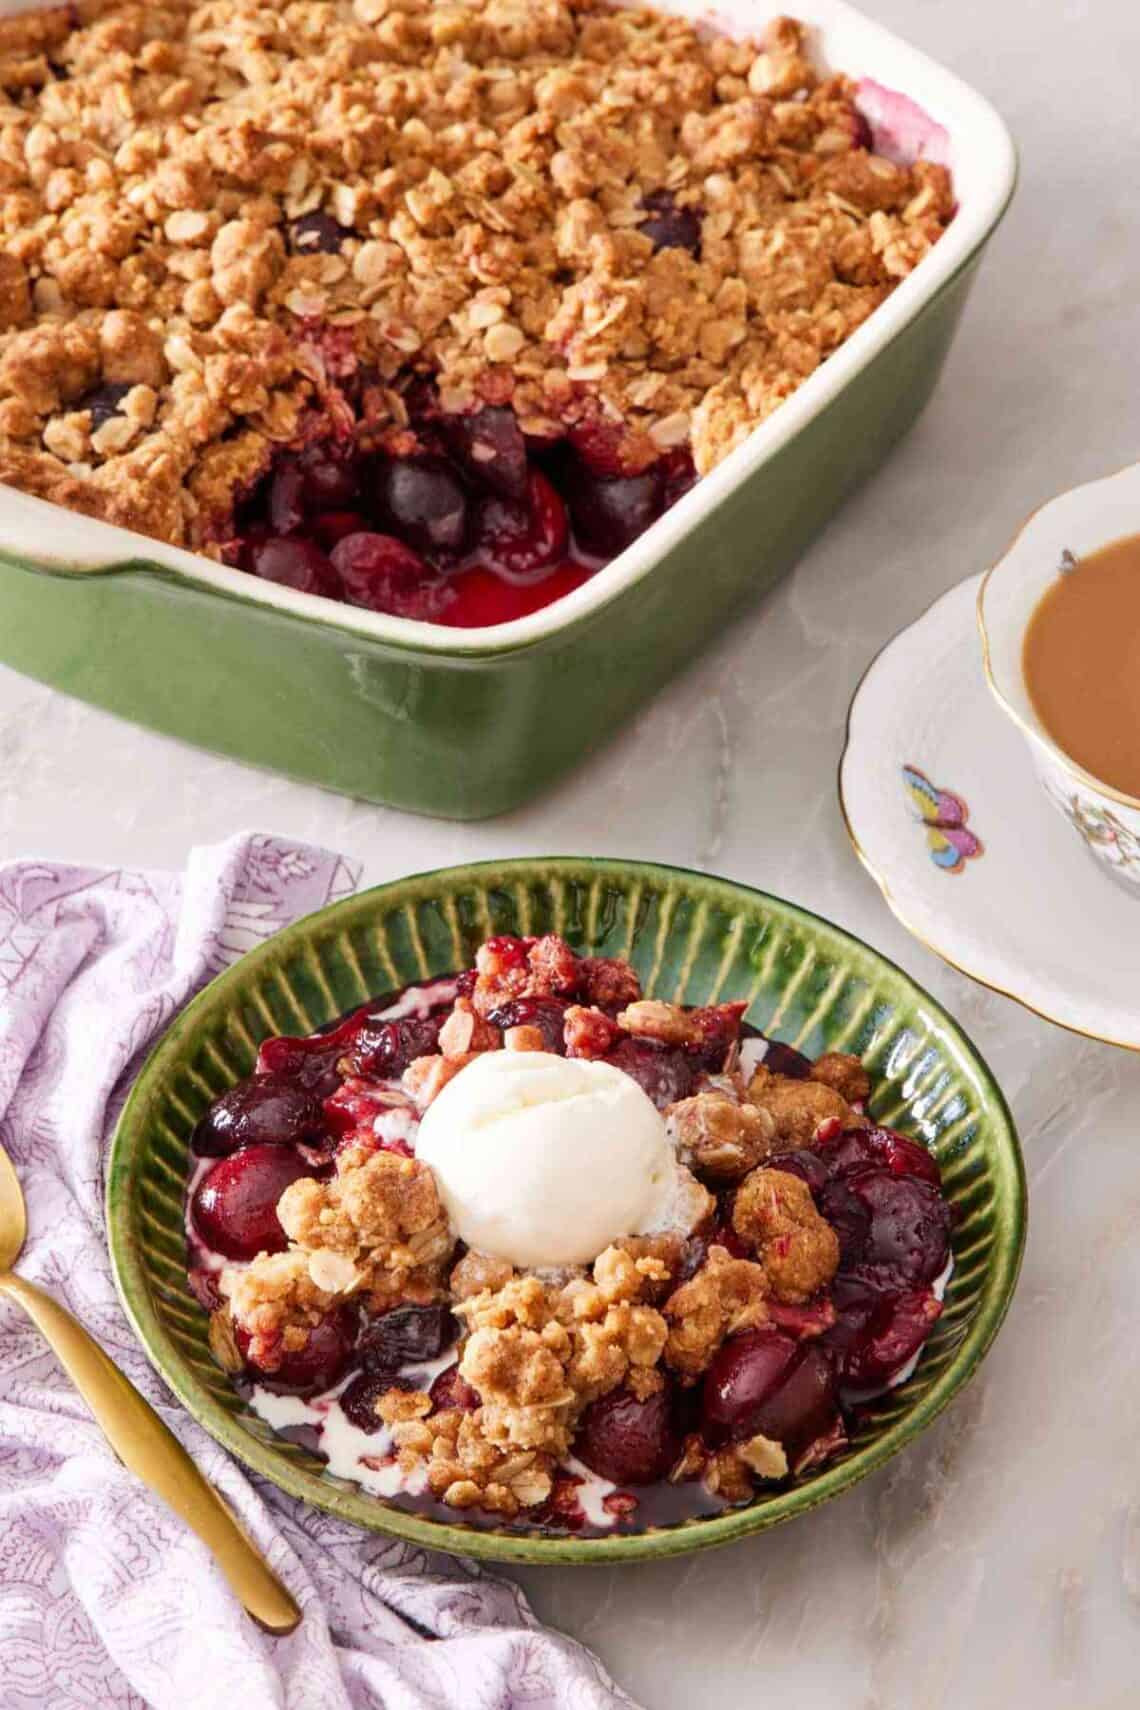
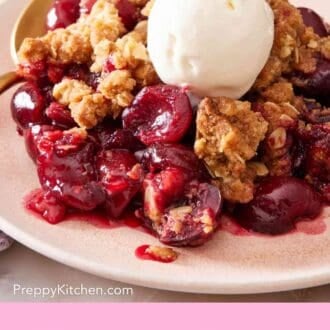
A bowl of warm, old fashioned cherry crisp screams summer! Right at home alongside a peach crisp, this delicious dessert is one I make all summer long. Top it off with a scoop of vanilla ice cream or pistachio ice cream, and I’m in dessert heaven.
My easy cherry crisp recipe brings all the flavor of cherry pie to the table in so much less time. I have been asked about using canned cherry pie filling instead of making a fresh filling, and while you can, it’s going to taste much better using fresh cherries. You don’t need to precook the filling either, so the time spent on pitting the cherries is made up for in that the rest of the crisp simply stirs together! All you have to do is mix up the topping ingredients, stir together the filling, and bake, leaving plenty of time for enjoying some time outdoors.
Key Ingredients and Substitutions
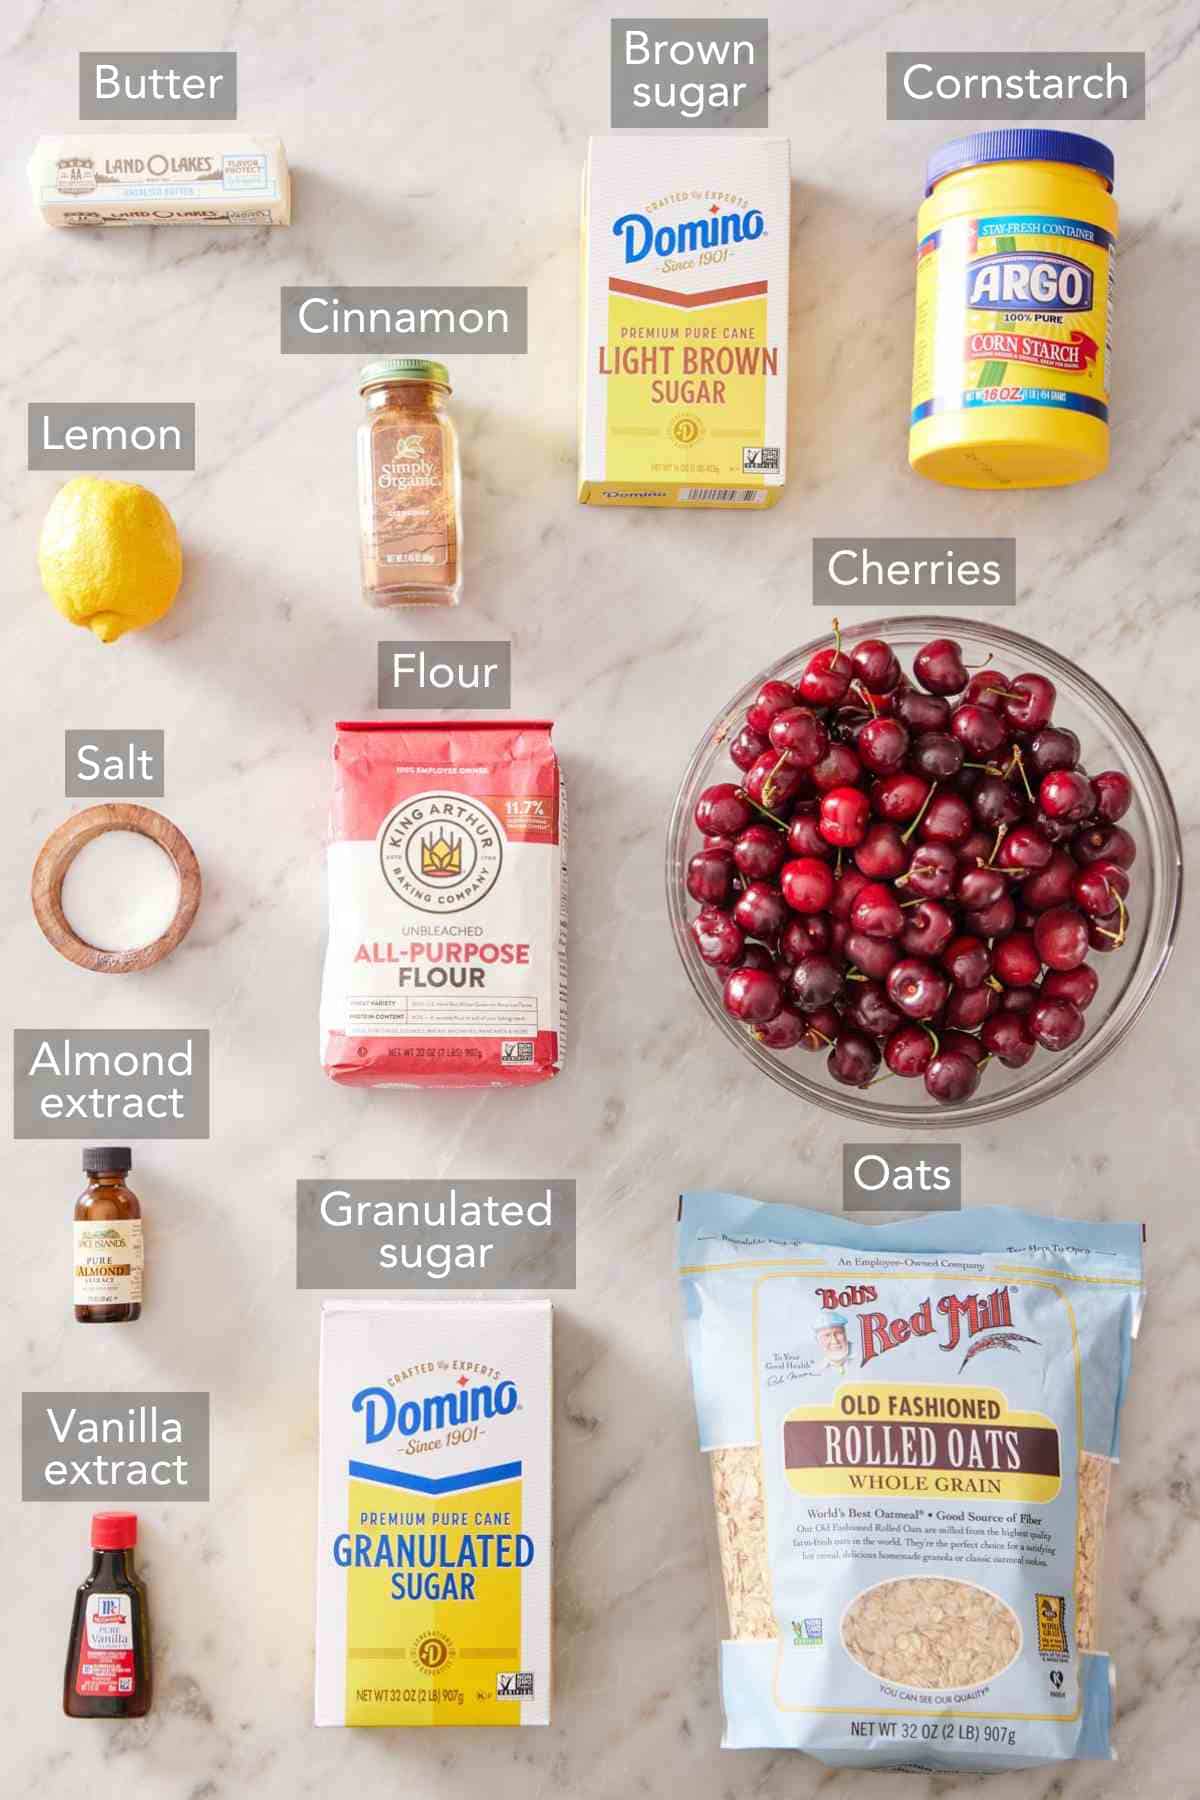
These are the main ingredients you’ll need to make the best cherry crisp, and some helpful substitutions if you’re missing something! You can find the full list of ingredients in the recipe card below.
Fresh cherries — there’s nothing like the flavor of fresh, sweet cherries when they’re in season. My favorites are red cherries (like Bing) or the slightly sweeter white Rainier cherries. You can use sour cherries or tart cherries if you prefer, though you may want to consider skipping the lemon juice or adding a few extra tablespoons of sugar.
Cornstarch — adding a touch of cornstarch ensures your filling thickens up, yielding perfectly sticky results. Tapioca flour is a perfect 1:1 substitute.
Almond extract — this is an optional addition, but one that I love. While vanilla extract adds an aromatic warmth, the nutty flavor of almonds pairs beautifully with all stone fruits, including cherries! I find the addition of the almond extract actually enhances the cherry flavor.
Crisp topping — a simple mix of all-purpose flour, brown sugar, rolled oats, unsalted butter, salt, and ground cinnamon is all you need to make a spectacularly crisp topping for the juicy cherry filling. Feel free to swap in quick oats (not instant oats) if needed.
Tips For Pitting Fresh Cherries
A cherry pitter will do the quickest work of removing the pits from fresh cherries. If you don’t have one, a sturdy straw, chopstick, or skewer will also work! Remove the stems and push the tip of your tool of choice through the stem end, pushing the pit out the other side. This is a great activity to involve the kids in—just make sure little hands aren’t handling any very sharp implements to prevent accidents. Check out my cherry cobbler recipe for more cherry-pitting tips and full technique details!
Can This Be Made With Frozen Cherries?
Absolutely! You’re welcome to use frozen cherries to cut back on prep (since they’re already pitted) or if you want to make this crisp when fresh cherries are out of season. Just note that frozen cherries are typically juicier than fresh, so increase the amount of cornstarch you use by 2 teaspoons. No need to defrost them first!
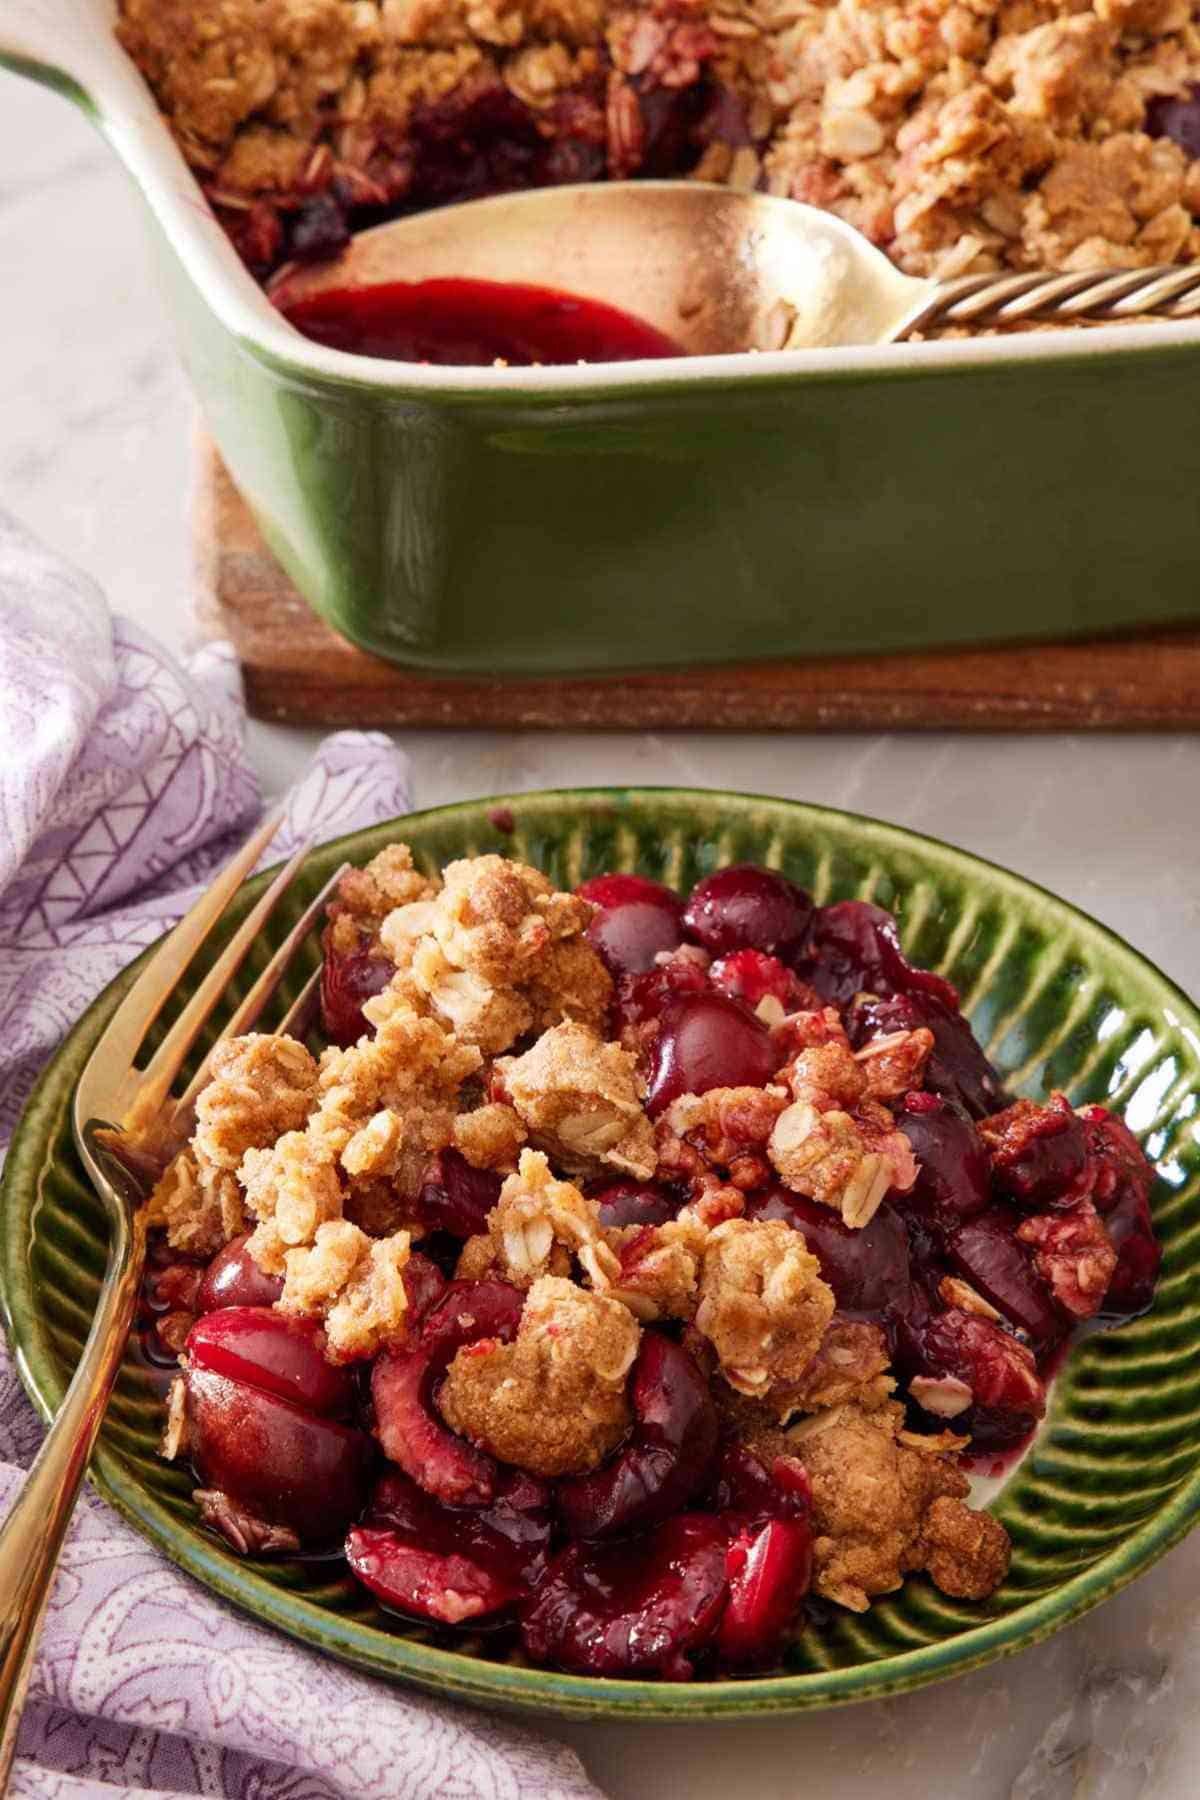
Pro Tips For Making The Best Cherry Crisp
For a saucier crisp, cut all or some of the cherries in half before mixing them with the sugar. If cut in half, they will break down faster and release more juices when baked.
Let the cherries macerate for a few minutes before cooking them. Keeps them from sticking to the pan and burning during the initial few minutes of cooking.
Chilling the topping makes for a crunchier cherry crisp! Starting with a cold topping keeps it from melting too fast, so it maintains its shape and texture when baking.
Temp the crisp filling if you’re unsure when it’s done baking. Look for signs of the cherry juices bubbling up all around the edges, but inserting an instant-read thermometer into the center will give you the assurance that the filling is cooked through. It should be between 175-190°F to thicken properly and soften the cherries.
How To Make Cherry Crisp
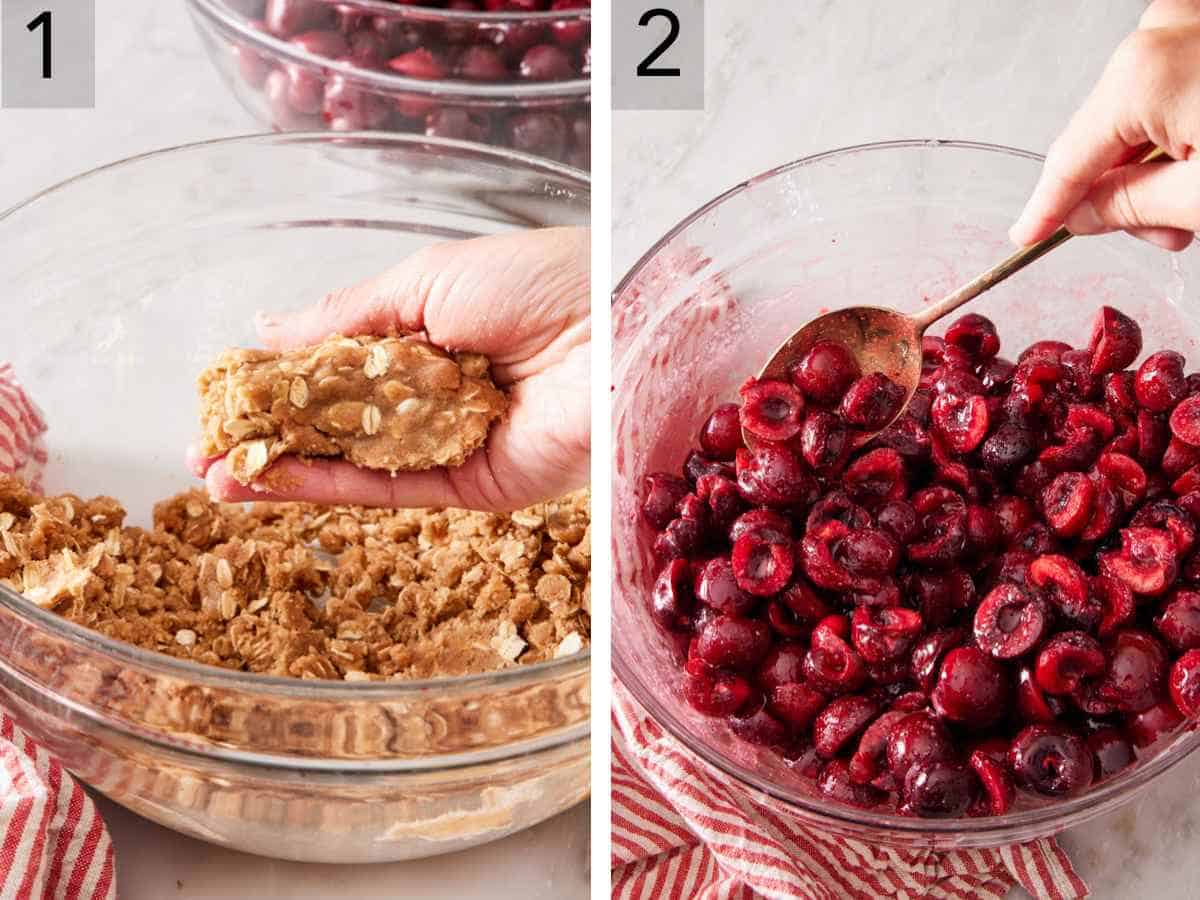
1. Grab a medium bowl and mix the flour, brown sugar, oats, and cinnamon together before mixing in the melted butter. To get those irresistible clusters, use your fingers to gently squeeze the mixture into larger crumbles—you want the butter to soak up all that dry goodness. Once it’s ready, pop the bowl in the fridge to chill while you work on the filling.
2. Go ahead and preheat your oven to 350°F. While it’s heating up, grease your favorite 2-quart baking dish—anything like a 9×9-inch pan or a 10-inch skillet will work great. In a large bowl, toss together the cherries, granulated sugar, lemon juice, cornstarch, vanilla extract, and a splash of almond extract if using. Stir everything together, and then let the mixture sit for about 10 minutes so the cherries can start releasing their juices and get all glossy and syrupy.
3. Pour the cherry mixture (juices and all!) into your prepared baking dish. Grab your crisp topping from the fridge and scatter it evenly over the fruit.
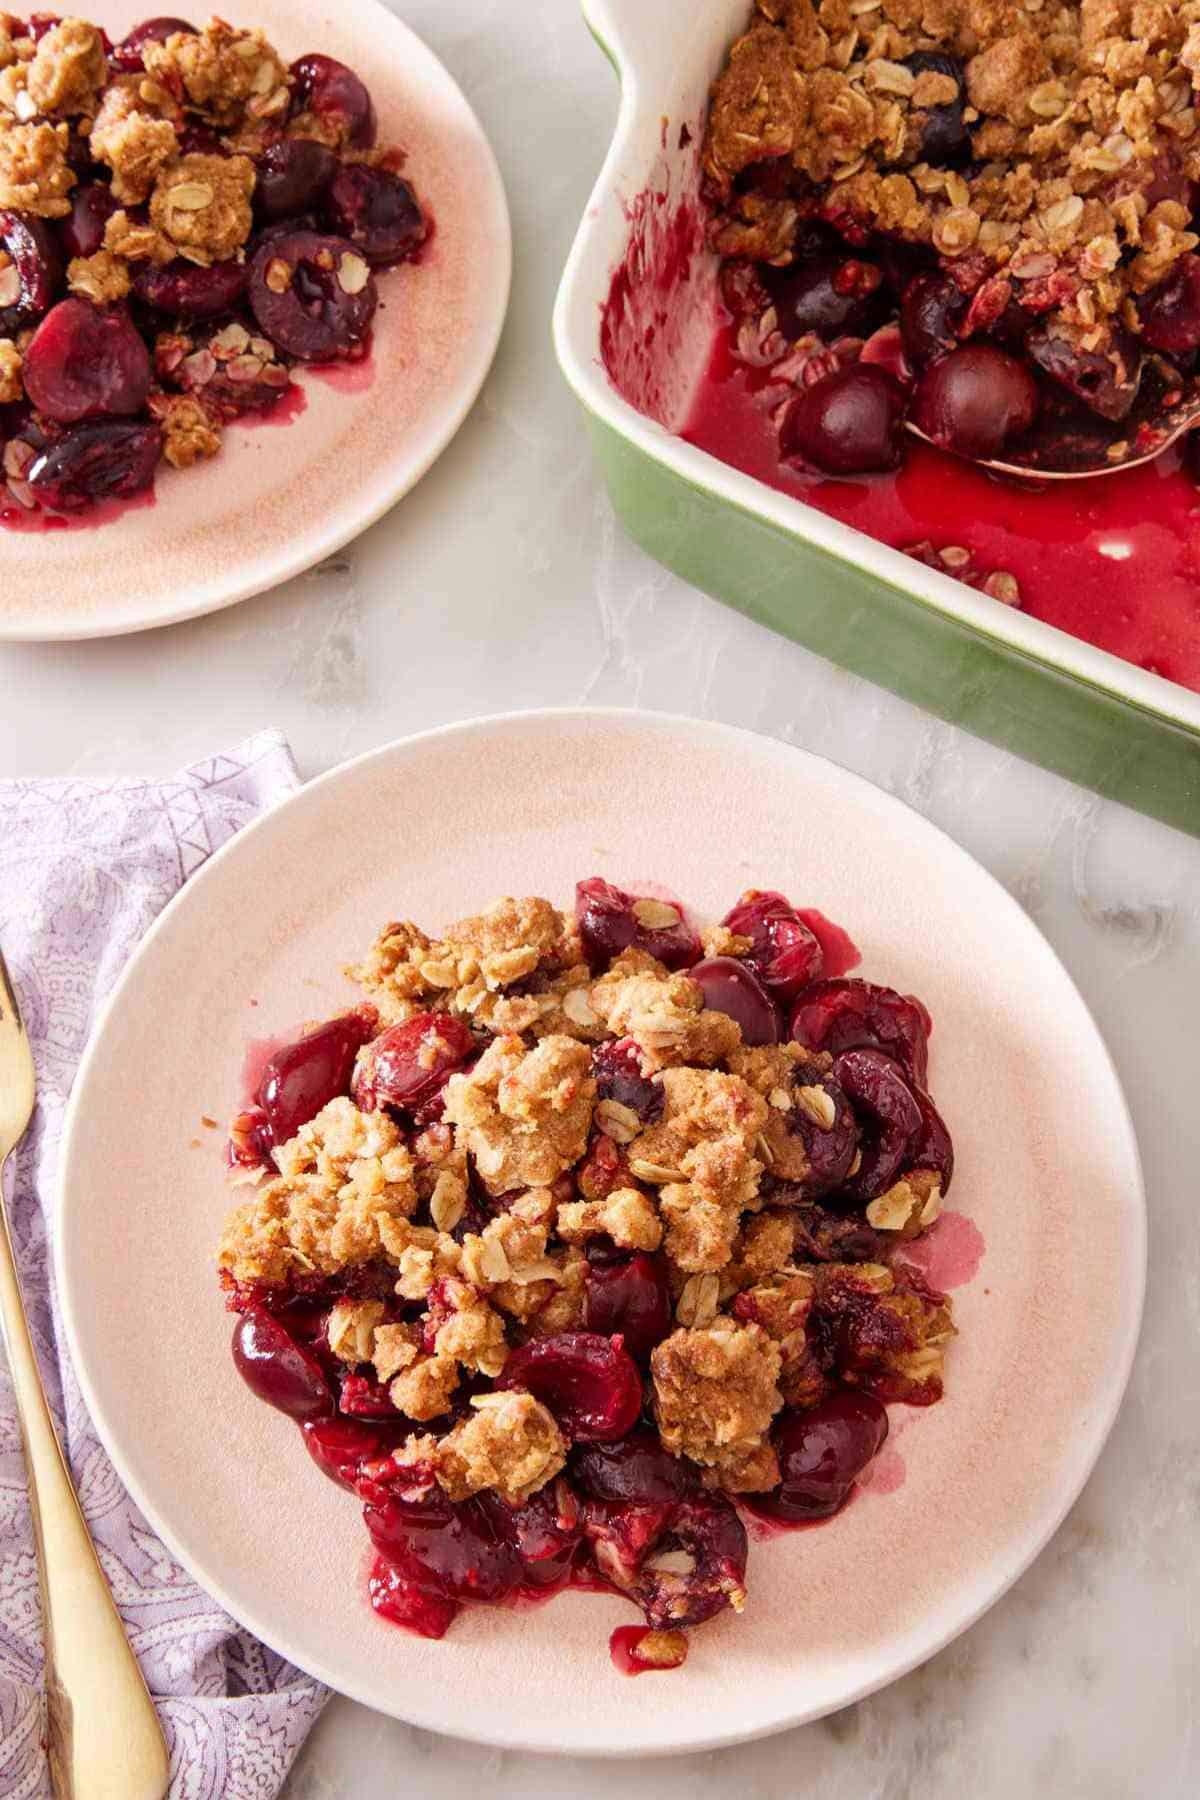
4. Bake for 45 to 50 minutes, keeping an eye on the topping—if it’s browning too quickly, loosely cover it with foil during the last 10 minutes. You’ll know it’s done when the top is golden brown, and the filling is bubbling all around the edges. Let the crisp cool for about 15 minutes before digging in—it’s worth the wait! Don’t forget a dollop of whipped cream or a scoop of ice cream to serve—the cool, creamy richness is a welcome contrast to the warm, fruity filling.
Cherry Crisp Recipe
Equipment
- 9×9-inch pan, or 2-quart baking dish, or 10-inch skillet
Ingredients
For the Crisp Topping:
- 1 cup all-purpose flour (120g)
- ¾ cup packed light brown sugar (165g)
- ¾ cup rolled oats or quick-cooking, (70g)
- 2 teaspoons ground cinnamon
- ¼ teaspoon salt
- ½ cup unsalted butter melted and cooled (113g)
For the Filling:
- 8 cups fresh cherries pitted and halved (1260g)
- ½ cup granulated sugar (100g)
- 3 tablespoons fresh lemon juice
- 3 tablespoons cornstarch
- 2 teaspoons vanilla extract
- ½ teaspoon almond extract optional
Instructions
For the Crisp Topping:
- In a medium bowl, stir together the flour, brown sugar, oats, and cinnamon. Pour in the melted butter then stir with a fork until crumbly. Squeeze the mixture into larger clumps using your fingers, until all of the flour mixture is absorbed by the butter. Place in the refrigerator until you are ready to use.
For the Filling:
- Preheat the oven to 350°F. Grease a 2-quart baking dish, 9×9-inch pan, or 10-inch ovenproof skillet.
- In a large bowl, toss the cherries with the granulated sugar, lemon juice, cornstarch, vanilla extract, and almond extract, if using. Mix well to combine. Set aside for 10 minutes to let the cherries macerate.
- Stir the mixture once again, then transfer the cherries and juices in the bowl to the prepared baking dish. Top with the crisp topping.
- Bake for 45 to 50 minutes, tenting during the last 10 minutes of baking if the topping browns too quickly, until golden brown and bubbly all over. Let cool for about 15 minutes before serving.
Notes
- The crisp topping can be prepared and refrigerated for up to 3 days before baking. Or, transfer it to an airtight container and freeze for up to 3 months.
Nutrition
Have you tried this recipe? Tag me today!
Mention @preppykitchen and tag #preppykitchen!
Make Ahead, Storage, and Freezing Tips
Make ahead: You can prep the cherry filling a day and the crisp topping 3 days in advance. Store them in separate airtight containers in the fridge, then assemble and bake when you’re ready. You can also assemble the whole crisp, cover it tightly, and refrigerate it unbaked for up to 24 hours. When you’re ready to bake, uncover it and pop it straight into the oven—no need to bring it to room temperature, though you may need to add a few extra minutes to the bake time. The crisp topping will be a bit softer if you assemble it like this before baking, but it will still be delicious.
Refrigerating: Let the leftover crisp cool completely. Then, cover the dish tightly with plastic wrap or foil or transfer portions to an airtight container, trying to keep the crisp topping on top. It’ll keep in the fridge for up to 4 days. For best results, reheat it at 350°F in the oven for about 15 to 20 minutes or air fryer for 5 to 8 minutes to re-crisp the topping.
Freezing: This cherry crisp freezes like a dream! You can freeze it either before or after baking.
- Unbaked: Assemble the crisp in a freezer-safe dish, wrap it well with a layer of plastic wrap and a layer of foil, and freeze for up to 3 months. Bake it straight from frozen at 350°F, adding an extra 10–15 minutes to the baking time.
- Baked: Let it cool completely, then wrap it tightly or transfer it to freezer-safe containers. Freeze for up to 3 months. To reheat, bake at 350°F until warmed through and bubbly, about 30 minutes.
Variations To Try
- Use amaretto in the filling: For a slight boozy twist, skip the almond extract, adding 1-2 tablespoons of amaretto instead.
- Add sliced almonds to the topping: You can add up to ½ cup to the mix like I do in this pear crisp topping.
- Chocolate-cherry twist: Chocolate and cherries make a delightful pair. Try drizzling a serving with rich chocolate ganache, serve it with a scoop of chocolate ice cream, or scatter a handful of chocolate chips or chocolate chunks over the fruit filling before adding the crisp topping prior to baking.
- Make a gluten-free crisp: Use certified gluten-free oats and your favorite cup-for-cup gluten-free baking mix instead of all-purpose.
Frequently Asked Questions
If your cherry crisp turned out runny, there are a few likely reasons. One common issue is not using enough thickener—cherries release a lot of juice as they bake, and without enough cornstarch (or a similar thickening agent), the filling won’t set properly. Be sure to measure all of the ingredients properly.
Another culprit could be frozen cherries. They’re juicier than their fresh counterparts, and all that extra moisture can lead to a watery filling—which is why I recommend adding 2 extra teaspoons if you use frozen. It’s also important to let the crisp rest after baking. As tempting as it is to dig in right away, the juices need at least 15 minutes to cool slightly and thicken up.
Finally, underbaking can also be a factor. The crisp needs to bubble all the way to the center so the cornstarch can fully activate and do its job. If runniness is a consistent issue, try increasing the thickener slightly next time you make it.
If you’ve tried this Fresh Cherry Crisp recipe, then don’t forget to rate it and let me know how you got on in the comments below. I love hearing from you!






