

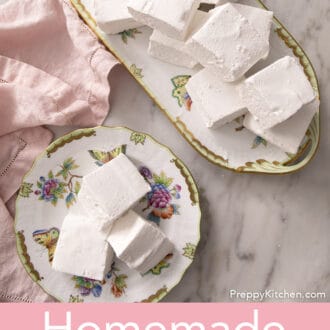
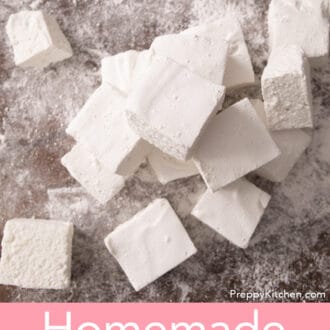

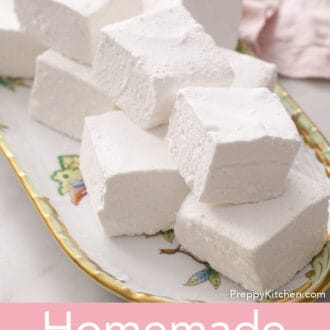
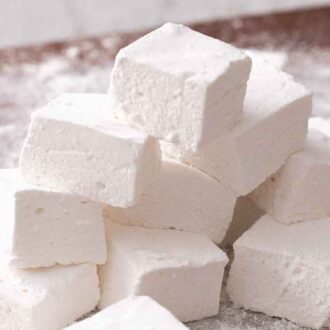
Soft and addictively squishy, this marshmallow recipe makes a vanilla-scented sweet treat you’ll want over and over again! You need just a few ingredients and a little time to pull off this recipe. In this updated post, I share all my tips for the perfect marshmallows. From using a candy thermometer to take the guesswork out of making sugar syrup to adding color and different flavors, I’ve got you covered! Make mini marshmallows to drop a few into your hot cocoa, turn the big squares into gooey s’mores, or melt leftovers down to make Rice Krispie treats. However you use them, these melt-in-your-mouth homemade marshmallows are absolutely worth making from scratch.
A reader, Susan, says: “I made these yesterday and WOW! So darn easy, and they really do melt in your mouth. I’ve put them in hot chocolate and even in my coffee. I’m going to the store later to get some chocolate to melt for dipping – I can’t wait!” ★★★★★
Key Ingredients
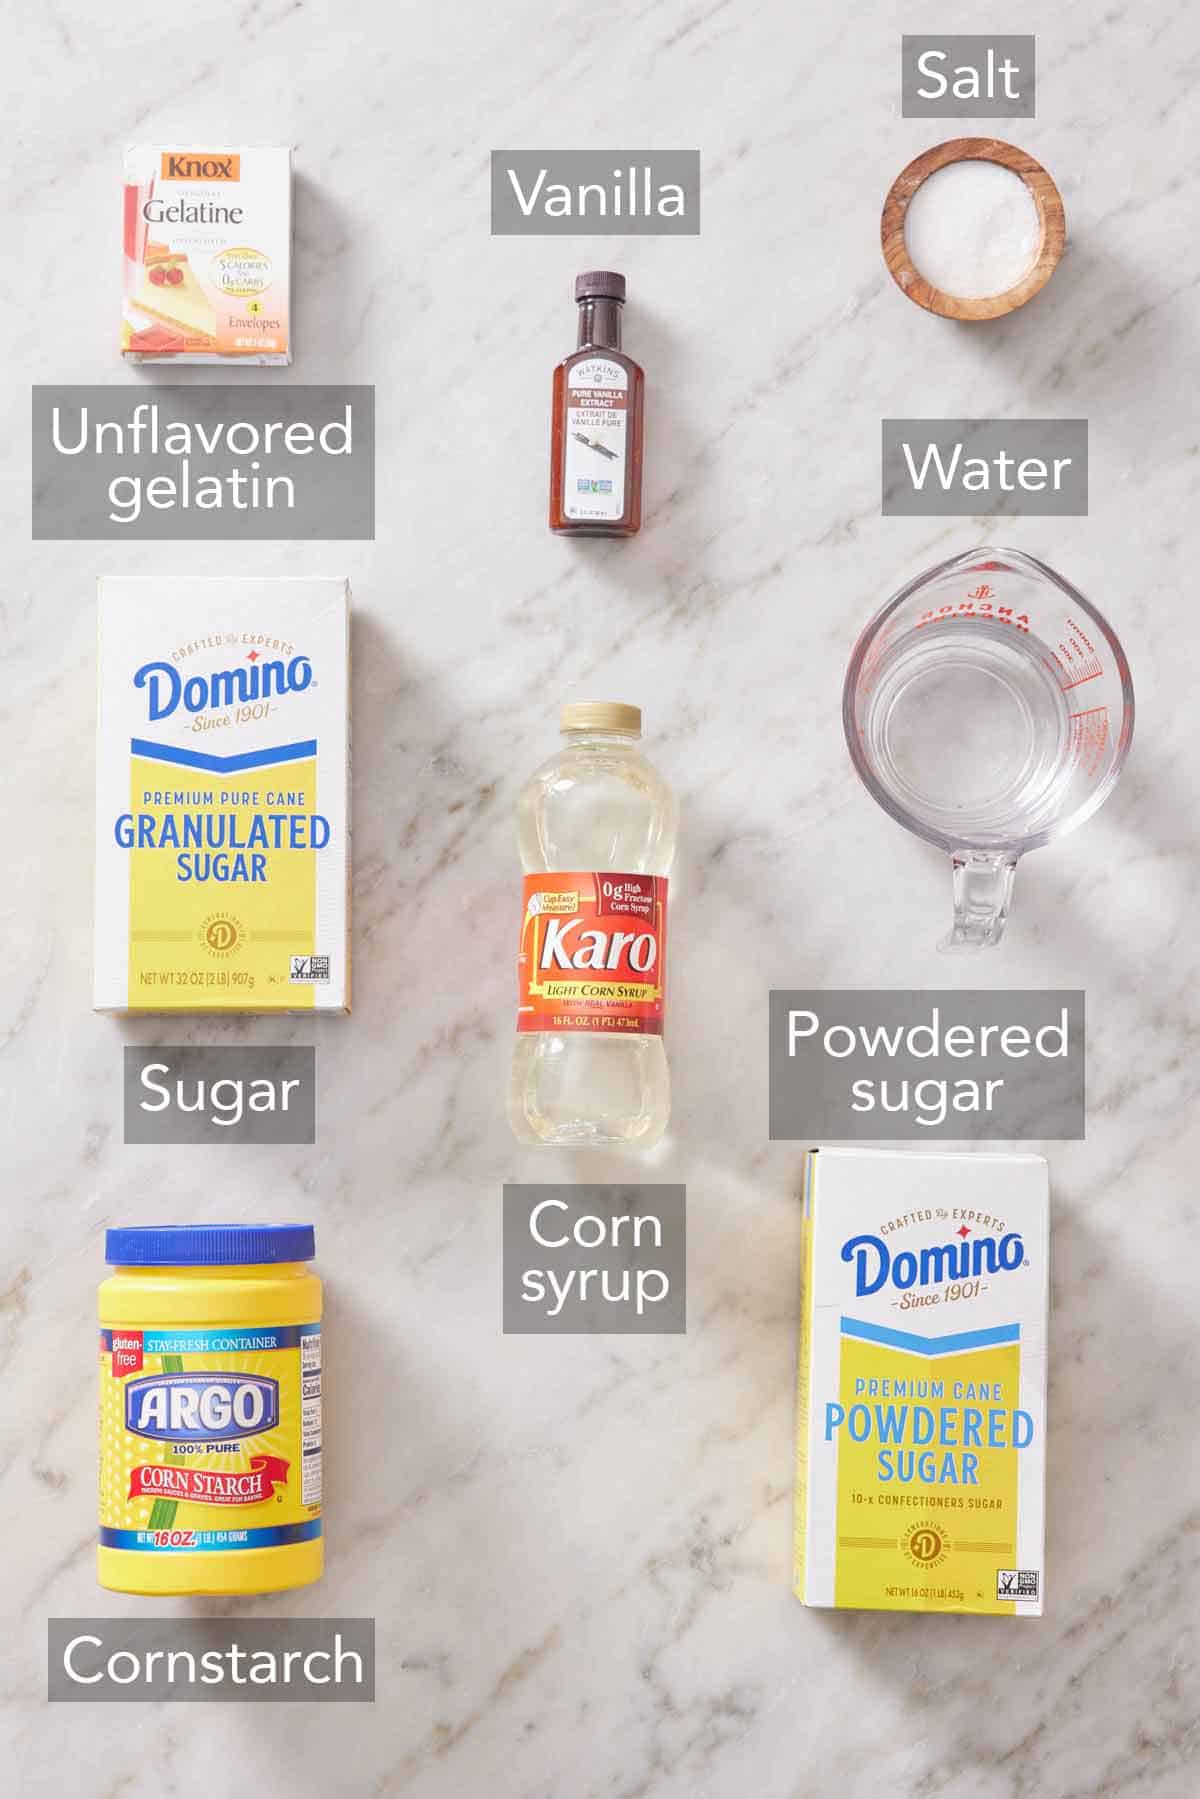
These are the main ingredients you need to make marshmallows from scratch. You can find the full list of ingredients and measurements in the recipe card below.
Gelatin — unflavored gelatin is essential to helping the homemade marshmallows set. I buy individual packets of powdered gelatin. If you have sheets of gelatin, be sure to read the instructions on the package for how to hydrate it before mixing it with the sugar syrup.
Granulated sugar — you’ll cook it into a syrup along with corn syrup to sweeten the marshmallows. It’s also essential to the texture of the marshmallow, so don’t try to swap it for a sugar substitute.
Corn syrup — light corn syrup prevents the sugar syrup from crystallizing when boiling it, and keeps the marshmallow texture soft and bouncy. The bottles of corn syrup you find in the grocery store are not the same as high fructose corn syrup (HFCS). In fact, you typically can’t find HFCS in stores. Corn syrup consumer brands like Karo are made of 100% glucose (HFCS is a highly processed form of corn syrup that converts the sugars to fructose, not glucose). If you have a hard time finding corn syrup (sometimes labeled as glucose syrup), swap it for brown rice syrup or golden syrup.
Cornstarch and powdered sugar — you’ll whisk these together and dredge your homemade marshmallows in the mixture to prevent them from sticking to your hands, knife, pan, and cutting board. Powdered sugar is also labeled as icing sugar and confectioner’s sugar, so any of those products will work here.
Why A Candy Thermometer Is Helpful
To make homemade marshmallows with the proper chewy texture, the sugar syrup needs to be cooked to a specific temperature. Otherwise, the marshmallows won’t set properly, and they can turn out soft or gummy instead of chewy. The syrup has to reach 240°F, or the soft-ball stage. At this stage, the sugar will be soft, pliable, and chewy when cooled, producing that addictive chewy texture marshmallows are known for.
Candy thermometers are handy tools that remove the guesswork and stress of getting the syrup to the perfect temperature! I highly recommend using one for this marshmallow recipe. I use my candy thermometer in a number of recipes, such as peanut brittle and popcorn balls, along with various others, so I have it on my list of essential kitchen tools to keep on hand.
What if I don’t have a candy thermometer? If you don’t have one, you can try the cold water test. Add very cold water to a glass or bowl and drop a small amount of the hot sugar syrup into the water when you think it’s ready. If it forms a ball that feels squishy once it’s cooled (30 seconds to 1 minute), the syrup is ready. If it dissolves, the syrup is not ready. If the ball is very hard, the syrup is too hot and will need to be redone.
Do I Have To Use Gelatin?
Yes! Gelatin is essential for the bouncy texture we all crave in a marshmallow! I’ve been asked before if you can use agar agar (a gelling agent made from seaweed) as a vegan substitute. While you can definitely make marshmallows with it, it has to be heated and incorporated into the recipe differently than gelatin. So, I do not recommend making that swap in my marshmallow recipe.
Can I use flavored gelatin like Jello? I wouldn’t swap it in because those products also contain other ingredients like sugar, which can throw off the ratios in the recipe. This can cause the marshmallows not to set properly. Stick with unflavored gelatin for the best results, and add flavor with different extracts instead (more on that just below!).
How To Color And Flavor Marshmallows
My recipe is very adaptable and an excellent canvas to get creative! This marshmallow recipe yields classic vanilla-flavored marshmallows, but it is super easy to change the flavor and color.
To change the flavor, you can add 1 to 2 teaspoons of other flavorings like orange, strawberry, lemon, almond, or peppermint extract to the marshmallow along with the vanilla extract (or in place of it).
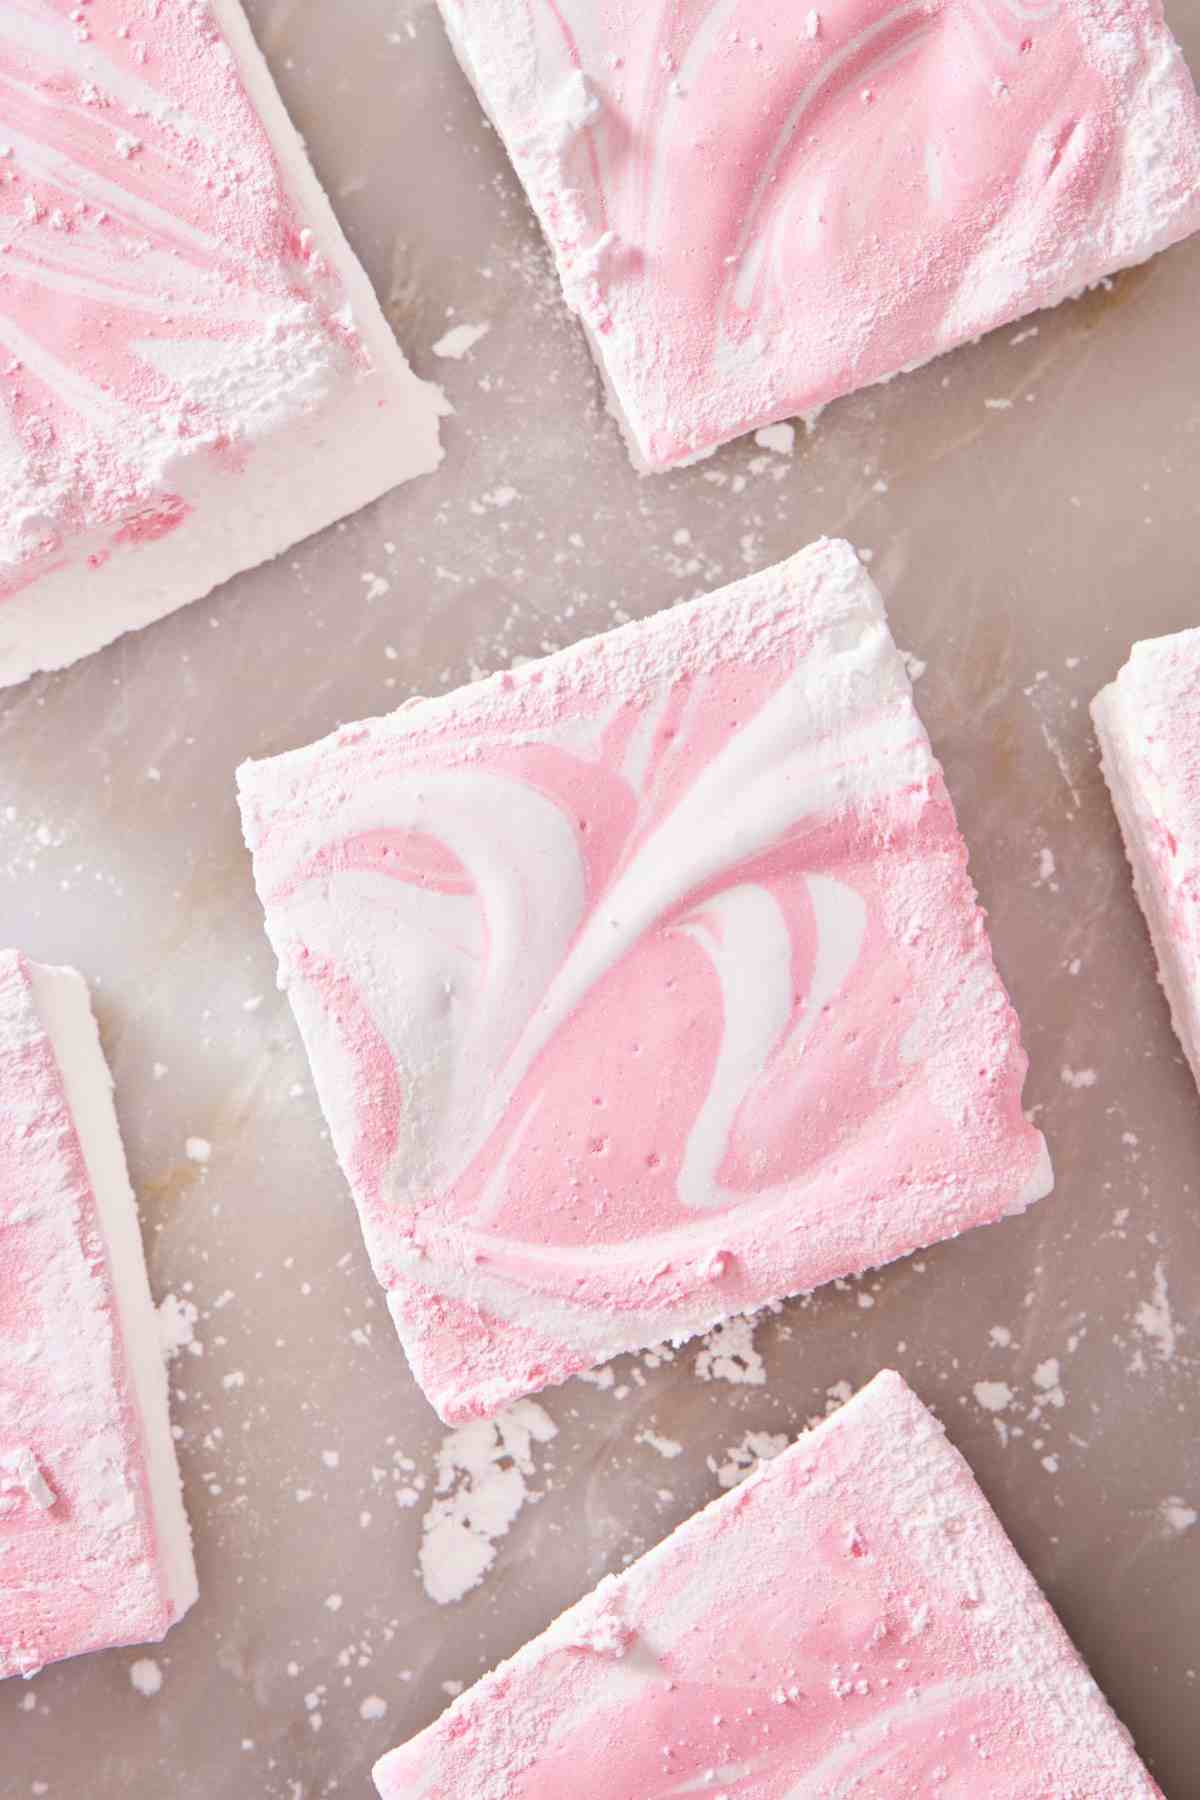
For different colors, add a few drops of food coloring to the bowl when you add the vanilla. Or, try folding jimmies, mini chocolate chips, or finely chopped chocolate into the mix for a twist. Add these mix-ins at the end with the flavorings once the marshmallow mixture is whipped and cooled; otherwise, they can melt.
To achieve a gorgeous marbled effect, remove a quarter of the marshmallow fluff and place it in a small bowl. Spread the rest of the plain marshmallow in the pan. Working quickly, add a few drops of food coloring to the marshmallow in the bowl and stir together. Dollop the colored marshmallow on top of the plain marshmallow and swirl them together with a knife.
Use A Different Pan For Mini Marshmallows
You can easily turn this recipe into mini marshmallows by using a larger pan! Use a 9×13-inch pan to create a thinner marshmallow slab. The larger pan makes it easy to cut small pieces since the marshmallow recipe doesn’t turn out nearly as thick as if you use an 8-inch or 9-inch baking pan. Once set, remove the slab, cut it into thin strips, and then into small cubes.
Pro Tips For Making The Best Marshmallows
Choose the pan size according to how thick you want the marshmallows. An 8- or 9-inch square pan will make thick marshmallows, which is one of my favorite things! These thick marshmallows are ideal for serving as a treat by themselves or toasted for s’mores. For thinner marshmallows (great for making mini marshmallows, as mentioned above, or creative cut-outs), use a 9×13-inch pan.
Marshmallows are sticky! I cannot stress this enough. This is a very sticky treat, so be sure to grease the pan well. If your baking dish is not nonstick, dust it lightly with cornstarch after greasing it. Alternatively, fully line it with parchment paper or plastic wrap and lightly grease it.
How To Make Marshmallows
Below, I’ve highlighted portions of the recipe in step-by-step process images along with instructions for making homemade marshmallows. You can find the full set of instructions in the recipe card below.
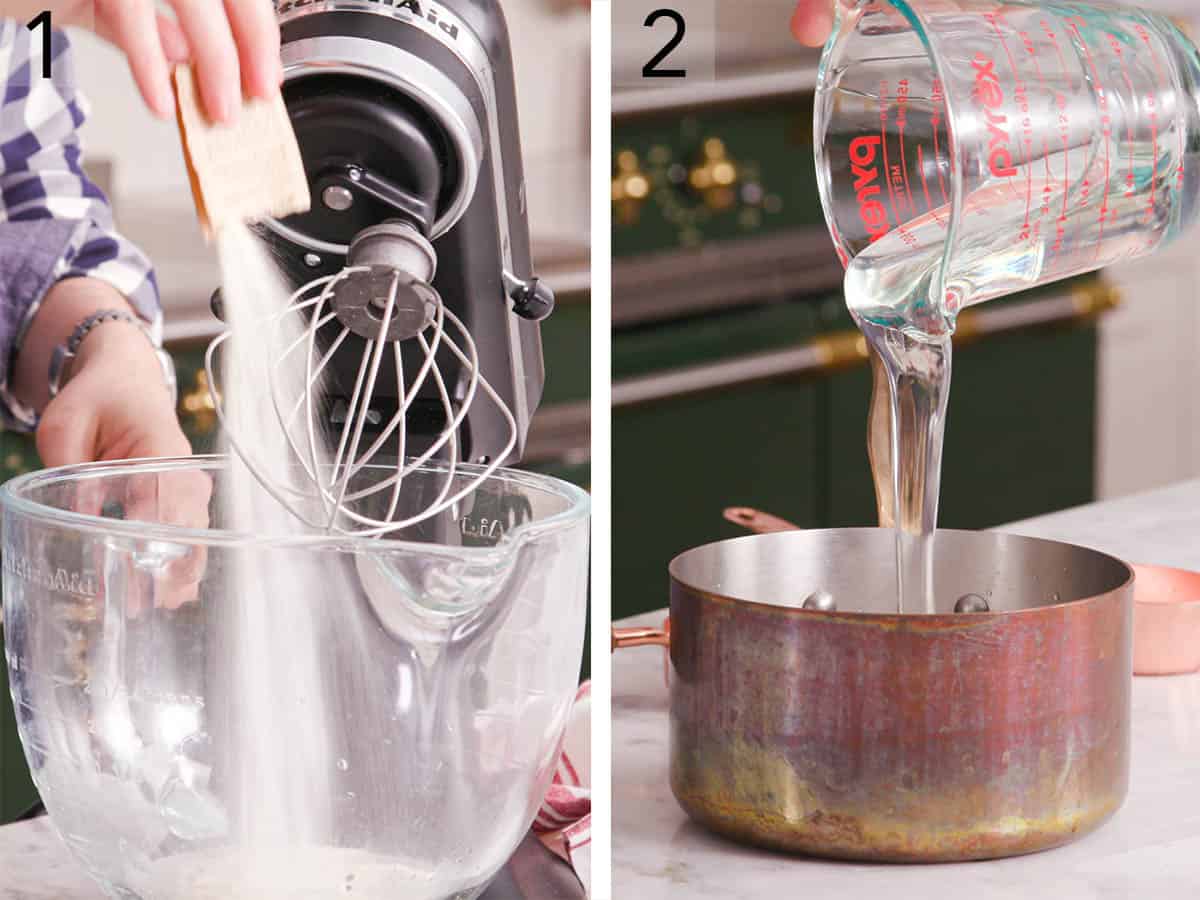
1. Prepping your baking dish is one of the most important steps in this marshmallow recipe to avoid a sticky disaster, so start by greasing your 8- or 9-inch square baking dish and set it aside for now. I also recommend greasing a spatula. Then pour ½ cup of water into the bowl of your stand mixer fitted with the whisk attachment. Sprinkle the gelatin over the top of the water and set aside to hydrate and bloom while you make the syrup.
2. Combine the granulated sugar, light corn syrup, salt, and water in a saucepan and place it over medium heat.
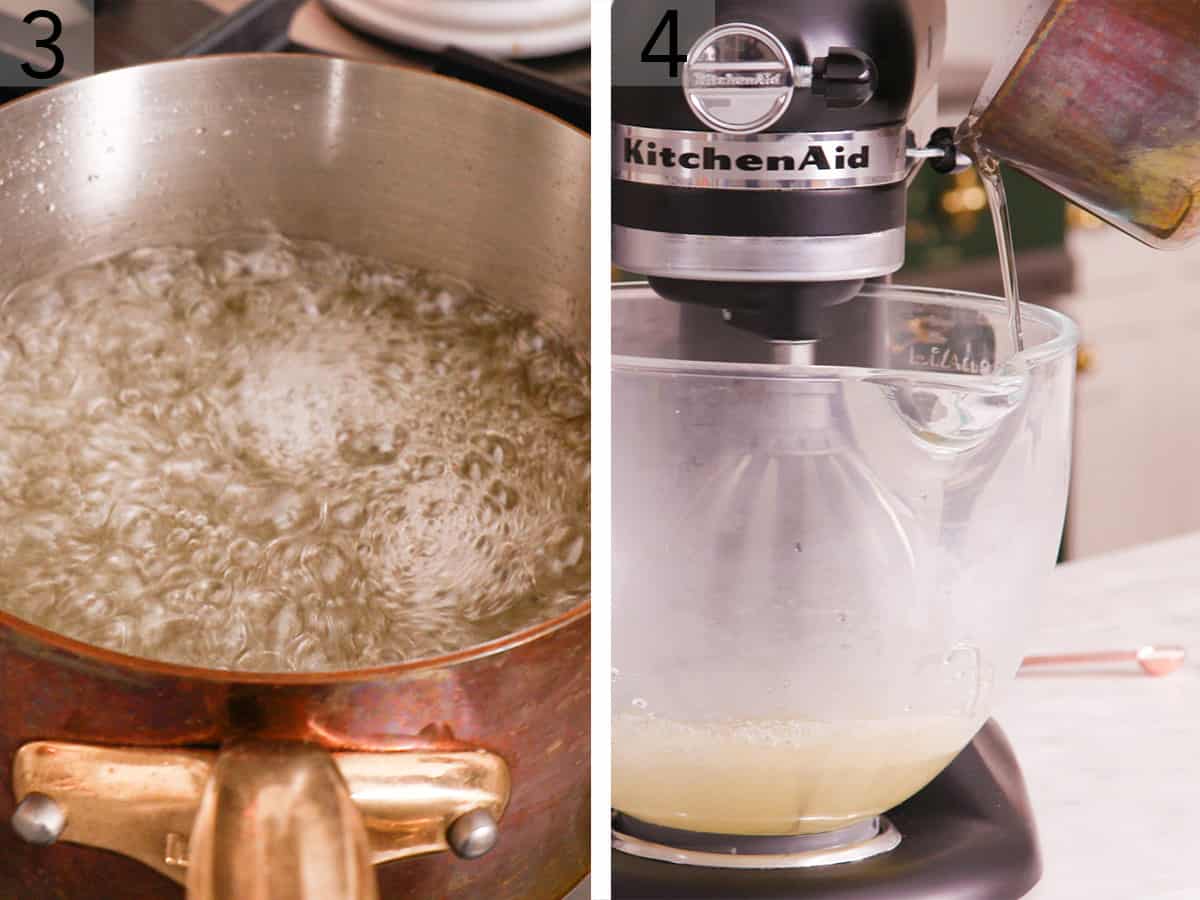
3. Stir to dissolve the sugar and wait for the mixture to come to a boil, then place a candy thermometer into the syrup and continue boiling until the mixture reaches 240°F (the soft-ball stage). Immediately remove from the heat and wait about a minute for it to stop bubbling.
4. Turn the mixer bowl containing the bloomed gelatin mixture to low speed, and slowly pour in the hot syrup. Once you’ve added all the syrup, slowly increase the speed to high. Beat until very thick and the mixture has at least tripled in volume.
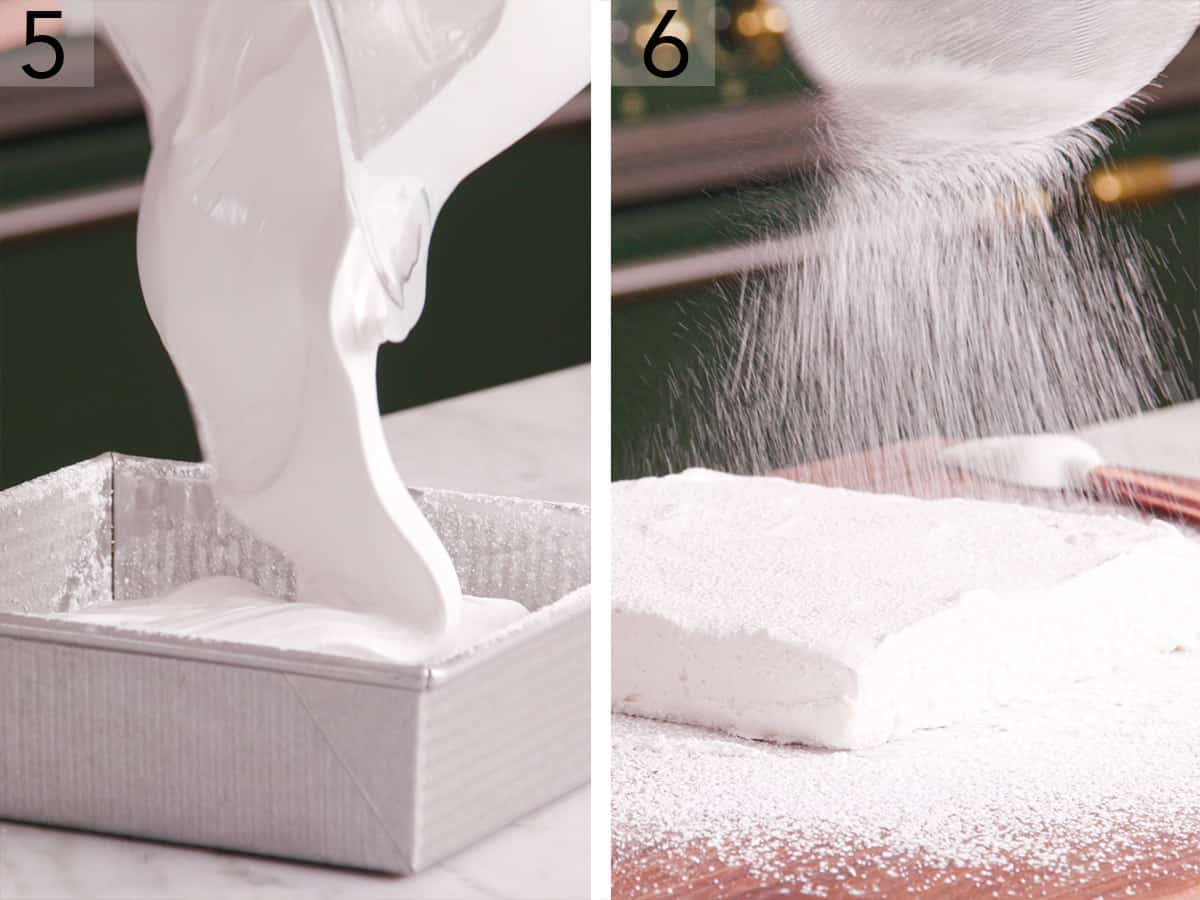
5. Quickly beat in the vanilla extract and immediately transfer the marshmallow mixture to the prepared pan. Use the greased spatula (or wet your fingers) to spread it into an even layer. Allow it to sit at room temperature for at least 4 hours.
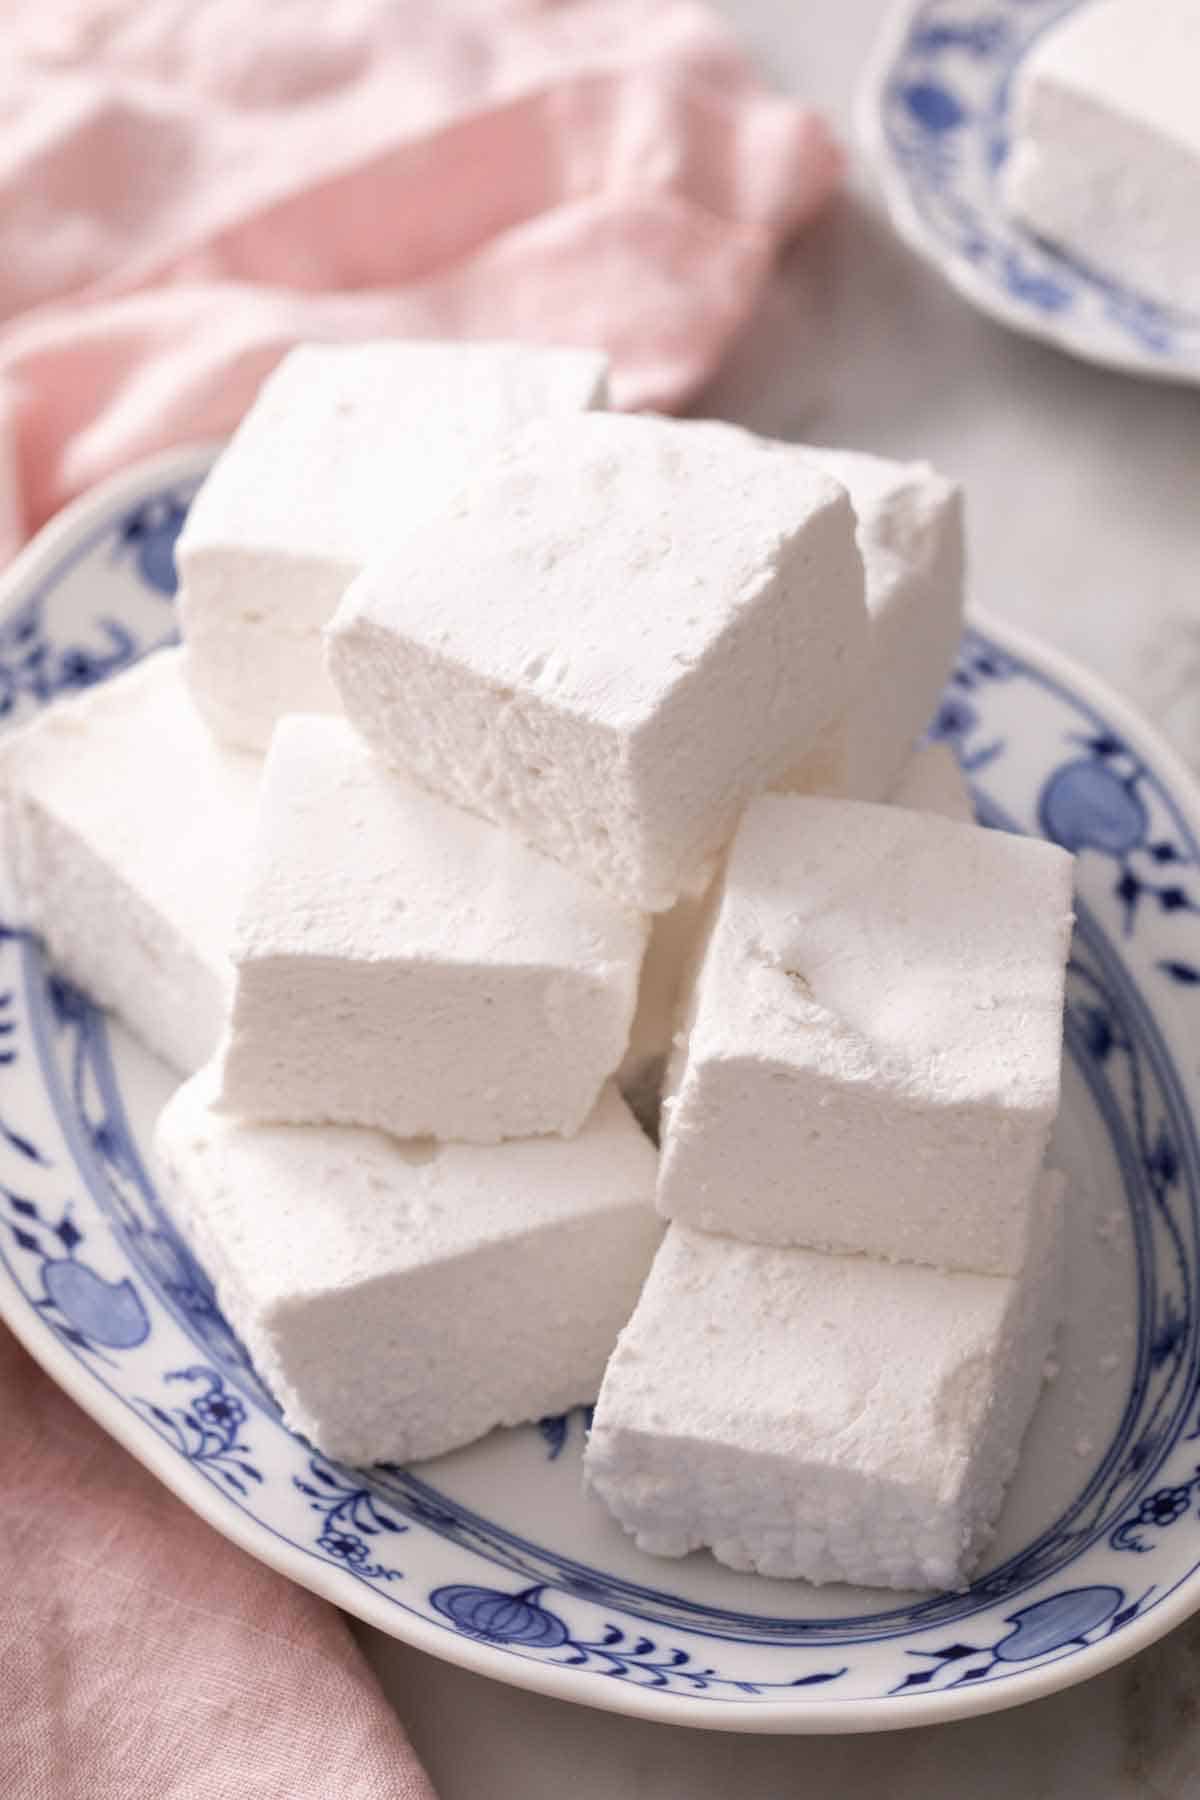
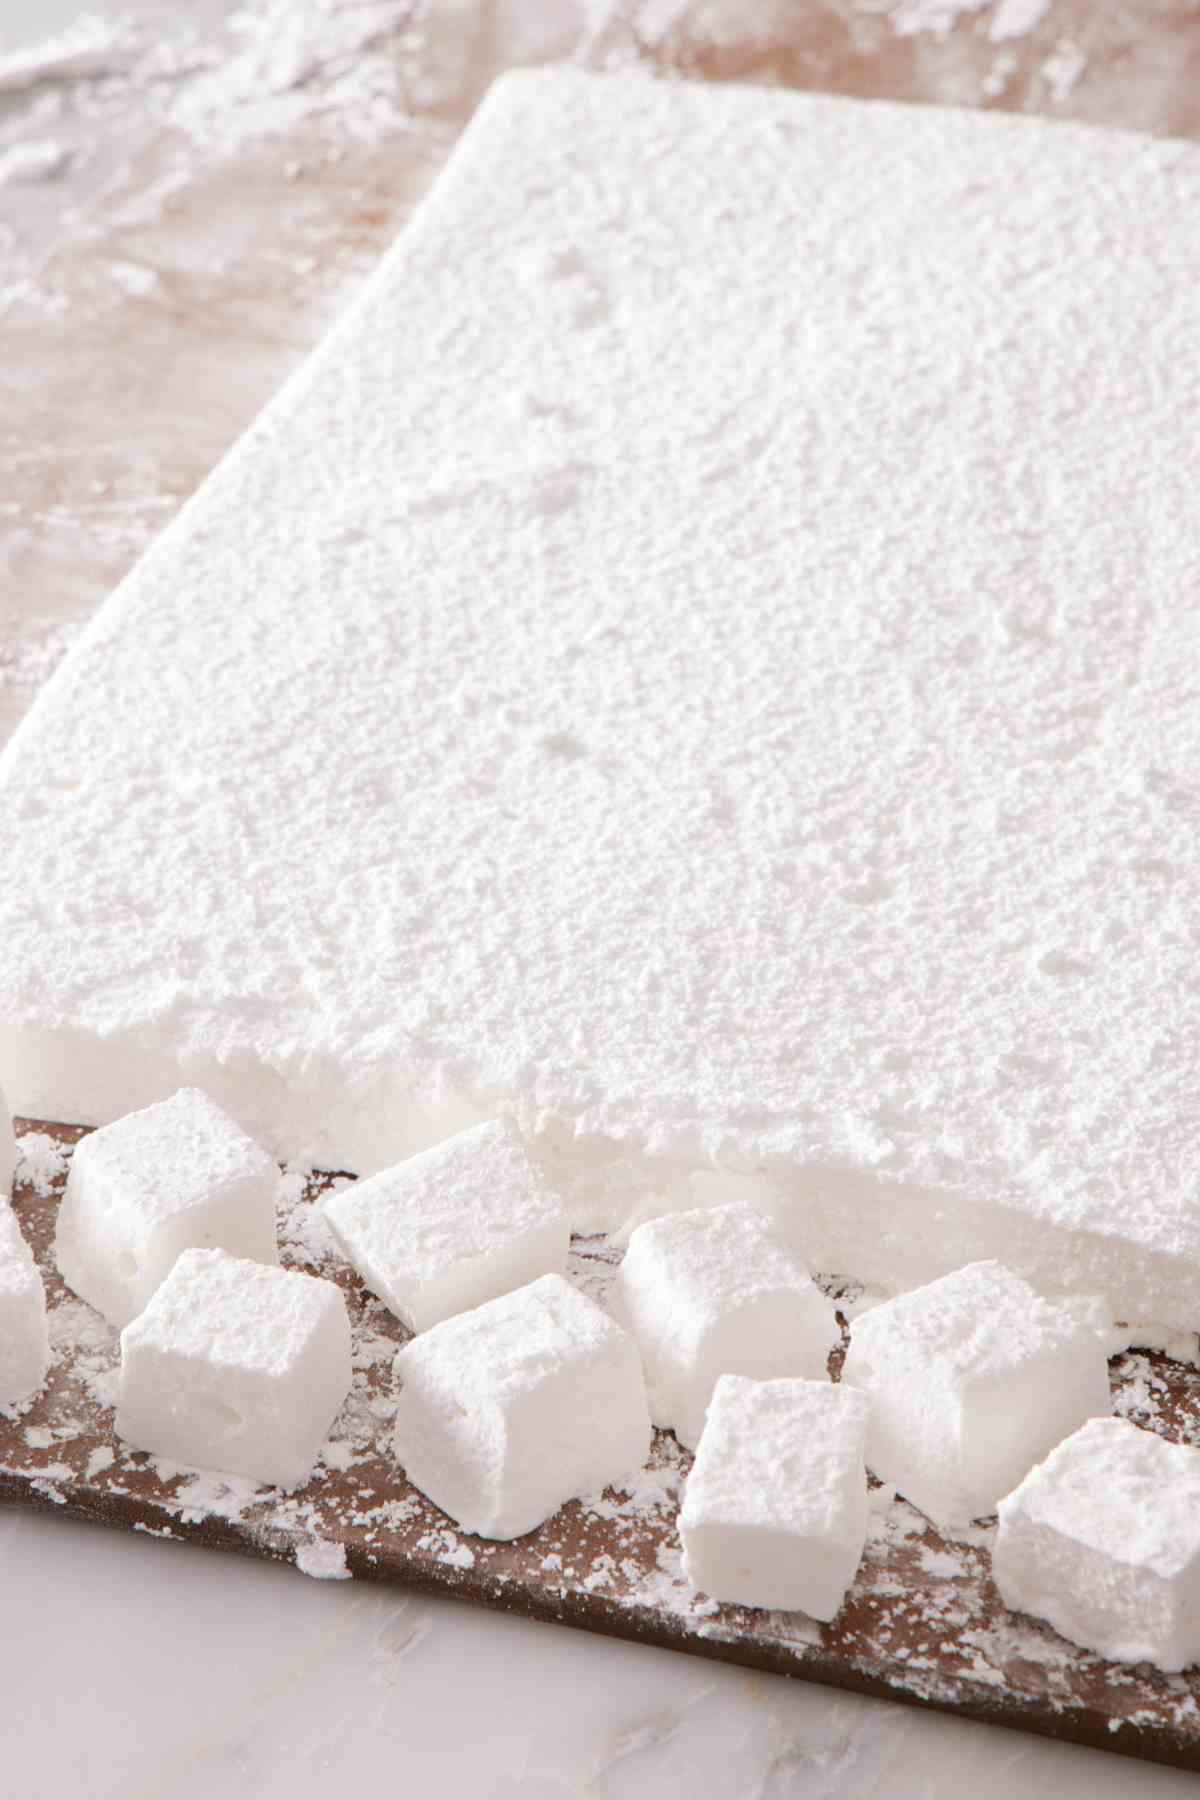
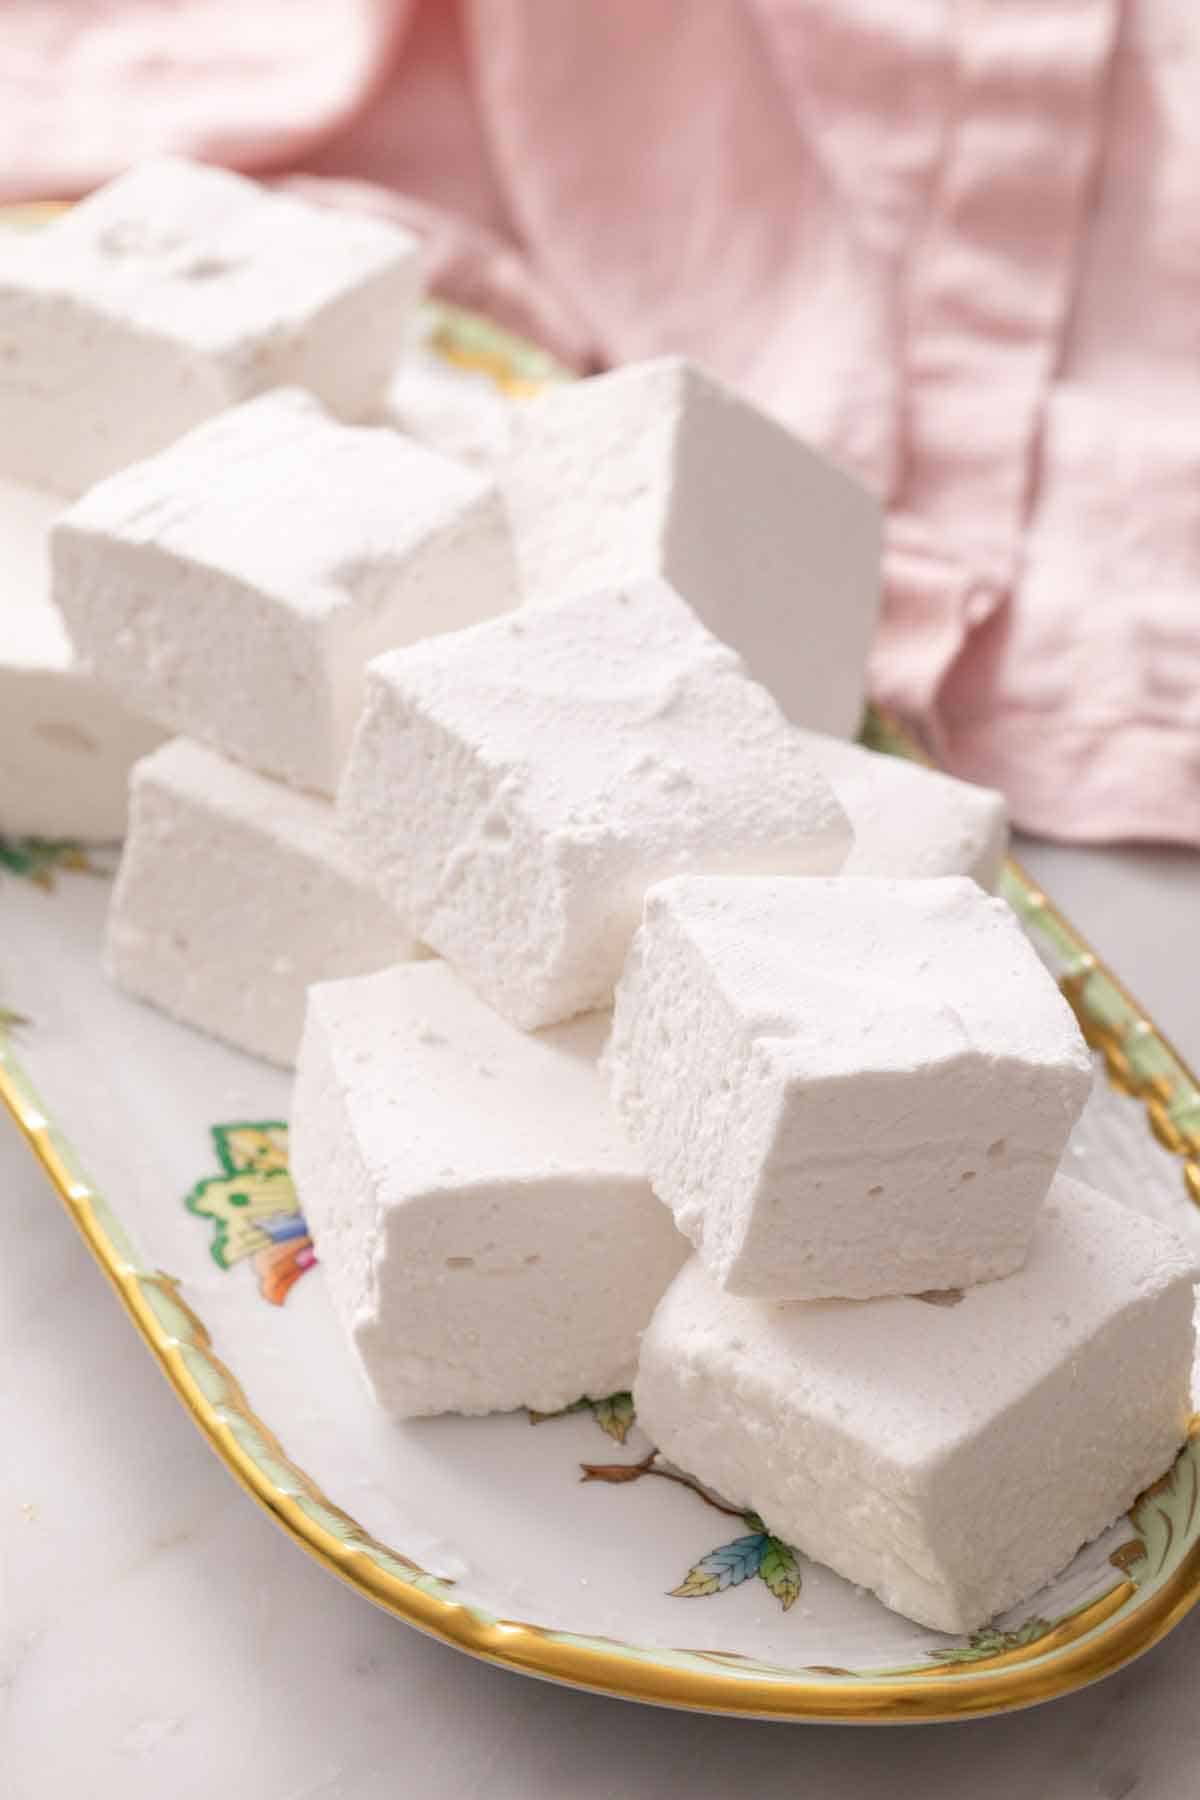
6. Whisk together confectioners’ sugar and cornstarch in a small bowl, transfer to a fine mesh sieve or sifter, and liberally dust a cutting board with the mixture. Remove the slab of marshmallow from the pan and place it on the cutting board, then dust the top of the marshmallows with the cornstarch mixture. Cut the marshmallow into squares, dusting the knife between each cut. Then dredge the marshmallows with more of the dusting powder so they don’t stick together. Enjoy your fluffy homemade marshmallows!
Marshmallow Recipe
Video
Equipment
- 9” baking pan
- mixing bowl
- Electric mixer
Ingredients
- 1 cup water divided (240mL)
- 2 (¼-ounce) envelopes unflavored gelatin
- 1½ cups granulated sugar (300g)
- 1 cup light corn syrup (240mL)
- ¼ teaspoon salt
- 2 teaspoons vanilla extract
- 1 cup confectioners’ sugar (120g)
- ¼ cup cornstarch (20g)
Instructions
- Lightly grease an 8 or 9-inch square baking dish with nonstick cooking spray or brush with vegetable oil. I also recommend lightly greasing a spatula. (If you don’t have a nonstick pan, lightly dust it with cornstarch after greasing it or fully line it with parchment paper or plastic wrap and grease that lightly.)
- Pour ½ cup of water into the bowl of a stand mixer fitted with the whisk attachment. Sprinkle the gelatin over the top of the water and set aside to hydrate while making the syrup.
- In a saucepan, combine the granulated sugar, corn syrup, salt, and remaining ½ cup of water. Place over medium heat. Stir until the sugar dissolves and the mixture comes to a boil. Place a candy thermometer into the syrup and continue boiling, without stirring, until the mixture reaches 240°F, 5 to 8 minutes. Immediately remove from the heat. Let the syrup sit for a minute or so until it stops bubbling.
- Turn the mixer with the bloomed gelatin in the bowl on low speed, and slowly pour the hot syrup into the gelatin. Once all of the syrup has been added, gradually increase the speed to high.
- Beat the sugar mixture until very thick and at least tripled in volume, 5 to 10 minutes. You can test to see if it’s done by stopping the mixer, dipping the whisk attachment into the mixture and pulling it up. The marshmallow should fall off of the whisk very slowly in a wide ribbon. It should also feel more spreadable than drizzling consistency. If it drizzles easily in a thin ribbon, keep mixing.
- Quickly beat in the vanilla, and immediately transfer the marshmallow to the prepared pan. (WARNING: It will be sticky!) Use the greased spatula to spread the marshmallow evenly and smooth the top. Allow it to sit, uncovered at room temperature for at least 4 hours to set.
- Whisk together the confectioners’ sugar and cornstarch in a small bowl, then place in a fine mesh sieve or sifter, and generously dust a cutting board with the mixture.
- Carefully remove the slab of marshmallow from the pan and place it on the cutting board. Dust the top with the sugar mixture. Cut the marshmallow into squares, dusting the knife between each cut. Dredge the marshmallows with more of the dusting powder so they don't stick together. Marshmallows should be stored in an airtight container.
Notes
- Do not try to cut the marshmallows too soon! They need time to firm up and set. If you cut them too soon, you will end up with a gooey mess, and you won’t have cleanly cut squares. Also, do not try to speed up the cooling process in the fridge. This will make the marshmallows form condensation on the outside, turn very sticky, and start to dissolve. Patience is key!
- Use powdered sugar or cornstarch when handling them. Dust your hands as needed when you are handling the finished marshmallows to prevent your fingers from sticking to them.
Nutrition
Use This Trick For Cutting Marshmallows
As I’ve said previously, marshmallows are sticky. To prevent your knife from sticking to the marshmallows, dust it well with powdered sugar between each slice. Use a large chef’s knife (not a serrated knife) and a firm, quick, chopping motion, cutting straight into and out of the marshmallow. Don’t saw at the marshmallow slab or you’ll end up tearing the marshmallows and making a big, sticky mess.
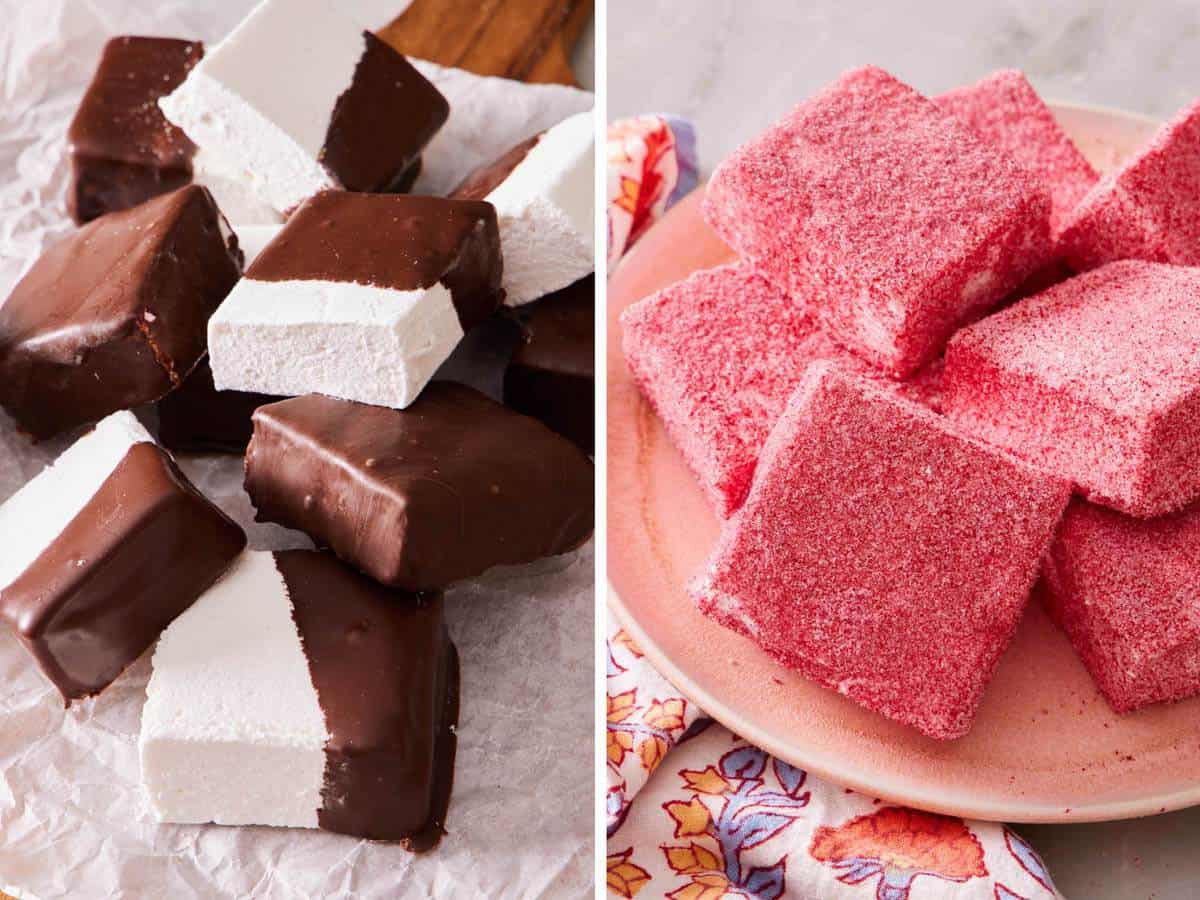
Variations and Decorating Techniques
A few of my favorite ways to jazz up this homemade marshmallow recipe are to dip them in chocolate, coat them in colorful flavored sugar, or use mini cookie cutters to make fun shapes. Here’s how:
- Dipped: Dip marshmallow squares in the melted chocolate of your choice. Set the dipped marshmallows on parchment paper until the chocolate has hardened, then enjoy! You can also sprinkle the chocolate with things like chopped nuts, crushed candy canes, or sprinkles before it sets for added crunch and flavor.
- Flavored sugar: Grind a 1.25-ounce bag of freeze-dried raspberries or the fruit of your choice in a food processor. Add 1 cup of granulated sugar and pulse a few times. Sift the mixture through a fine mesh sieve to remove any seeds or big pieces. Then toss the cut marshmallows in the sugar until well coated.
- Marshmallow shapes: This only works if you make thinner marshmallows in a 9×13-inch baking dish. Dip a cookie cutter into powdered sugar or cornstarch and cut out fun shapes like marshmallow stars and hearts. More basic shapes tend to work better since marshmallows can be a bit finicky about being cut.
Ways To Use Homemade Marshmallows
I can eat these marshmallows by the handful, but there are so many fun and delicious ways to use this marshmallow recipe! My sons love to use them when we make classic s’mores and air fryer s’mores. If you love the timeless combination of marshmallows and hot cocoa, try them in my Mexican hot chocolate or hot chocolate cookies.
Any time I make mini marshmallows with this recipe, I have to whip up a decadent s’mores pie or Mississippi mud cake. Mini marshmallows form the topping for both irresistible desserts.
Plus, you can melt any firm or sticky leftover marshmallows to make homemade Rice Krispie treats!
How To Store And Make Ahead
Storage: Store homemade marshmallows for up to 2 weeks in an airtight container in a cool, dry place.
Make ahead: You can make this marshmallow recipe up to 24 hours before you cut them. After 4 hours of cooling, cover the pan tightly with foil or plastic wrap and leave it at room temperature until ready to cut.
More Dessert Recipes To Try
If you enjoyed this marshmallow recipe, try these tasty treats next:
My old-fashioned divinity recipe is a hit every time! You’ll love the soft, airy candy with chopped pecans.
You only need 5 ingredients and 10 minutes to whip up a batch of no-bake peanut butter bars topped with a layer of chocolate.
Sweetened condensed milk is the secret ingredient in my creamy, rich chocolate fudge recipe. Keep it plain or stir in nuts for a crunchy texture.
Homemade cosmic brownies are a nostalgic treat made by topping a chewy brownie with luscious chocolate ganache and a sprinkling of rainbow chips.
If you’ve tried this homemade marshmallow recipe, then don’t forget to rate it and let me know how you got on in the comments below. I love hearing from you!
BethanyW says
HEAT TO 250!
I made these twice last weekend. The first batch was really soft when I only let the syrup to 240. For the second batch, I let it reach 250 before removing it from the heat, and those turned out much better. It might be an issue with my candy thermometer, but be careful to take it off the heat too soon, or you’ll end up with soft, runny marshmallows.
Also, for extra cuteness, you can cut with a cookie cutter! I cut mine into hearts for Valentine’s Day, and they were adorable. I poured this recipe into a 13×19″ pan, and they were a good thickness for a cookie cutter.