If you’ve ever wondered how to brown butter, this post is for you! Whether drizzling it over meats or swapping it into your favorite baked goods, this special ingredient is a surefire way to add incredible dimension and flavor to so many recipes.
In this post, I show you how incredibly easy it is to make. Just follow a few simple tips to make it perfectly every time and how to avoid accidentally burning it. I also share how to use it in your favorite recipes! For more helpful baking tutorials, check out How to Soften Butter, How to Make Buttermilk, and How to Make Powdered Sugar.
What Is Brown Butter?
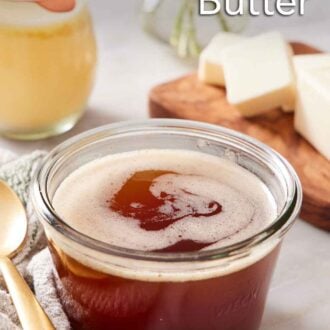
Also known as beurre noisette, brown butter is simply regular butter that has been cooked over moderate heat until the butter melts and the milk solids toast, turning golden brown. Brown butter has a nutty aroma and a deep, lightly sweet flavor with hints of caramel or toffee. It can be used in savory and sweet recipes to add so much flavor and rich dimension to a range of recipes like cookies or pasta.
What You Need To Make This Recipe
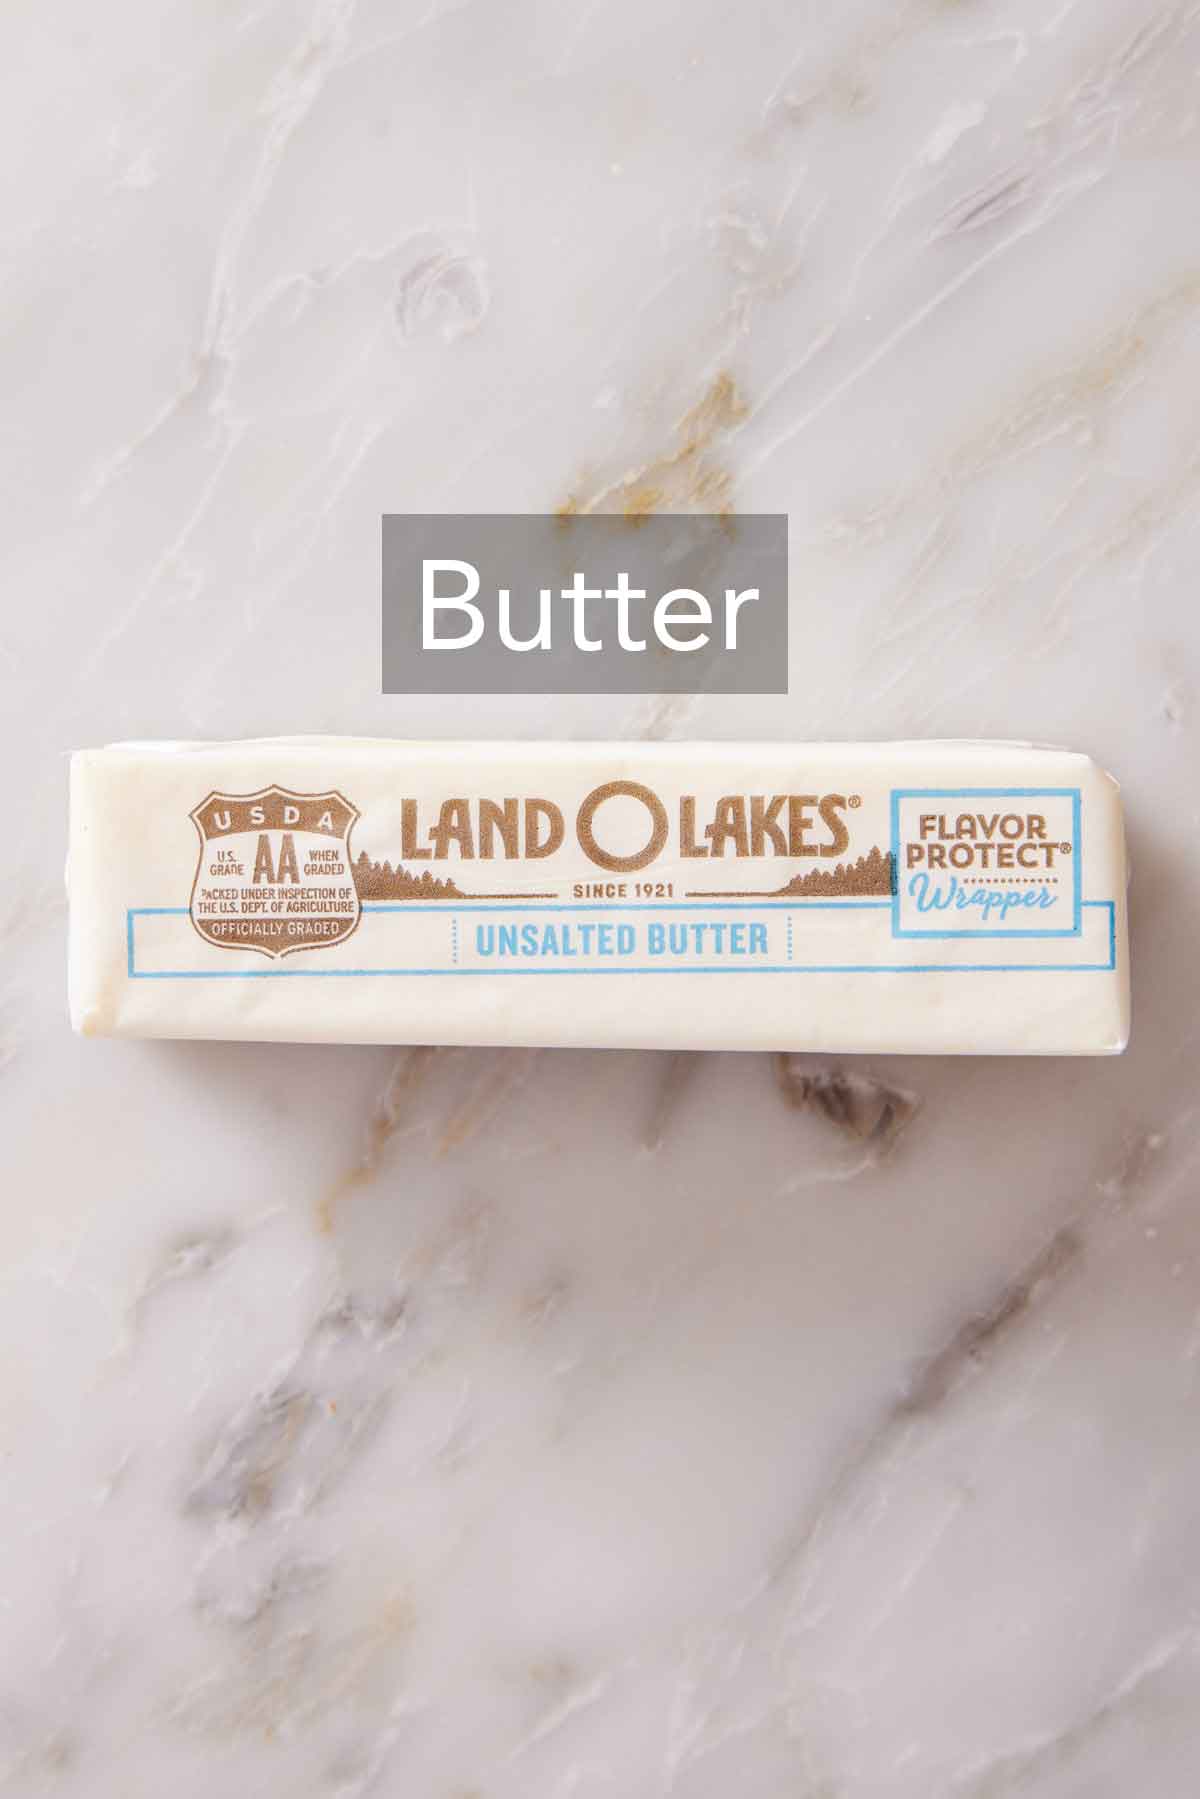
Butter — you can use a stick or block of salted or unsalted butter. Be sure to use real dairy butter and avoid butter blends or spreads that contain added oils or stabilizers. For less splattering, bring the butter to room temperature for at least 15 minutes. Cold butter splatters more than warm butter, so letting it sit at room temperature before browning can make browning easier and faster.
Skillet or Saucepan — choosing the right pan is actually quite important for this simple process. A pan, skillet, or large saucepan with a light interior, such as stainless steel or light-colored non-stick, is necessary so you can watch the butter and tell when it browns. A dark surface won’t show the color change in the butter, which means it can easily burn.
What’s The Best Type Of Butter For Browning?
Any real stick or block of butter without additives is great for browning. One thing to note is that the water content in the butter will affect the browning process. Butter with more water (moisture) can splatter during browning and will contain fewer milk solids, so it will be slightly less flavorful.
American-style butter has a higher moisture content (and lower fat percentage), whereas European-style butter has a higher fat percentage (and lower moisture). Whenever possible, I like to use European butter because it browns so nicely and evenly. However, if you are browning butter to use in a recipe replacing regular butter, you should brown the type of butter the original recipe calls for.
How To Make Brown Butter
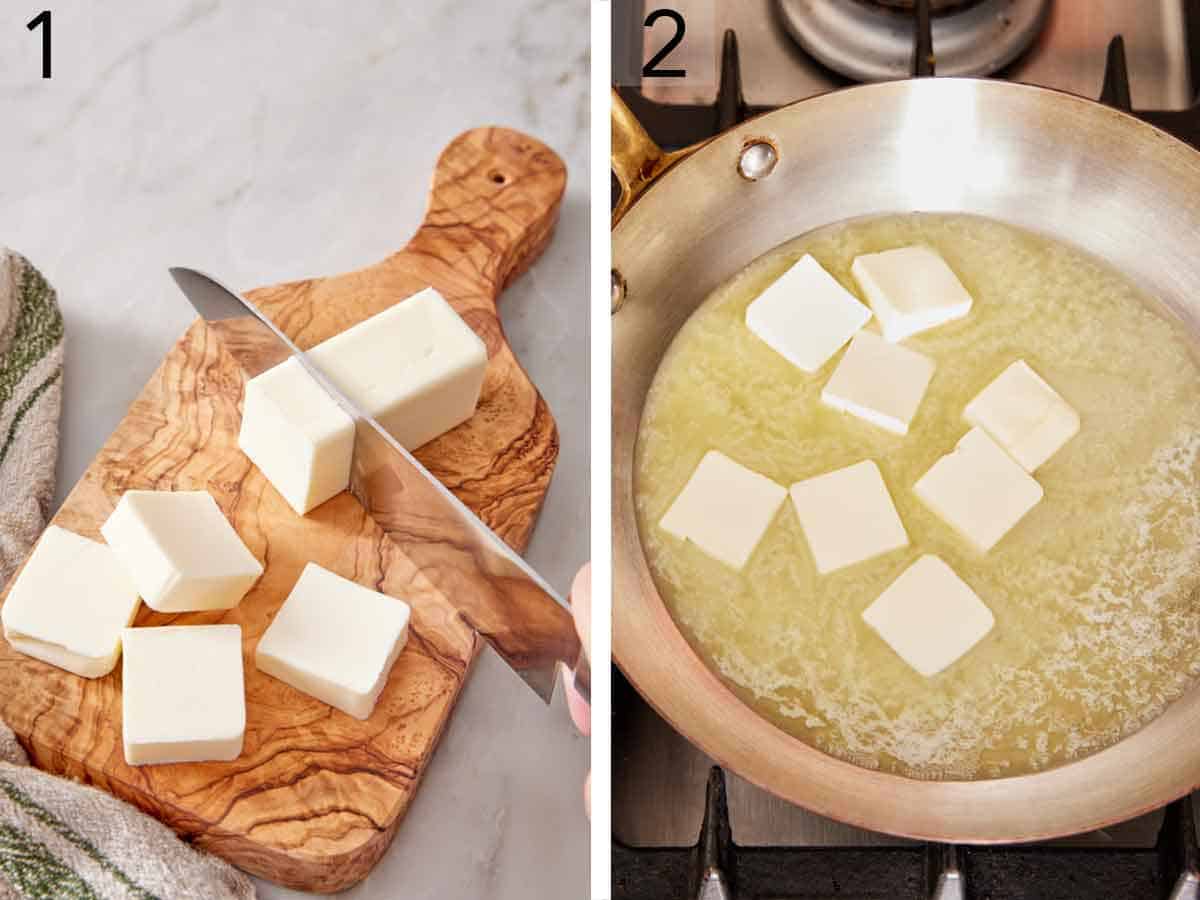
1. Cut the butter into 1 tablespoon-sized pieces.
2. Place the butter in a light-colored pan or wide saucepan over medium heat. Cook for 2 to 3 minutes, until the butter melts and begins bubbling.
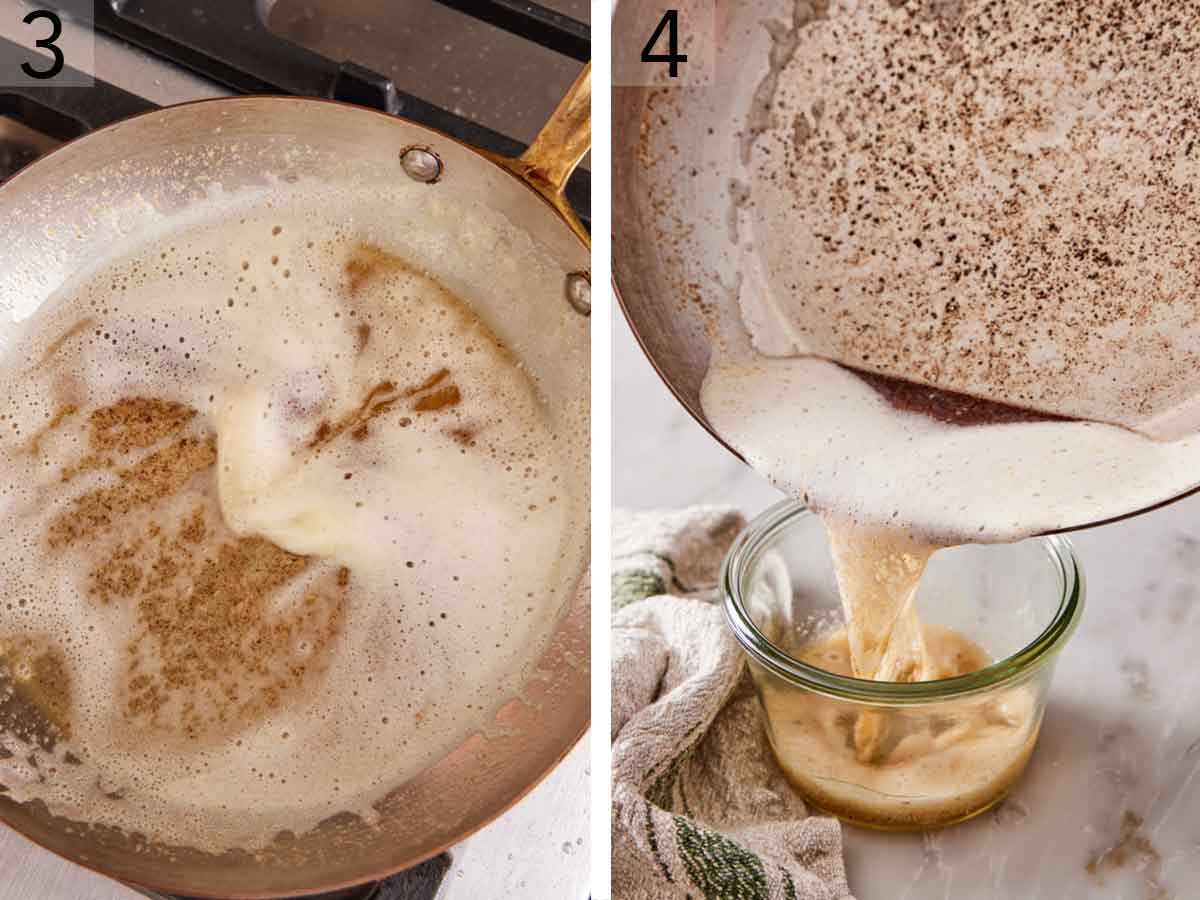
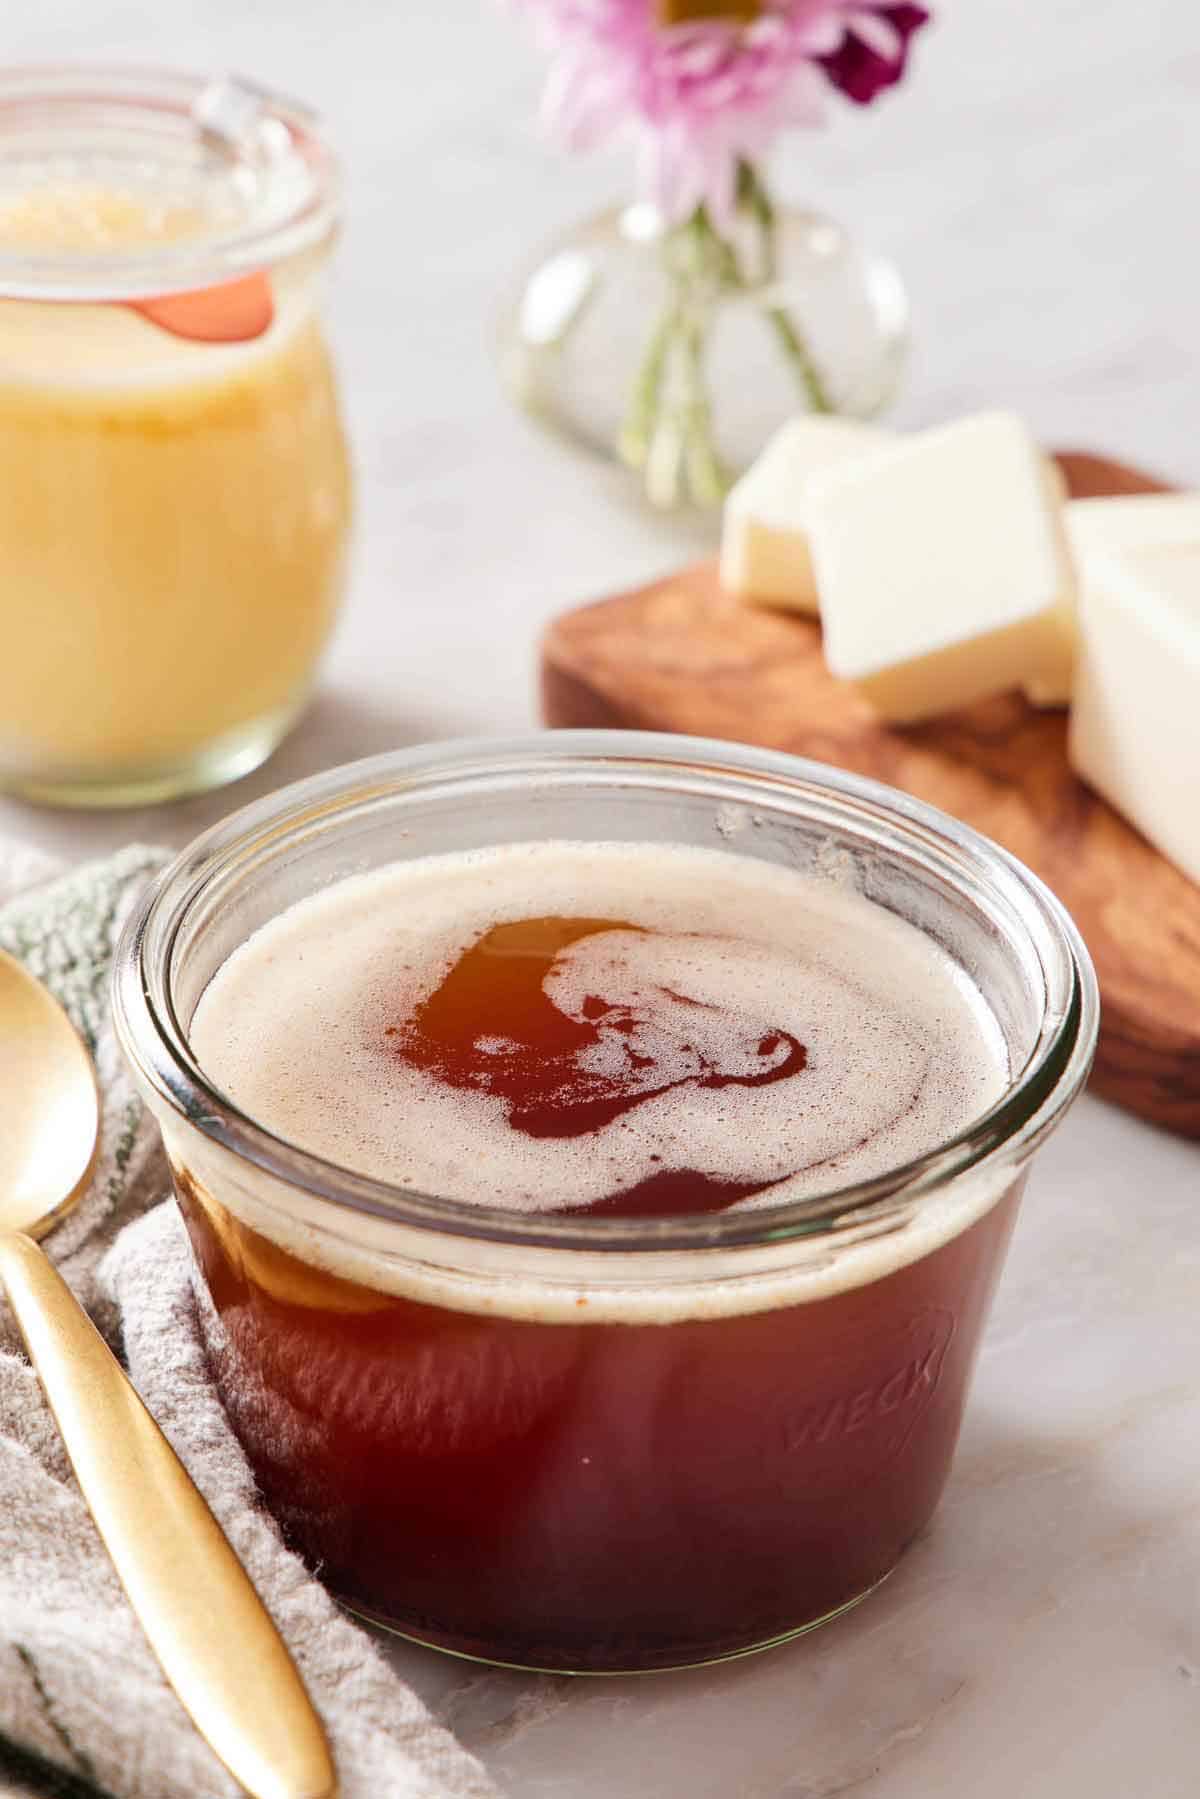
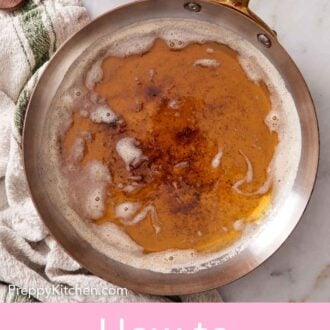
3. Continue to cook for 3 to 5 more minutes, stirring frequently or swirling the pan to move it around, until it is light to medium amber in color and the milk solids are medium brown.
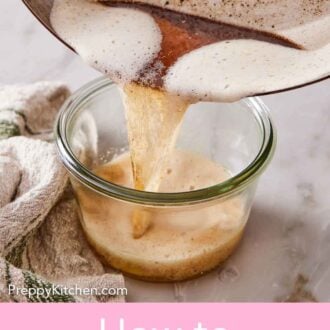
4. Remove the pan from the heat and immediately pour the butter into a heatproof bowl. Stir it around in the bowl to help stop the cooking. If the milk solids at the bottom of the pan are still medium-brown, you can scrape them into the browned butter if you like.
Use Your Senses
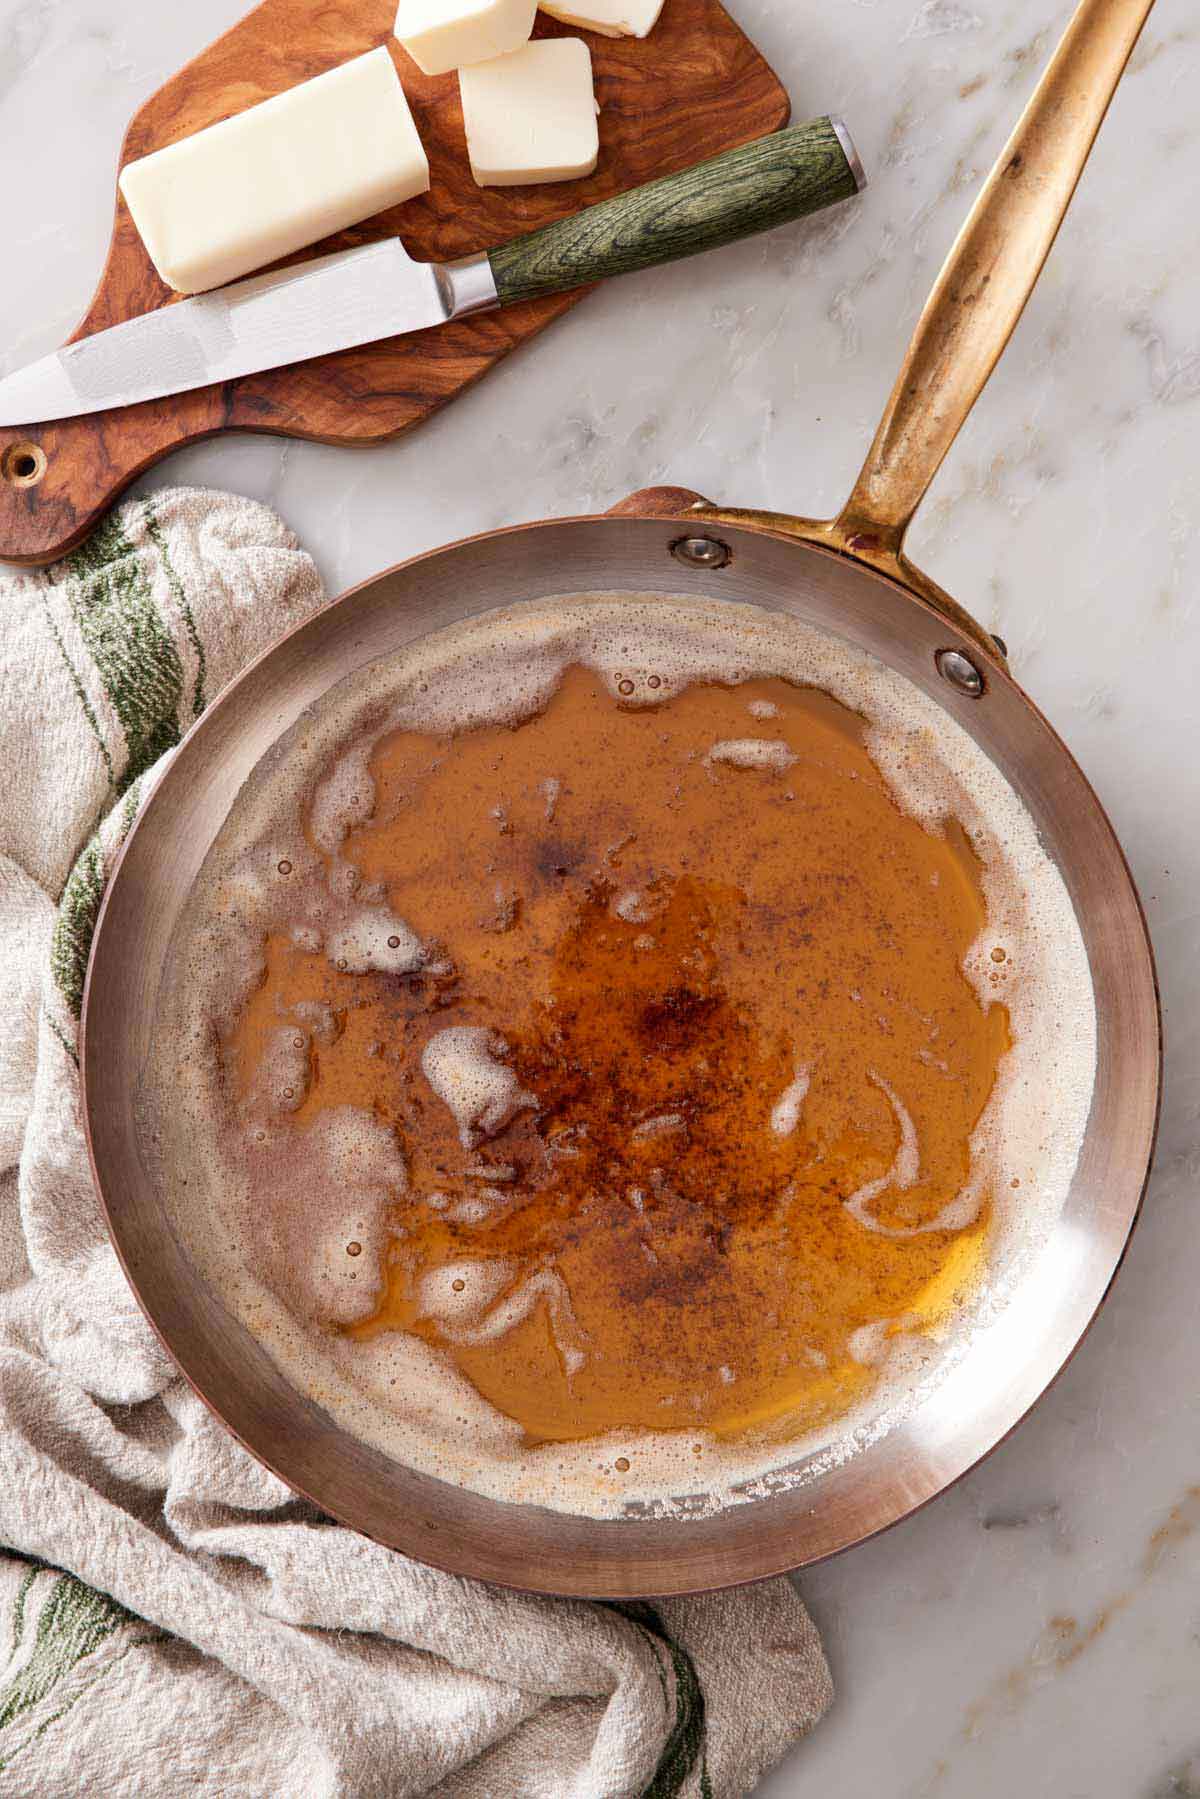
Your senses are the best tool for successfully browning butter and avoiding burning the butter. Here’s what to pay attention to for the best results:
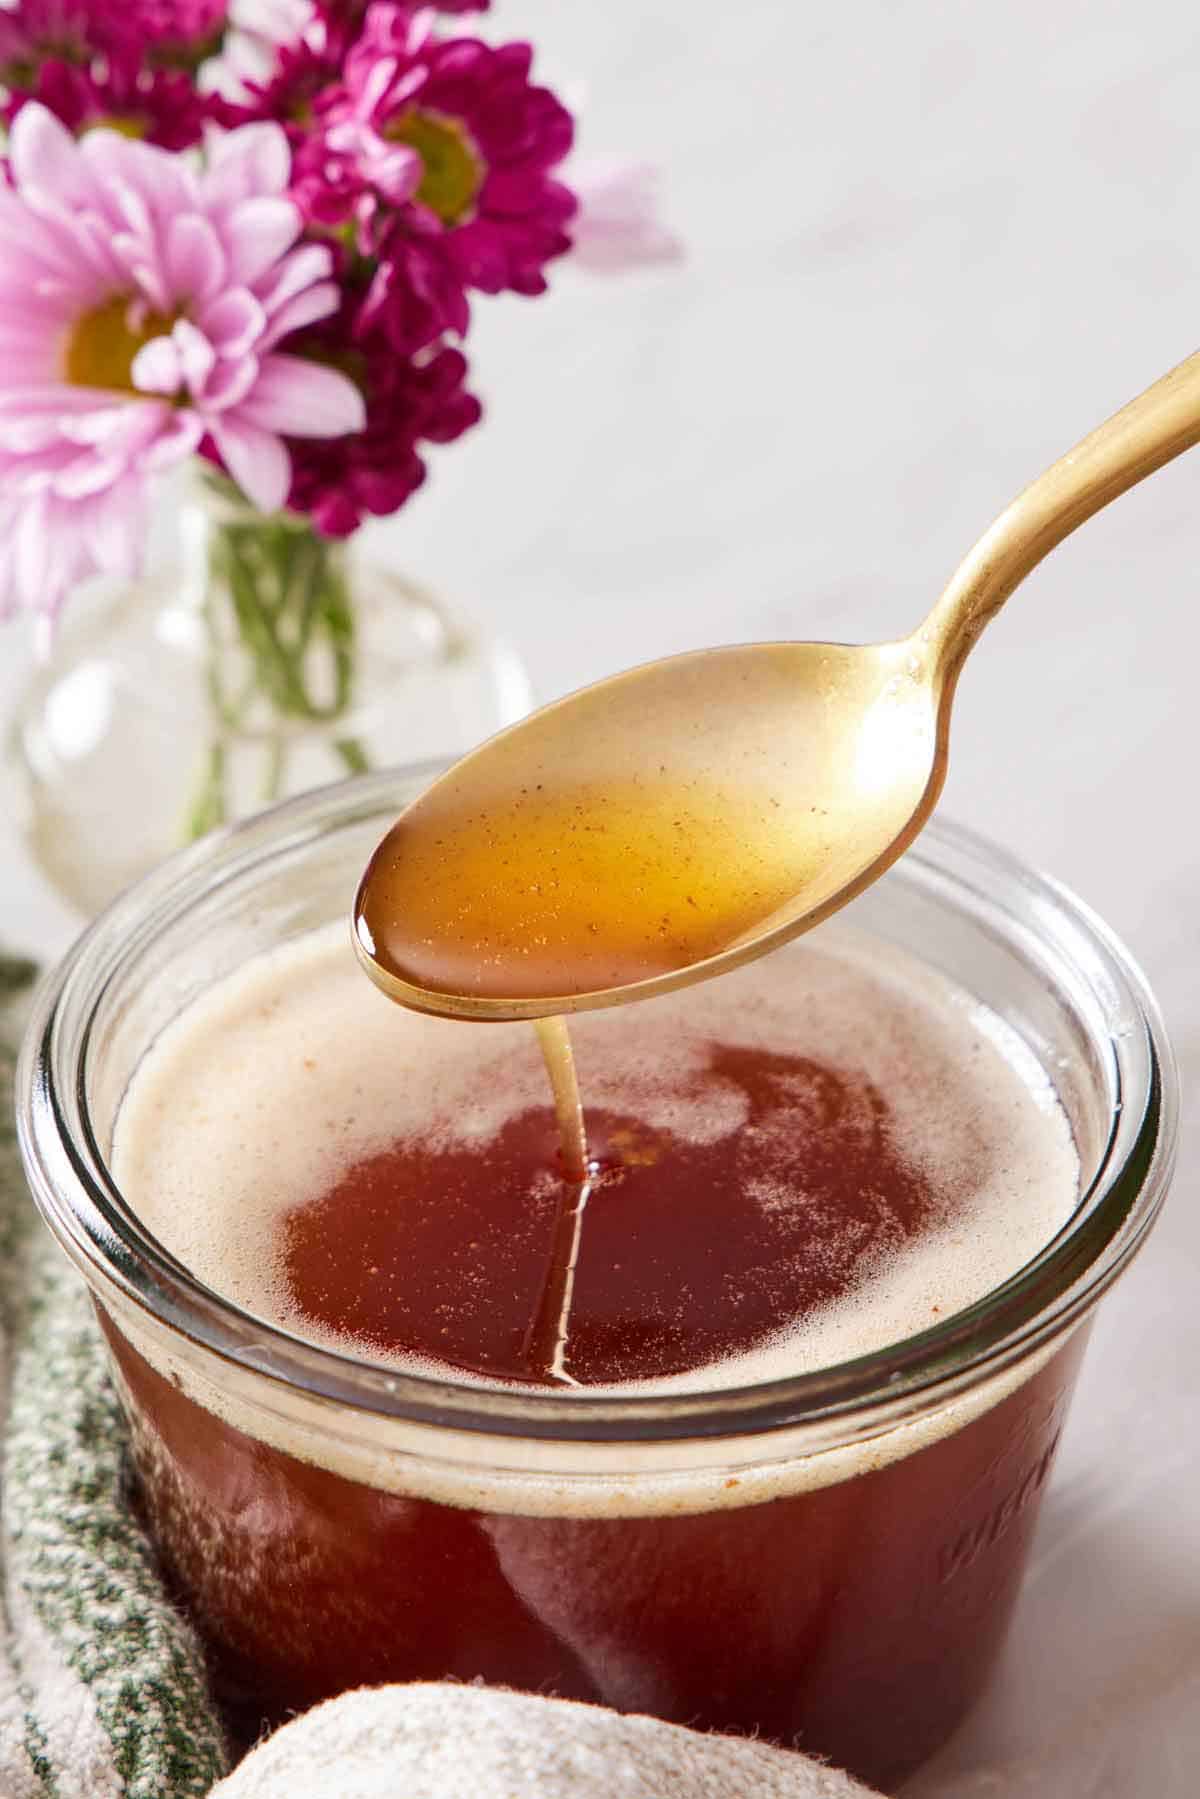
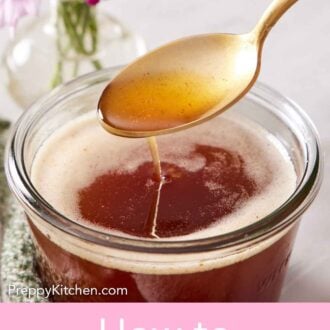
- Sight: The butter will separate as it cooks. Look for little brown bits to form on the bottom of the pan and for the butter to turn a rich caramel or amber color. If it turns black, the butter has burned.
- Smell: As the butter browns, it will smell nutty and toasted when it is done. Conversely, if you get a sharp, burnt aroma, you will know it is burnt.
- Sound: As it cooks, the butter will make sounds like a spit, sizzle, or splatter. Just before it is perfectly browned, it will quiet down, become very foamy on top, and sound more like suds popping.
Can I Substitute Brown Butter For Regular Butter?
Yes, substituting brown butter is a great way to add extra flavor to recipes. Adapt it in the following forms to use in your recipes; just keep in mind there is a loss of moisture from the butter during the cooking process. Each ½ cup cooks down to about 7 tablespoons of butter, so add an extra tablespoon so you have enough. Measure out the butter again after browning.
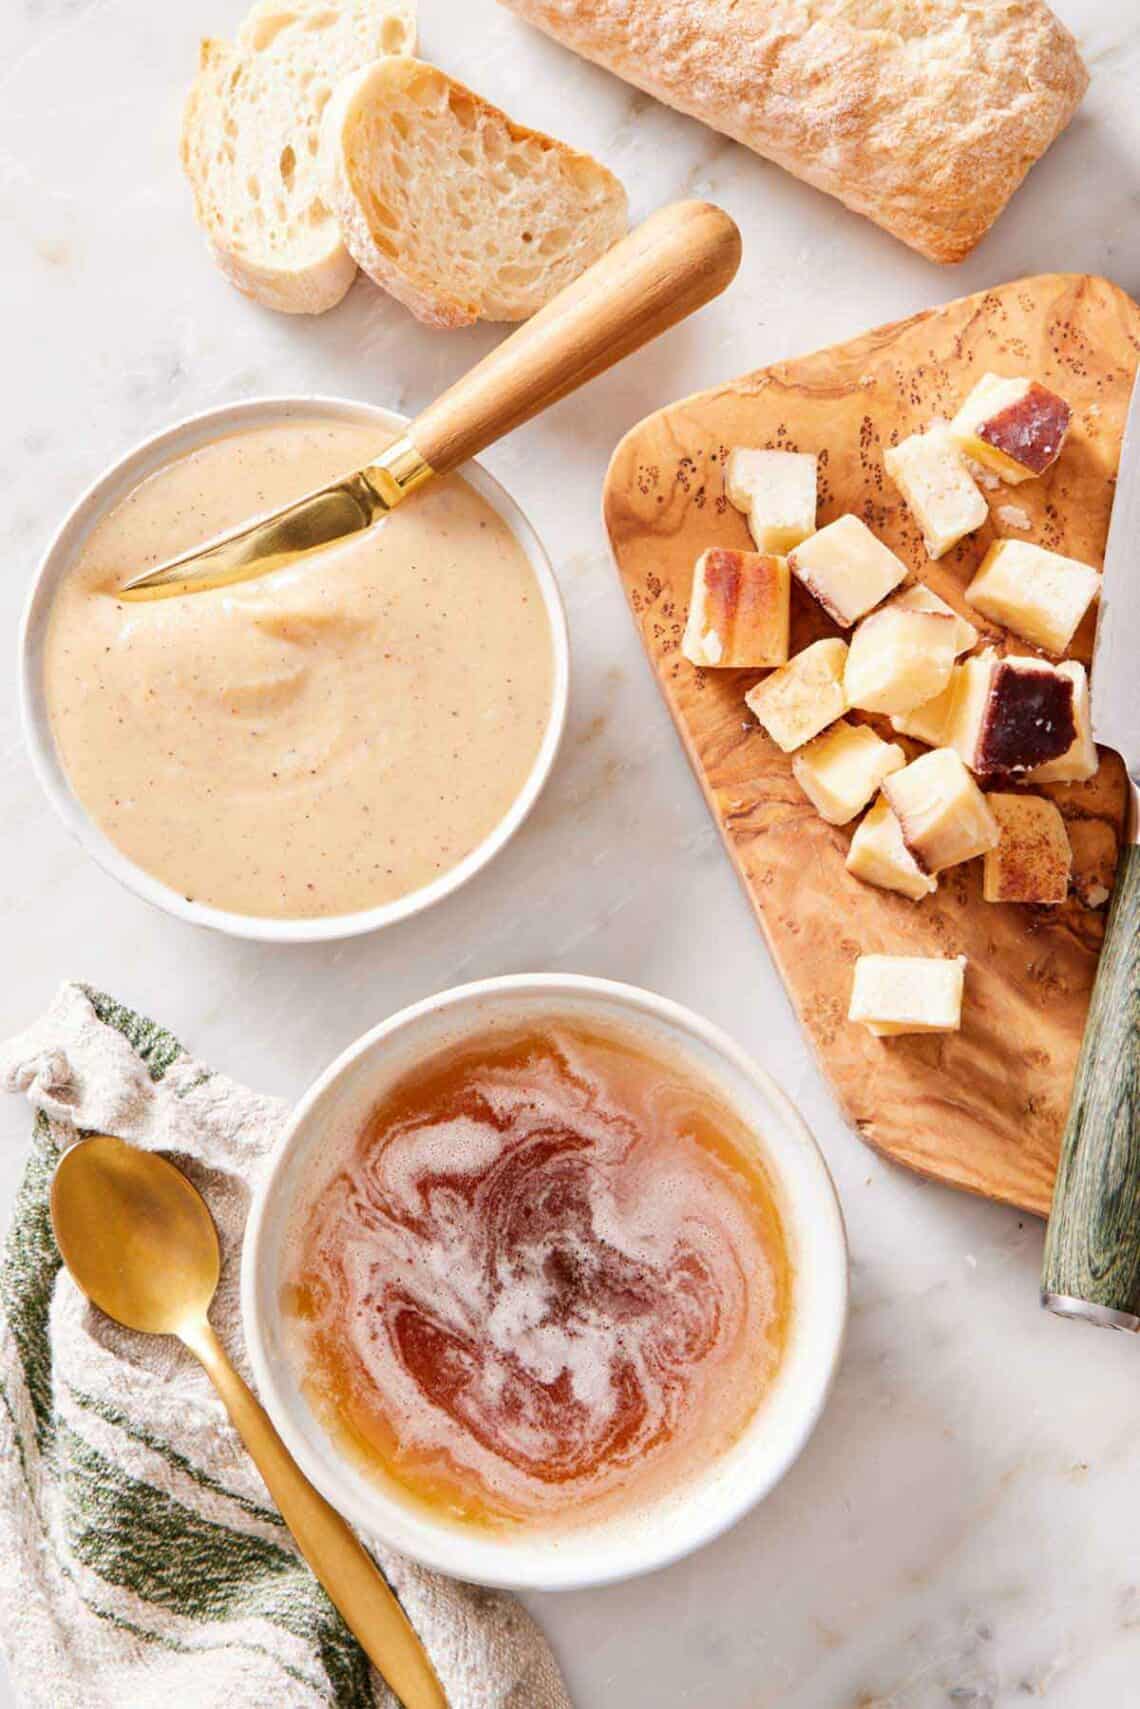
Melted: Cool the freshly browned butter in a bowl for 15 minutes before using so it isn’t piping hot when adding it to other ingredients.
Softened: Chill the butter in the refrigerator, stirring every 15 minutes, until creamy and spreadable but soft. You will know it is ready when it holds the trace of a spoon or knife swirled through it.
Cold or frozen: Line a small bowl or dish with parchment paper or plastic wrap. Pour in the melted butter and refrigerate or freeze. Once solid, cut, dice, or grate the butter.
Ways to Use Brown Butter
You can use brown butter in these recipes to add rich, nutty flavor to various sweet and savory dishes.
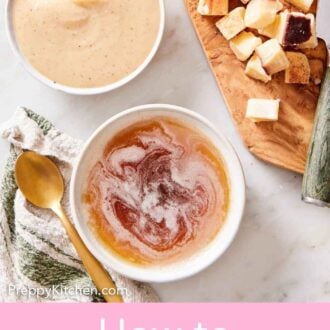
- Use softened browned butter to cream with sugar to make brown butter Chocolate Chip Cookies, Banana Bread, and Browned Butter-Earl Grey Cookies.
- Brown the butter before adding the honey and sugar for the Sticky Buns glaze.
- Replace the oil in pumpkin bread.
- Add it to a Graham Cracker Crust for assorted pies or cheesecake.
- Brown the butter in cacio e pepe before adding the pasta.
- Use melted brown butter in streusel topping for muffins and pies.
- Spread it on warm dinner rolls, cornbread, or blueberry bread.
Pro Tips For Making This Recipe
- Cut the butter into small pieces. For even melting and the smoothest browning process, slice the stick of butter into one tablespoon or smaller pieces.
- Stir if the solids stick to the pan. As they brown, the milk proteins can stick to the bottom of the pan. If this happens, gently stir the butter using a silicone spatula to release them.
- Don’t walk away from the pan. The butter goes from golden brown to burnt very quickly. Keep a close eye on it throughout the cooking time so you can remove the pan from the heat as soon as it has browned.
- Check the butter with a spoon. If the butter foams excessively or you don’t have a light-colored pan, it can be hard to gauge the progress. You can check the color by scooping it with a light-colored spoon.
- Immediately remove the butter from the heat. Once it has achieved a golden brown color, pour the butter into a heat proof bowl to cool. This prevents the pan’s residual heat from over-browning or burning it. Once in the bowl, you can stir the butter occasionally to speed up the cooling process.
- Add flavorings immediately after browning. If you want to flavor the butter, stir in flavorings, such as vanilla beans or spices, immediately after pouring it into the bowl. The heat will help bloom spices and infuse the flavor into the butter better. Be careful of the butter bubbling up when stirring flavorings in.
Frequently Asked Questions
You can tell the butter is burnt when the little brown specks turn black, and the butter starts to smell sharp and burnt rather than nutty. Unfortunately, if the butter burns, there is no saving it. The flavor will be sharp and not good.
Yes, you can certainly make larger or smaller batches. Multiply or divide the amount of butter needed and follow the recipe directions, expecting more cooking time for larger volumes of butter and shorter times for smaller batches. If browning less than ¼ cups at a time, cook it over medium-low heat to control the heat and prevent burnt butter.
Cool the butter to room temperature before transferring to an airtight container and refrigerating it for up to 2 weeks. You can also freeze it in a freezer-safe container for up to 3 months. Defrost it overnight in the refrigerator.
If you’ve tried this Brown Butter recipe, then don’t forget to rate it and let me know how you got on in the comments below. I love hearing from you!
How to Brown Butter
Video
Equipment
- Medium skillet or saucepan, with a light colored interior.
Ingredients
- ½ cup unsalted butter (113g)
Instructions
- Cut the butter into 1 tablespoon-sized pieces. (This is important for even browning.)
- Place the butter in a light-colored medium skillet or wide saucepan over medium heat. (The light interior color of the pot or pan will help you see how deeply the butter is browning.) Cook for 2 to 3 minutes, until melted and bubbling.
- Continue to cook for 3 to 5 more minutes, stirring frequently or swirling the pan to move it around, until it is light to medium amber in color and the milk solids are medium brown.
- Remove the pan from the heat and immediately pour the butter into a heatproof bowl. Stir it around in the bowl to help stop the cooking. If the milk solids at the bottom of the pan are still medium-brown, you can scrape them into the browned butter, if you like.
Notes
- Cut the butter into small pieces. For even melting and the smoothest browning process, slice the stick of butter into one tablespoon or smaller pieces.
- Stir if the solids stick to the pan. As they brown, the milk proteins can stick to the bottom of the pan. If this happens, gently stir the butter using a silicone spatula to release them.
- Don’t walk away from the pan. The butter goes from golden brown to burnt very quickly. Keep a close eye on it throughout the cooking time so you can remove the pan from the heat as soon as it has browned.
- Check the butter with a spoon. If the butter foams excessively or you don’t have a light-colored pan, it can be hard to gauge the progress. You can check the color by scooping it with a light-colored spoon.
- Immediately remove the butter from the heat. Once it has achieved a golden brown color, pour the butter into a heat proof bowl to cool. This prevents the pan’s residual heat from over-browning or burning it. Once in the bowl, you can stir the butter occasionally to speed up the cooling process.
- Add flavorings immediately after browning. If you want to flavor the butter, stir in flavorings, such as vanilla beans or spices, immediately after pouring it into the bowl. The heat will help bloom spices and infuse the flavor into the butter better. Be careful of the butter bubbling up when stirring flavorings in.



Leave a Reply