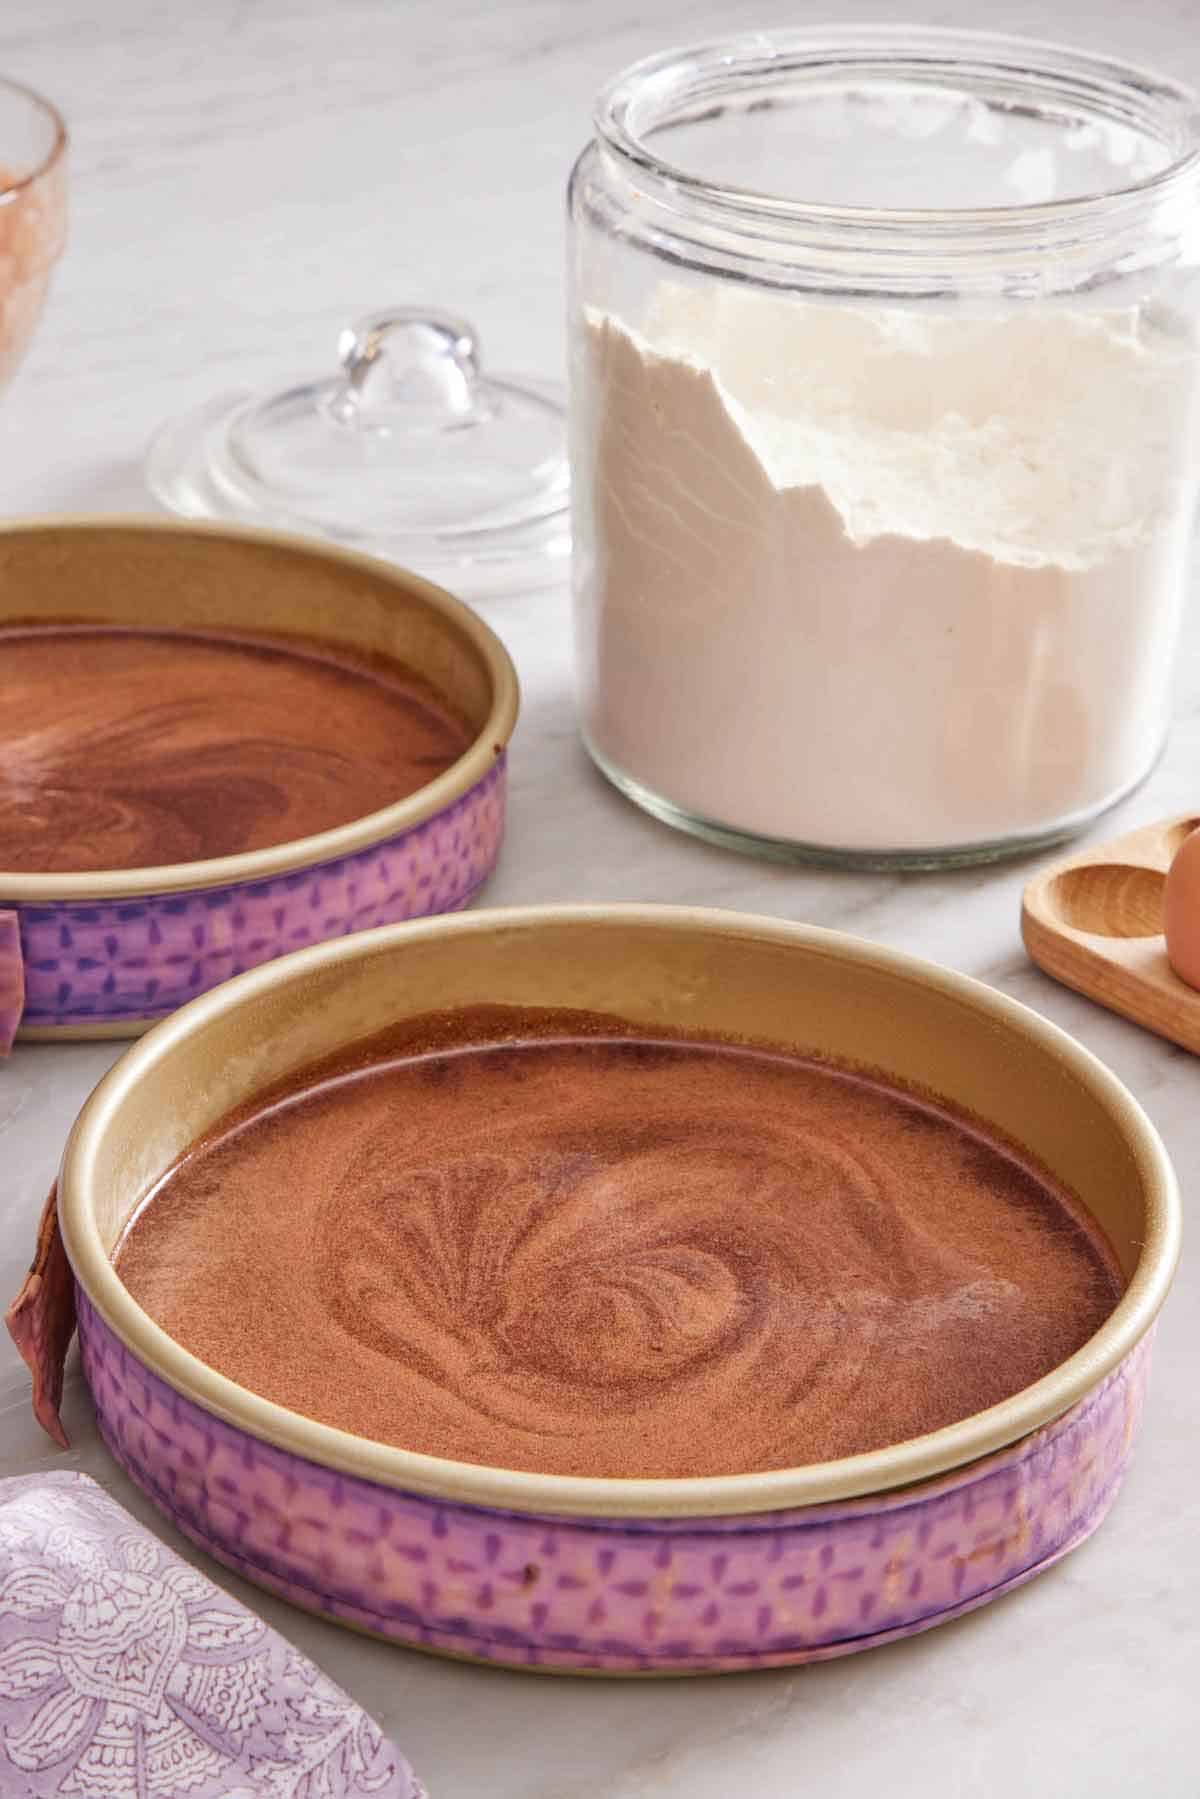
If you’ve ever wondered how to bake flat cake layers for a bakery-style layered cake, I have the solution! Cake strips help prevent cakes with overly brown edges and domed middles. They simply insulate the edges of the metal cake pan so the exterior and interior of the cake bake at the same speed.
Flat cake layers are a must for stacking, as domed cakes are less stable when layered or can lead to a lopsided layer cake. While you can simply trim off the dome with a serrated knife, why waste any cake?! Baking strips will ensure your cakes have a lovely flat top every time. Plus there are so many other advantages to using them. I will break down all of that below, so you know when and how to use them! For more tricks to baking the perfect cake, learn how to soften butter quickly, turn hard brown sugar into soft brown sugar, and make a quick cake flour substitute if you run out!
Why Do Cakes Dome?
Cakes dome because the outer edges bake and set faster than the middle, which causes the middle to rise higher than the edges of the cake. I work hard to develop cake recipes that will rise as evenly as possible on their own, but this can naturally happen when an oven cycles in temperature during baking or bakes at a higher temperature. Luckily, there’s an easy solution to this!
The Simple Trick To Baking Flat Cake Layers
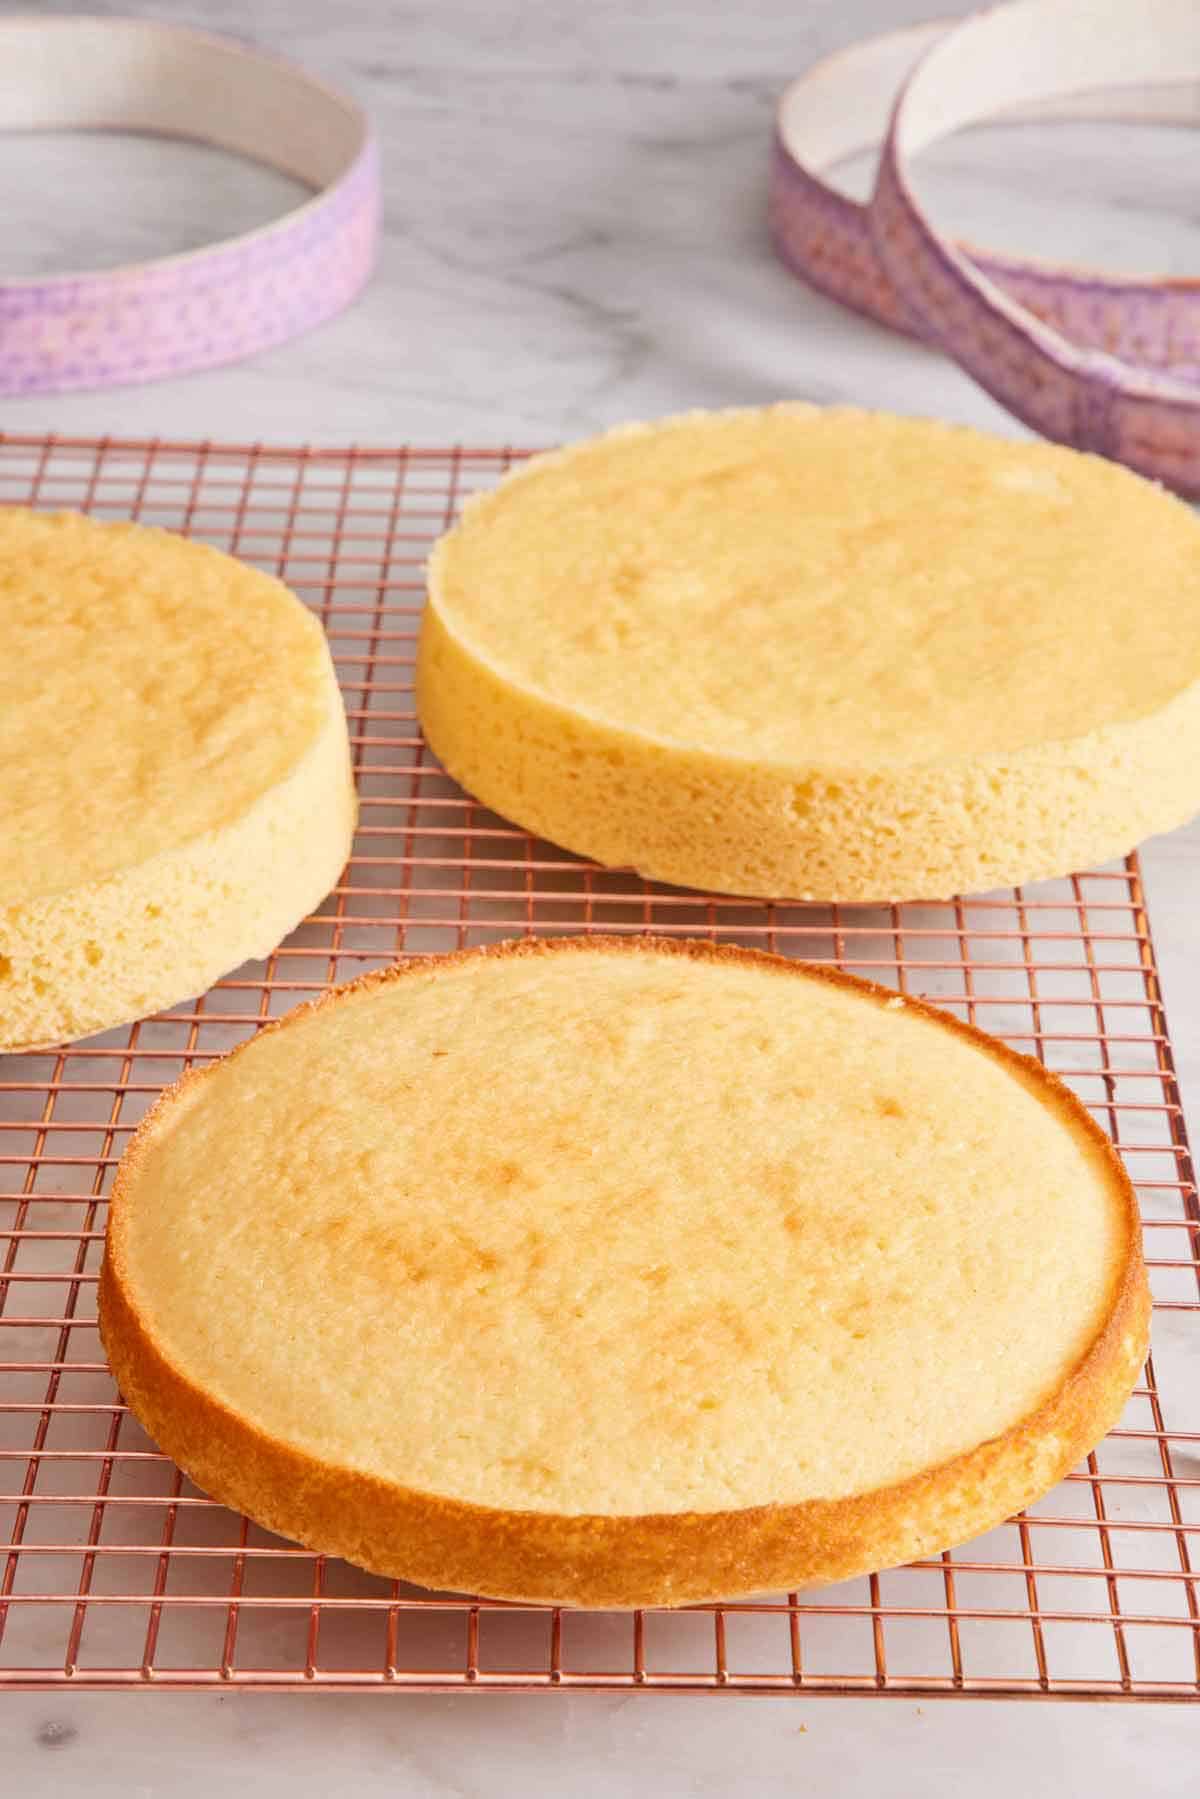
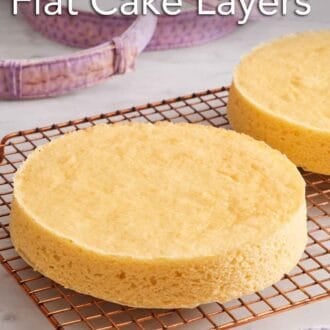
The easiest way to ensure your layers bake up perfectly flat every time is to use baking strips! While a domed middle may not be a big deal for a single-layer cake, flat layers are absolutely essential for properly assembling and decorating a cake with multiple layers. Flat layers affect both the appearance and stability of a multi-layer cake.
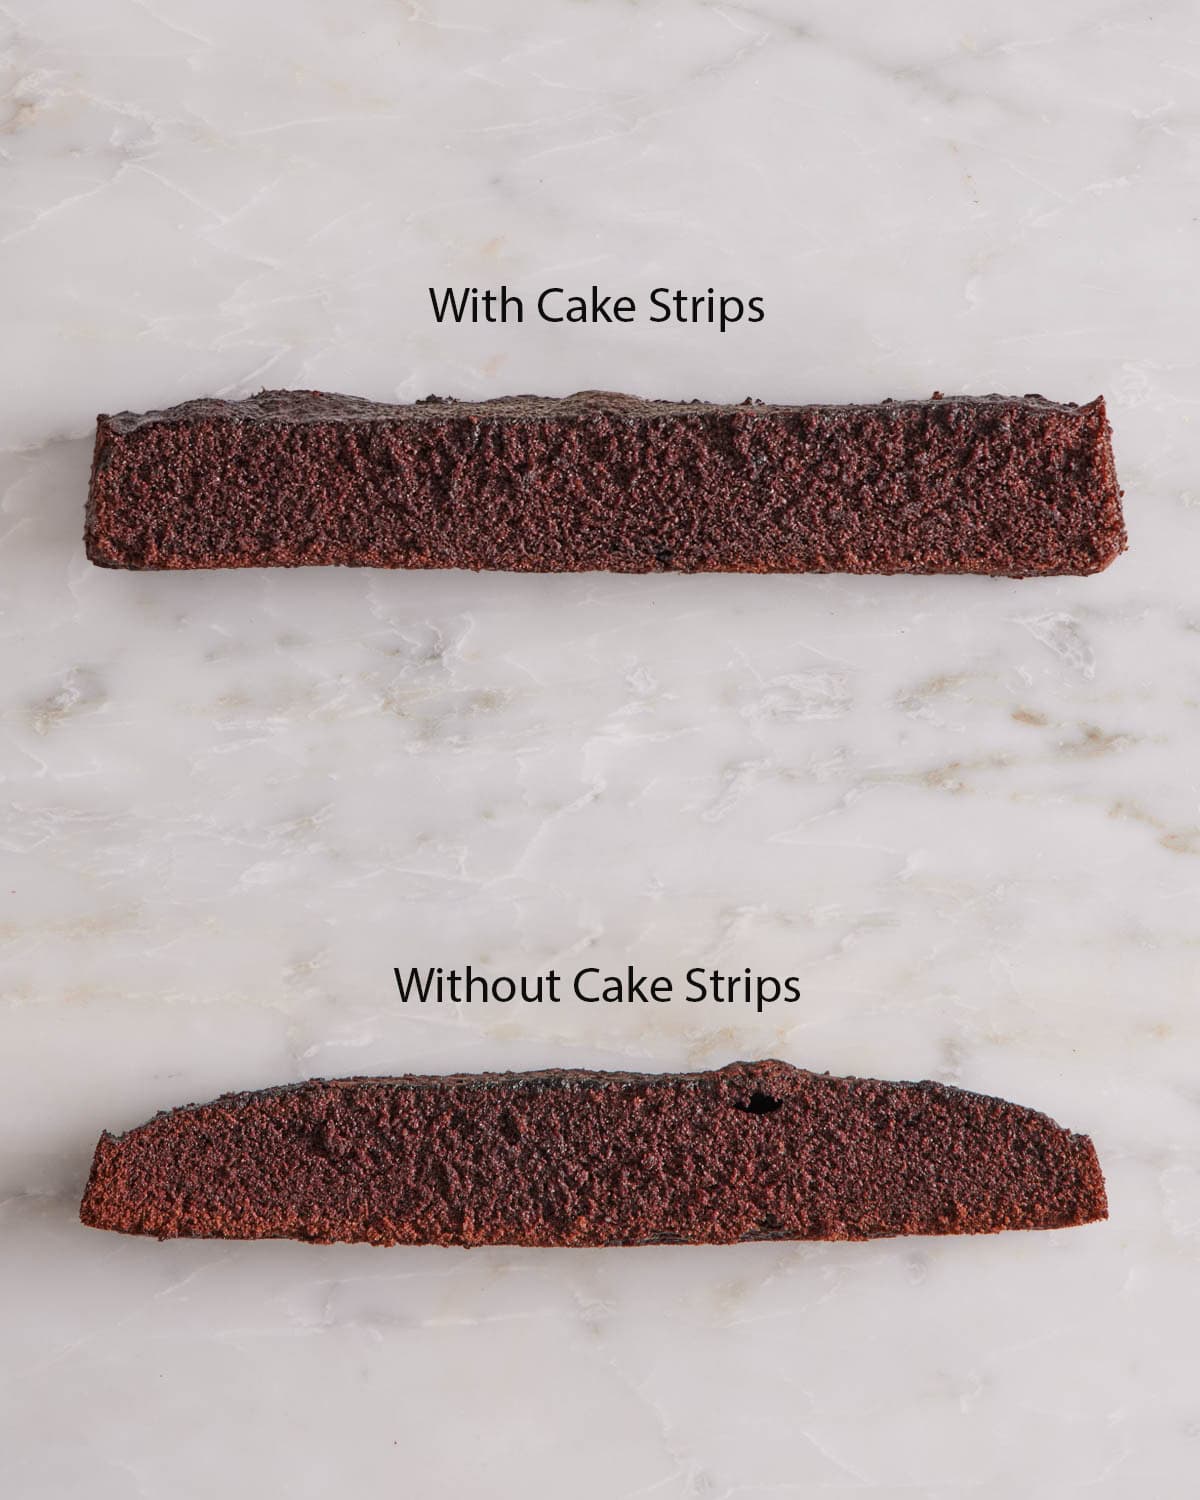
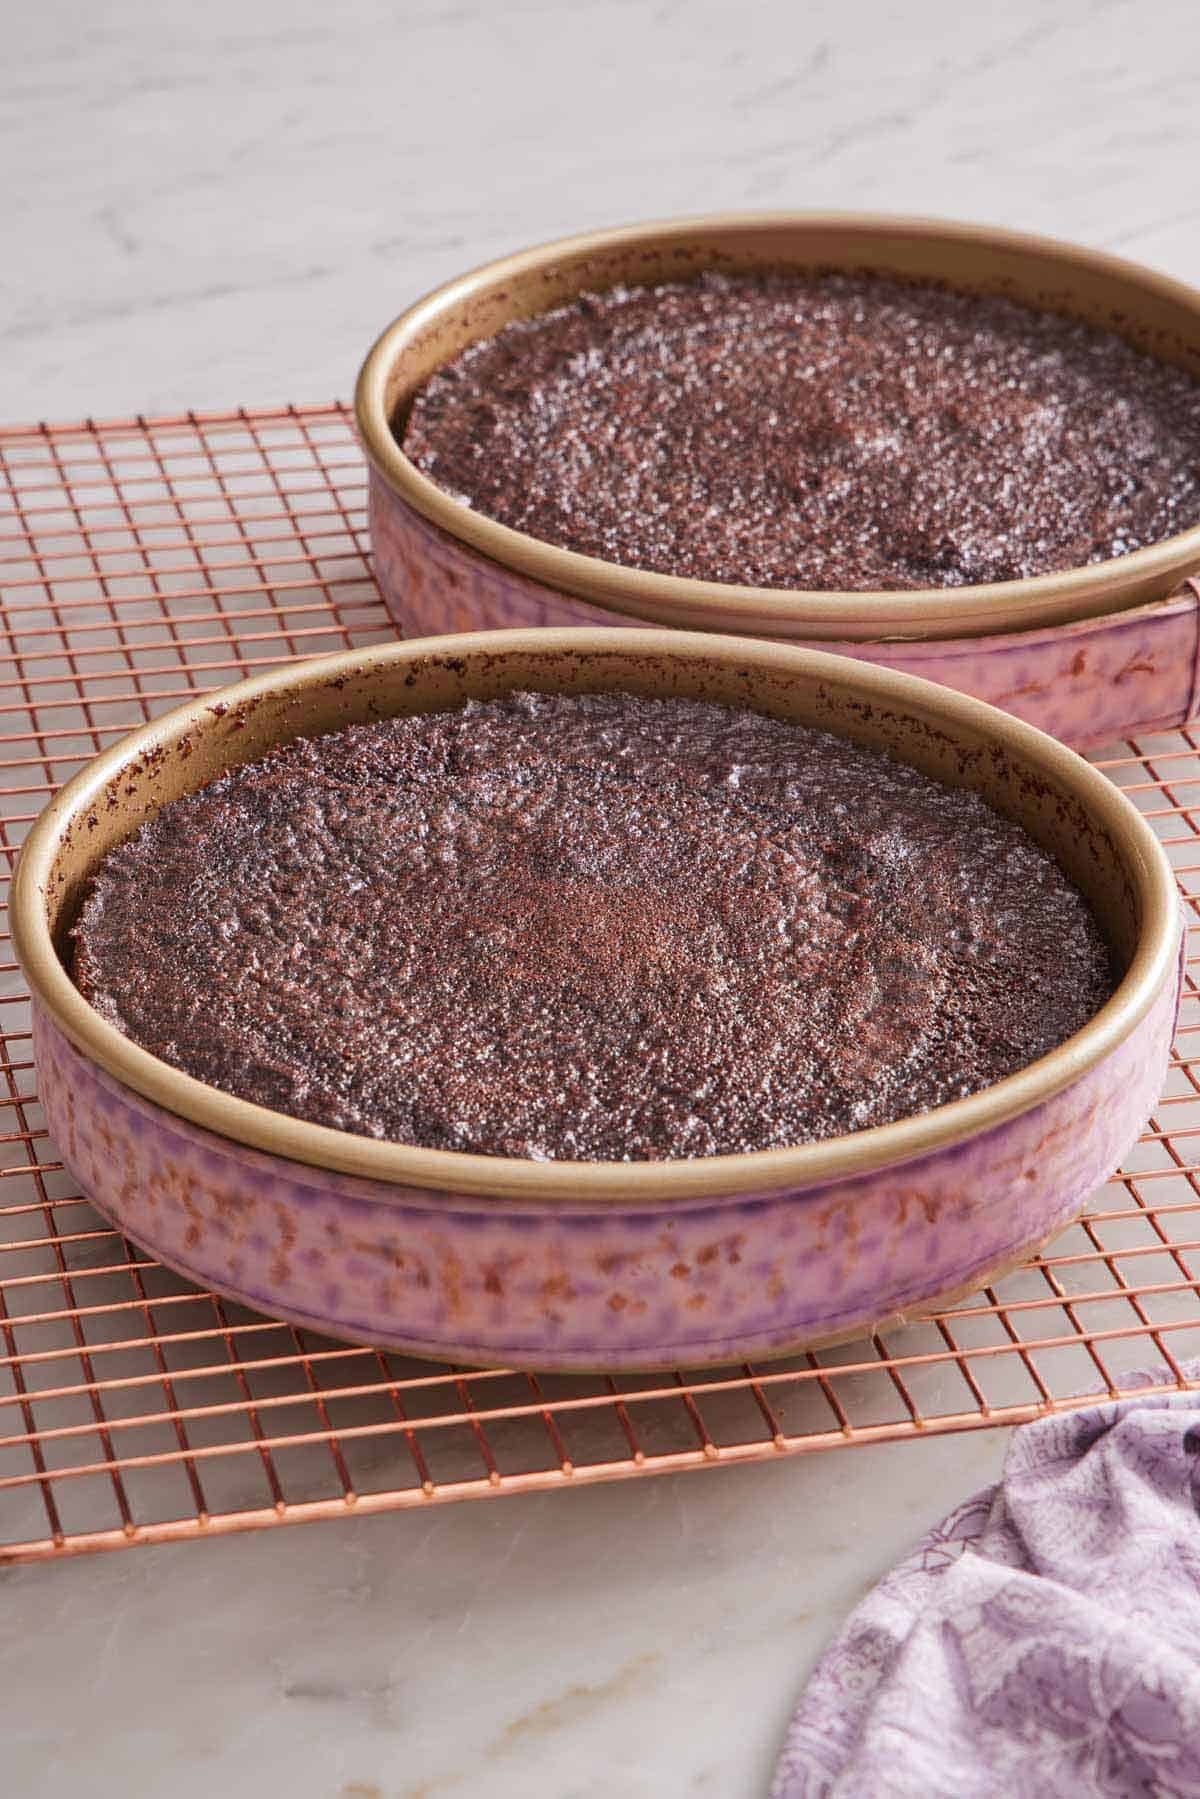
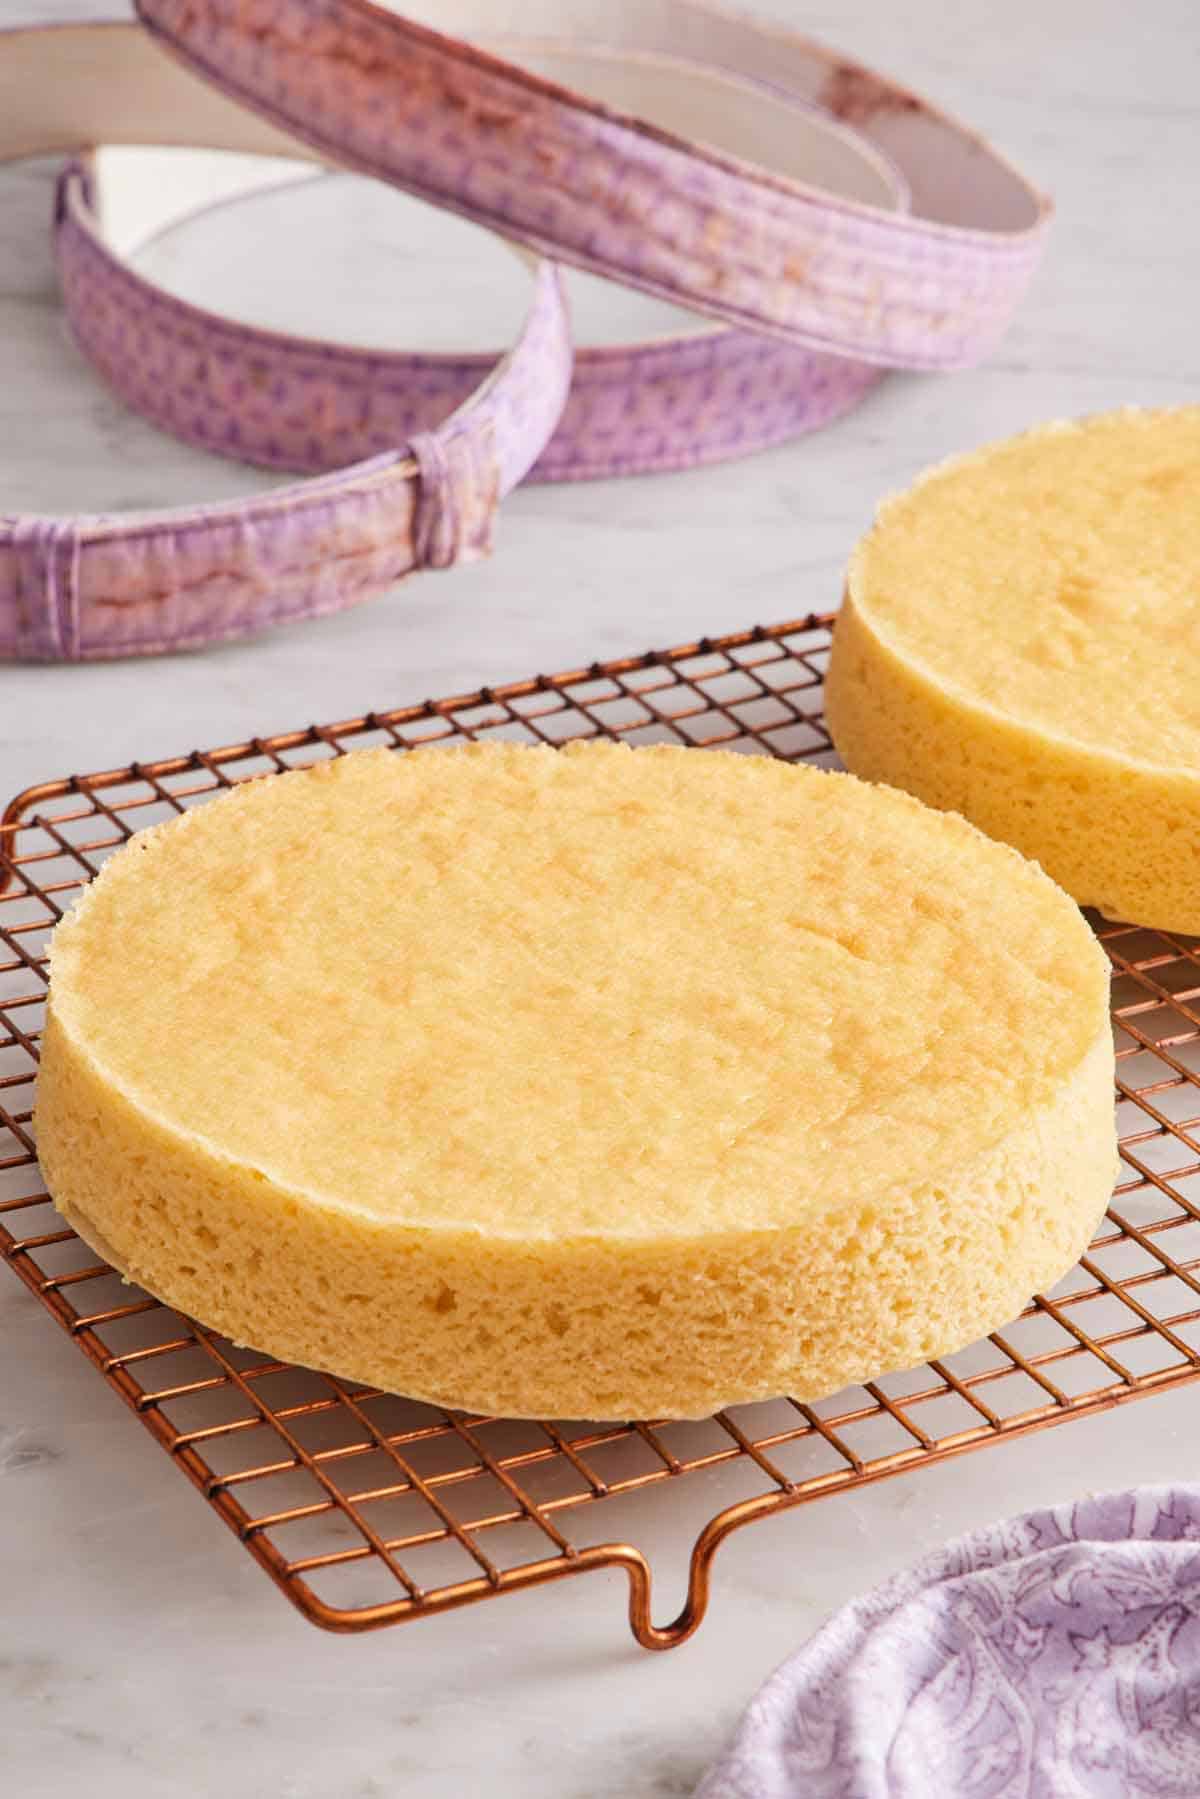
Below, you can see a cake layer baked with baking strips baked up taller with an even thickness and flat top. The layer baked without baking strips domed and didn’t rise quite as much.
What Are Baking Strips?
Baking strips are simply fabric strips soaked in water. These strips help even out the baking pace by insulating and cooling the sides of the pan so that the cake rises more evenly, instead of the center rising higher than the outside edges. You can also make your own DIY baking strips (I show you how below!).
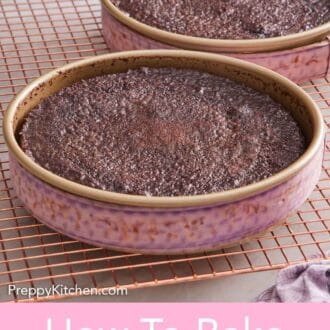
In the image below, you can see a distinct difference in how the oven heat affects cake layers. Baking my Naked Cake layers without baking strips produced a cake with dark, crusty edges and a lip around the top. They also did not rise as much and the center domed. This can actually work to your advantage with certain cakes like a Victoria sponge, where classically, you want a domed cake with golden edges. But for my Naked Cake, I want even layers for stacking, and a lighter, softer edge on the cakes for a tender and fluffy slice, so I use baking strips.
How to Bake With Fabric Baking Strips
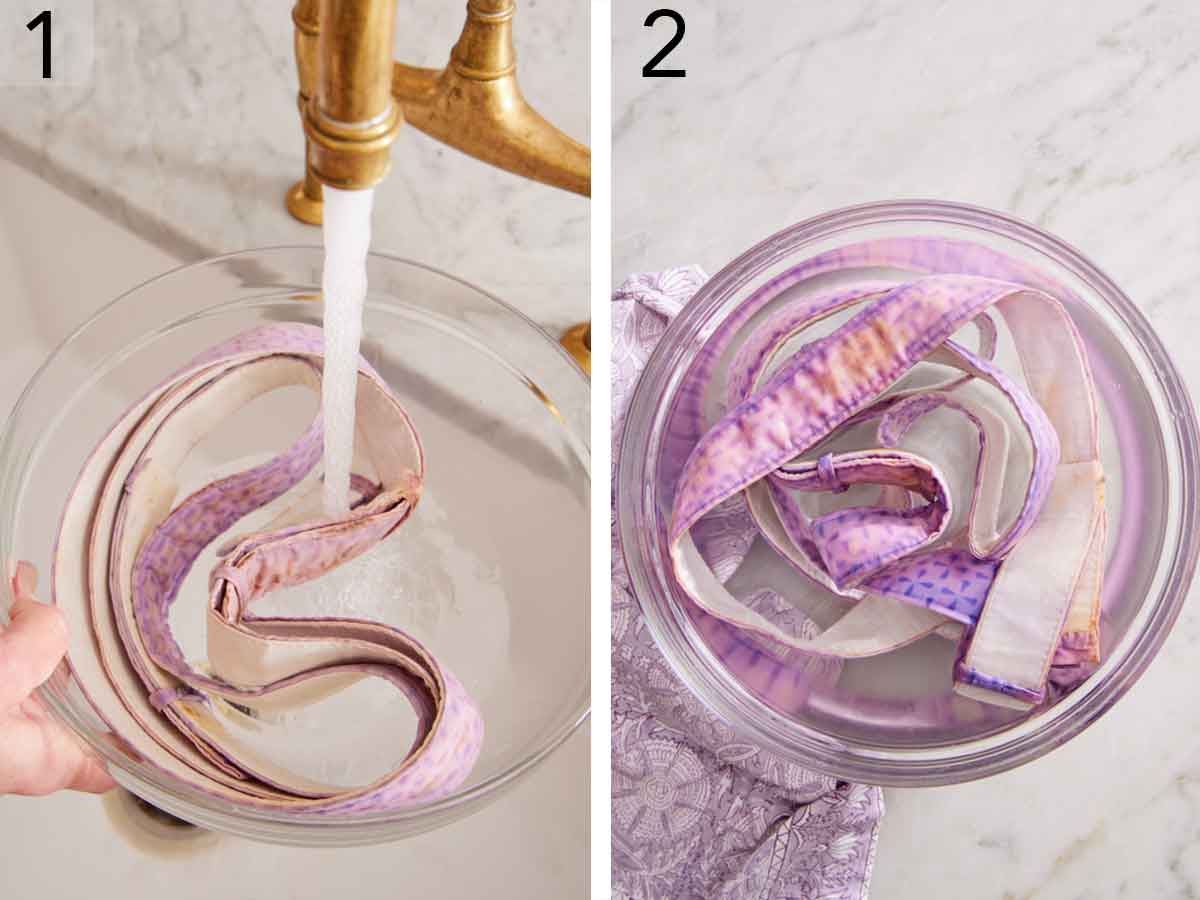
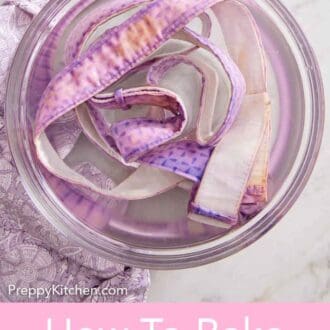
1. Place the fabric baking strips in a large bowl and cover with cold water.
2. Let the strips soak for 5 to 10 minutes.
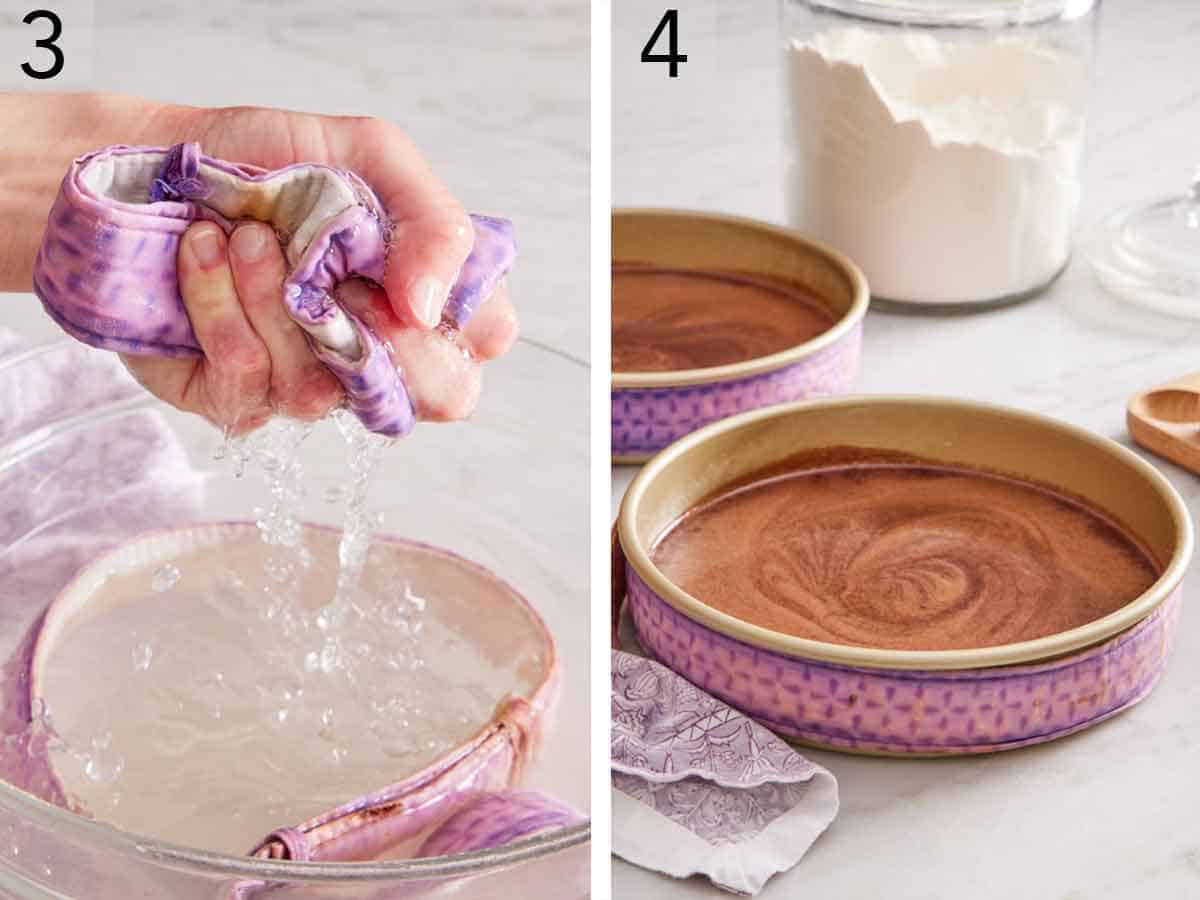
3. Squeeze each strip to remove the excess water.
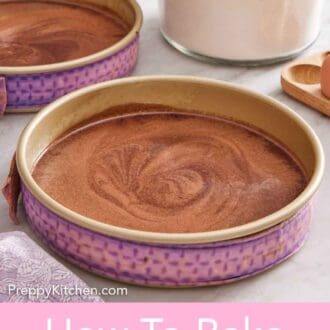
4. Wrap the soaked cake strip around the outside of the cake pans and adjust to tighten them around the pans before filling the pans with batter.
How To Make Your Own Cake Strips
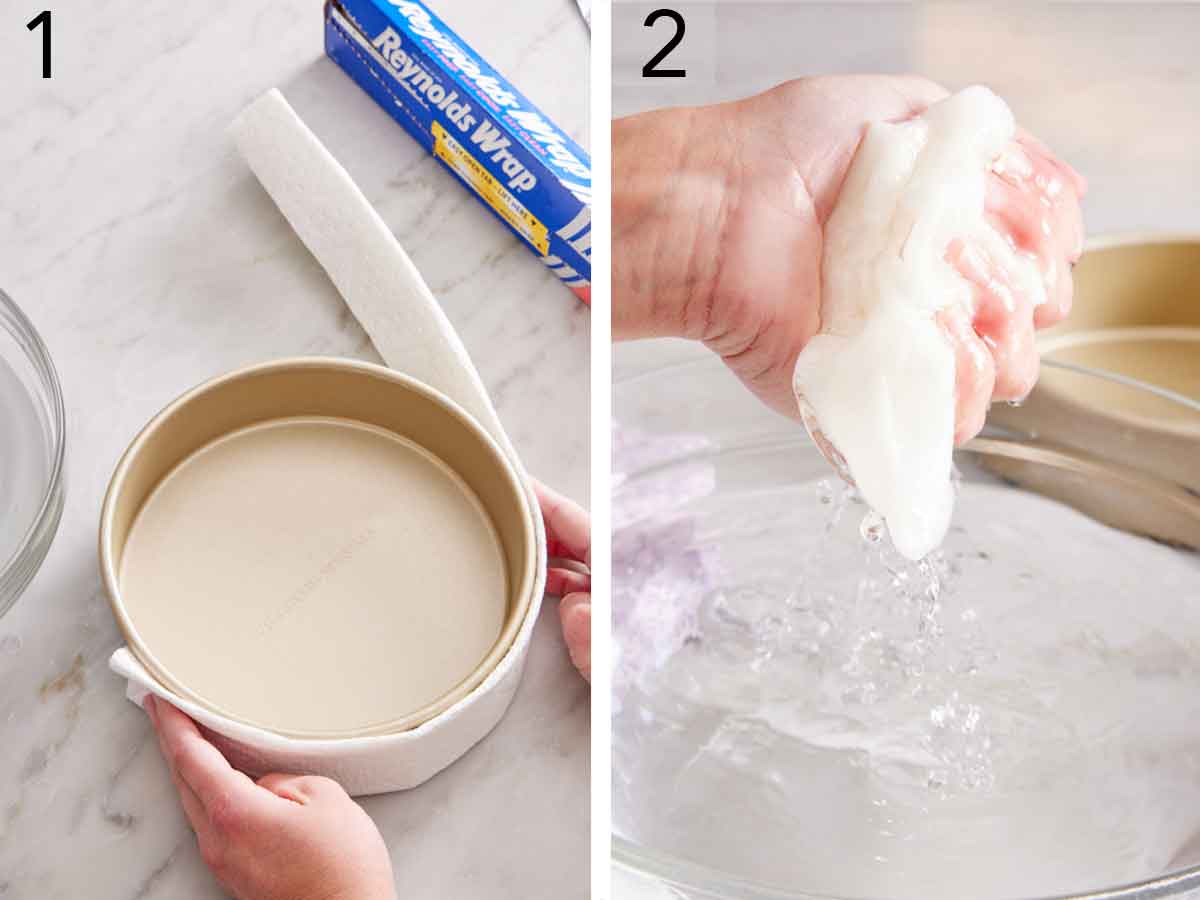
1. Tear off a length of paper towels that’s enough to wrap the outer circumference of the cake pan. Fold the paper towels lengthwise until you have a 2-inch-wide strip. Cut a piece of aluminum foil to be roughly 6 inches longer than the paper towel strips. (For 8-inch cake pans, the foil will be about 30 inches long.) Cut the foil in half lengthwise to create two long pieces. (You only need one strip for each cake pan so reserve the second piece.)
2. Moisten the paper towel strips with water, then gently squeeze out most of the excess water.
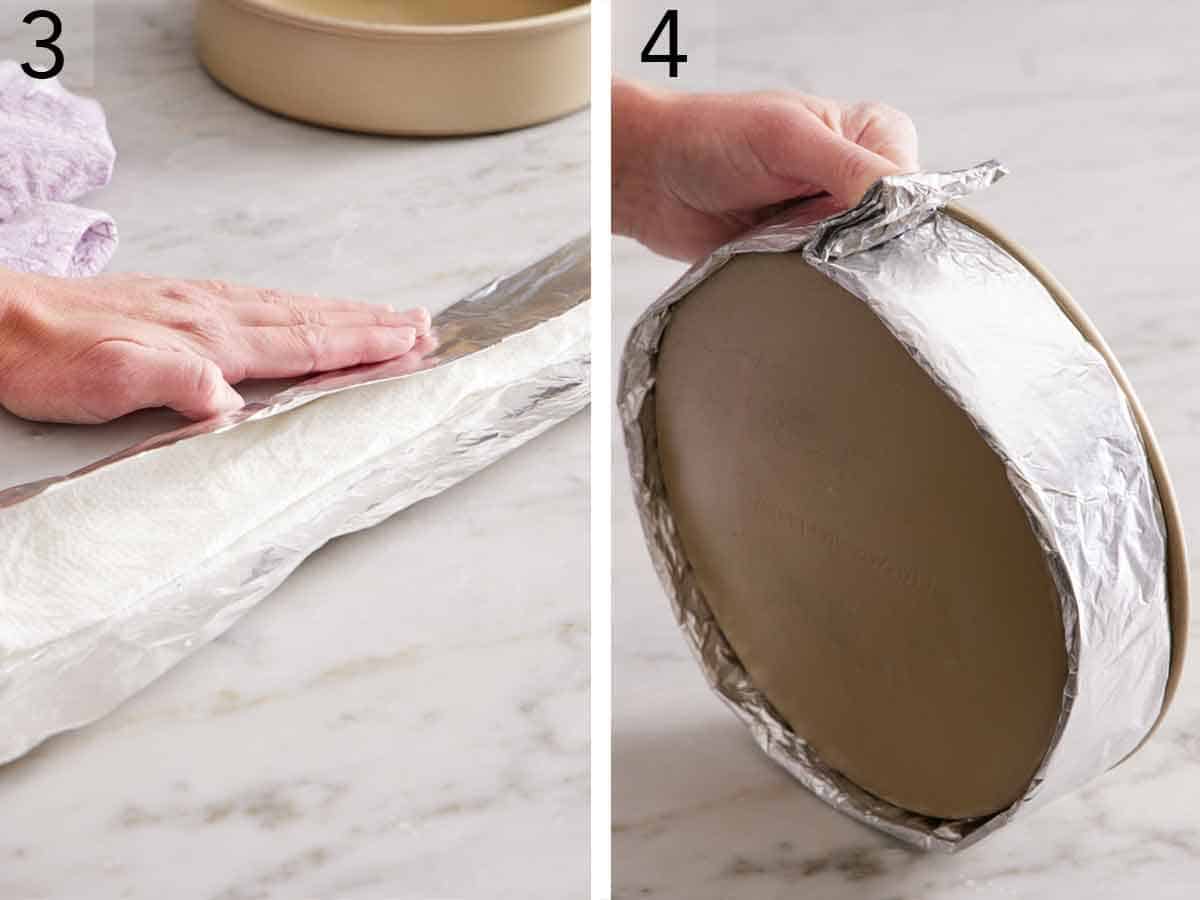
3. Lay the wet paper towel strip in the center of the foil, and fold the foil over it from both sides to seal the paper towel inside. You should have a long 2-inch-wide strip of foil with the damp paper towels running through the center.
4. Wrap the foil baking strip around the cake pan, keeping it flat up against the sides. Fold the ends over themselves to close together so the strip is secured.
Use Baking Strips For Any Kind Of Cake
This technique is great for any kind of layer cake recipe (unless specified!). It’s most important for tall layer cakes like my red velvet cake, 6-layer rainbow cake, and German chocolate cake. Even two layer cakes like my vanilla cake, white cake, lemon cake, and strawberry cake benefit.
Baking strips also make a big difference in stir-together or runnier batters like chocolate cake and carrot cake! Runnier batters tend to develop a crispy edge more so than thicker, beaten cake batter and the strips guard against that.
What If My Cake Layers Dome?
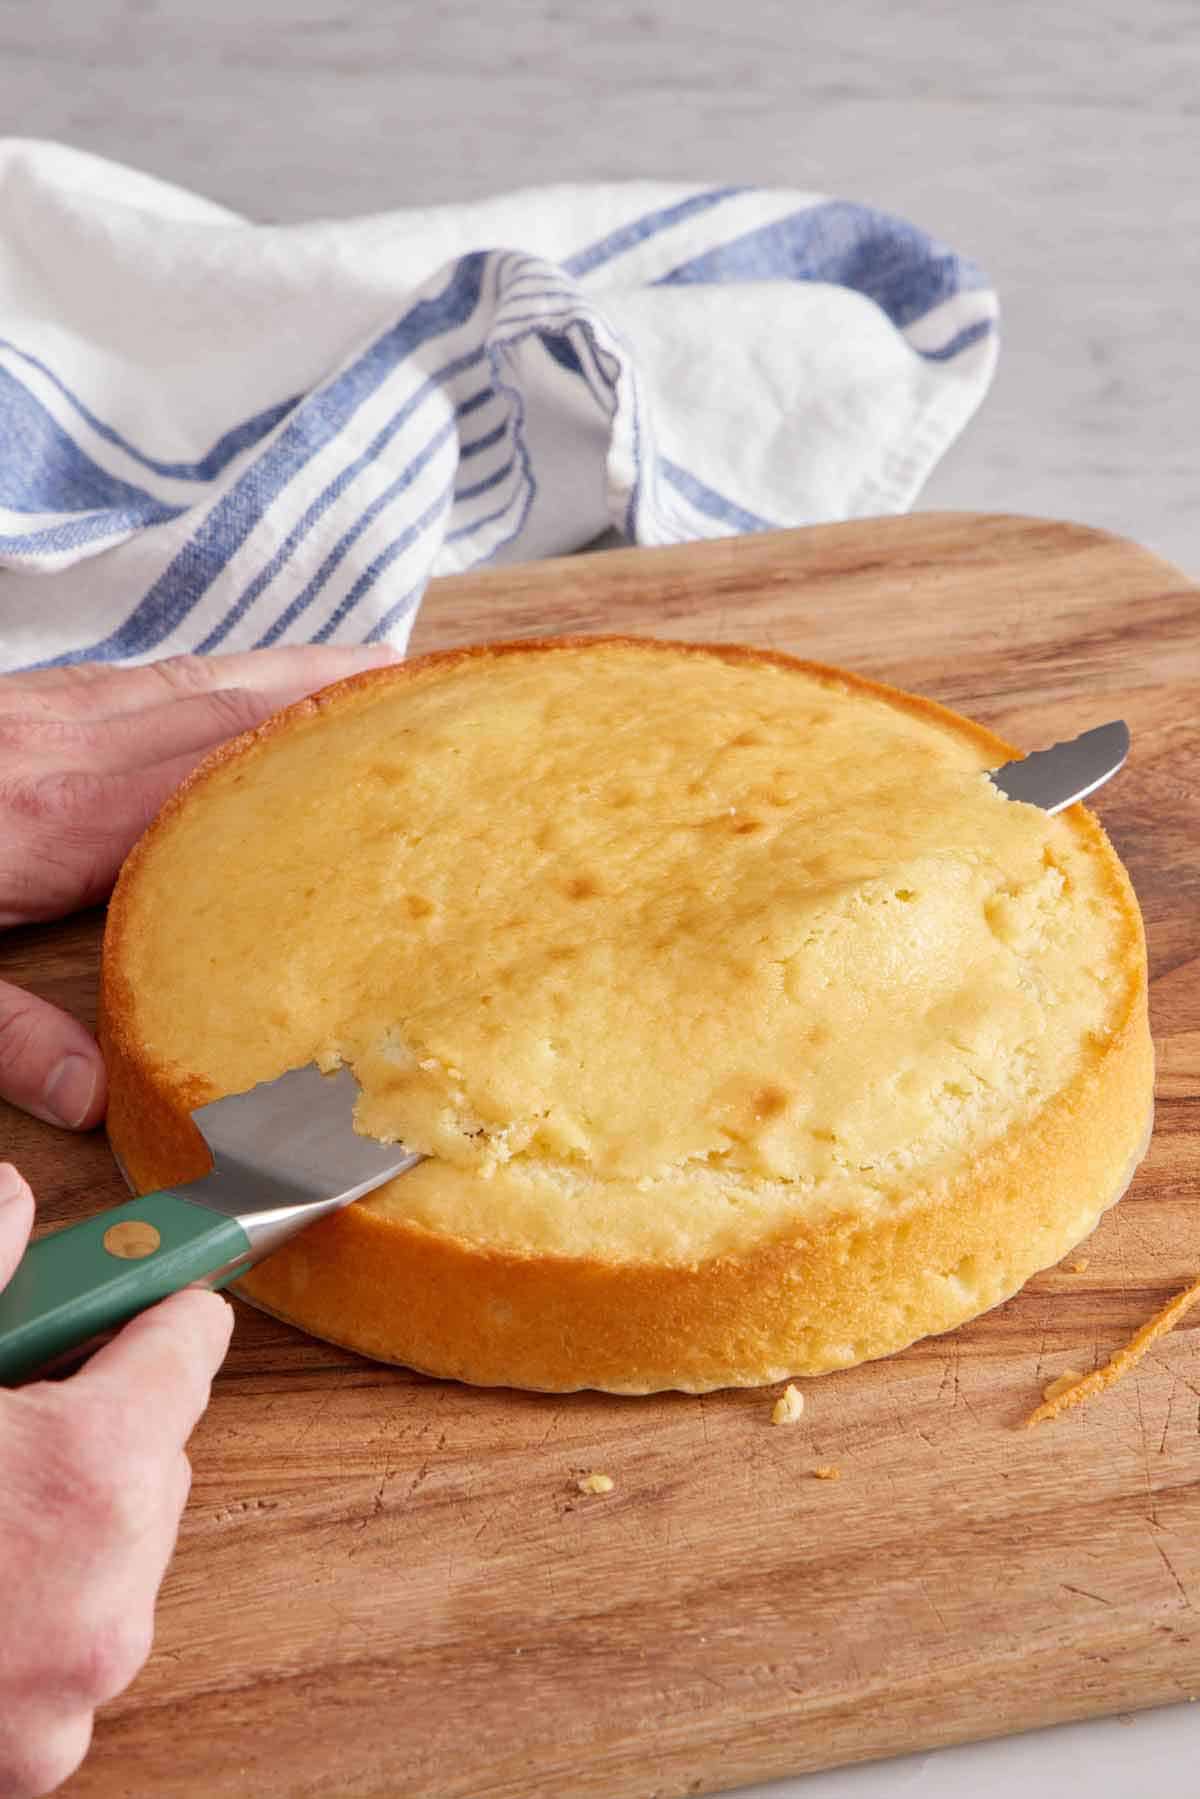
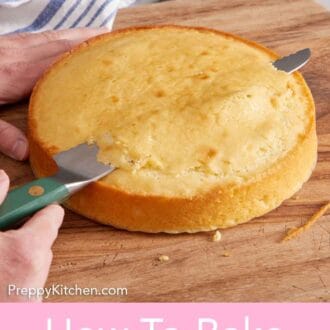
A simple fix is to just carefully trim off the dome with a serrated knife so the top becomes flat. You can snack on the trimmed bit or discard it.
Where Can I Buy Baking Strips?
Baking strips are easy to find online, at baking supply stores, or at craft supply stores that have a baking section. I use Wilton’s Bake Even Strip Set.
If you’ve tried this post on how to bake flat cake layers, then don’t forget to rate it and let me know how you got on in the comments below. I love hearing from you!


Batsheva says
I made the rainbow cake using the DIY baking strips
the cakes came out beautiful and so straight- ut made it so much easier to decorate!
today I will be making the pink birthday cake and I sure hope it will come out the same
my daughters birthdays have become great parties since I started using Preppy Kitchen!
thank you
Heather says
This is amazing knowledge to have discovered! Thank you so much for sharing, being so fun to watch, and clearly loving baking!
Kristin Henscheid says
I’m 47 and have been home baking since I was little. THIS IS THE FIRST IVE HEARD OF CAKE STRIPS!! I feel like I’ve been cheated out of ALOT of nicer cakes! I was doing research since my daughter asked me to make her wedding cake. She wants a ‘naked’ cake so I’m thrilled I learned about cake strips!!
Jenny says
I have been learning little by little over time and stumbled onto your videos about a month ago. You have so much knowledge and make it easy to learn with your videos. Plus you are all smiles and I can see you enjoy baking. I will always come to Preppy Kitchen first looking for new ideas and recipes. Thank you so much!
New Fan!
John Kanell says
Thanks so much Jenny!
Tina says
I just discovered you! You make it look possible for a home baker to produce professional looking bakes. Thank you I really enjoy your videos!!!!
New fan,
Tina
John Kanell says
Thanks so much Tina!
Mistie Loggins says
The blueberry lemon cake recipe is so flavorful and I used the cake strips and my oven tends to run high so I bake at 320F- same amount of time. Initially, the cakes were perfect out of the oven, they did not over flow and had a perfect level top and crust, I thought finally! But as they cooled they shrunk at the top edge and sank slightly in the middle. Although, this happened there was no way I was wasting this delicious cake. I had to compensate with extra swiss meringue buttercream, but no one noticed. I find baking in the desert very difficult in the summer, I followed your recipe to a T, do you have any suggestions?
Angela Sauve says
I have been baking 3 6″ cakes in Wilton pans, at 350, both with and without cake strips, different recipes, and my cakes don’t rise in the middle. They are saggy in the middle. I’ve tried cooking them longer but then they are dry on the outside and still not fully rising in the middle. What am I doing wrong? They taste great; nice and moist, but not good for layering. Thanks!