
This post may contain affiliate links. Please read our disclosure policy.

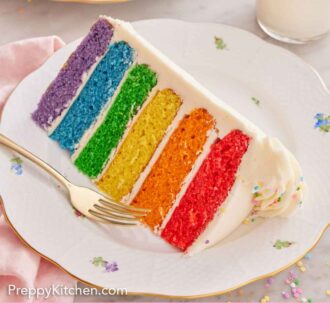
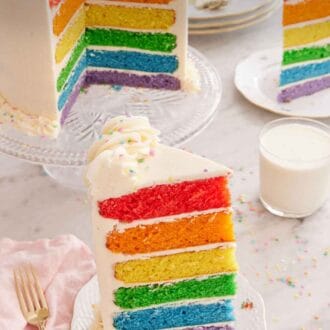
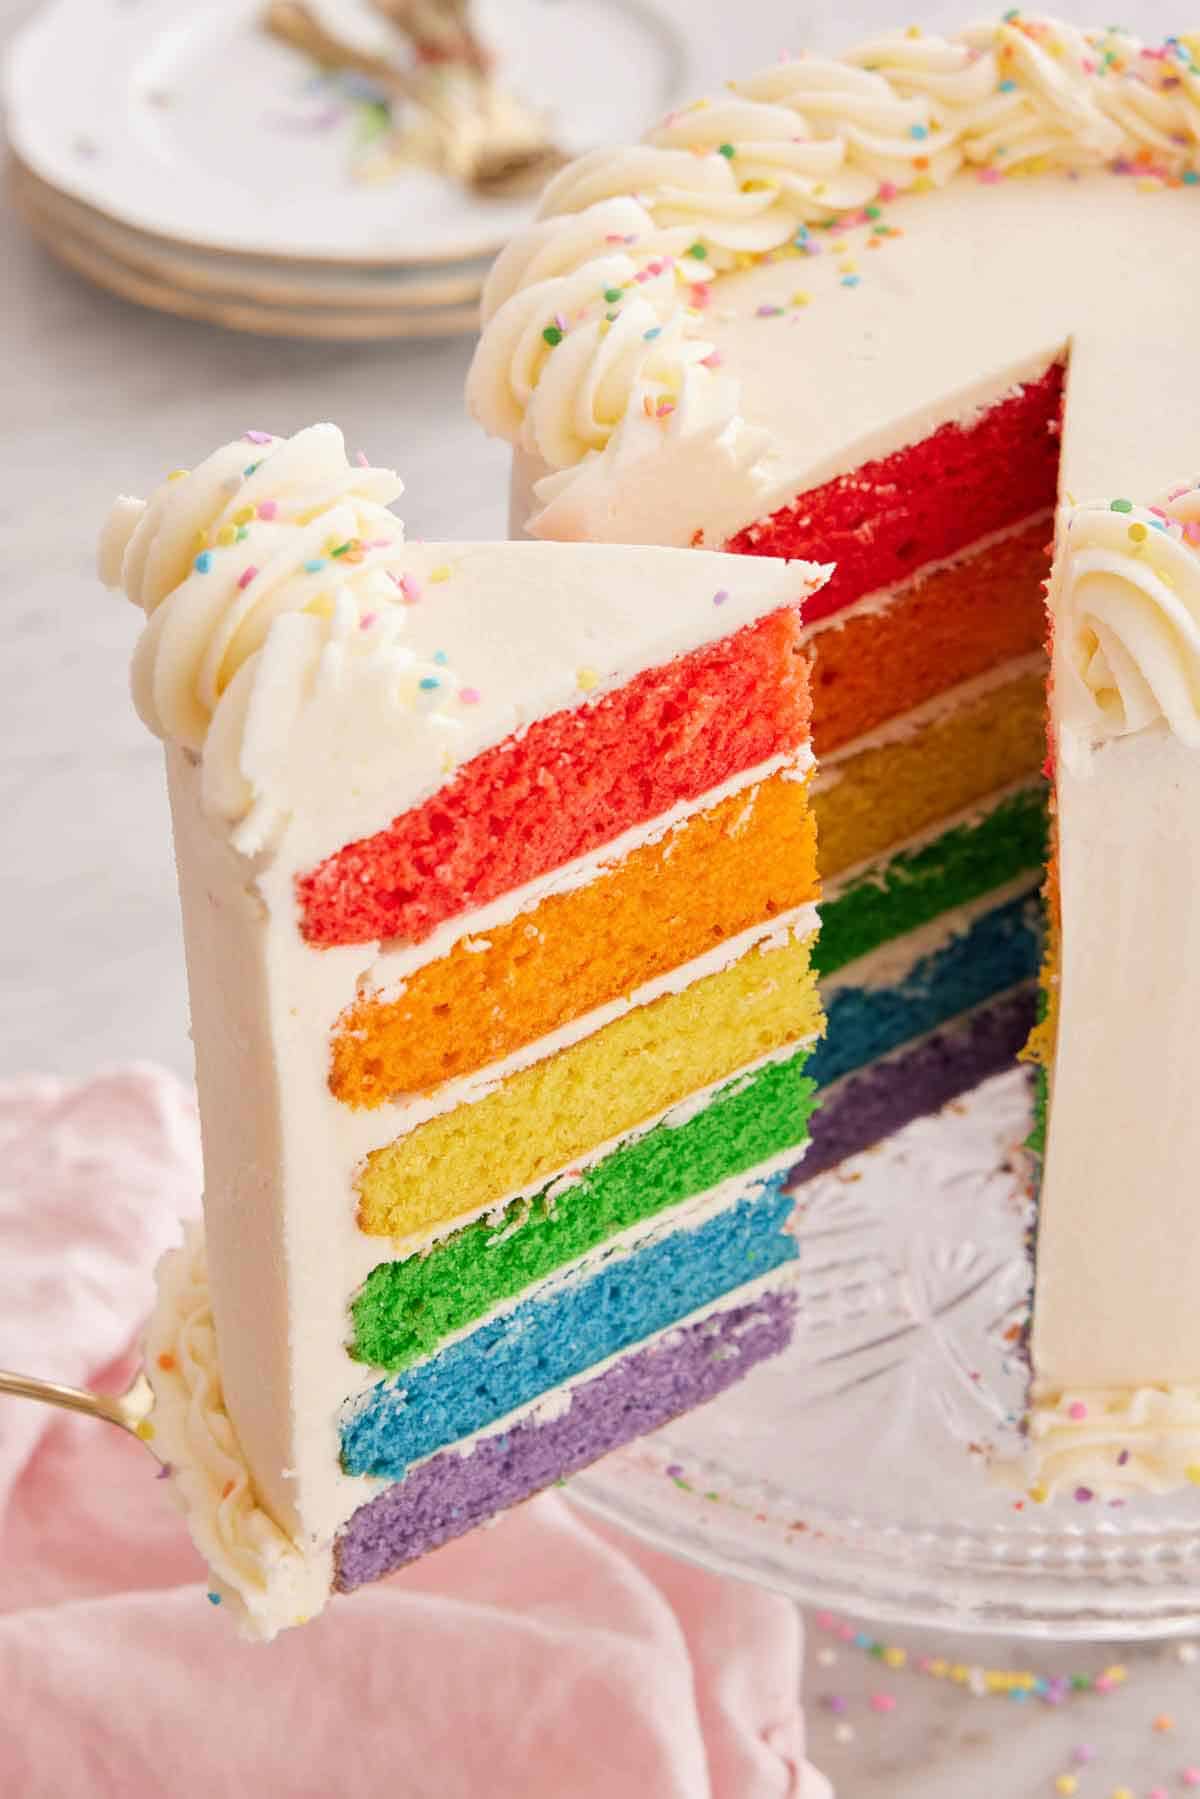
This beautiful Rainbow Cake recipe is perfect for any occasion, from birthday parties to holidays! It’s always a crowd-pleaser as you cut into it, revealing six stunning colorful layers with buttercream throughout. It’s moist, flavorful, and absolutely show-stopping.
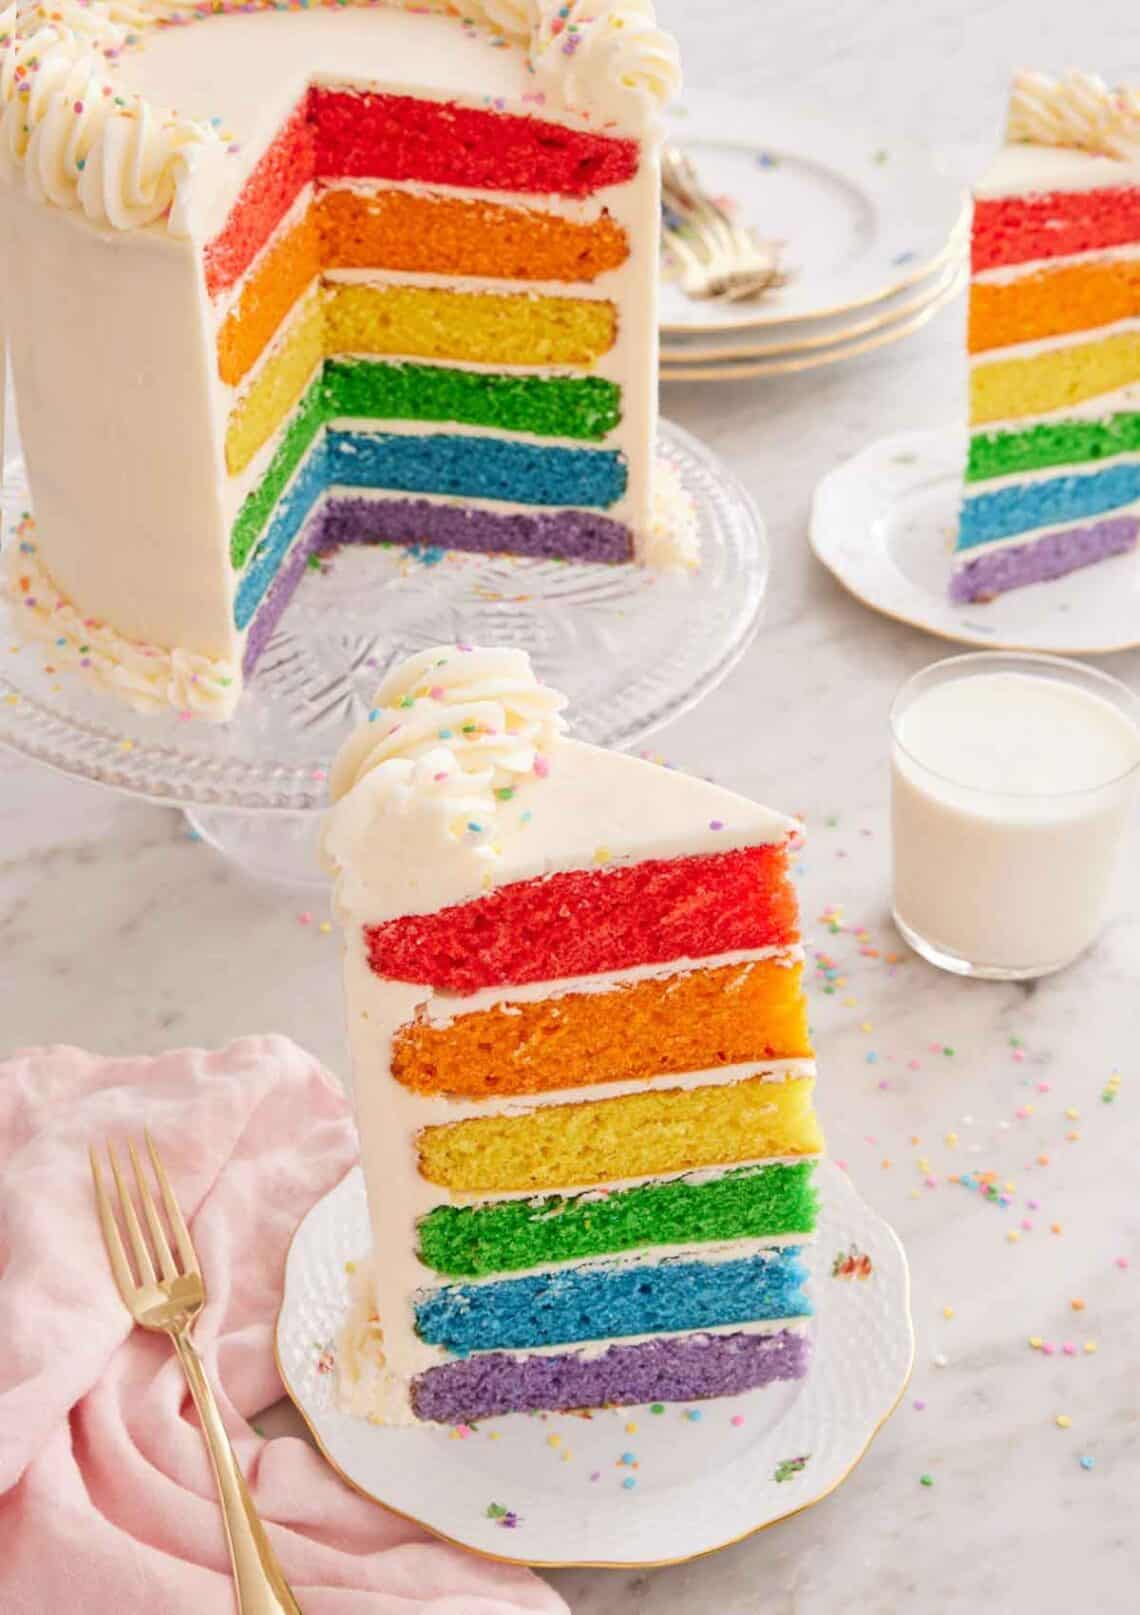
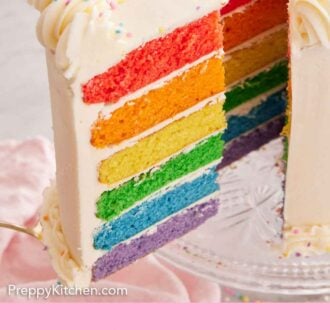
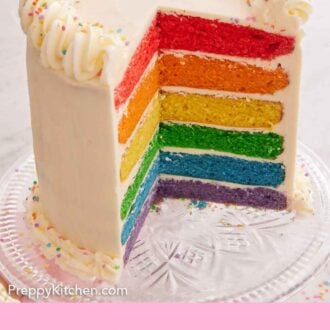
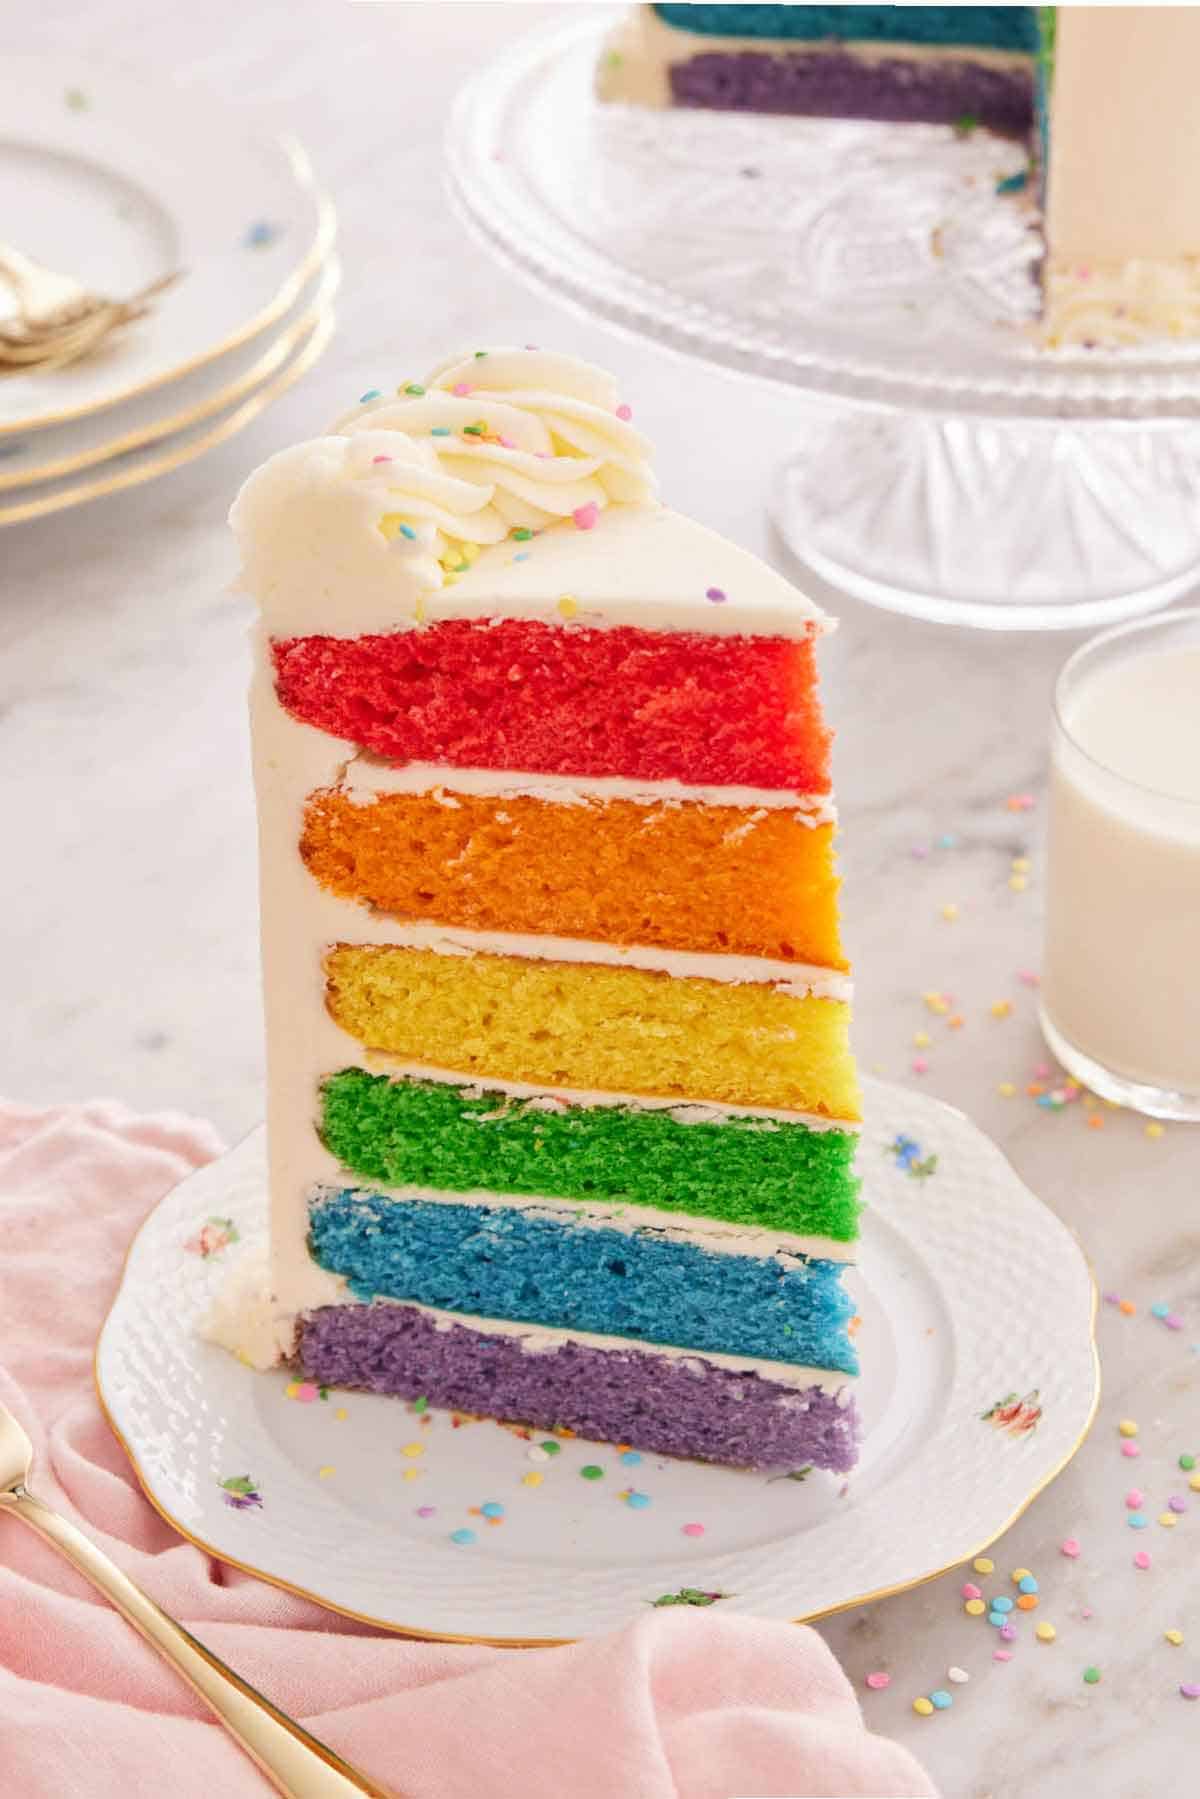
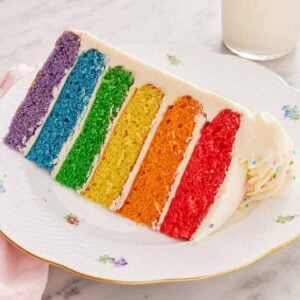
If you want to see everyone’s faces light up when you cut into a cake, then you must make this rainbow cake recipe! It’s positively stunning with all the colors of the rainbow including purple, blue, green, yellow, orange, and red layers with white buttercream between each layer. It is such a festive cake that tastes just as good as it looks!
Don’t be intimidated by the layers and color. This post will walk you through step by step how to make a rainbow layer cake that everyone will love. The cake is moist, tender, and has a sweet vanilla flavor throughout. It pairs wonderfully with the smooth buttercream icing, and I top it with some rainbow sprinkles to give everyone a hint of what’s inside. It’s truly an impressive cake that’s fun for all ages which you can effortlessly assemble. If you want another easy cake recipe, then try my strawberry lemonade cake, naked cake, or chocolate chip cake.
What You Need to Make This Recipe
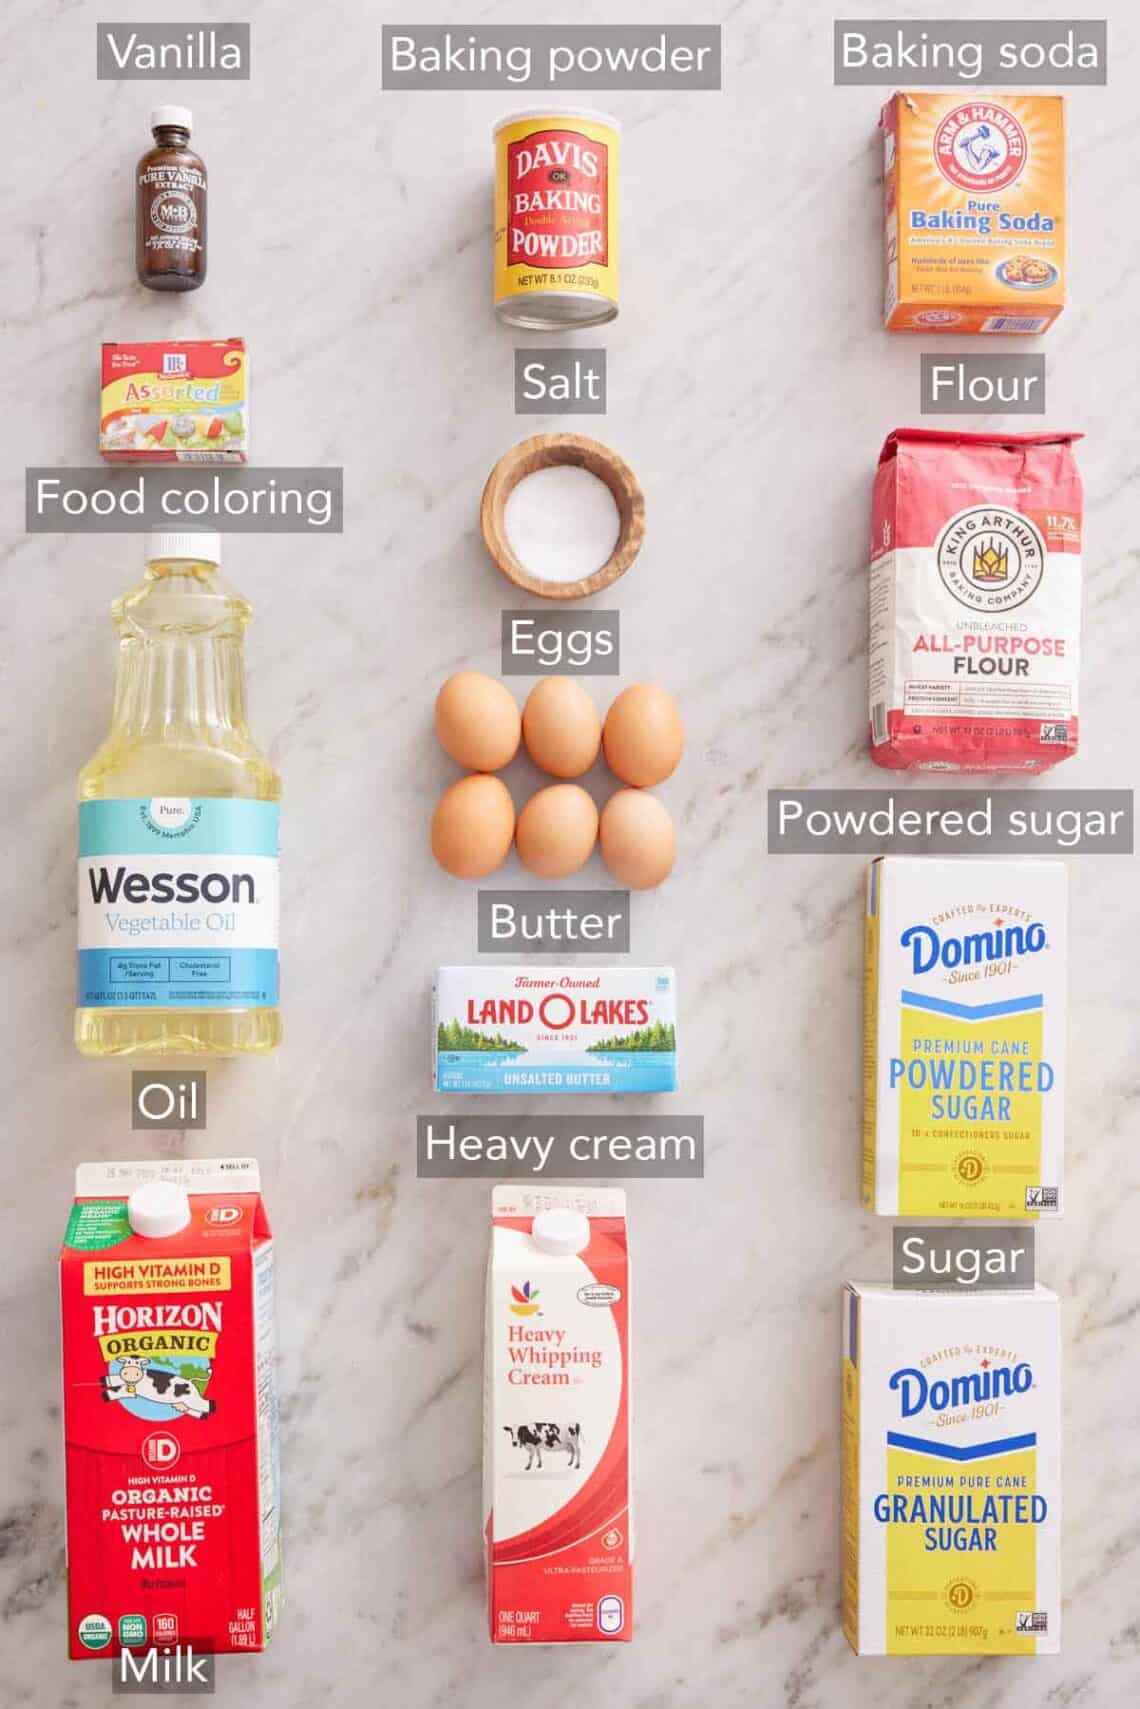
Flour — you don’t need anything fancy to make this rainbow cake! Just all-purpose flour.
Leavening agents — always double-check that your baking powder and soda are fresh and not expired. Purchase a new container if they’ve expired, or your cake crumb will not be light and tender.
Eggs — you’ll need 6 eggs to make this cake! Make sure you bring them to room temperature so they can effortlessly mix into the batter without overmixing.
Oil — using oil in the cake batter adds more fat to the cake layers to ensure moist, soft, and tender layers.
Milk — make sure you buy whole milk and not low-fat milk. Whole milk will give you the best flavor and add moisture to the cake.
Food coloring — you can use your favorite food coloring. If you can, then find gel food coloring as it will give you extremely vibrant color!
Butter — I always recommend using unsalted butter to avoid salty buttercream. Be sure to bring the butter to room temperature. It must be soft enough so your finger leaves a dent when pressing it.
Powdered sugar — you might find it labeled as confectioners’ sugar, icing sugar, and 10X, but they are all the same. If you’ve run out of powdered sugar to make the buttercream, then see my guide on how to make powdered sugar.
How to Make Rainbow Cake
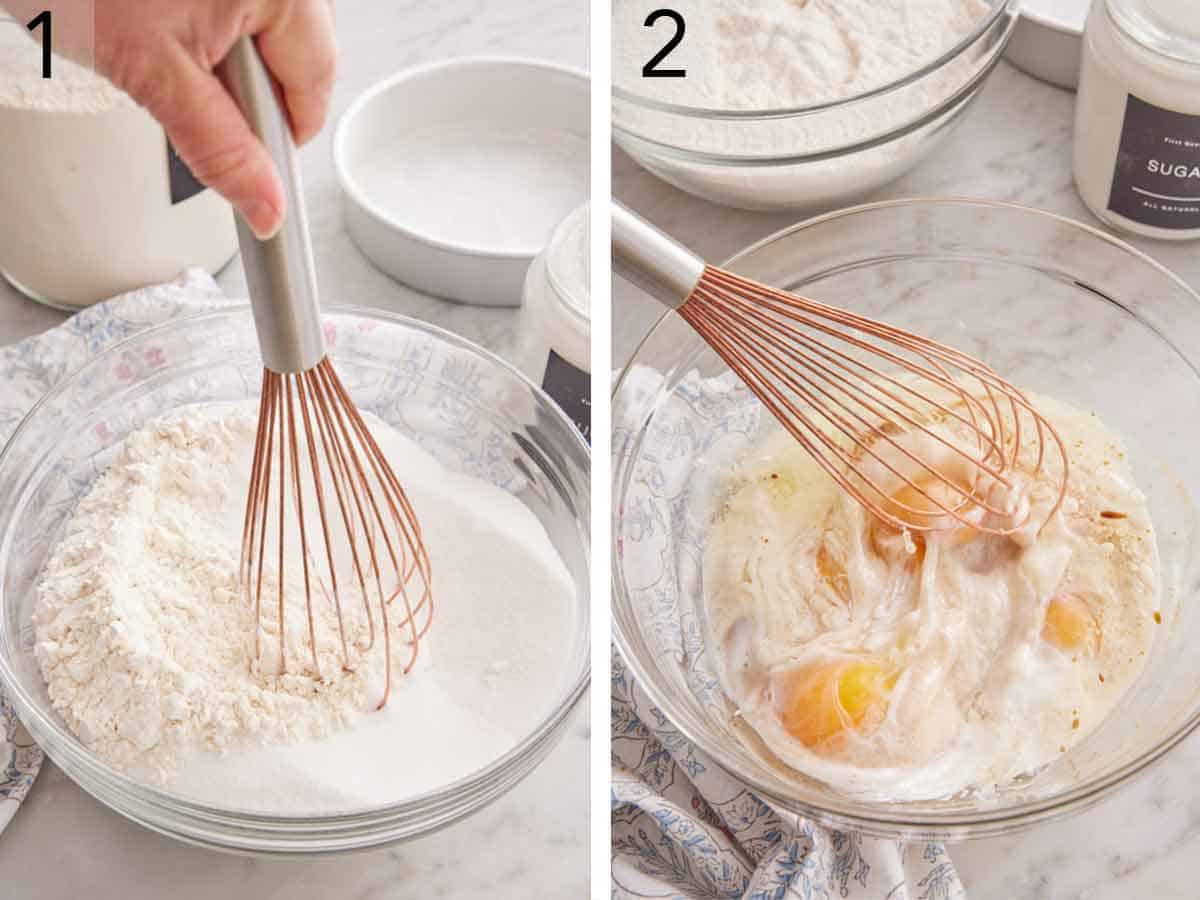
1. Whisk together the flour, sugar, baking powder, baking soda, and salt in a large mixing bowl.
2. Combine the eggs, vegetable oil, milk, and vanilla in another large mixing bowl. Whisk until well combined.
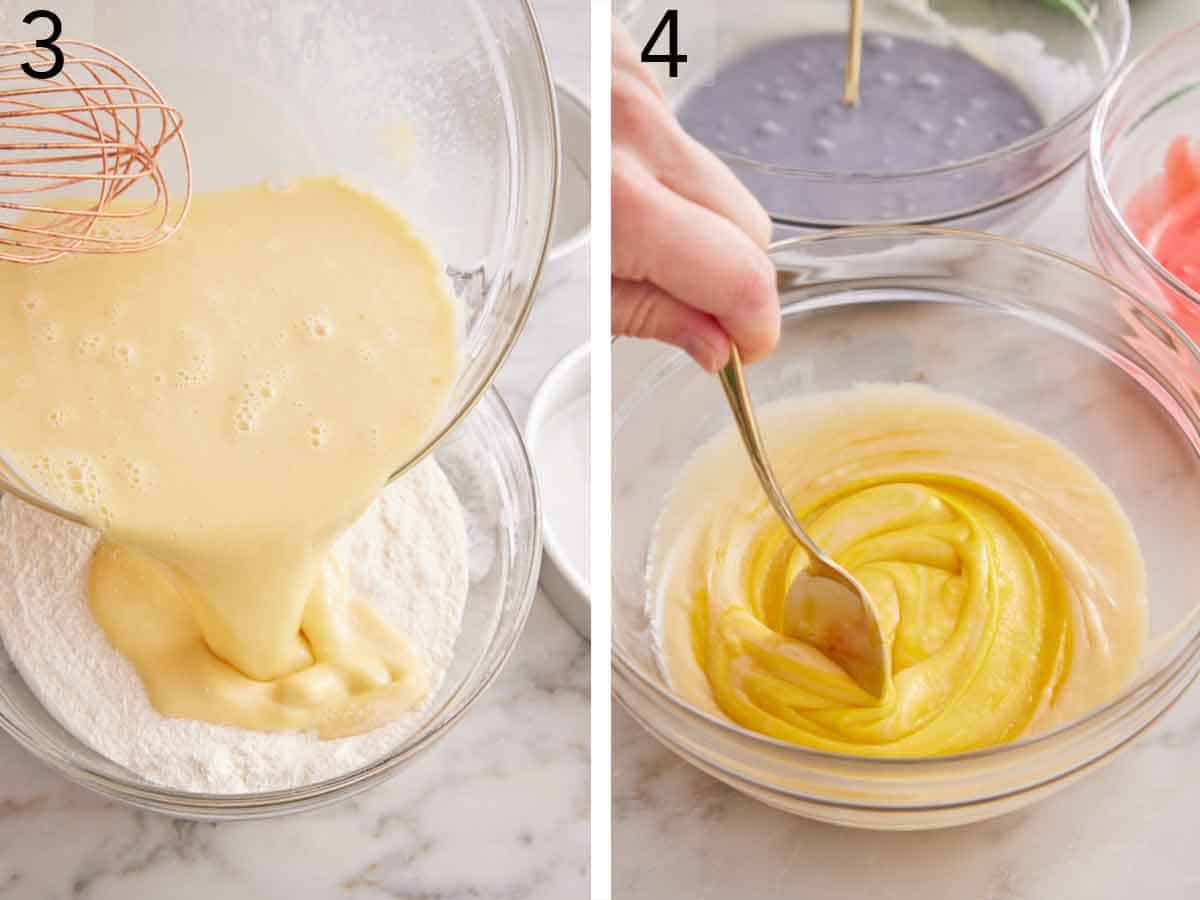
3. Pour into the flour mixture and whisk until combined.
4. Divide the batter among 6 mixing bowls. Color each batter with food coloring to make red, orange, yellow, green, blue, and purple batters.
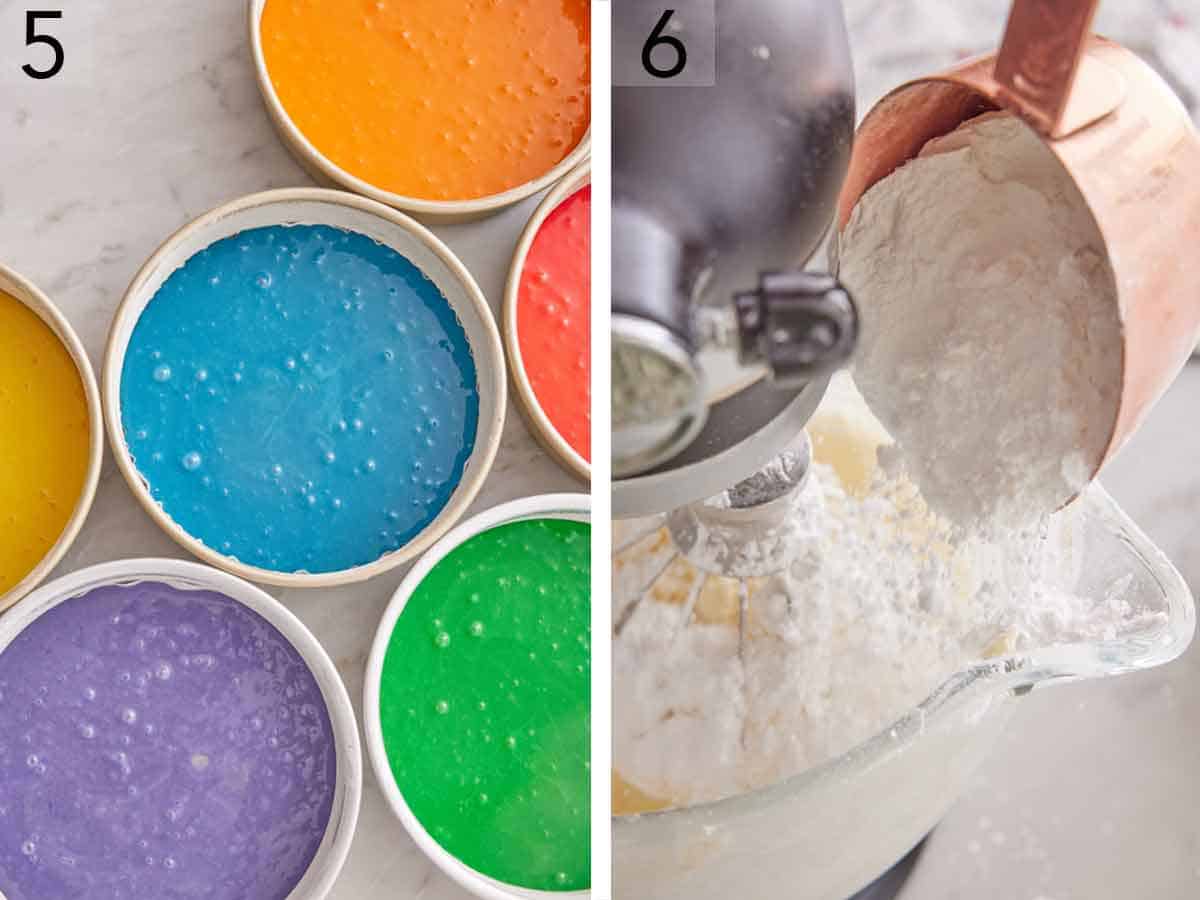
5. Pour a single color batter into each prepared cake pan. Place the remaining batter bowls in the fridge until ready to bake. Bake for 20 minutes or until a toothpick inserted into the center comes out clean. Let the cakes cool for 10 minutes in the pan, then remove and finish cooling on a wire rack. Wash the pans, grease, and line with parchment paper again, and bake the remaining batters.
6. Prepare the buttercream by beating butter and salt on medium speed until very fluffy and pale in the stand mixer bowl fitted with the whisk attachment. With the mixer on low speed, gradually add the powdered sugar a cup at a time, adding a tablespoon of cream at a time throughout the mixing. Stop and scrape down the bowl occasionally. Then beat in the vanilla and add additional cream if the frosting feels grainy when rubbed between your fingers. Increase the speed to medium-low and beat until light and fluffy.
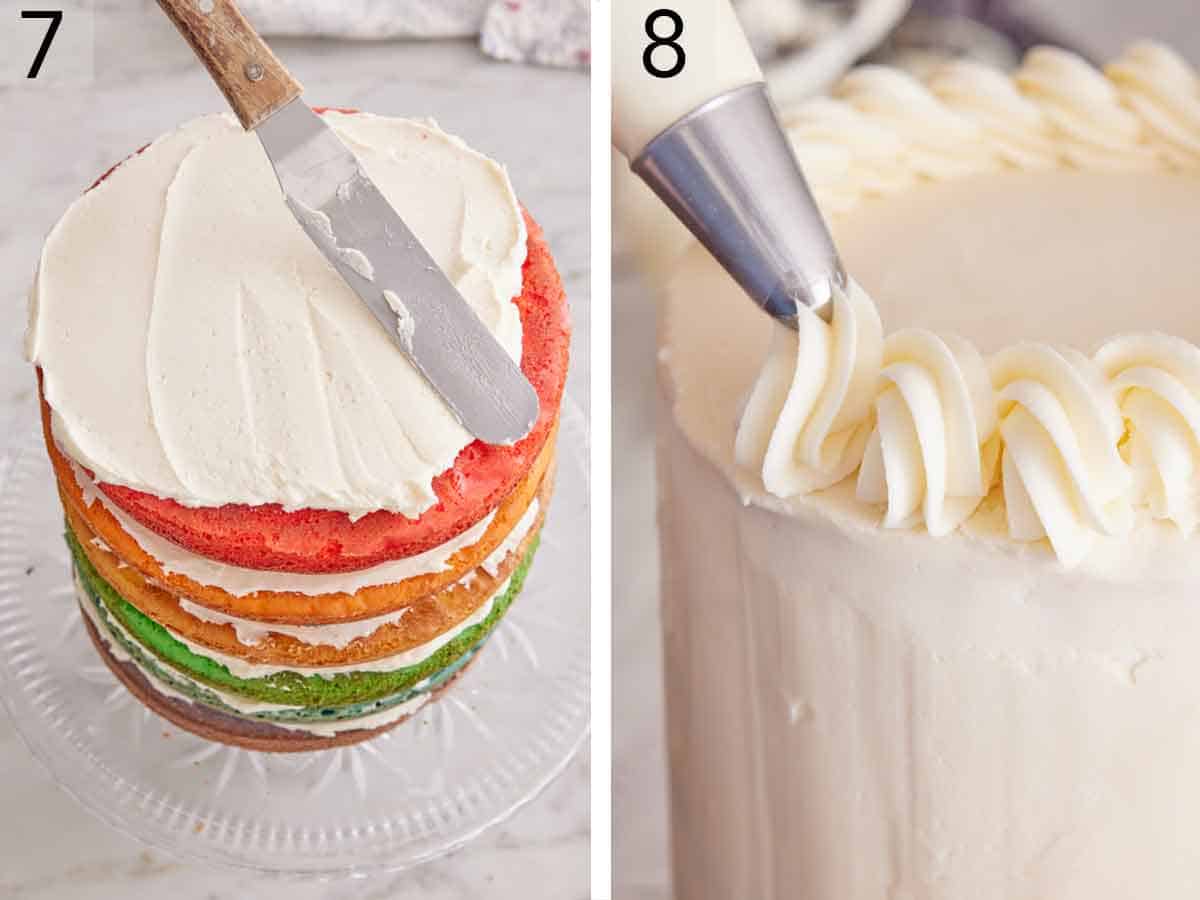
7. Remove the parchment paper from the cake layers. Place the purple layer on a cake plate and spread ½ cup of frosting over the top. Place the blue layer on top and spread another ½ cup of frosting on top. Repeat with the remaining cake layers in the order of green, yellow, orange, and red. Using an offset spatula, spread the remaining frosting all over the outside of the cake.
8. Pipe on additional frosting if desired. Chill the cake for at least 1 hour before serving.
Pro Tips for Making This Recipe
- If the tops of your rainbow cake layers are domed, then use a serrated knife to cut off the top of the domes so you can stack them evenly. Alternatively, use cake strips to help your cake layers come out evenly. Cake strips work by keeping the outside edge of the pan cooler to ensure that the entire cake rises at the same rate, preventing a dome from forming in the middle. If you don’t want to buy cake strips, then see my post on how to DIY cake strips.
- I highly recommend using a scale to measure your flour, as it’s the most accurate method. If you don’t have a scale, then fluff your flour with a spoon and spoon it into your cups before leveling it off with a knife. Fluffing the flour and spooning it into a measuring cup prevents you from overpacking it.
- Make sure to allow the cake layers to cool before you add the buttercream.
- The longer you chill the rainbow cake, the better the buttercream will stick to the cake layers.
- Make sure the butter is room temperature before you cream it, as cold butter will lead to lumpy buttercream.
- Avoid over-mixing the batter as you risk over-developing the gluten leading to a tough, dry, and dense cake.
Frequently Asked Questions
You can make the rainbow layers and buttercream frosting for this beautiful cake a few days ahead of time and keep them tightly wrapped in the fridge, then assemble them when you’re ready. You can also make the entire cake in advance and place it in the fridge until ready to serve.
Cover and store leftover cake at room temperature for up to 3 days. You can refrigerate it if you’d like to keep it for longer.
You can freeze the individual cake layers before assembling the cake. After allowing it to cool, wrap the cake layers in plastic wrap and foil before freezing for up to 3 months. You can also freeze the rainbow cake entirely or leftover slices. Tightly wrap the cake in plastic wrap and foil, then freeze for up to 3 months. You can also flash-freeze each slice on a lined baking sheet and then wrap the frozen slices with plastic wrap.
If you’ve tried this Rainbow Cake recipe, then don’t forget to rate the recipe and let me know how you got on in the comments below, I love hearing from you!
Rainbow Cake
Equipment
- 8 inch cake pans
- Parchment paper
- Mixing Bowls
Ingredients
For the Rainbow Cake Layers:
- 5 cups all-purpose flour (600g)
- 3 cups granulated sugar (600g)
- 1 tablespoon baking powder
- ½ teaspoon baking soda
- 1 teaspoon salt
- 6 large eggs room temperature
- 1½ cups vegetable oil (360ml)
- 1½ cups whole milk (360ml)
- 1 tablespoon vanilla extract
- Food coloring (red, yellow, blue, green)
For the Buttercream:
- 2½ cups unsalted butter softened (565g)
- ½ teaspoon salt
- 10 cups confectioners’ sugar (1200g)
- ½ cup cream room temperature (120ml)
- 2 teaspoons vanilla extract
Instructions
For the Rainbow Cake Layers:
- Preheat the oven to 350F. Grease two or three 8-inch round cake pans with baking spray or butter. Line the bottoms with parchment paper.
- In a large mixing bowl, whisk together the flour, sugar, baking powder, baking soda, and salt.
- In another large mixing bowl, combine the eggs, vegetable oil, milk, and vanilla. Whisk until well combined. Pour into the flour mixture and whisk until combined.
- Divide the batter among 6 mixing bowls. Color each batter with food coloring to make red, orange, yellow, green, blue, and purple batters. Pour a single color batter into each cake pan. Place the remaining batter bowls in the fridge until ready to bake. (This helps to stop the baking powder from reacting while waiting to bake.)
- Bake for 20 minutes or until a toothpick inserted into the center comes out clean. Let the cakes cool for 10 minutes in the pan, then remove and finish cooling on a wire rack. Wash the pans, grease and line with parchment paper again, and bake the remaining batters.
For the Buttercream:
- In a large mixing bowl or the bowl of a stand mixer fitted with the whisk attachment, beat the butter and salt on medium speed until very fluffy and pale, about 5 minutes.
- With the mixer on low speed, gradually add the confectioners’ sugar a cup at a time, adding a tablespoon of cream at a time throughout mixing. Stop and scrape down the bowl occasionally during mixing. Once all of the sugar is added, beat in the vanilla and add additional cream if the frosting feels grainy when rubbed between your fingers. Increase the speed to medium-low and beat until light and fluffy, about 1 minute.
For the Assembly:
- Remove the parchment paper from the cake layers. Place the purple layer on a cake plate and spread ½ cup of frosting over the top. Place the blue layer on top and spread another ½ cup of frosting on top. Repeat with the remaining cake layers in the order of green, yellow, orange, and red. Spread the remaining frosting all over the outside of the cake. Chill the cake for at least 1 hour before serving. Leftover cake should be covered and can be stored at room temperature for up to 3 days.
Notes
- If the tops of your rainbow cake layers are domed, then use a serrated knife to cut off the top of the domes so you can stack them evenly. Alternatively, use cake strips to help your cake layers come out evenly. Cake strips work by keeping the outside edge of the pan cooler to ensure that the entire cake rises at the same rate, preventing a dome from forming in the middle. If you don’t want to buy cake strips, then see my post on how to DIY cake strips.
- I highly recommend using a scale to measure your flour, as it’s the most accurate method. If you don’t have a scale, fluff your flour with a spoon and spoon it into your cups before leveling it off with a knife. Fluffing the flour and spooning it into a measuring cup prevents you from overpacking it.
- Make sure to allow the cake layers to cool before you add the buttercream.
- The longer you chill the rainbow cake, the better the buttercream will stick to the cake layers.
- Make sure the butter is room temperature before you cream it, as cold butter will lead to lumpy buttercream.
- Avoid over-mixing the batter as you risk over-developing the gluten leading to a tough, dry, and dense cake.
Nutrition
Have you tried this recipe? Tag me today!
Mention @preppykitchen and tag #preppykitchen!


