

This post may contain affiliate links. Please read our disclosure policy.
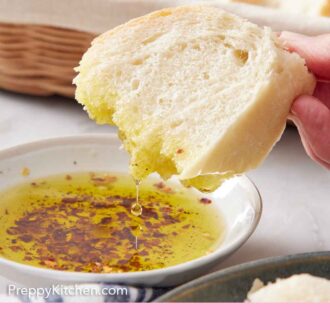
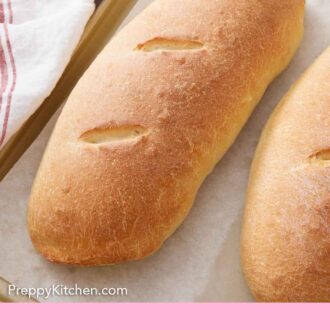
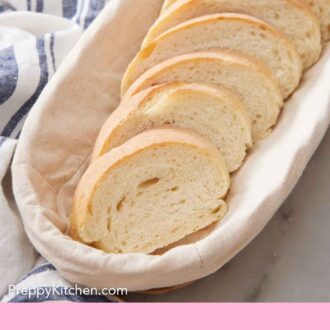
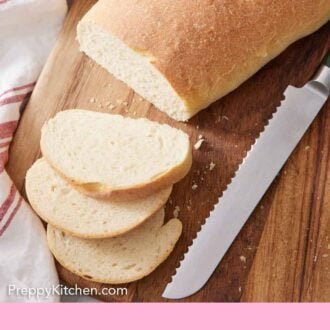
This homemade Italian bread recipe makes two loaves of soft, chewy bread with a golden, steam-baked crust. And it’s easier to make from scratch than you’d think! Perfect for dipping in seasoned oil, serving with pasta and soups, or making sandwiches.
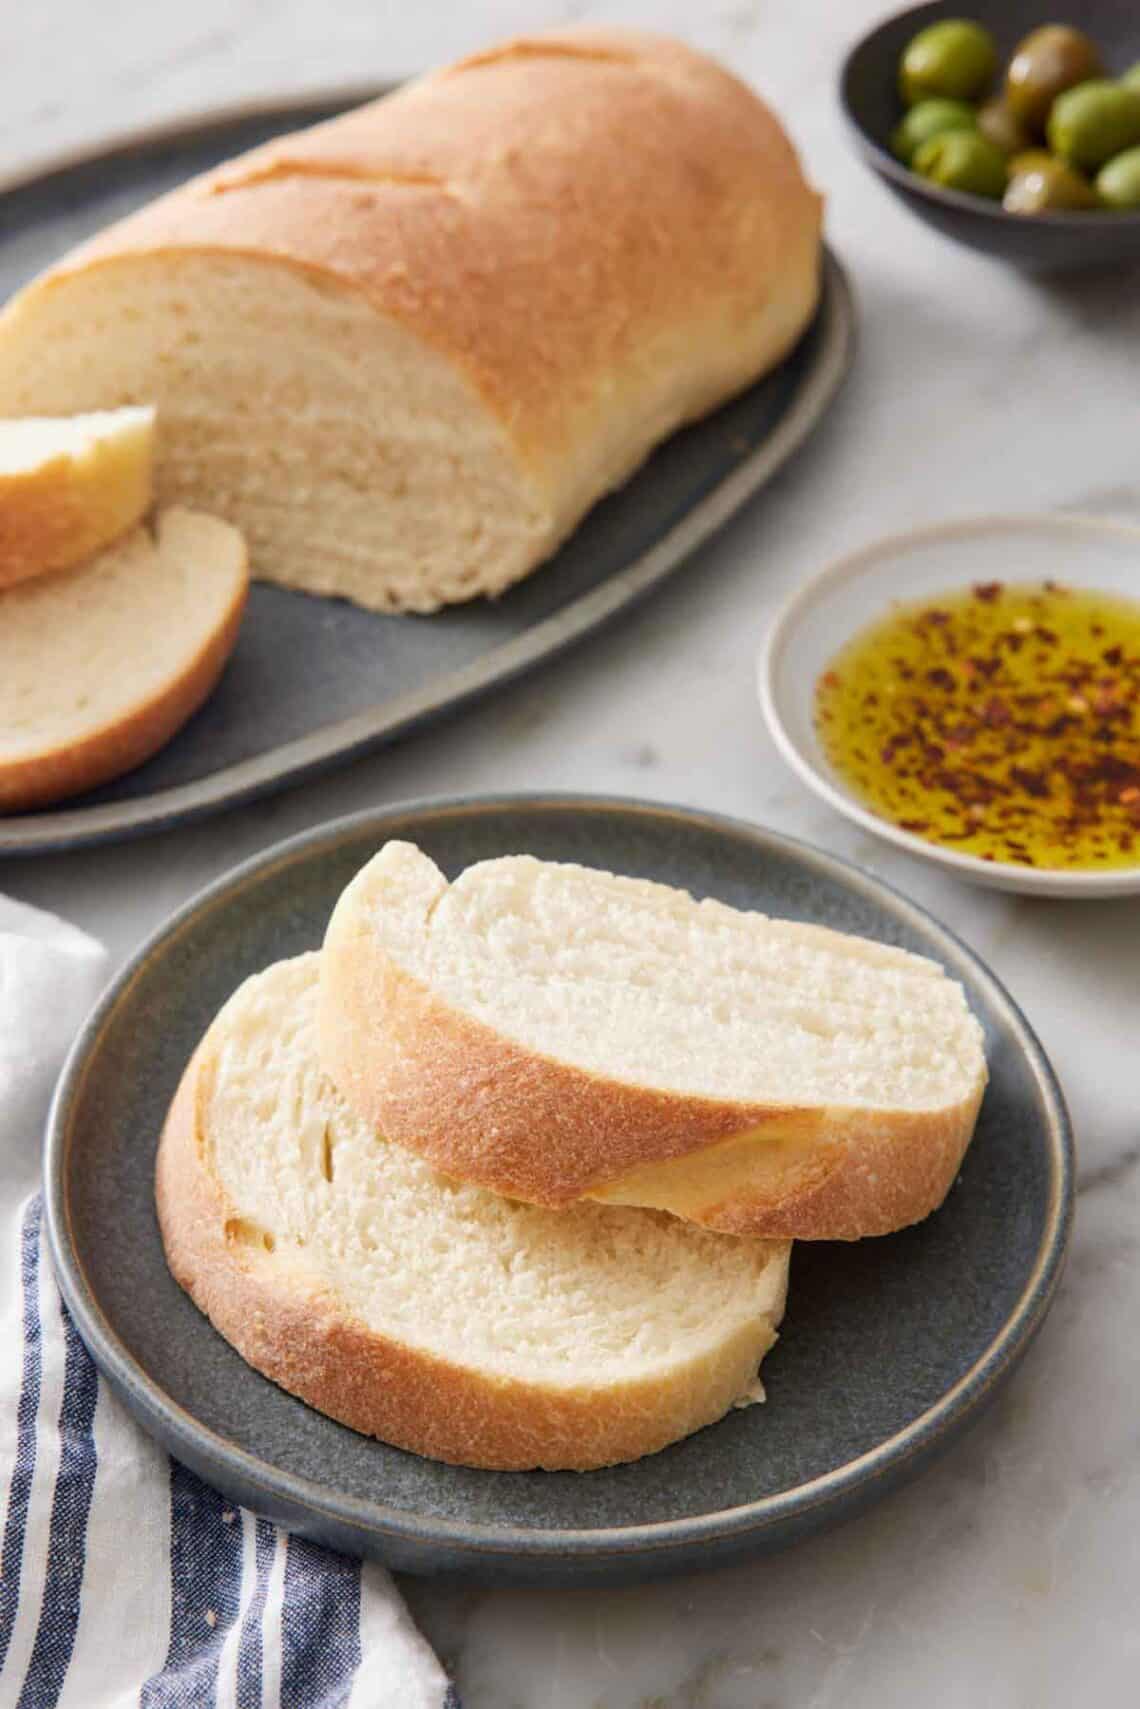
Fresh Italian bread from your own oven is one of those things that feels far more impressive than the effort it takes. This recipe uses a handful of pantry ingredients—flour, water, yeast, a little sugar, salt, and olive oil—to make two golden loaves with a crisp crust and a soft, chewy inside. It’s the bread I make to go with a pot of soup, to build sandwiches on, or to tear into at the table with a dish of seasoned oil or to soak up pasta sauces.
If you’ve never baked yeast bread before, this is a forgiving place to start. The dough comes together easily, and the shaping is simple with a couple of tricks I’ll walk you through. Plus, a pan of water in the oven makes a bakery-style crust. And because it makes two, you can eat one warm the day you bake and freeze the other for later.
“My first foray into making bread couldn’t have been easier with this recipe. The directions are clear and instructive, and the results have got me feeling so proud of myself.”
Emma
Key Ingredients
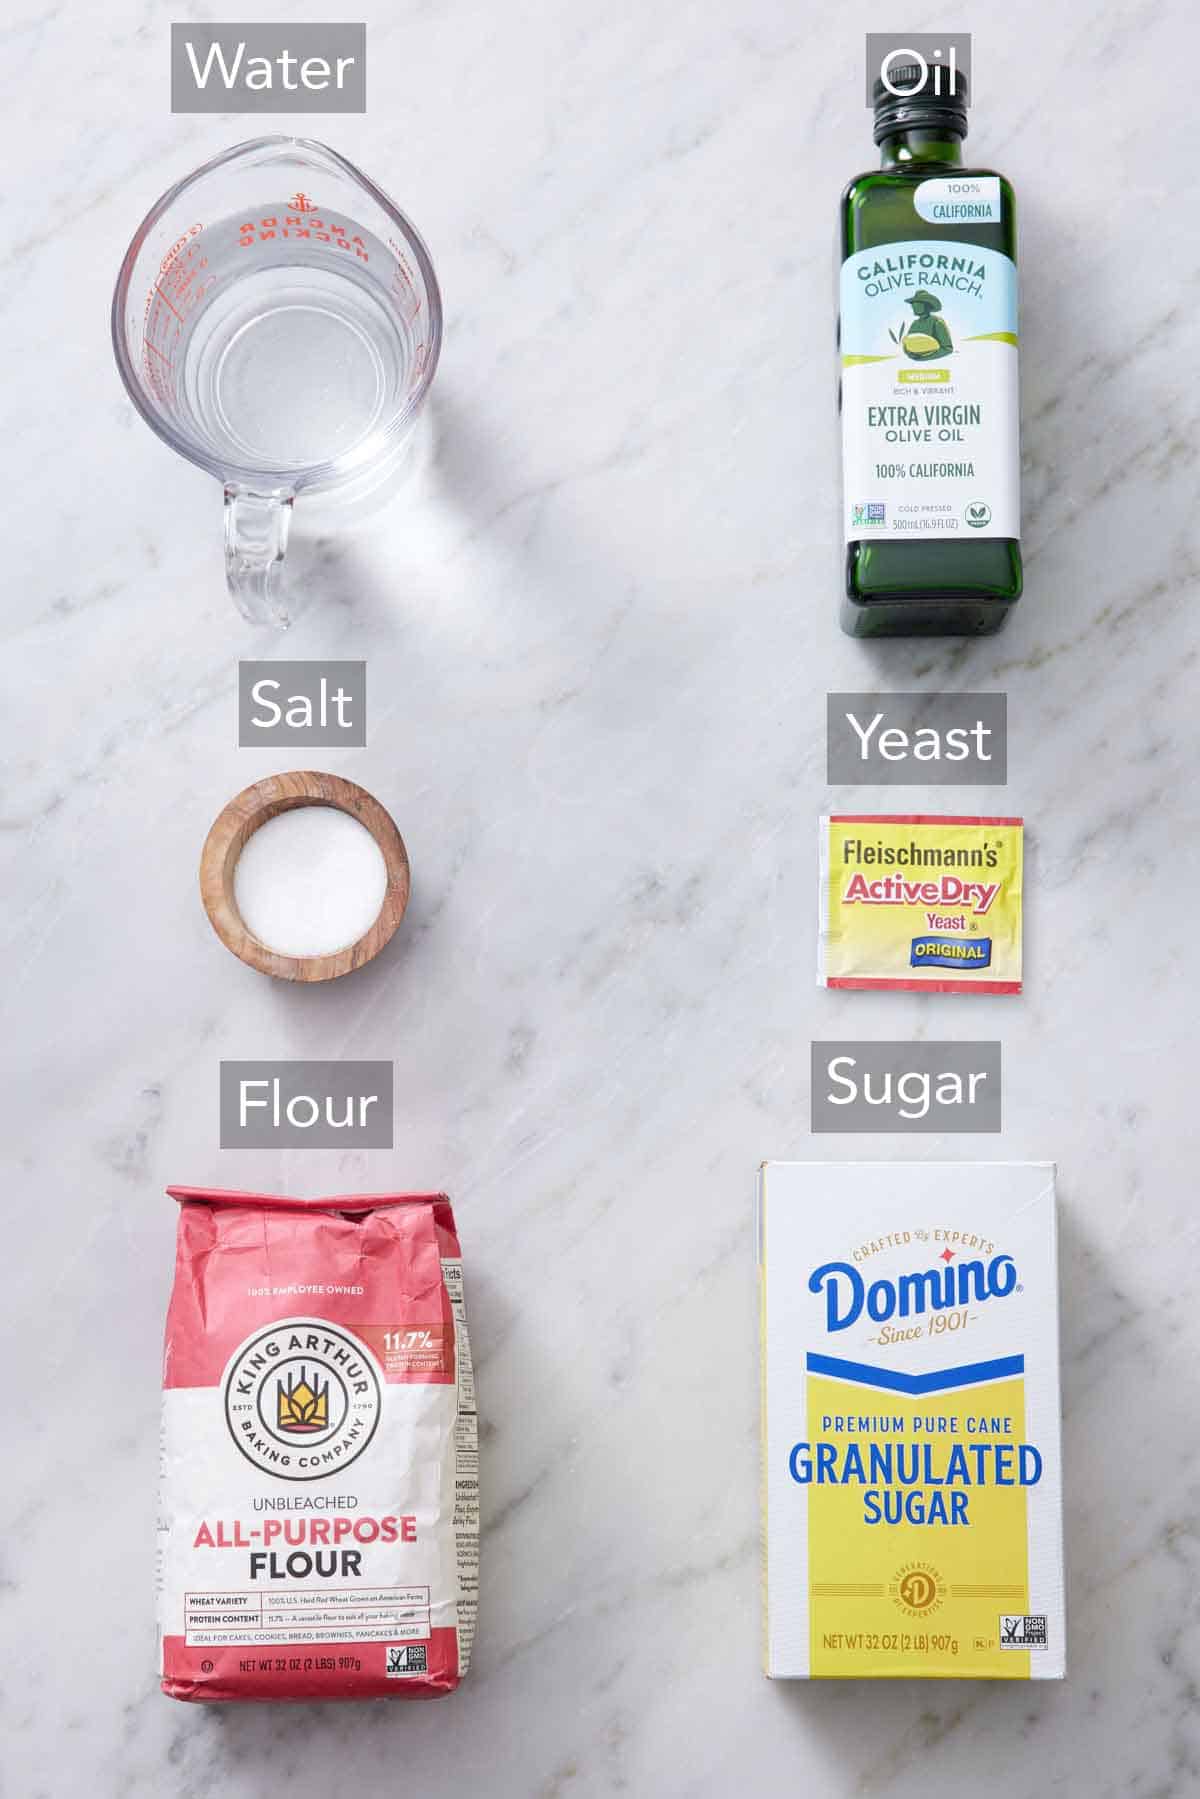
These are the main ingredients you need to make Italian bread. You can find the full list of ingredients and measurements in the recipe card below.
All-purpose flour — it makes a soft, light loaf. Want a chewier, more rustic crumb? Swap in bread flour for all or half of the flour. Its higher protein builds more structure and a chewier crumb.
Active dry yeast — use active dry specifically, not instant or rapid-rise. It blooms in warm water first, so you can see it’s alive before you commit to the rest of the ingredients. Store an open jar in the back of the fridge to keep it fresh, and always check the expiration date on the yeast before you start.
Warm water (about 110°F) — the water should be warm enough to wake the yeast, but not so hot that it kills it. Above 120°F and you risk the yeast dying; below 100°F and it’s sluggish. A thermometer takes out the guesswork, so test your water before you mix in the yeast packet.
Sugar — you just need a tablespoon. It feeds the yeast for a strong rise and adds the faintest depth of flavor, but without making the bread sweet.
Olive oil — you will use this both in the dough and to brush on the shaped loaves. It’s the key to this bread’s tender crumb and soft crust (more on that choice below). It also makes the dough a bit easier to handle since it is slightly tacky. The oil keeps it from being too sticky when you shape it.
Sea salt — for flavor and to give the bread structure. Salt strengthens the gluten structure, which helps hold the airy texture produced by the yeast. Sea salt gives a rounder flavor than table salt. You can learn more about different salt types and the best ones to use in my Academy lesson: Salt 101.
Why a Pan of Water Makes a Better Crust
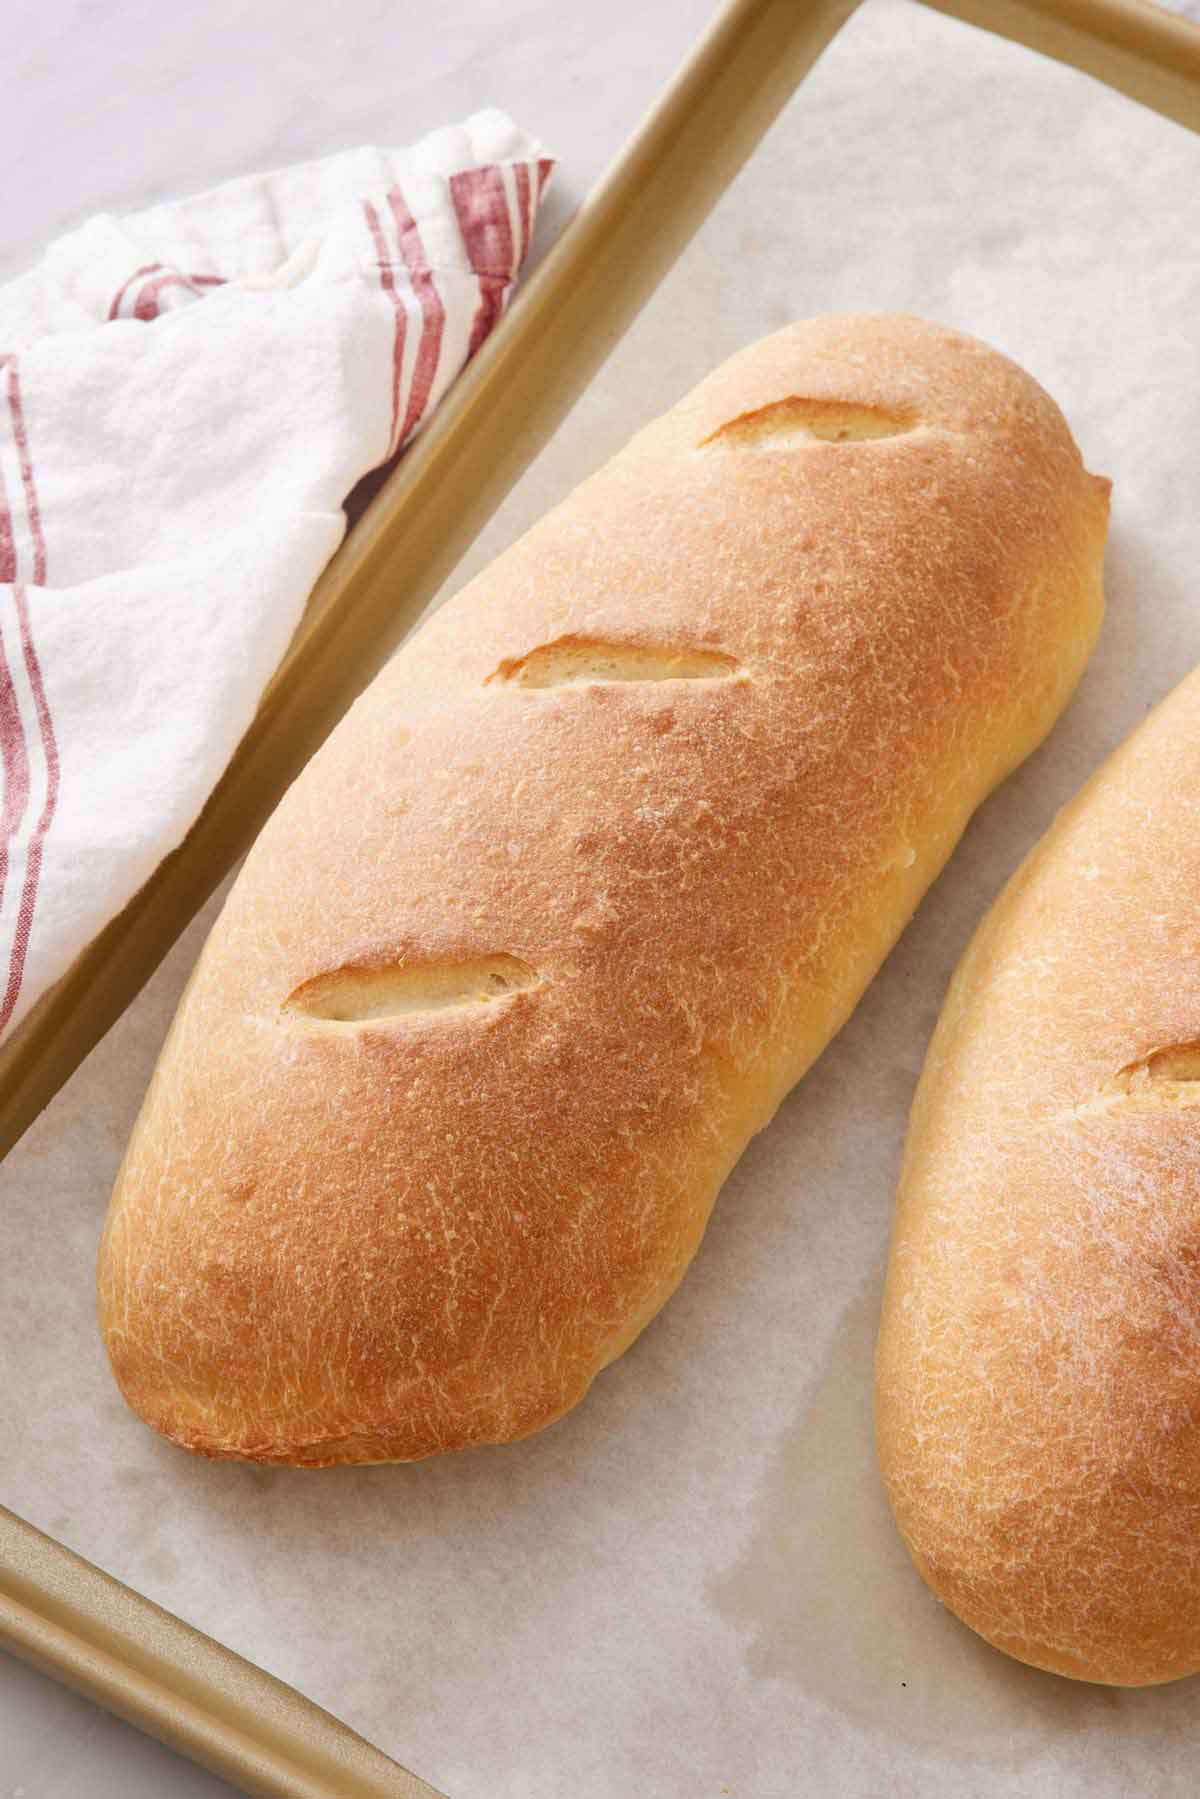
The step that takes this from “homemade bread” to “a bakery artisan loaf” is steam. Before the loaves go in, I set a pan with about half an inch of water on the bottom rack of the oven. As it heats, it releases steam, which keeps the surface of the loaves moist for the first part of baking. This lets the loaves rise fully and develop a crackly, golden crust instead of setting too soon, turning hard or dense. It’s a classic artisan trick, and it’s the difference-maker here.
I first tested this recipe without water in the oven, and the flavor was great, but the texture left something to be desired. It didn’t have the light interior crumb that I love about Italian bakery bread. The next test I did used the pan of water, and it made all the difference! This is a simple step with a huge benefit.
How To Make Italian Bread
Below, I’ve highlighted portions of the recipe in step-by-step process images along with instructions for making homemade Italian bread. You can find the full set of instructions in the recipe card below.
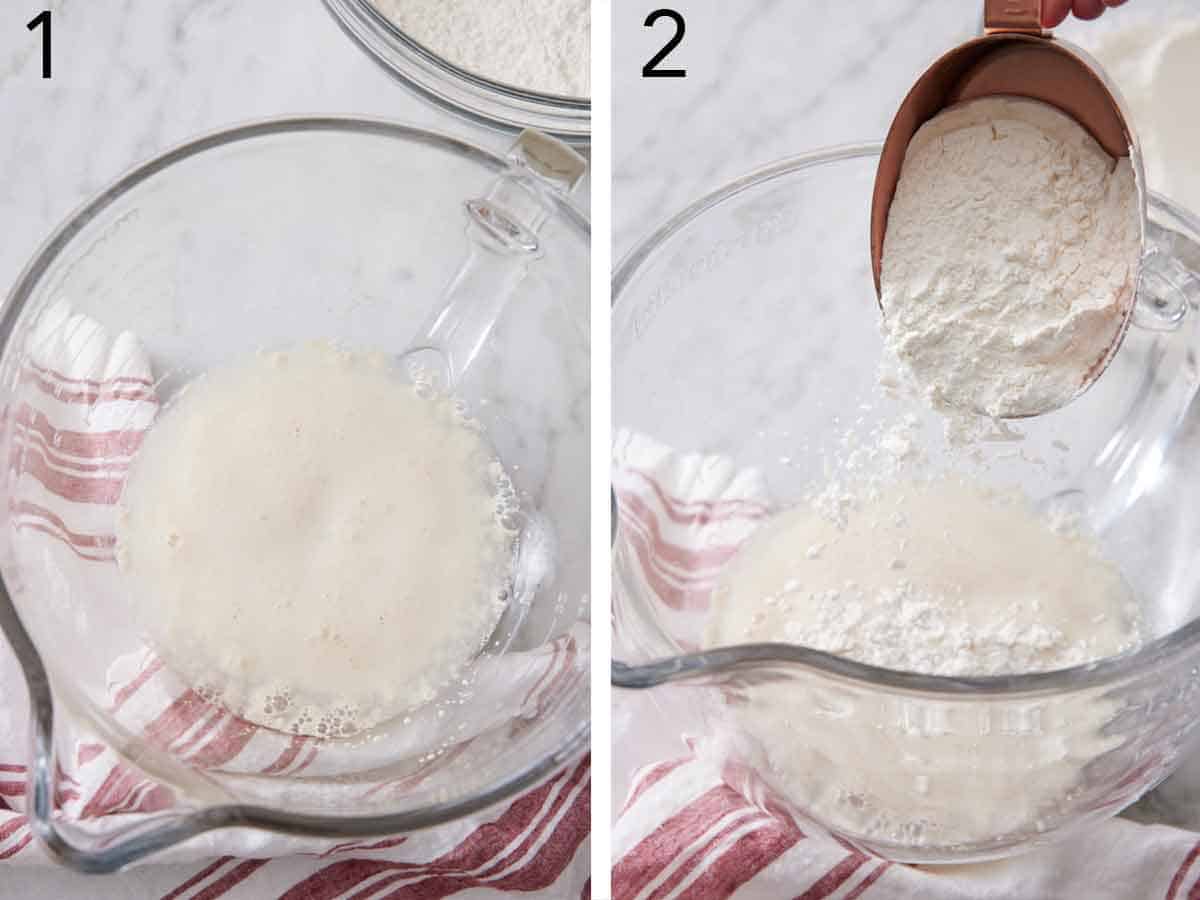
1. Bloom the yeast. In a stand mixer bowl, stir together the warm water, sugar, and yeast. Let it sit about 10 minutes, until very foamy. That foam is proof that the yeast is alive and active.
2. Build the dough. Add some of the flour along with the olive oil and the salt.
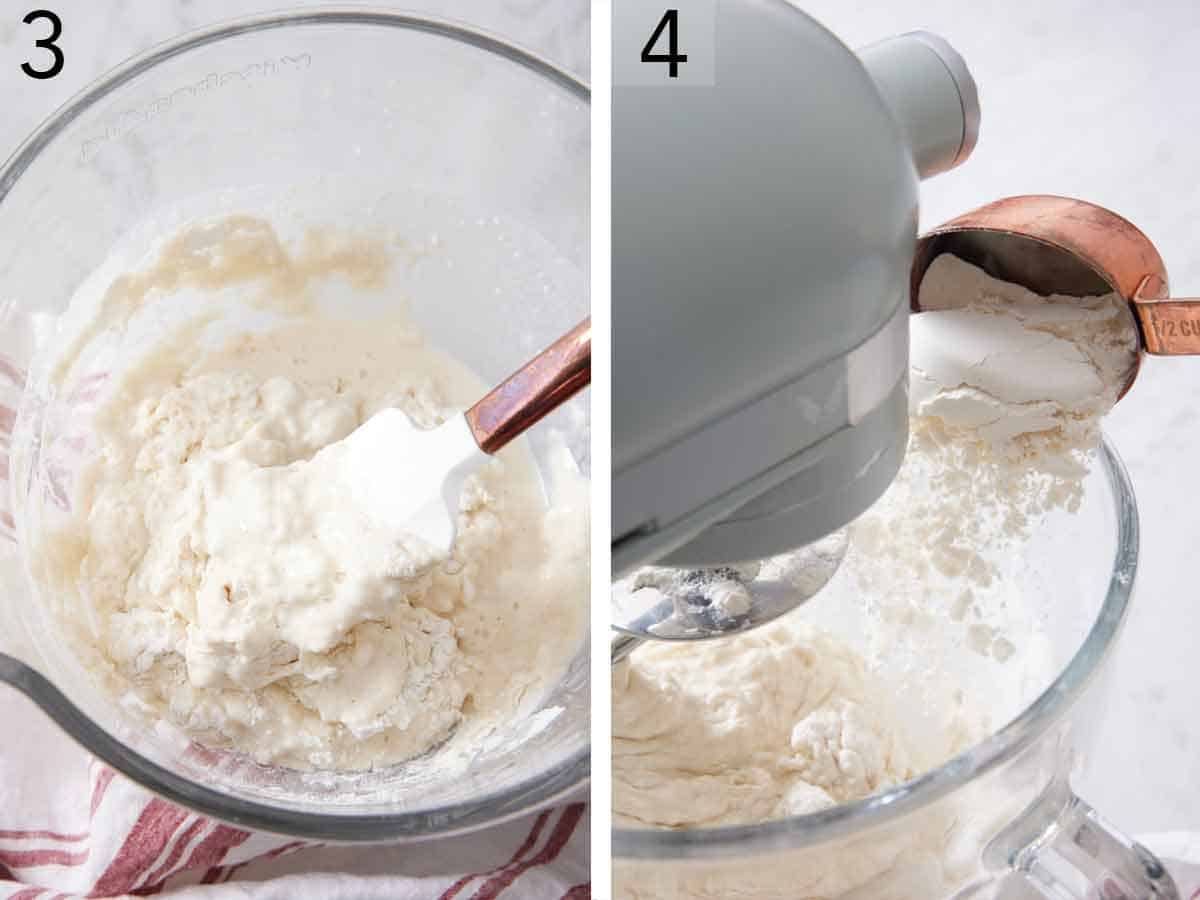
3. Stir the yeast and flour together with a spatula. This gets the base of the dough started, so you can knead it with the mixer and gradually add in more flour to build the dough.
4. Knead the dough with the dough hook on low speed, adding the remaining flour a half cup at a time. Stop and scrape down the bowl occasionally as you go. Once the flour’s in, raise the speed to medium-low and knead for about 5 minutes or until the dough pulls away from the bowl and balls up around the dough hook. It should spring back when pressed and may feel a bit tacky, but it will not stick to a clean finger—add a few tablespoons more flour if it’s too sticky.
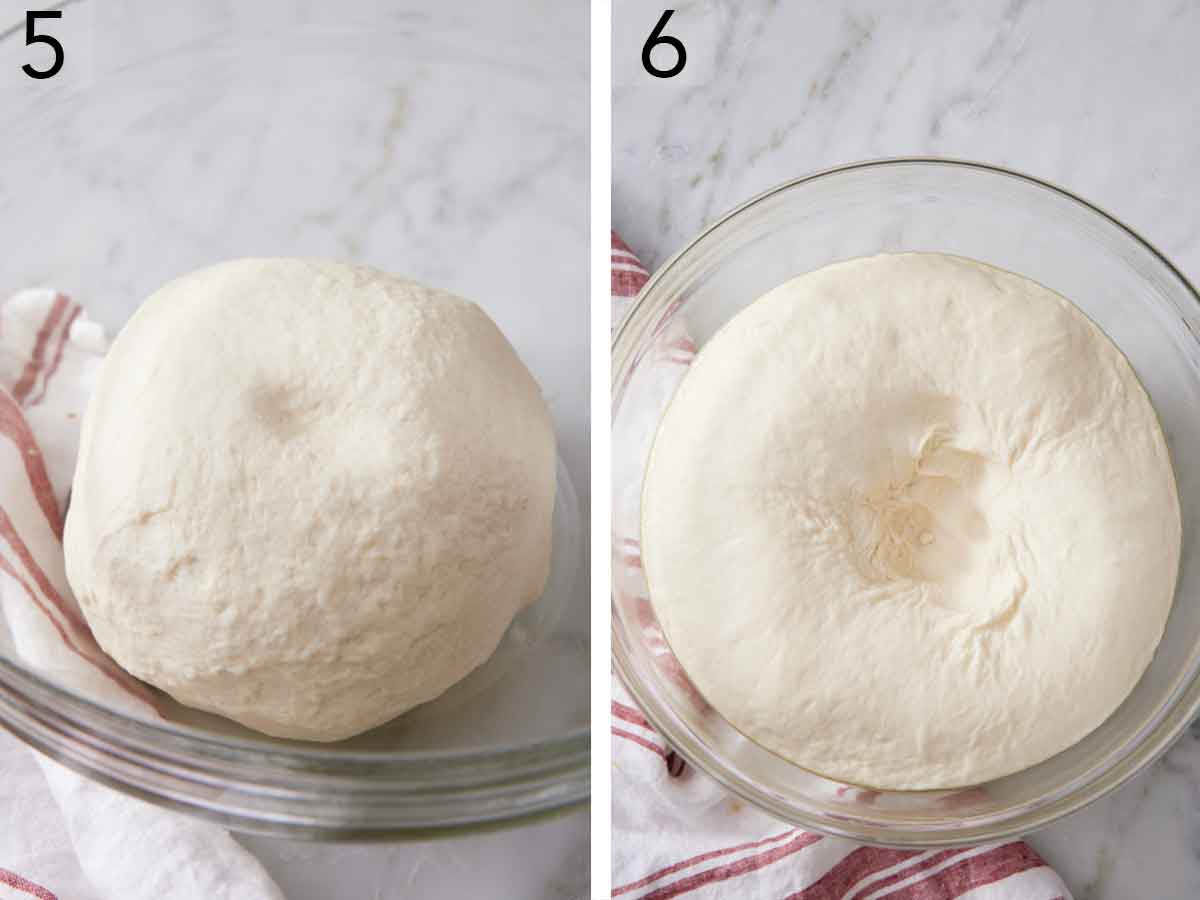
5. First rise. Transfer the dough to a lightly oiled bowl, cover with plastic, and let rise in a warm spot (about 75°F) until doubled in size, roughly an hour.
6. Shape the loaves. Punch the dough down and turn it onto a lightly floured surface. Divide it in half. I like to weigh the whole dough ball and then divide it, weighing each half. That way, I know both loaves are exactly the same size, so they bake at the same rate.
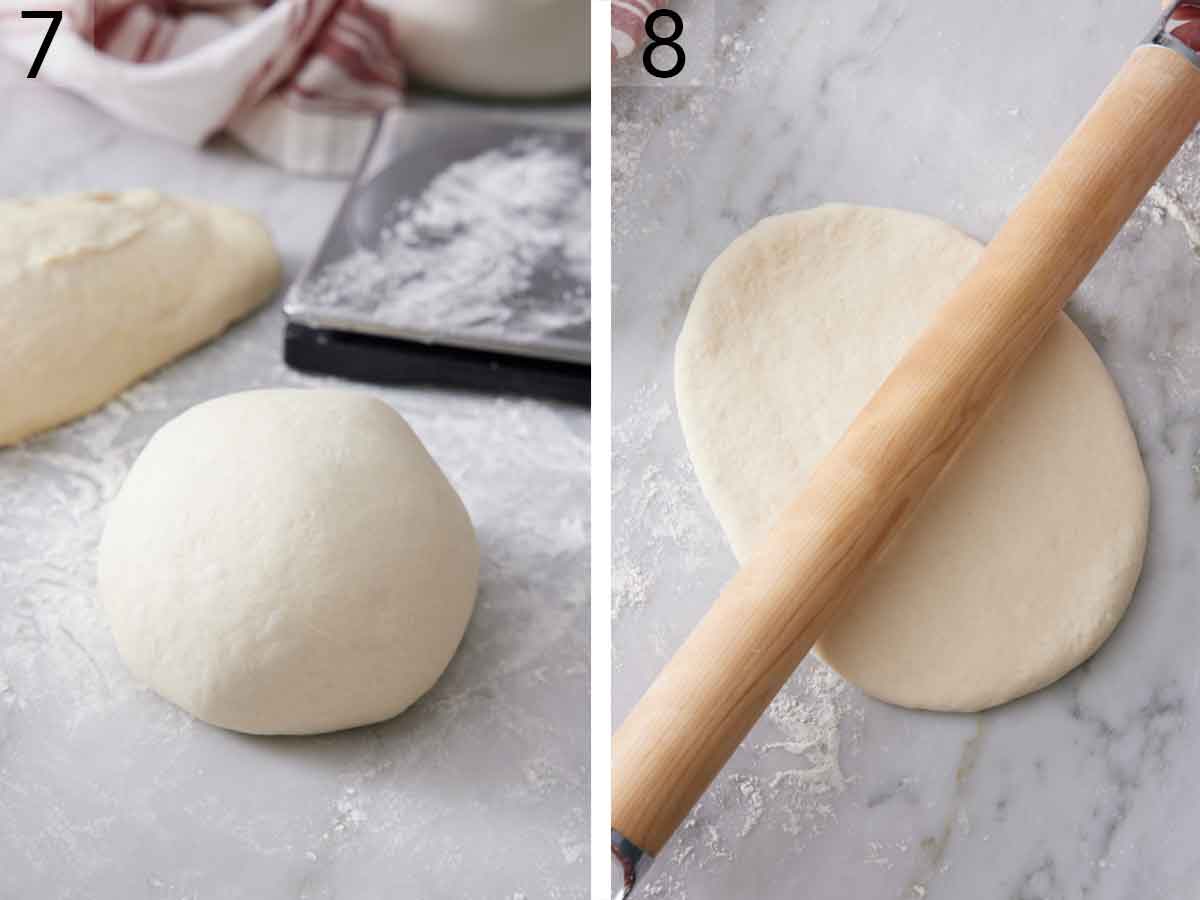
7. Shape each half into a round ball by pinching the edges to the center, flipping it over, cupping your hands around the dough, and pulling the dough toward you a few times to build surface tension.
8. Roll each ball into an 8×11-inch oval, flip it, then roll it up from a long side like a jelly roll into a tapered log. Pinch the long seam to seal and set the loaves seam-side down on a parchment-lined baking sheet. A note from experience: I botched the shaping on my first loaf, and the baked loaf was twisted and not neat looking. Don’t worry if your first one looks rustic; the shaping is easier the second time since you know the technique. Plus, the bread tastes just as good either way!
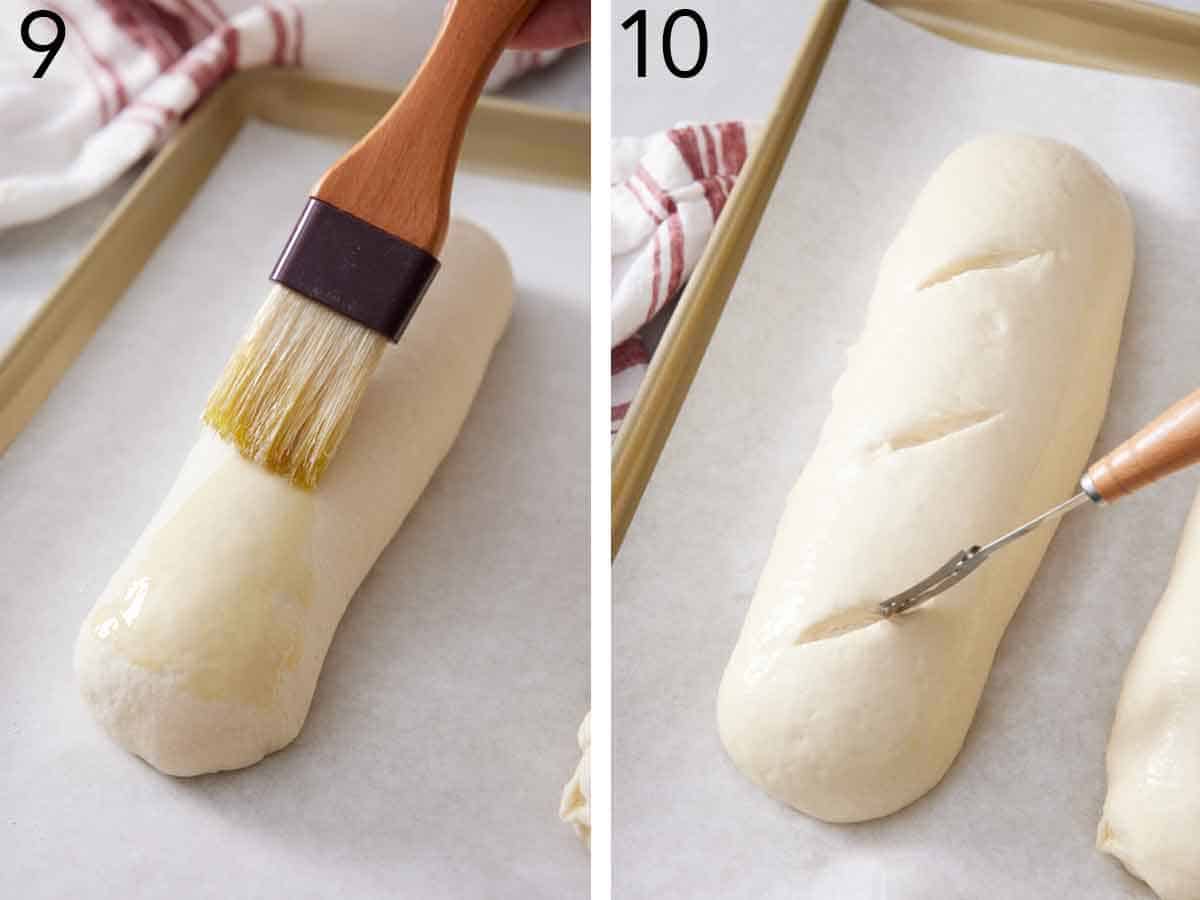
9. Second rise. Brush the loaves with the remaining olive oil, cover loosely, and let them rise again until very visibly puffed, 30 to 40 minutes. When the loaves have risen for 20 minutes, arrange one oven rack in the middle of the oven and one on the bottom. Fill a 9×13-inch pan with ½-inch of water and place it on the bottom rack of the oven. Preheat the oven to 375°F.
10. Add slits to help the bread expand. Once the loaves have risen, cut 3 diagonal slashes on top of each loaf using a bread lame or a very sharp knife. This reduces some surface tension, allowing the bread to expand without bursting through the crust at a random spot. Place the loaves on the middle rack of the oven. Bake for 30 to 35 minutes, rotating the pan after 20 minutes, until the loaves are golden brown and they sound hollow when you tap on them. Let the loaves cool completely before slicing.
How to Tell When It’s Done
There are two cues that help you take the guesswork out of knowing when your bread is done. The loaves should be a deep golden brown and sound hollow when you tap the bottom. Both of these are very good indicators of doneness without needing anything special.
If you want to be 100% sure, an instant-read thermometer inserted into the center should read about 195°F. That internal temperature is the most reliable doneness signal for a lean yeast loaf like this. If you pull them 10 degrees under, the center can stay gummy; 10 degrees over, and the bread can be dry and crumbly. In testing, I used my thermometer for each loaf to make sure my visual cues were correct, and once the loaves were golden and sounded hollow, they were always within 5 degrees of 195°F.
Why Olive Oil Instead of an Egg Wash
You’ll see a lot of Italian bread recipes finish the loaves with an egg-white wash for a shiny, hard, crackly crust. I brush mine with olive oil instead, on purpose: it gives a softer, more tender crust and a richer flavor, which is the texture and flavor I want in a loaf meant for dipping and sandwiches.
If you prefer the crustier, glossier look, brush the risen loaves with a beaten egg white instead of the oil right before scoring. It’s a simple swap that changes the crust without changing the recipe entirely.
Troubleshooting: Flat or Dense Loaves
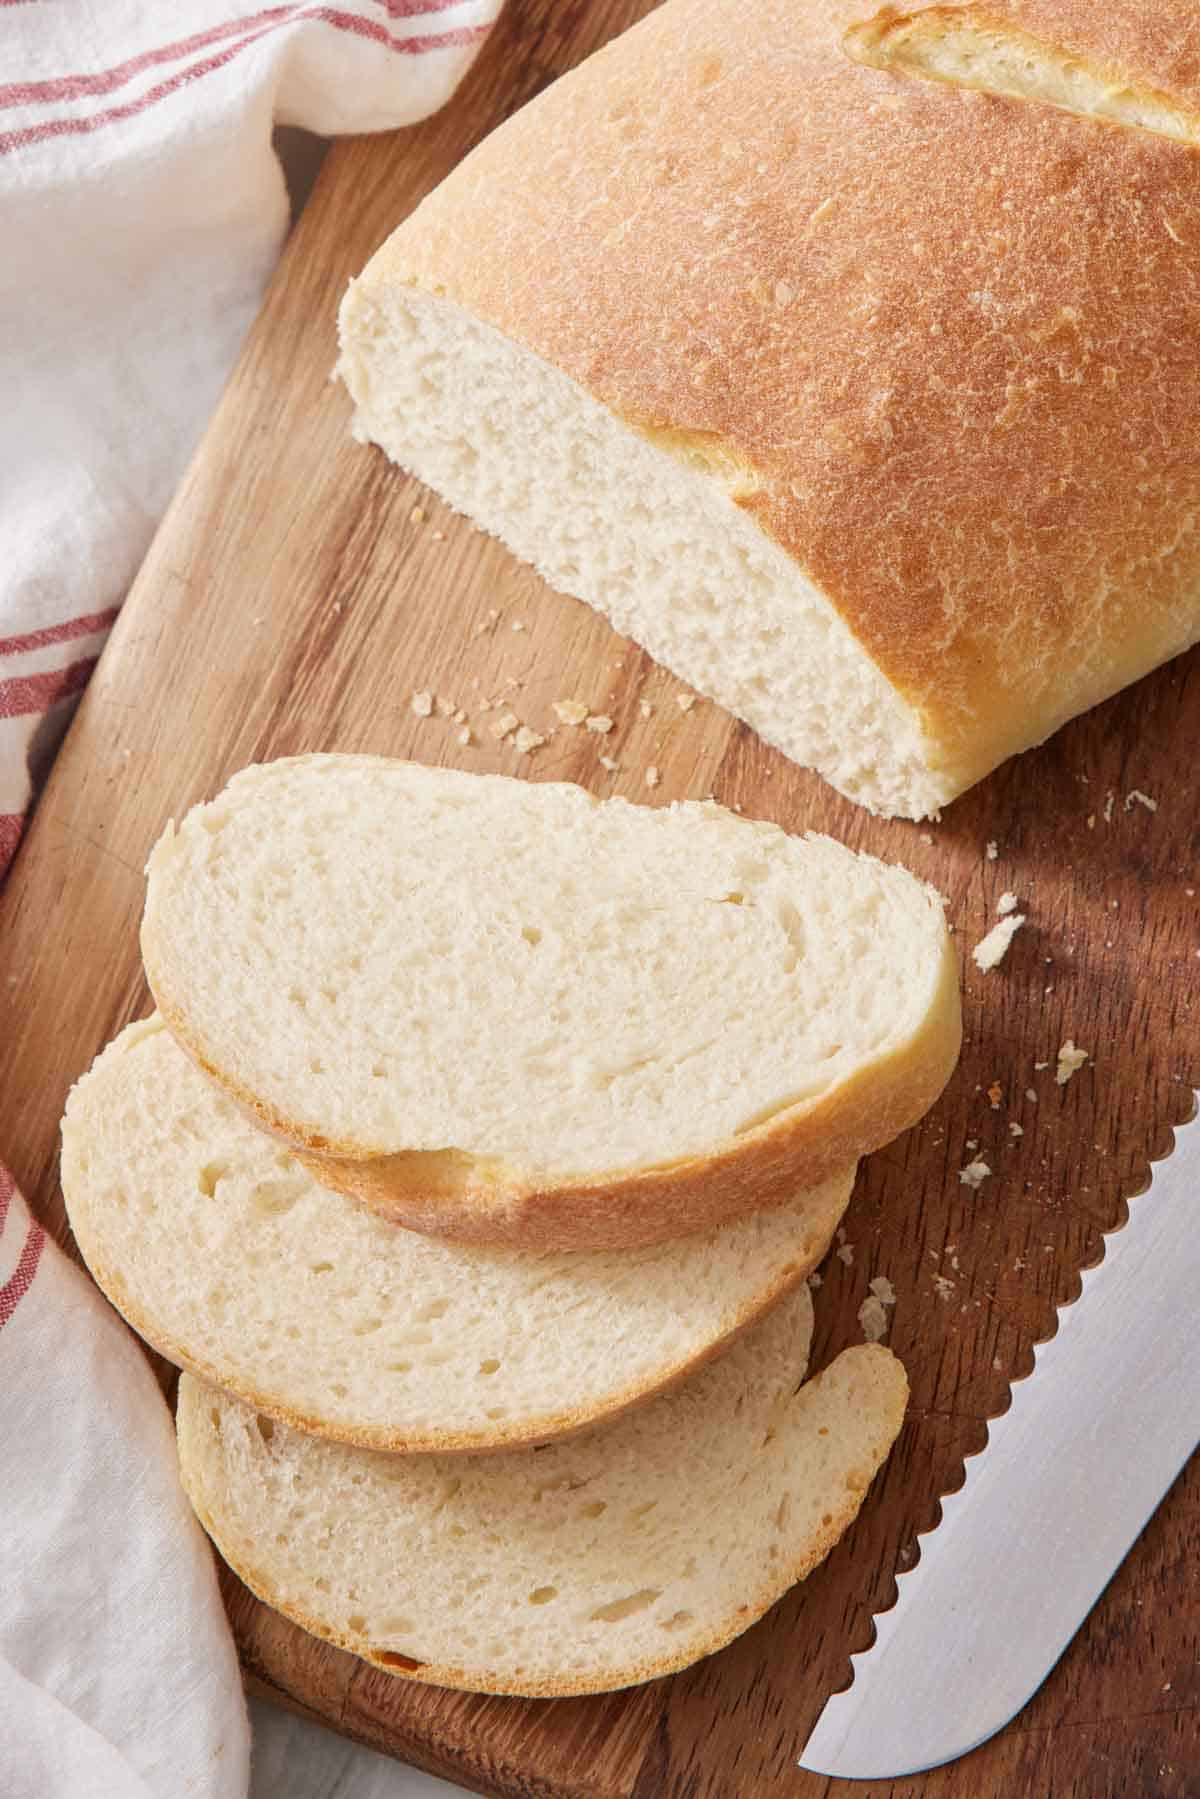
Loaves that spread or flatten on the second rise are usually not shaped correctly, or they are over-proofed. If you don’t build surface tension, the loaves can be saggy and expanded outwards, rather than upwards. If left to rise too long, the dough runs out of structure and collapses, and a heavy hand brushing on the oil can easily deflate an over-risen loaf (like popping a balloon). Watch for “very visibly puffed,” but not quite “doubled,” and brush the oil gently. Scoring just before baking also helps the loaf rise up rather than out once it’s in the oven.
Dense, heavy loaves usually mean bad yeast, water that was too hot and killed it (keep it around 110°F), or too much flour was worked in. Add the last of the flour gradually and stop as soon as the dough comes clean off the sides of the bowl—a slightly tacky dough bakes lighter than a stiff, over-floured one.
Toppings and Variations
This is a great base recipe to flavor!
- Seeded: Brush with egg wash and scatter sesame or poppy seeds before scoring for a classic look and extra crunch.
- Italian herb bread: Add a couple of teaspoons of dried Italian herbs along with the flour for a savory, herbaceous loaf.
- Cheesy: Brush with the oil and sprinkle shredded asiago or parmesan on top before baking.
- Bread flour: Use bread flour in place of all-purpose for a chewier, more rustic crumb.
Pro Tips For The Best Italian Bread
Mind the temperature of the water. You want warm water, around 105-110ºF to activate the yeast, not boiling water. If the water is too hot, it will kill the yeast. Don’t heat it higher than 120ºF. If it’s too cold, it will significantly delay the rising process or may not activate the yeast at all. Make sure the temp is above 100ºF.
Slowly add the flour when mixing the dough. This will help create a light, soft dough texture. If you add the flour all at once, it can become dense. You’ll know the dough is done kneading when it begins to pull away from the sides of the bowl while mixing.
Italian Bread Recipe
Equipment
- Stand mixer
- Mixing Bowls
- Baking Sheet
Ingredients
- 2 cups warm water (about 110°F) (480ml)
- 1 tablespoon granulated sugar
- 1 tablespoon active dry yeast
- 5½ cups all-purpose flour divided (660g)
- 1½ teaspoons sea salt
- 2 tablespoons olive oil
Instructions
- In the bowl of a stand mixer fitted with the dough hook, stir together the warm water, sugar, and yeast, and set aside for about 10 minutes or until very foamy.
- Add 3 cups (360g) of flour to the mixture along with 1 tablespoon olive oil and the salt. Stir together with a spatula, then begin mixing with the dough hook on low speed. Add the remaining 2½ cups (300g) of flour a half cup at a time while mixing. Stop and scrape down the sides and bottom of the bowl occasionally.
- Once the flour has been incorporated, increase the mixer speed to medium-low and continue to knead until the dough pulls away from the bowl and forms a ball, about 5 minutes. (The dough should spring back when pressed, and not stick to your finger. Add additional flour, a few tablespoons at a time if needed.)
- Transfer to a lightly oiled large bowl, cover with plastic wrap, and place in a warm place (about 75°F) to rise until doubled in size, about an hour.
- Punch down the dough and turn it out onto a lightly floured surface. Divide it in half. Shape each half into a round by cupping your hands around the dough and gently pulling the dough toward you a few times to create tension and a tight ball.
- Stretch and roll each dough ball into an 8×11-inch long oval. Flip each oval over. Starting on one long side, roll the dough like a jelly roll into an oval shape with pointed tapered ends. Pinch the seam together to seal.
- Line a baking sheet with parchment paper and place the loaves on the pan, seam side down. Brush with the remaining 1 tablespoon olive oil and loosely cover with plastic wrap. Allow to rise once more until very visibly puffed, 30 to 40 minutes.
- After the loaves have risen for 20 minutes, arrange one oven rack in the middle of the oven and one on the bottom. Fill a 9×13-inch pan with ½-inch of water and place on the bottom rack of the oven. Preheat the oven to 375°F.
- Once risen, cut 3 diagonal slashes on top of each risen loaf using a bread lame or very sharp knife. Place the loaves on the middle rack of the oven.
- Bake for 30 to 35 minutes, rotating the pan after 20 minutes, until golden brown and the loaves sound hollow when you tap on them. Let the loaves cool for a few minutes on the pan before transferring to a wire rack to cool completely before slicing.
Notes
- Proof somewhere warm (70–75°F). If your kitchen is cold, put the covered dough in an unheated oven with the light on—usually a perfect 70–75°F—or use a bread-proof setting.
- Flour your hands and surface to keep the dough from sticking while shaping. This will make shaping the dough much easier!
- Cool completely before slicing so the crumb sets and the bread doesn’t dry out. If you cut it too soon, you can tear the inside of the bread. It can also cause the bread to dry out since it will steam out and evaporate through the cut area, instead of the crust trapping in that essential moisture.
Nutrition
Have you tried this recipe? Tag me today!
Mention @preppykitchen and tag #preppykitchen!
How to Store and Freeze
Store cooled bread, unsliced, at room temperature in a bread box or wrapped in a tea towel, and enjoy within 2-3 days. Keeping it whole holds in the moisture.
To freeze, wrap a cooled loaf (whole or sliced) in plastic wrap, then in foil, and freeze for up to 3 months. Thaw for a few hours on the counter, unwrap, and warm in the oven at 350°F to refresh the crust.
You can also freeze the unbaked loaves after shaping before their second rise. Place the frozen loaves on a lined baking sheet and cover them; then, thaw overnight in the fridge. Bring to room temperature, until they have completed their second rise, and bake.
What to Serve With Italian Bread
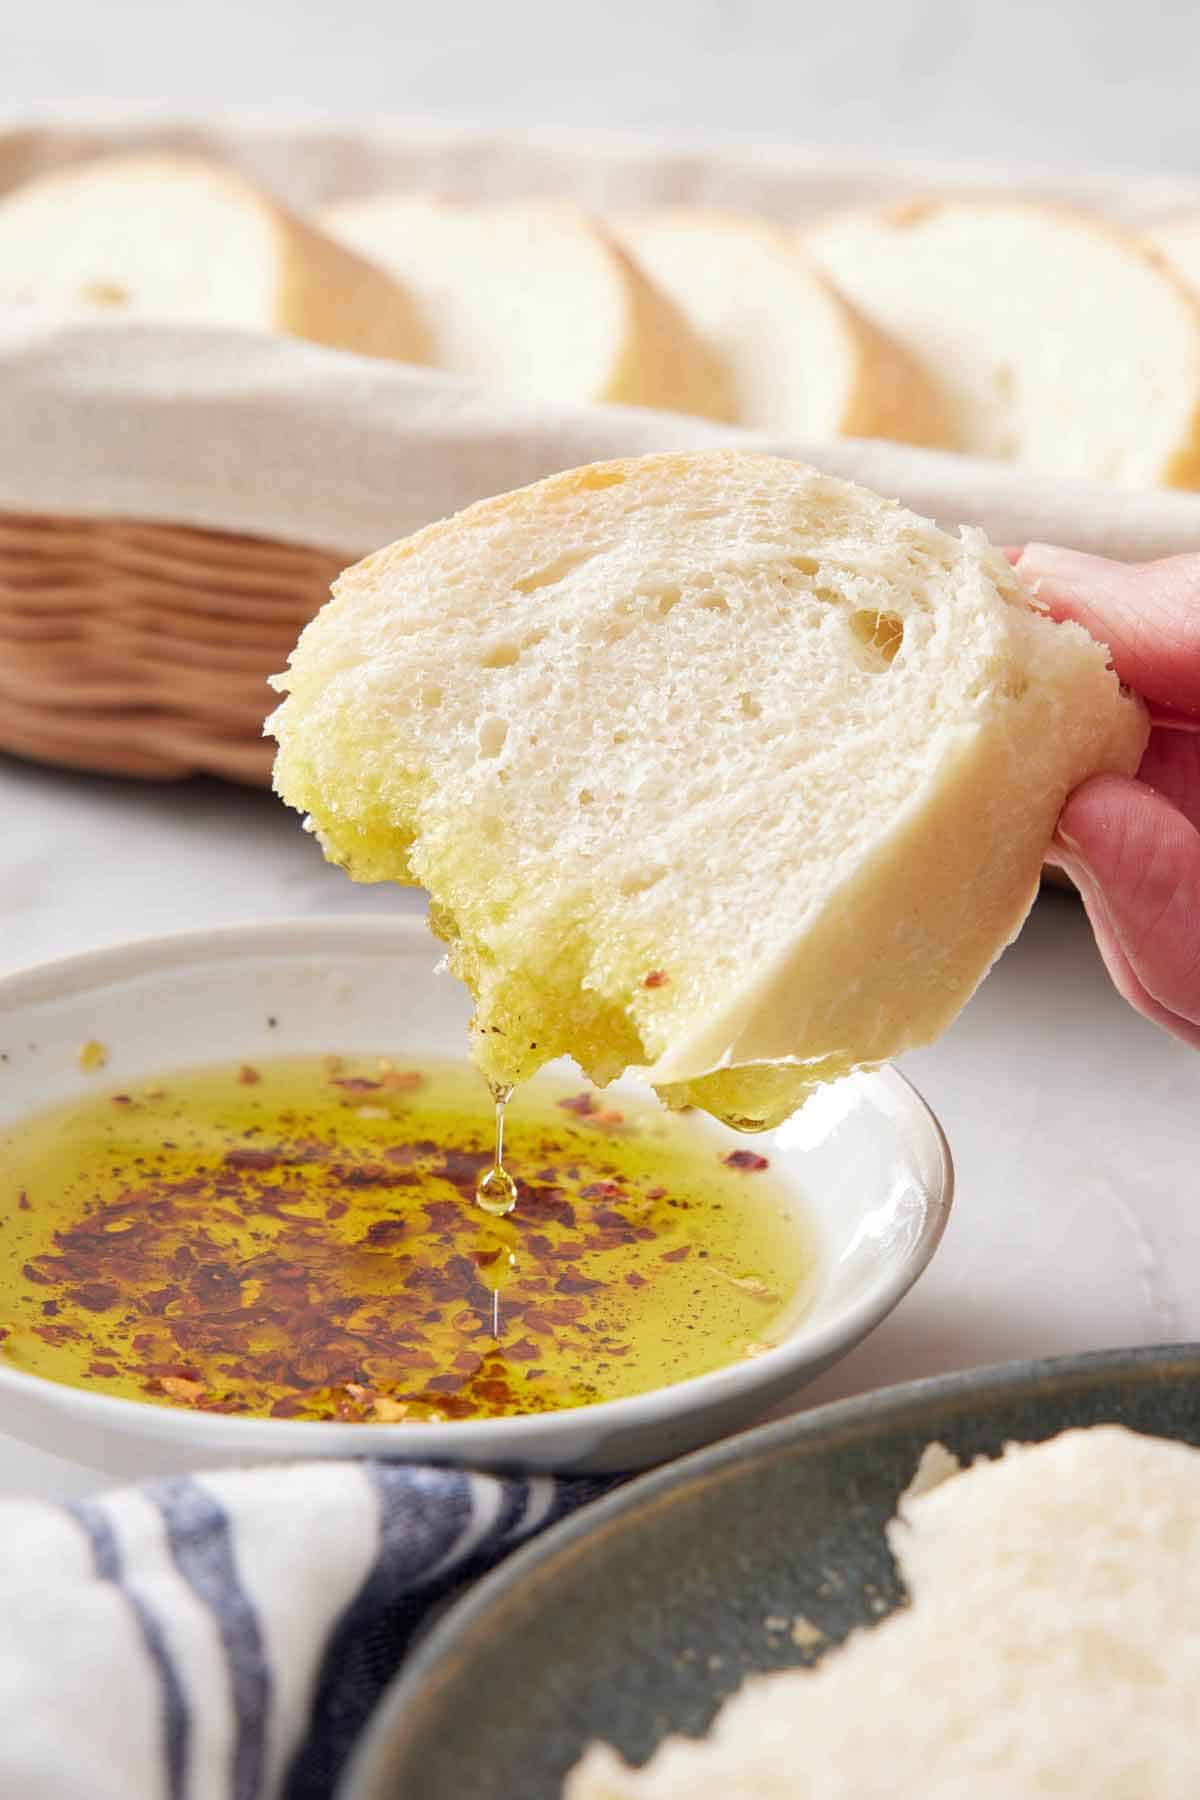
This is an all-purpose loaf! Serve it alongside baked ziti, lasagna, or Italian wedding soup. Tear it for dipping in seasoned olive oil. Toast slices for bruschetta or turn them into garlic bread. Day-old slices also make excellent French toast, too.
Frequently Asked Questions
Yes, with a modification. This recipe is written for active dry yeast, which blooms in the warm water first. If you only have instant yeast, skip the blooming step and mix it straight into the flour, and expect a faster rise. Keep an eye on your loaves as they can over-proof easily with the fast-acting yeast. If you want to slow it down, use half a packet (about 1 teaspoon) of instant yeast.
The most common cause is over-proofing on the second rise—once the dough over-relaxes, it spreads rather than puffs up, and brushing on the oil can deflate it further. Let the loaves rise just until very visibly puffed (30-40 minutes), brush gently, and score them right before baking so they rise up.
Yes! Bloom the yeast, stir in the flour, then knead by hand on a floured surface until smooth and springy, about 8-10 minutes. It’s a workout, but completely doable.
Yes. After kneading, refrigerate the dough in the oiled bowl for up to 24 hours for the first rise. Bring it to room temperature for an hour, then shape and do the second rise. You can also freeze the shaped, unbaked loaves and bake them later. (See How To Store and Freeze above.)
They’re close cousins. Italian loaves like this one often include a little olive oil for a softer, richer crumb and a more tender crust, while French bread is typically leaner and crustier. Both bake into long, slashed loaves.
More Bread Recipes To Try
Once you’ve tried this recipe, test your skills with one of these other popular bread recipes:
- Artisan Bread — a no-knead, crusty loaf with a chewy, open crumb and very little hands-on work.
- French Bread — slender loaves with a tender crust, soft center, that’s a close cousin of this Italian bread.
- Focaccia — dimpled, olive-oil-rich Italian flatbread finished with flaky salt.
- Ciabatta Bread — an airy Italian loaf perfect for sandwiches and dipping.
- Dinner Rolls — soft, pull-apart rolls for rounding out any meal.
If you’ve tried this Italian bread recipe, then don’t forget to rate it and let me know how you got on in the comments below. I love hearing from you!






