
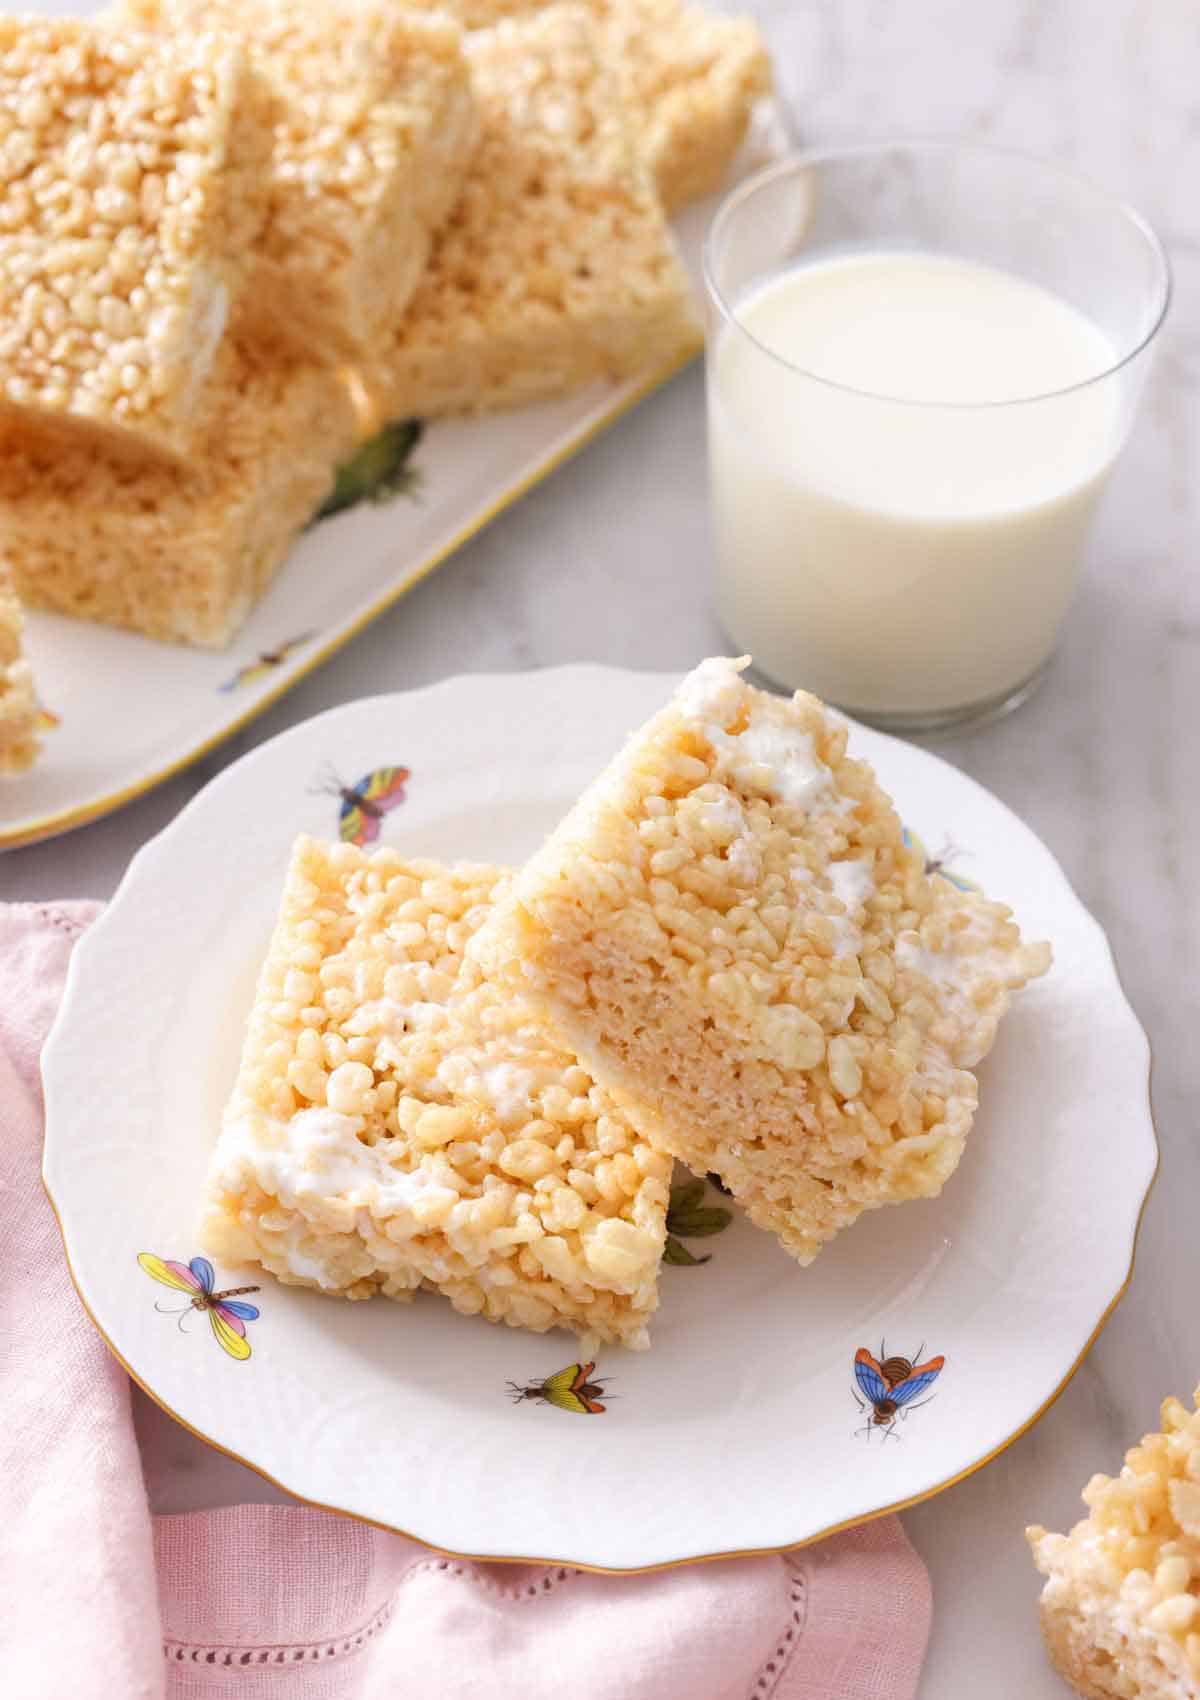
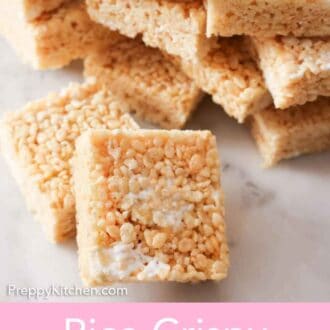
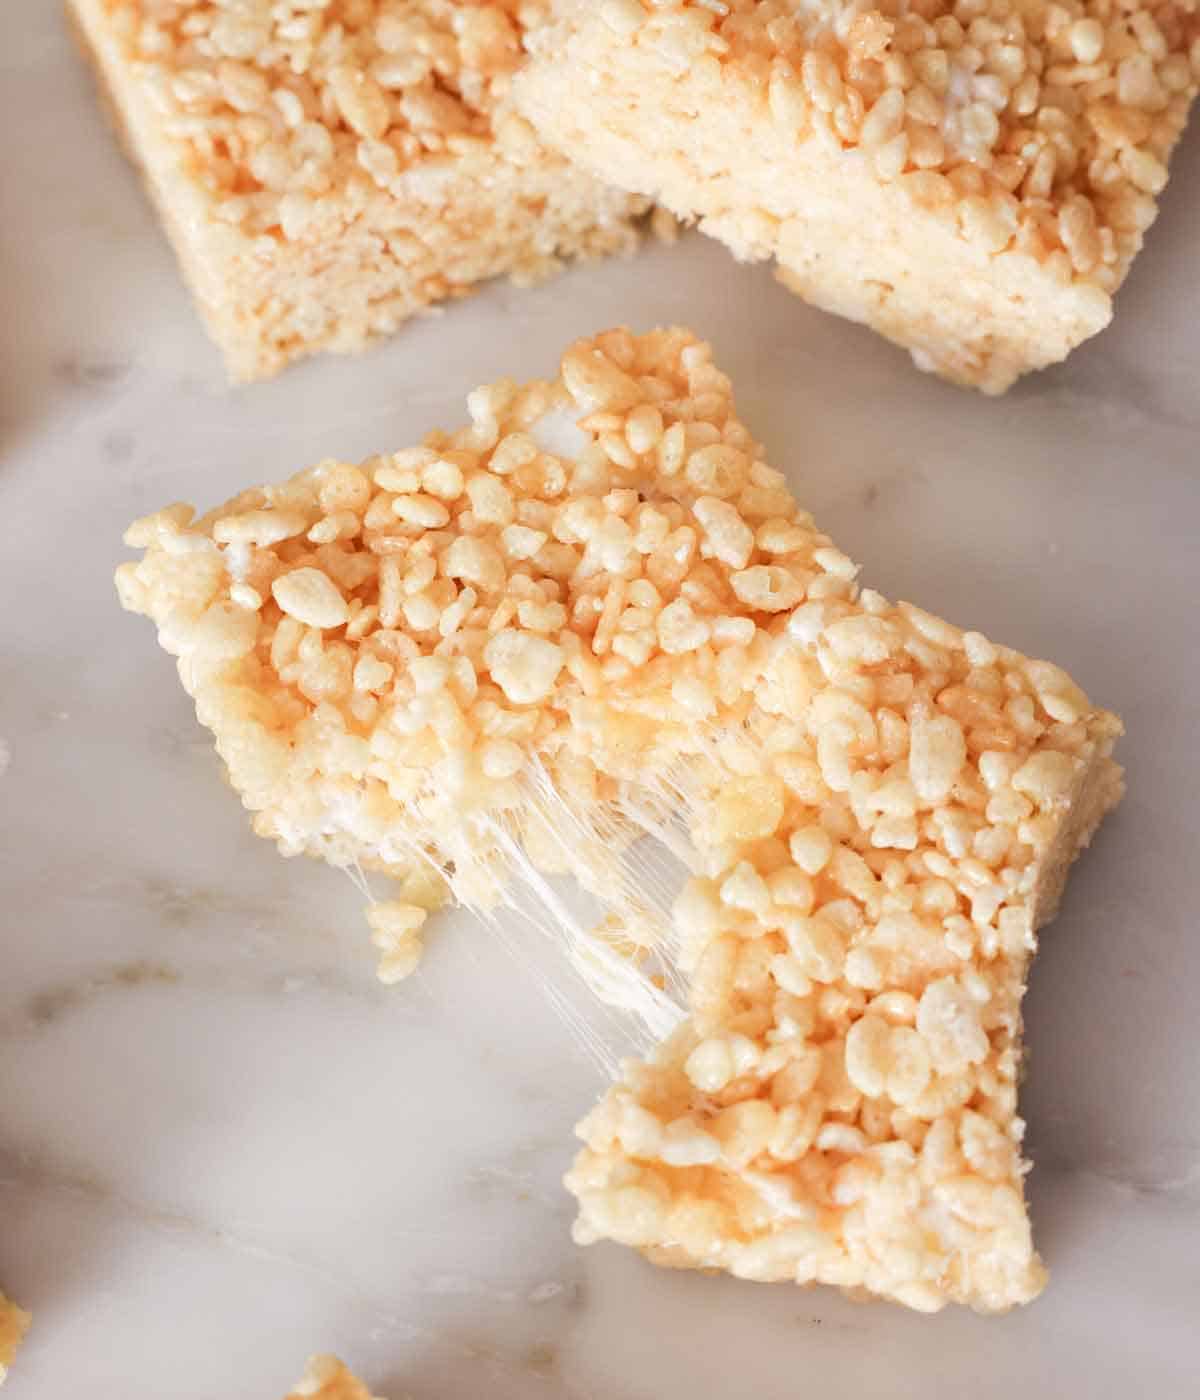
These are the best Rice Krispie treats! While homemade Rice Krispie treats often turn out hard or dense, I developed this recipe so they’re extra gooey, chewy, and nicely crisp from the cereal every time! The secret? Reserving some extra mini marshmallows to stir in at the very end, plus using the right balance of ingredients. Being gentle with the marshmallow mixture and not pressing it too hard into the pan also helps these treats stay light and perfectly chewy.
One reader says: “I never knew how easy it was to make rice krispie treats from scratch, and wow, do they taste better! I love the trick of saving extra marshmallows for the end! I’m going to try browning the butter next time.” ★★★★★
Table of Contents
Why You’ll Love My Recipe
Not only do my 3-ingredient Rice Krispie treats only need 20 minutes of hands-on time, but they also have the best chewy texture. I also developed this recipe to be fuss-free and easy to adapt.
- Gooey and chewy, not hard. I made the ratio of butter and marshmallows to cereal a little bit higher so the treats aren’t dry. And, if you press the mixture gently, the cereal won’t get too compacted and turn dense.
- Only 3 ingredients needed! This is such a simple recipe to make. You can add other optional flavorings if you wish, but you only need cereal, butter, and marshmallows to make the treats!
- Easy to upgrade or make other flavors. This recipe is super adaptable to use other cereals, add crunchy mix-ins, or stir in other flavorings. So, if a plain rice krispie treat isn’t what you’re after, use this recipe as a blank canvas!
The Secret To Gooey Rice Krispie Treats
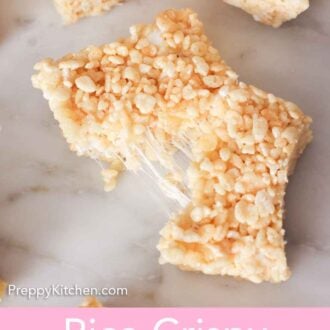
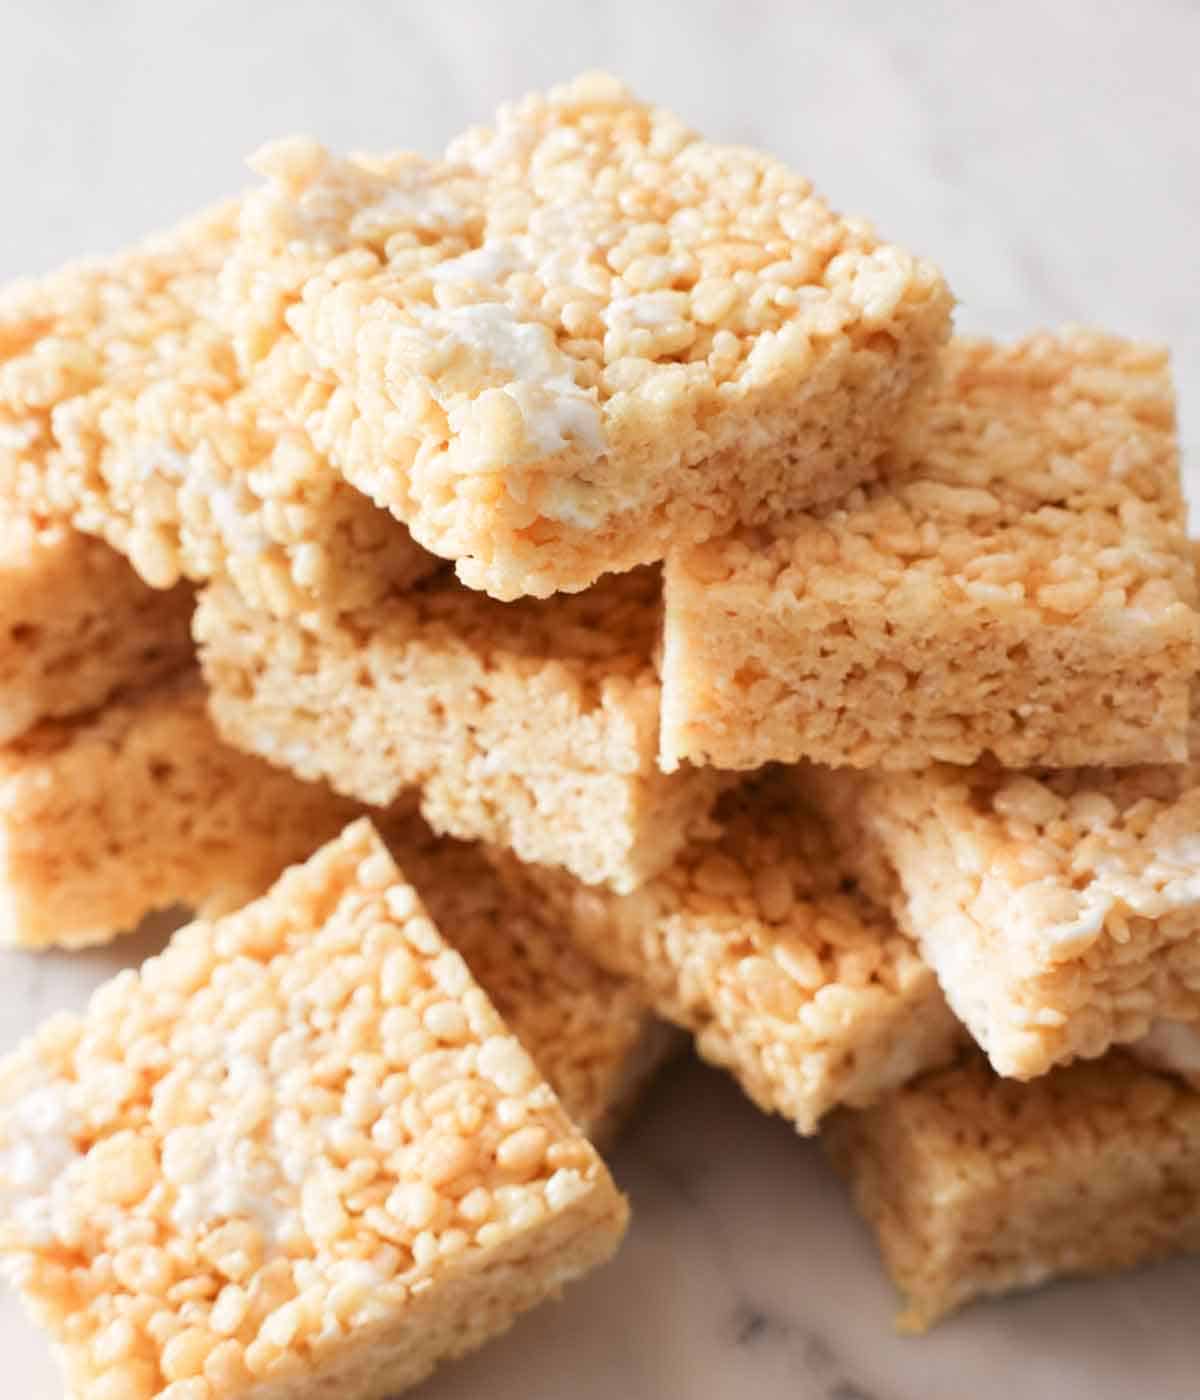
My secret to making gooey Rice Krispy treats at home requires basically no effort: All you need to do is reserve 2 cups of mini marshmallows to stir in right at the end. This simple step adds the perfect amount of gooeyness to every bite. The extra marshmallows you add won’t melt fully, so you end up with pockets of soft marshmallow throughout the treats. They are absolute perfection!
3 Key Ingredients For The Ultimate Rice Krispie Treats
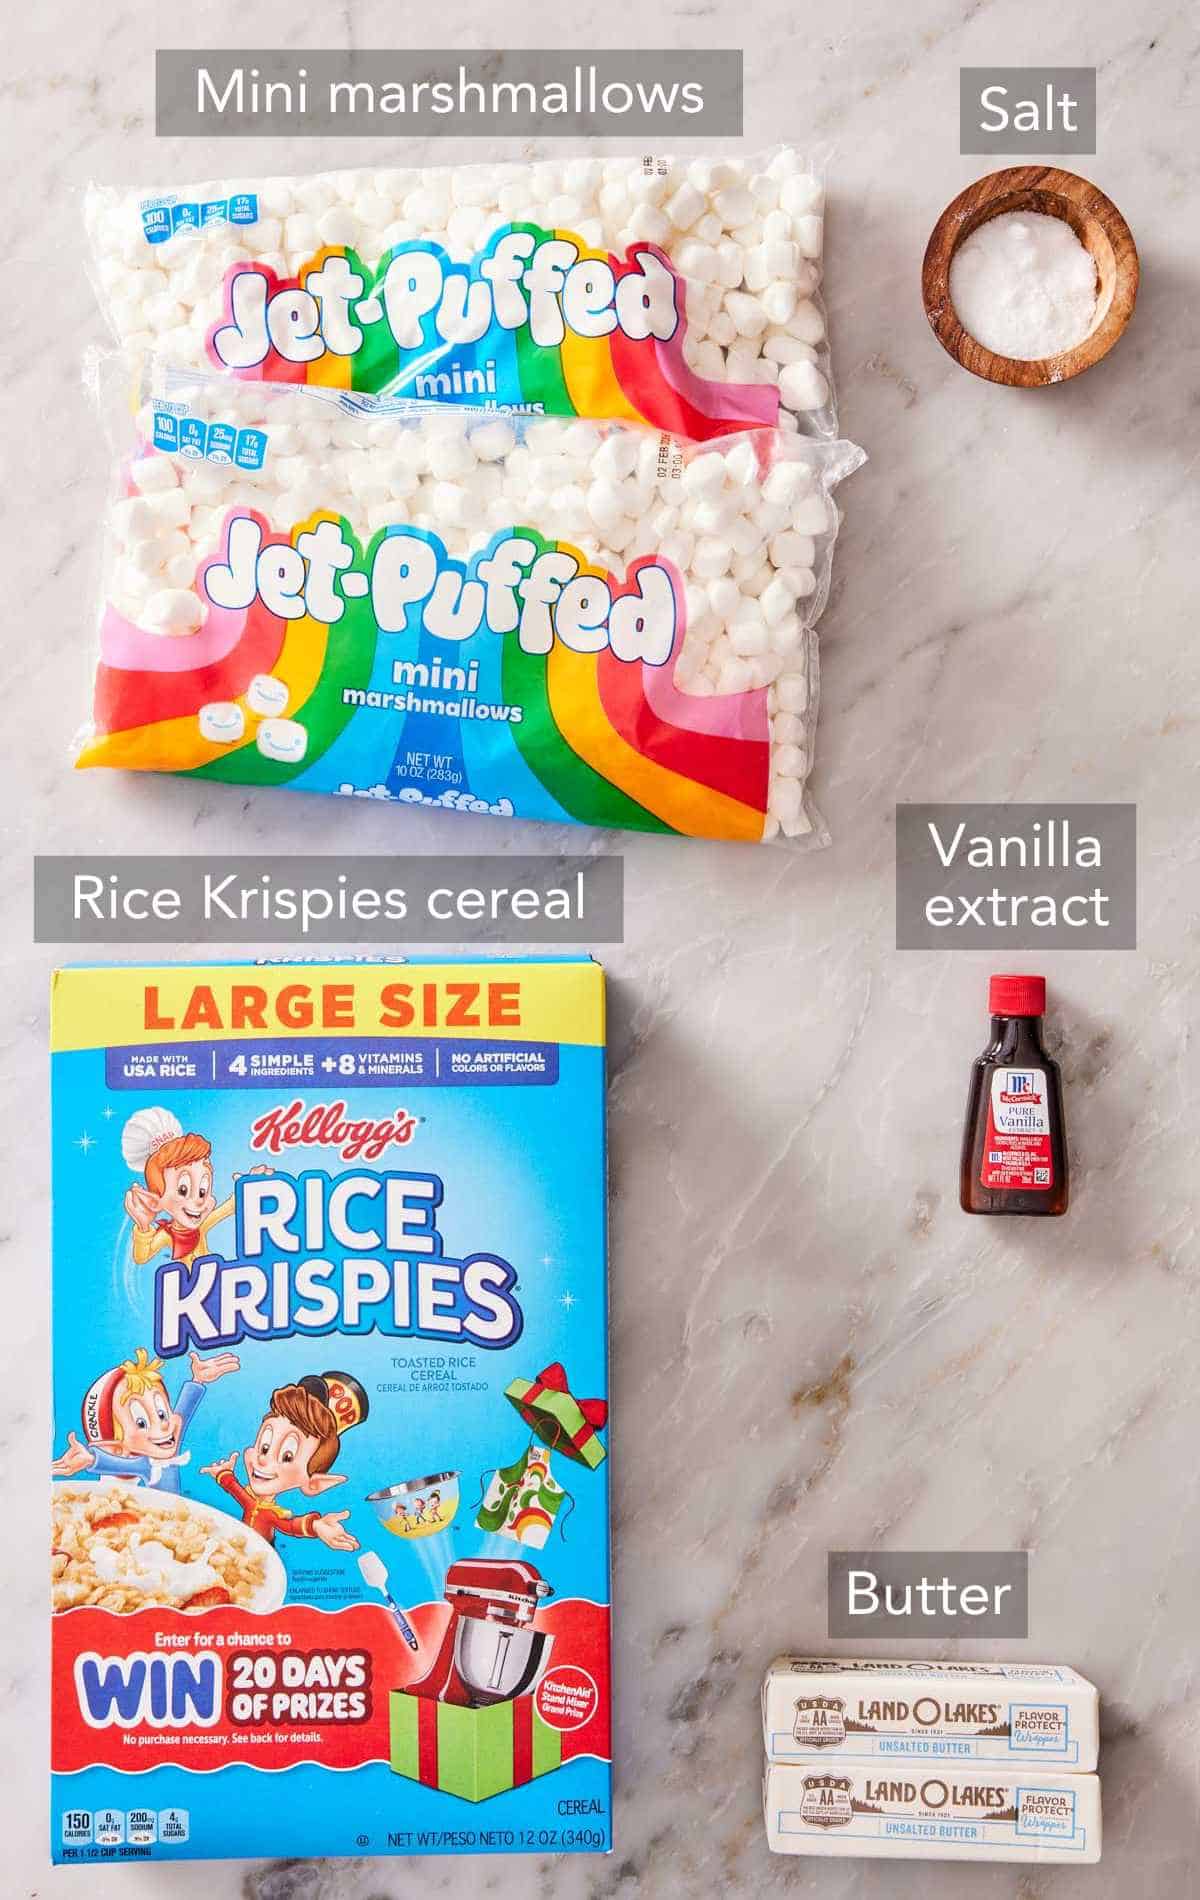
These are the main ingredients you need to make homemade rice krispie treats. You can find the full list of ingredients and measurements in the recipe card below.
Butter — really, any kind of butter will do. For a richer flavor, use European butter, which has more butterfat and less water than American butter.
Marshmallows — I prefer to use mini marshmallows because they melt faster and are perfect for stirring in at the end for gooey rice crispies treats. But you can use large marshmallows if that’s what you have. Or, if you’ve made a batch of homemade marshmallows, those would be an incredible upgrade to store-bought marshmallows!
Rice Krispies cereal — original Rice Krispies are ideal for the perfect crisp bite. But you can use other crispy rice cereal flavors or even completely different cereals, too! See the Variations section for plenty of ideas.
Optional flavorings — while these rice crispy treats are perfect with only butter, marshmallows, and cereal, there are simple ways to spruce them up and give them a more complex flavor. Add 2 teaspoons of vanilla extract or vanilla bean paste to complement the other flavors in these treats. Adding ½ teaspoon of salt is an easy way to balance the sweetness and enhance the flavors. For a richer, sweeter flavor, add 3 tablespoons of caramel sauce. Stir any of these additions in with the main batch of marshmallows.
Can I use marshmallow creme or fluff instead of mini marshmallows?
No. Both these products are designed to stay soft, fluffy, and spreadable. So the treats won’t firm up properly if used. Regular marshmallows, on the other hand, melt and then firm up as they cool, so they act as a binder in your Rice Krispies treats.
Easy Flavor Variations
While you can’t go wrong with classic Rice Krispie treats, here are several fun and delicious variations you can try:
- Browned Butter: Brown the butter before you add the marshmallows! Brown butter gives the treats a rich, nutty flavor.
- Other Mix-ins: Replace up to 2 cups of the cereal with chopped crispy chocolate chip cookies, speculoos cookies, mini M&Ms, or Reese’s Pieces. For a salty-sweet twist, use salty snacks like crushed pretzels, potato chips, or salted peanuts or cashews. You can also use crushed freeze-dried fruit for extra flavor and pops of color.
- Cereal Variations: Replace the Rice Krispies with Fruity Pebbles, Cocoa Pebbles, Fruit Loops, Cinnamon Toast Crunch, Cheerios, etc. Or, try my Lucky Charms treats!
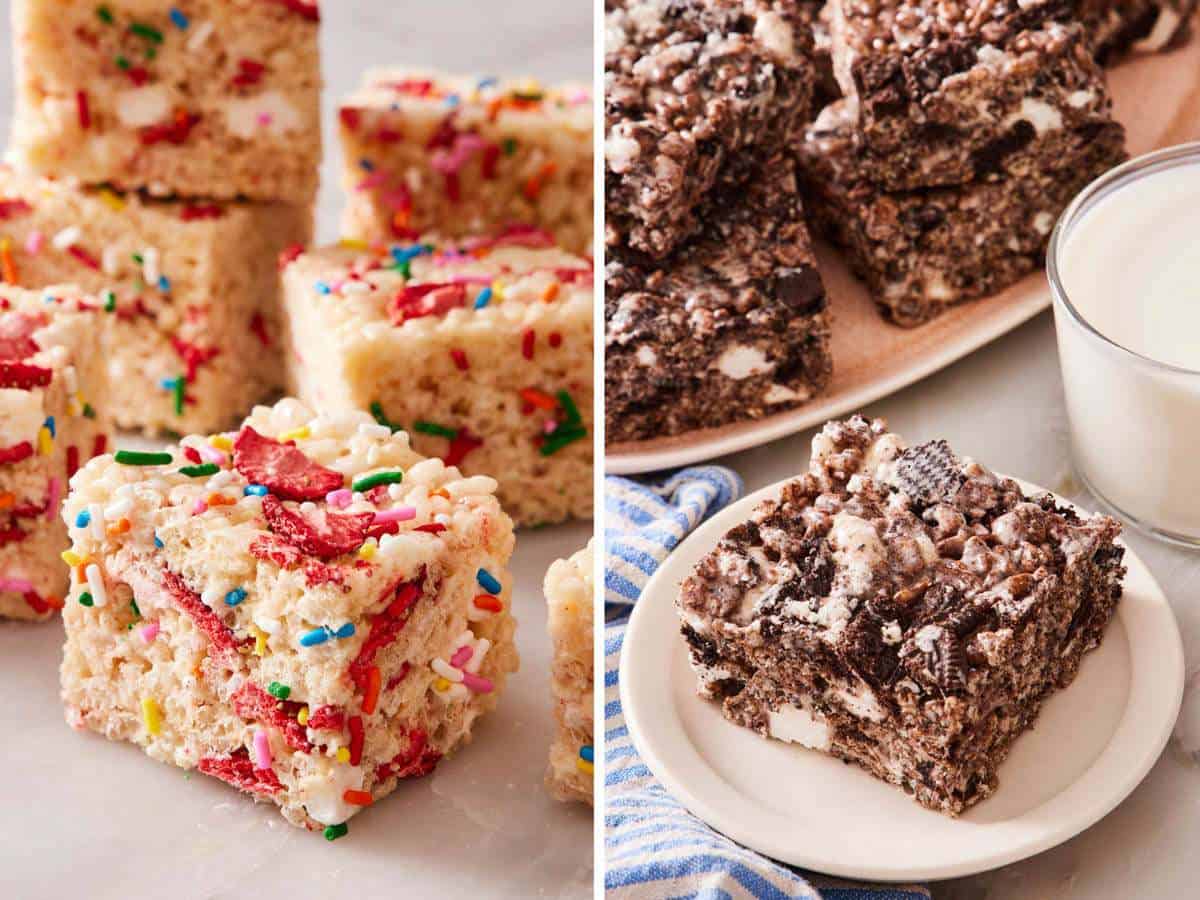
- Strawberry and Sprinkles: Add a 2-ounce bag of freeze-dried strawberries and ¼ cup of rainbow sprinkles for pretty and colorful Rice Krispie treats with just the right amount of strawberry flavor.
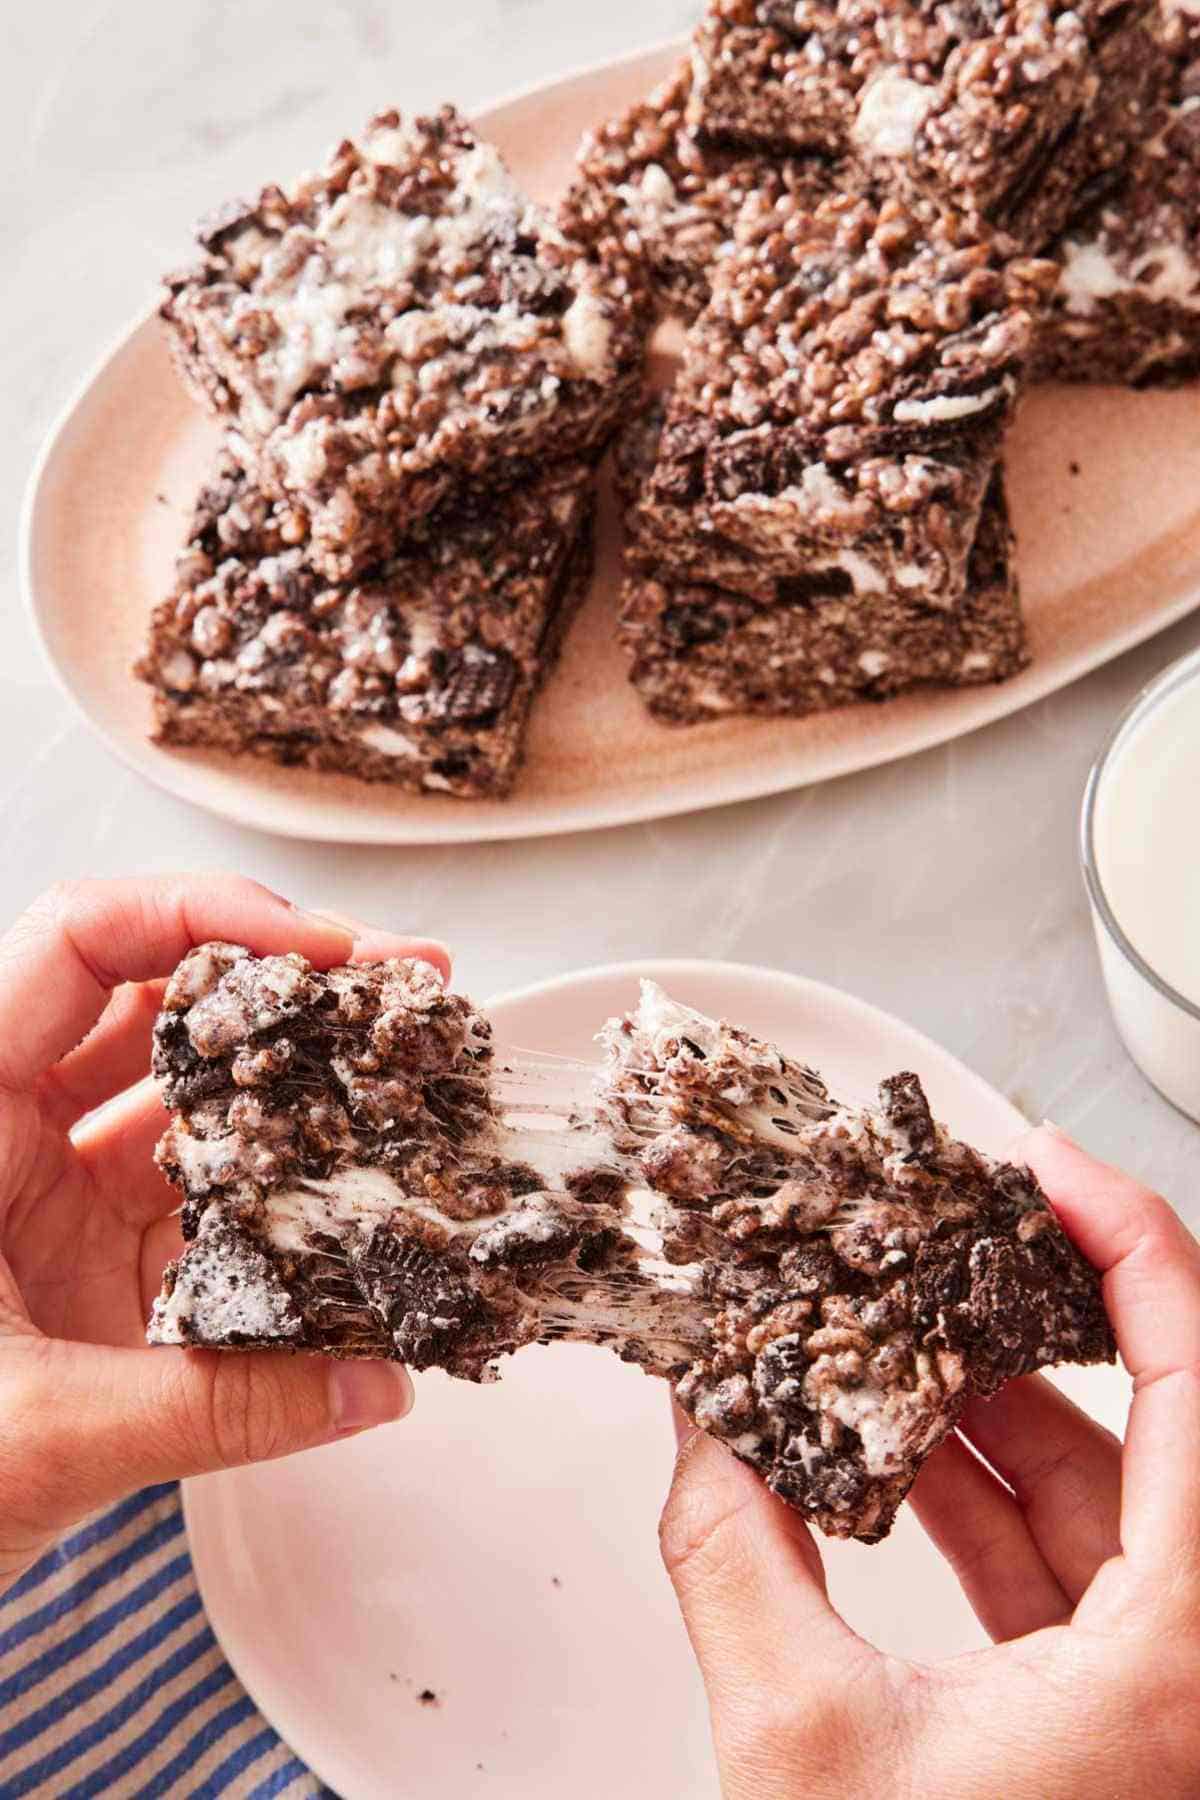
- Cookies and Cream: Use Cocoa Krispies cereal for a chocolaty flavor and replace 2 cups of cereal with crushed Oreos.
- Festive Option: Stir in colorful sprinkles that reflect the respective holiday with the second addition of marshmallows (in Step 4). Sprinkle more on top before pressing the mixture into a flat, even layer with a butter wrapper.
Can I dip these in chocolate?
One reader commented asking me about this, and it’s a great idea! I tested it, and it’s also very easy to do. After cutting the treats, melt your preferred chocolate (dark, milk, and white chocolate would all work) and dip the bottom, one half, or coat the whole thing in melted chocolate. You can stir a teaspoon or two of coconut oil into the melted chocolate to thin it out for easier dipping if needed. Then let each one sit on parchment paper or a lined baking sheet until the chocolate sets.
Pro Tips For Making The Best Rice Krispie Treats
Line the pan for easy removal. Rice Krispie treats are a sticky thing, so lining the pan with parchment paper is so important! Not only does it make removing the treats from the pan easy, but it also stops them from sticking to the bottom of the pan and making a mess. Be sure that parchment paper lines the bottom and up the sides of the pan for easy removal. If you have any small bag clips or binder clips, you can use them to secure the parchment paper on the edges of the pan so it doesn’t slide around when you press in the cereal mixture.
Stir gently to avoid crushing the cereal. You also want to stop once the cereal is well coated with the melted marshmallows. Over-stirring the mixture will cause the cereal to break and make the squares dense.
Press the mixture evenly but gently into the pan. Don’t press too hard, or you could crush the cereal. Pressing too hard will also compact the cereal mixture too much, yielding dense bars.
How To Make Rice Krispie Treats
Below, I’ve highlighted portions of the recipe in step-by-step process images along with instructions for making the best rice krispie treats. You can find the full set of instructions in the recipe card below.
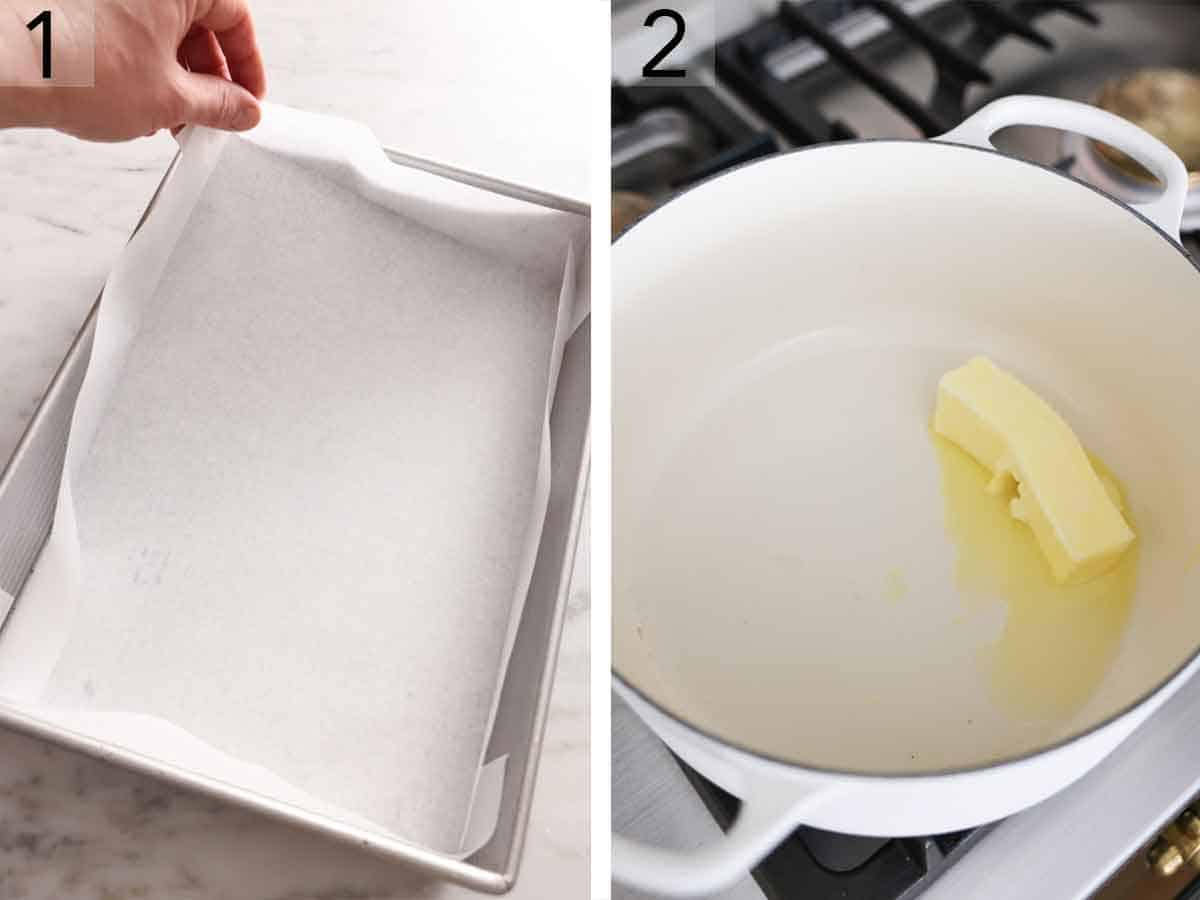
1. Properly line a baking pan with parchment paper or aluminum foil to prevent sticking and to make the treats easy to remove. Make sure the lining comes up the sides of the pan.
2. Melt butter in a large pot over medium heat. Reserve 2 cups of mini marshmallows and set them aside for now.
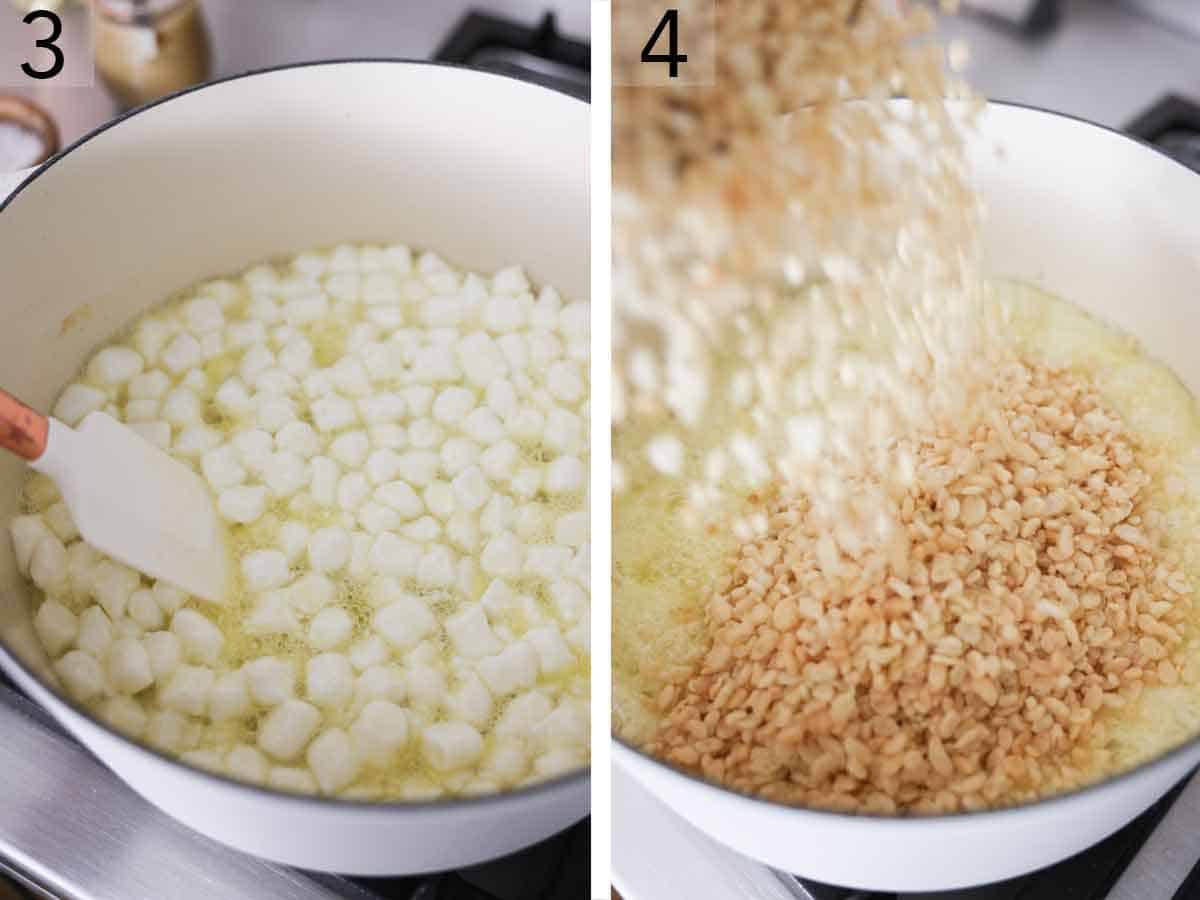
3. Add the rest of the miniature marshmallows to the melted butter, along with the vanilla and salt. Stir with a silicone spatula until the marshmallows melt completely, then remove from the heat.
4. Add the rice cereal.
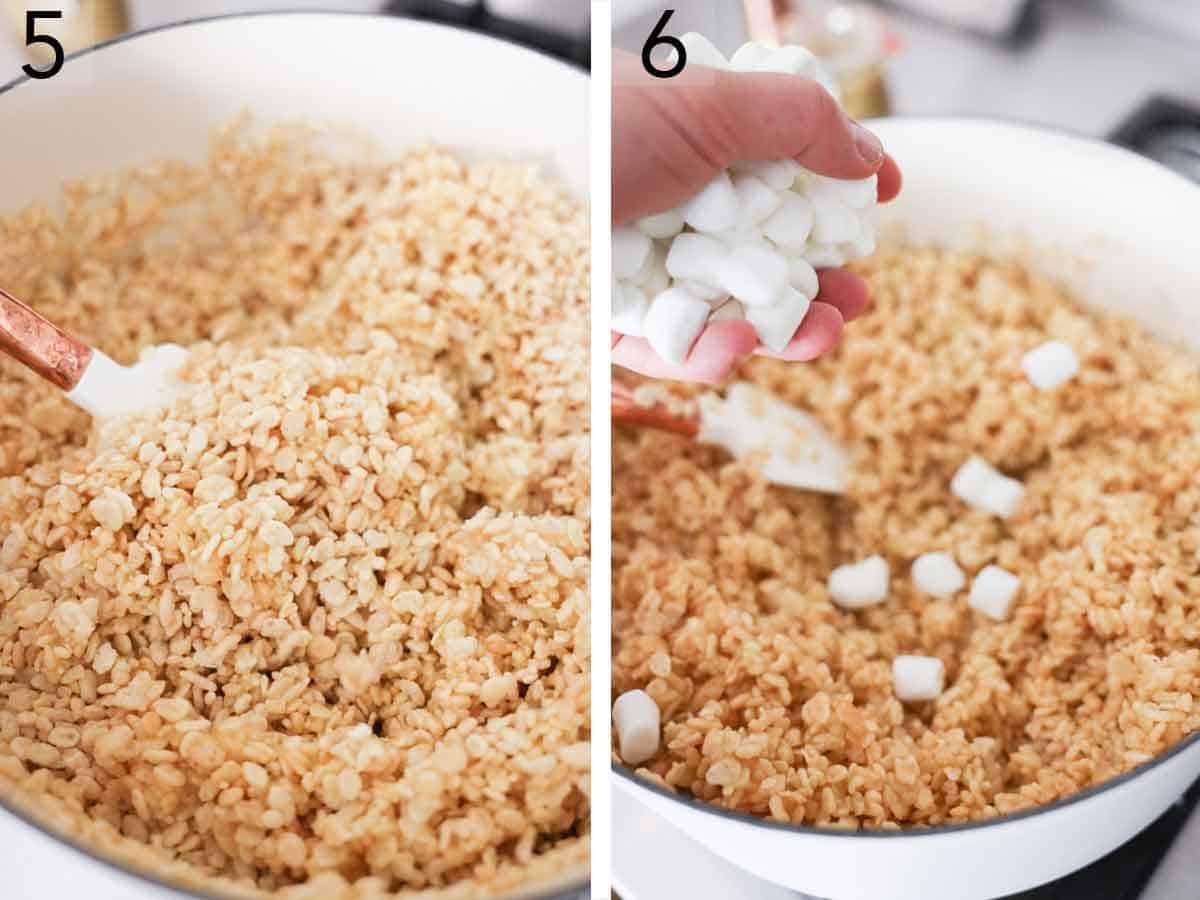
5. Stir the cereal and marshmallow mixture together, gently, to fully combine.
6. Throw in the extra marshmallows you reserved. Stir to disperse them, but don’t worry about them melting fully. They will leave soft marshmallow pockets throughout the treats, making them even gooier.
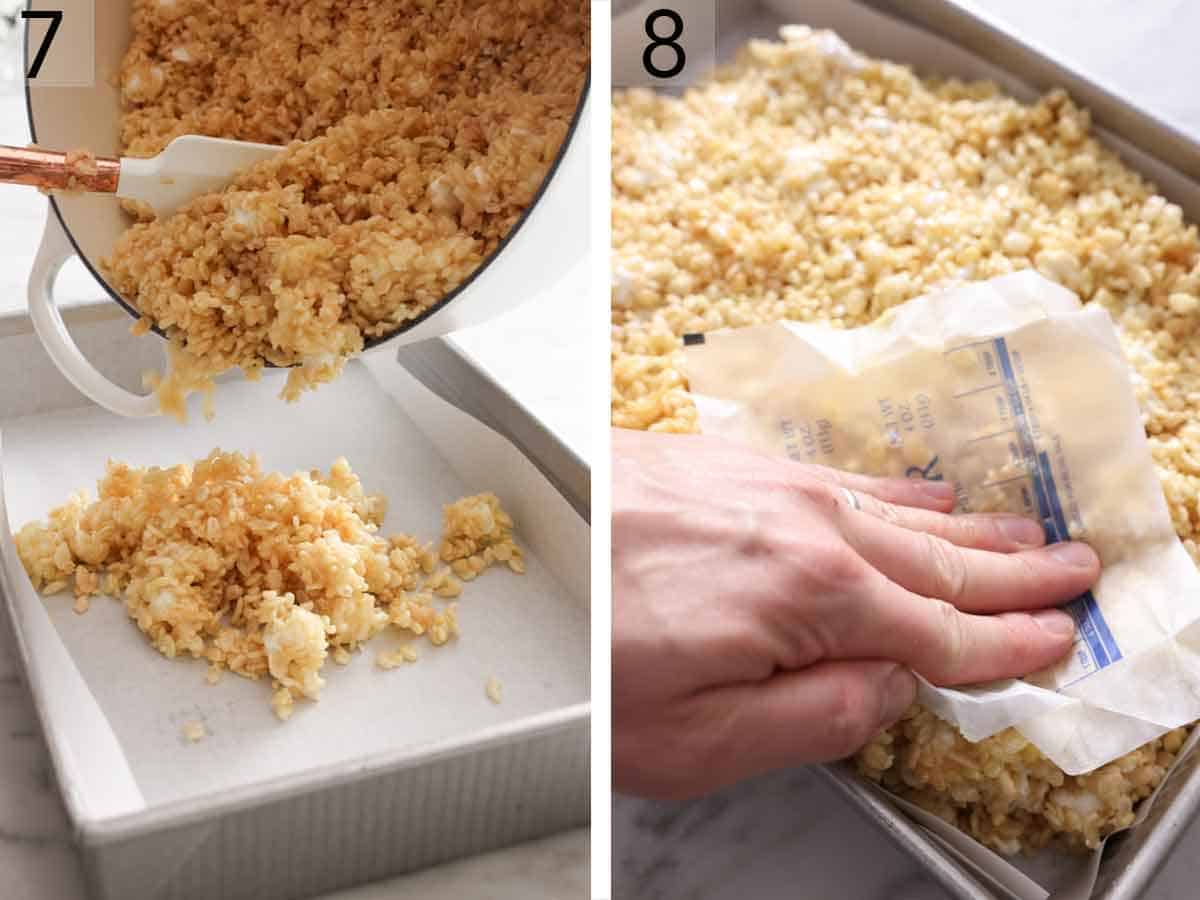
7. Transfer the cereal mixture to the lined baking pan.
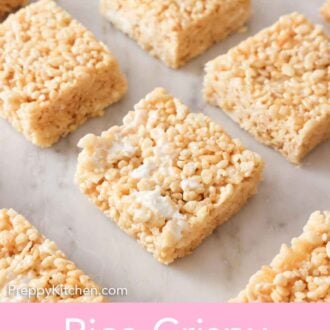
8. Use butter wrappers to press the mixture into an even layer, then allow the slab to cool completely to room temperature. Lift the treat slab out of the baking pan by holding onto the parchment paper and cut into squares with a sharp, lightly greased knife.

Rice Krispie Treats Recipe
Equipment
- 13×9 inch baking pan
Ingredients
- ¾ cup butter (170g)
- 2 (10-ounce/283g) bags mini marshmallows divided
- 2 teaspoons vanilla extract
- ½ teaspoon salt
- 10 cups Rice Krispies Cereal (310g)
Instructions
- Line a 13×9-inch baking pan with parchment paper or foil.
- In a large pot, melt butter over medium heat. Meanwhile, reserve 2 cups of the mini marshmallows and set them aside.
- Once the butter is melted, add the remaining marshmallows, vanilla, and salt to the pot. Stir with a silicone spatula until fully melted, about 5 minutes. Remove from the heat.
- Add the cereal and stir until fully combined (mixture will be very sticky). Stir in the reserved 2 cups of marshmallows until evenly dispersed but not fully melted. (This will give little pockets of marshmallow in the treats!)
- Pour the mixture into the baking pan. Using the silicone spatula or the butter stick wrapper, press the mixture into an even layer in the pan. Let cool completely, about 1 hour.
- Use the parchment to remove the treats from the pan. Lightly grease a sharp knife and cut into squares.
Notes
- Save the butter wrapper! It really is the easiest tool to use for pressing the cereal mixture into the pan. It will be naturally greased with a thin layer of butter, and it keeps your hands from getting sticky.
Nutrition
How To Store
Storing: Store in an airtight container, between sheets of parchment paper (if stacked, to prevent sticking), at room temperature for up to 3 days.
Freezing: Once completely cool, freeze the treats in a freezer-safe container (separating layers with sheets of parchment paper) for up to 3 months. Thaw on the counter for a few hours before enjoying.
More Dessert Recipes To Try
If you’re in the mood for more easy dessert recipes, try one of these next!
My scotcheroos recipe is a flavorful variation of Rice Krispie treats with peanut butter, chocolate, and butterscotch chips.
No-bake cookies are a simple and nostalgic treat. You only need 5 ingredients and 5 minutes of hands-on time to make them.
If these Rice Krispie treats have you in the mood for other cereal bars, give my Special K bars a whirl! They’re made with peanut butter and topped with chocolate chips and butterscotch chips.
Try my no-bake cheesecake for all the flavor but none of the fuss of a classic baked cheesecake recipe. Serve with fresh fruit, chocolate sauce, or any of your favorite toppings.
Peanut butter bars combine a classic pair: chocolate and peanut butter. They’re so quick and easy, and you can adapt them in various ways.
If you’ve tried this Rice Krispie treat recipe, then don’t forget to rate it and let me know how you got on in the comments below. I love hearing from you!
Maria says
Can these be coated in chocolate?
Diane Joly says
Thanks, John for the recipe. It’s been such a long long time that I made it. I will definitely make it for my grandchildren when I see them on Halloween. Do you have any idea what I could add to make it more festive? Thank you for your help.