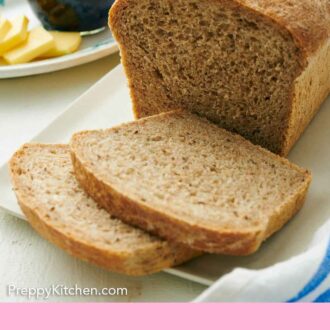
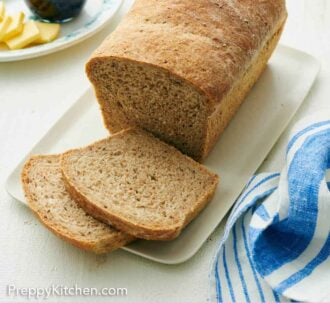
Rye bread is a fairly dense, chewy bread with a mild tang and earthiness tempered by honey and licorice-forward caraway seeds. You don’t need many ingredients or any special skills to lovingly bake a loaf of this popular bread, but you do need to plan a bit of time (mostly hands-free!). So save this recipe for a slow afternoon of easy baking.
My rye bread recipe uses a combination of rye flour and bread flour for a loaf that is quite airy and has a pretty moist crumb. Rye flour on its own will give you a dense loaf because it does not contain a lot of gluten. Bread flour, with its high gluten content, balances this out and gives the bread some lift and lightness. For more homemade bread recipes, try my French bread, artisan bread, or Italian bread.
What You Need To Make This Recipe
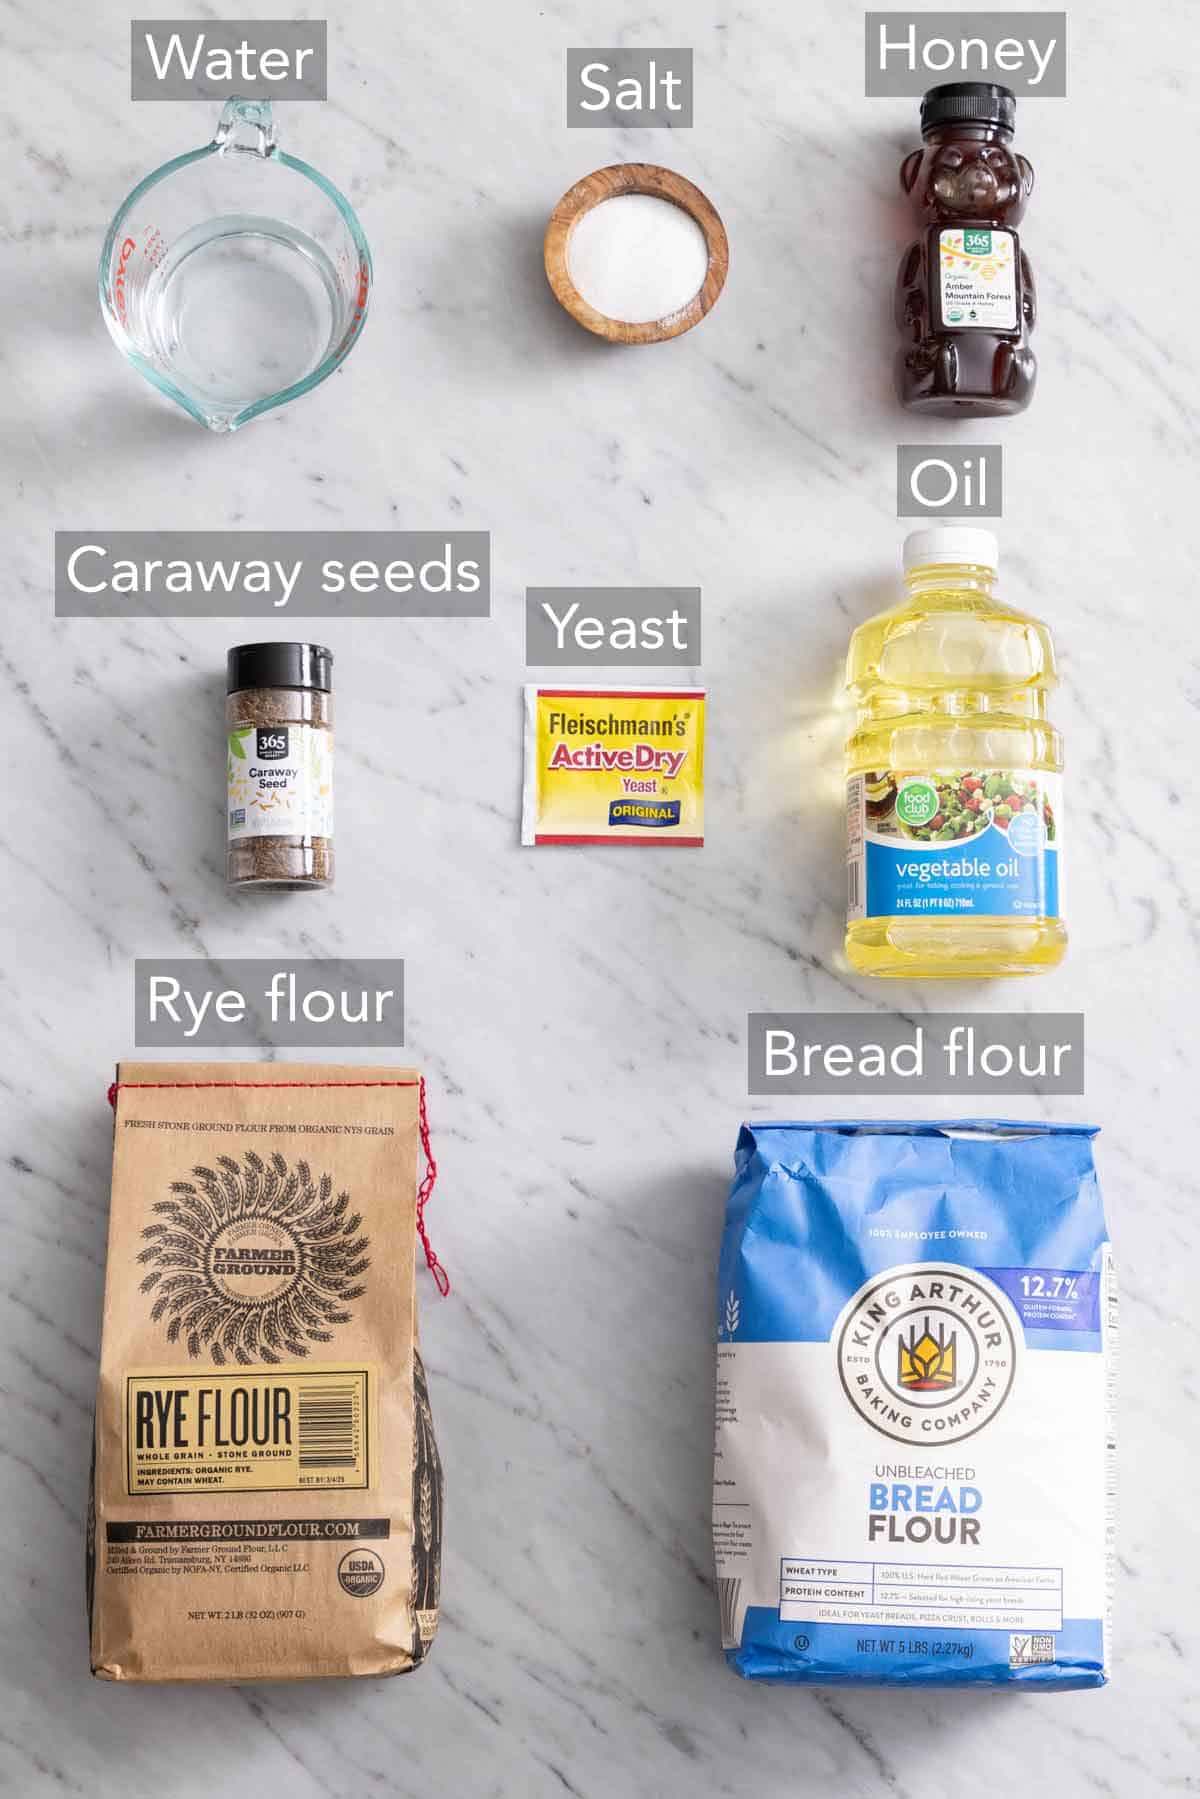
Water — warm water works with honey to activate the dry yeast. Make sure the water isn’t too hot, or it can kill the yeast, or too cold, and it can keep it from activating. Between 100-110°F is ideal.
Honey — honey feeds the yeast to help it activate and turn foamy and also adds sweetness to balance the sourness of rye. You could substitute this for another liquid sweetener like molasses, maple syrup, or agave syrup.
Yeast — active dry yeast gives homemade bread the perfect texture. As yeast feeds on the sugars and proteins in the dough, it creates very small bubbles of carbon dioxide that cause the bread to rise and expand. If your yeast does not foam after being dissolved in the warm water, start again. The yeast may have expired, or the water was not at the correct temperature. The bread will not rise before or during baking if the yeast isn’t active.
Flour — you’ll need a combination of bread flour and rye flour. I like to use both for a delicious rye flavor with a lighter texture.
Oil — I favor a neutral oil like vegetable oil or canola oil to add moisture to the bread. Olive oil can be used as a substitute if desired.
Caraway seeds — caraway seeds impart a mild licorice and citrus flavor to this earthy rye loaf. You can leave them out if you don’t like their flavor or substitute them with fennel seeds, cumin seeds, or anise seeds.
Salt — salt is an essential ingredient in bread for three main reasons. It adds flavor to the bread, strengthens the gluten and structure of the bread so that it rises properly, and helps the crust brown. A common but important addition to acheive a delicious no-knead bread loaf!
How To Make Rye Bread
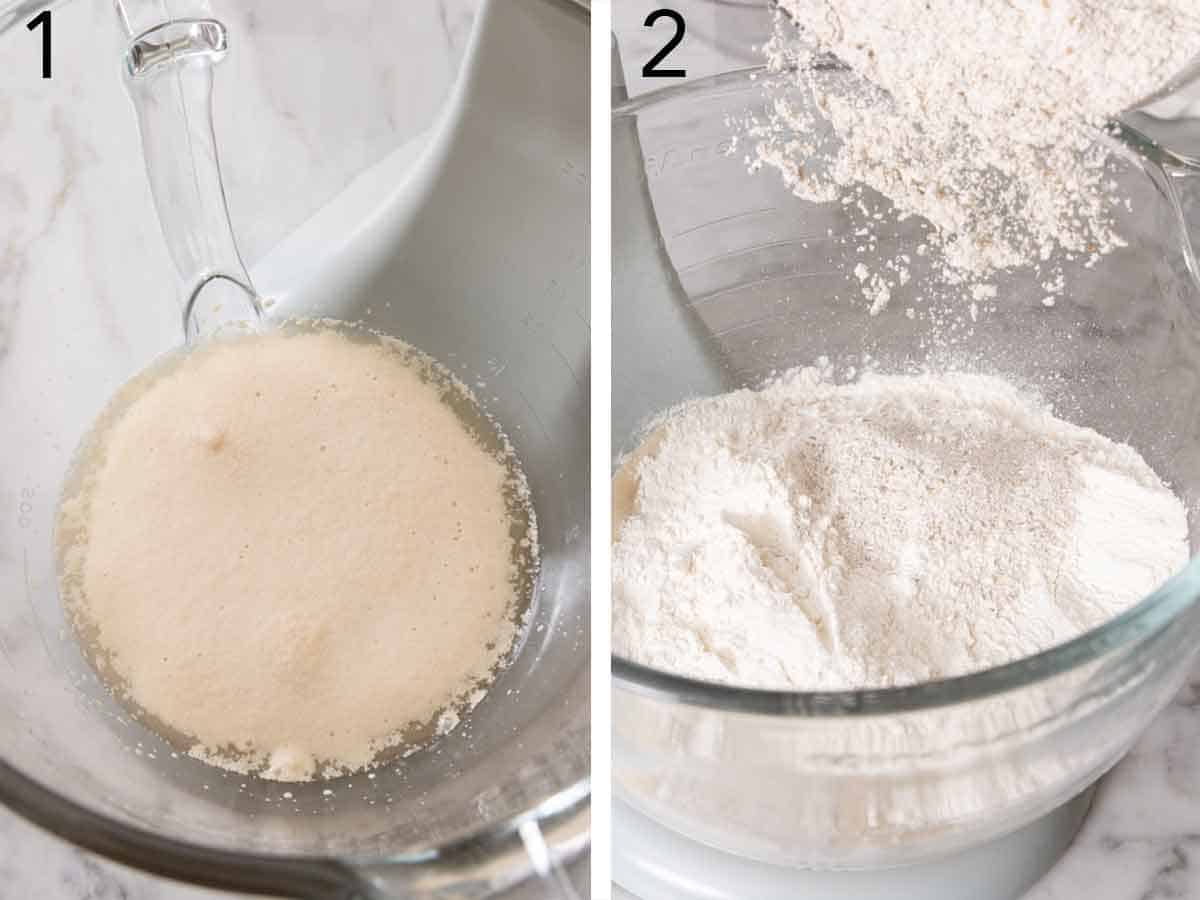
1. Activate the yeast by whisking together the warm water, honey, and yeast until combined in the bowl of a stand mixer fitted with the dough hook attachment. Let the mixture stand for 5 minutes, until it’s very foamy.
2. Then add bread flour, rye flour, oil, caraway seeds, and salt to the same bowl.
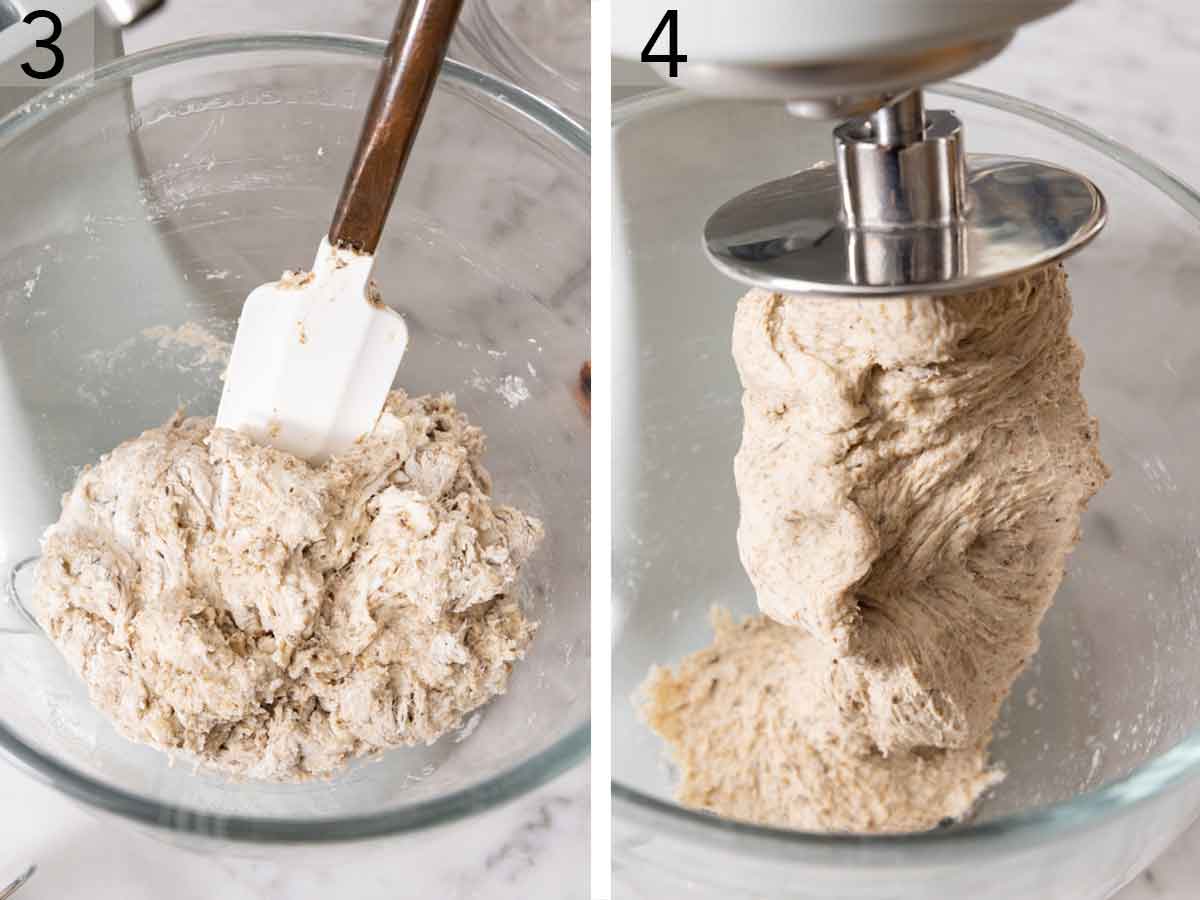
3. Use a wooden spoon or rubber spatula to mix the ingredients together until all of the dry flour is combined and you’re left with a shaggy dough.
4. Mix on medium-low speed for 6 to 8 minutes using the stand mixer until most of the dough balls up around the dough hook. It should be smooth and a bit sticky.
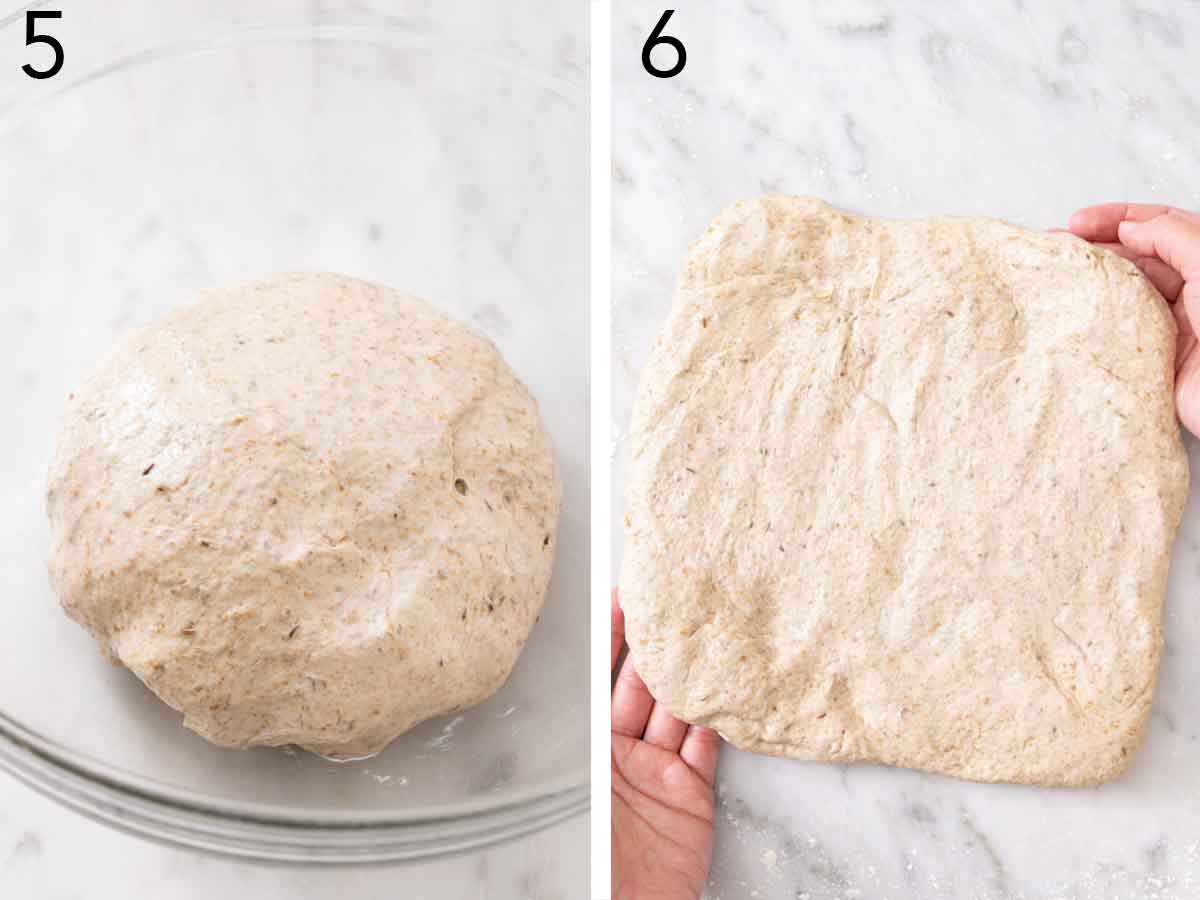
5. Lightly oil a clean bowl and place the dough inside. Flip the dough once so that the top of the dough is also coated with oil. Scrape down the sides of the bowl to shape the dough into a ball. Cover the bowl with plastic wrap and let the bread dough rise in a warm, draft-free spot for 30 to 45 min. It should double in size during the first rise.
6. Turn the dough out onto a very lightly floured surface to prevent sticking. With moist hands, stretch it and shape into a 9-inch square. Using a bench scraper, gently remove the dough from the surface and roll it into a log.
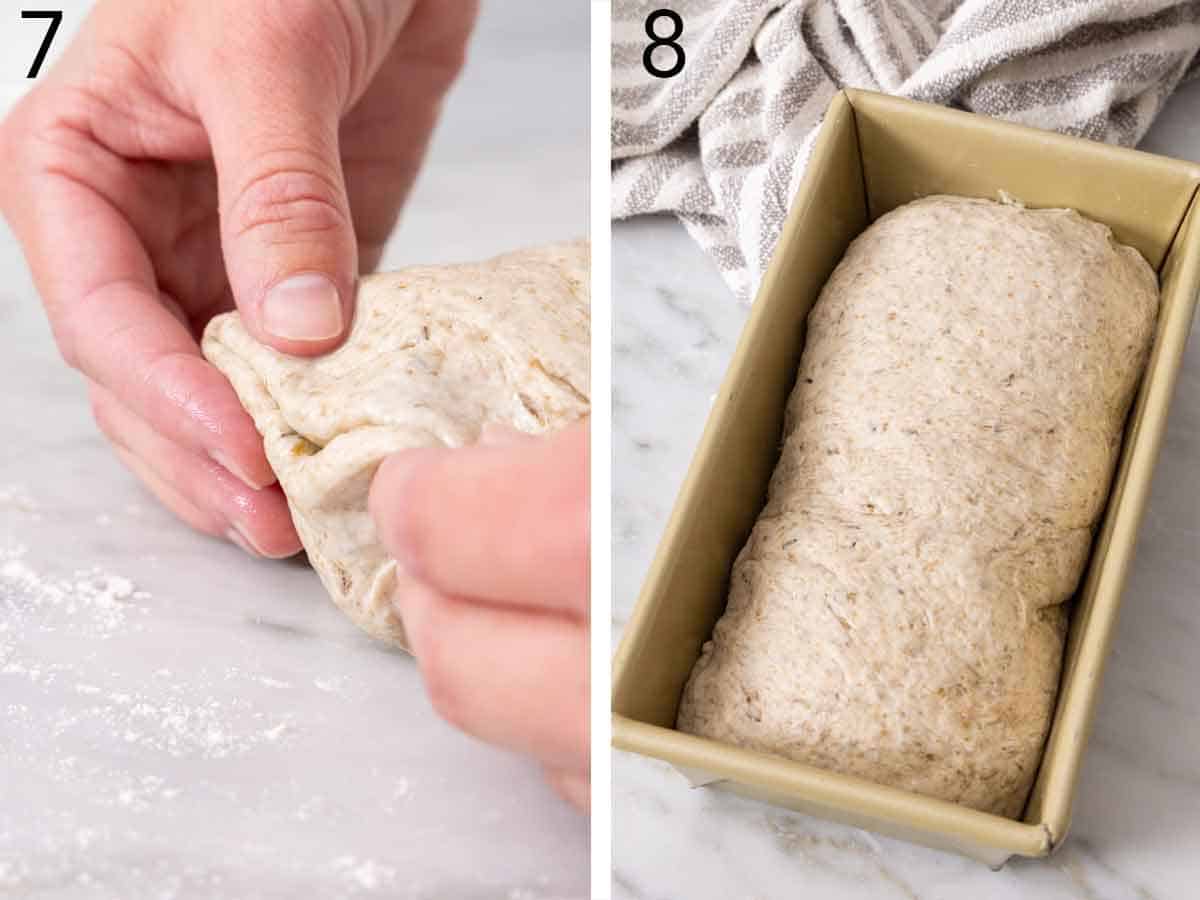
7. Pinch the seams on the sides together and then tuck them under the loaf.
8. Place the dough in a greased 9×5-inch loaf pan, seam side down. Brush a piece of plastic wrap lightly with oil or spray with nonstick spray. Cover the loaf pan with the oiled plastic wrap and let it rise once more in a warm, draft-free spot for 35 to 45 minutes. It needs to rise ½ to 1 inch above the top rim of the pan.
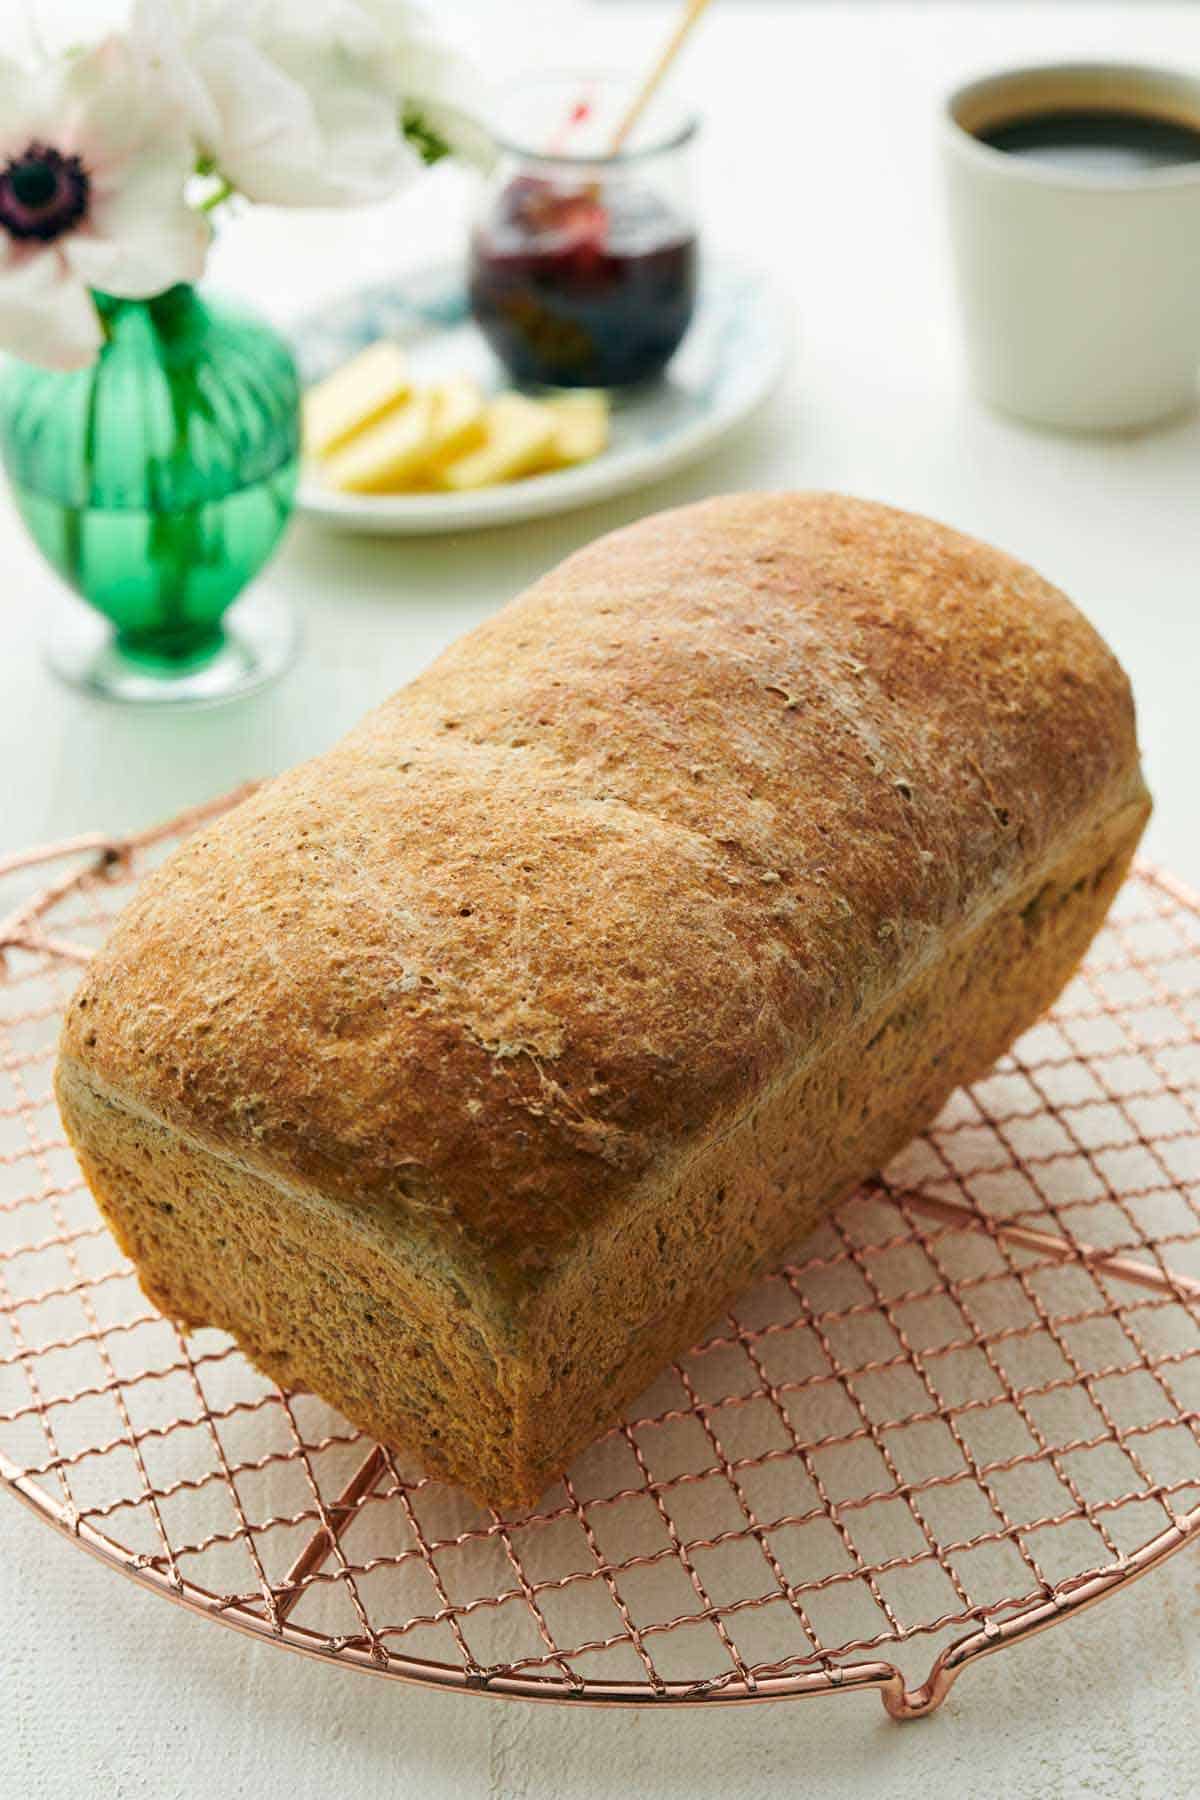
About 15 minutes into the second rise, preheat the oven to 350°F. Bake the bread for 35 to 40 minutes, until the top of the loaf is golden brown and it sounds hollow when tapped. Let it cool in the pan for a few minutes before turning it onto a wire rack to cool completely.
What Is Rye Bread?
In simple terms, rye bread is a bread made with rye flour that can take many shapes or forms. Rye flour has significantly less gluten than wheat flour and while it is possible to bake a loaf using only rye flour, bread flour is typically used as well to create loaves that are not so dense and heavy. Rye bread has a slightly tangy, somewhat sour flavor, usually balanced with a sweetener like honey and flavorful seeds such as caraway seeds.
Why You Should Measure Ingredients Using A Scale
Weighing ingredients like flour with a kitchen scale is the most accurate way to measure them. The ingredients for baked goods need to be precise or you will have mixed results in terms of moisture, rise, texture, and even flavor!
Simply scooping a cup of flour directly from the bag often leads to using way too much flour. But if you weigh the flour, you can get exactly the right amount, down to the gram. You can even weigh your water! (1 milliliter of water is equal to 1 gram of water.)
If you don’t have a kitchen scale, fluff up the flour in its bag or container first, and then use a spoon to scoop the flour into the cup. Level off the top with a knife. While not quite as accurate as measuring flour by weight, this method works great to avoid using too much flour.
The Different Types Of Rye Flour
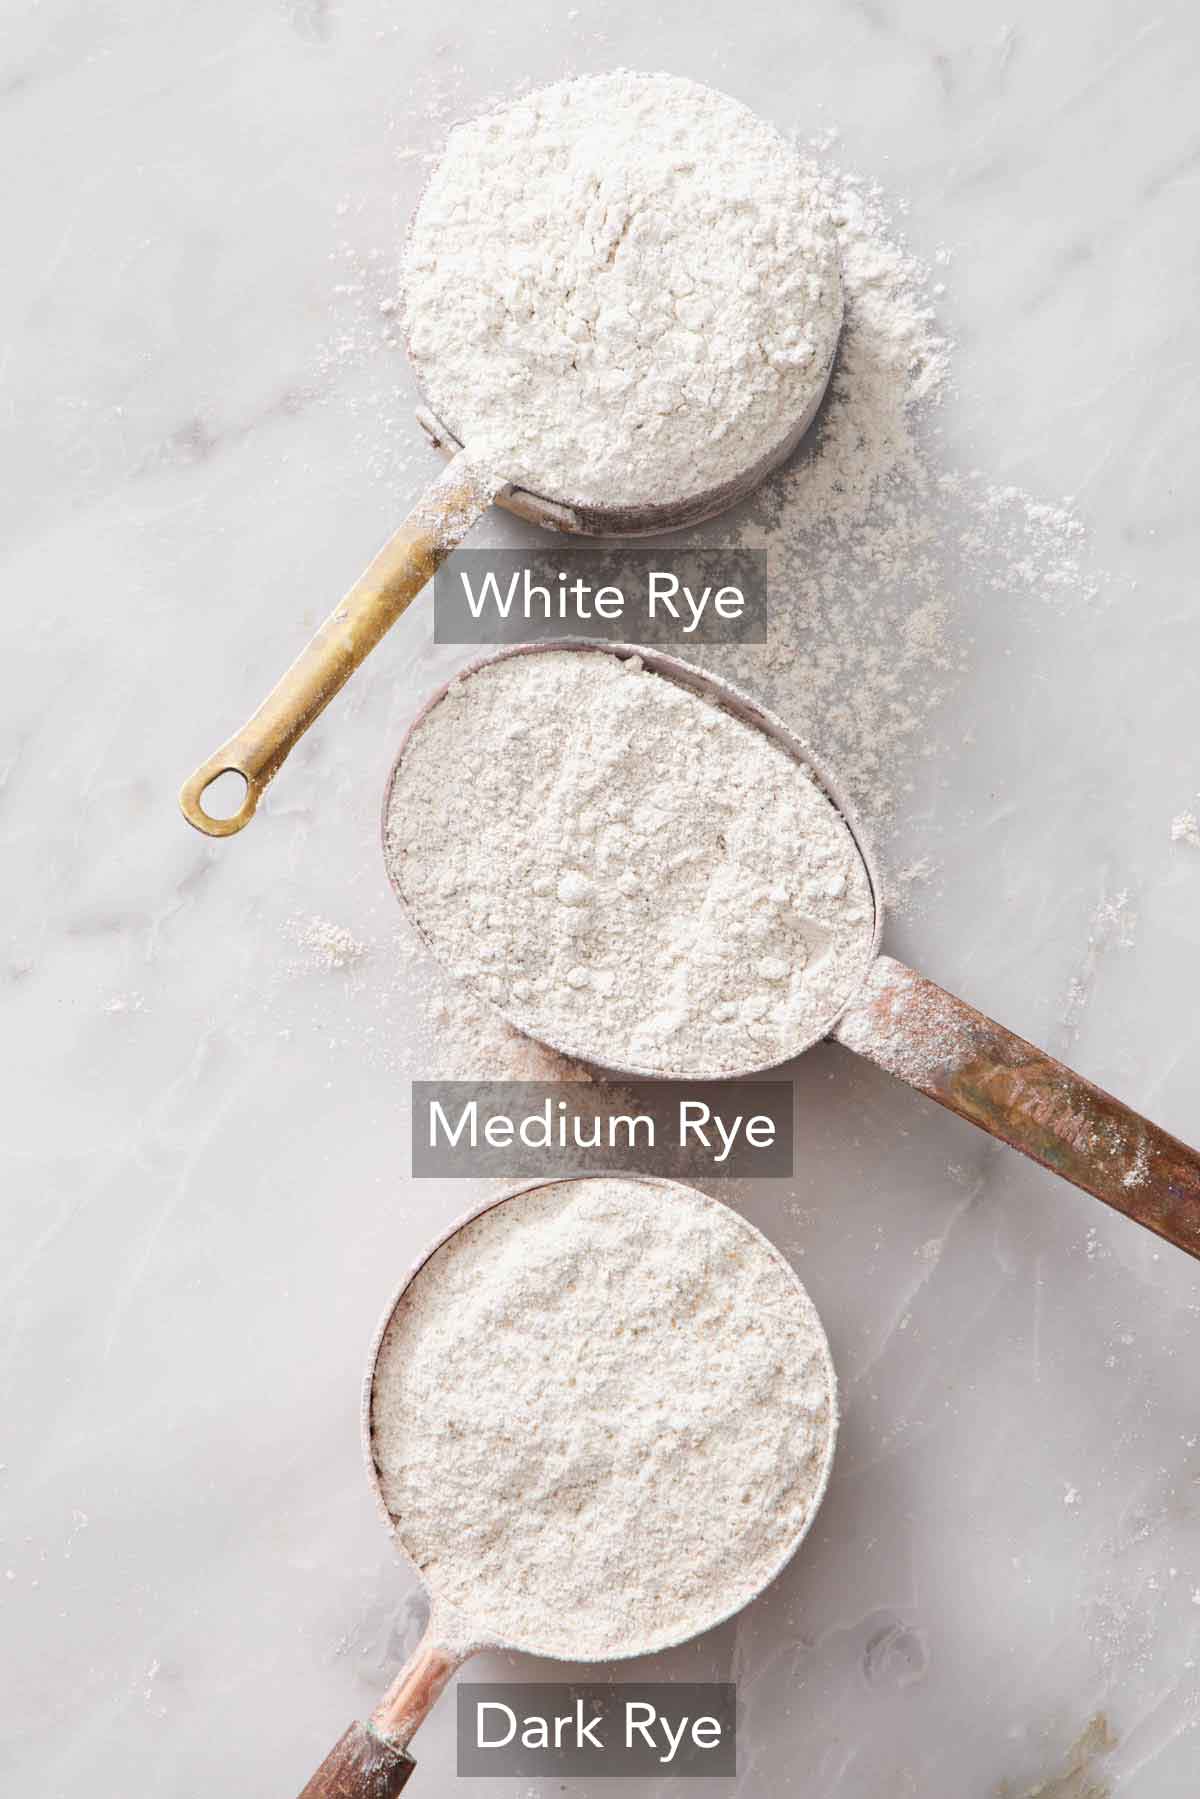
There are three main types of rye flour, and they all work in this recipe, depending on the flavor and density you are looking for. Visually, there isn’t much difference between them, but there is a big difference in flavor and how they are produced. Each rye kernel is made up of endosperm, bran, and germ, and the differences in the flour are reflected in what parts of the kernel are removed or included while they are processed.
- White Rye Flour: The lightest both in color and rye flavor, white rye flour only contains the endosperm. Using white rye flour will give you the lightest loaves of all the rye flours.
- Medium Rye Flour: Medium rye flour has some bran but no germ. It is very versatile because it is not super dense but still imparts an earthy rye flavor to baked goods.
- Dark Rye Flour: Usually, dark rye flour contains all parts of the rye kernel, but different brands use different processing methods, making it difficult to classify. For example, some products contain very little endosperm, or have some of the bran removed.
Technically, there is a fourth type, whole rye flour (also known as Pumpernickel Flour), but this flour has a coarse texture and isn’t suitable for this recipe.
Why Didn’t My Bread Rise?
There are several reasons your bread may not rise properly:
- Yeast: If the yeast is very old, it will not work well, so make sure your yeast has not expired before getting started.
- Water temperature: If the water is too hot, it can kill the yeast before it is activated. If it is too cold, it will not activate the yeast properly. With both issues, your bread will not rise. The water needs to be warmed between 100-110°F, though the ideal temperature is 105°F.
- Using incorrect amounts of ingredients: Like I mentioned above, baked goods, like bread, require precision. If you use too much sugar or salt, it can cause your yeast to rise too quickly, very slowly, or not at all. Using too much flour will yield a hard, dry loaf that is crumbly and very dense. Too much water means the dough may not have enough structure to hold the gas emitted from the yeast and won’t rise well. Using too little yeast will make the bread take much longer to rise as the yeast has to replicate more times. Using too much yeast can cause it to rise too quickly and overproof.
- Room temperature: The dough has 2 rises in this homemade rye bread recipe. Bread dough rises well in non-drafty, warm temperatures of about 75°F. (Don’t rush the proofing process by putting it in a warmer environment!) After the first rise, the dough should have doubled in size. After the second rise, it should rise ½ to 1 inch above the top rim of the loaf pan.
Can I Substitute Whole Wheat Flour For The Rye Flour?
No, you cannot use a whole wheat substitute for rye flour. Wheat and rye flours are very different. Wheat flours, even whole wheat flour, have high amounts of gluten compared to rye flour. Because rye flour has a lower amount of gluten, it yields dense, smaller loaves of bread. Whole wheat flour used in its place would result in a very different loaf, not rye bread.
Can I Make This With A Sourdough Starter?
Yes, you can make sourdough rye bread, but it requires a little bit of math first! Typically, you can replace 1 packet (7g) of dry yeast with 20% sourdough starter. You then multiply the total weight of the flour by the starter percentage to find how much starter you need. You also need to account for the hydration in the starter. The math is simple, but to make it super easy for you, here are the amounts for using a starter (100% hydration) in my recipe:
- 100g sourdough starter
- 310g (310ml) warm water (90-95°F)
- 305g bread flour
- 135g rye flour
Instead of blooming the yeast, stir the water, starter, and honey together, then immediately proceed with mixing the dough. The proof times will be much longer, depending on how active your starter is, with the first rise taking 5 to 7 hours and the second rise taking 3 to 4 hours. Just keep an eye on the dough, and look for the volume indicators to know when it’s ready to shape and bake.
Pro Tips For Making This Recipe
- Use molasses: In place of honey, use molasses for deeper color and brown sugar flavor notes.
- All-purpose flour versus bread flour: You can use all-purpose flour in place of bread flour, if that is what you have on hand. However, because rye flour tends to have less gluten than wheat flour, it’s helpful to use a higher-gluten wheat flour, like bread flour, instead of a lower-gluten wheat flour like all-purpose flour.
- Do not add too much flour, even if the dough seems sticky. This dough tends to be stickier than a classic bread recipe made with wheat flour. Resist the urge to add more flour! Instead, handle the dough with moistened hands so that it doesn’t stick to them.
- Bake a rustic loaf instead of using a bread pan. This dough can also be shaped into a free-form loaf. Let it rise, covered, on a lightly floured piece of parchment paper for the second rise, while preheating a baking stone or steel in the oven. Slide the loaf with the paper onto a baking steel or baking sheet and bake for 35 to 40 minutes, or until the internal temperature of the loaf is 195°F to 200°F.
- Allow your no-knead rye bread to cool completely before slicing. I know waiting to slice freshly baked bread is really difficult, but the cooling time is important for the crumb to set.
Frequently Asked Questions
“Healthiness” is relative, however, rye bread does have a reputation for being a more nutritious bread because of its high fiber content compared to regular wheat bread. Its fiber content gives it a low glycemic index, meaning it will not spike your blood sugar as much as wheat bread. This being said rye flour is also not gluten-free. Rye contains gluten and should be avoided by those following a gluten-free way of eating.
Yes, freezing is a great way to preserve the freshness of homemade bread! Wait for it to cool completely before wrapping it in a few layers of plastic wrap and aluminum foil. Store it in a freezer bag for 2 months. Thaw the bread on the counter for a few hours before digging in. You can also freeze slices and toast them from frozen.
To store this no-knead bread at room temperature, wait for it to cool and wrap it in plastic wrap. Store in an airtight container for up to 3 days. Homemade bread becomes stale faster than store-bought bread, so try to eat the bread as quickly as possible.
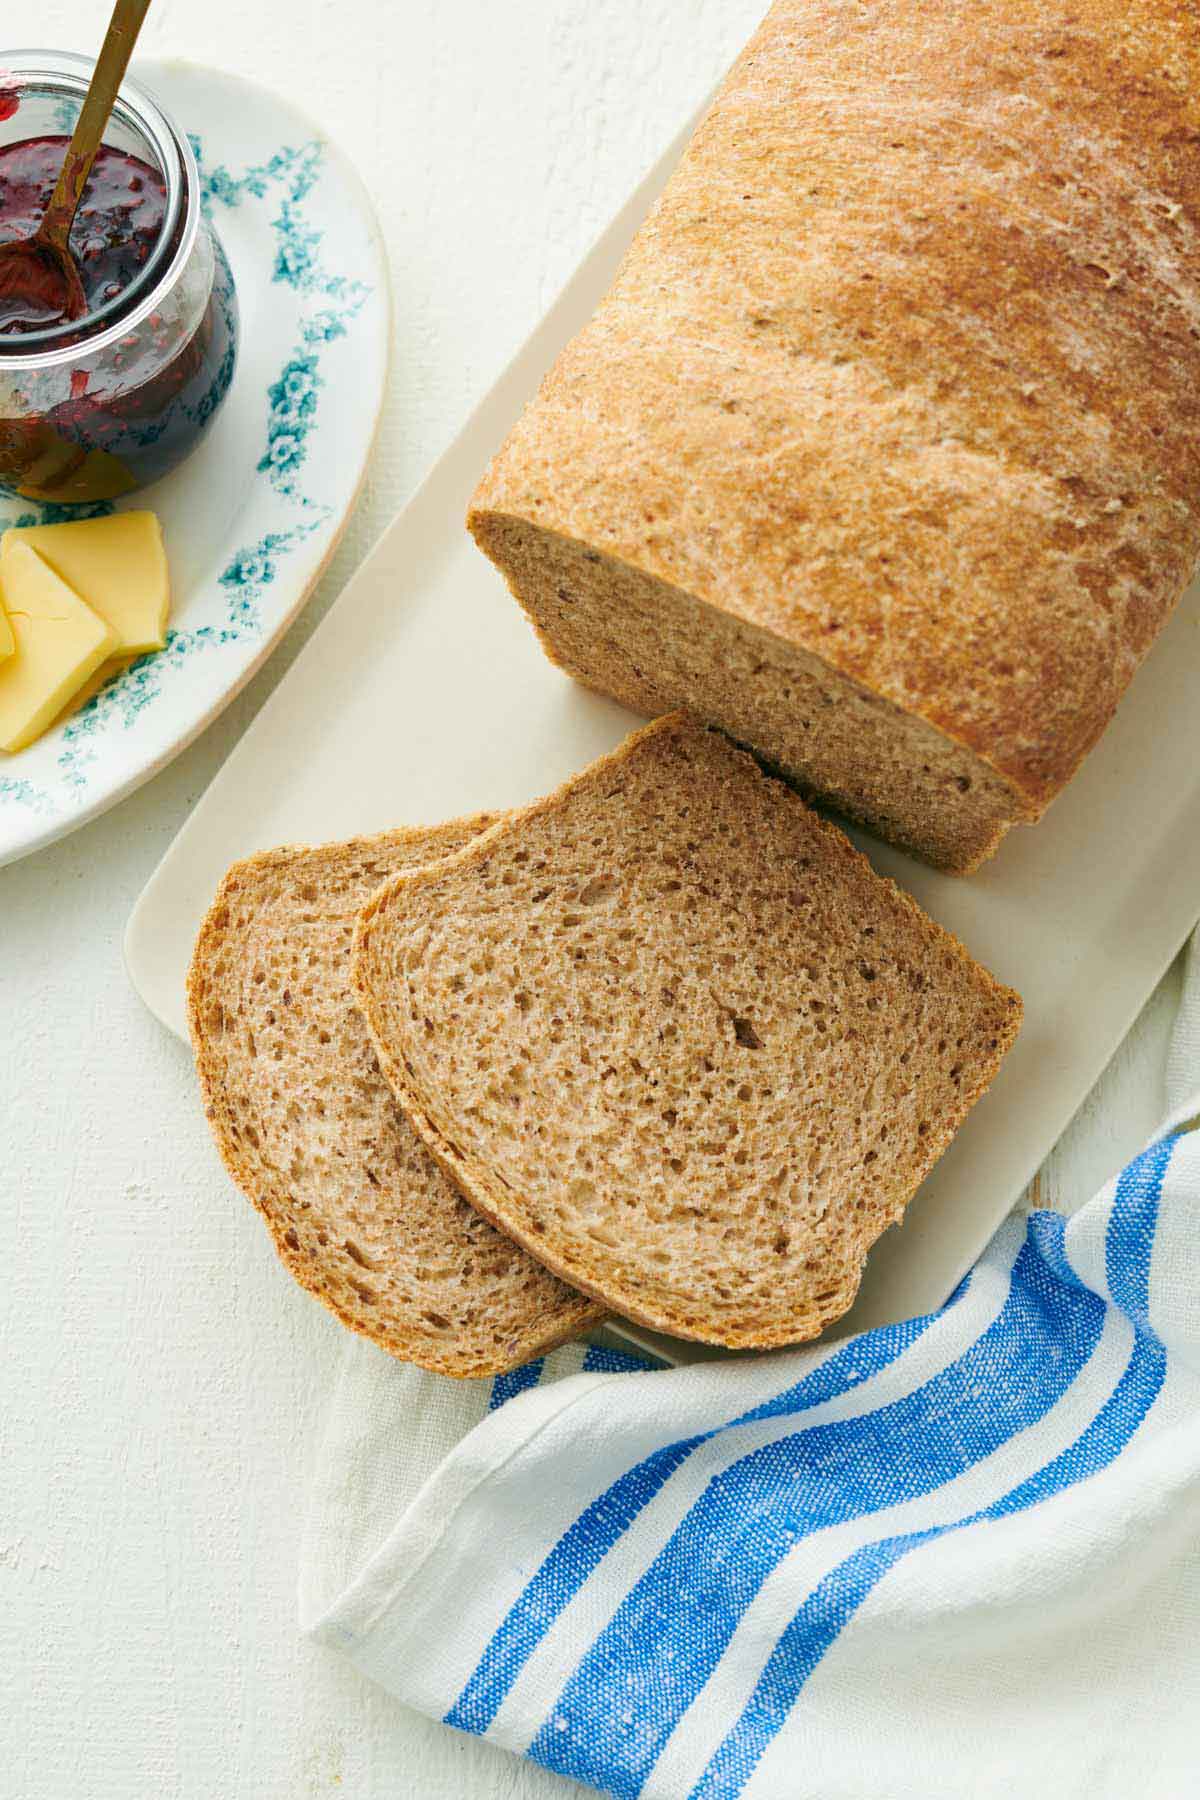
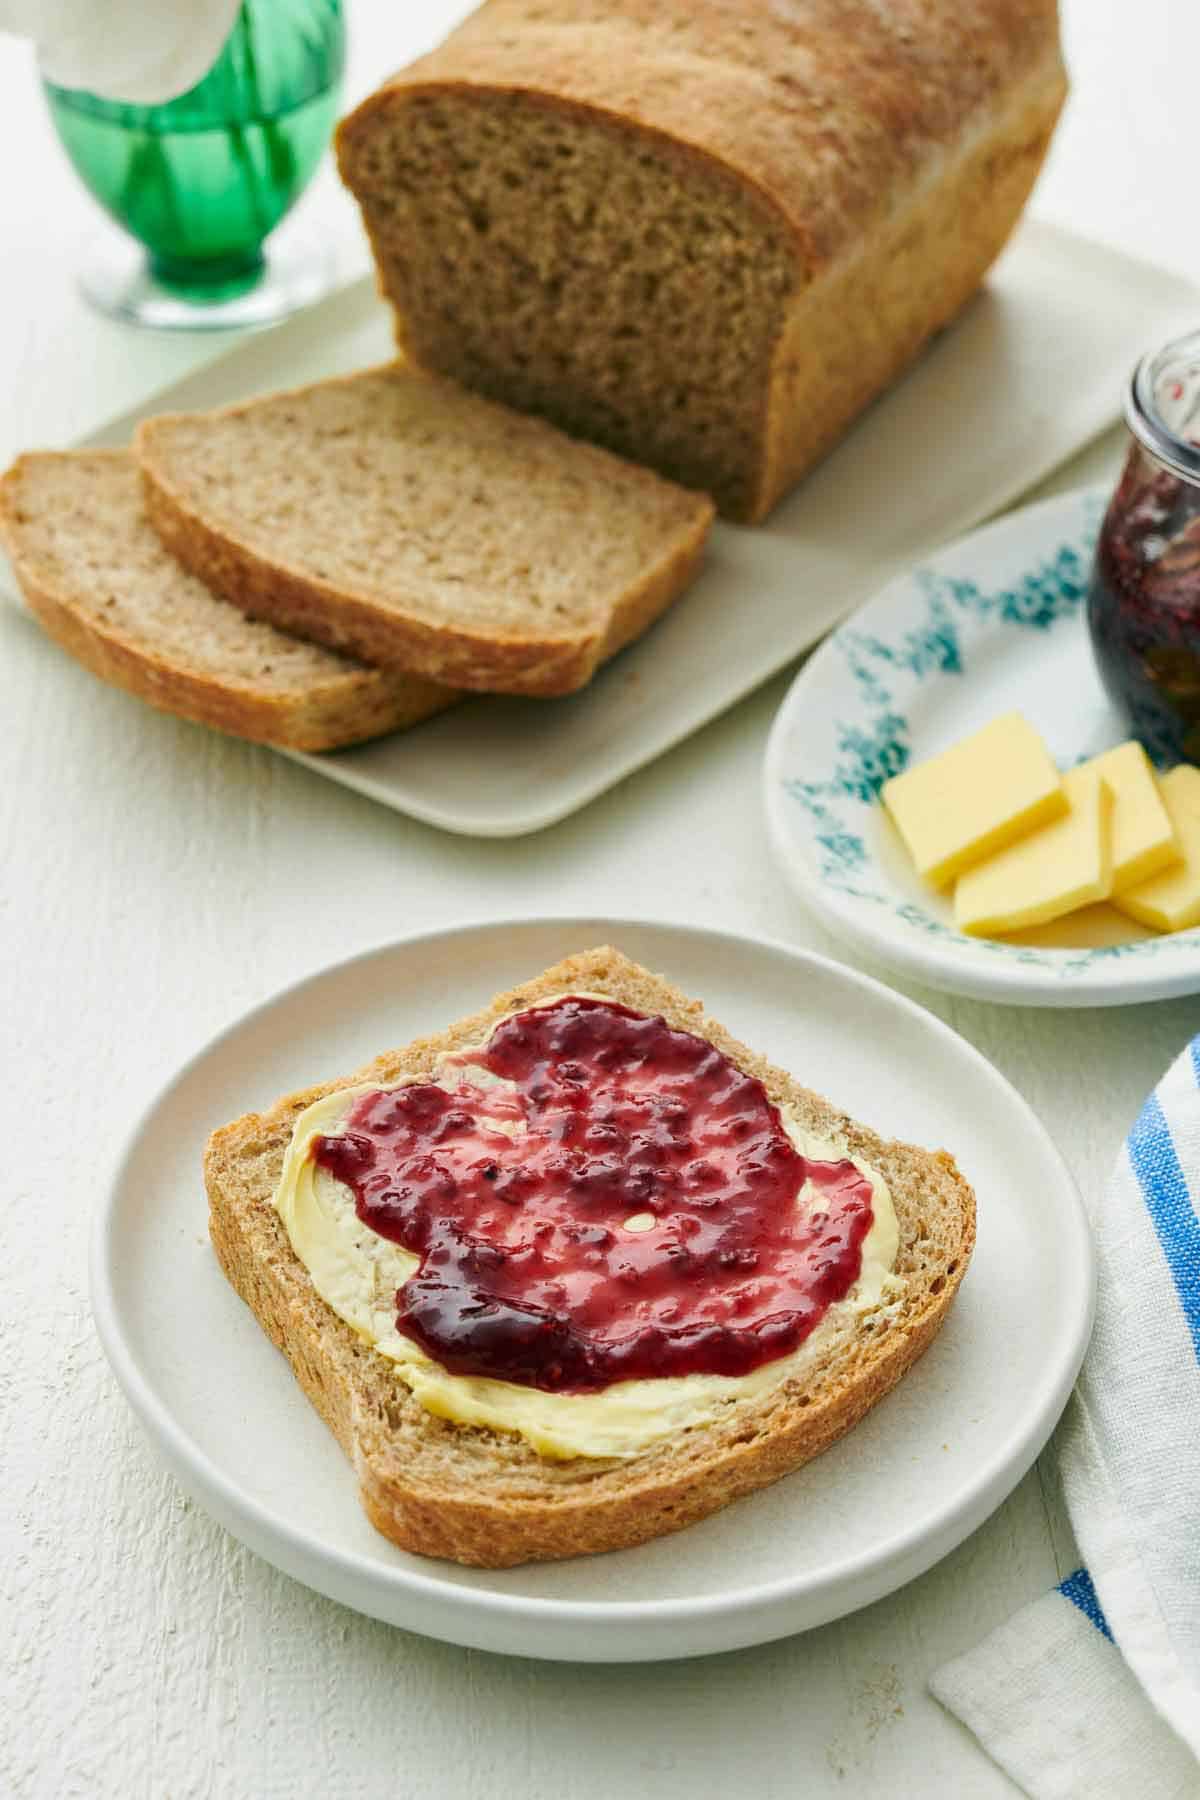
Lightly toasted slices of rye bread with a generous smear of butter and strawberry jam is a simply delicious breakfast! You can also use it to change up your favorite sandwiches, like grilled cheese or peanut butter and jelly. Rye bread is a must if you’re planning to make a classic Reuben sandwich. Stale rye bread makes delicious croutons, French toast, and stuffing.
If you’ve tried this rye bread recipe, then don’t forget to rate it and let me know how you got on in the comments below. I love hearing from you!
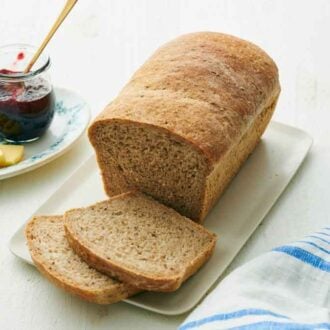
Rye Bread
Video
Equipment
- 9×5 inch loaf pan
- Stand mixer with dough hook
- Bench scraper
Ingredients
- 1½ cups warm water 105 to 110°F (360mL)
- 2 tablespoons honey
- 2 teaspoons active dry yeast
- 2¾ cups bread flour 330g
- 1½ cups rye flour 160g
- 1 tablespoon vegetable oil
- 1 tablespoon caraway seeds
- 1¾ teaspoons salt
Instructions
- In the bowl of a stand mixer fitted with the dough hook attachment, whisk together the warm water, honey and yeast until combined. Let it stand for 5 minutes, until very foamy.
- To the bowl with the yeast mixture, add both of the flours, oil, caraway seeds and salt. Using a wooden spoon or rubber spatula, mix the ingredients together until all of the dry flour from the bottom and sides of the bowl is combined and a shaggy dough forms.
- With the stand mixer, mix on medium-low speed for 6 to 8 minutes until most of the dough balls up around the dough hook and it is smooth and slightly sticky.
- Place the dough in a clean, lightly oiled bowl. Flip the dough over once so that the top also has a coating of oil. Scrape down the sides of the bowl to shape the dough into a ball. Cover the bowl with plastic wrap and let it rise in a warm, draft-free spot (75°F) for 30 to 45 min, until doubled in size.
- Meanwhile, grease a 9×5-inch loaf pan with oil or baking spray. Set it aside.
- Turn the dough out onto a very lightly floured surface. With moist hands, stretch and shape it into a 9-inch square. Using a bench scraper, coax the dough from the surface to roll it into a log. Pinch the seams on the sides together tightly to seal and gently tuck them under the loaf.
- Place the dough in the prepared loaf pan seam side down. Brush a piece of plastic wrap lightly with oil or spray with nonstick spray. Cover the loaf pan and let it rise in a warm, draft-free spot (75°F) for 35 to 45 minutes, or until the dough rises ½ to 1 inch above the top rim of the pan.
- After 15 minutes of the second rise, preheat the oven to 350°F.
- Bake the bread for 35 to 40 minutes, until the top of the loaf is golden brown and it sounds hollow when tapped. Let it cool in the pan for a couple of minutes, then turn it onto a wire rack to cool completely before slicing.
Notes
- Use molasses: In place of honey, use molasses for deeper color and brown sugar flavor notes.
- All-purpose flour versus bread flour: You can use all-purpose flour in place of bread flour, if that is what you have on hand. However, because rye flour tends to have less gluten than wheat flour, it’s helpful to use a higher-gluten wheat flour, like bread flour, instead of a lower-gluten wheat flour like all-purpose flour.
- Do not add too much flour, even if the dough seems sticky. This dough tends to be stickier than a classic bread recipe made with wheat flour. Resist the urge to add more flour! Instead, handle the dough with moistened hands so that it doesn’t stick to them.
- Bake a rustic loaf instead of using a bread pan. This dough can also be shaped into a free-form loaf. Let it rise, covered, on a lightly floured piece of parchment paper for the second rise, while preheating a baking stone or steel in the oven. Slide the loaf with the paper onto a baking steel or baking sheet and bake for 35 to 40 minutes, or until the internal temperature of the loaf is 195°F to 200°F.
- Allow your no-knead rye bread to cool completely before slicing. I know waiting to slice freshly baked bread is really difficult, but the cooling time is important for the crumb to set.







Kinsley says
I LOVE this recipe. I’ve made rye many times, all have come out good, but this one came out GREAT! The bread is very tall, soft, chewy, strong, and a great flavor. I will be using this again and again. Preppy Kitchen never fails me!
Debbie says
This is THE BEST rye bread recipe I have ever tried! Thank you so much for sharing it with us. Preppy Kitchen never disappoints!
Veronica Lynn says
I made a rustic loaf and it turned out great. I used the honey instead of the molasses. I had Rye on hand because I’m planning on making a sourdough starter.