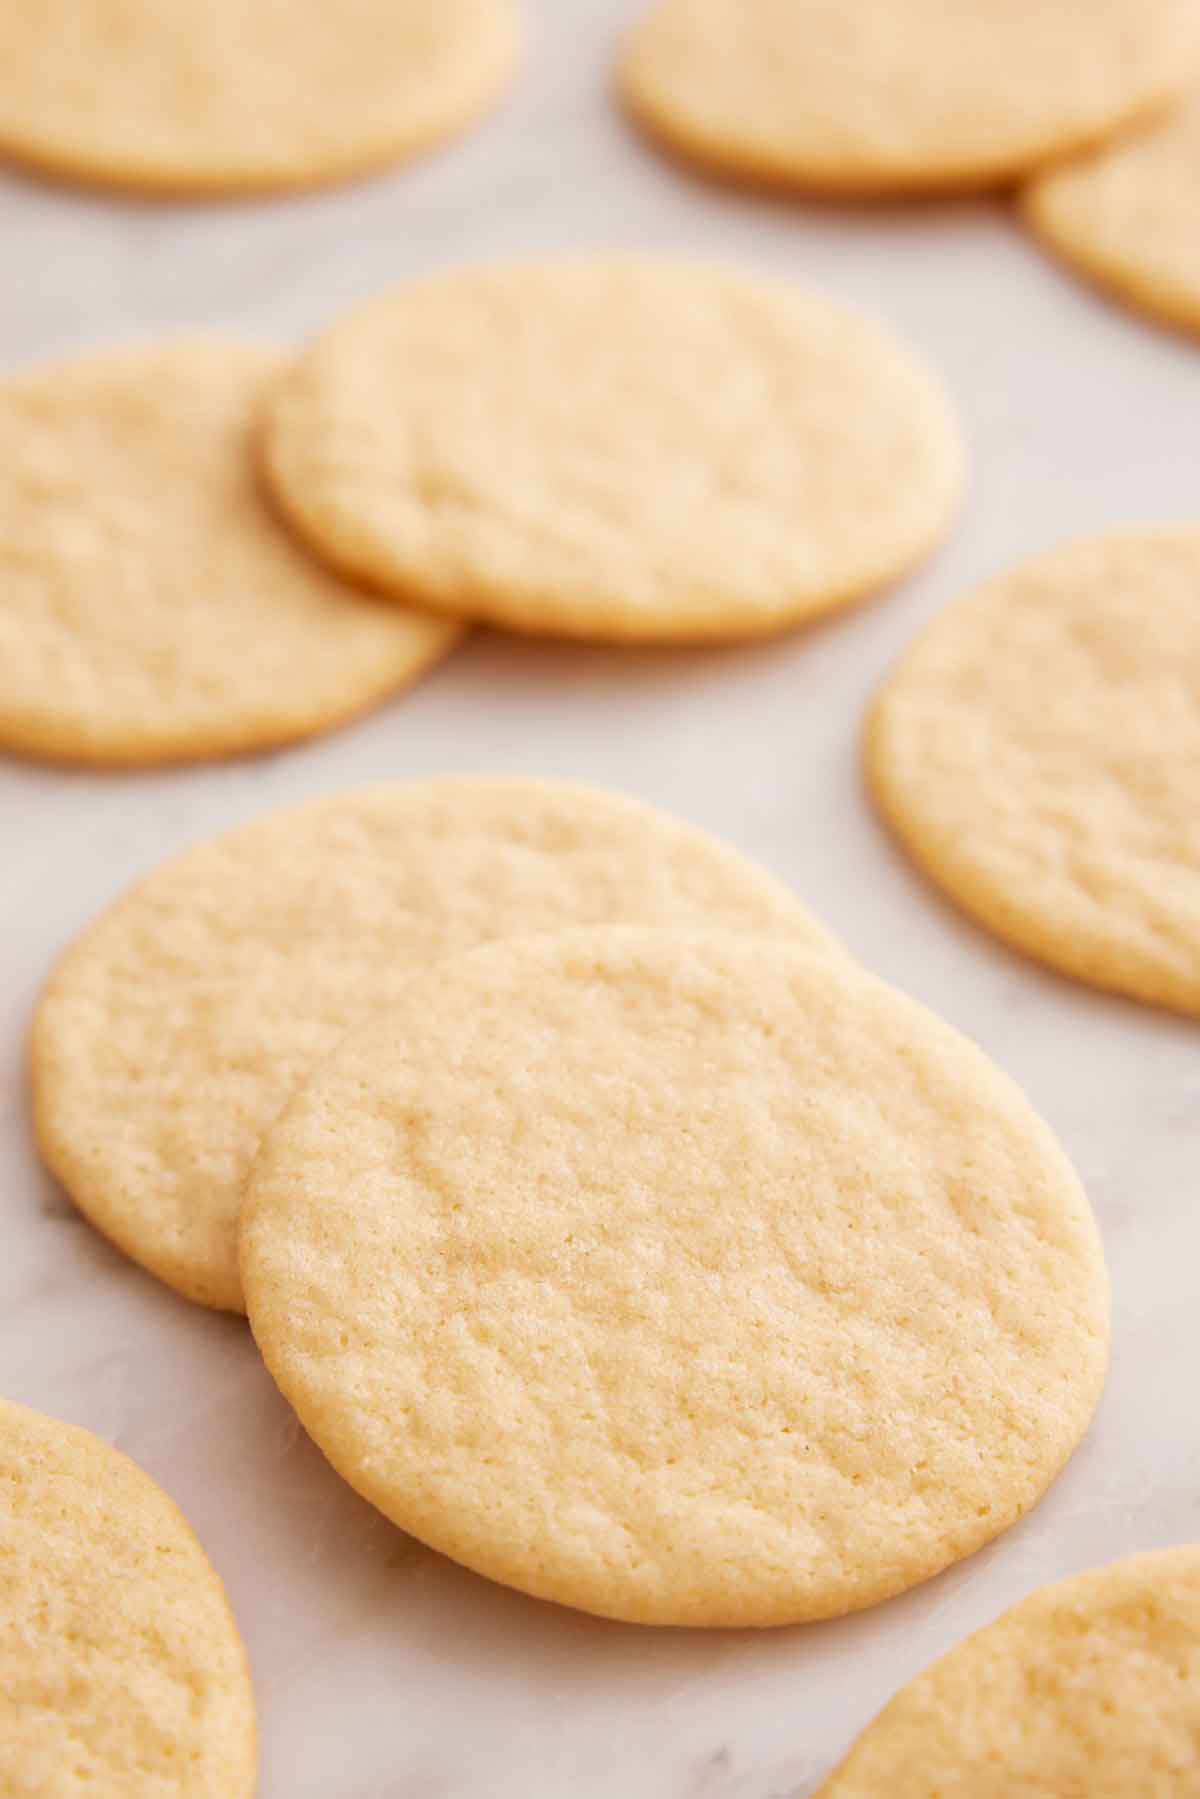
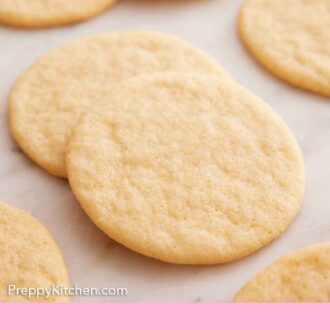
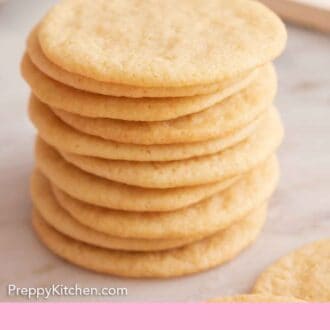
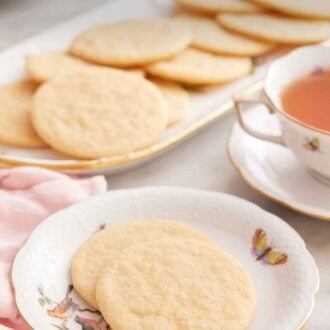
Tea Cakes are one of the most versatile and family-friendly cookie recipes. They’re made with simple ingredients and produce utterly delicious little cookies with a crisp edge and cake-like texture in the center. Softened butter and classic white sugar are whipped together until fluffy before a simple mixture of dry ingredients is added for a dough that is light and easy to roll and cut when chilled. You’ll love that this cutout cookie bakes perfectly round every time!
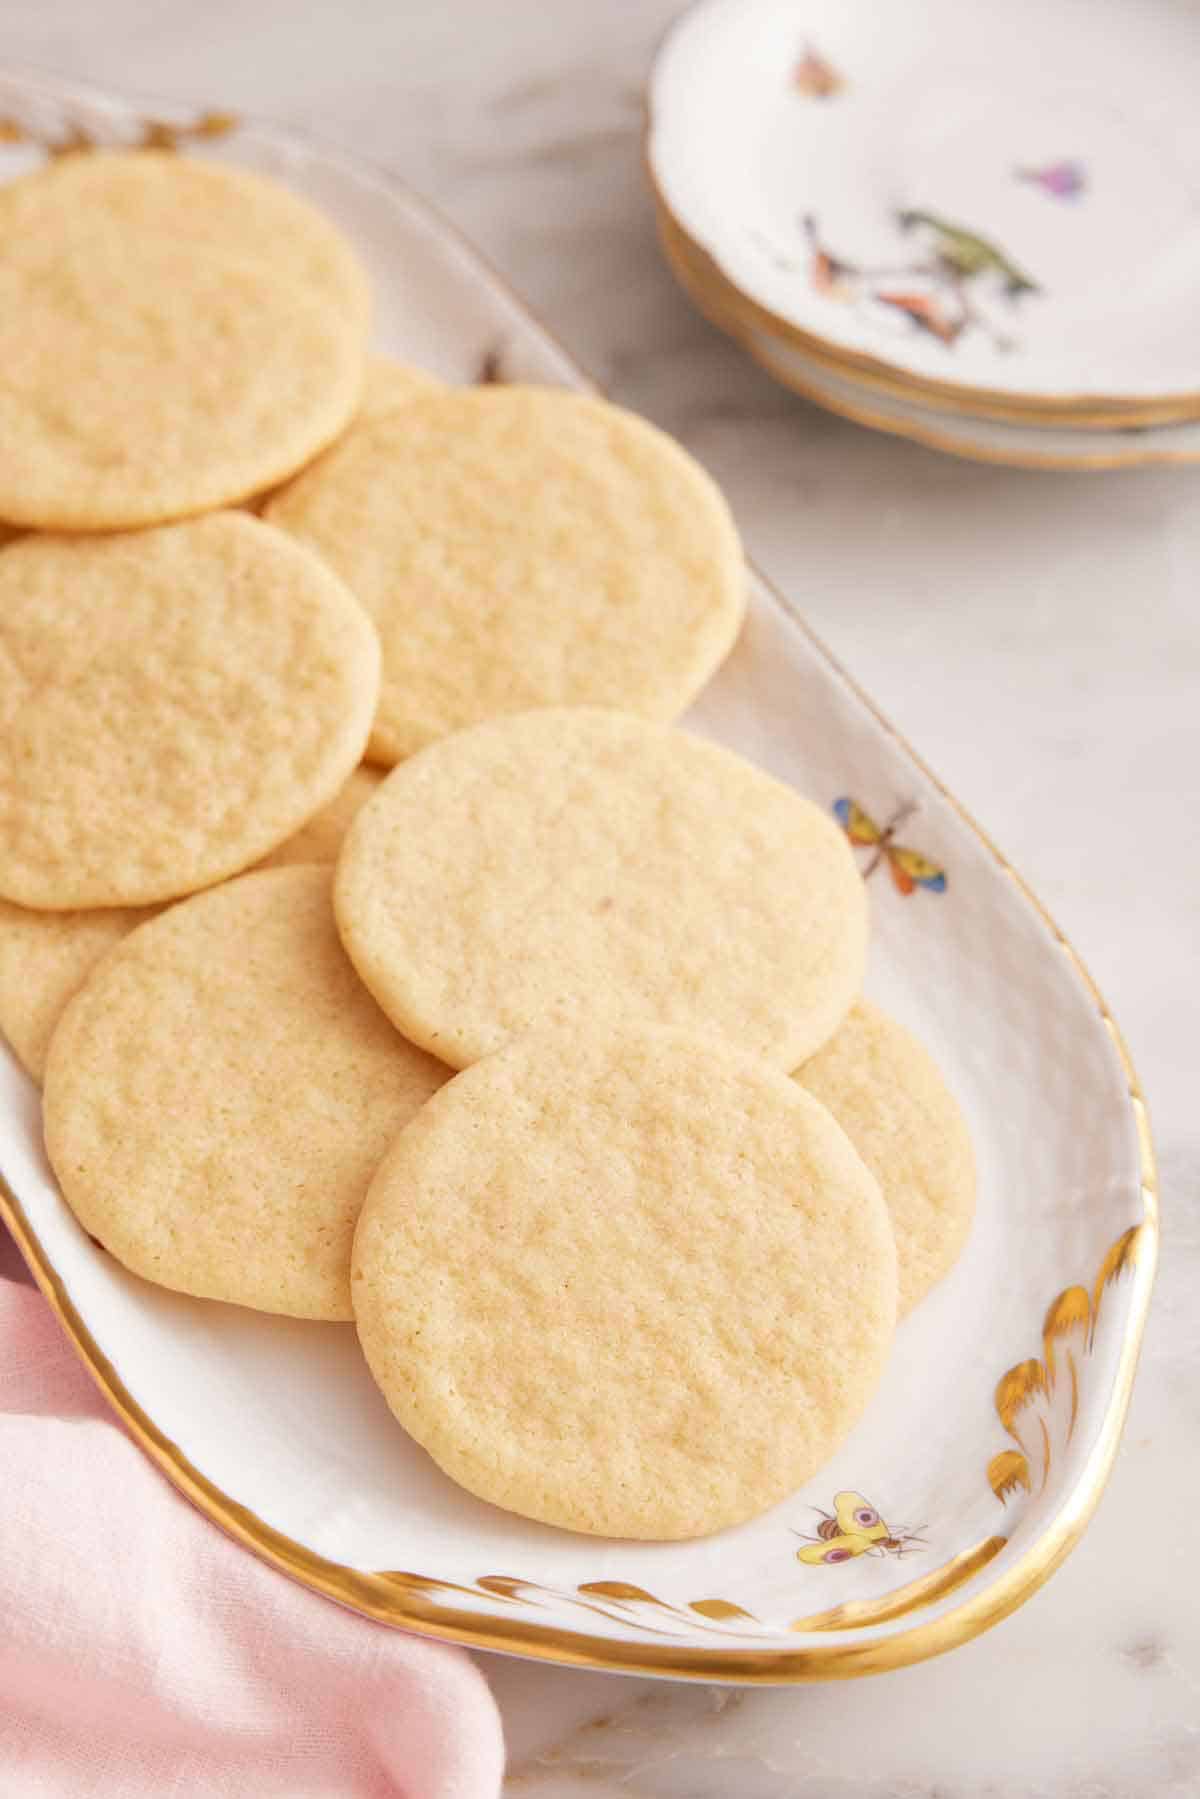
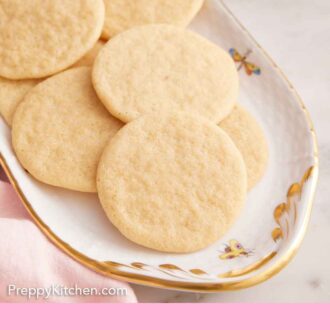
Serve with tea or your favorite hot beverage, or add a stack of these little cakes to a dessert tray for your next special occasion. For more tea party-worthy cookie recipes, try my homemade shortbread recipe, honey cookies recipe, or my recipe for macarons.
What You Need to Make This Recipe
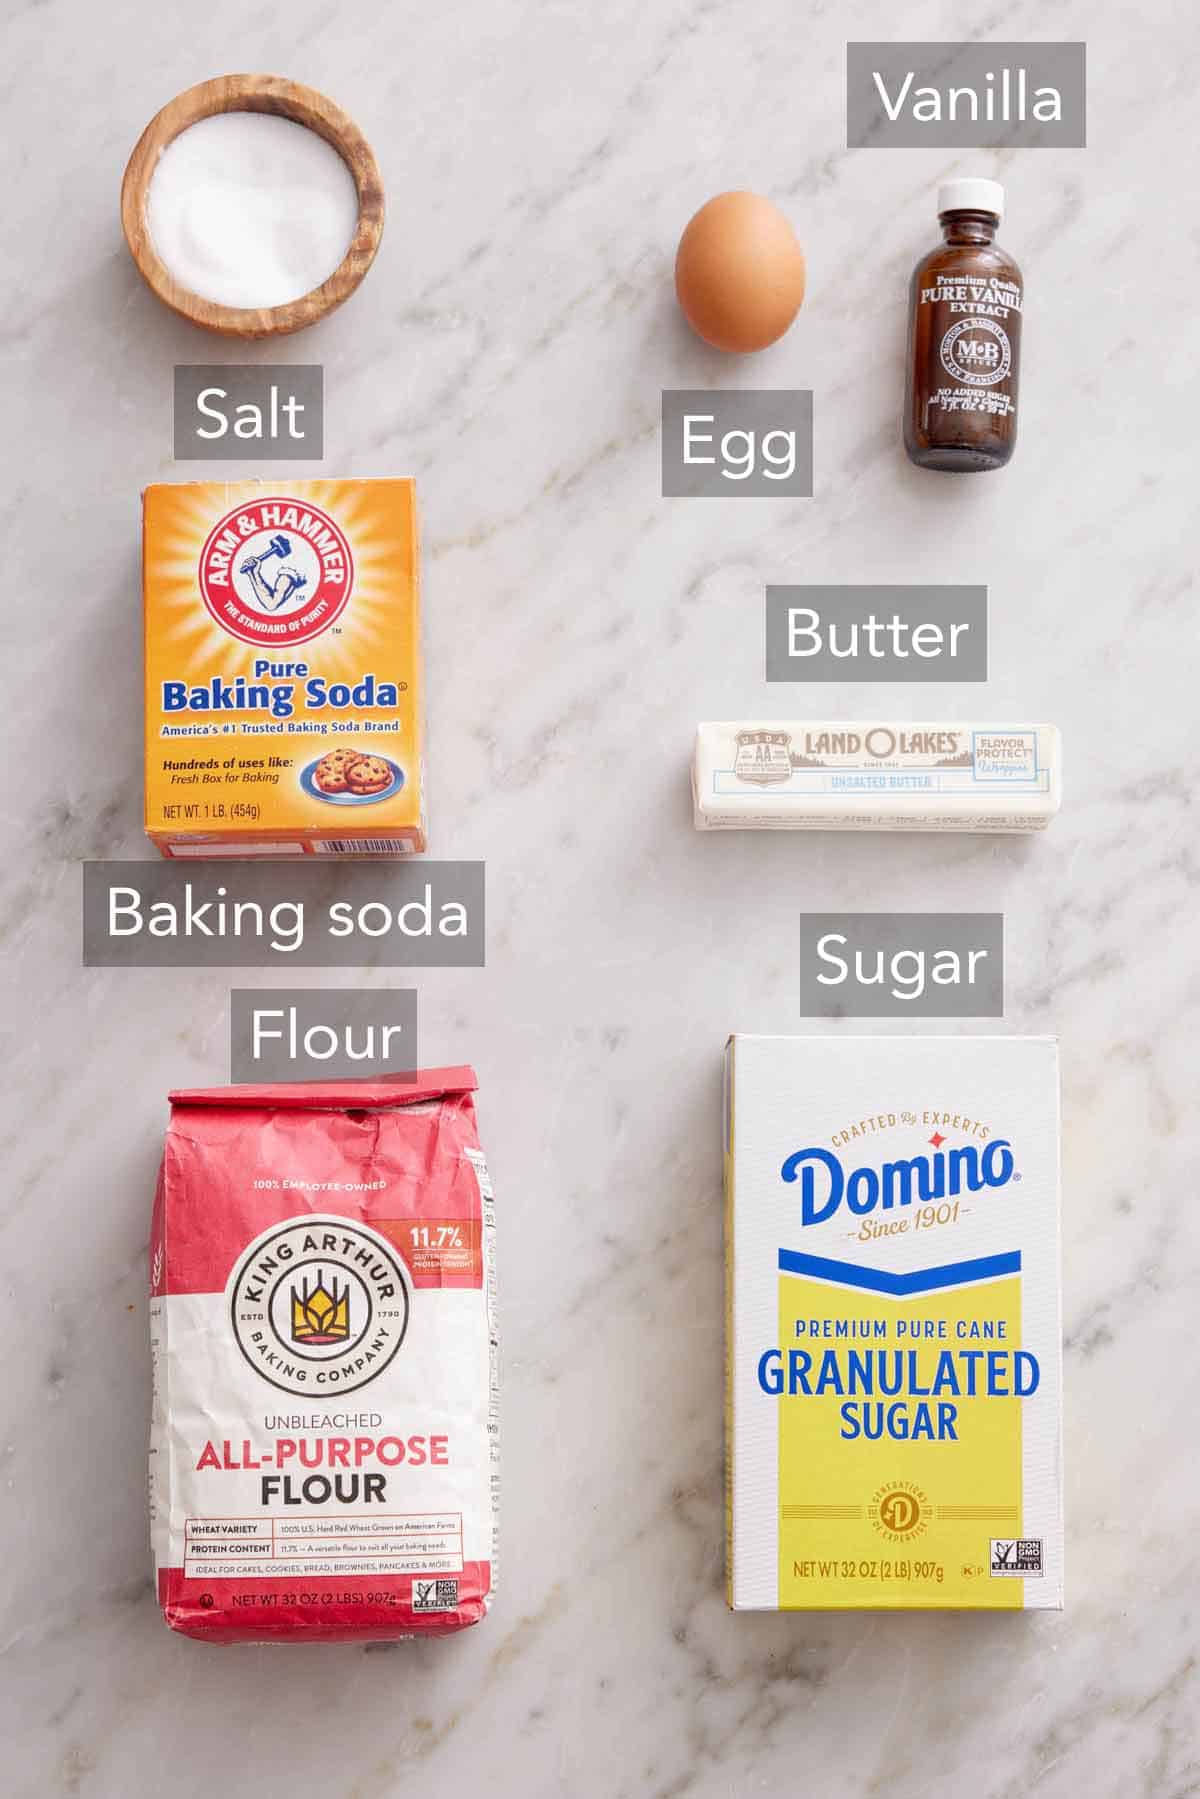
Flour – all-purpose flour gives these cookies a delightfully tender and classic texture. I recommend weighing the flour for the most accurate measurement. An additional sprinkle of flour will be used for rolling out the dough to prevent it from sticking to your work surface.
Butter – unsalted butter is best for baking because it gives you control over the saltiness of the recipe. Softened butter will blend smoothly with the sugar and become fluffy when mixed.
Sugar – white granulated sugar gives this tea cakes recipe a traditional taste and crisp texture. Russian tea cakes are known for their powdered sugar exterior and English tea cake cookies are known to be more like a bread bun, while these southern tea cake cookies get their signature thin and cookie-like appearance from white sugar.
Vanilla Extract – the warm and familiar notes of vanilla flavor the dough and blend with an array of flavor profiles, so these cakes are ready for any dessert spread. A high-quality single-strength vanilla extract or vanilla bean paste works best.
How to Make Tea Cakes
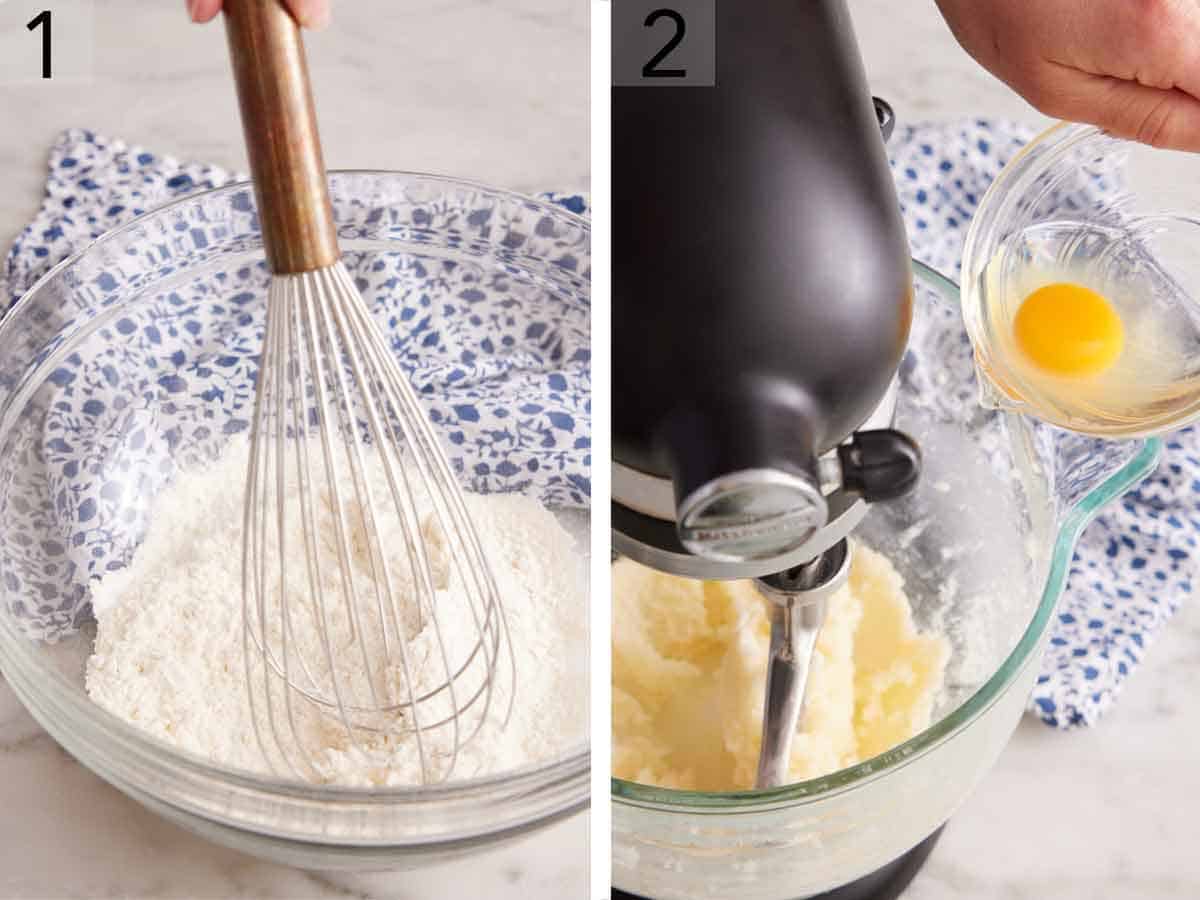
1. Preheat the oven to 350°F. Line two large cookie sheets with parchment paper. In a large bowl, whisk together flour, baking soda, and salt until combined.
2. In a large mixing bowl with a hand-held electric mixer or in the bowl of a stand mixer fitted with the paddle attachment, cream butter and sugar at medium speed until light and fluffy, 2 to 3 minutes. Stop and scrape down the sides of the bowl as needed. Beat in the egg and vanilla until well combined.
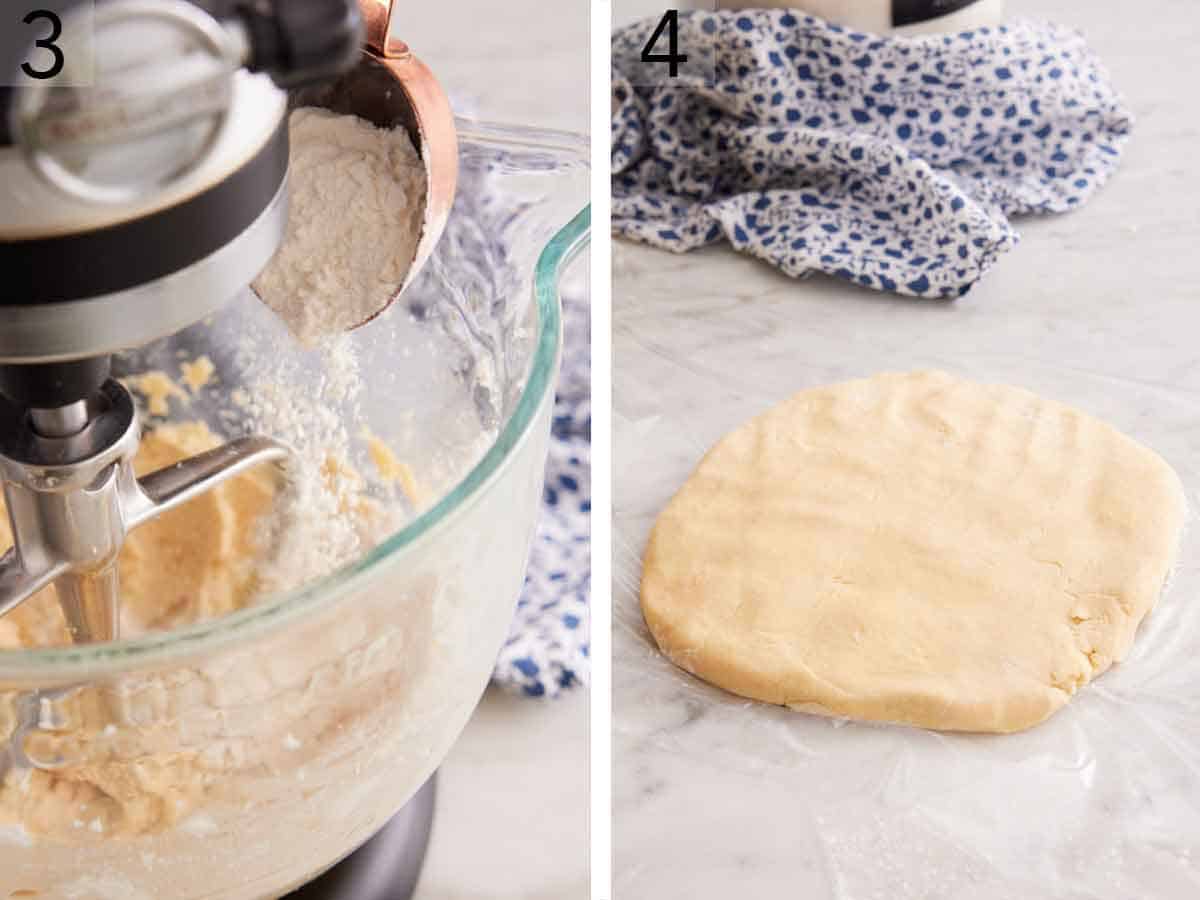
3. Add the flour mixture and beat on low speed until combined, stopping to scrape down the bowl once during mixing.
4. Turn the dough out onto a lightly floured surface and shape it into a disk. Wrap the dough in plastic wrap and chill for 1 hour or until firm.
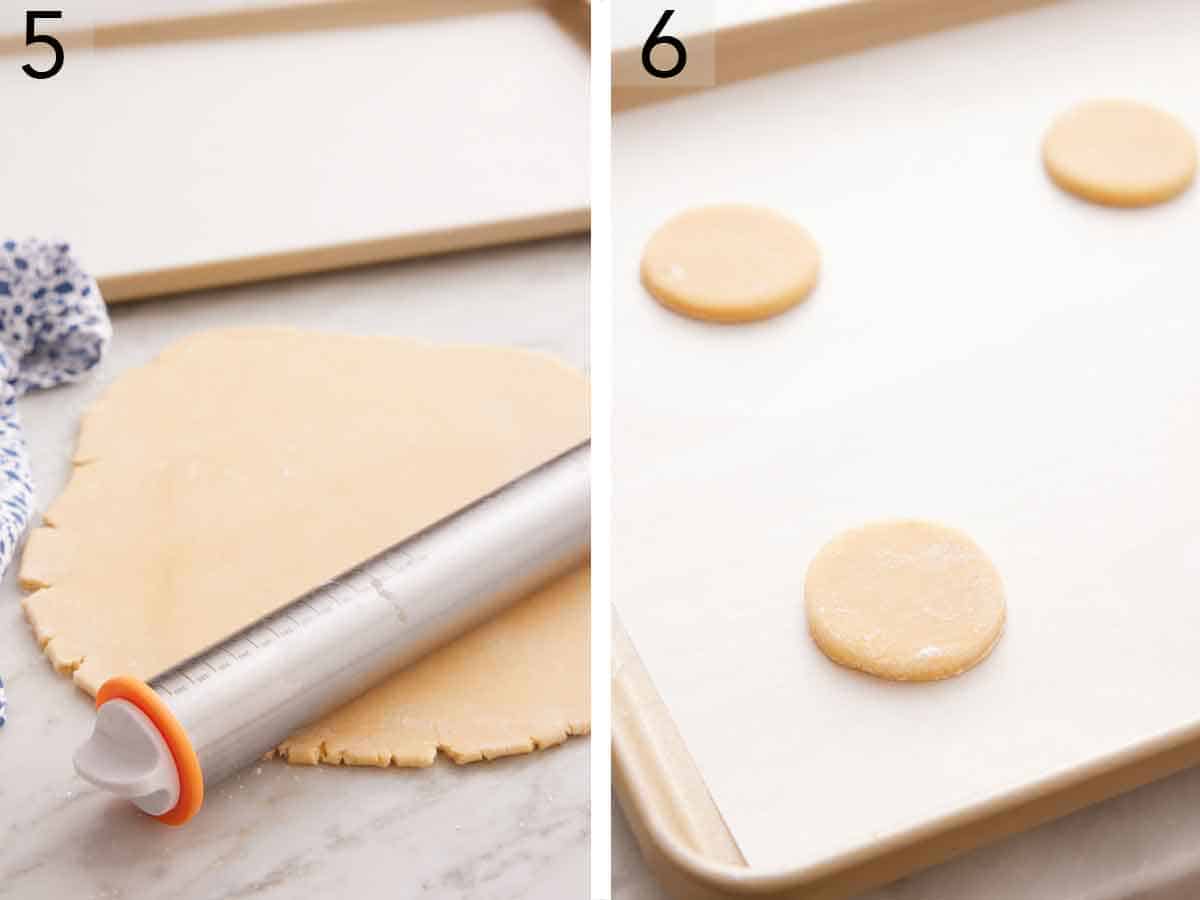
5. On a lightly floured surface, roll out the dough to about 1/4-inch thickness. Dip a 2½-inch cookie cutter in flour and cut out 12 rounds. Reroll the scraps if necessary.
6. Place the rounds 3 inches apart onto baking sheets. Bake, one sheet at a time, for 8 to 10 minutes until the centers appear dry and edges are lightly golden brown. Let cool on the pan for 5 minutes, then transfer to a wire rack to cool completely to room temperature.
Pro-Tips For Making This Recipe
- Bake 6 cakes at a time. The cakes will spread as they bake, so it’s best to place just 6 cakes per baking sheet so they have plenty of room to expand without touching. Select a large enough baking sheet to allow 3 inches between cookies.
- Use nutmeg to add color and flavor. A bit of nutmeg will add color and an eggnog-like flavor. Sprinkle the tops of the cakes with nutmeg before baking, or add ¼ teaspoon of grated nutmeg to the dry ingredients. Freshly grated nutmeg has a warm, nutty, and festive flavor.
- Cut into round, scalloped, or mini cakes. Use a 2½-inch cookie cutter or biscuit cutter with round or scalloped edges, or try a smaller cutter to make mini cakes. Be sure to dip the cutter in flour as needed to prevent sticking. Smaller cakes will bake more quickly, so watch for their edges to become brown after 6-8 minutes.
- Re-roll the scraps of dough. After cutting the dough into about 12 cakes, you can re-roll the scraps of dough and cut additional cakes, if desired. Gather the scraps and press them into a ball using the palms of your hands. Re-roll the dough, cut additional cakes, and repeat as necessary.
Frequently Asked Questions
Leftover cookies can be stored in an airtight container at room temperature for up to 1 week. You can also freeze baked cookies in an airtight container for up to 2 months. Freeze unbaked dough for up to 3 months. Tightly wrap the dough in plastic wrap before placing it in an airtight container or zip-top bag. Move the cookie dough to the refrigerator overnight or up to 2 days, then let the dough sit at room temperature for 15 to 30 minutes before rolling and cutting.
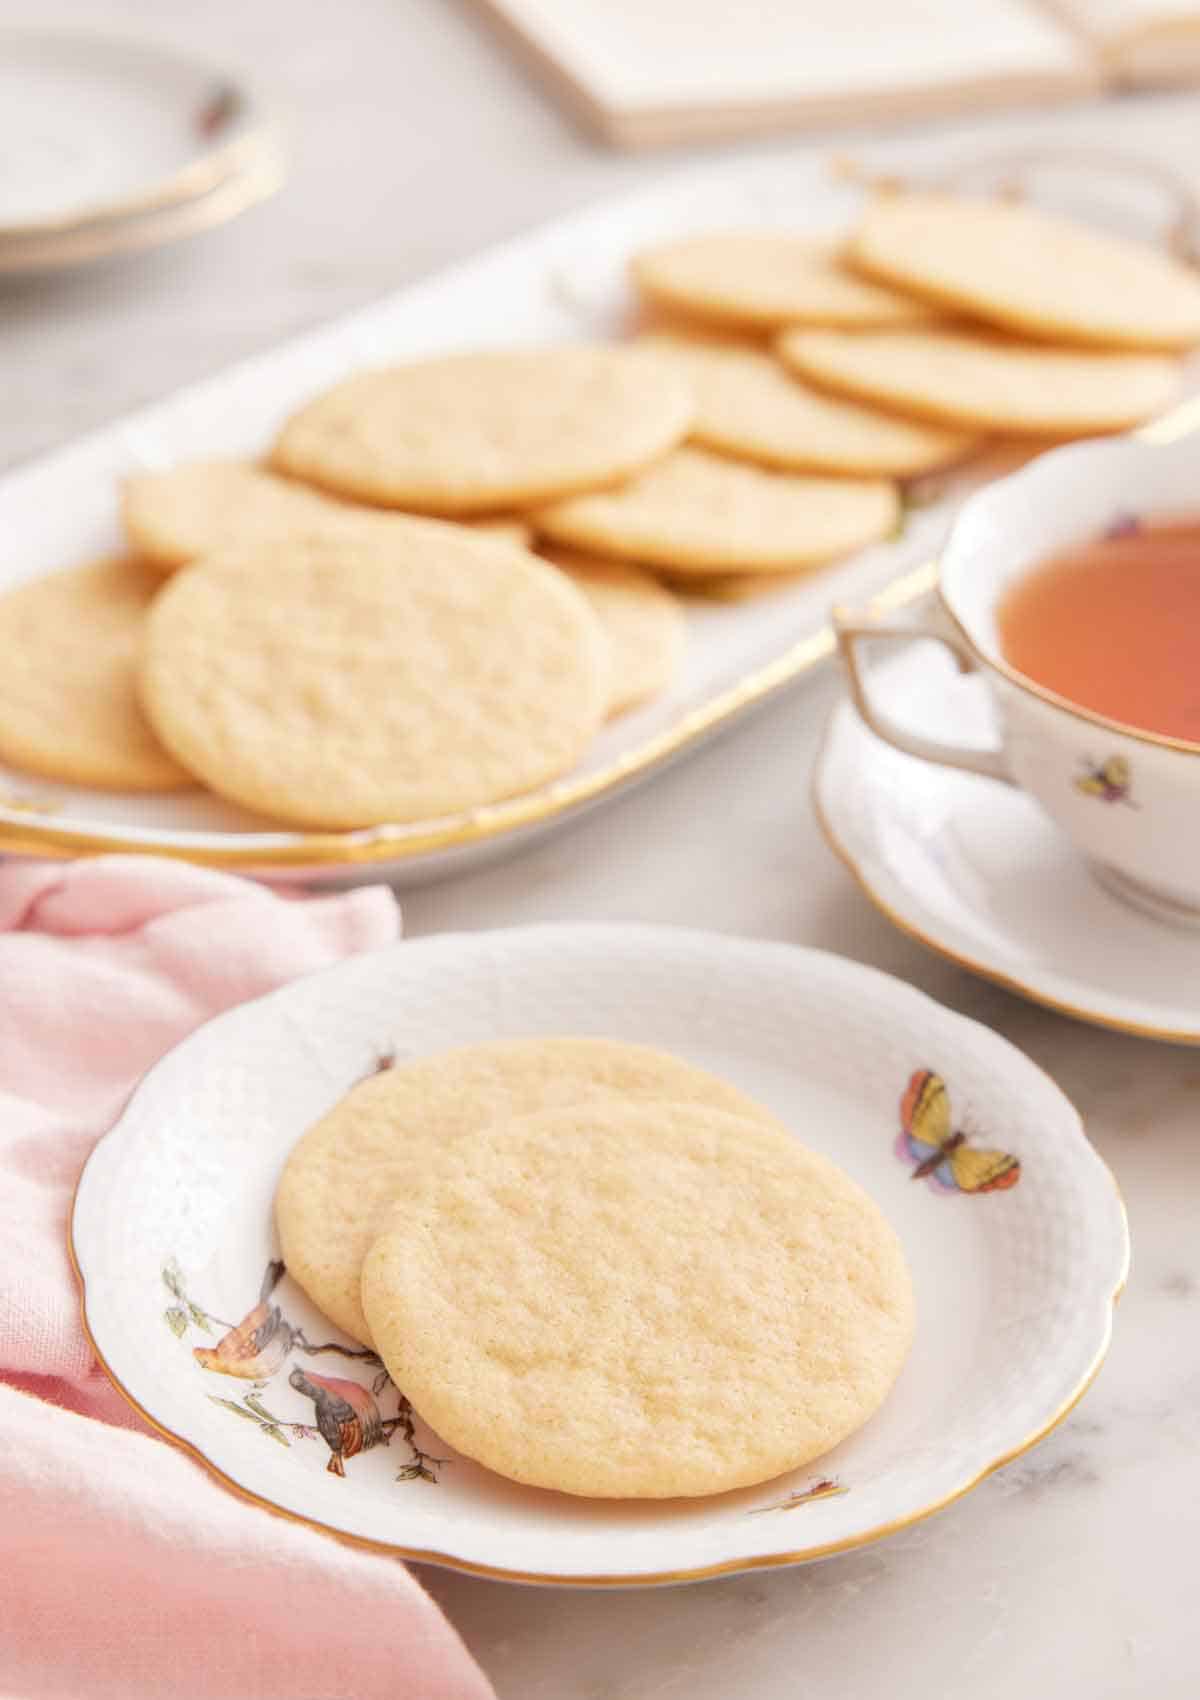
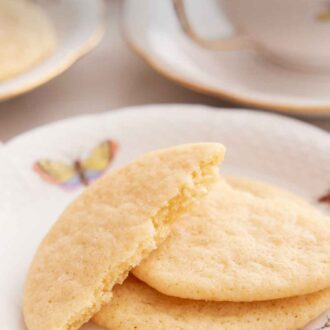
Old-fashioned tea cakes are traditionally served with tea! The crisp texture and optional nutmeg make this cookie blend well with the flavors of black tea, green tea, or fruity teas. Serve tea cookies with fresh fruit such as sliced strawberries and whipped cream. Or serve this recipe on a cookie platter with other cookie varieties, scones, or muffins. For a tea-party-inspired brunch or party, try these with my English tea sandwiches.
Traditionally, this type of cookie gets its name because it is served with tea. The buttery flavor and crisp texture of these cookies make them a versatile dessert that can be nibbled or dipped while enjoying a large cup of tea. The lightness of this thin cookie also makes it a fun summer dessert you can serve with iced tea. While this version is light and thin, my Russian tea cakes recipe makes a nutty and denser round cookie known for its powdered sugar exterior.
If you’ve tried this tea cakes recipe, then don’t forget to rate the recipe and let me know how you got on in the comments below, I love hearing from you!
Tea Cakes
Equipment
- Mixing Bowls
- Baking Sheets
- Parchment paper
- Plastic wrap
- Electric hand or stand mixer
- Wire cooling rack
Ingredients
- 1½ cups all-purpose flour (180g)
- ½ teaspoon baking soda
- ½ teaspoon salt
- ½ cup unsalted butter softened (113g)
- 1 cup granulated sugar (200g)
- 1 large egg
- 1 tablespoon vanilla extract
Instructions
- Preheat oven to 350F. Line two large baking sheets with parchment paper.
- In a medium bowl, whisk together flour, baking soda, and salt until combined.
- In a large mixing bowl or the bowl of a stand mixer fitted with the paddle attachment, beat the butter and sugar at medium speed until light and fluffy, 2 to 3 minutes. Stop and scrape down the sides of the bowl as needed. Beat in the egg and vanilla until well combined.
- Add the flour mixture and beat on low speed until combined, stopping to scrape down the bowl once during mixing. Turn the dough out onto a lightly floured surface and shape it into a disk. Wrap the dough in plastic wrap and chill for 1 hour or until firm.
- On a lightly floured surface, roll out the dough to about 1/4-inch thickness. Dip a 2½-inch cookie cutter in flour and cut out 12 rounds. (Reroll the scraps if necessary.) Place the rounds 3 inches apart onto baking sheets.
- Bake, one sheet at a time, for 8 to 10 minutes until the centers appear dry and edges are lightly golden brown. Let cool on the pan for 5 minutes, then transfer to a wire rack to cool completely. Store cakes in an airtight container at room temperature for up to 1 week.
Notes
- Bake 6 cakes at a time. The cakes will spread as they bake, so it’s best to place just 6 cakes per baking sheet so they have plenty of room to expand without touching. Select a large enough baking sheet to allow 3 inches between cookies.
- Use nutmeg to add color and flavor. A bit of nutmeg will add color and an eggnog-like flavor. Sprinkle the tops of the cakes with nutmeg before baking, or add ¼ teaspoon of grated nutmeg to the dry ingredients. Freshly grated nutmeg has a warm, nutty, and festive flavor.
- Cut into round, scalloped, or mini cakes. Use a 2½-inch cookie cutter or biscuit cutter with round or scalloped edges, or try a smaller cutter to make mini cakes. Be sure to dip the cutter in flour as needed to prevent sticking. Smaller cakes will bake more quickly, so watch for their edges to become brown after 6-8 minutes.
- Re-roll the scraps of dough. After cutting the dough into about 12 cakes, you can re-roll the scraps of dough and cut additional cakes, if desired. Gather the scraps and press them into a ball using the palms of your hands. Re-roll the dough, cut additional cakes, and repeat as necessary.






Leave a Reply