
This post may contain affiliate links. Please read our disclosure policy.
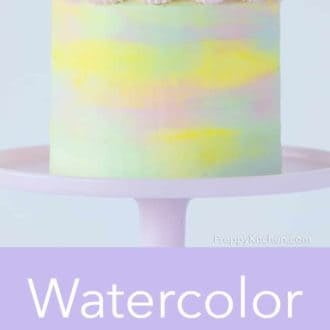
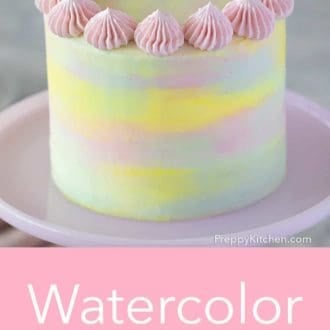
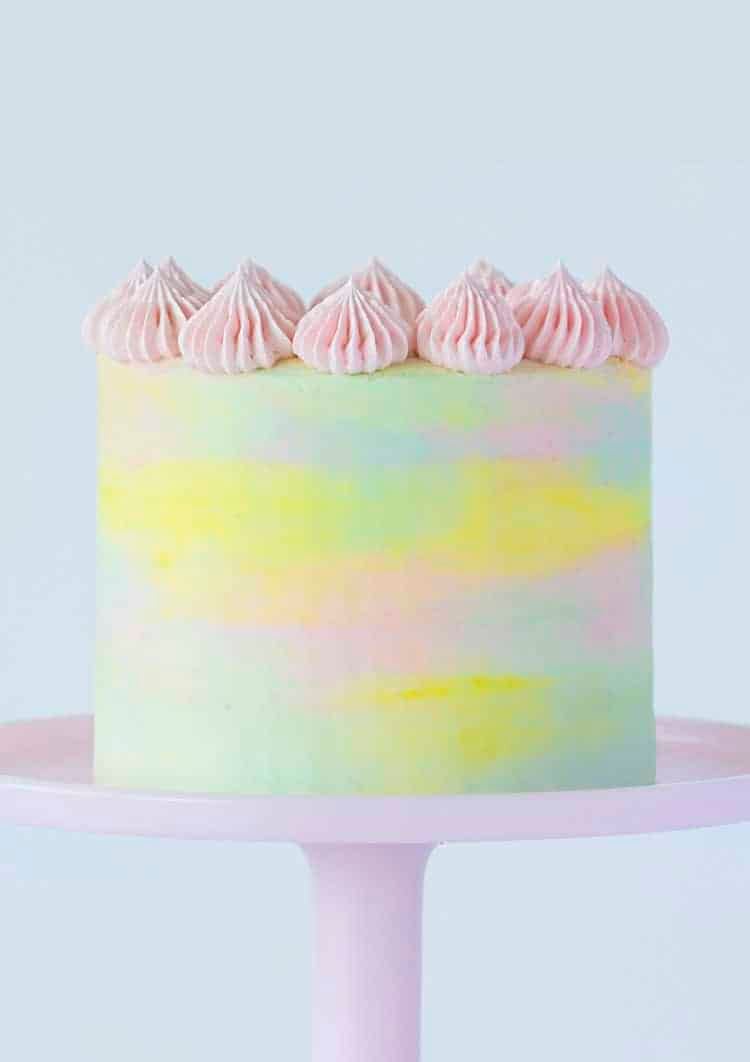
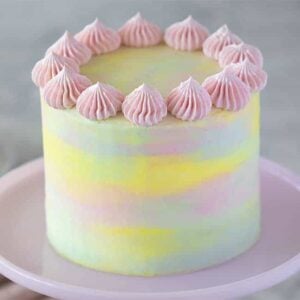
This dreamy and DELICIOUS watercolor cake is made up of super-moist vanilla cake layers surrounded in pastel swathes of silky Italian meringue buttercream.
I’ve been wanting to try a watercolor cake for a while now. To be honest, I was a bit intimidated and had been putting it off! As is turns out, it couldn’t have been EASIER! The technique isn’t really different than icing a regular cake. The only difference is that you get to be a bit free-form with the color application.
On another note, whenever I make Italian buttercream I always ask myself, “why aren’t I always making this because this is delicious?” Let’s face it: you can’t beat the refined silky texture!
Pro Tips on Making the cake layers
- If you’re not using 6-inch pans, double the recipe for 8-inch pans or triple the recipe for 9-inch pans.
- Measure your flour correctly! Adding too much flour to the recipe is the most common mistake. The best, and easiest way to measure flour is by using a scale. If you don’t have one then fluff your flour with a spoon, sprinkle it into your measuring cup, and use a knife to level it off.
- If you see little clumps of butter after you mix the wet ingredients don’t panic, it all works out by the time you mix in the dry ingredients. You can even use melted butter and warm the milk and sour cream up a bit if you like.
- You can substitute whole milk yogurt for the sour cream if desired, I do it all the time and can’t really tell the difference.
- To get FLAT layers that are moist inside and out try using cake strips! You can buy a set on the shop page or make your own from foil and paper towels at home. I made a whole blog post on it so check it out if you’re interested!
Pro Tips for Making Italian Meringue Buttercream
- Wipe the bowl and whisk down with vinegar to make sure there’s no hidden fat or oil lingering around to inhibit your meringue from fluffing up.
- Don’t panic when you start adding the butter in. The meringue will become liquidy and then stiffen back up AFTER all the butter is added in.
- If your buttercream is “soupy,” just pop it into the fridge for a couple of minutes, then beat it. It should thicken up. I find consistency problems arise mostly from the meringue being too warm when the butter is added. Chilling it will help improve the consistency.
- If you’re not using your buttercream IMMEDIATELY — and it will be sitting for a few minutes — then just keep in mind that you will have to give it a short whip to “bring it back to life” as it loses its consistency quickly.
- I have an entire blog post with how to video on how to make this delicious buttercream. Check it out if you have ANY questions.
Cake Decorating Hints
- Italian meringue buttercream is pretty soft so you might need to chill the cake after that third layer goes on and you give it a QUICK crumb coat. Just long enough for it to set a bit.
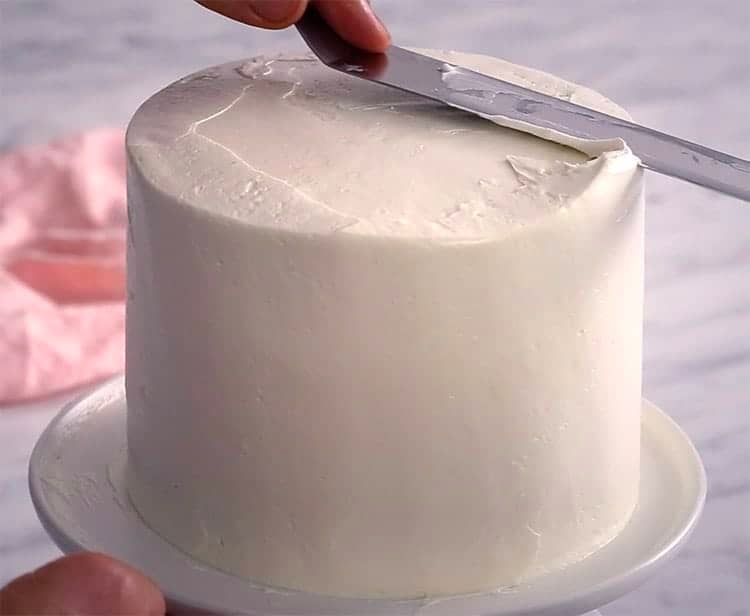
- Smooth the side with a bench scraper. Using a turntable REALLY helps make this happen quickly.
- In the photo below you can see an offset spatula pulling in while the cake turns. This gives a nice crisp corner.
- Apply dollops of the different colored buttercream onto your smoothed cake and give it one or two swipes to smooth. DON’T for too far with the smoothing at this point or your colors will become muddy.
- If you find cake decorating to be a bit intimidating then check out my How to Decorate a Cake post, it has lots of helpful tips and a full how to video.
IF YOU LOVE THIS RECIPE TRY THESE OUT!
If you’ve tried this watercolor cake recipe then don’t forget to leave a rating and let me know how you got on in the comments below, I love hearing from you!
Watercolor Cake
Ingredients
For the Cake:
- 1 2/3 cups all purpose flour
- 1 cup sugar
- 1/4 tsp baking soda
- 1 tsp baking powder
- 3/4 cup salted butter 170g
- 3 egg whites
- 3 tsp vanilla extract
- 1/2 cup sour cream
- 1/2 cup milk
For the Italian Buttercream:
- 4 egg whites
- 1 1/2 cups sugar
- 1/3 cup water
- 1 pinch salt
- 16 oz unsalted butter 32 tablespoons unsalted butter, room temperature cut into 1-inch pieces
- 1 tsp vanilla extract
Instructions
For the Cake:
- Butter and paper three 6" pans and heat oven to 325f.
- Sift and mix dry ingredients in a large bowl.
- Add wet ingredients into a medium bowl and mix.
- Add wet to dry ingredients and mix until combined
- Pour into prepared pans and bake for 20 to 25 minutes.
For the Buttercream:
- Beat the egg whites and 1/3 cup of sugar until soft peaks form.
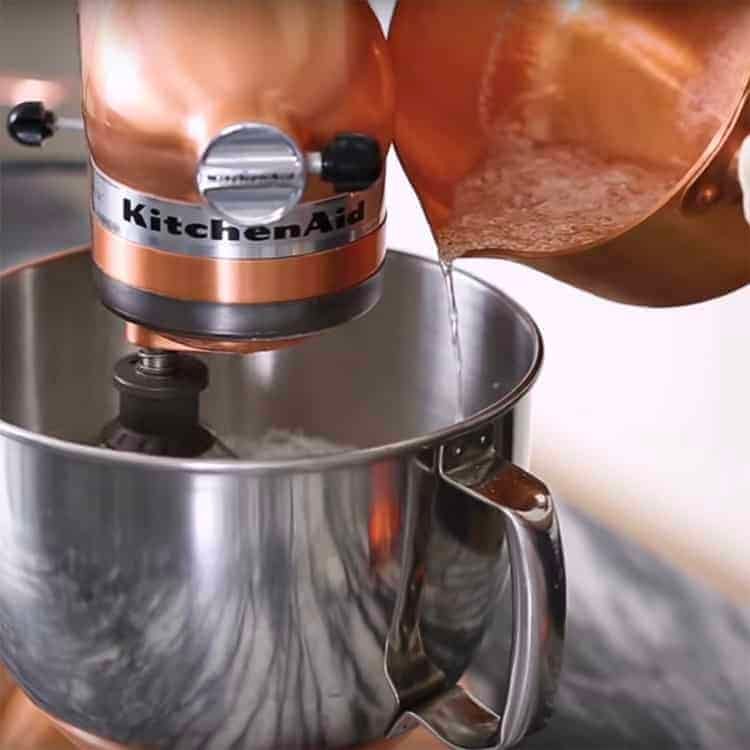
- In a medium saucepan add the remaining sugar and 1/3 cup water then place on low heat. Stir constantly until sugar melts and becomes clear. Maintain at medium high heat until temperature reads 235-240F. Drizzle the sugar into the mixer immediately.
- Run mixer until merengue is body temperature. Add room temperature butter into running mixer one piece at a time. Beat until butter is combined and mixture has reached a silky consistency.
- Reserve about a cup and a half of the buttercream, which you will color in various hues for the outer watercolor effect.
For Decoration:
- For best results do a thin crumb coat after first assembling the layers, allow to set in the fridge for 20 minutes or so then add a nice thicker coat of white buttercream and smooth it out.
- Add dollops of the colored buttercream on the surface, and give a quick smooth to get the watercolor effect. Don't try to get a perfect surface and continue smoothing past a couple spins as the color will become indistinct.
- Use an 869 tip to pipe the dollops on top. Any large star tip will do a nice job.
Notes
- Italian meringue buttercream is pretty soft so you might need to chill the cake after that third layer goes on and you give it a QUICK crumb coat. Just long enough for it to set a bit.
- Smooth the side with a bench scraper. Using a turntable REALLY helps make this happen quickly.
- In the photo below you can see an offset spatula pulling in while the cake turns. This gives a nice crisp corner.
- Apply dollops of the different colored buttercream onto your smoothed cake and give it one or two swipes to smooth. DON'T for too far with the smoothing at this point or your colors will become muddy.
- If your buttercream is "soupy," just pop it into the fridge for a couple of minutes, then beat it. It should thicken up. I find consistency problems arise mostly from the meringue being too warm when the butter is added. Chilling it will help improve the consistency.
- If you're not using your buttercream IMMEDIATELY -- and it will be sitting for a few minutes -- then just keep in mind that you will have to give it a short whip to "bring it back to life" as it loses its consistency quickly.
Nutrition
Have you tried this recipe? Tag me today!
Mention @preppykitchen and tag #preppykitchen!


