
This post may contain affiliate links. Please read our disclosure policy.
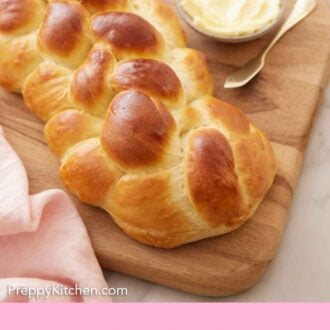
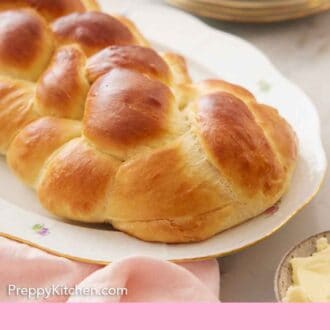
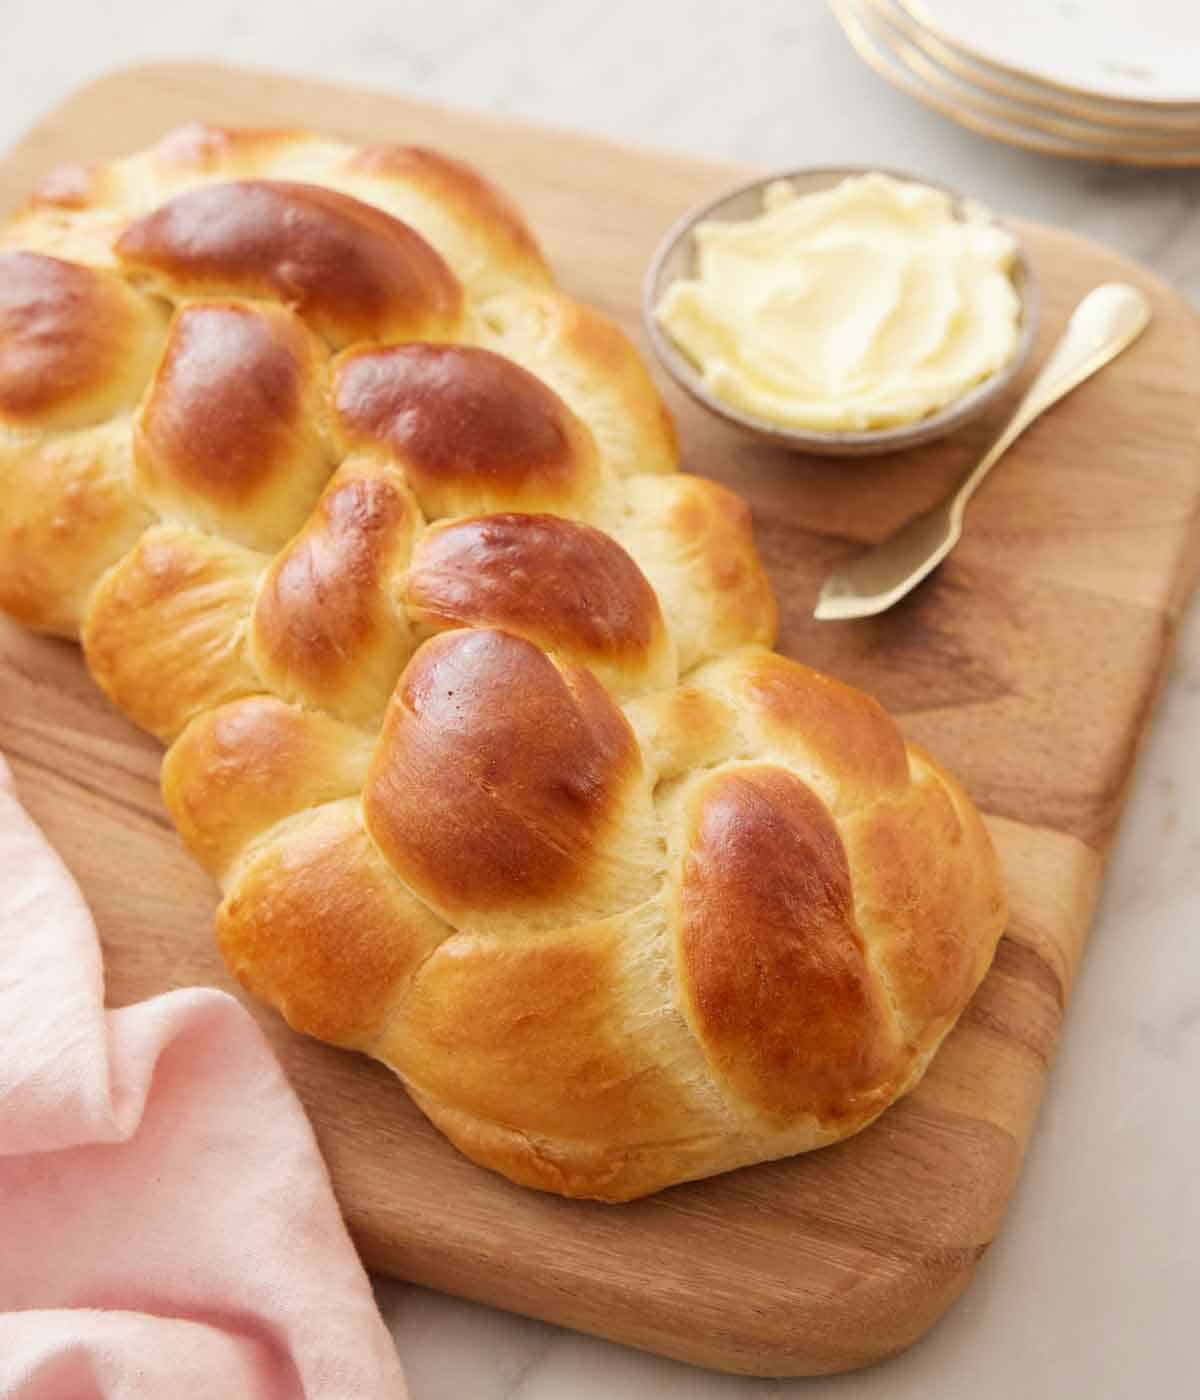
This slightly sweet and rich Challah bread with a shiny golden crust is an impressive-looking recipe that comes together with a few simple ingredients. A fluffy, braided loaf enriched with eggs and oil, this traditional Jewish bread is as delicious as it is beautiful. With an irresistible pillowy interior, this bread is shockingly easy to make!
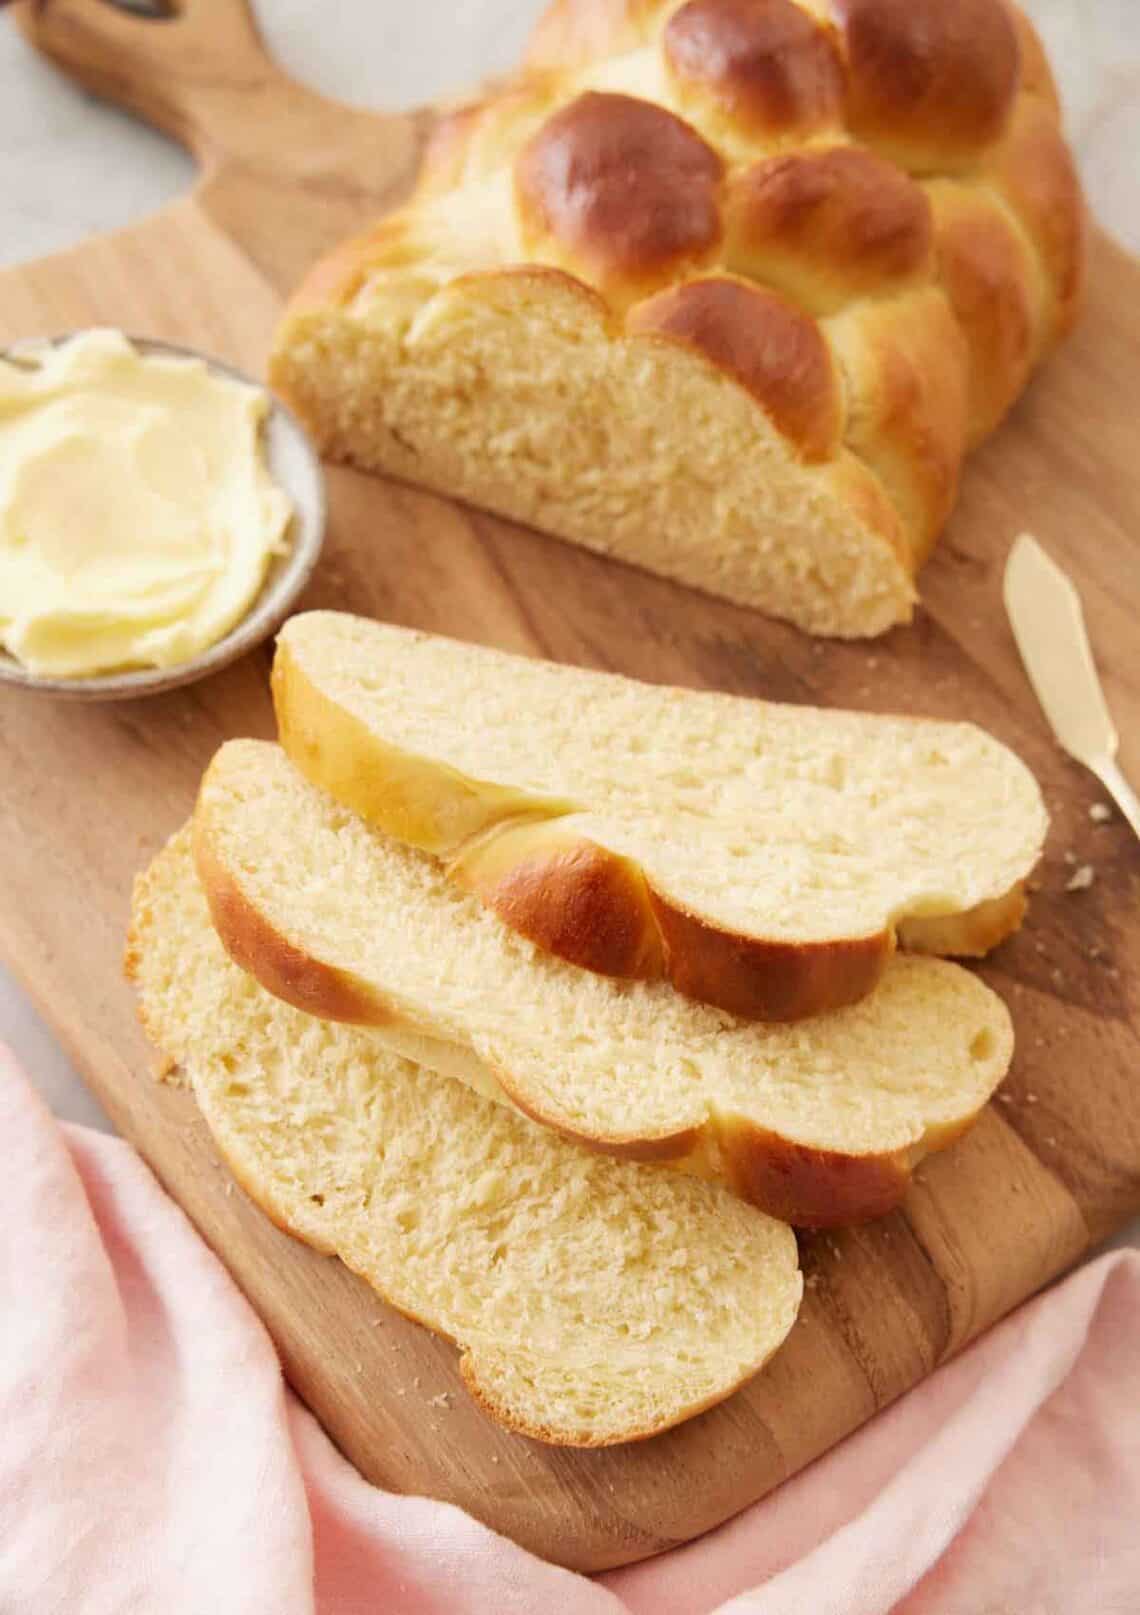
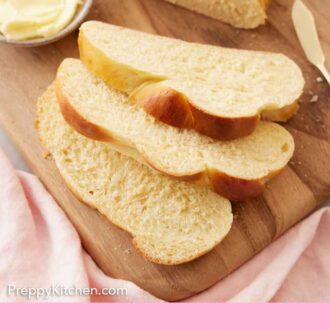
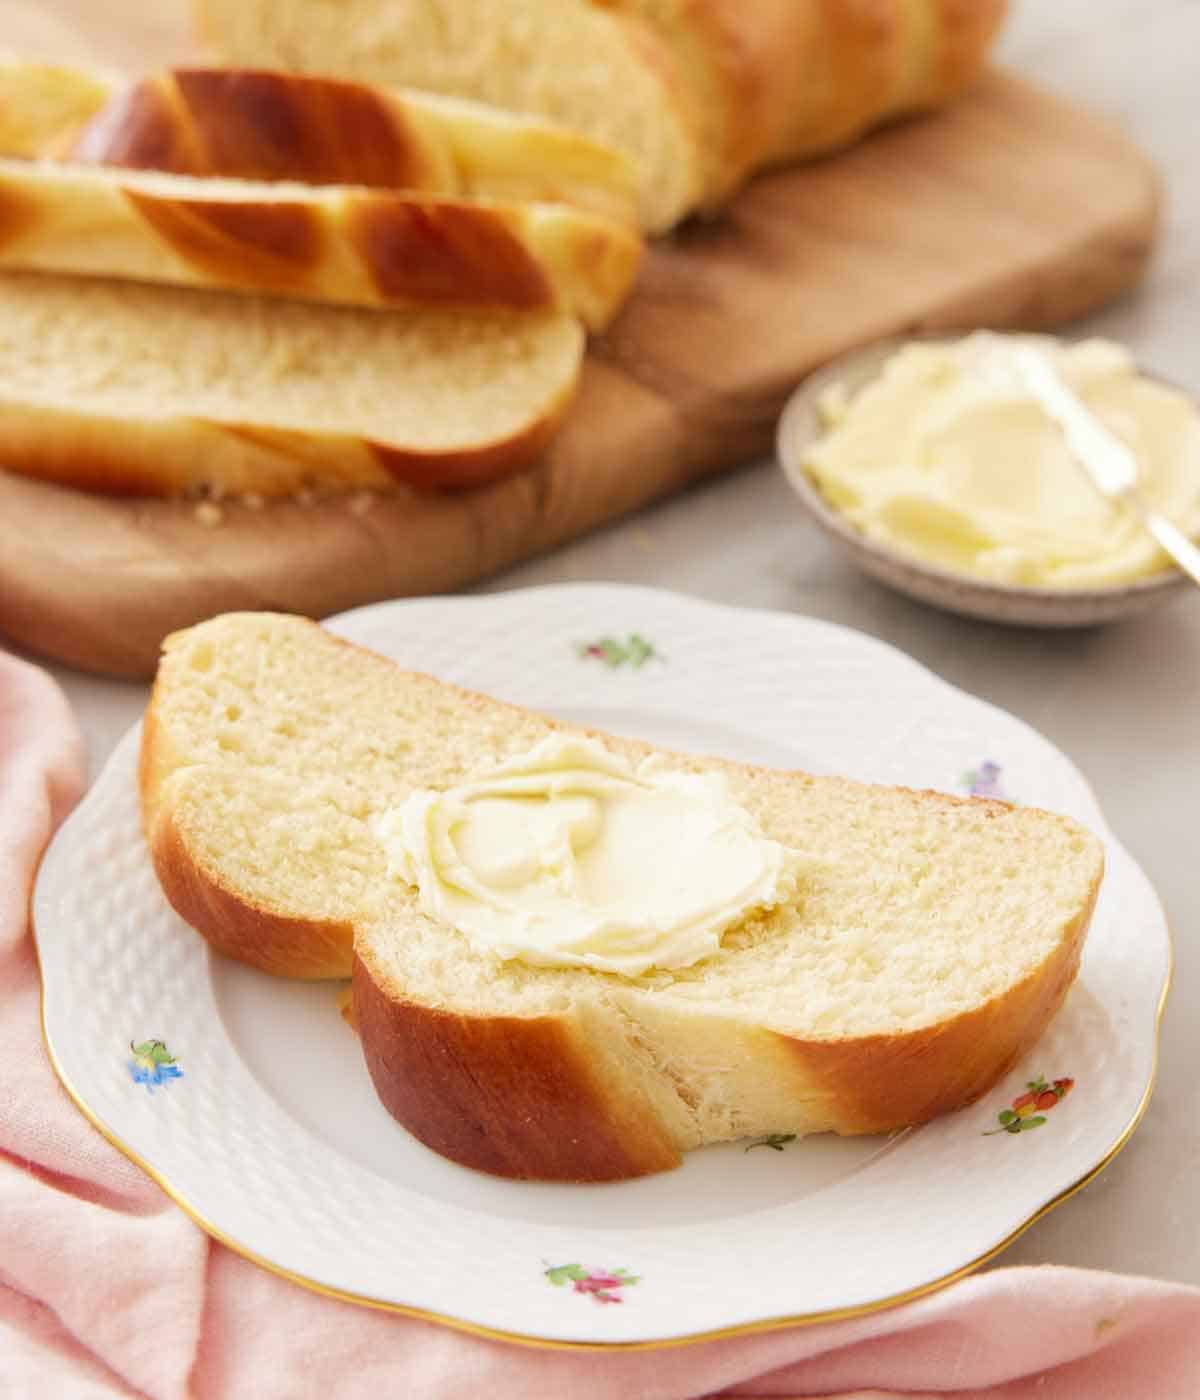
If you’ve never tried challah bread, then you’re in for a treat! It has a rich, eggy taste similar to my brioche recipe and is slightly sweet from the sugar in the dough. It has a beautiful shiny, golden crust that contrasts its pillowy-soft interior. It may look difficult to make challah from scratch, but this step-by-step recipe will help you through it.
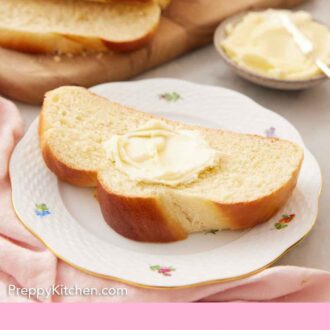
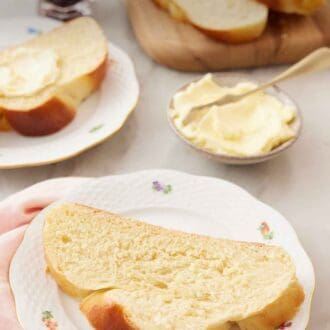
While you can buy a loaf at a bakery, there’s nothing better than the smell of challah baking in your oven. It fills your kitchen with the most wonderful aroma, and when you pull it out of the oven, prepare to be shocked by its stunning presentation. Its rich flavor ensures you can eat it plain while the bread is still warm, but it is also fantastic with butter, honey butter, or jam. If you’re in a baking mood and want to make another loaf of bread, then try my sourdough bread recipe, artisan bread recipe, or focaccia recipe.
What You Need to Make This Recipe

Sugar — you need sugar to activate the yeast and it adds sweetness to the dough.
Yeast — always double-check the expiration date of your yeast. If it is past its best before date, then you should pick up a new packet of yeast at the store.
Flour — you don’t need any special flour to make the perfect challah loaf! Simply use all-purpose flour from your pantry.
Oil — I use vegetable oil for the dough. Adding oil to the dough gives the bread a soft and tender crumb.
Eggs — this dough uses a couple of eggs to add richness. You’ll also use the egg whites to create an egg wash to promote browning and a glossy sheen.
How to Make Challah

1. In a large mixing bowl or the bowl of a stand mixer fitted with a dough hook, stir together the warm water, sugar, and yeast. Let stand until foamy.
2. Add 4 cups of flour to the mixing bowl.
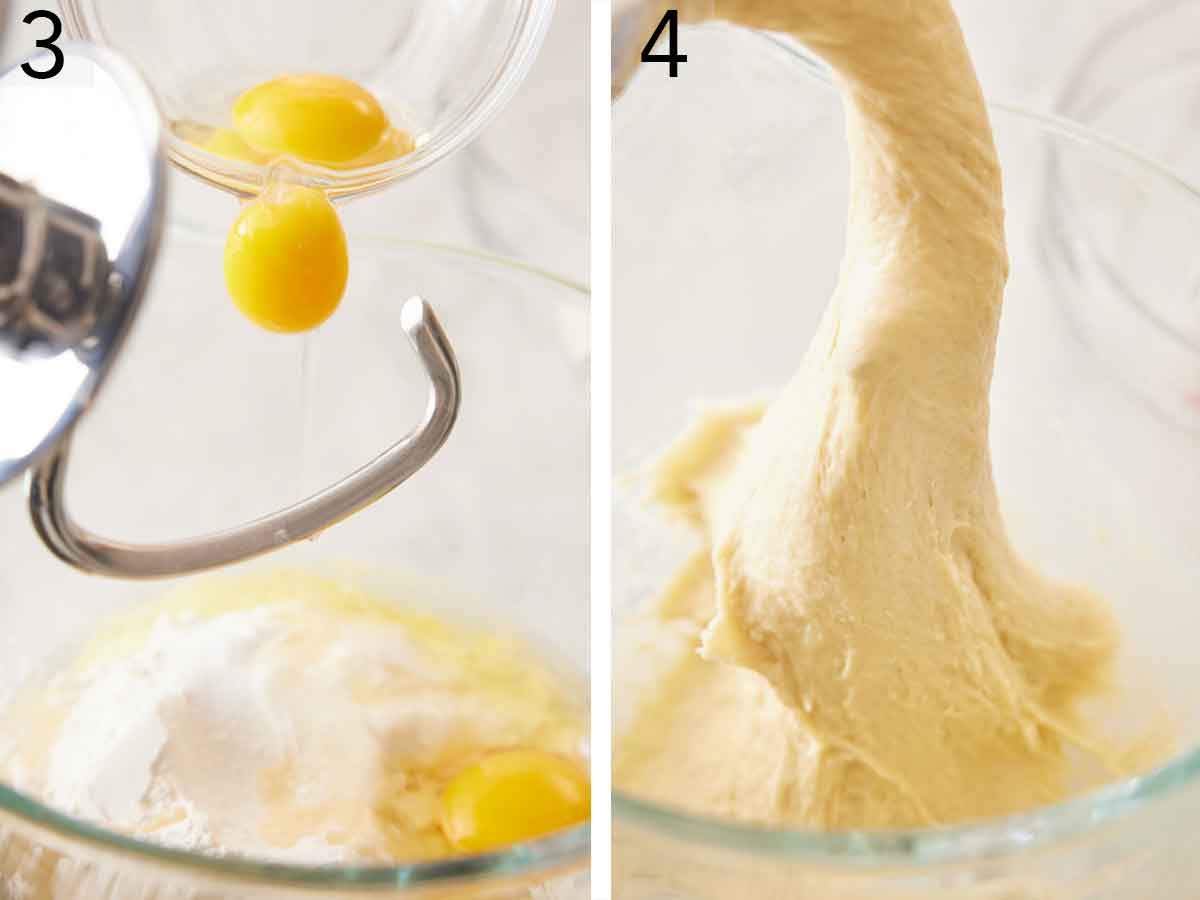
3. Add the eggs, egg yolk, oil, and salt to the mixing bowl.
4. Mix on medium-low speed until a sticky and elastic dough forms. It should cling to the bottom of the bowl but be pulling away from the sides and making a slapping sound. Add additional flour a tablespoon at a time as needed after 6 minutes. Shape the dough into a ball. Place in a lightly oiled large bowl and turn the dough to coat. Cover and let rise in a warm spot (about 75F) until doubled in size
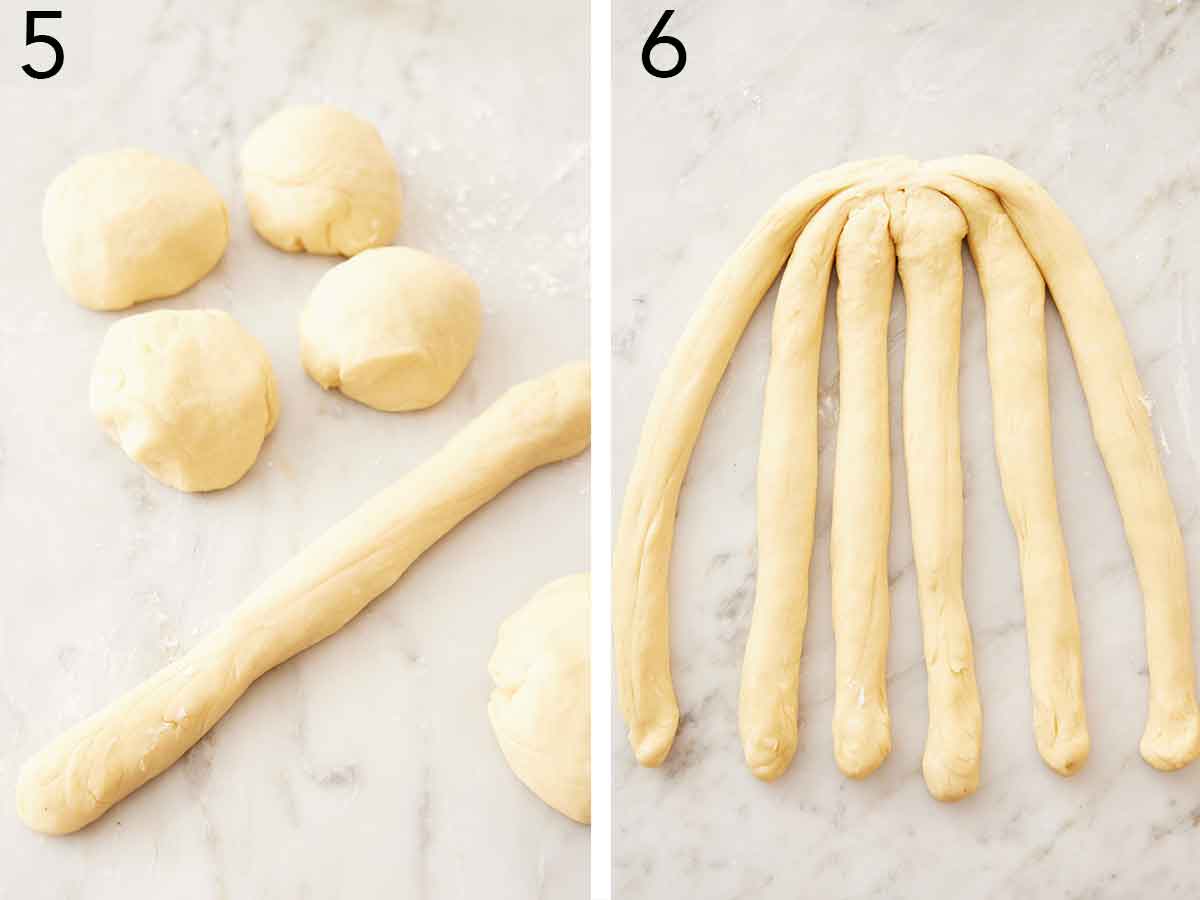
5. Turn out the dough onto a very lightly floured surface. Divide the dough into 6 equal pieces. Stretch and roll each piece into a 12-inch long rope.
6. Place all 6 ropes parallel to each other, pinch the ends together, then fan the ropes out a bit.
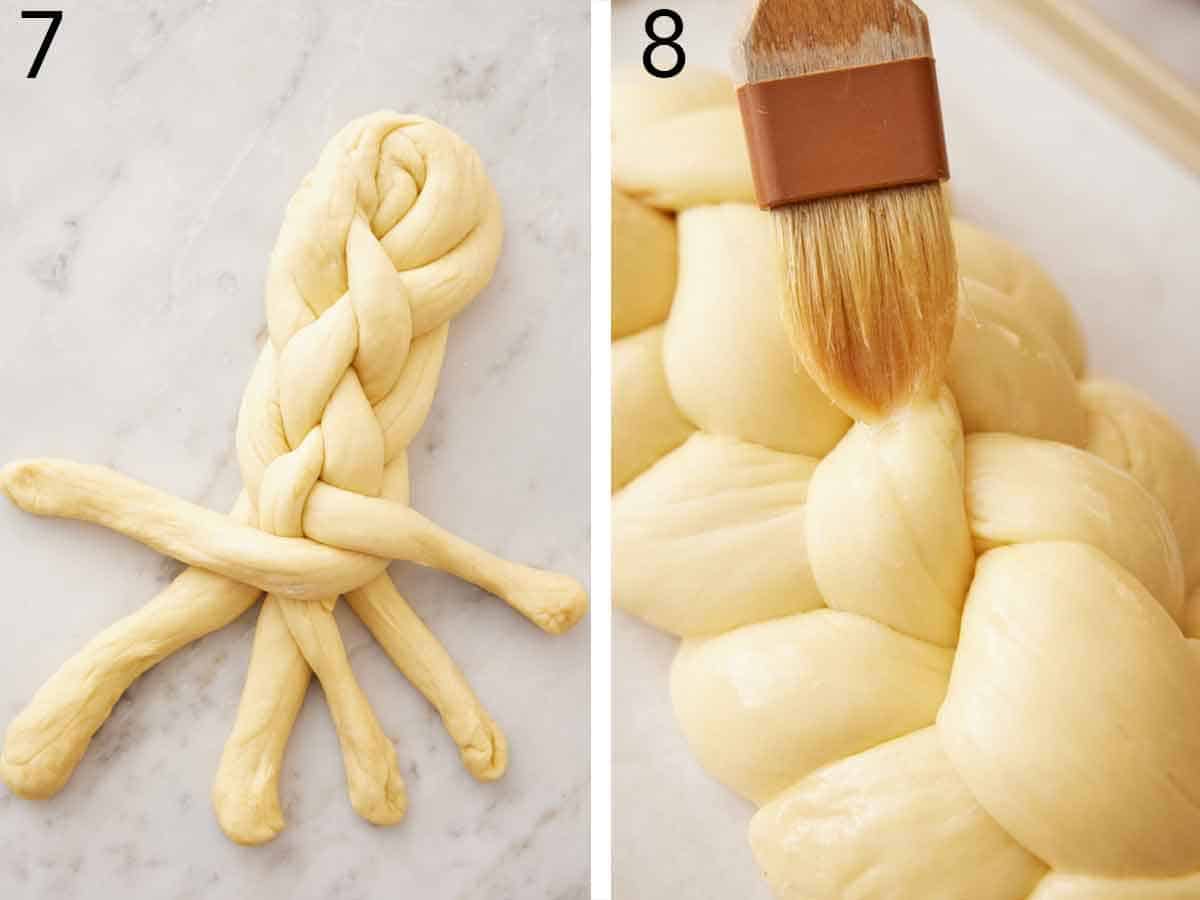
7. Start braiding the dough by taking the outside right rope and moving it over 2 strands towards the center. Take the second-from-the-left strand and cross it over all of the strands, moving it to the outer right. Take the outer left strand and move it over 2 strands toward the center. Take the second-to the-right strand and move it to the outer left. Continue with this pattern until the full loaf is braided. Pinch the end and tuck both ends under just a bit. Place the braided loaf on a parchment paper-lined large baking sheet. Loosely cover and let rise until almost doubled in size, 30 minutes to 1 hour.
8. In a small bowl, beat the egg white until frothy. Brush the risen loaf with the egg wash and sprinkle with seeds, if desired. Bake for 20 to 25 minutes or until the top is a deep golden brown. Place the loaf on a wire rack and let it cool completely.
Pro Tips for Making This Recipe
- The amount of flour you need will vary depending on your house’s humidity and the weather. Start by adding 4 cups of flour instead of 4½ cups, and add a little more if you find your challah dough too sticky.
- The time it takes for your dough to rise depends on the temperature of your kitchen. The ideal temperature for dough rising is 75 to 78F. If your kitchen is cold, you can place your challah dough in an oven that is OFF with the light on.
- Use a thermometer to make sure the water is between 110 to 120F, as water that’s too hot will kill the yeast, and water not warm enough won’t activate the yeast.
- Adding too much flour to the dough is the most common mistake leading to dense bread, so make sure to measure the flour correctly. The most accurate way to measure flour is by using a scale. If you don’t have one, then fluff your flour with a spoon, sprinkle it into your measuring cup, and use a knife to level it off.
- To make an easier braid, roll the dough into 3 pieces and shape it into ropes as directed. Braid in a standard 3-strand braid like you would rope or a ponytail.
- You can add some savory flavor to your challah by mixing minced garlic or rosemary into the dough.
- Leftover challah bread makes for amazing french toast or bread pudding!
Frequently Asked Questions
Prepare the challah dough up to the point where it’s braided. Cover the dough with greased plastic wrap to keep it from sticking to the dough, and place the dough in the refrigerator overnight. In the morning, place the dough on the kitchen counter, allow it to warm up to room temperature for around an hour, and bake as directed.
It is best to enjoy your challah the day you bake it, but if you have leftovers, tightly wrap in plastic or store in an airtight container for a couple of days.
Challah and brioche bread are similar as both are enriched with eggs and fat, making them richer than other bread recipes. The main difference between the two recipes is that challah uses more eggs and less fat than brioche bread. Challah’s fat source is oil, whereas brioche bread uses butter.
You can freeze the challah loaf in an airtight container or a freezer-safe bag for up to 2 months. To thaw, place it in the refrigerator overnight or on the counter until it reaches room temperature.
The correct way to pronounce the name is “haa-luh.” You don’t pronounce the “ch” sound.
Challah bread is a traditional Jewish braided bread made for the Jewish Sabbath or holidays. However, challah is more than just bread; it is surrounded by folklore and tradition. Challah comes in various sizes and shapes, such as round loaves baked for Rosh Hashanah to symbolize continuity or three-braid loaves representing truth, peace, and justice. If you are interested in learning more about the history of challah, many resources are available online.
If you’ve tried this Challah recipe, then don’t forget to rate the recipe and let me know how you got on in the comments below, I love hearing from you!
Challah
Equipment
- mixing bowl
- Electric stand mixer
- Large baking sheet
Ingredients
- ¾ cup warm water (110-120F) (180ml)
- ¼ cup sugar (50g)
- 2¼ teaspoons active dry yeast (.25-ounce/7g packet)
- 4 to 4½ cups all-purpose flour (480-540g)
- ⅓ cup vegetable oil (80ml)
- 2 large eggs
- 1 egg yolk (white reserved for egg wash)
- 1 teaspoon salt
- Poppy seeds or sesame seeds for topping (optional)
Instructions
- In a large mixing bowl or the bowl of a stand mixer fitted with a dough hook, stir together the warm water, sugar, and yeast. Let stand until foamy, about 5 minutes.
- Add 4 cups flour, oil, eggs, egg yolk, and salt. Mix on medium-low speed until a sticky and elastic dough, 8 to 10 minutes. It should cling to the bottom of the bowl but be pulling away from the sides and making a slapping sound. Add additional flour a tablespoon at a time as needed after 6 minutes.
- Shape the dough into a ball. Place in a lightly oiled large bowl and turn the dough to coat. Cover and let rise in a warm spot (about 75F) until doubled in size, 1 to 2 hours.
- Turn out the dough onto a very lightly floured surface. Divide the dough into 6 equal pieces. Stretch and roll each piece into a 12-inch long rope. Place all 6 ropes parallel to each other, pinch the ends together, then fan the ropes out a bit.
- To make the 6-strand braid, take the outside right rope and move it over 2 strands towards the center. Take the second-from-the-left strand and cross it over all of the strands, moving it to the outer right. Take the outer left strand and move it over 2 strands towards the center. Take the second-to the-right strand and move it to the outer left. Continue with this pattern until the full loaf is braided. Pinch the end and tuck both ends under just a bit. Place the braided loaf on a parchment paper-lined large baking sheet. Loosely cover and let rise until almost doubled in size, 30 minutes to 1 hour.
- When almost finished rising, preheat the oven to 350F.
- In a small bowl, beat the egg white until frothy. Brush the risen loaf with the egg wash and sprinkle with seeds, if desired.
- Bake for 20 to 25 minutes or until the top is a deep golden brown. (You can also temp it with an instant-read thermometer- it should read between 195 and 205F.) Place the loaf on a wire rack and let cool completely. Challah is best enjoyed the day it’s baked, but it can be tightly wrapped in plastic or stored in an airtight container for a couple of days.
Notes
- The amount of flour to need will vary depending on your house’s humidity and the weather. Start by adding 4 cups of flour instead of 4½ cups, and add a little more if you find your challah dough too sticky.
- The time it takes for your dough to rise depends on the temperature of your kitchen. The ideal temperature for dough rising is 75 to 78F. If your kitchen is cold, you can place your challah dough in an oven that is OFF with the light on.
- Use a thermometer to make sure the water is between 110 to 120F, as water that’s too hot will kill the yeast, and water not warm enough won’t activate the yeast.
- Adding too much flour to the dough is the most common mistake leading to dense bread, so make sure to measure the flour correctly. The most accurate way to measure flour is by using a scale. If you don’t have one, fluff your flour with a spoon, sprinkle it into your measuring cup, and use a knife to level it off.
- To make an easier braid, roll the dough into 3 pieces and shape it into ropes as directed. Braid in a standard 3-strand braid like you would rope or a ponytail.
- You can add some savory flavor to the bread by mixing minced garlic or rosemary into the dough.
- Leftover challah bread makes for amazing french toast or bread pudding!
Nutrition
Have you tried this recipe? Tag me today!
Mention @preppykitchen and tag #preppykitchen!


