
This post may contain affiliate links. Please read our disclosure policy.

Knowing How To Activate Yeast is the key to beautiful yeasted breads and doughs! Learn how to properly bloom yeast, how to store yeast, and how to tell if it’s alive and well, so your next loaf rises exactly the way it should.
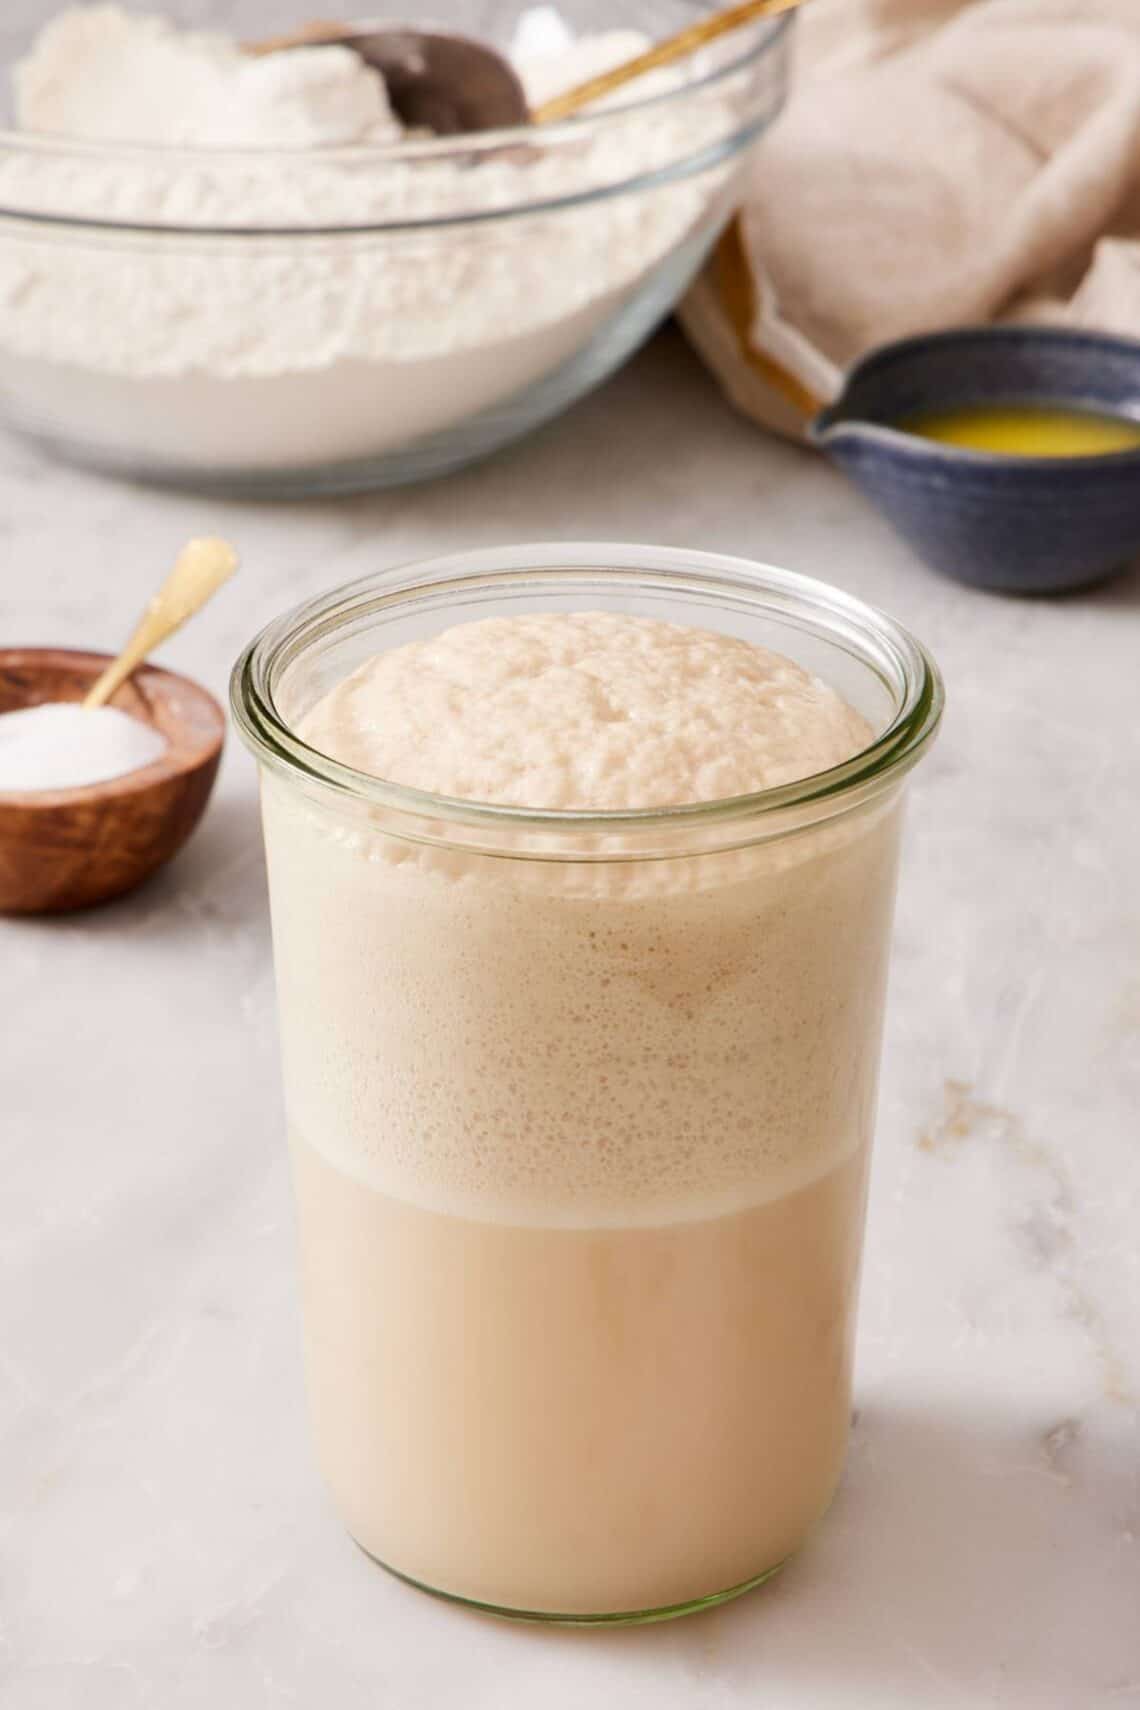
If you’ve ever made bread that didn’t rise, there’s a very good chance your yeast was the problem, either dead before you started or killed by water that was too hot. Activating yeast sounds technical, but it’s genuinely one of the easier baking skills to learn once you understand what’s happening: you’re waking up dormant yeast cells with warm liquid and a little sugar, and watching for the foam that tells you they’re alive and hungry.
In this tutorial, I’ll walk you through the activation method (also referred to as “blooming”) I use for every yeasted recipe on the site. I cover the difference between active dry and instant yeast (and when to skip activation entirely), show you how to spot dead yeast before you waste a batch of dough, and answer the questions readers ask me most often in the comments. My top tip to start: always check the label on your yeast! I have accidentally picked up the wrong yeast, bloomed it, and caused my dough to fail. Read on to learn exactly why that matters.
“Baking with yeast has always made me nervous, but this post gave me so much knowledge and confidence to start! I can happily report that my first loaf of homemade white bread turned out perfectly!! So fluffy, and it rose just right.”
Kendal
What Is Yeast?
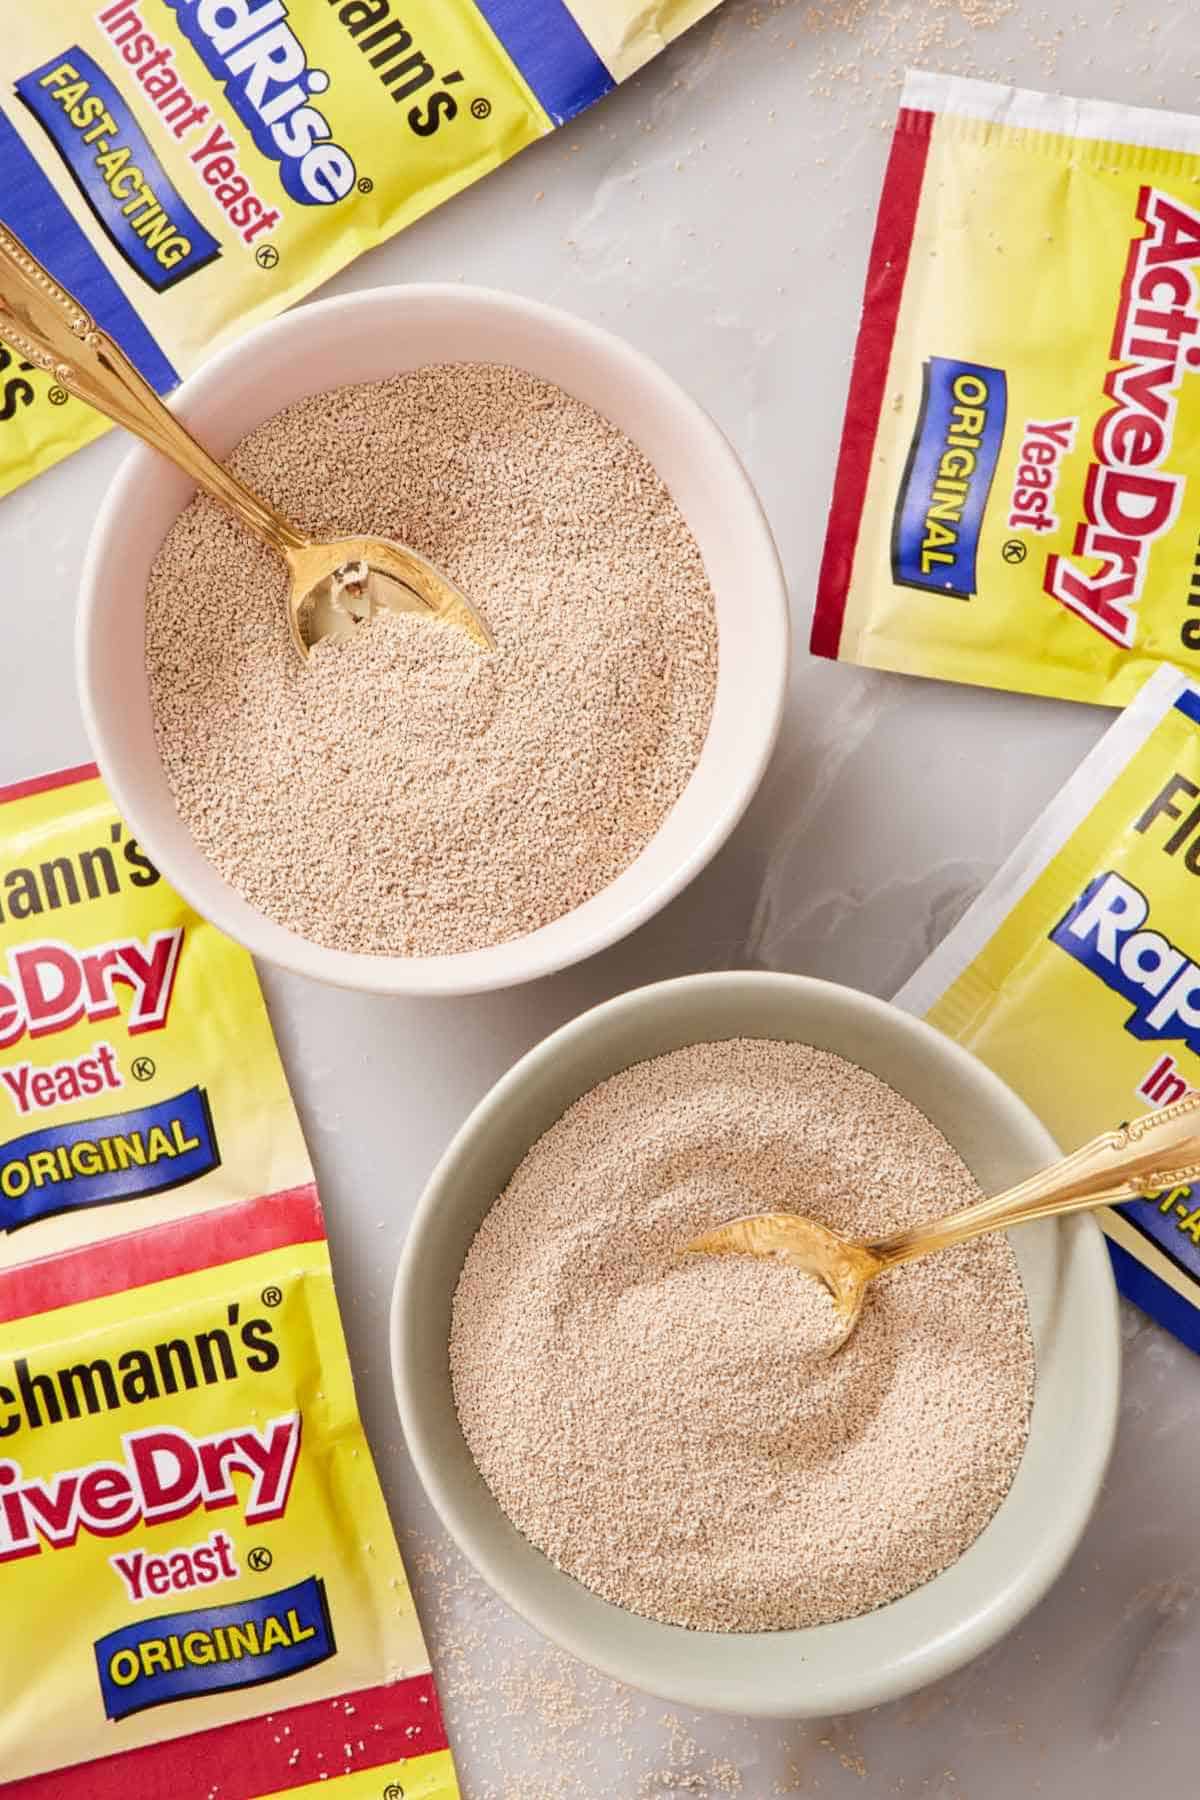
To get into the science for a second, let’s cover exactly what yeast is and why we use it! Yeast is a single-cell fungus that feeds on carbohydrates and sugars, turning them into tiny bubbles of carbon dioxide, which is what makes bread rise.
As it feeds, the yeast multiplies, producing more and more carbon dioxide bubbles that get trapped in the gluten network you developed when you mixed and kneaded the dough. Those trapped bubbles are what give yeasted breads their light, springy crumb. The process is called fermentation, and it’s also what makes bread taste like bread—fermentation produces alcohol and other flavor compounds alongside the carbon dioxide, which is why long-fermented doughs like artisan bread, ciabatta, and sourdough bread have noticeably more depth than quick-rise breads. The longer yeast has to work, the more character it builds.
For more on what happens to dough during the rise, see my Academy: How to Proof Bread lesson.
The Different Types Of Yeast
There are 3 types of yeast: fresh yeast, wild yeast, and dry yeast. Within dry yeast, there are 2 main varieties. Here’s how they all compare.
| Yeast Type | Activation needed? | Best For | Shelf life |
| Active dry yeast | Yes, bloom in warm liquid first | Most bread recipes, when you want to verify yeast is alive | About 2 years unopened in pantry; 6 months opened in fridge |
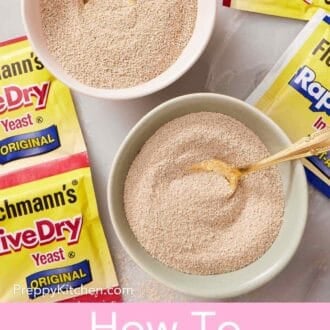
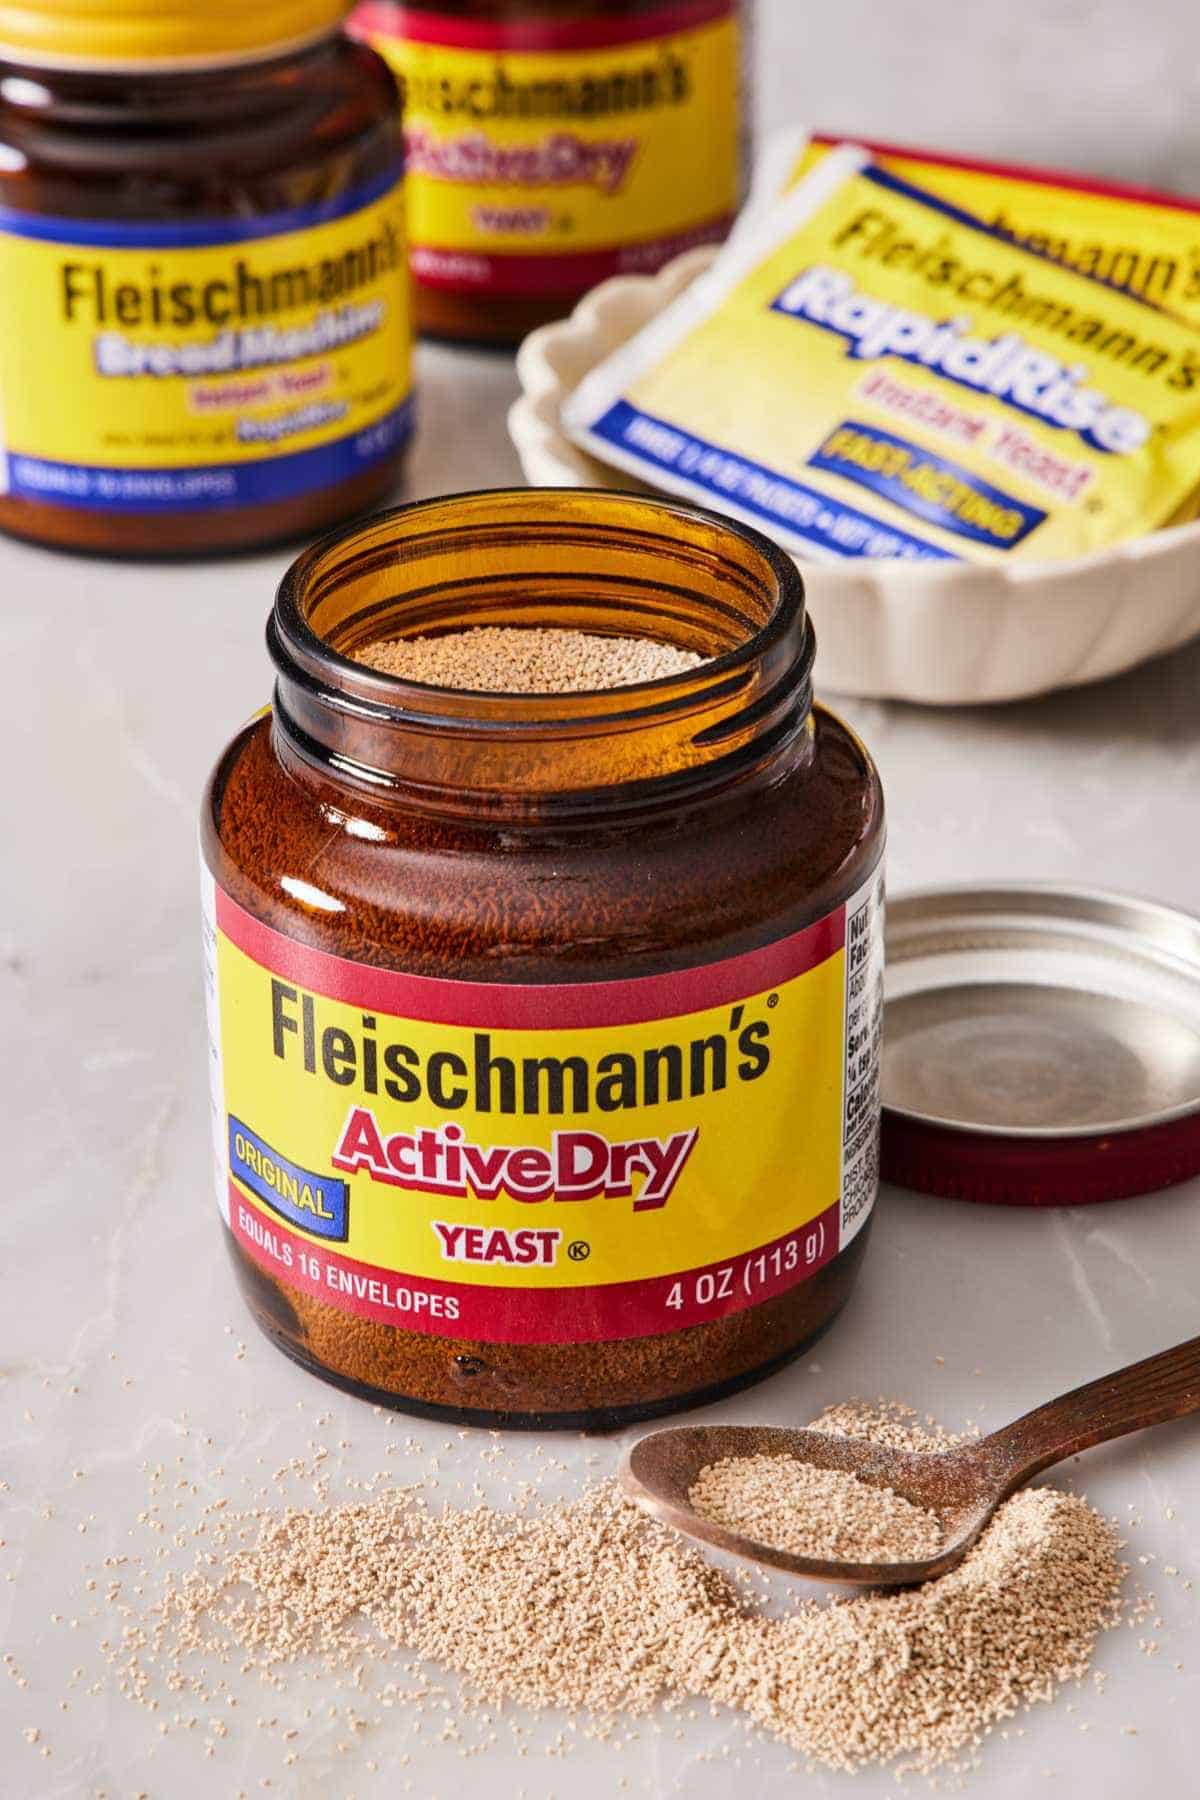
| Instant yeast (RapidRise, quick-rise; also a dry yeast) | No, mix directly into dry ingredients | Quick doughs, pizza, when you’re in a hurry | 2 years unopened in pantry; 6 months opened in fridge |
| Fresh yeast (cake yeast) | No, crumble into dough or dissolve in liquid | Enriched doughs, professional baking | About 5 weeks refrigerated |
| Sourdough starter (wild yeast) | Continuously active with feeding | Artisan sourdough bread & pizza | Indefinite with regular feeding |
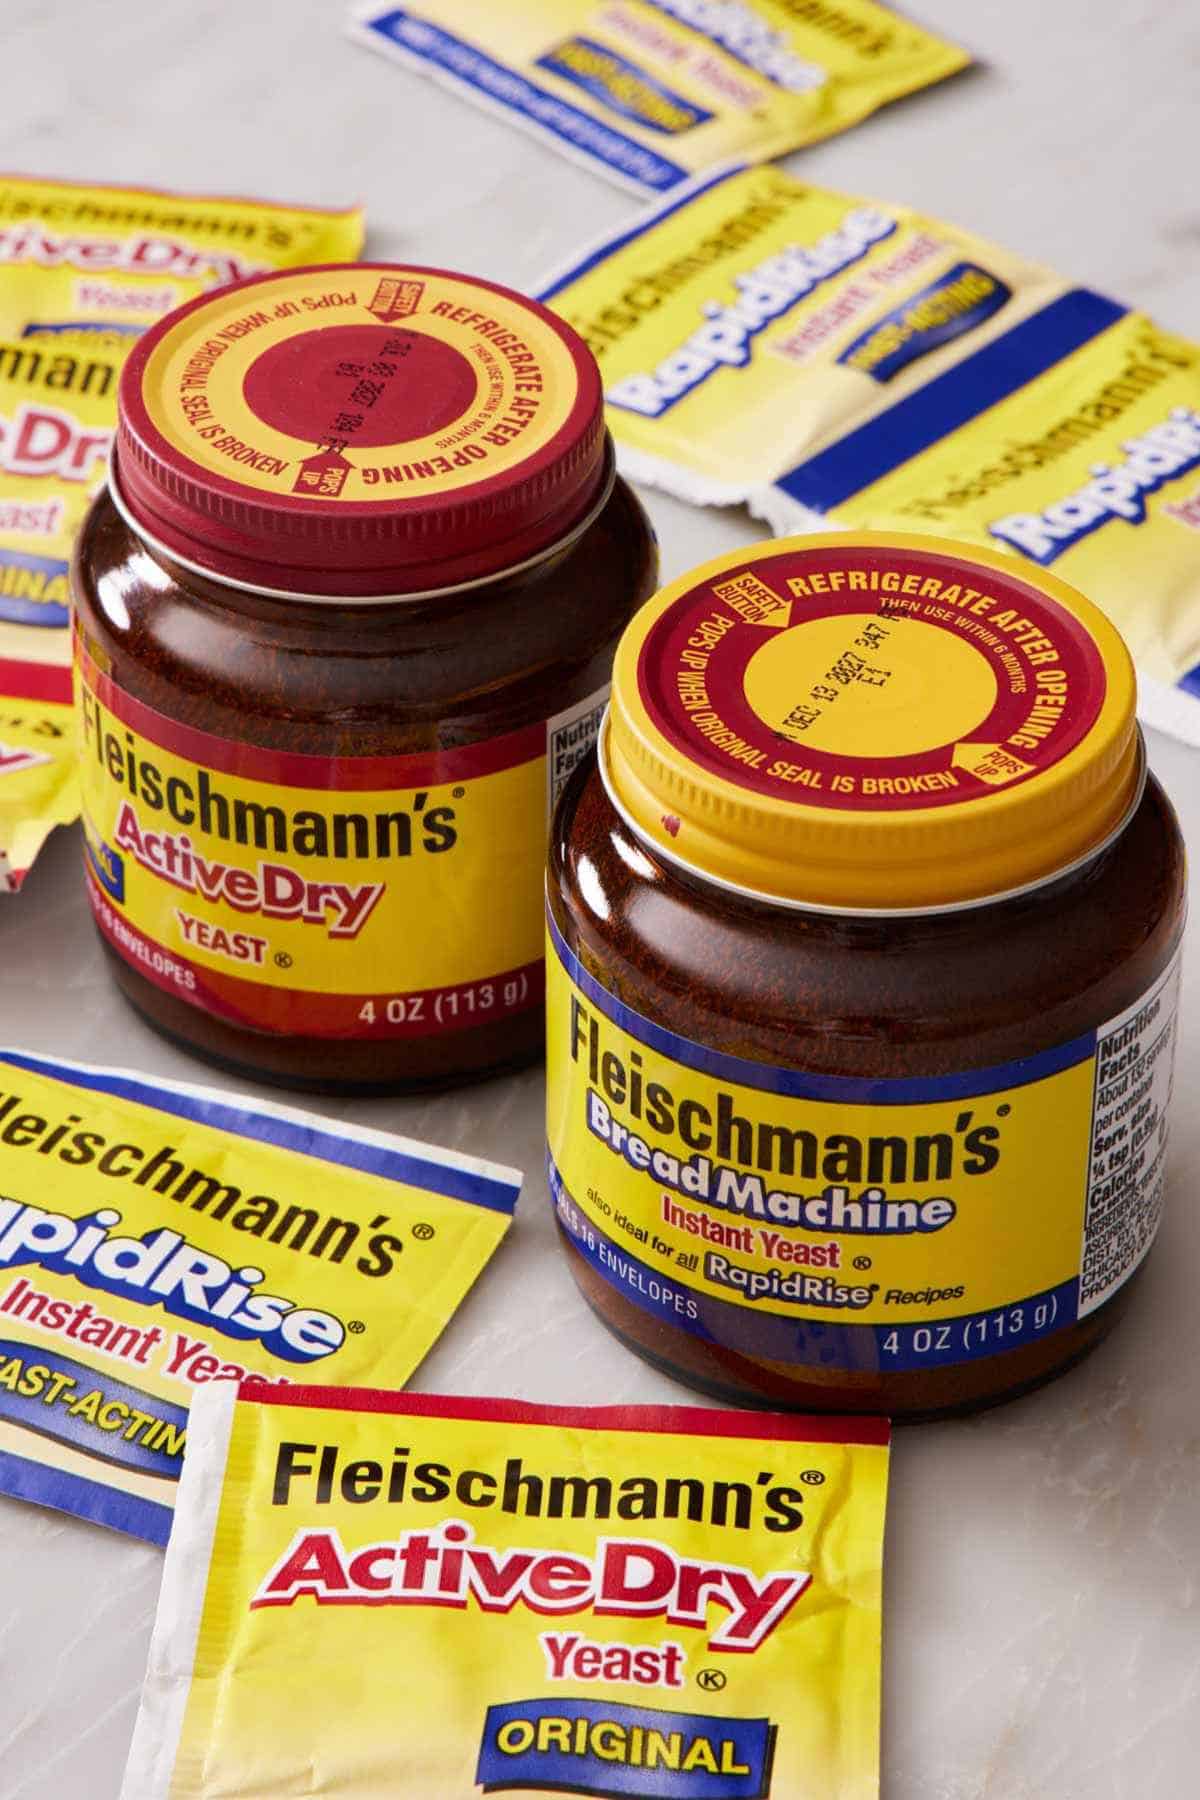
I use dry yeast in all of my bread recipes because it’s widely available at American grocery stores. Active dry is my go-to because it’s so reliable once you know how to activate it. Instant yeast is interchangeable with active dry in most recipes—you just skip the blooming step. Fresh yeast is harder to find in the US and has a short shelf life, so I don’t typically develop recipes with it. For wild-yeast baking, learn how to make sourdough starter!
Check the expiration date before you start. The older the yeast, the less active it will be. I typically use yeast up to a month before its expiration date and buy a new packet if I’m cutting it closer than that. Yeast is cheap; a failed bread bake is not.
Active Dry vs. Instant Yeast: What’s The Difference?
This is the question I get most often in recipe comments, so it’s worth its own section.
Active dry yeast is dehydrated at the factory using heat. That heating process leaves each living yeast cell coated in a layer of inactive, dormant cells. To wake the live cells up, you have to dissolve that coating in warm water (what blooming, or activating, does).
Instant yeast is manufactured with a finer grain and without the dormant-cell coating, so it hydrates and activates immediately when it hits the moisture in your dough. No blooming step required.
The practical differences:
- Workflow. Active dry needs an extra 5-10 minute blooming step at the start; instant goes straight into the dry ingredients.
- Rise time. Instant yeast produces a faster rise, typically about half the time of active dry in the same recipe.
- Substitution. They’re 1:1 interchangeable in most recipes. If you swap instant for active dry, expect a faster rise and check your dough earlier than the recipe says. If you swap active dry for instant, bloom it first and expect a longer rise.
- Don’t bloom instant yeast. This is the mistake that got me on a batch of bagels. I’d grabbed a packet of instant yeast, thinking it was active dry, bloomed it in warm sugar water, and continued with the recipe. By the time the dough had risen, been shaped, and then boiled, the yeast had already multiplied so much and eaten through most of its food supply. The bagels collapsed and baked up as flat, sad rings. Instant yeast in warm sugar water can over-activate. Add it directly to the dry ingredients as the package instructs.
So: active dry gets bloomed; instant gets mixed straight in. Fresh yeast crumbles directly into the dough or dissolves in the liquid. Sourdough starter is always “active” if you’re feeding it regularly. Check out my Academy lesson on the difference between active dry and instant yeast for a deeper dive.
Why Do You Activate Yeast Before Using It?
The first, technical reason: Like we just discussed, active dry yeast is dehydrated at the factory using heat, which leaves each yeast cell coated in a layer of inactive, dead yeast cells. That coating needs to dissolve before the live cells inside can feed on sugars and multiply, which is why you mix it in warm liquid before adding it to your dough.
Second and more important: blooming tells you your yeast is alive. Spending 20 minutes mixing and kneading dough, only to watch it sit flat for hours, is one of the most demoralizing moments in baking. Ten minutes of blooming at the start confirms your yeast works before you commit to the whole recipe.
How To Activate Yeast
Below, I’ve highlighted the step-by-step process for blooming active dry yeast. This is a general guideline. Be sure to follow the steps given in your exact recipe.
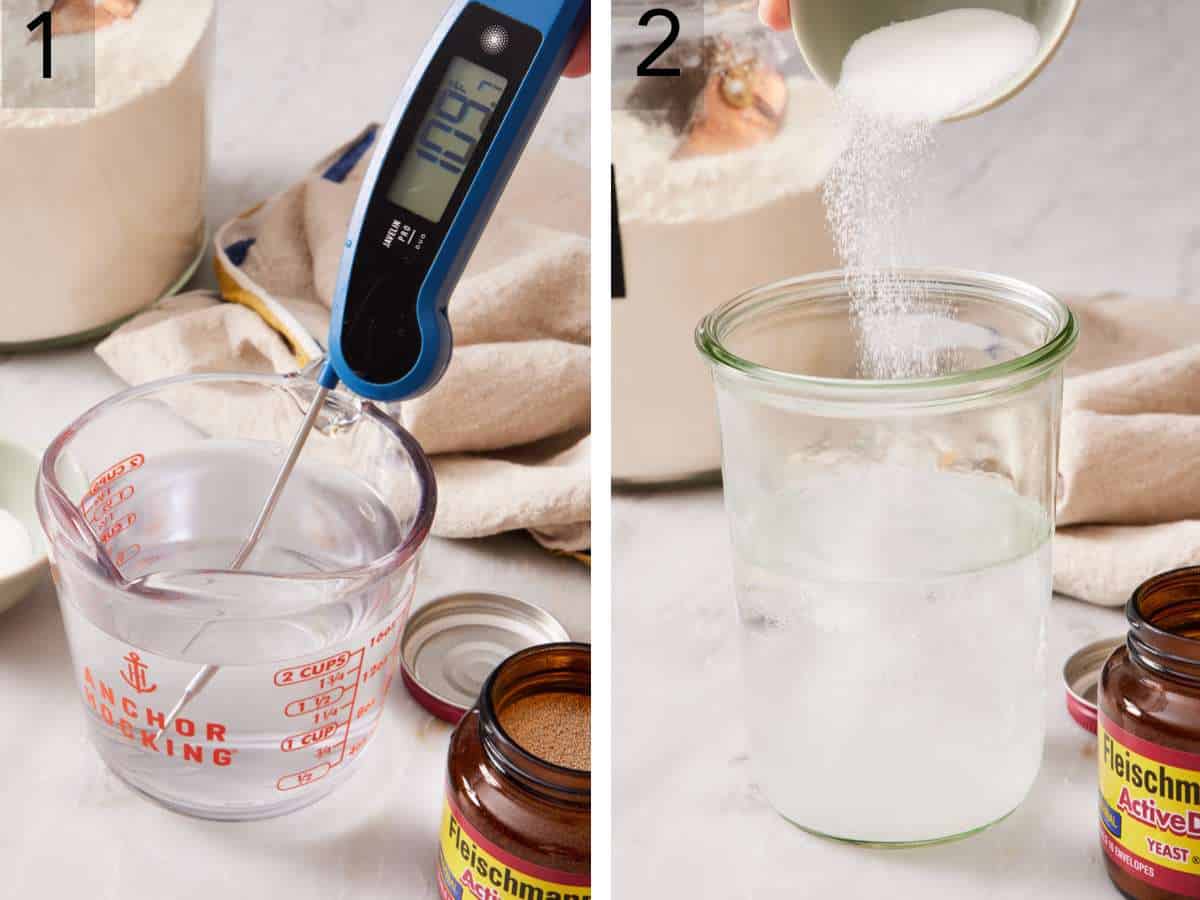
1. Warm the liquid. Pour warm water (or milk, if the recipe calls for it) into a jar or small bowl. The ideal temperature is 105-110°F (warm to the touch but not hot). Below 100°F, the yeast won’t wake up reliably; above 130°F, you can kill it outright. If you’re new to this, use an instant-read thermometer; eyeballing temperature is the #1 mistake I see from readers. One time, I heated water in the microwave until it was steaming, added my yeast, and then waited for 15 minutes, but nothing happened. I checked the water temperature then, and it was at 120°F, which means it was much hotter than that when I started. I had killed the yeast. Now I always use a thermometer!
2. Add a pinch of sugar. Stir in about 1 teaspoon of sugar. Any kind works—granulated, brown, honey, maple syrup—because yeast will feed on just about any sugar. If the recipe already calls for sugar elsewhere in the dough, add 1 teaspoon to the bloom anyway as an insurance policy to jumpstart the yeast.
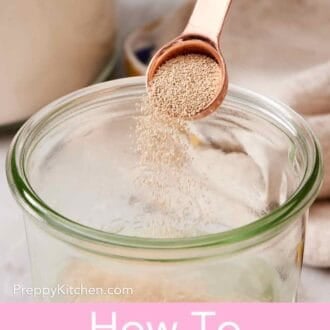
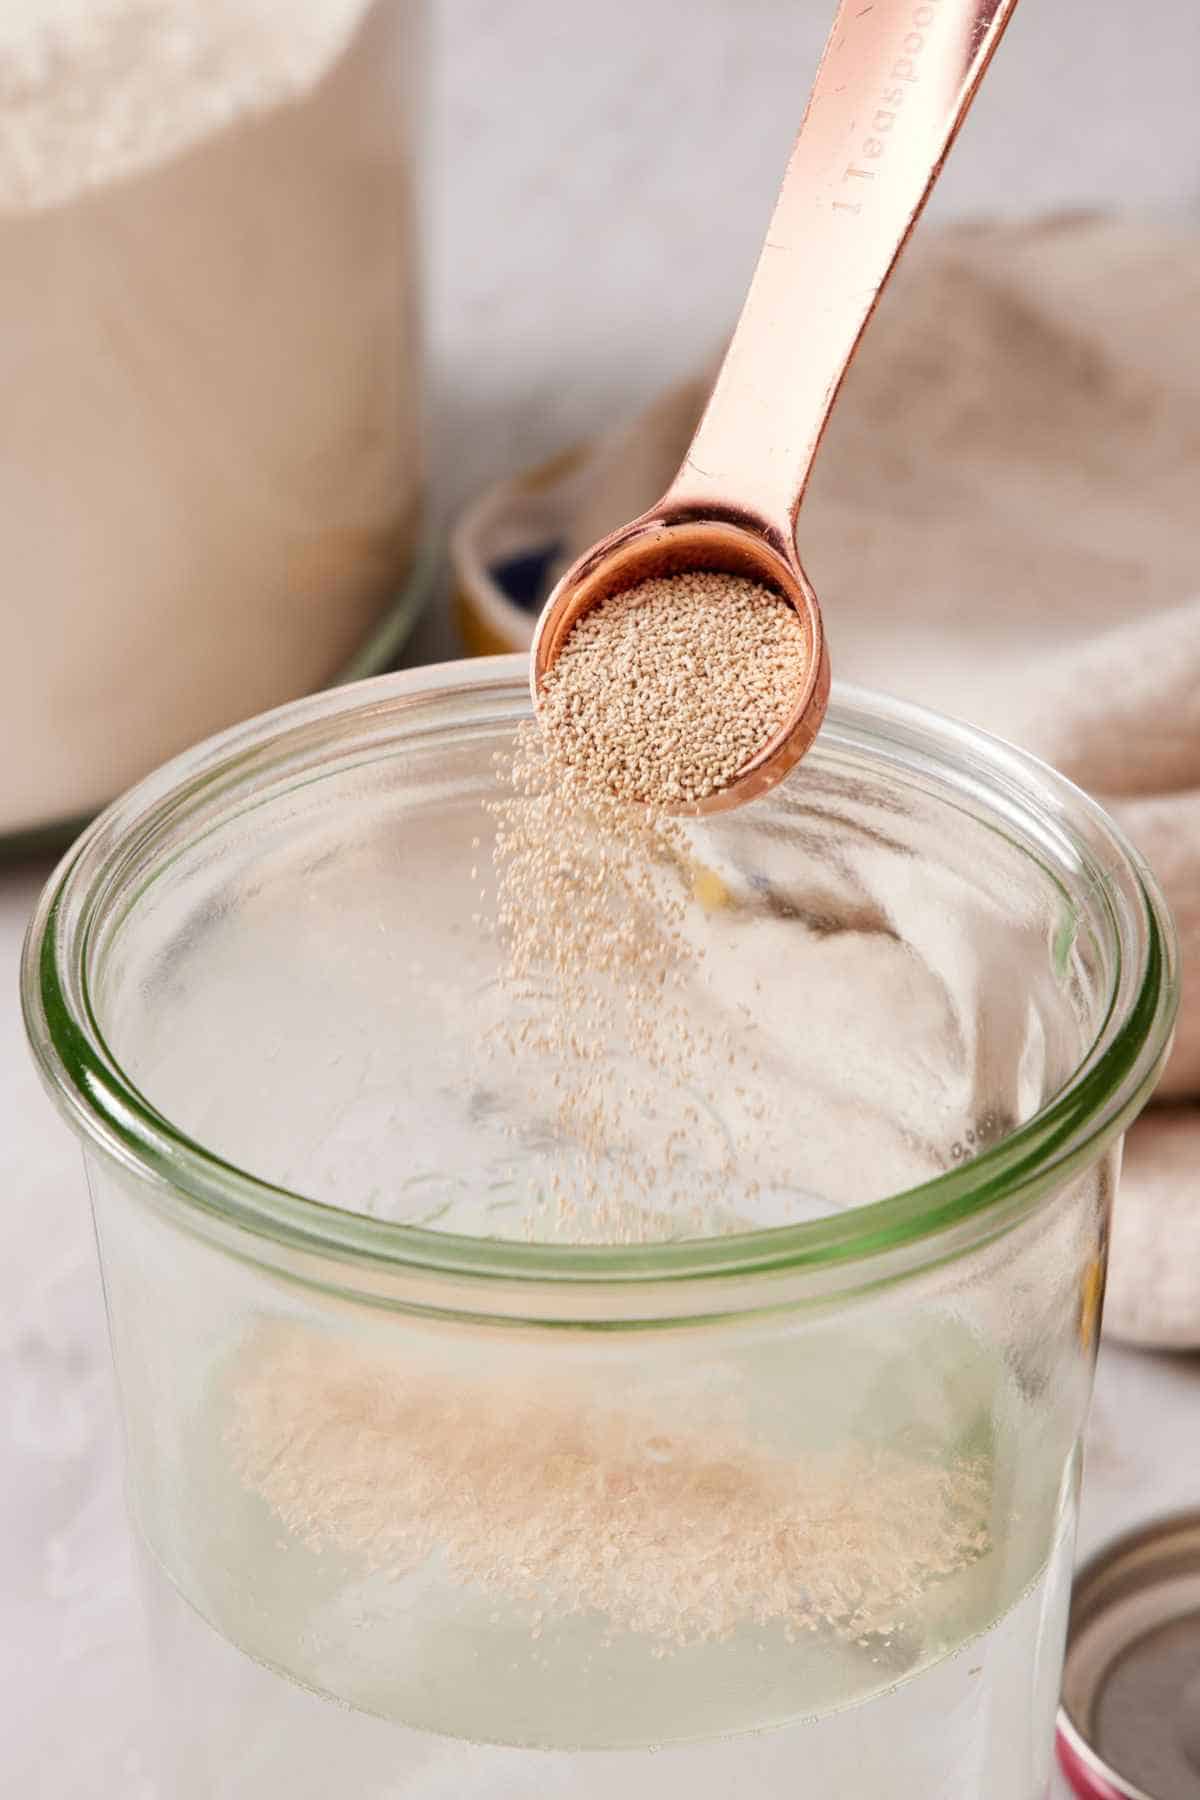
3. Add the yeast. Sprinkle the active dry yeast over the top and stir gently to combine.
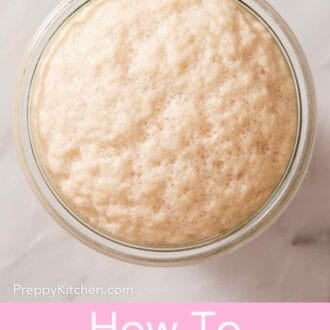
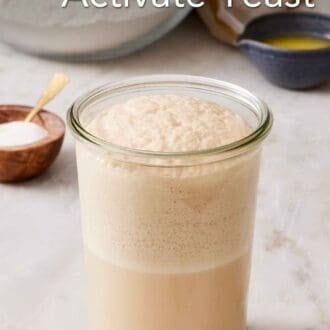
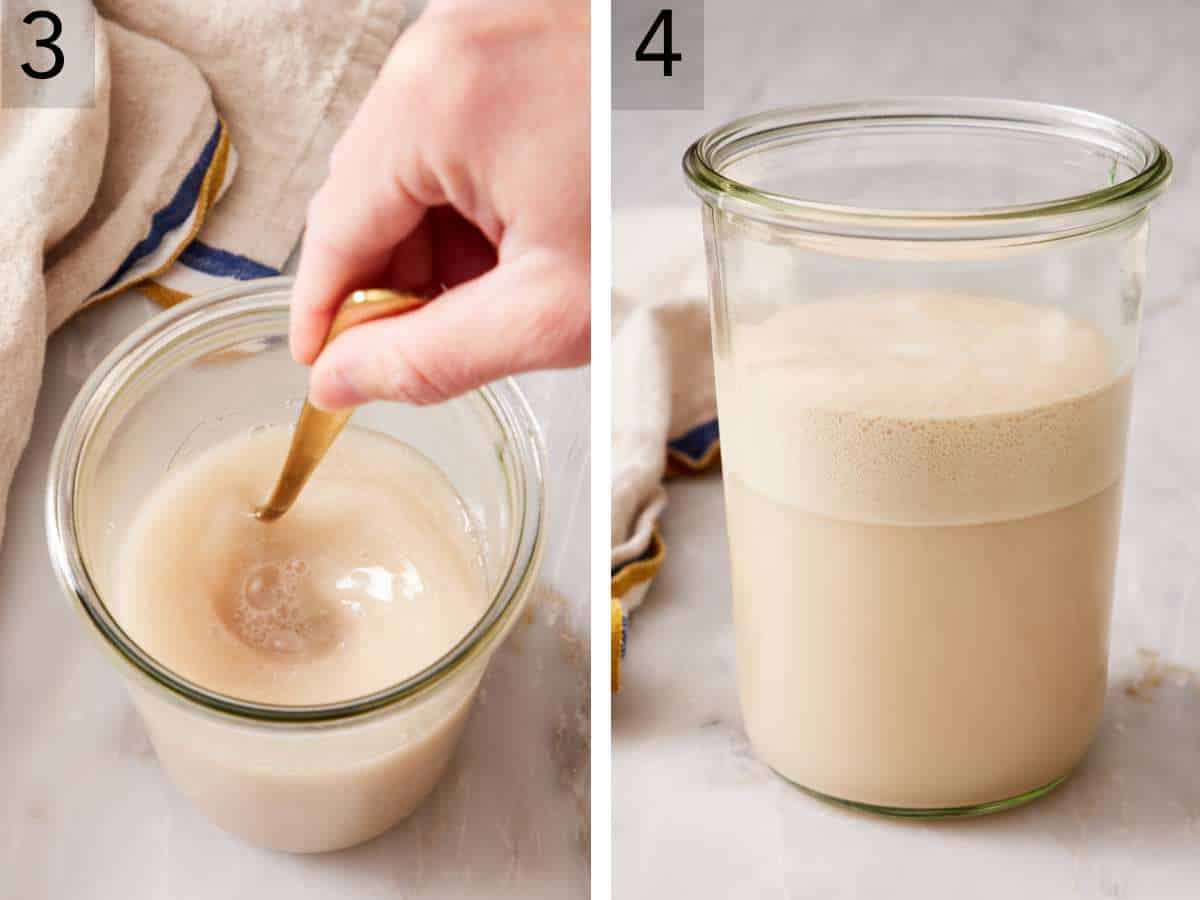
4. Wait 5–10 minutes. Set the mixture aside and leave it alone. Active, healthy yeast will form a thick, foamy cap on the surface within 5-10 minutes. That foam is your green light to proceed with the recipe.
How To Tell If The Yeast Is Working
Use these two clues to tell whether the yeast is alive and working:
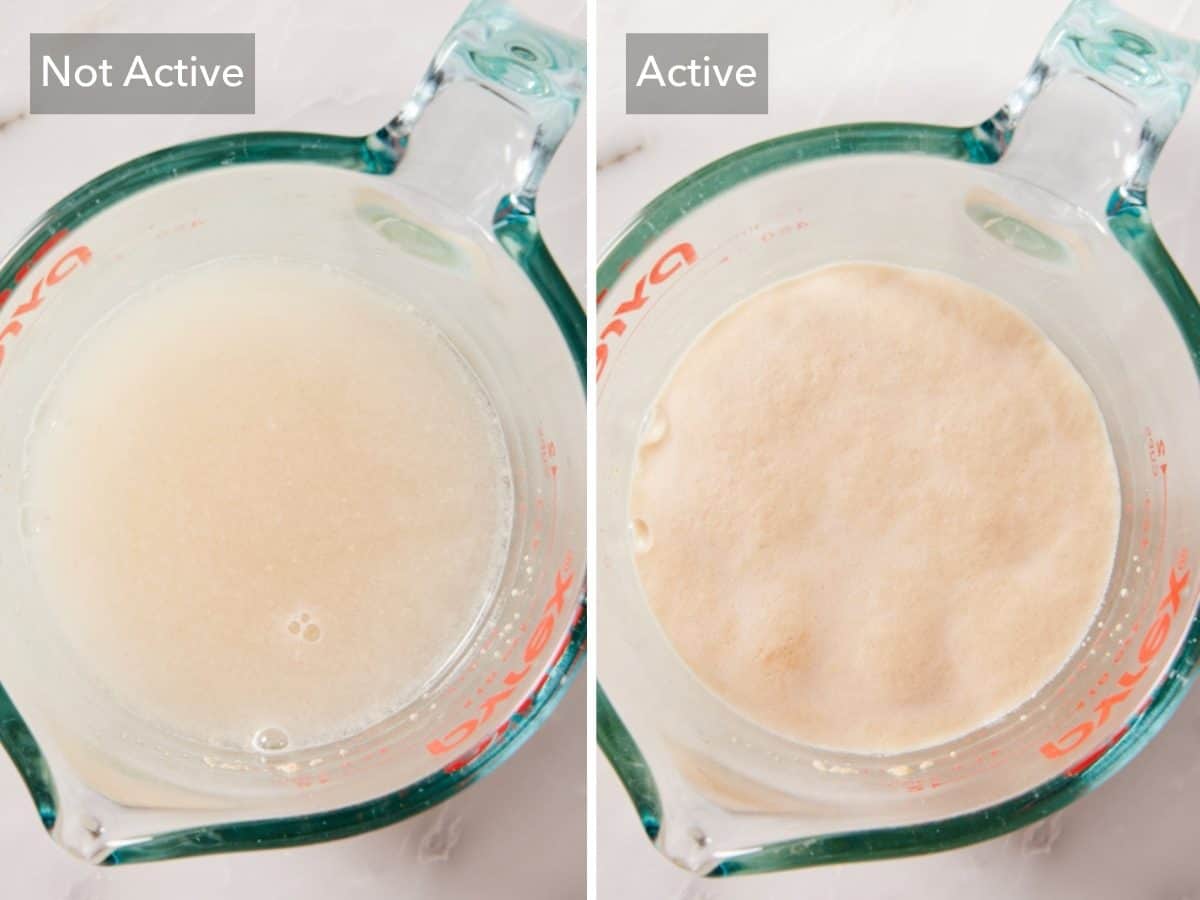
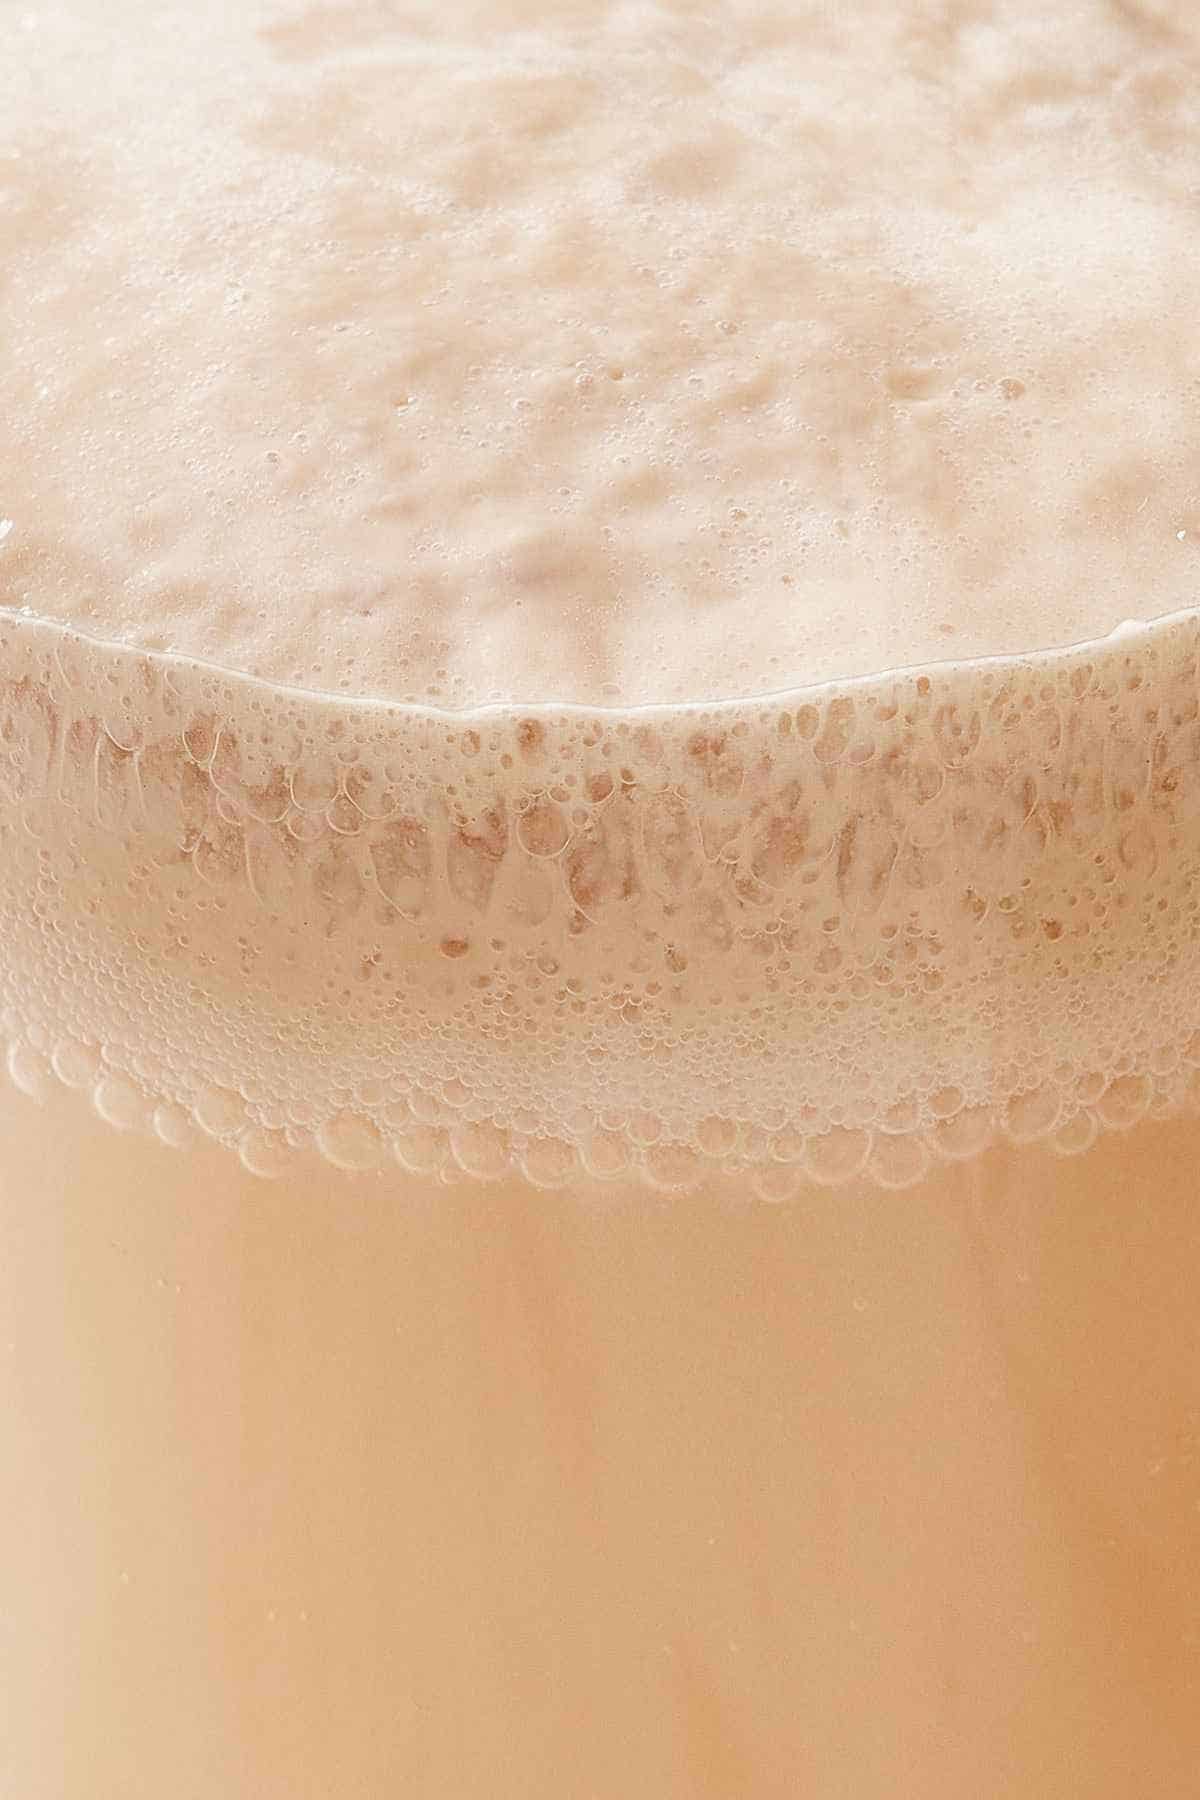
- Foam on top. A thick, bubbly cap of foam should form within 5 to 10 minutes. It should look like the head on a pint of beer—visibly risen, not just a few scattered bubbles. If you see only a thin film or a few bubbles around the edges after 10 minutes, your yeast is weak or dying. (You can see this in the image for Step 4, above.)
- A fresh, bready aroma. Active yeast smells faintly yeasty and sweet, like the scent you’d recognize from a bread bakery. You’ll notice it as soon as the yeast hits the water, and it gets stronger as the mixture blooms.
What if nothing happens? If there’s no meaningful foam after 10 minutes, wait another 5. Sometimes older yeast is slow to wake up. If you’re at the 15 to 20 minute mark and still seeing nothing, your yeast is dead, or your water was too hot or too cold. Throw the mixture out and start over with fresh yeast and the right water temperature (aim for 105-110°F range).
How to Test If Old Yeast Is Still Good
If you’re unsure whether a jar of yeast that’s been sitting in your pantry is still viable, you can test it without committing to a whole recipe. The technique is called proofing (or “proving”), and it’s essentially the activation process done as a diagnostic:
1. Combine ¼ cup of warm water (105-110°F) with ¼ teaspoon sugar in a small bowl.
2. Sprinkle 1 teaspoon of the yeast in question over the water.
3. Wait 10 minutes. If the mixture foams up vigorously and smells bready, the yeast is fine. Proceed with your recipe. If it barely bubbles or does nothing, the yeast is dead, and you need a fresh packet.
You can do this with both active dry and instant yeast. Important caveat: Testing instant yeast this way is diagnostic-only. When you actually use it in a recipe, you still skip the blooming step and add it directly to the dry ingredients. Proofing here is just to prove the jar is still alive.
When to proof: Any time your yeast is close to its expiration date, has been opened for more than a few months, or has been stored in a warm spot. It takes 10 minutes and saves you from wasting hours of work on dough that won’t rise.
Troubleshooting Common Issues
My yeast didn’t foam at all. The most common cause is that your yeast is old or dead. Check the expiration date and how long it’s been open. (It’s a good idea to label a jar of yeast with the date you opened it for quick reference.) The second most common cause is water that was too hot. Even water that feels “warm” to your hand can be over 130°F. Always use a thermometer to check it for the right temperature.
My yeast foamed a little, but not much. You have weak but not dead yeast. It might still work, but your bread will rise slowly. I’d start over with fresh yeast if you’re baking something important or you can’t wait for a longer proofing time.
My dough isn’t rising even though my yeast bloomed. It’s possible that something killed the yeast after you added it to the dough. Most likely culprit: liquid added to the dough that was too hot when you combined everything, and killed the yeast. Acid and salt can also kill yeast. In most recipes, these ingredients are diluted enough by the flour and liquid to not harm the yeast, but it’s still best to avoid mixing them directly into the bloomed yeast so you don’t risk any damage.
I added cinnamon to the dough, and it won’t rise. This one might be the most surprising. A key component of cinnamon—cinnamaldehyde— is an antifungal and will inhibit yeast growth (remember, yeast is technically a fungus). Adding large amounts to a yeasted dough can cause it to turn out flat or dense. If you add cinnamon to a recipe that doesn’t already use any, I’d recommend increasing the yeast by 50-100% and keeping the cinnamon amount less than 2 teaspoons.
The liquid was boiling when I added the yeast. Your yeast is dead. No amount of waiting will revive it. Start over with fresh yeast and cooler liquid.
My yeast smells strongly alcoholic or sour. This usually means you let it bloom way too long, or the mixture sat in too warm a spot. A mild yeasty smell is correct; a sharply alcoholic smell means the yeast has exhausted its sugar supply and produced ethanol. It can still be usable but past its peak; add it to the dough quickly, and know there’s a risk it may not work.
I used instant yeast, and the dough rose, but then collapsed. Classic sign of overproofing, which is easier to do with instant yeast because it works faster. Next time, proof for a shorter time or use slightly cooler liquid in the dough to slow it down.
Yeast Conversions & Substitutions
Recipes call for yeast in different forms and measurements, which can be confusing. Many readers also ask me if they can swap out different types of yeast called for in a recipe. Here are the conversions I use most often:
Packet to measurement: One standard packet of dry yeast contains 2¼ teaspoons (7 grams/0.25 ounces). If a recipe calls for “1 packet” and you’re working from a bulk jar, that’s what to measure.
Active dry → instant: Same amount (1:1). Skip the blooming step and add directly to your dry ingredients. Note that the rise times will be much faster.
Instant → active dry: Same amount (1:1). Bloom it first in the warm liquid before adding to the dough. The rise times will be about twice as long.
Fresh yeast → dry yeast (active dry or instant): Use a little less than half the weight. So ⅔ ounce (18g) of fresh yeast equals about ¼ ounce (7g or 1 packet) of dry. Remember to bloom active dry first. Instant can be swapped directly.
Sourdough starter as a yeast substitute: This is a bigger topic, but as a rule of thumb, you need 20% active starter to replace about 2¼ teaspoons (1 packet/7g) of commercial yeast in a recipe. For detailed guidance, see my sourdough starter tutorial.
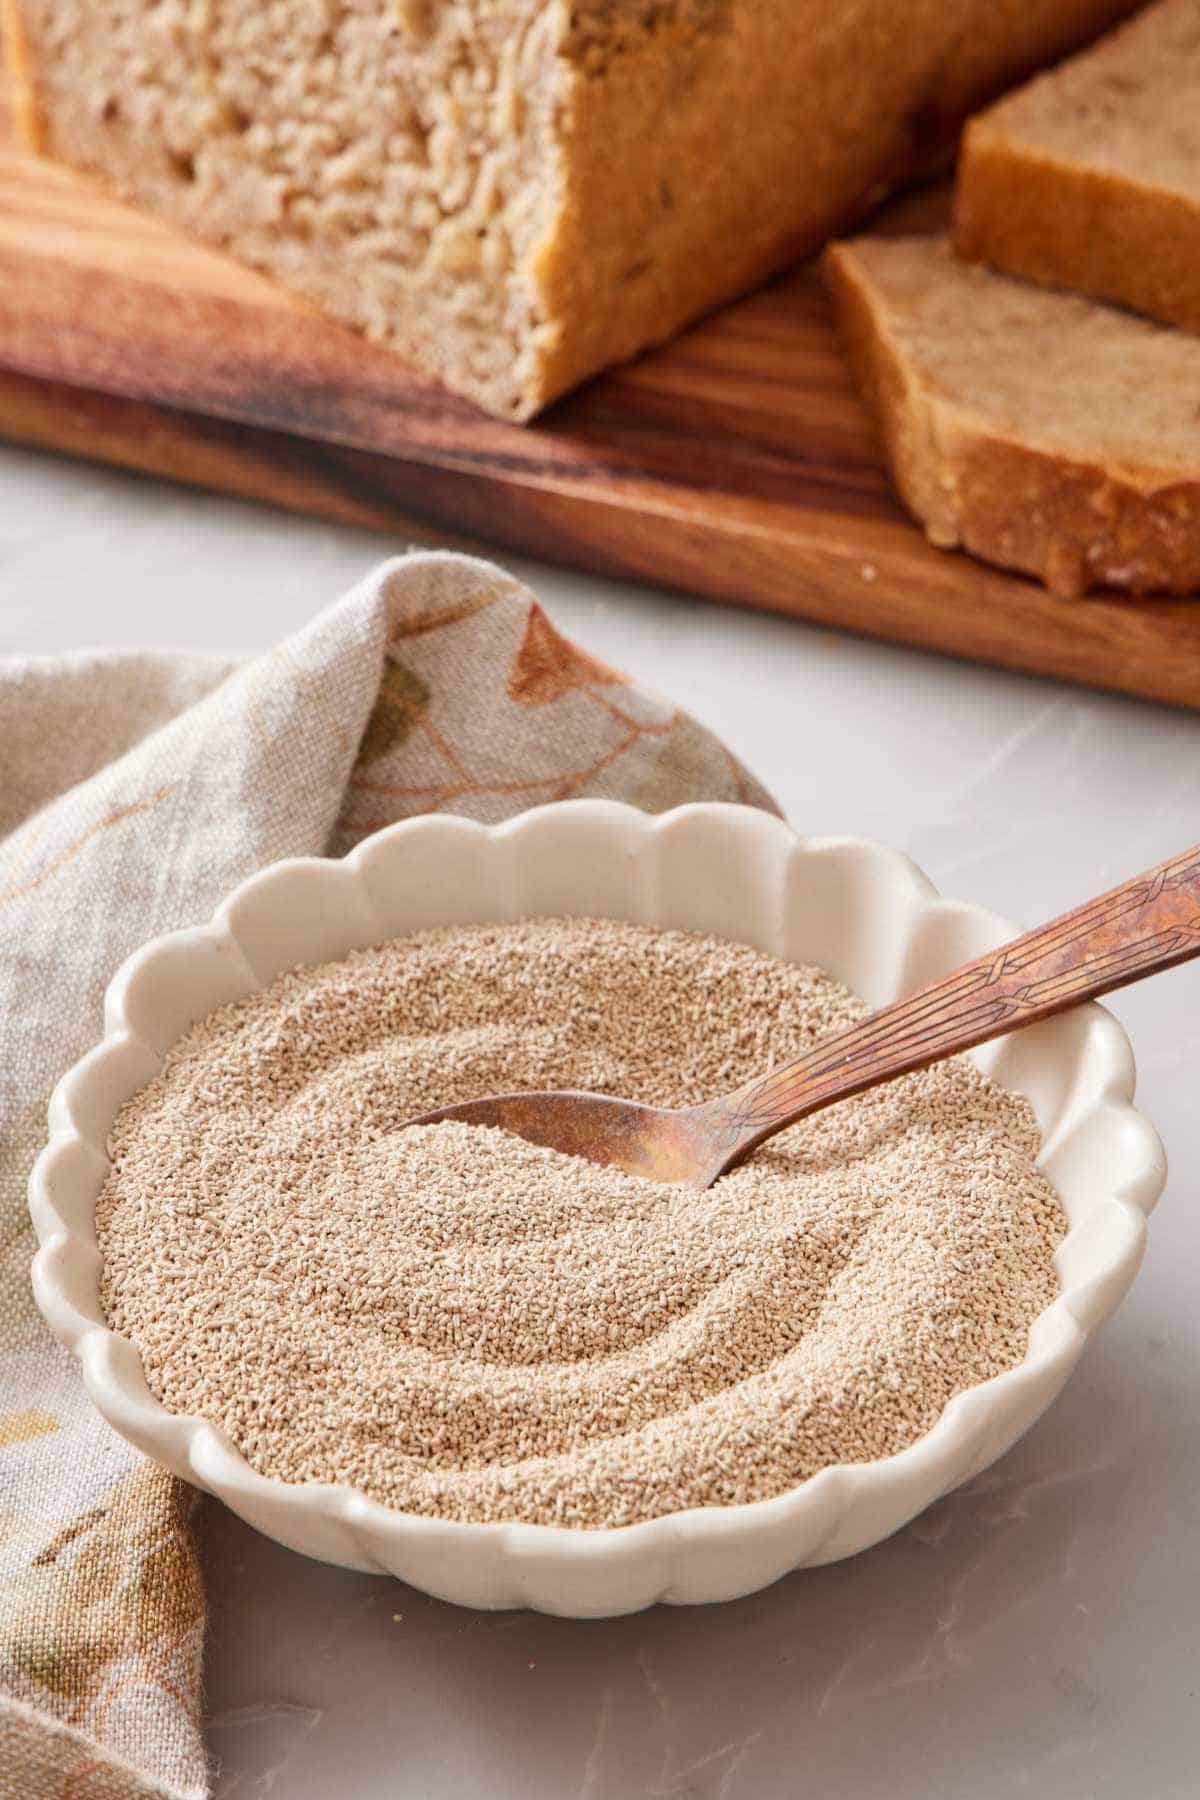
How To Store Dry Yeast
Yeast is a living organism, even in its dormant state, so how you store it directly affects how long it stays viable.
Unopened packets or jars: Store in a cool, dry pantry or in the fridge, if your pantry gets warm. Unopened yeast is shelf-stable until its printed expiration date, usually about 2 years from production.
Opened jars or bulk containers: Transfer to the refrigerator immediately after opening. Airtight storage is critical as moisture is the enemy. A well-sealed jar in the fridge keeps yeast viable for about 6 months, sometimes longer. I write the date I opened it on the lid with a Sharpie so I can track how long it’s been around. I typically stash it in the door of my fridge since it is less humid than a drawer.
Freezing yeast: There are mixed opinions about storing dry yeast in the freezer. Freezing temperatures cause the yeast cells to stay dormant, extending their shelf life. But the super cold temperature can gradually damage yeast cells, reducing their rising power over time. Some brands of yeast, like Red Star, recommend storing in the freezer long-term. Others say it’s still a short-term storage solution.
The bottom line: You can store dry yeast in the fridge or freezer, but always test it to make sure it’s still active if it’s been stashed for a while. I use my yeast regularly enough that I just keep it in the fridge.
How to tell if stored yeast has gone bad: Look for any color change (yeast should be beige to tan, not gray or dark brown), clumping from moisture exposure, or any off smell. When in doubt, run the proofing test described above before using it in a recipe.
Frequently Asked Questions
Yes. Warm milk works just like warm water for blooming, and some recipes (like brioche and enriched dinner rolls) call for it specifically. Heat the milk to 105-110°F, add sugar and yeast, and wait for the foam. Milk can take slightly longer to show active foaming than water, so give it a few extra minutes if you don’t see much activity.
No, but I recommend it. Adding a teaspoon of sugar gives the yeast a bit of food to feed on, speeding up the process significantly, and gives you a clearer visual signal that the yeast is alive.
Your dough won’t rise. You’ll end up with a dense, heavy, often flat bread. This is why blooming active dry yeast is so valuable: it catches dead yeast before you invest in the rest of the recipe. If you accidentally bake with dead yeast, the bread is generally safe to eat, but won’t have the texture you want. (Turn it into bread crumbs!)
Usually yes. If your tap water is heavily chlorinated or has a strong mineral taste, use filtered water instead. Chlorine in particular can inhibit yeast activity. If you’re unsure, run your tap water through a Brita filter or use bottled water for bread baking.
Once you’ve bloomed it, use it within 10 to 15 minutes. Past that, the yeast starts exhausting its sugar supply and loses rising power. If your dough isn’t ready when your yeast is, the yeast is being wasted.
Maybe. Yeast that’s been stored properly can stay viable past the printed date. Run the proofing test before using expired yeast in a real recipe. If it foams vigorously, it’s fine. If not, buy a new packet.
Recipes To Try
Put your yeast knowledge to use, and try one of these recipes:
- The Best Cinnamon Rolls — one of my most popular yeasted recipes and a perfect first bake once you’re confident with activation.
- Homemade Dinner Rolls — fluffy, buttery, and forgiving for yeast beginners.
- Pizza Dough — a flexible, versatile dough that teaches you how yeast behaves during a longer fermentation.
- Brioche — enriched yeasted bread for when you want to level up your bread-baking skills.
If you’ve tried this “how to activate yeast” tutorial, then don’t forget to rate it and let me know how you got on in the comments below. I love hearing from you!






