
This post may contain affiliate links. Please read our disclosure policy.




Pie crust freezes beautifully for up to 3 months, and freezing it ahead is one of the best ways to make holiday baking less stressful. This guide covers three methods (discs, rolled-out sheets, and pre-shaped shells), the thaw time for each, and how to bake from frozen when you’re in a hurry.
The freezer is a home baker’s best friend during the holidays, but only if you use it well. Pie crust frozen properly stays fresh for up to 3 months, which means you can spend a quiet Sunday in October making four crusts and pull them out one at a time through Thanksgiving and Christmas without ever scrambling at the last minute. Done badly, frozen pie crust comes out gummy and freezer-burned, or impossibly hard to thaw in time. The difference between the two outcomes is entirely about the wrap method and which of the three approaches you choose.
In this lesson, I’ll cover the three best methods for freezing pie crust—frozen discs (the most common), rolled-out crusts (faster to thaw), and pre-shaped crusts in their pie pan (the most convenient for bakers who know exactly what pie they’re making). I’ll cover when to use each, how to wrap and store them, what to expect when thawing, and whether you can bake straight from frozen. Plus, I answer several common reader questions about freezing pie dough in all its forms.
“I’m the pie baker for our holiday family meals, and freezing the pre-rolled and shaped crusts was a DREAM time-saver. I froze shaped crusts for pumpkin and pecan pie, and rolled sheets for a double crust apple pie. Literally saved hours of time the day of our meal.”
Eliza
What You’ll Need
The supplies for freezing pie crust are minimal, and you likely have everything already in your kitchen drawer:
- Plastic wrap — the primary moisture barrier. Two layers are the rule for maintaining freshness (more on that below).
- Aluminum foil — the secondary barrier for discs, rolled crusts, and shaped shells. The combination of plastic wrap + foil is what gets you to 3 months without freezer burn.
- Freezer bags — large gallon-size or extra-large bags work for discs, rolled crusts, or shaped shells. Quart-size is fine for decorative cutouts. Bags are preferable over containers because you can press extra air out of them as additional freezer burn protection.
- Parchment paper — for separating layers of decorative cutouts (so they don’t fuse together) and for rolling out dough.
- Sharpie — to label and date everything. Freezer time blurs together fast!
Optional but useful: Freezer-safe pie pans for freezing shaped crusts, large freezer-safe containers for stacking pre-shaped crusts in their pie pans, or pie crust shields for baking from frozen.
Method 1: Freezing Pie Dough Discs
This is the classic approach and the one I use most often. Simply shape your pie dough into a flat disc, wrap it, and freeze. It’s the method most pie crust recipes default to for fridge or freezer storage, and the one you’ll see in most of my recipes and cookbooks.
1. Make your pie dough as usual. My classic homemade pie crust works perfectly for freezing, as does any reliable butter-based pie crust recipe.
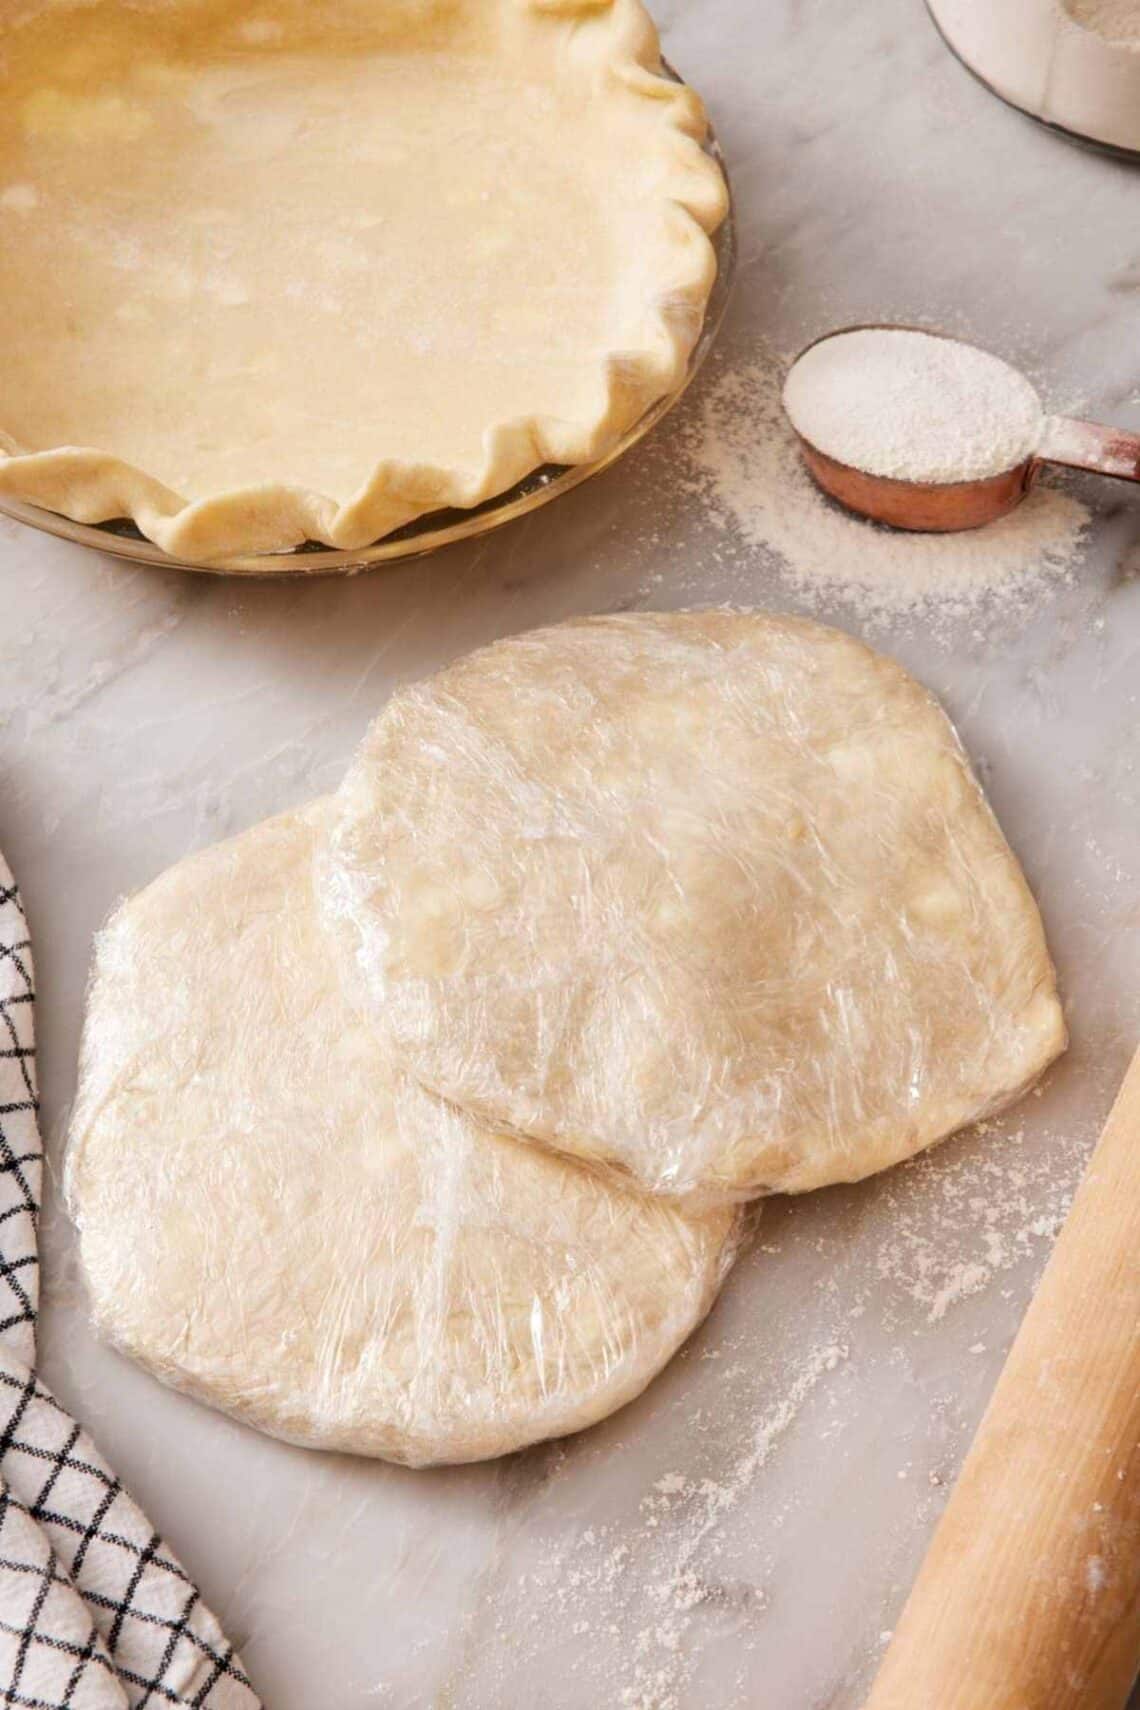
2. Shape into discs and chill. Divide the dough into two equal portions (one for the bottom crust, one for the top). Flatten each into a disc about 1 inch thick.
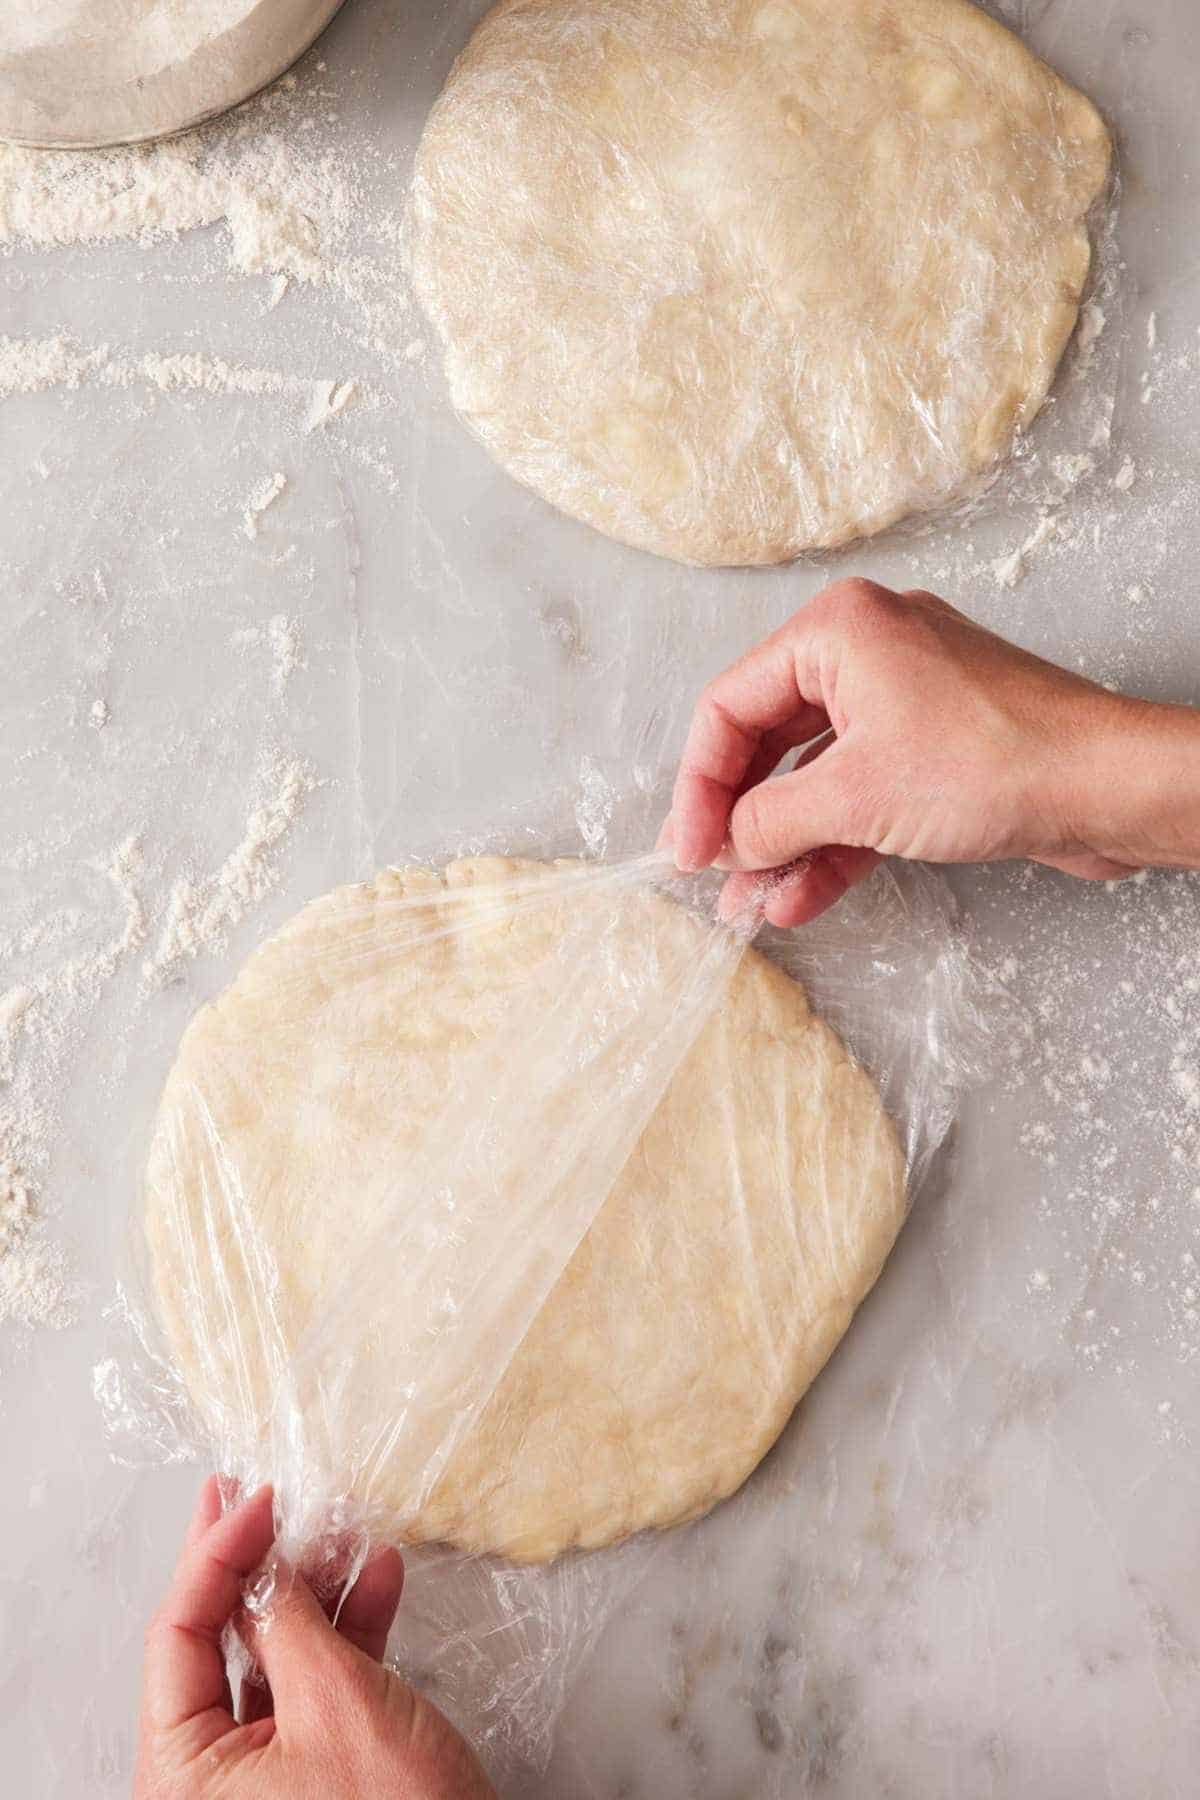
3. Wrap tightly in plastic. Use 2 layers of plastic wrap, pressed flush against the disc. Air pockets are where freezer burn forms. Chill the discs in the fridge for 30 minutes before freezing if you’d like—this cools the dough down to get it closer to freezer temps, helping to prevent ice crystals (just in case you have any gaps in your wrapping).
4. Add a second barrier. Wrap the plastic-wrapped discs in foil OR place them in a freezer bag with the air pressed out. Mark the bag with the date and type of pie crust (“All-butter crust from Preppy Kitchen”).
5. Freeze flat. Place the wrapped disc on a flat surface in the freezer until solid (about 2 hours), then it can be repositioned or stacked. Freezing flat first prevents the disc from warping into an awkward shape.
Freeze for up to 3 months. Beyond 3 months, freezer burn risk rises, and the dough’s flavor starts to fade. (The pie dough will keep almost indefinitely if it stays frozen around 0°F. This time limit is for quality.)
The trade-off with discs: They take time to thaw, typically 24 hours in the fridge. If you’re planning ahead, this is fine. If you forgot to thaw it the night before, you’ll be waiting hours before you can roll it out. (See Method 2 if thaw time is a constraint.) You can technically thaw discs at room temperature for 2-4 hours, but you risk your dough being softer on the outside with melted butter and the center being firm. This makes it hard to roll evenly and can destroy the flaky texture you worked hard to achieve.
Method 2: Freezing Rolled Pie Dough
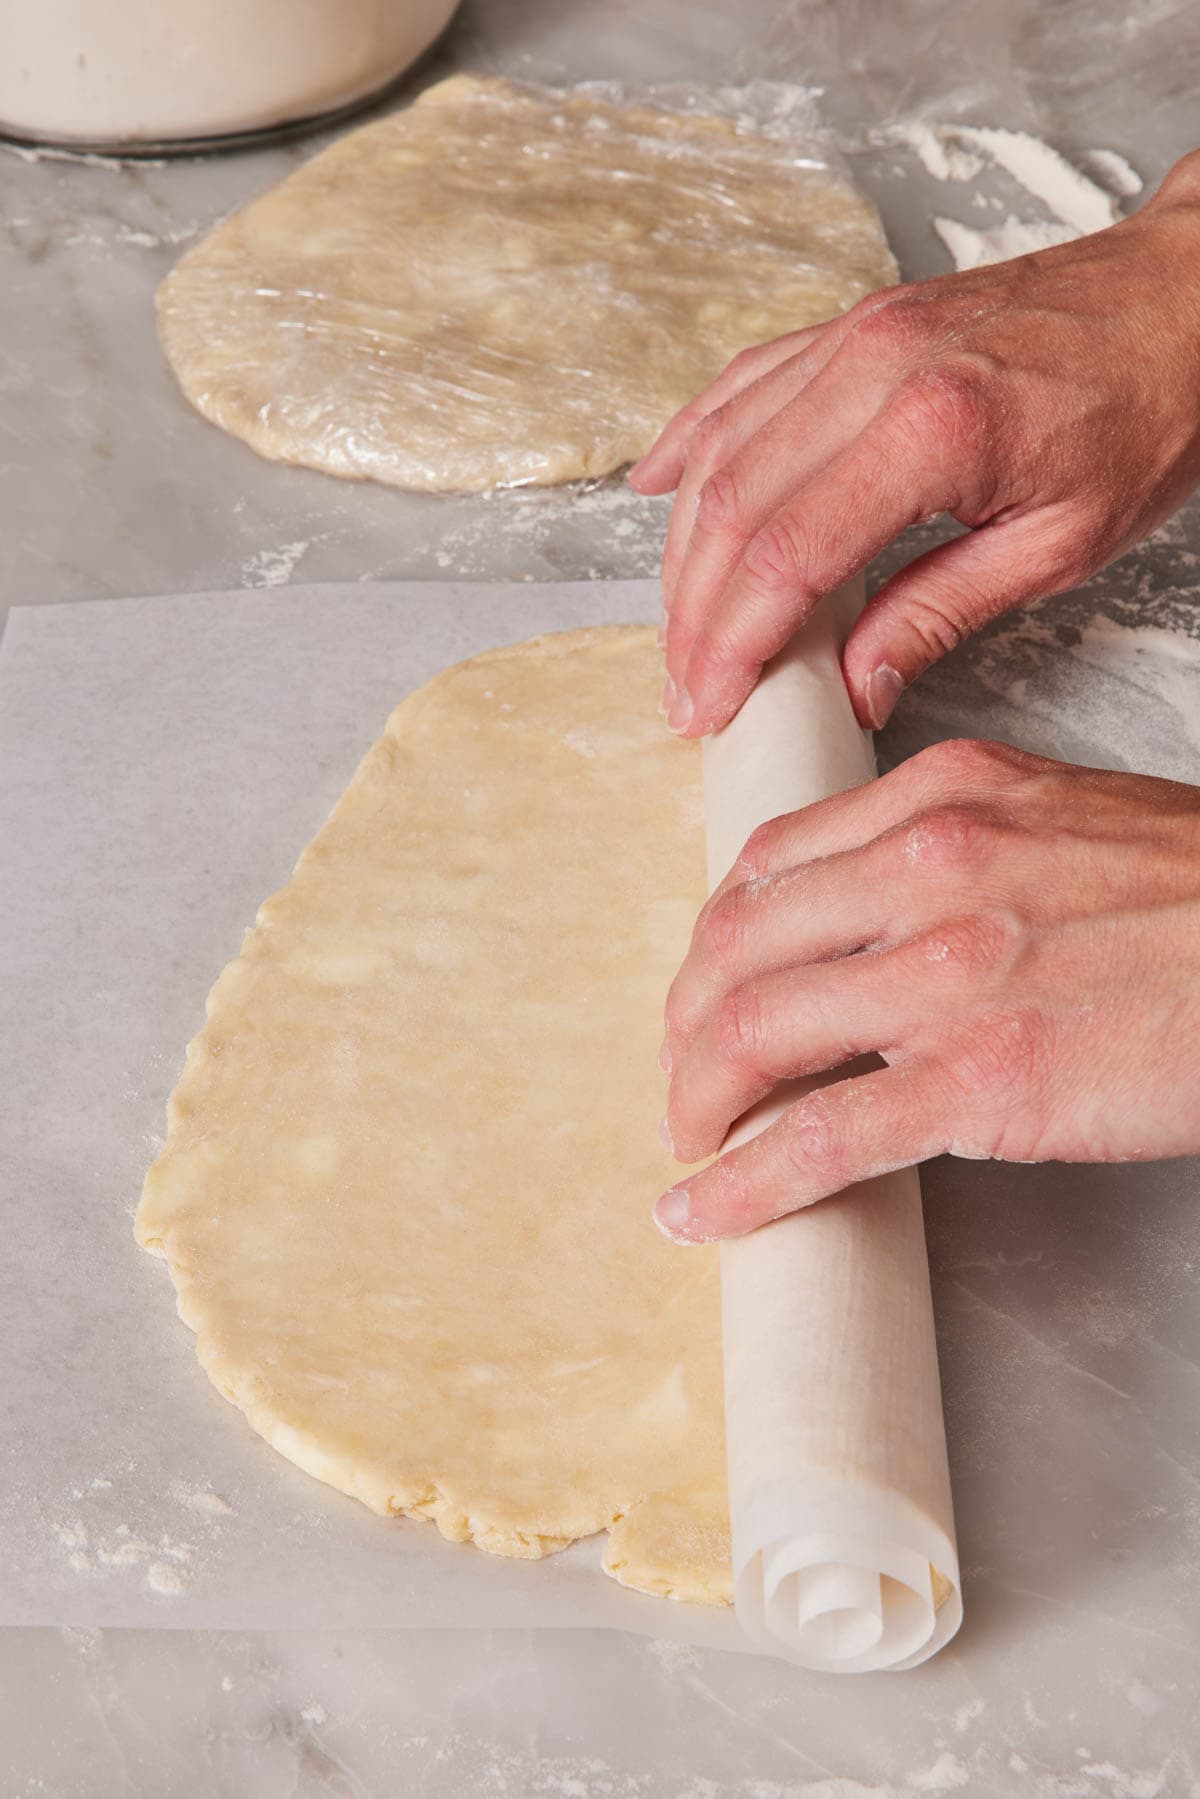
This method is faster to thaw and is ready to go on baking day. You roll the dough out into the shape you’ll need (a circle for a 9-inch pie pan), then freeze it rolled up in a layer of parchment paper.
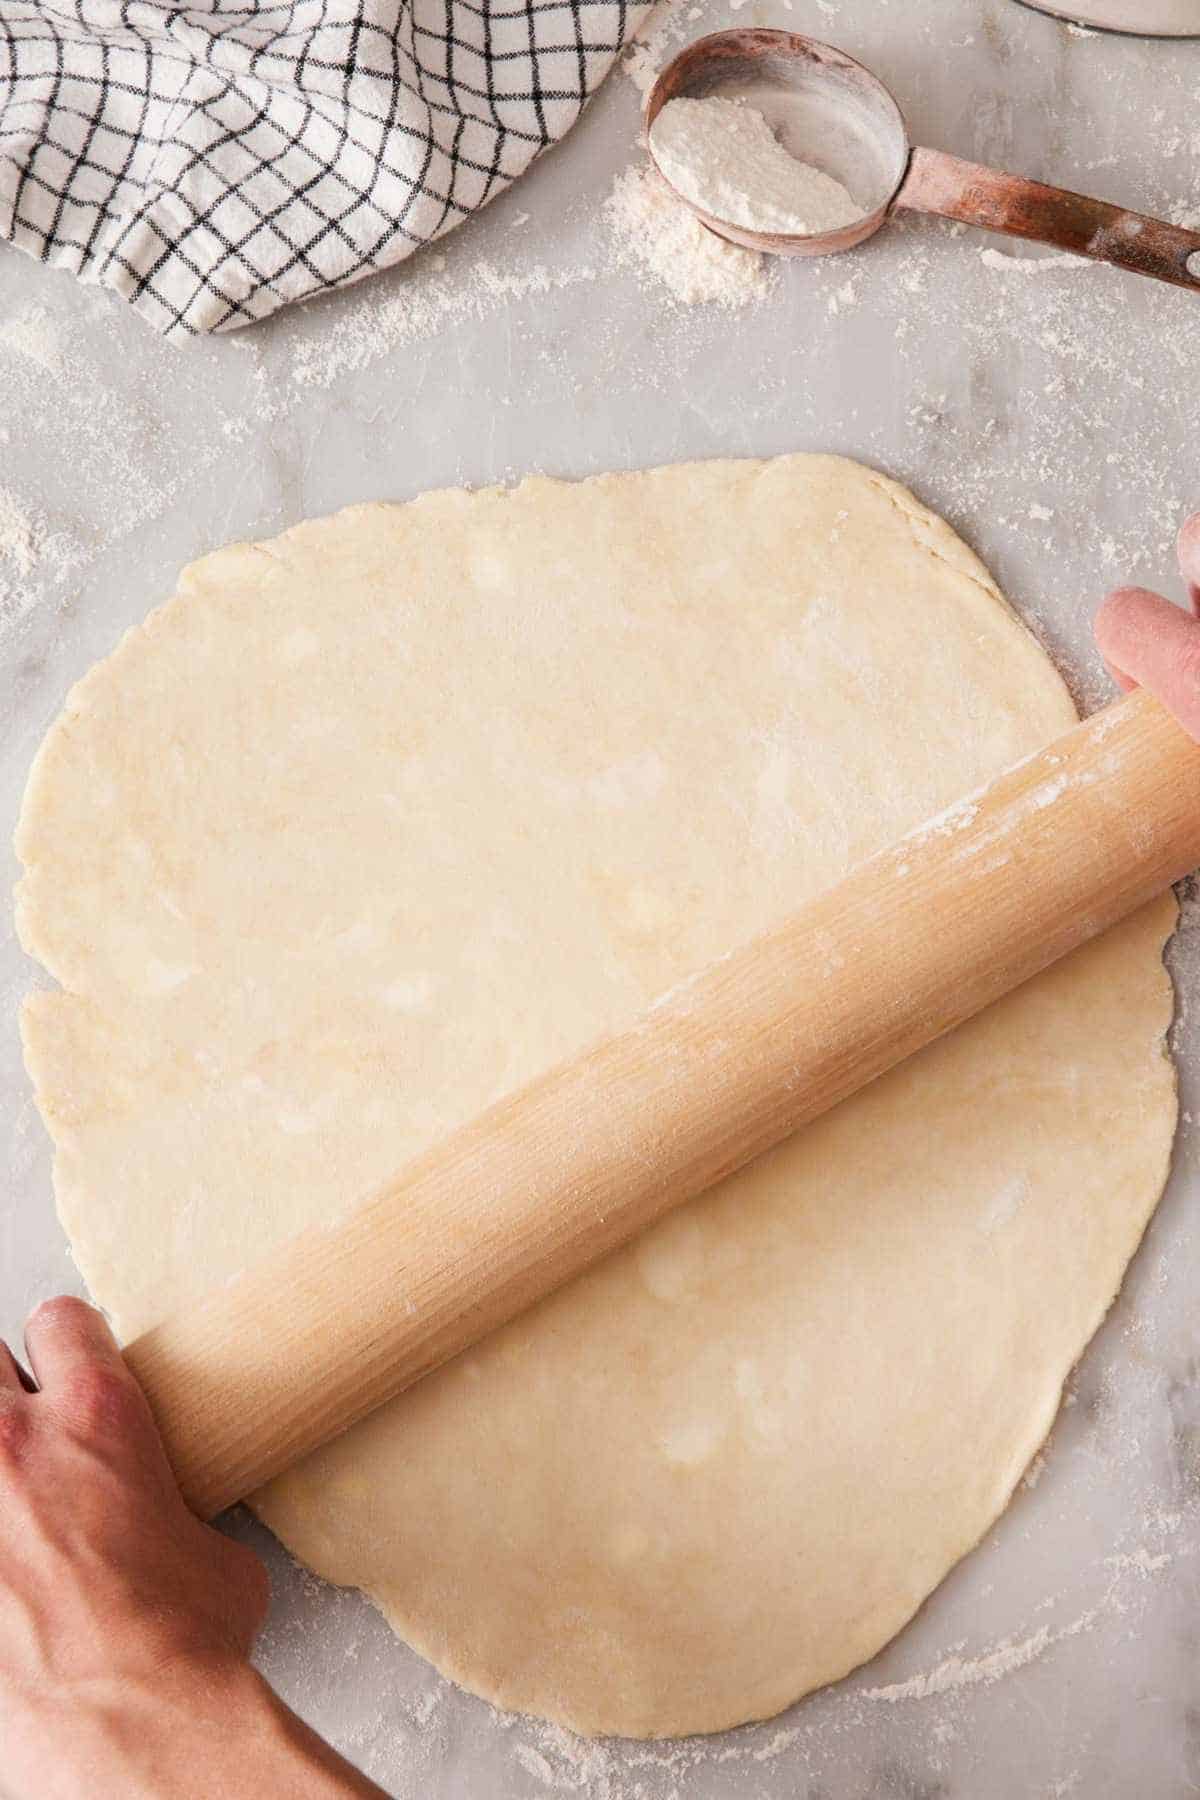
1. Roll the dough out into a 12- to 14-inch circle, about ⅛ inch thick, the same thickness you’d use to fit a 9-inch pie pan.
2. Place the rolled dough on a sheet of parchment paper. A piece of parchment slightly larger than the dough.
3. Roll up loosely (like a jellyroll). This will shape the pie crust like the rolls of store-bought dough you can buy at the store. This makes them just as convenient, but they taste so much better! If you’d prefer, you can also stack the rolled sheets flat between layers of parchment—this will take up a lot more storage space in your freezer, though.
4. Wrap the roll tightly in plastic wrap, then place it inside an extra-large freezer bag with the air pressed out OR wrap it in a layer of foil. (You don’t need to double wrap with plastic since it has a layer of parchment paper already.) Mark with the date and “rolled pie crust” or the recipe you used.
5. Freeze flat. Store on a flat freezer shelf or baking tray until solid. Solid freezing takes about 2 hours; full freeze takes 6-8 hours. Once fully frozen, you can store the crust upright, or however it fits best in your freezer. Freeze for up to 3 months.
The trade-off with rolled crusts: They take more freezer space, and the larger surface area is more prone to freezer burn if the wrap is imperfect. The advantage: Thaw time is dramatically shorter. A rolled crust thaws in about 30-60 minutes at room temperature or 4 hours in the fridge—usable on the same day you remember to take it out.
This is the method I recommend for last-minute holiday baking or any time you’re unsure exactly when you’ll bake. Discs are fine when you have 24 hours of lead time. Rolled is great when you don’t!
Method 3: Freezing A Pre-Shaped Crust
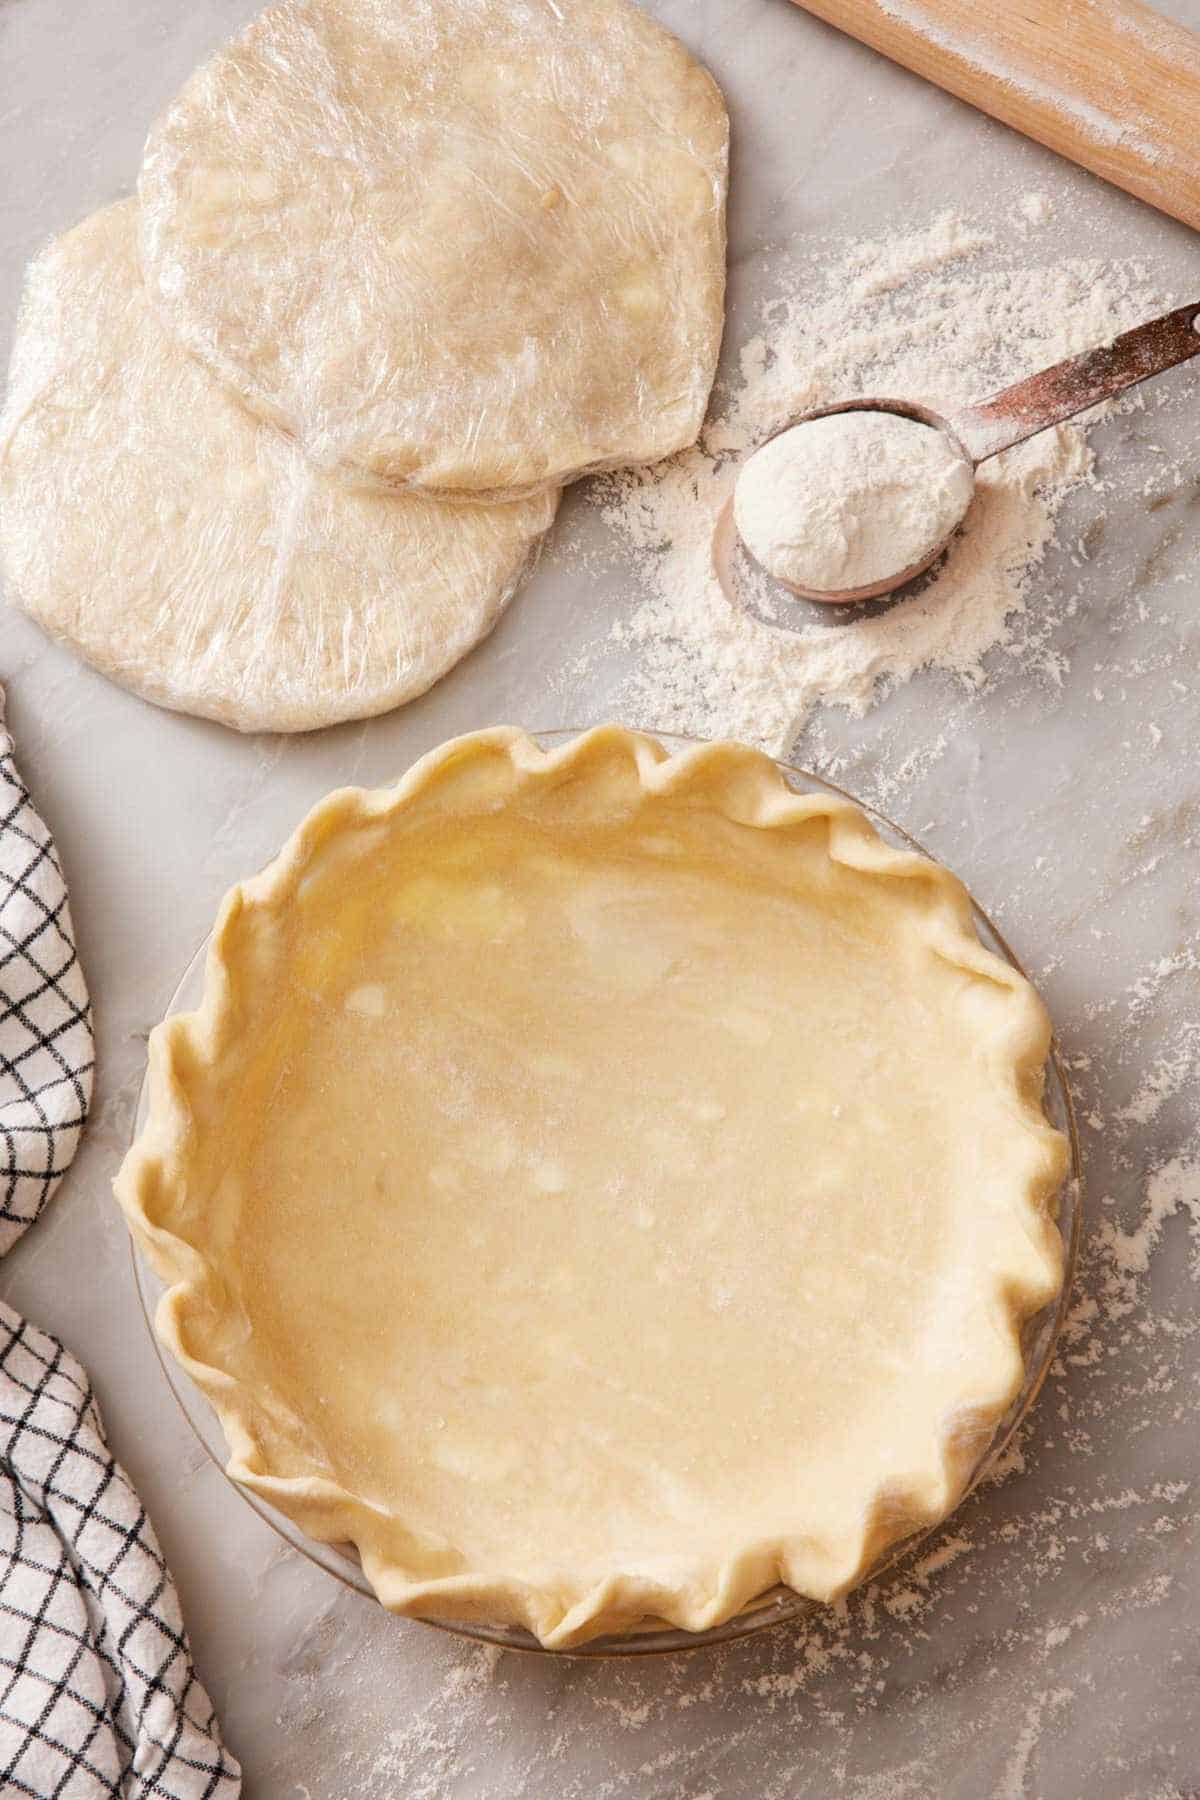
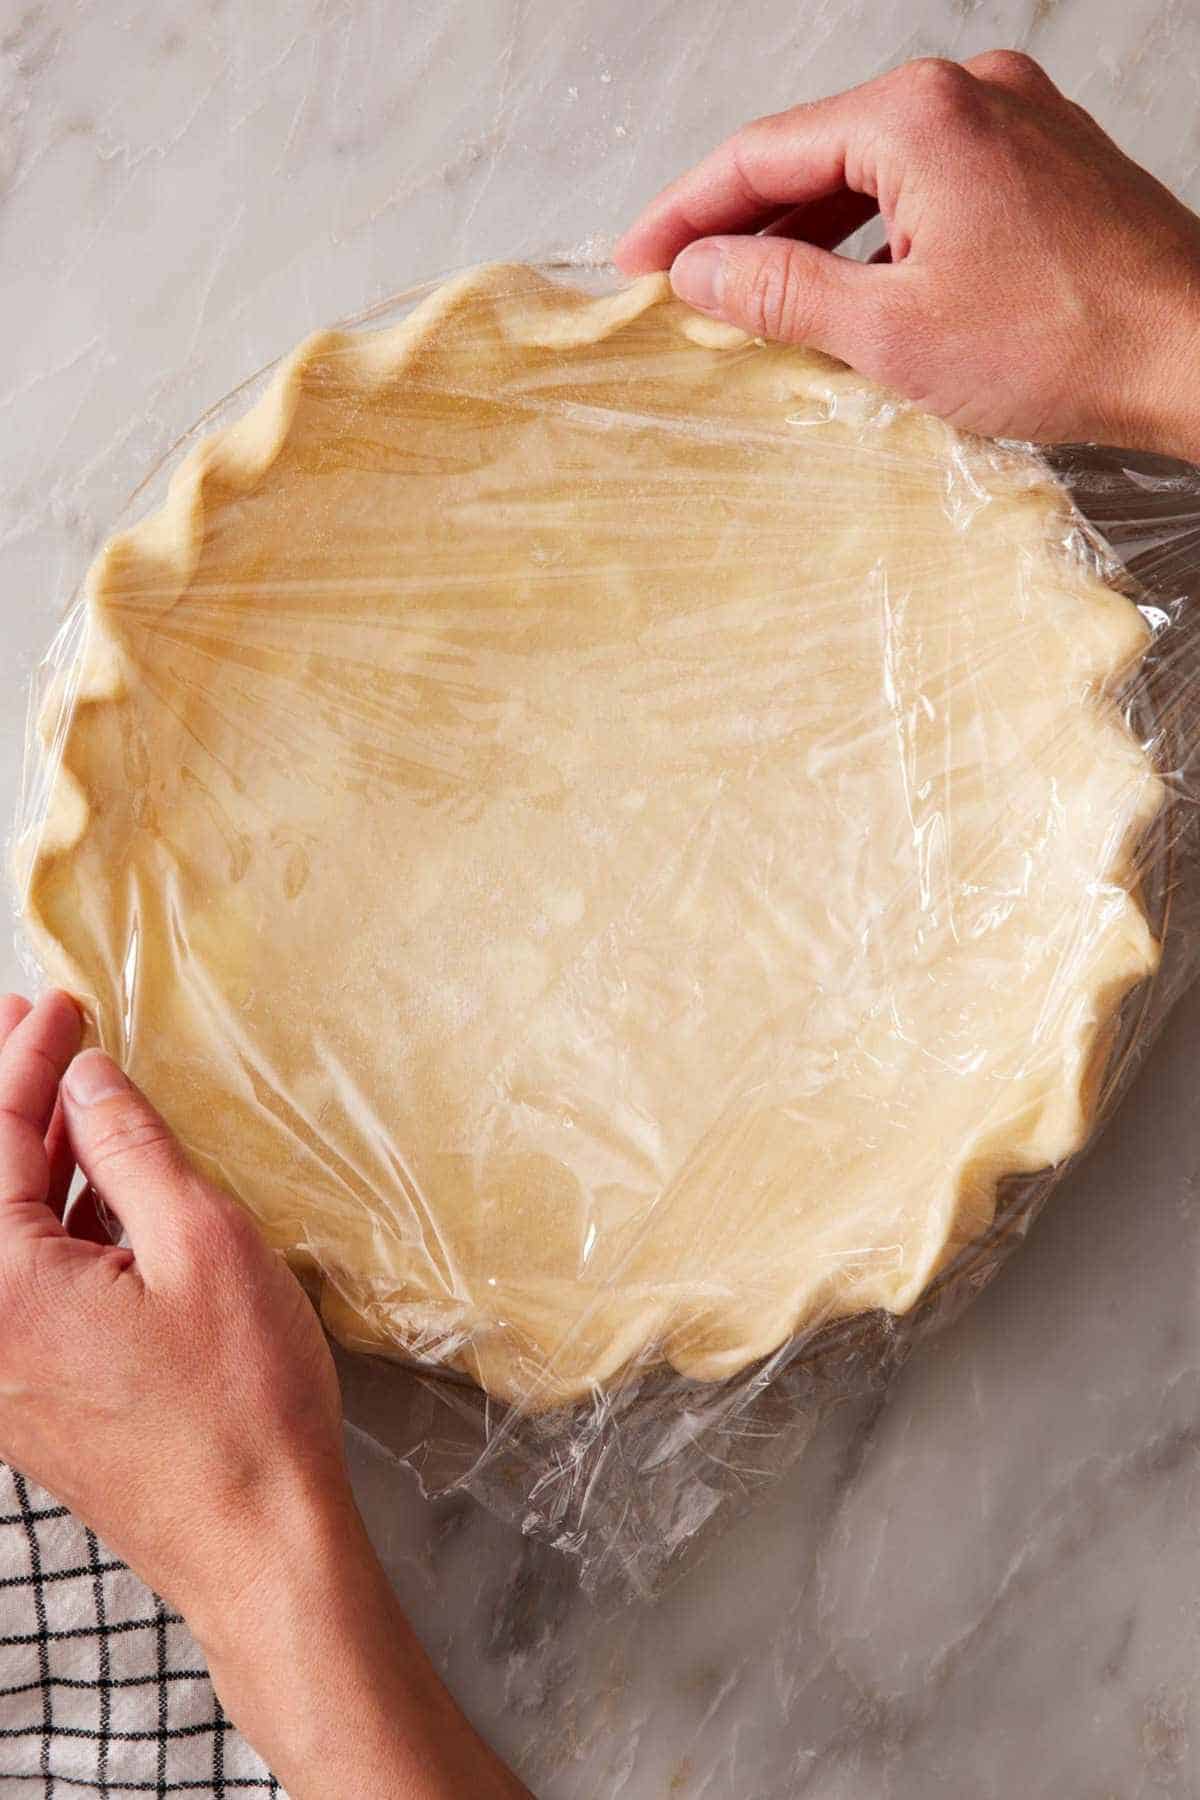
For the most convenient option, fit the rolled-out dough into your pie pan, crimp the edges, and freeze the whole thing, ready to fill and bake. This is the “make a Sunday’s worth of crusts and stash them in the freezer” approach that holiday bakers love.
1. Roll out the pie dough into a 12- to 14-inch circle.
2. Press into a pie pan as you would for any pie. Trim the overhang to about 1 inch beyond the edge of the pan and tuck under, then crimp the edge.
3. Flash freeze. Set the pie crust in the freezer for 1 hour to firm the crust. If you wrap it first, you can smash any decorative crimped edges.
4. Wrap the entire pan tightly in 2 layers of plastic wrap. Press the wrapping into the shell so it touches the crust and lessens any air gap. For added protection, place the wrapped pan in an extra-large freezer bag OR wrap in foil.
5. Freeze flat. If you are freezing multiple shells, you can carefully stack them together to save space. Just be sure they are still solid when stacking, so you don’t squish any decorative crimp. Freeze for up to 3 months.
The trade-off: By shaping first, you commit to a specific pie pan size for each crust, and the freezer real estate is significant (each crust takes the space of a pie pan). The advantage is enormous, though. On baking day, you simply fill the crust, bake, and you’re done. No rolling, no fitting, or crimping. It’s the best holiday time saver!
This is also the method that’s most compatible with baking straight from frozen—see “How To Thaw And Bake” below.
Freezing Decorative Cutouts
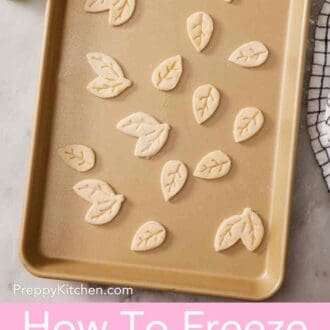
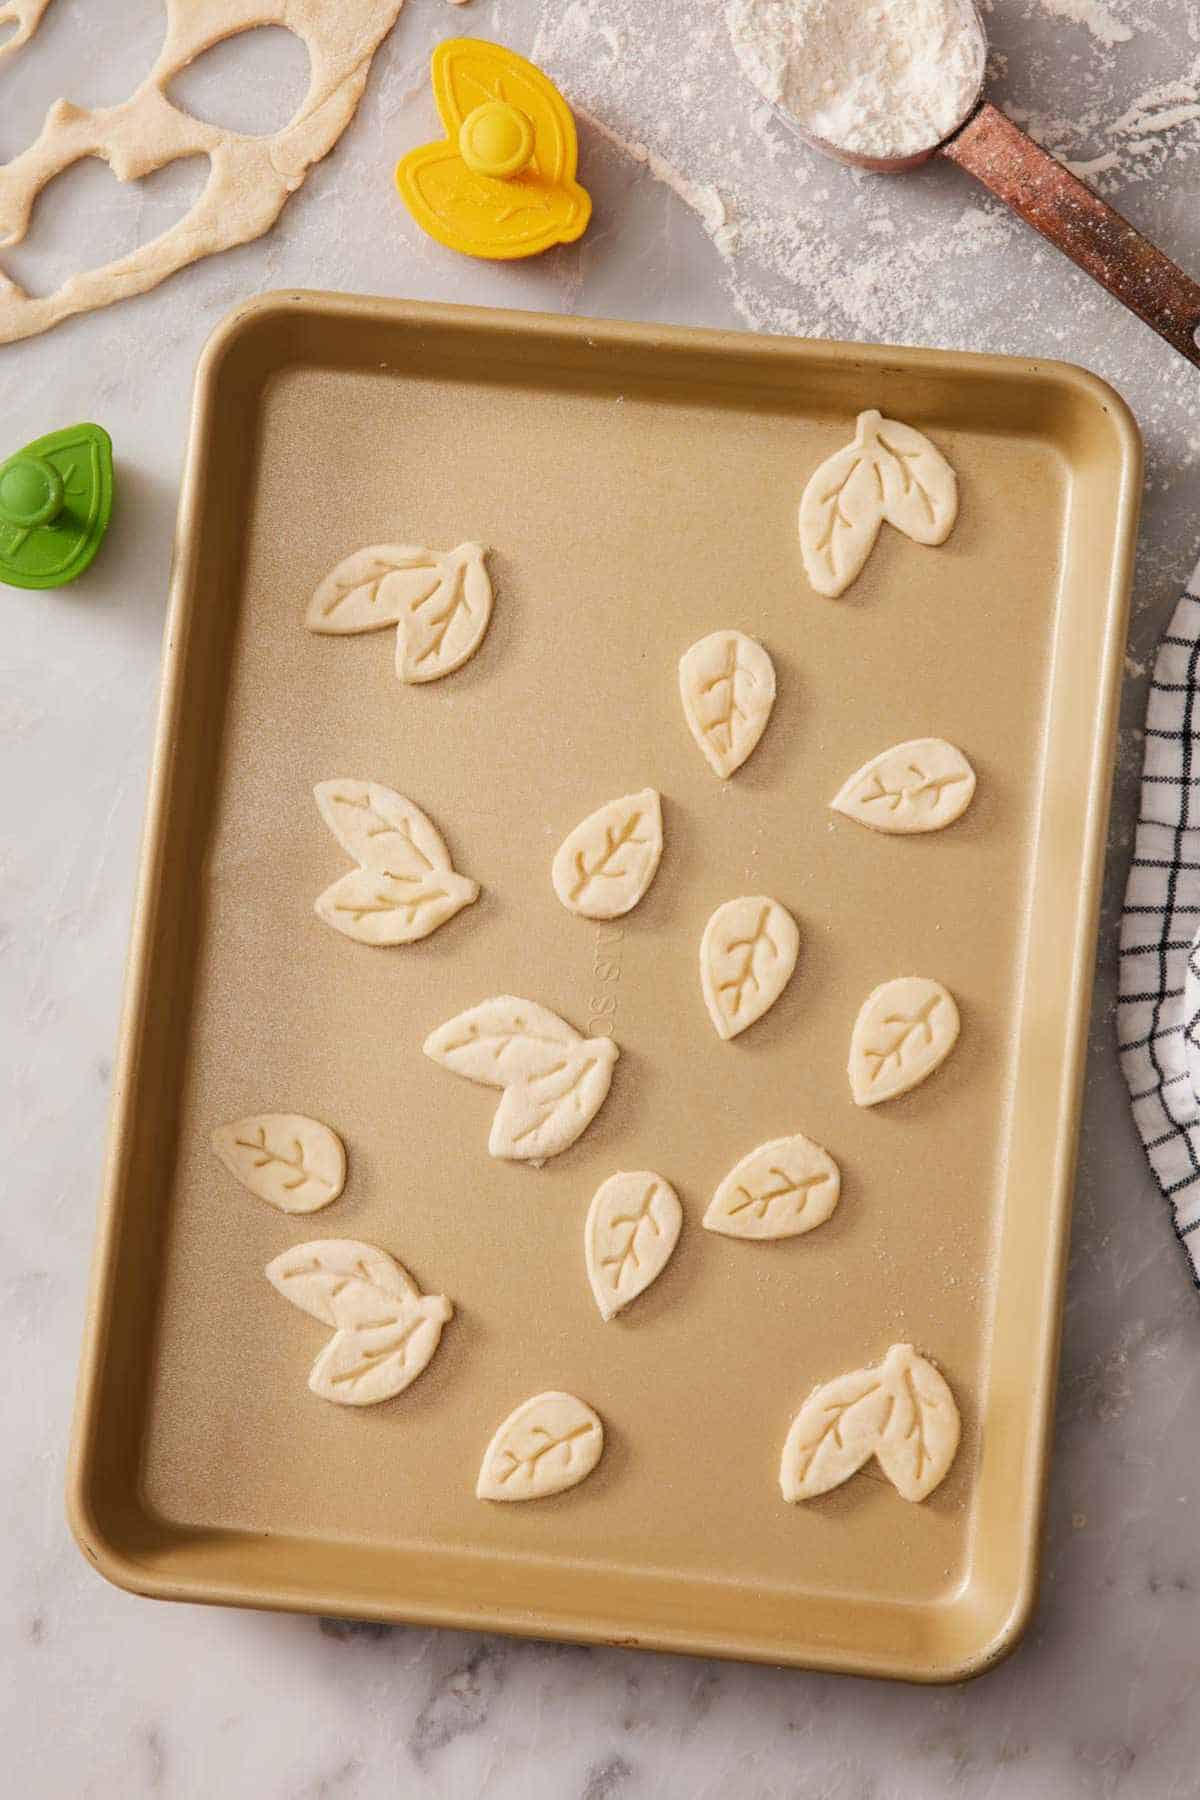
If you make cutouts from pie crust (leaves, stars, lattice strips), you can freeze those ahead too. This is genuinely useful for holiday pies where you’re doing both a bottom crust AND decorative work.
1. Cut your shapes from rolled pie dough using cookie cutters, a pastry wheel, or the lattice technique.
2. Place the cutouts on a parchment-lined sheet pan, leaving just enough space between them so they don’t touch.
3. Flash-freeze for 1 hour or until firm. This step is essential. Without it, the cutouts will fuse together when stacked.
4. Transfer the frozen cutouts to a freezer bag or container with parchment between layers if you’re stacking. Mark with the date and shape (“leaf cutouts”).
5. Freeze for up to 1 month. Cutouts have more surface area exposed than discs, so the practical freezer life is a bit shorter. 1 month is ideal for the best quality.
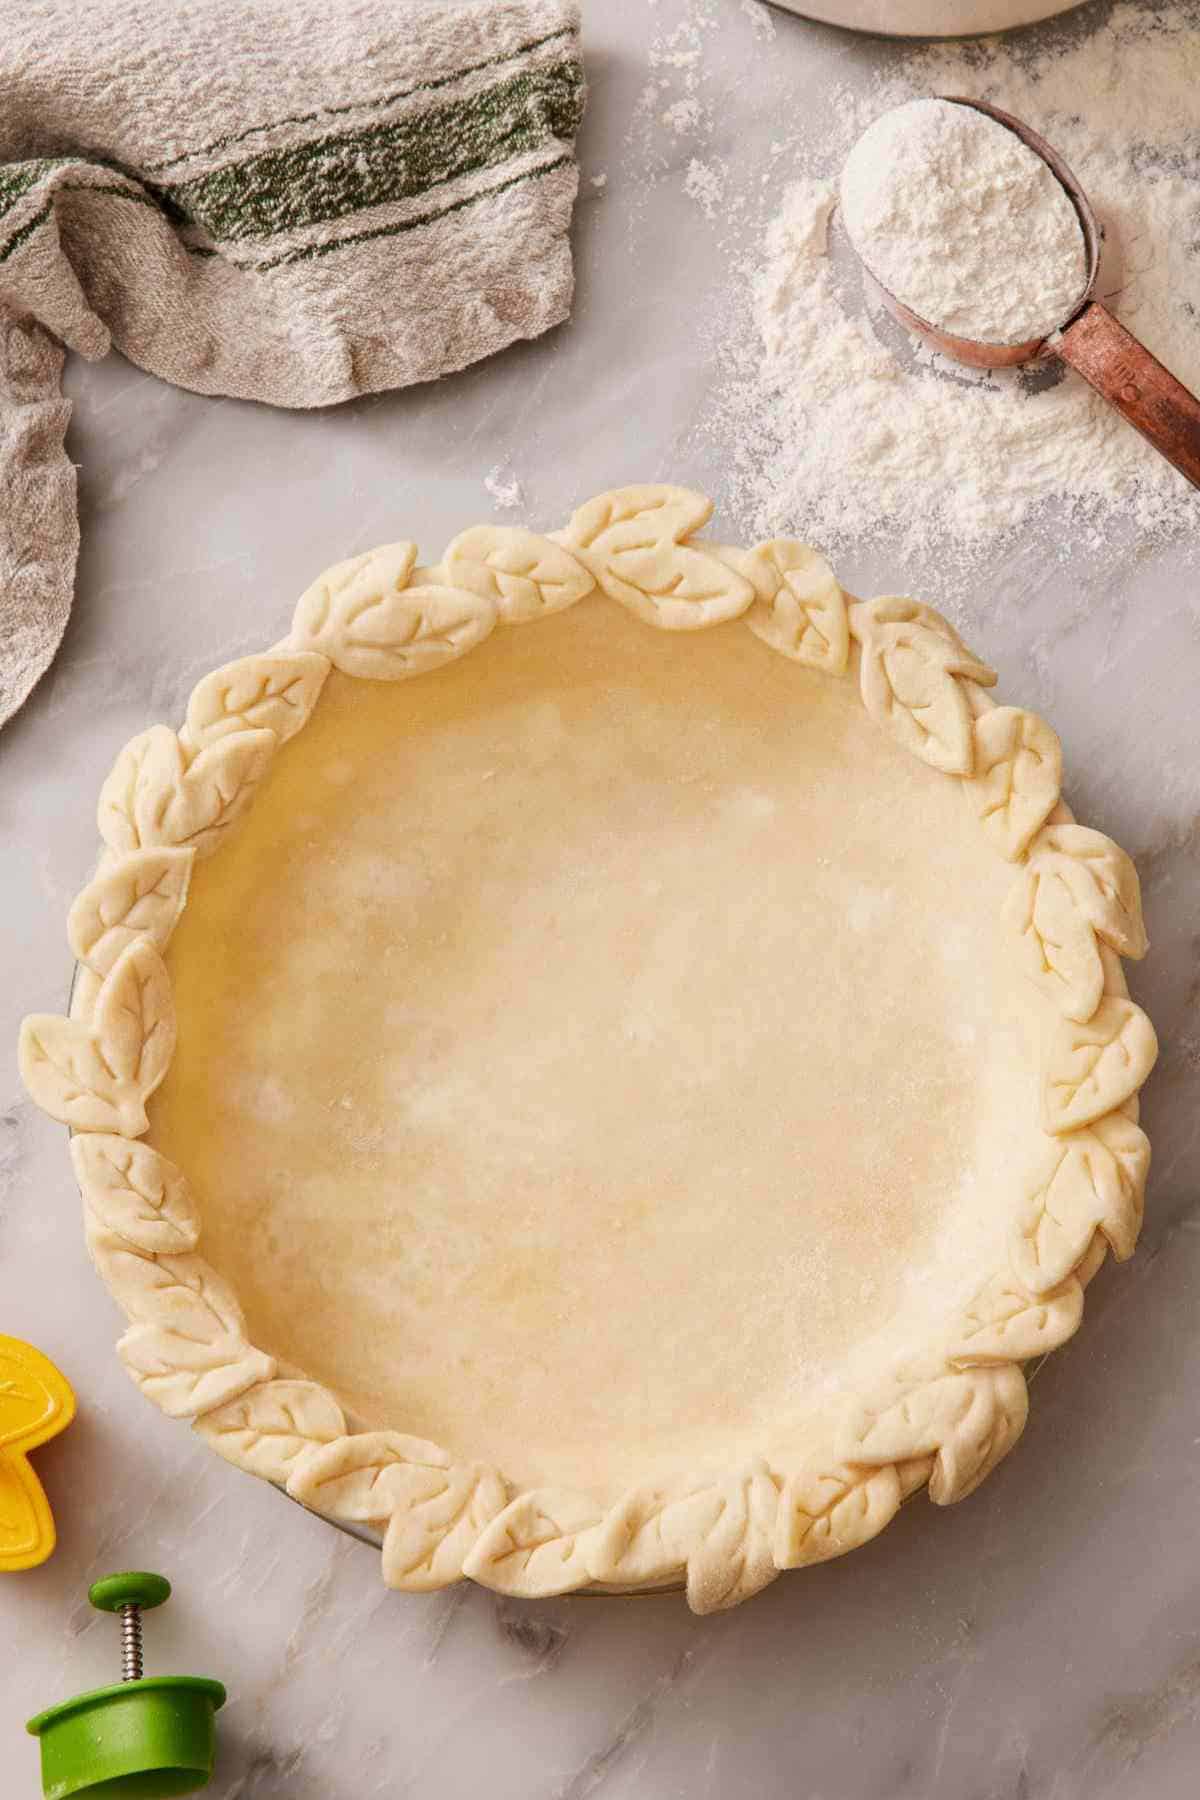
To use, transfer to the fridge for 30 minutes to soften slightly, then place directly on your assembled pie or pie crust edge. They can also be placed on the pie frozen if you’re baking immediately, but if you need to use an egg wash, work quickly, as it will freeze fast.
Can I Freeze A Blind Baked Pie Crust?
Yes! This is useful for cream pies like banana cream pie, coconut cream pie, and any other pie that uses a pre-baked shell.
1. Blind-bake your crust as usual (line with parchment, fill with weights, bake until golden, then bake a few more minutes uncovered to fully cook the bottom).
2. Cool completely to room temperature. The baked crust must be fully cooled before wrapping, or steam will get trapped inside and form ice crystals once frozen.
3. Wrap the cooled, blind-baked crust in 2 layers of plastic wrap, then place in a freezer bag OR wrap in foil. Press the wrapping inside the shell so it is touching the surface of the crust. (This removes air gaps that can cause freezer burn and allows for stacking, if needed.)
4. Freeze for up to 1 month. Note this is shorter than the 3 months for unbaked crust. Baked dough is more prone to freezer flavor changes.
To use, thaw at room temperature for 1-2 hours, then fill as the recipe directs. The crust will be slightly less crisp than a fresh blind-baked crust, but the difference is small for most pies. If you want to refresh the crust, you can pop it back in a 350°F oven for 10-15 minutes after thawing. Be sure to let it cool before filling it.
Method Comparison: Which Should You Use?
Now that you know each of the methods, here’s how you can determine which one is best for your prep schedule. Keep in mind that these steps are in addition to making the dough. I included the additional time it takes for prepping each method for the freezer once the dough is made.
| Method | Freezer Space | Thaw Time | Best For |
| Disc (Method 1) Dough Prep +5 minutes | Compact, stackable | 24 hours in the fridge | Long-term storage; you have 24+ hours |
| Rolled (Method 2) Dough Chilled +10 minutes | Medium | ~4 hours in fridge (ideal); 30-60 minutes at room temp if you have to rush | Last-minute baking; uncertain timing |
| Pre-shaped (Method 3) Dough Chilled +15 minutes | Large; need one pan per crust | Bake from frozen | Holiday make-ahead; you know which pies you’re making |
| Cutouts Dough Chilled +15-20 minutes | Large for flash freezing; compact for storage | 30 minutes in the fridge | Decorative work for fancy pies |
| Blind-baked crust Dough Chilled +2 hours (shape, bake, cool) | Large; need one pan per crust | 1-2 hours room temp | Holiday make-ahead: cream pies, custard pies, no-bake fillings |
The decision tree I use:
- Will I bake within a few days? Refrigerate, don’t freeze. Pie dough holds 2-3 days in the fridge with no quality loss.
- Will I bake within a month? Method 1 (discs) is great, since you have time to thaw.
- Holiday season prep, multiple pies coming, want to minimize day-of work? Method 3 (pre-shaped) is the answer.
- Don’t know when I’ll bake, want flexibility? Method 2 (rolled). A fast thaw means you’re ready whenever.
Pro Tips For Freezing Pie Dough
Always double-wrap. A single layer of plastic wrap isn’t enough for multi-month storage. Two layers of plastic (or plastic with parchment paper), then foil OR a freezer bag is the rule. The double barrier is what prevents freezer burn. I’ve tested single-wrap vs. double-wrap dough at 1 month and 2 months: single-wrapped discs developed a slight grayish tint and a faint freezer flavor; double-wrapped discs were indistinguishable from fresh. The difference at 2 months was bigger than at 1 month—single-wrap dough was visibly drier at the edges, where the wrap had slowly let moisture migrate out.
Press the air out. When using a freezer bag as your second barrier, press all the air out before sealing. Air pockets in the bag let moisture cycle in and out, accelerating freezer burn even with two layers of plastic underneath. Using foil will eliminate this air gap.
Label and date. Three months pass faster than you think. Without dates, you’ll find mystery dough in 6 months and have to guess if it’s fresh or not.
Freeze flat first, stack later. Shaped pie crust (especially rolled, cut-out, and pre-shaped crusts) hold their form better when allowed to fully freeze in their initial position before being moved. One to two hours of freezing on a flat shelf is usually enough, then stack as needed.
Don’t refreeze thawed dough. Pie dough that’s been thawed should be used or held in the fridge for up to 3 days, then discarded if you don’t use it. The freeze-thaw-refreeze cycle damages the gluten structure, and you’ll get a tougher, less flaky crust.
Use a deep freezer if possible. A standalone freezer holds temperature more consistently than a fridge-freezer compartment. The constant opening and closing of a fridge freezer cycles the temperature more, which slowly degrades wrapped baked goods by causing ice crystals to form. If you have access to a chest or standalone freezer, use it for long-term pie crust storage.
How To Thaw And Bake
The way you thaw pie crust matters more than people realize. The wrong approach produces sticky, gummy dough that’s impossible to roll out cleanly.
Best method: Thaw in the refrigerator for several hours to overnight. Place the wrapped frozen pie crust (discs or rolled) in the fridge 24 hours before you plan to bake. The slow thaw means moisture stays balanced and the dough warms gradually without condensation forming or the butter melting.
Faster method: Thaw at room temperature. This is for when you forgot to plan ahead, but use it as a last resort. It can cause the butter to get too soft, or the crust to be softer on the edges and firmer in the middle, making it harder to shape or roll out.
Don’t unwrap until thawed. This is the same rule we covered in how to freeze cakes. Unwrapping early traps condensation against the dough’s surface, producing a tacky exterior.
Baking from frozen (pre-shaped crusts only): This is one of the single best holiday baking tricks. A frozen pre-shaped pie crust can go straight from the freezer into the oven for par-baking, blind baking, or with your filling. The key adjustments:
- Add about 10 minutes to the total bake time
- Preheat the oven 25°F higher than the recipe calls for, then immediately drop to the recipe temperature once the pie goes in (helps the crust set quickly)
- Use a pie crust shield in the latter half of baking to prevent the edge from over-browning while the center bakes through.
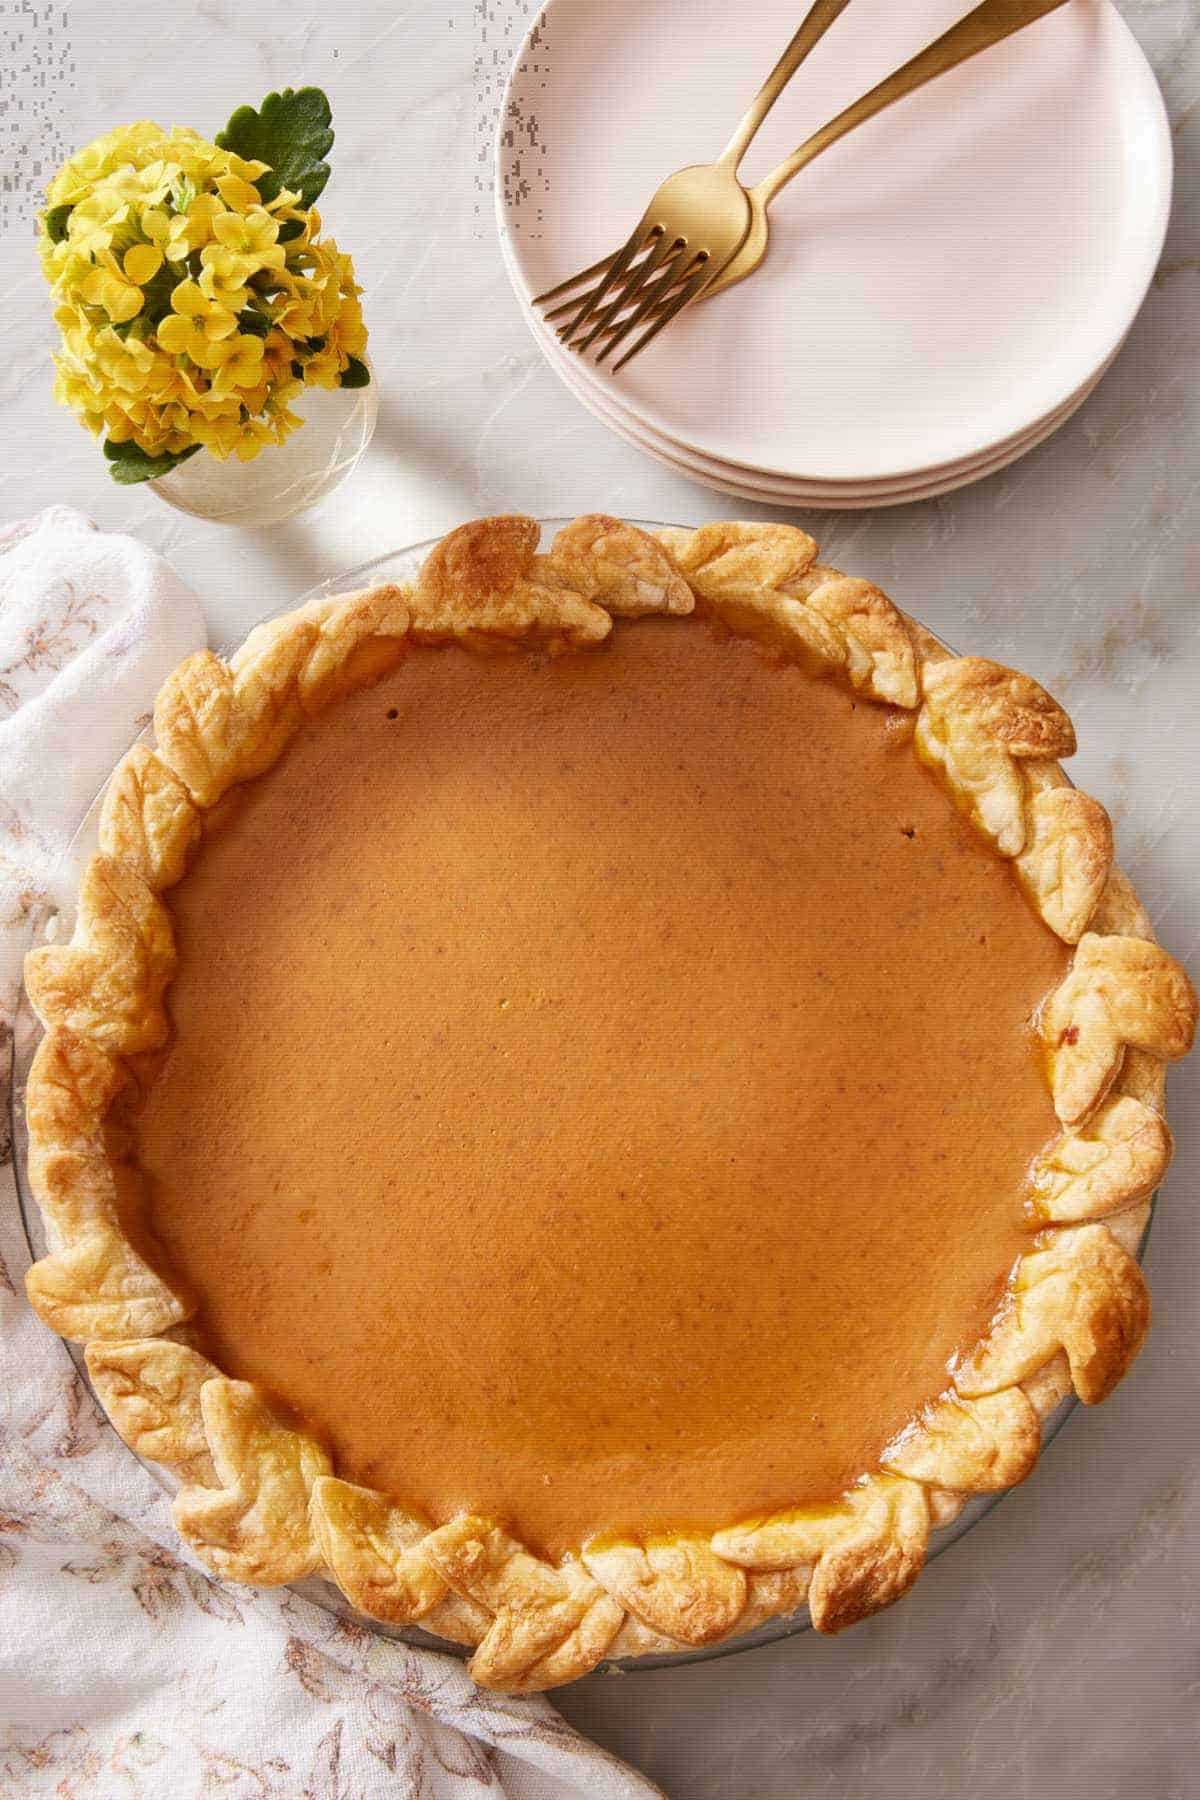
I tested this with my pumpkin pie—frozen pre-shaped vs. freshly rolled. The frozen crust held the decorative edge very well, and it was quite crisp. Baking in the lower third helped crisp the cold crust as well. Both pies were delicious, though, with the difference being marginal. (Meaning, freezing was a great move as a time saver!)
Frequently Asked Questions
Up to 3 months for unbaked pie dough (discs, rolled, or pre-shaped). Up to 1 month for blind-baked crusts and decorative cutouts. Pie dough is technically safe in the freezer for longer, but the difference between a 3-month dough and a 6-month dough is noticeable in flavor and crust texture after baking.
Yes. Store-bought refrigerated pie dough freezes well. Most brands print freezing instructions on the package. If not, leave it in the original packaging or use Method 3 (pre-shaped) above.
The dough may be too cold or too dry. If too cold, let it sit at room temperature for an additional 5-10 minutes before rolling. If too dry, you can sprinkle very small amounts of cold water on the cracked portion of the dough and gently press the cracks back together with your fingers. Cracks while rolling almost always indicate the dough wasn’t quite thawed enough or the original recipe used too little water.
No, when properly wrapped. Pie crust that’s frozen with a tight double wrapping and used within 3 months produces the same flaky layers as a freshly made pie crust. The flakiness comes from the cold butter being layered through the dough during rolling—that structure is preserved through freezing, and can actually be enhanced! Super cold butter will steam better in the oven.
Yes, if your dough wasn’t previously frozen and thawed. Combine all of your pie crust scraps, gently press into a flat disc (don’t re-knead much or you’ll develop the gluten and lose the flakiness), and wrap as in Method 1. Use within 1 month. Scrap dough has been handled more than fresh dough and stores less well. Scrap dough is best for decorative cutouts, apple hand pies, or mini apple pies—anything where the slight loss of flakiness from re-rolling doesn’t affect the overall structure of the pie.
More Baking Tutorials To Try
Expand your pie-making skills with one of these Pie Academy tutorials:
- Academy: How To Lattice Pie Crust — the woven-top tutorial, including how to freeze lattice strips ahead of time.
- Academy: How To Blind Bake A Pie Crust — the technique for pre-baking a crust before adding wet fillings.
- Academy: How To Crimp A Pie Crust — detailed techniques for fluted, fork-crimped, and rope edges.
- Academy: How To Make A Pie Crust Shield — essential for baking from frozen and protecting edges from over-browning.
If you’ve tried this tutorial for How to Freeze a Pie Crust, then don’t forget to rate it and let me know how you got on in the comments below. I love hearing from you!






