

This post may contain affiliate links. Please read our disclosure policy.
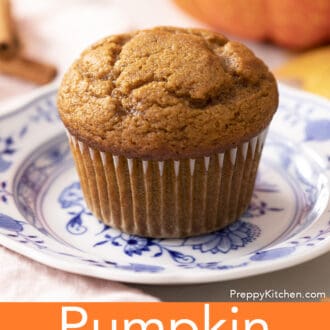
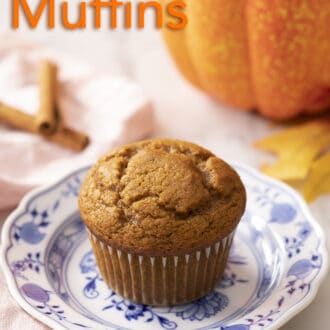
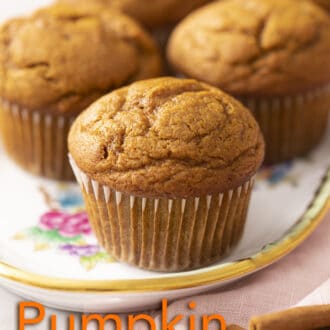
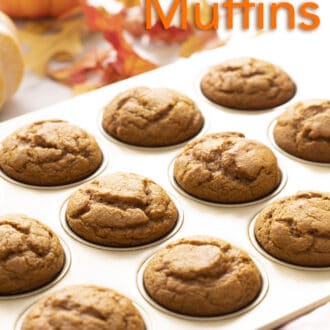
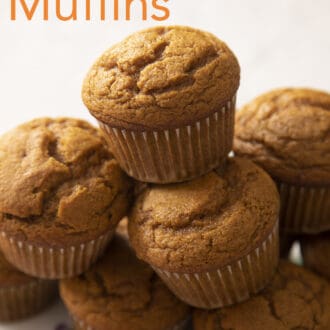
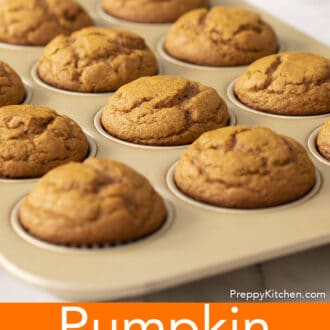
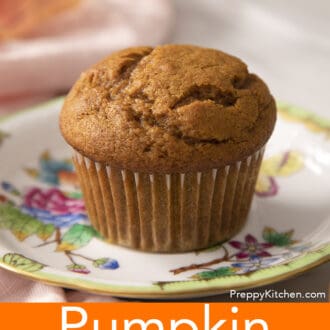
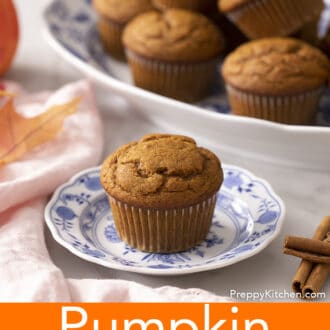
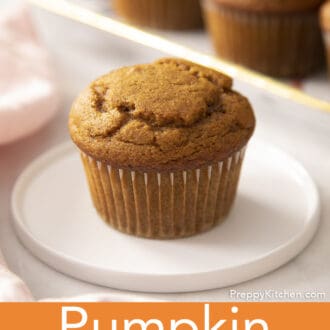
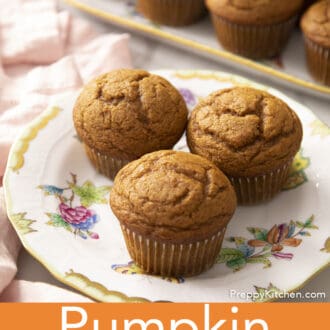
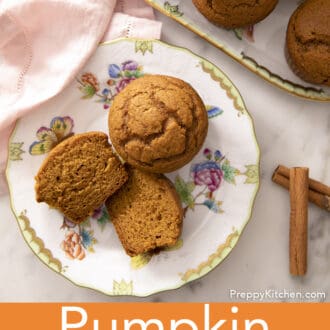
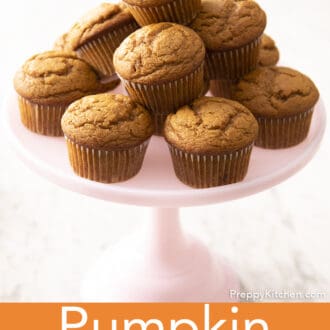
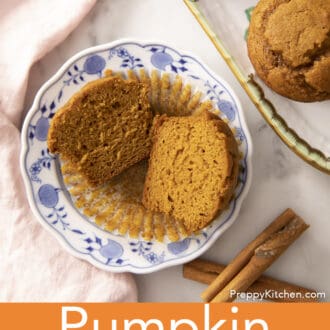
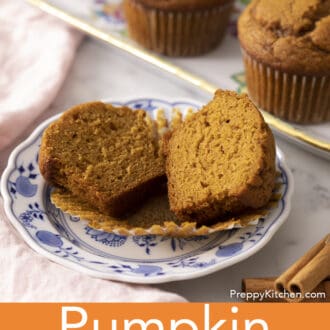
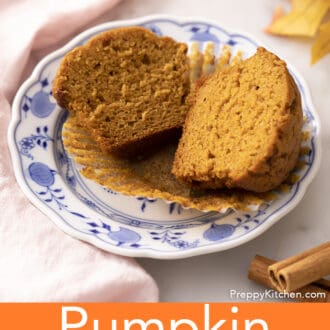
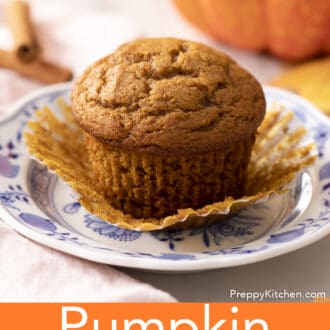
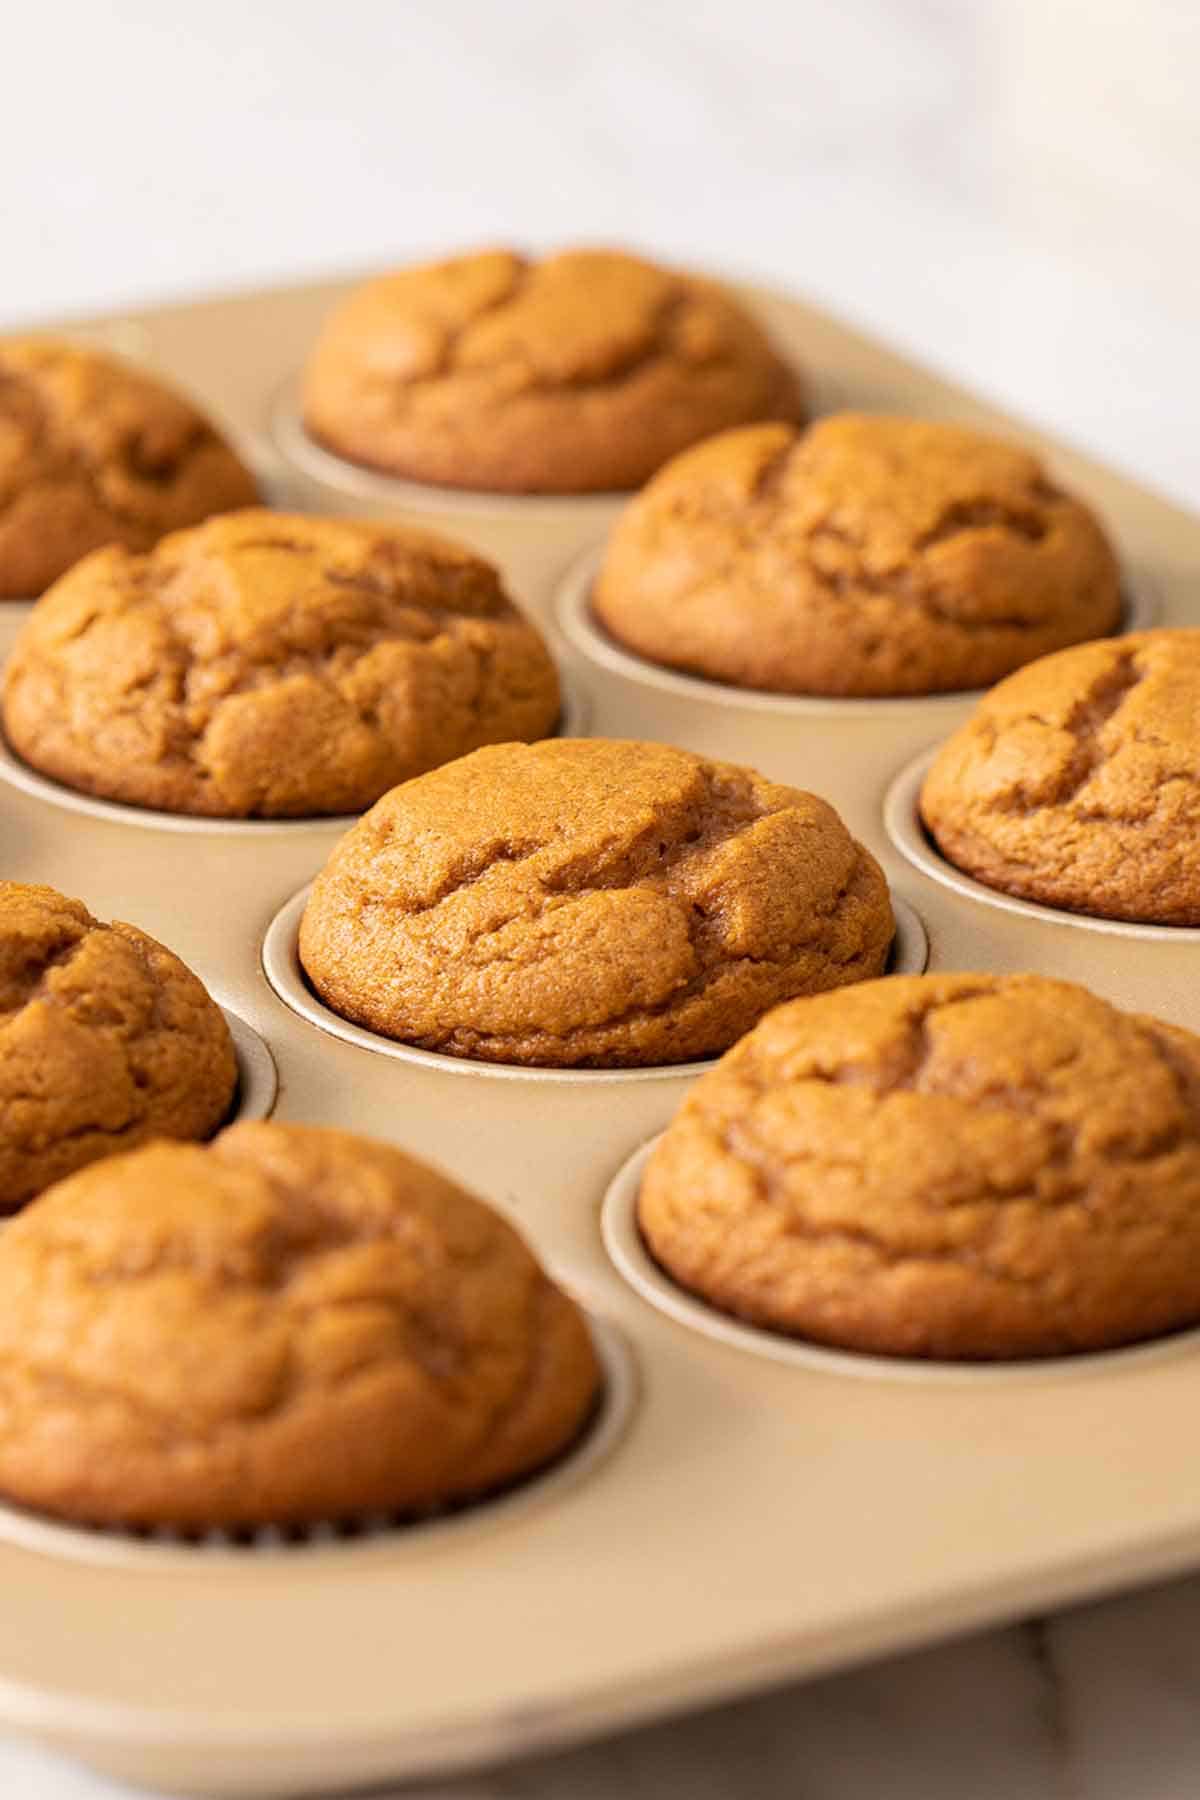
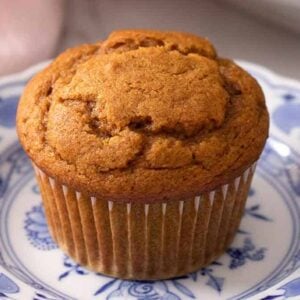
Soft, fluffy pumpkin muffins bake with tall domes using a simple two-temperature baking trick. All you need is two bowls and about 10 minutes to stir together the batter before you have warmly spiced muffins to enjoy!
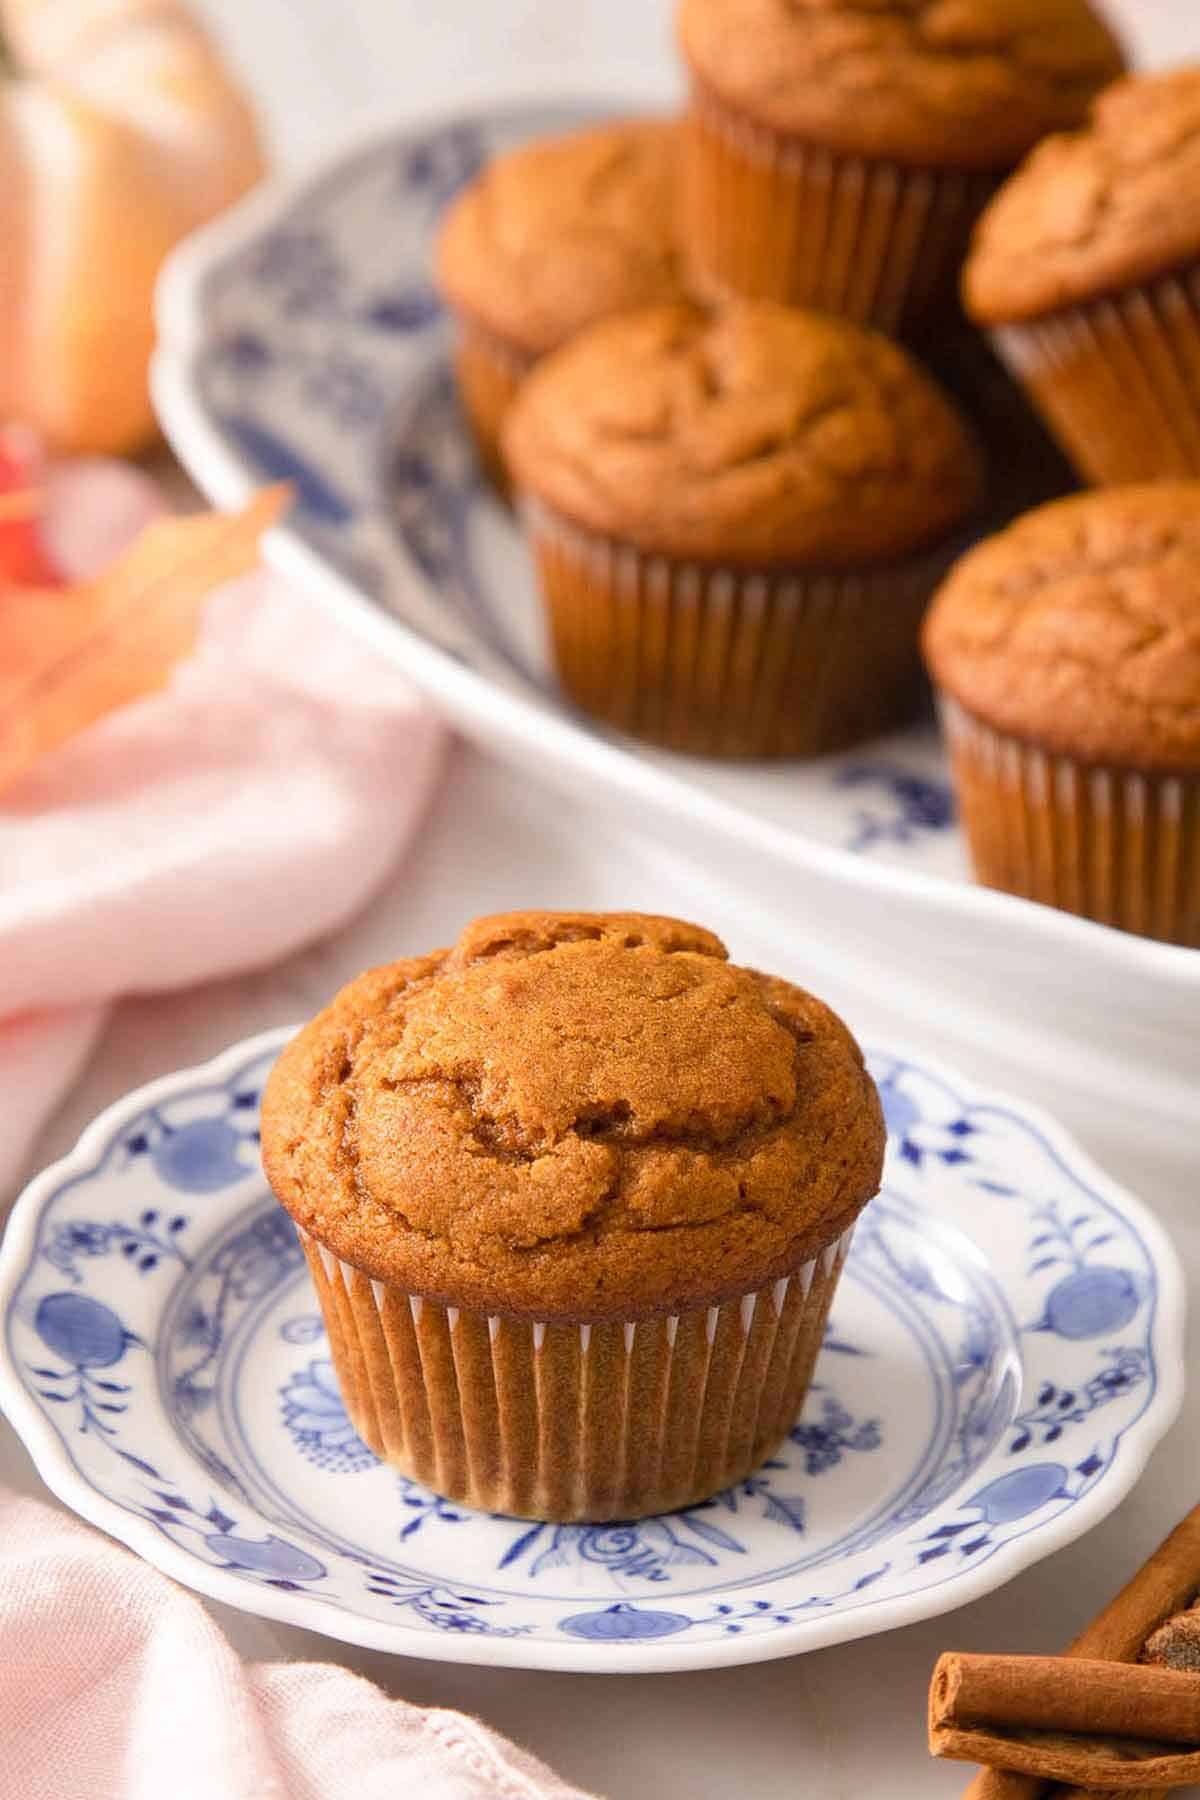
Most pumpkin muffin recipes produce a perfectly pleasant muffin, but the tops are short or flat. These come out tall, domed, and cracked across the top, making them bakery-case worthy! The reason has nothing to do with the ingredients—it’s all in the oven.
You start baking at 425°F for five minutes, then drop to 350°F without opening the door. That initial blast of heat makes the leavening work all at once while the batter is still liquid enough to move, so the muffin shoots up before its crust sets. Drop the temperature after five minutes and the inside cooks through gently without burning the edges or top. I tested two baking temperatures to show you exactly how this works, so your muffins turn out perfectly every time!
“Wowzer! This is the best pumpkin muffin recipe I have found in a long time and so easy to make and I have tried several. Spot on with the flavors and bakes up so moist and baked through. My husband said best ones I’ve ever made.”
Carol
Key Ingredients, Supplies, & Substitutions
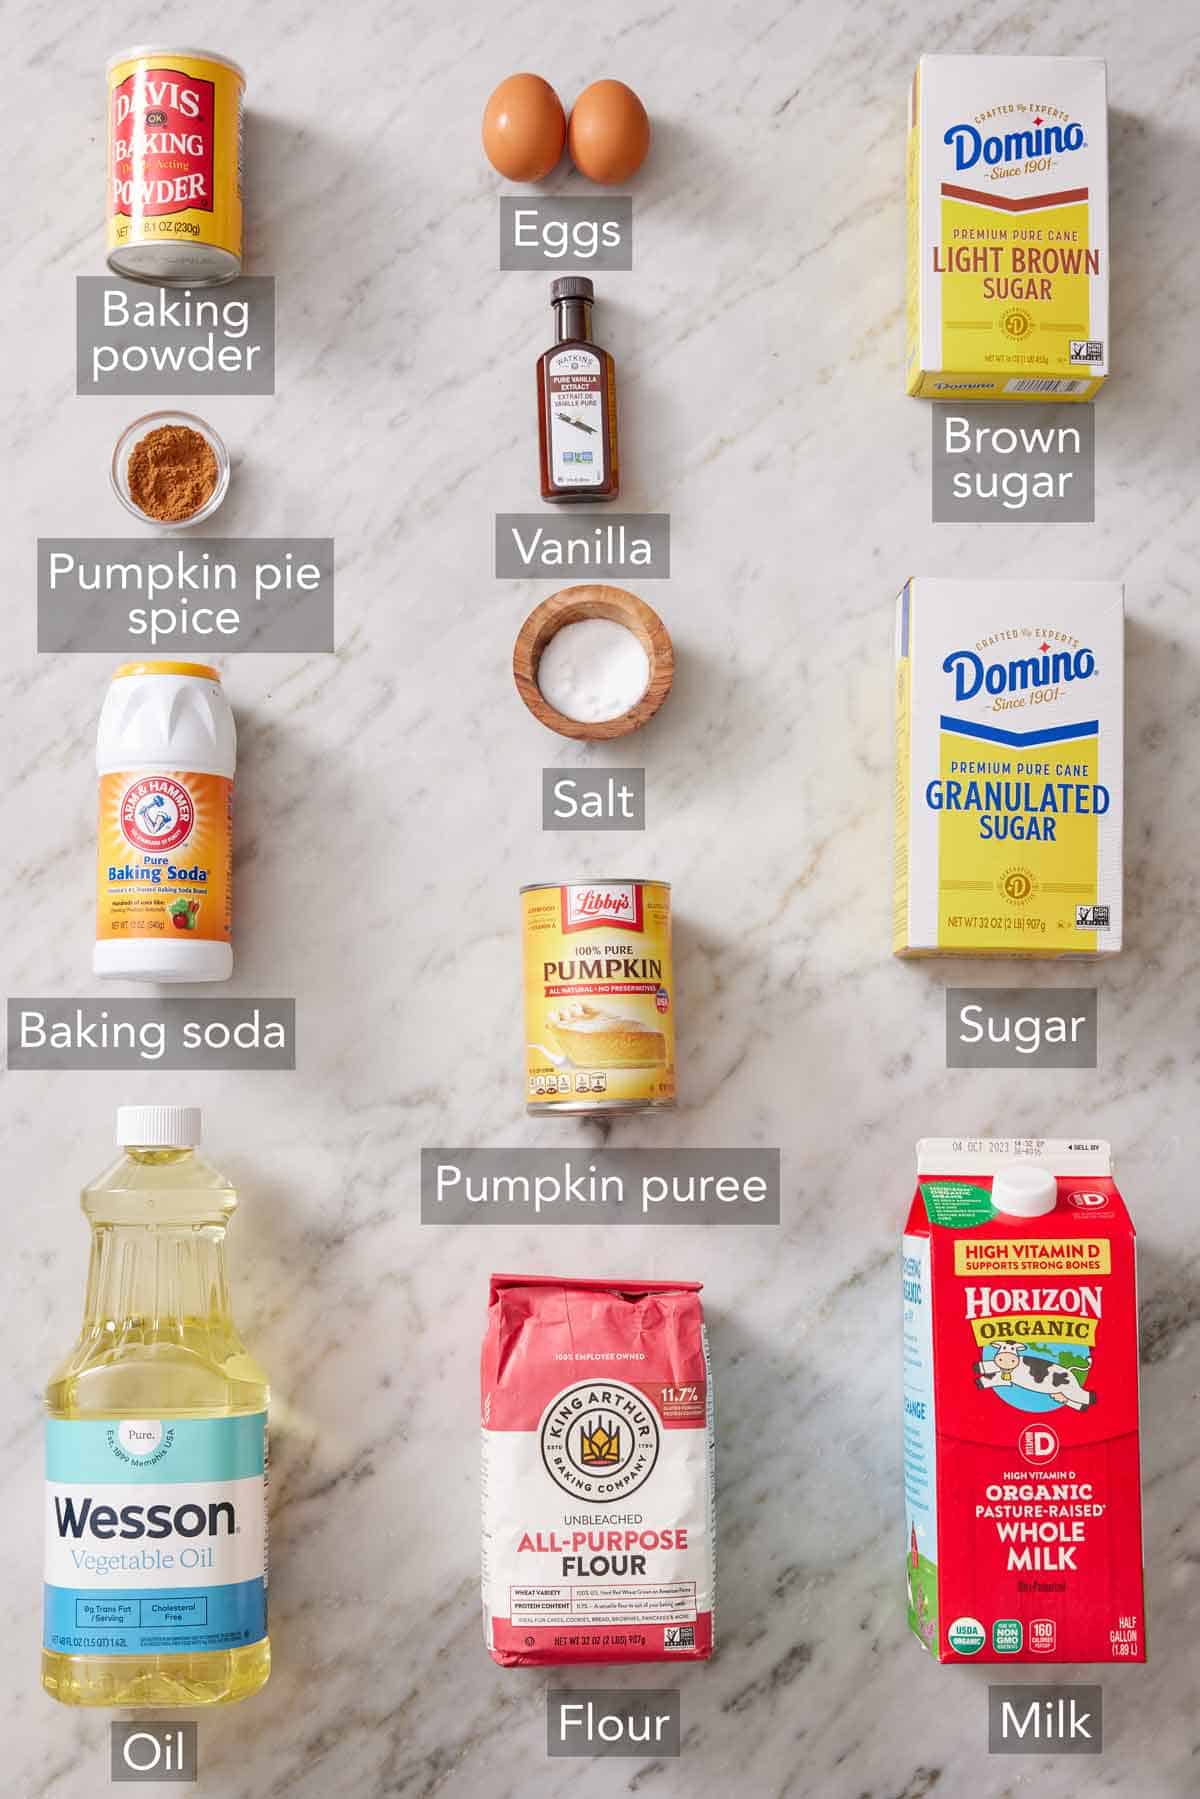
These are the main ingredients you need to make homemade pumpkin muffins. You can find the full list of ingredients and measurements in the recipe card below.
Pumpkin — you need canned pumpkin puree for these muffins. Don’t use pumpkin pie filling, which has other ingredients added to it that will affect the flavor and texture of the muffins. It can be confusing since the puree and pie filling are usually right next to each other in the grocery store (and in very similar packaging). So double-check the label! It should only contain 100% pumpkin. You can use fresh pumpkin puree if it’s not too runny. I recommend blotting 1¾ cups on paper towels for 10 minutes, then measure and add it to the batter (this will remove extra moisture, so you need more to start with).
Spices — store-bought or homemade pumpkin pie spice has all the perfect fall flavors you need. You can swap it out for 1½ teaspoons cinnamon, ½ teaspoon allspice, ¼ teaspoon ground ginger, and ¼ teaspoon nutmeg. But these are your muffins, so if you only like cinnamon or prefer a different spice blend, go ahead and just use that!
Oil — I like using vegetable oil, which adds richness to the muffins but keeps them tender and soft once they cool. If you’re wanting to swap in a different fat, reference the table below for fat swaps and how they work in the recipe.
Leavening agents — I use both baking powder and baking soda in this recipe. The muffins rise more evenly with the combination of both! The baking soda reacts immediately with acid, and in this batter, that acid comes from pureed pumpkin and brown sugar. (Don’t reduce either of those ingredients for this reason!) The baking powder reacts partially with acid but also reacts with heat. When the muffins hit the hot oven, the baking powder starts to lift the batter. (More on this below.)
Paper liners — these are not optional in my experience. This batter sticks badly to bare wells even when greased well.
Why Use Oil and Not Butter?
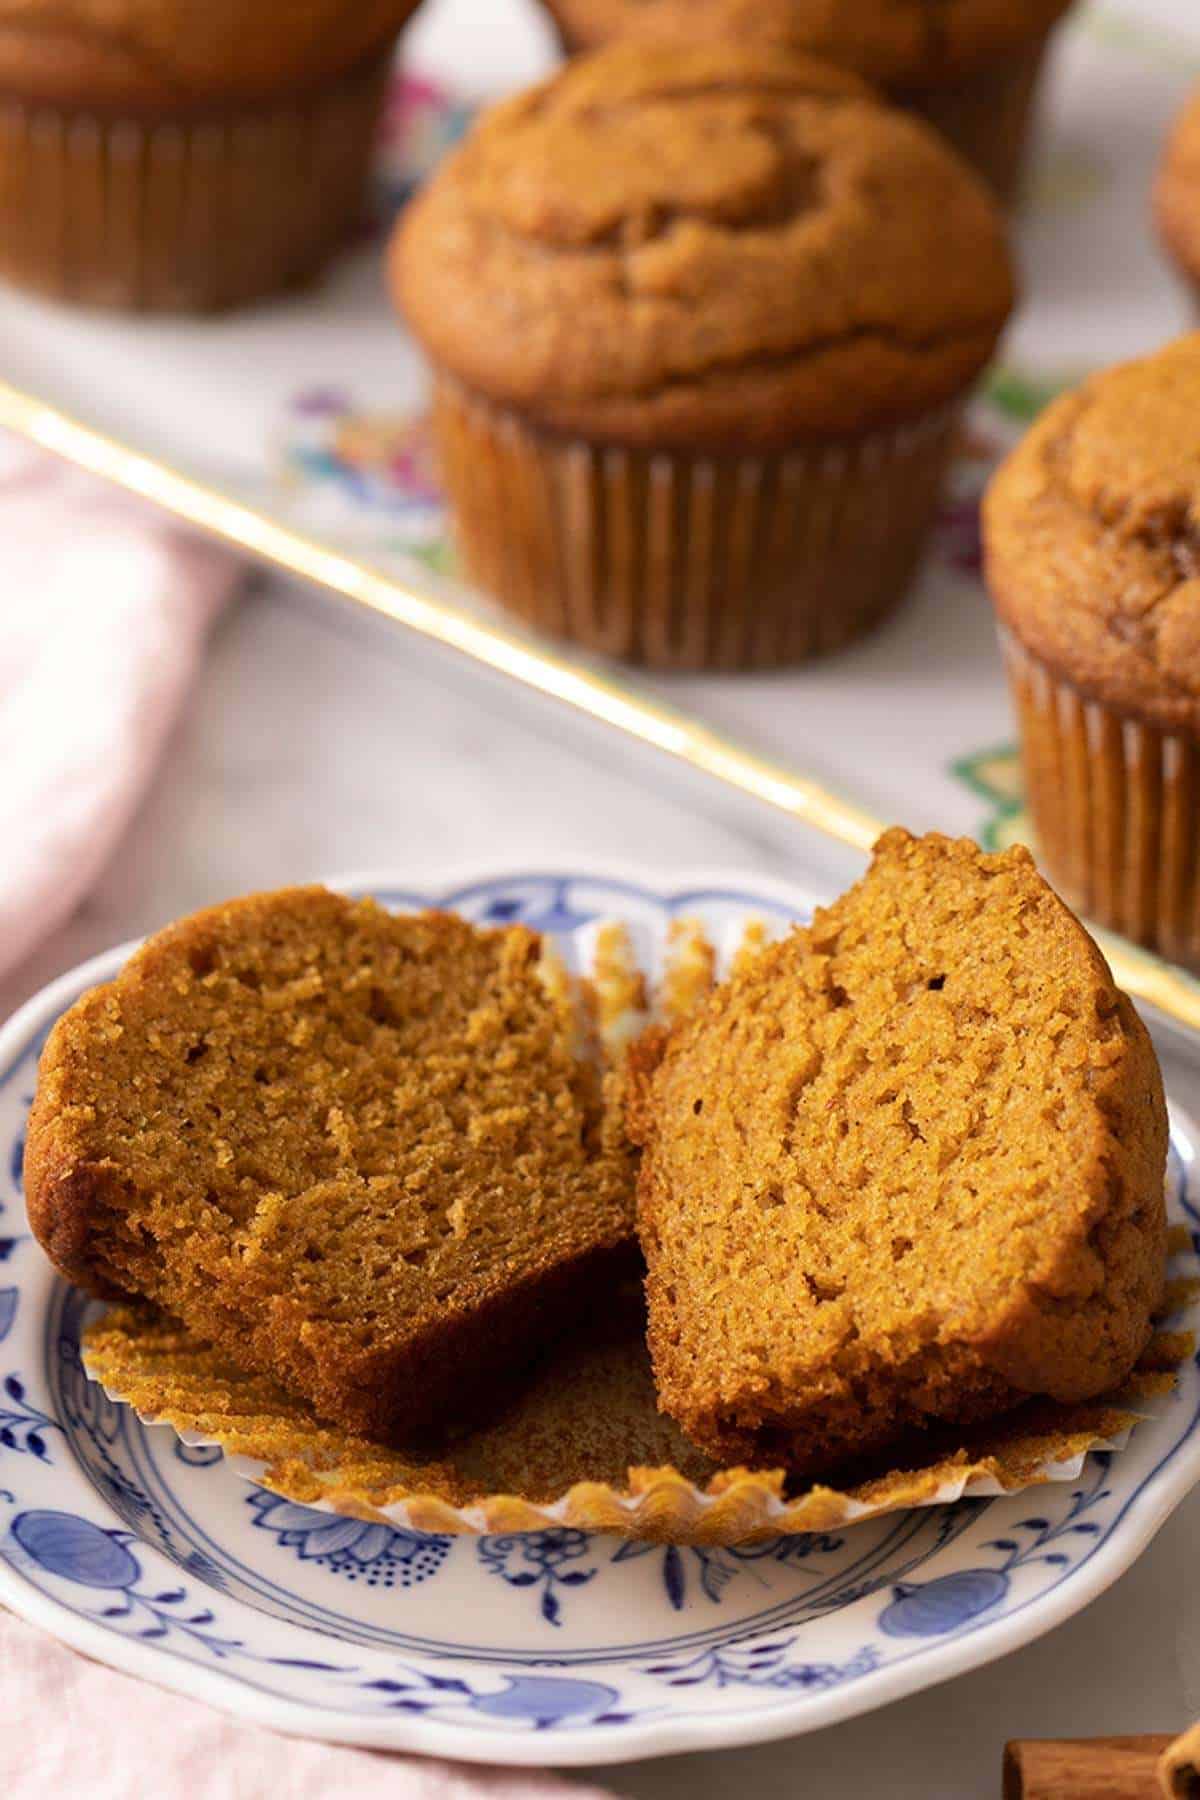
Butter tastes better in most baked goods, but the texture trade-off isn’t worth it here. Butter is solid at room temperature; oil isn’t. A muffin made with butter feels soft and fluffy while it’s warm, because the butter in the crumb is melted. Once it cools, that butter re-solidifies and the crumb firms up with it. The firmer texture makes the muffin feel drier, even if it hasn’t lost any moisture. That’s why butter muffins are sometimes wonderful on day one and disappointing on day two.
Oil never firms up, so the crumb stays tender even when they aren’t warm. These are still soft three days later, which matters for a muffin—this is something you make on Sunday and eat through the week.
You do lose the richness from butter, but there is plenty of flavor from the spices and brown sugar that it’s a worthy trade-off. I have tested these muffins with both butter and oil, and always go back to the oil version!
Fat Swaps and What Each One Does
The recipe calls for vegetable oil, but several substitutions work with slightly different results.
| Fat | Flavor | Texture once cooled |
| Vegetable oil (as written) | Neutral; spices come through cleanly | Stays soft for days |
| Melted butter | Rich and butter-forward flavor in the muffins | Firms up when cold |
| Browned butter | Nutty and deep; the biggest flavor gain | Firms up when cold |
| Coconut oil | Distinctly coconut | Firms up when cold (more than butter) |
| Olive oil | Grassy; stronger against pumpkin but pairs well. Use one labeled as light, buttery, or good for baking. | Stays soft, like vegetable oil |
The half-and-half approach is the one I’d point you to if you want more flavor than neutral oil gives: replace half the oil with melted butter or browned butter and keep the rest as oil. You get most of the rich or nutty flavor from butter and some of the softness from oil.
Use caution if you want to cut the fat. There’s a strong urge to swap some of the oil for applesauce or yogurt, and it works in the sense that the muffins bake up fine. But fat is what makes them tender. You’ll notice its absence, so just know that the texture will change. The muffins will have a more crumbly texture, and they will puff more as those ingredients add more acid for the leaveners to react with.
Why the Oven Temperature Changes
This is the technique that gives your homemade muffins that tall bakery-style dome on top!
Baking powder releases gas faster in hotter temperatures. Slide the muffin pan into a 350°F oven, and the reaction happens slowly and steadily while the crust is also setting. The two processes race each other, and the crust usually wins, which caps the rise. But slide them into a 425°F oven and the baking powder reacts much faster while the surface is still soft. This forces the top to puff. The edges will set more quickly in the higher heat, but this directs the rising force towards the center, creating the dome.
I tested this to show how much of a difference the hotter start makes. I made a batch of pumpkin muffin batter and baked 6 muffins starting at 425°F, baking for 5 minutes before dropping to 350°F (as written in the recipe). The other 6 muffins were placed in a 350°F oven and kept at that temperature for the whole time.
The tops on the 425°F start were significantly taller! Because the batter rose more, the muffins were also fluffier compared to the denser 350°F batch. Five minutes at a higher temperature doesn’t seem like long, but it makes a clear difference.
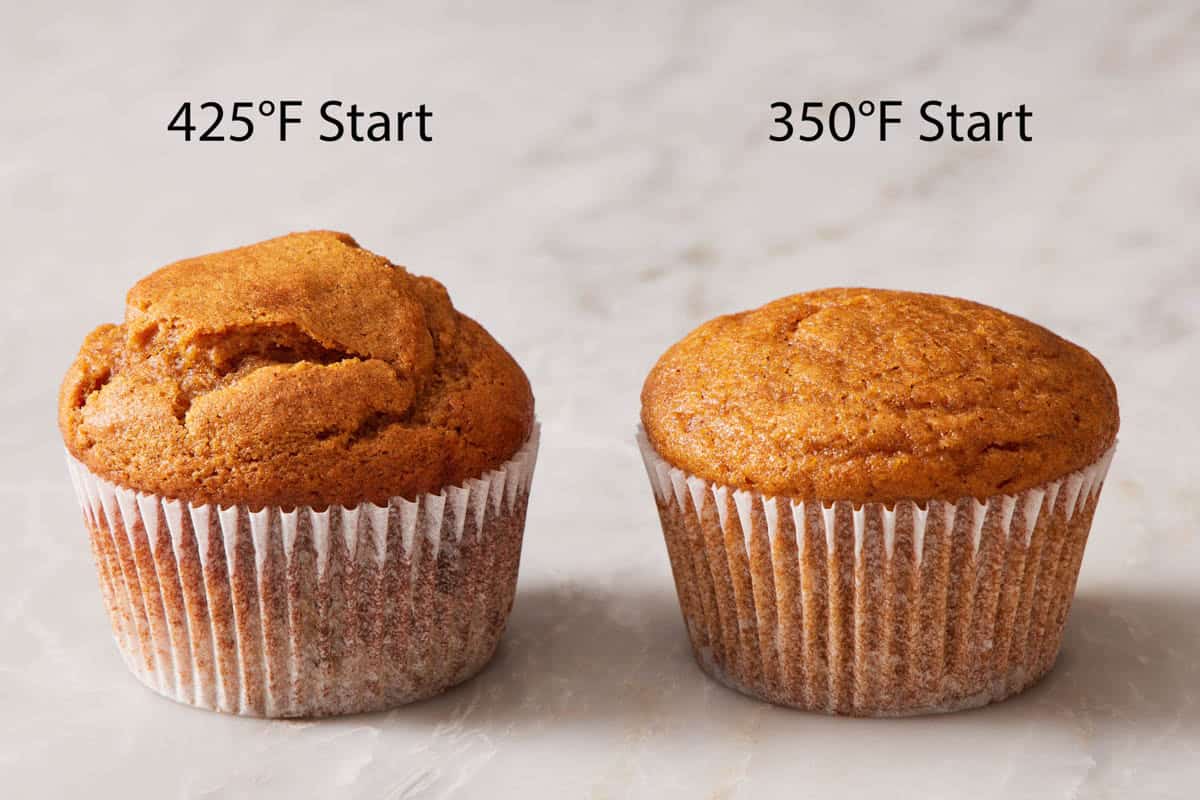
You have to drop the heat after 5 minutes, because 425°F for twenty minutes would give you a dark, dry exterior with a raw middle. The first 5 minutes give you the rising benefit. Finishing the bake at 350°F lets the batter cook more evenly so you get softer muffins that are moist throughout but not underbaked or burned in spots.
Do not open the door when you change the temperature. Opening the oven at minute five dumps the heat you’re relying on, and the muffins can lose their lift.
Pro Tips For The Best Pumpkin Muffins
Weigh the flour. Using too much flour is a common mistake when baking, and the results will lead to dry muffins. A scale is the most accurate way to get the exact flour amount every time. Using a dry scoop can lead to accidentally packing in too much flour. If you don’t have a kitchen scale, follow the fluff and scoop method in my Academy guide on How to Measure Ingredients Correctly.
Don’t over-mix the muffin batter. Gently stir the wet ingredients and the dry ingredients together until they are combined. If you mix too much, you will end up with dense pumpkin muffins. This muffin batter is made with a cake mixing method known as the Blended Method. See my Academy guide on The 5 Cake Mixing Methods to learn more about why overmixing happens and how to avoid it.
How To Make Pumpkin Muffins
I included step-by-step process images below for making this easy pumpkin muffin recipe. The full set of instructions is in the recipe card.
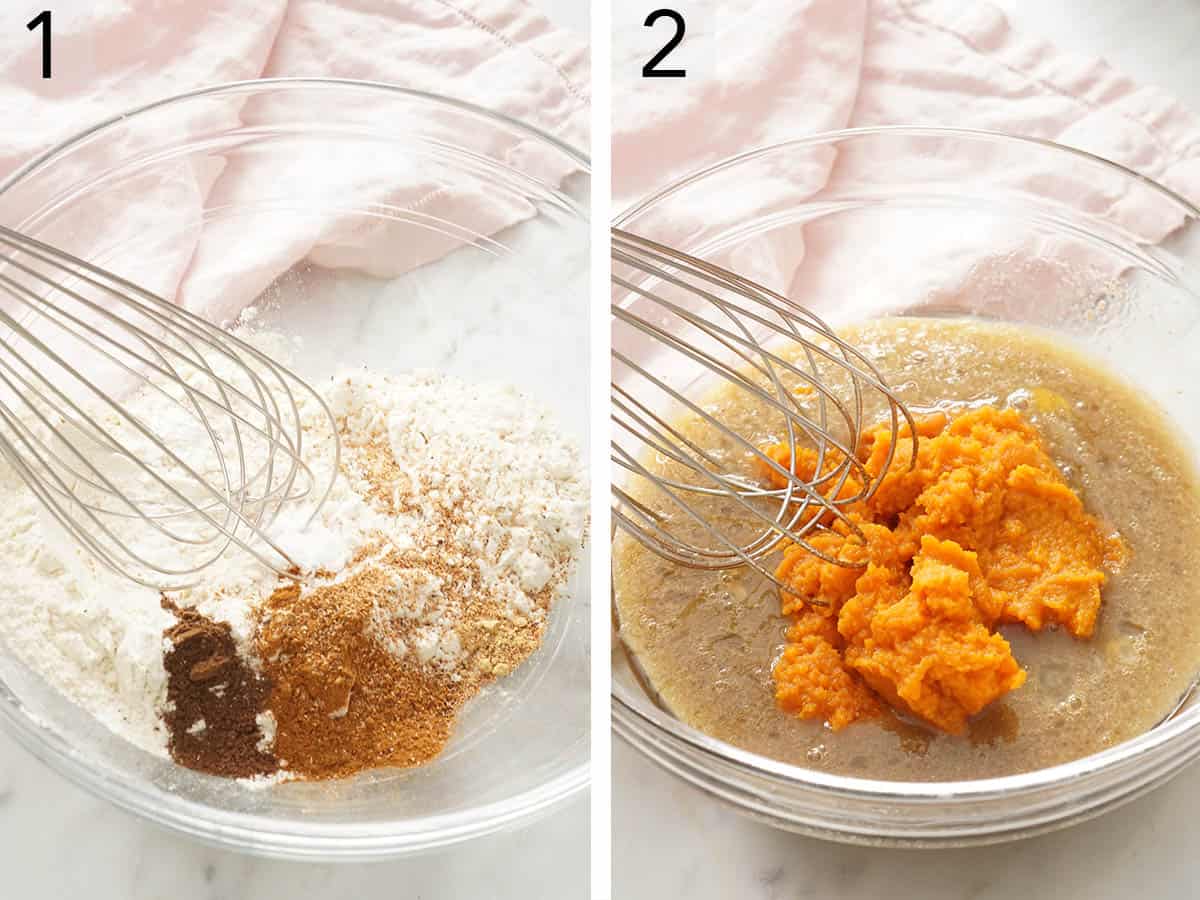
1. Whisk together all-purpose flour, pumpkin pie spice, baking powder, baking soda, and salt in a large bowl until combined.
2. Grab a medium bowl and whisk together the oil, milk, eggs, vanilla, granulated sugar, and brown sugar. Plop in the pumpkin puree and whisk until smooth. I like to add the pumpkin last since it’s so thick. The eggs break up better when mixed with the oil, milk, and sugars before the denser puree is added.
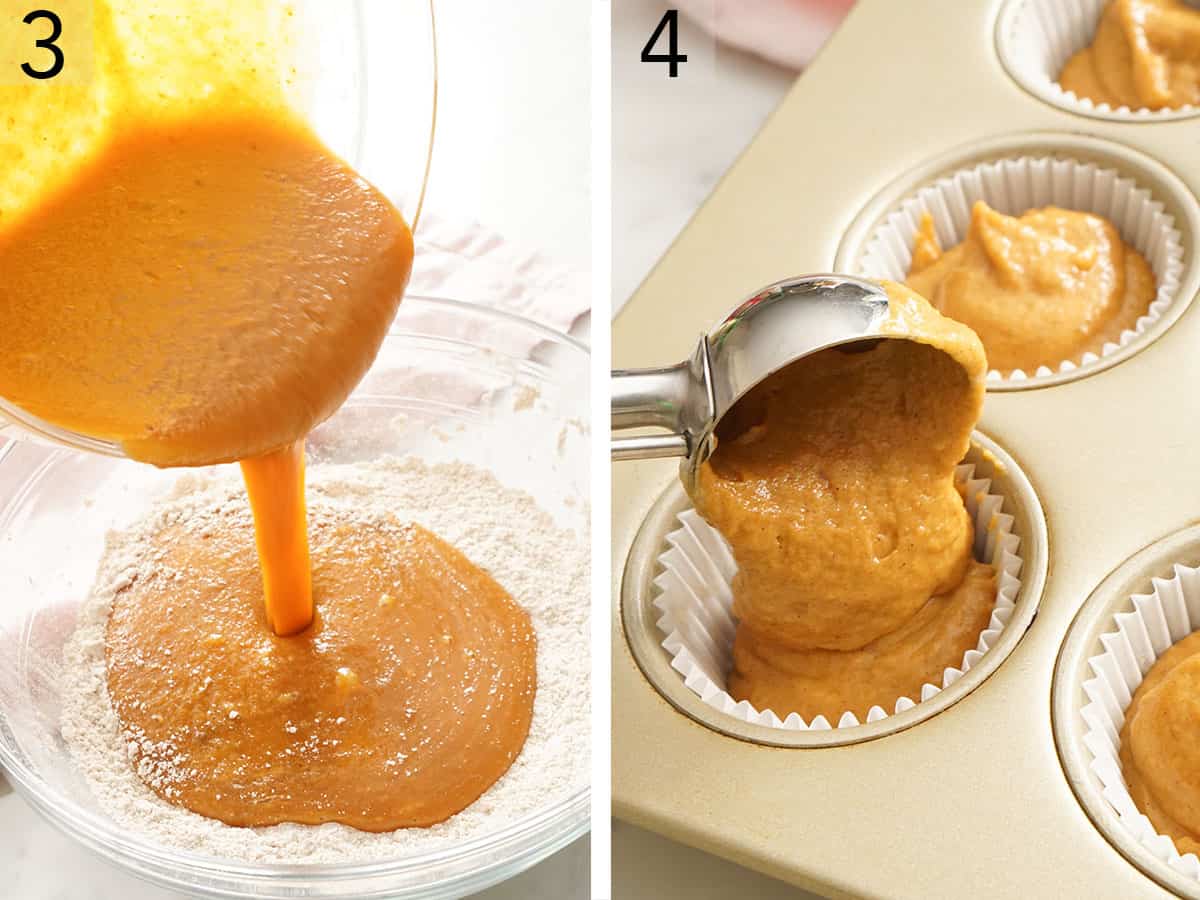
3. Pour the wet ingredients into the bowl with the dry ingredients and mix until just combined. Do not overmix, or your muffins will be dense and tough. Stop when all streaks of flour have disappeared into the batter.
4. Divide the batter equally among paper liners in a muffin pan. Each liner should be about three-quarters of the way full. Bake the muffins for 5 minutes at 425°F to help the muffins puff up. Then reduce the temperature to 350°F and bake for 15 minutes more or until a wooden pick inserted in the center comes out clean. Remove the muffins from the pan and allow them to cool completely on a wire rack.
Variations
Mix up your pumpkin muffins with one of these additions!
- Chocolate chips or nuts. Add ⅔ cup of chocolate chips, chopped toasted pecans, toasted walnuts, or roasted pepitas. Fold them in while the batter still has a few dry patches, so distributing them doesn’t overmix the batter.
- A streusel top. Scatter 2 tablespoons of streusel over the batter before it goes in the oven. It adds a delicious crunch to the muffin tops.
- Blueberries. 1 cup of fresh or frozen blueberries can be stirred in once half of the flour is mixed in. It sounds odd next to pumpkin, but it works—the tartness is balanced by the spices and brown sugar.
- A glaze. Use the plain glaze from my pumpkin scones or my lemon glaze for a zingy twist. Let the muffins cool for at least 20 minutes first, or it melts off the muffins.
- Mini pumpkin muffins: Fill liners with 1 tablespoon of batter. Place the pan in the 425° F oven, close the door, and immediately reduce to 350°F. Bake for 10-12 minutes. Because the batter is a much smaller amount, the hot start will dry out the muffins if you leave it at 425°F. Preheating to that temp gets the oven environment hotter to kick off the reaction, but it doesn’t stay there long enough to overbake the muffins.
Pumpkin Muffin Recipe
Equipment
- Mixing Bowls
- Muffin pans
- Paper liners
Ingredients
- 1½ cups all-purpose flour (180g)
- 2½ teaspoon pumpkin pie spice
- 1 teaspoon baking soda
- ½ teaspoon baking powder
- ½ teaspoon salt
- ½ cup packed light brown sugar (110g)
- ½ cup granulated sugar (100g)
- ½ cup vegetable oil (120mL)
- ¼ cup whole milk room temperature (60mL)
- 2 large eggs room temperature
- 1 teaspoon vanilla extract
- 1¼ cup canned pumpkin puree (280g)
Instructions
- Preheat the oven to 425°F. Line a muffin pan with 12 paper liners.
- In a large bowl, combine the flour, spices, baking powder, baking soda, and salt, then whisk together until combined.
- In a medium bowl, whisk together the granulated and brown sugars, oil, milk, eggs, and vanilla until well combined. Add in the pumpkin puree and whisk until smooth. Pour the wet ingredients into the dry ingredients and mix together using a silicone spatula until just combined and no dry streaks of flour remain. Divide the batter among the paper liners, filling each one about three-quarters full.
- Bake for 5 minutes at 425°F. Without opening the oven, reduce the oven temperature to 350°F, and bake for an additional 15 minutes or until a wooden pick inserted in the center comes out clean. Remove the muffins from the pan and let them cool completely on a wire rack.
Notes
- Milk: You don’t need much at all, so feel free to use what you have in the fridge. I use whole milk, but almond milk or even water works just as well!
- Set a timer so you don’t forget to reduce the oven temperature! It’s easy to put your muffins in and then forget about them, but you don’t want them to cook at the high temperature the whole time, or they can burn on the outside and stay raw in the center.
- Remove the muffins from the pan to cool. Otherwise, they will steam, making the muffins soggy. It can also cause the liners to stick to the muffins so they don’t pull away cleanly.
Nutrition
Have you tried this recipe? Tag me today!
Mention @preppykitchen and tag #preppykitchen!
Storing and Freezing
Room temperature: Store in an airtight container for up to 3 days.
Refrigerator: Store in an airtight container for up to a week. This is where the oil really earns its place—they’re still tender after chilling in a way a butter muffin wouldn’t be.
Freezer: Wrap individually in plastic wrap, pack them into a freezer bag or container, and store. They are best if eaten within 3 months. Thaw for 2 to 3 hours at room temperature or overnight in the fridge. You can also unwrap one and pop it in the microwave for 1 minute.
Reheating: 10-15 seconds in the microwave if they aren’t frozen. The muffins go rubbery and dry out fast if microwaved for too long. You can also use an air fryer at 300°F for 3-5 minutes.
Frequently Asked Questions
Two things: Weigh the flour. Scooping from the bag routinely adds 15 to 20% more flour than needed, and excess flour is the most common cause of a dry muffin. And don’t cut the oil. There’s a real temptation to swap some for applesauce. The muffins will still bake, but fat is what keeps the crumb tender once it cools. Beyond those two: don’t overbake, and pull them when a pick comes out clean.
Overmix it. Every stir of the batter past the “no dry flour left” stage develops more gluten, and gluten in a muffin means dense, tough, and tunneled rather than light and fluffy. Fold with a spatula, stop the moment the dry streaks disappear, and accept a slightly lumpy batter. It’s one mistake here you can’t correct later.
A cup-for-cup gluten-free all-purpose blend substitutes directly by volume measurement. For weight, check the gram amount per cup of your package and calculate accordingly. (The starches in the GF flour have different densities than the wheat.)
Check your pumpkin pie spice too, since some blends contain anti-caking agents with gluten. Readers have also had good results with einkorn and with part whole-wheat flour, though whole wheat absorbs more liquid, so expect a slightly denser muffin.
More Pumpkin Recipes To Try
Make the most of your pumpkin puree with one of these recipes:
- Pumpkin Bread — the loaf version of this idea, stirred together in about ten minutes.
- Pumpkin Scones — crisp-edged and flaky, with a plain glaze that also works on these muffins.
- Pumpkin Pie — the classic, with a custard filling you whisk together and pour.
- Pumpkin Pancakes — the other pumpkin breakfast recipe that’s quick to stir together.
- Pumpkin Cupcakes — a stir-together batter turned into fluffy cupcakes with a cream cheese frosting piped on top.
If you’ve tried this pumpkin muffin recipe, then don’t forget to rate it and let me know how you got on in the comments below. I love hearing from you!





