
This post may contain affiliate links. Please read our disclosure policy.
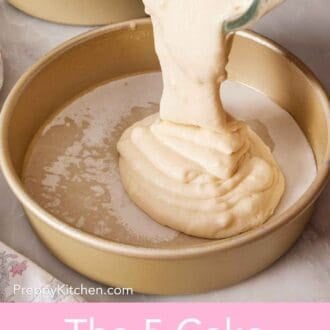
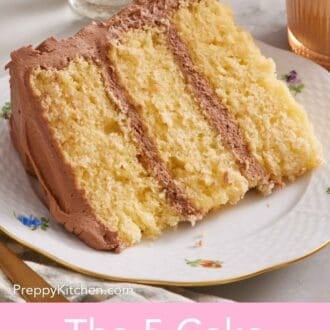
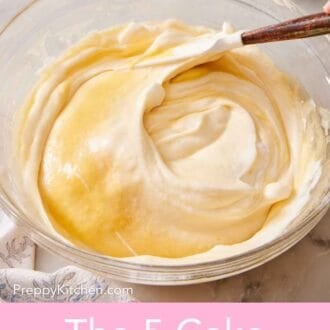
The same flour, butter, sugar, and eggs can become five completely different cakes depending on how you combine them. Here’s what each cake mixing method does to the crumb, and which one to reach for.
Many cake recipes use the exact same ingredients—flour, sugar, butter, and eggs—but with completely different results. This happens purely from the order and way they are mixed. One comes out tall and airy, the other fine and velvety. Yes, the ratio of ingredients matters too, but the way they are mixed together is a big factor in baked texture. If you’ve ever wondered why one vanilla cake is just whisked together by hand, and another one requires creaming butter and sugar, then carefully folding in egg whites, this Academy lesson will answer all of your questions!
Most cakes are built on one of five mixing methods, and once you understand how each one affects the crumb texture, a lot of baking stops feeling like luck. You’ll know why one kind of cake can be springy and tight and another airy and soft while both are tender, why a recipe insists on oil instead of softened butter, and why “just mix until combined” is written in so many recipes. This lesson walks through all five: the creaming method, reverse creaming, the foam (or sponge) method, the blended (oil) method, and the combination method. Plus, I make five of my vanilla cake recipes that show off each one, so you can see the difference yourself!
“I have been looking for a vanilla cake recipe with a specific texture that is “velvety,” as you describe. I’ve tried several different ones and nothing has been quite what I’m looking for. After reading this, I now know I need a recipe that uses the reverse creaming method! Thank you for all of this information and guiding me to the perfect cake!”
Jenni
Why the Mixing Method Matters
Every cake needs two things to rise and hold its shape: air and structure. The mixing method is a big part of how you build both. Some methods whip air into fat, some whip it into eggs, and some barely add air at all and lean on baking powder instead. At the same time, the moment flour meets liquid and gets stirred, gluten starts to form. Gluten is what helps hold the air in the structure of the cake, but overdeveloping it turns a tender cake tough. So every method is really a balancing act: get enough air and structure for a good rise, without overworking the flour.
That’s the lens to keep as you read on. When I test a new recipe, I think about how I want the cake texture to turn out (sturdy, ultra-fine, springy) and the way I can prevent it from turning out wrong (dense, tough, dry, gummy). This decision always starts with the mixing method, and that informs the ingredients and ratios.
The 5 Methods at a Glance
| Mixing Method | Crumb & texture | Best for |
| 1) Creaming: Beat butter + sugar, add eggs, alternate dry/wet ingredients | Tender, even crumb texture, good height | Most butter-based cakes & layer cakes Ex: pound cake, vanilla cake |
| 2) Reverse creaming: Beat butter into the dry ingredients, then add liquids and eggs | Ultra-fine, velvety crumb texture, flat-topped | Level, frosting-ready layer cakes Ex: tiramisu cake, Oreo cake, red velvet cupcakes |
| 3) Foam/sponge: Whip whole eggs or egg whites for air, fold in flour (doesn’t always contain a fat or extra liquids) | Light, springy, open crumb structure | Roll cakes, soaked cakes, angel food, chiffon Ex: angel food cake, chiffon cake, tres leches cake |
| 4) Blended / oil: Whisk wet into dry, mix just to combine | Very moist, tender, can have a sturdy or open crumb structure | Moist chocolate cakes, quick breads Ex: carrot cake, chocolate cake, banana bread |
| 5) Combination: Cream butter/sugar/yolks, fold in whipped egg whites | Rich but light and airy crumb structure | Butter cakes you want lightened Ex: Italian cream cake, German chocolate cake |
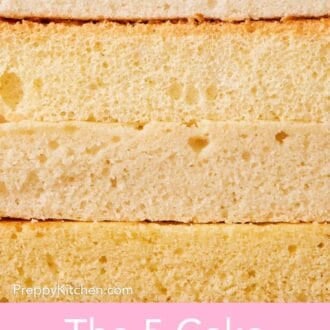
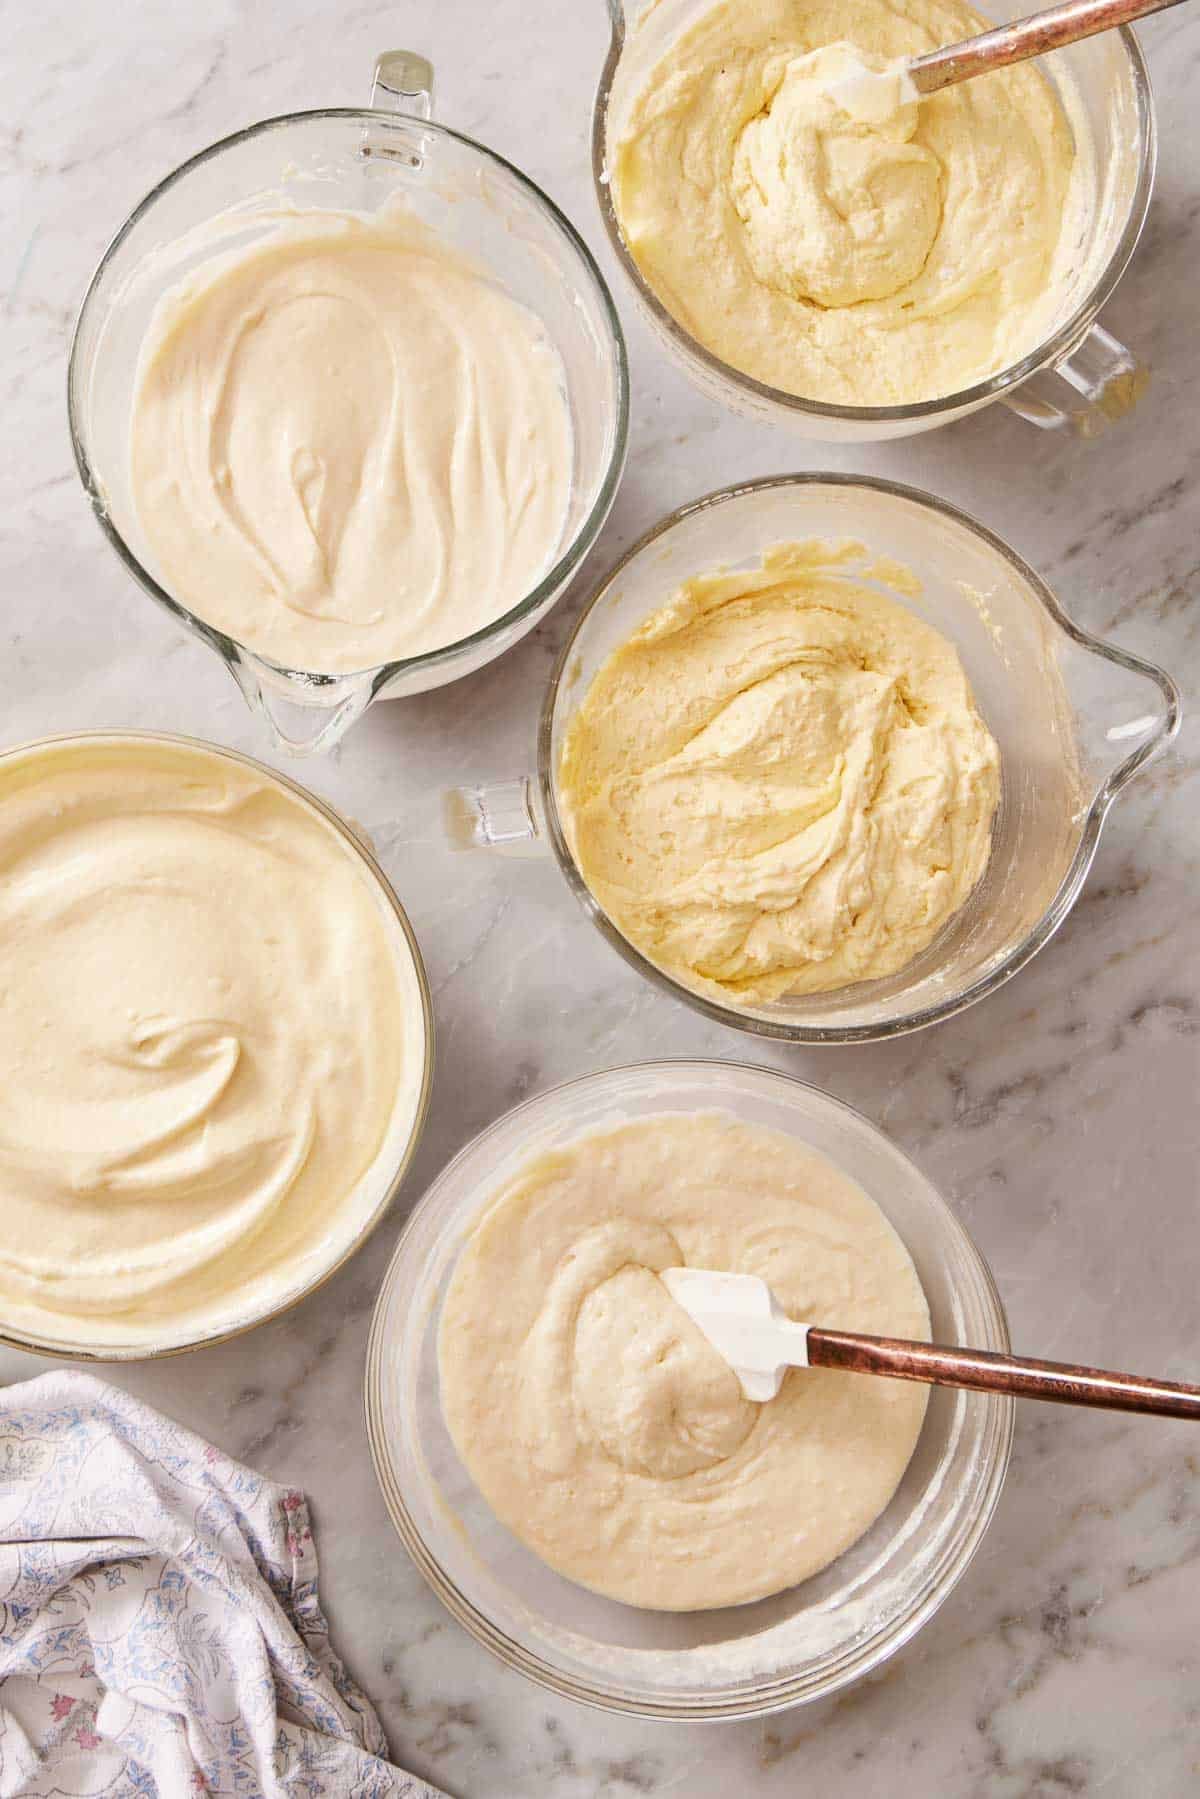
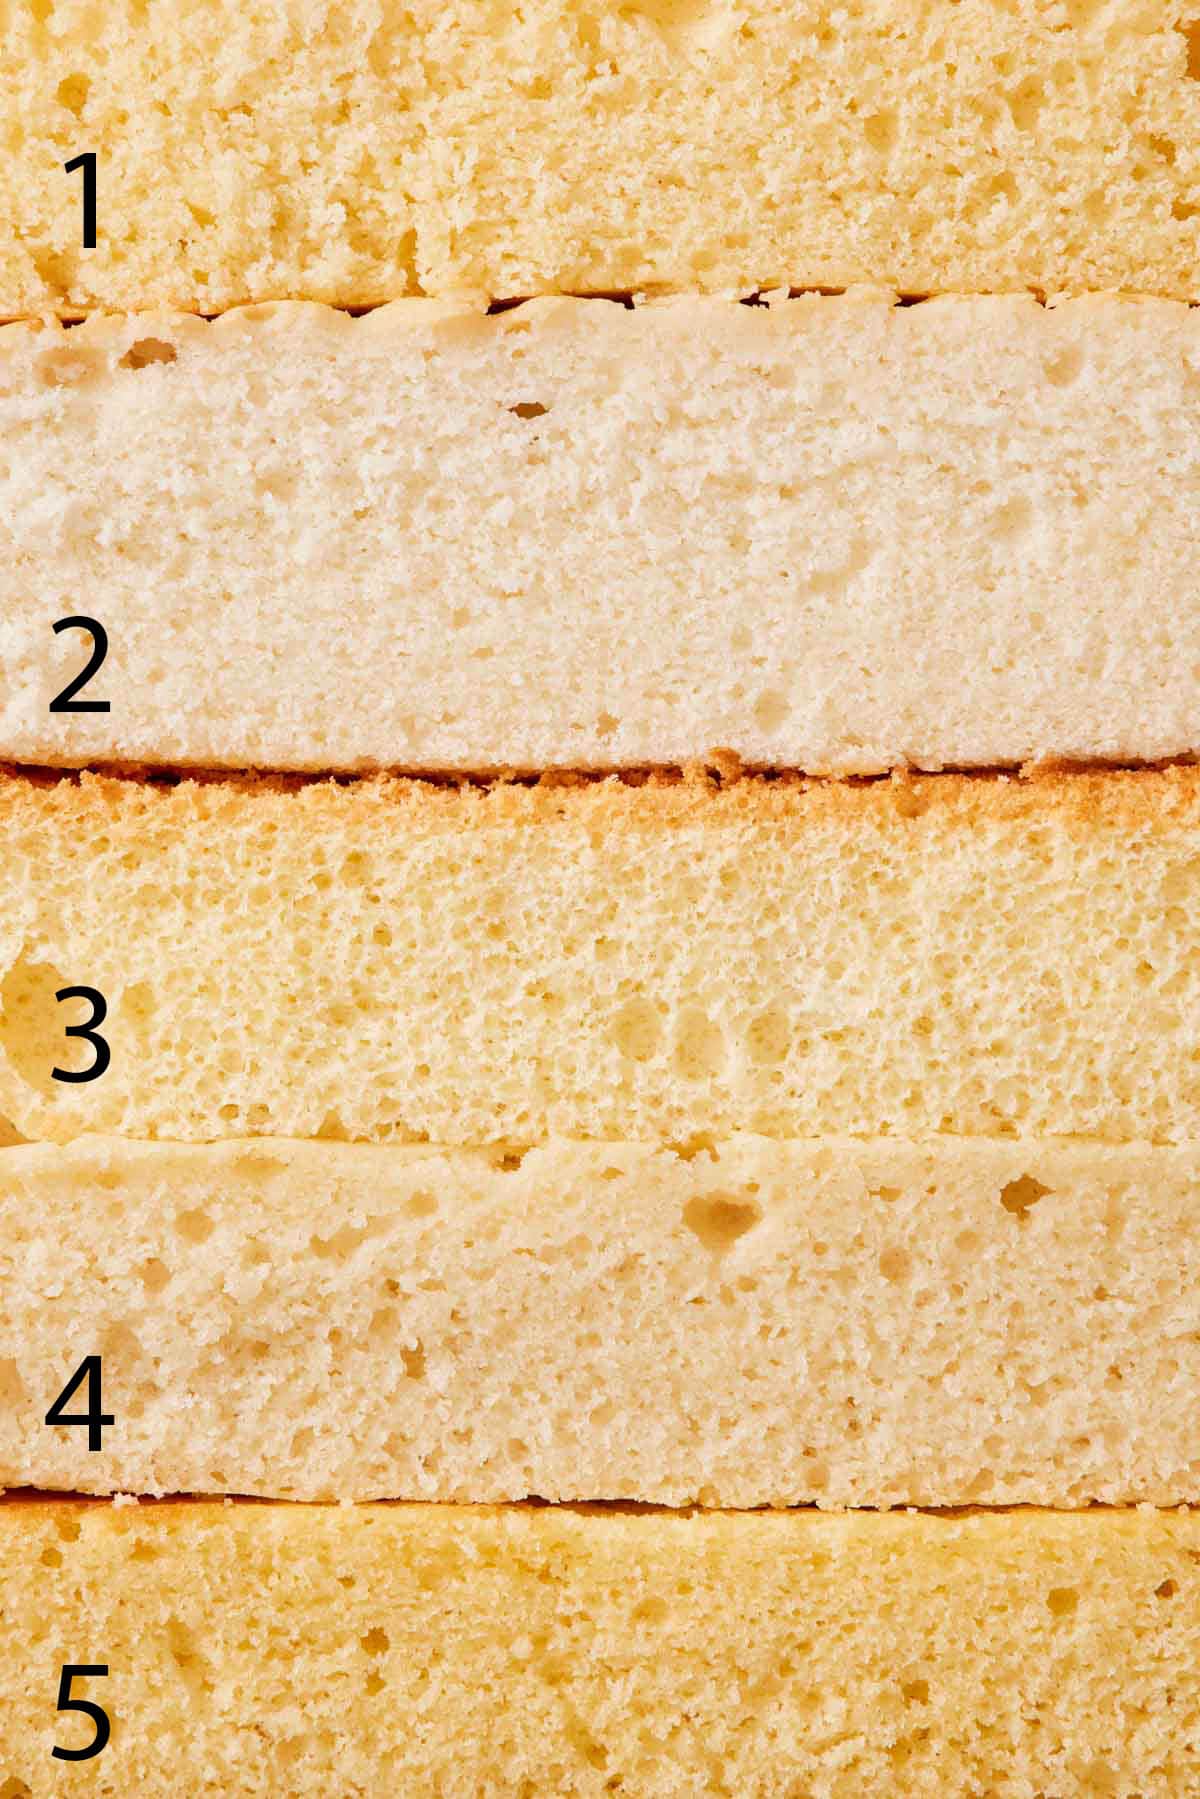
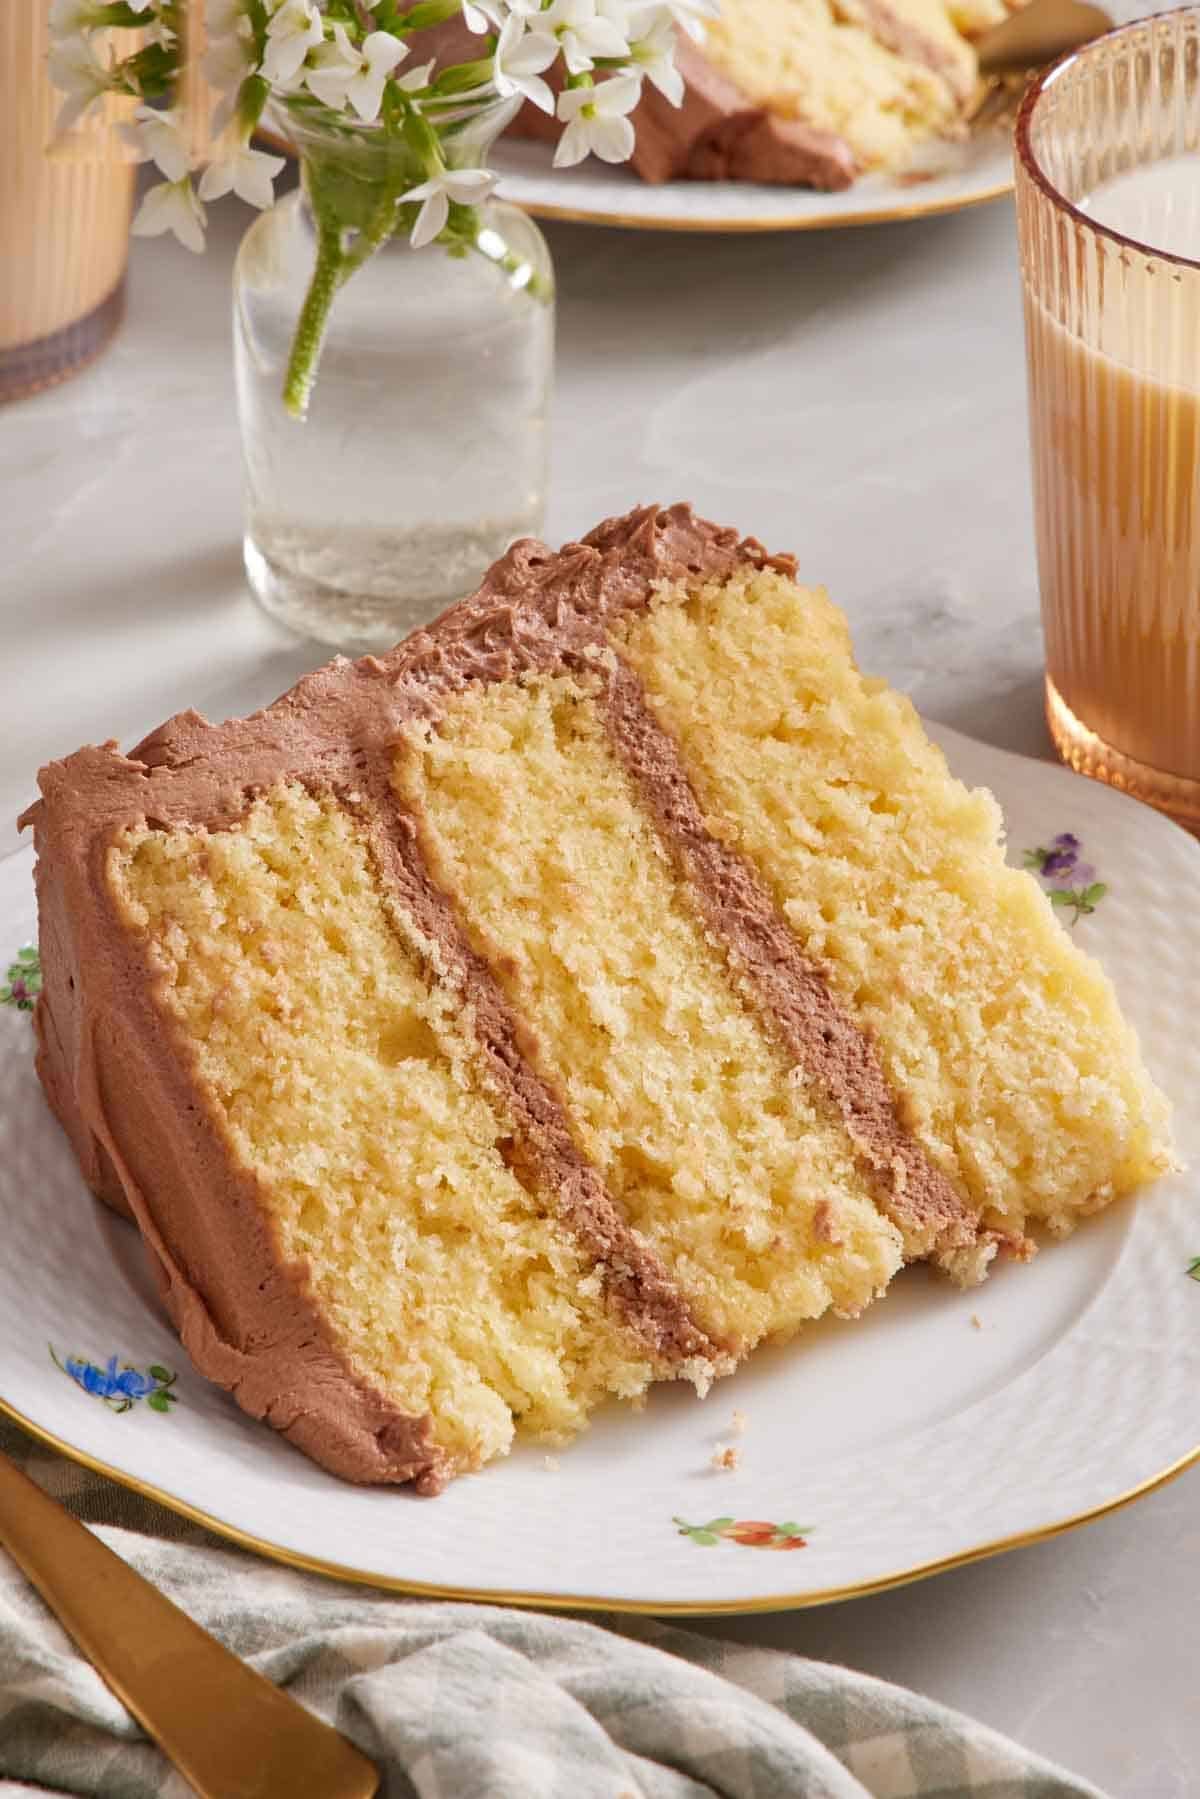
I made 5 vanilla cake recipes from the site, each using one of these methods, to show you how the crumb structure looks for each one. Listed in order: 1) vanilla cake, 2) tiramisu cake, 3) chiffon cake, 4) vanilla cupcakes (baked in an 8” cake pan), 5) Italian cream cake (without the coconut and pecans).
Method 1: The Creaming Method
This is the classic method; the one most butter cakes and layer cakes use. You beat softened butter and sugar together until the mixture turns pale and fluffy, add eggs one at a time, then alternate adding the dry ingredients and the liquid, ending with the dry.
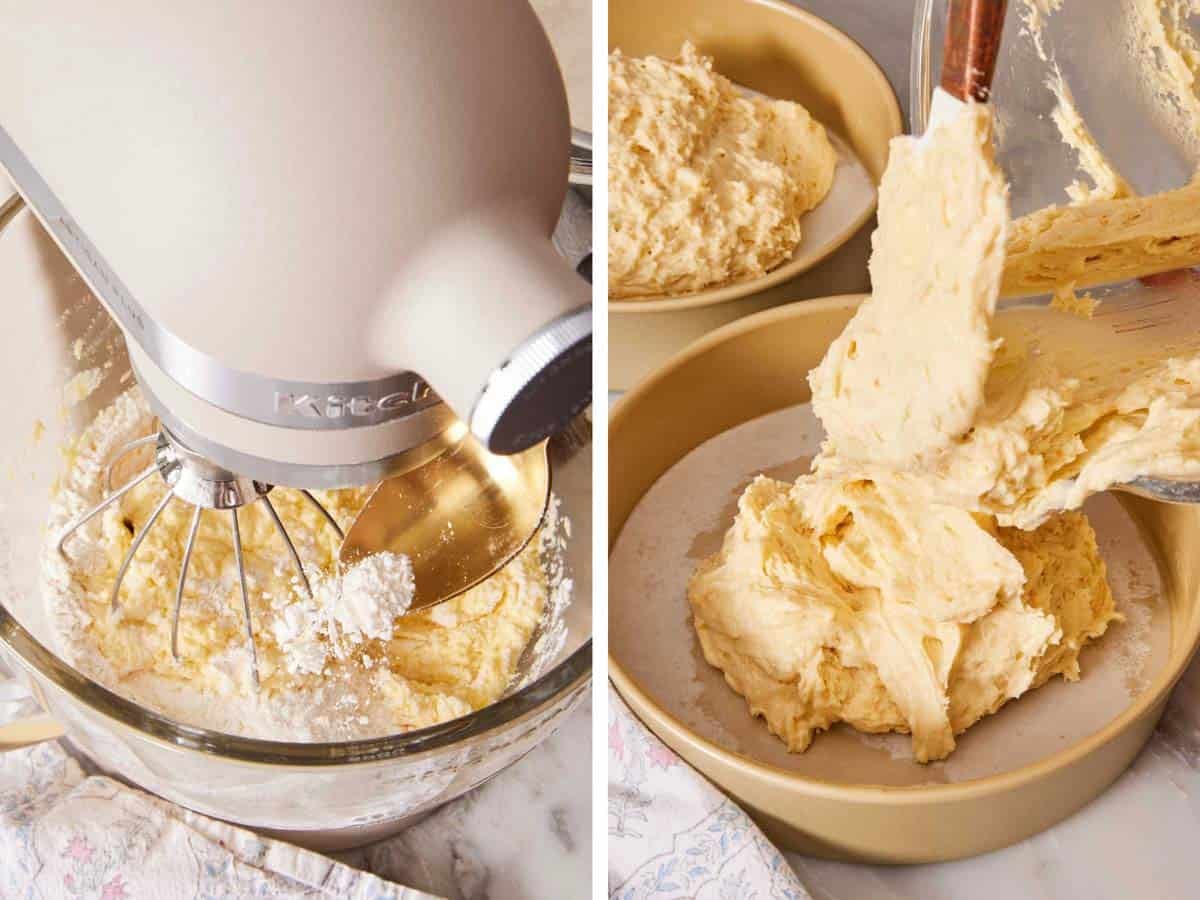
What’s actually happening: the sharp edges of the sugar crystals cut into the softened butter and carve out thousands of tiny air pockets. Those pockets are the seed bubbles that expand in the oven and give the cake its lift, which is why creaming until “light and fluffy” isn’t optional. Underbeat the butter and sugar, and the cake bakes up denser and squat.
This step in a recipe like my pound cake is the make-it-or-break-it moment: a proper pound cake gets a long, patient creaming because that mechanical air is doing most of the leavening. My strawberry cake is built the same way, and it’s the method I use for most of my frosted layer cakes, from yellow cake to funfetti. It also makes the best coffee cake!
The crumb it makes: tender, even, with good height and a classic soft butter cake texture.
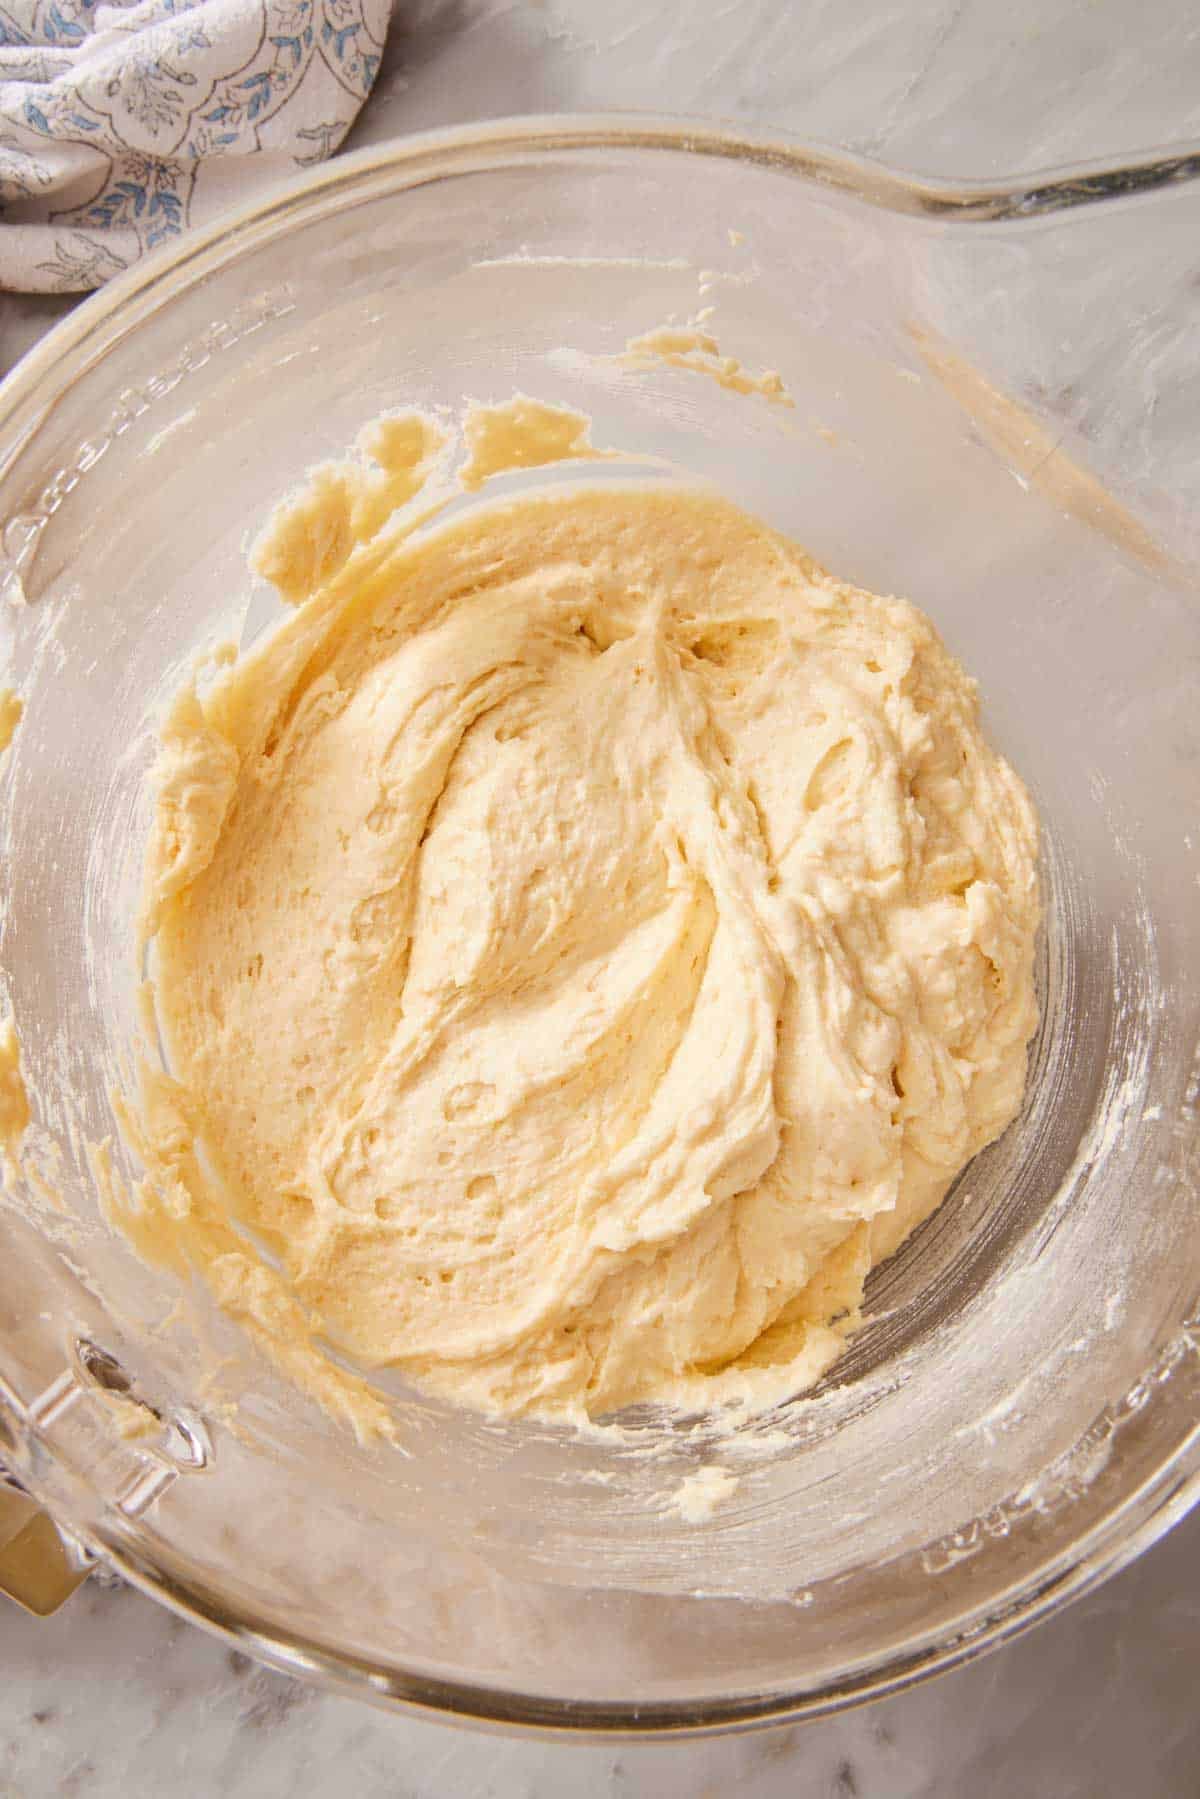
Where it goes wrong: two places have the most common issues. Overcreaming the butter: you beat in too much air, which can make a cake dome dramatically, bake with large holes throughout the crumb, or sink. Overmixing once the flour goes in: this develops more gluten than the cake needs. Mix the dry ingredients on low just until the streaks vanish.
I tested both of these trouble points with my vanilla cake recipe. For overcreaming, I beat the butter and sugar until the mixture was very pale (almost white) and super airy like frosting. The baked cake layers had a dome (even with baking strips) and when sliced, there were large holes throughout the cake. For overmixing, I left my mixer running for 1 minute at medium speed after the flour was added. The baked cake layers weren’t as tall as normal, and the texture was noticeably dense (and not in the pleasant way that pound cake is).
Method 2: The Reverse Creaming Method
Also called the paste method, this one flips the order and sounds quite strange when you first learn it: you beat softened butter directly into the dry ingredients (flour, sugar, and leavening altogether) until the mixture looks like damp, sandy crumbs. Then, you add the liquids and eggs, and continue beating until that sand smooths into a thick, fluffy batter. It feels counterintuitive to beat flour for long, given what we just explained about gluten development, but it’s become a favorite for modern layer cakes for good reason.
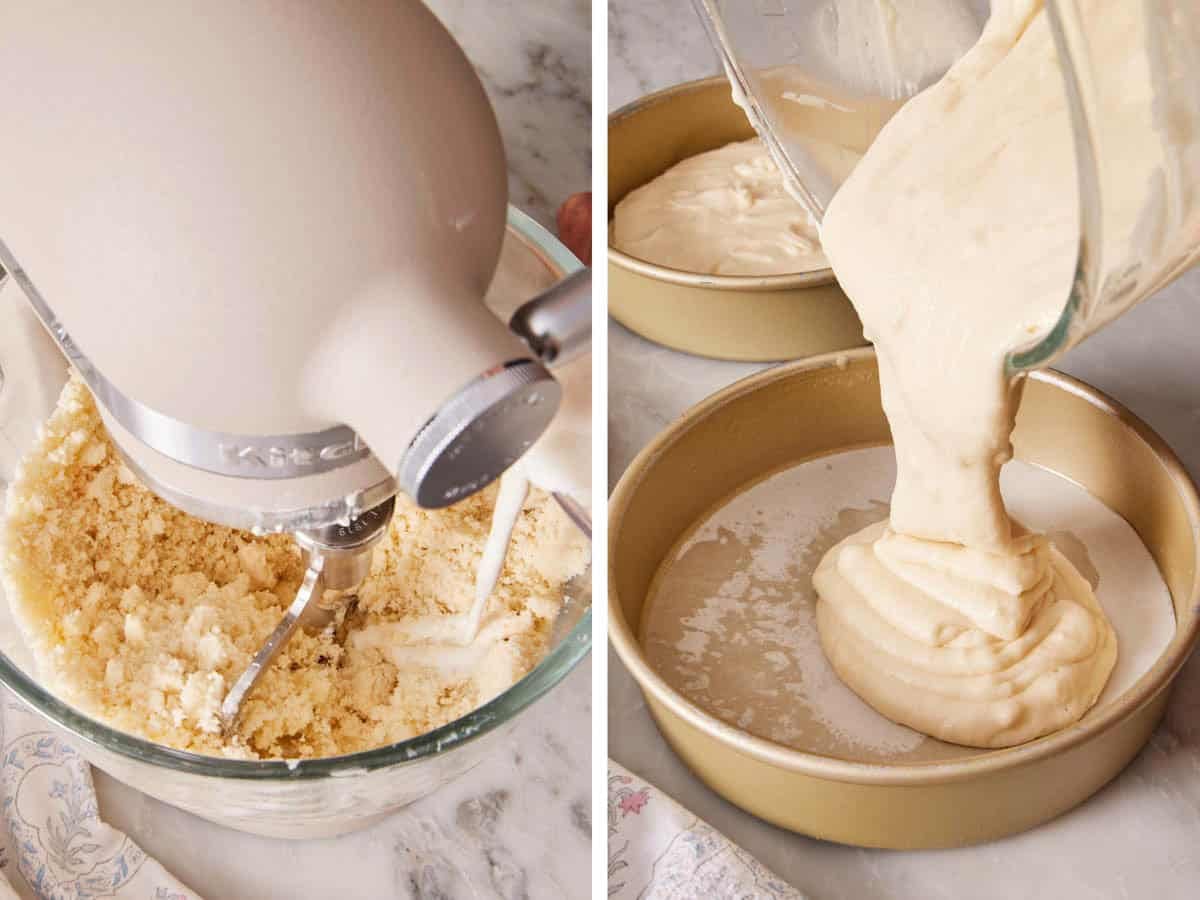
What’s actually happening: by coating the flour in fat before any water arrives, you physically limit how much gluten can form. (Gluten forms when proteins in the flour are hydrated.) The butter essentially waterproofs the flour, so it’s very hard to overmix and toughen the cake. It’s the closest thing to a foolproof, honestly! It’s my go-to method for beginning bakers because it’s a genuinely forgiving method.
The crumb it makes: ultra-fine, velvety, and tender, with a tighter, more even texture than creaming and, importantly for layer cakes, flatter tops. That flat top is a gift when you’re stacking layers! When I developed my Oreo cake, I used a reverse-creaming approach precisely for that reason: the layers bake level and with a fine crumb, so they stack cleanly and slice without crumbling. I also found in testing that this method helped the chopped cookies well! Since the cookie pieces have weight, a lighter, airy crumb caused them to sink more towards the bottom rather than stay dispersed throughout the batter.
Some people describe the cake texture from this method as being dense, but I disagree and think there is a difference between dense and ultra-fine. “Dense” is heavy without many air pockets. “Ultra-fine” is tender, light, or even springy but with lots of very small air pockets.
When to reach for it: layer cakes you want flat, tender, and without the need for trimming, or any time you’re nervous about overmixing.
Method 3: The Foam (Sponge) Method
Foam cakes get their structure and lift almost entirely from whipped eggs, with little or no chemical leavener. You whip whole eggs or egg whites until they’re voluminous and airy, then gently fold in the flour. The goal here is preserving the air you just whipped in.
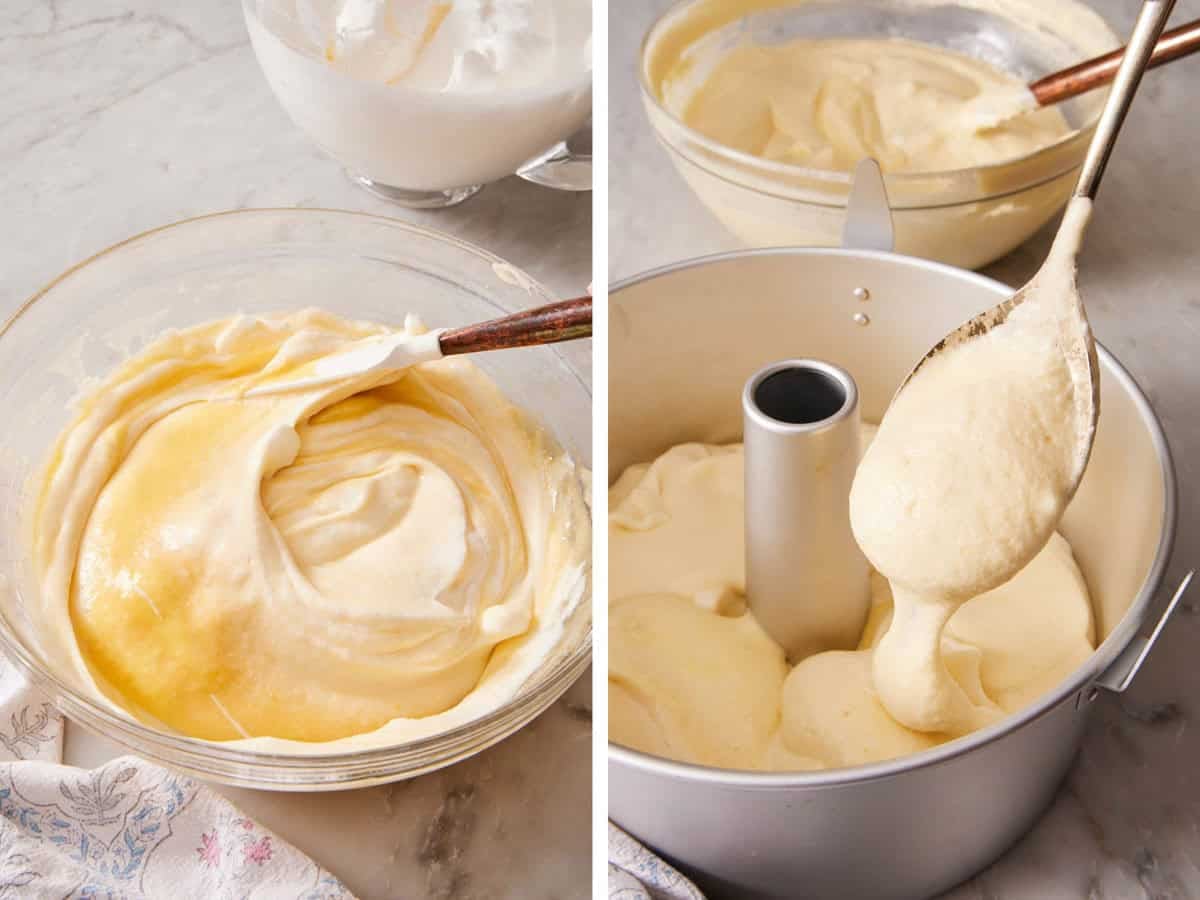
This method has a family of variations, and knowing them is worth it because they each behave a bit differently:
- Genoise — whole eggs (often heated first with sugar) whipped to a ribbon, sometimes with a little butter mixed in. The classic French sponge cake is popular throughout Europe.
- Angel food — egg whites only, no fat and no yolks at all, stabilized with an acid like cream of tartar and a very small amount of flour. The lightest cake there is. My angel food cake is the textbook example.
- Chiffon — a sponge method that beats both the egg yolks and whites separately, then folds the whipped whites into an oil-based batter. It also uses a touch of baking powder, so it’s both airy and moist. It’s essentially a combination of Genoise and Angel food cake methods. My chiffon cake shows this beautifully.
- Hot-milk sponges — separated or whole eggs whipped with a warm liquid. The backbone of a hot milk cake.
- French biscuit sponges (Biscuit de Savoie / Biscuit Roulade) — a sponge cake that incorporates whipped egg whites to lighten the batter. They can vary to include egg yolks, but they typically don’t include much or any added butter or oil. Often used for rolled cakes, my Swiss roll is a chocolate version of this method.
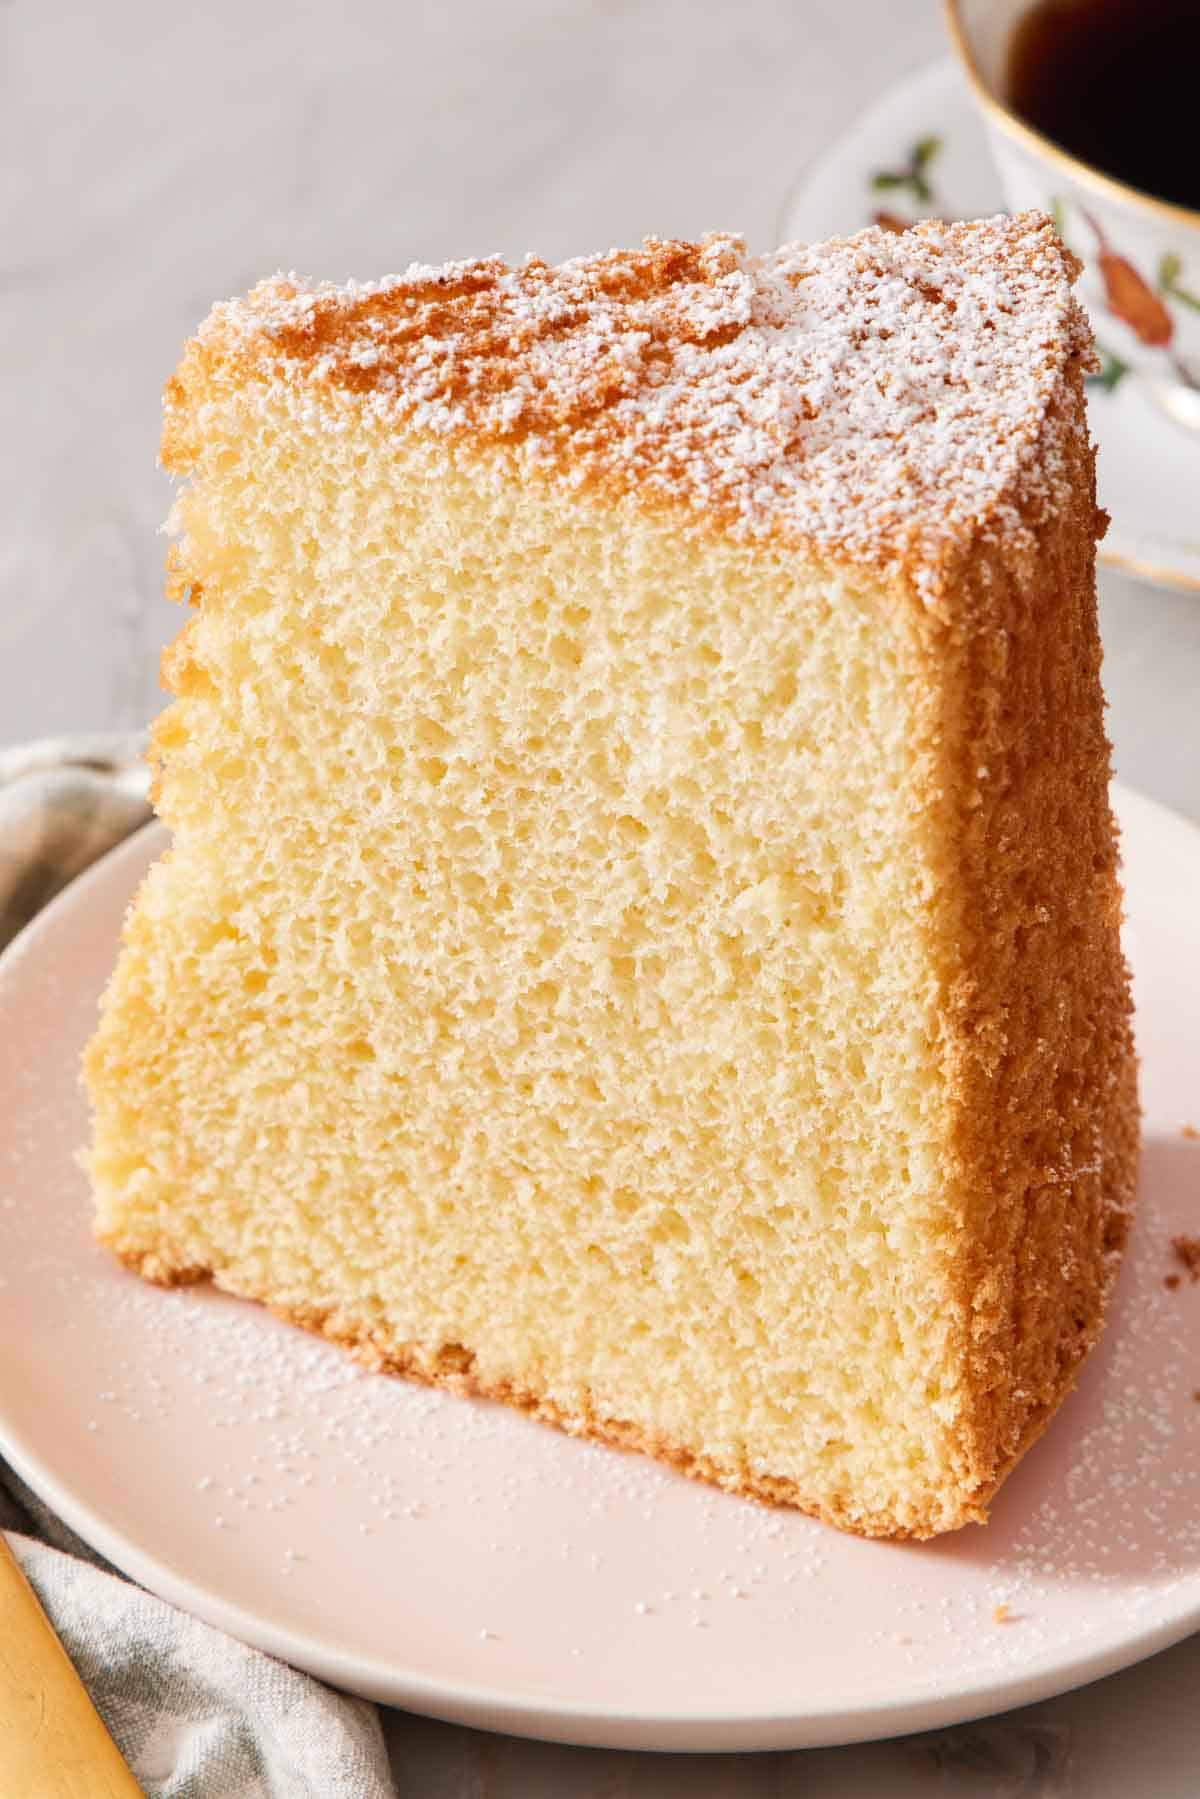
The crumb it makes: light, springy, and open, with a bouncy structure that flexes without breaking. This is exactly why a sponge method is used for rolled cakes or if soaking it, like a tres leches cake. Because foam cakes are low in fat, they’re on the drier side, so they’re often paired with syrups, soaks, or whipped cream.
Where it goes wrong: deflating the foam. Fold, don’t stir, and stop the moment the flour disappears. Once in testing, I added the stiff egg whites to my chiffon cake batter and had a few small clumps. I got a bit too aggressive with mixing them in and stirred out a lot of the air without realizing it. When it was baked, the cake was short and dense. If you have trouble breaking up the stiff egg whites when folding them in, use a whisk instead of a spatula. This helps preserve the air and break up any clumps.
Method 4: The Blended (Oil) Method
The easiest of the bunch, and the one behind some of the most-loved cakes on the site. You whisk the wet ingredients, usually including oil rather than butter, then combine them with the dry ingredients and mix just until you have a smooth, often pourable batter. Its quick-bread cousin, the muffin method, is the same idea: wet into dry, stir until just combined.
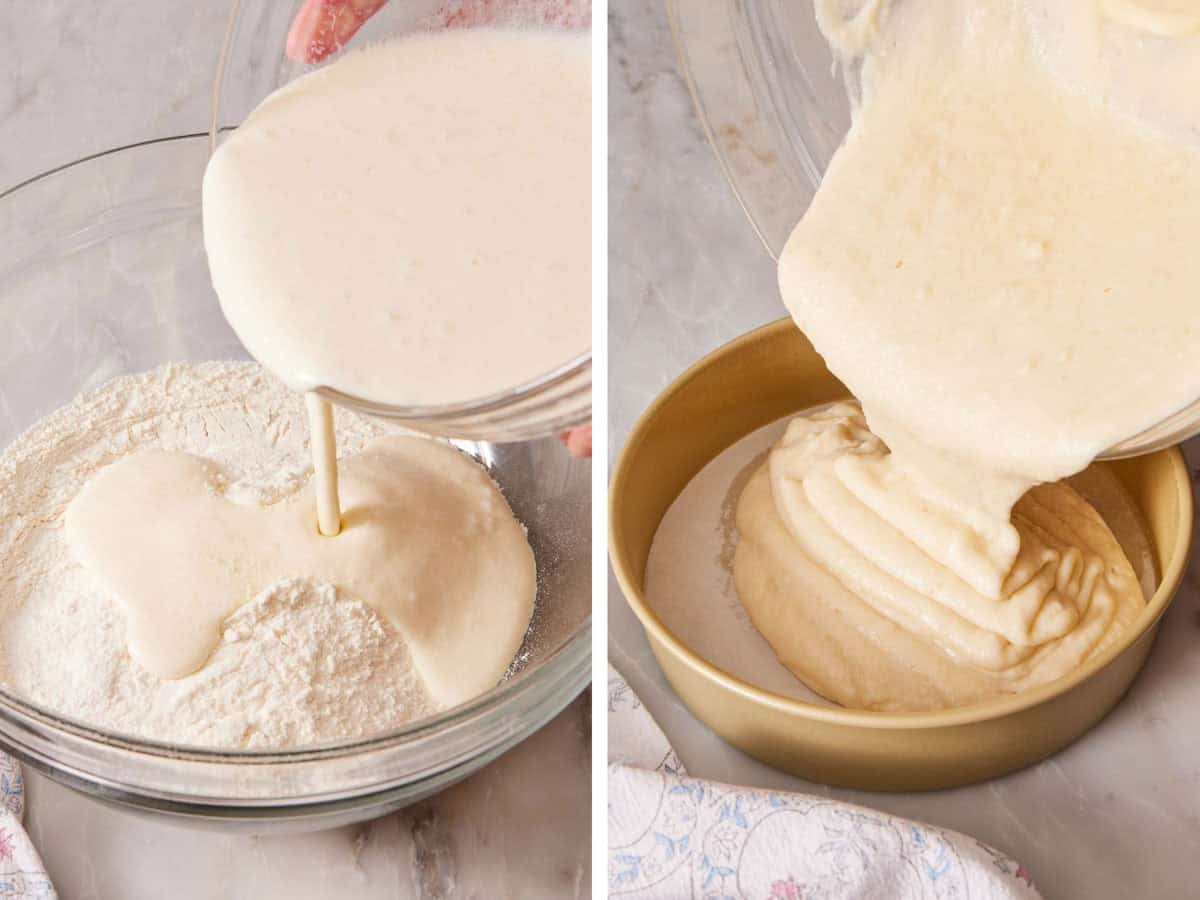
What’s actually happening: oil is liquid at room temperature and coats the flour effortlessly, so it incorporates with minimal mixing and stays soft even when the cake is cold. This is why oil cakes stay moist for days where butter cakes firm up. The trade-off is that oil doesn’t hold whipped air the way creamed butter does, so these cakes lean on baking powder and baking soda for lift. (You can also butter, but it needs to be melted instead of softened in this method.)
The crumb it makes: exceptionally moist, tender, and sometimes a little denser. The layers can be sturdy enough to stack and hold mix-ins well, or they can be super airy with an open crumb structure—it depends on how much leavener is used. This is the method behind my carrot cake, my most-baked chocolate cake (oil plus a hit of boiling water for an ultra-moist crumb), my lemon cupcakes, and my chocolate muffins.
Where it goes wrong: overmixing. It looks so easy that people keep stirring! An overmixed batter turns gummy and full of tunnels because the gluten network gets too strong and traps air in pockets rather than letting it rise more evenly. When I tested my chocolate muffins, the difference between a light crumb and a dense, tunneled one came down entirely to stopping while a few streaks of flour still showed before stirring in the chocolate chips.
Method 5: The Combination Method
The combination method does exactly what the name says: it combines two of the others. You cream the butter, sugar, and egg yolks together (the creaming method), then separately whip the egg whites to peaks (the foam method) and fold them into the batter at the end.
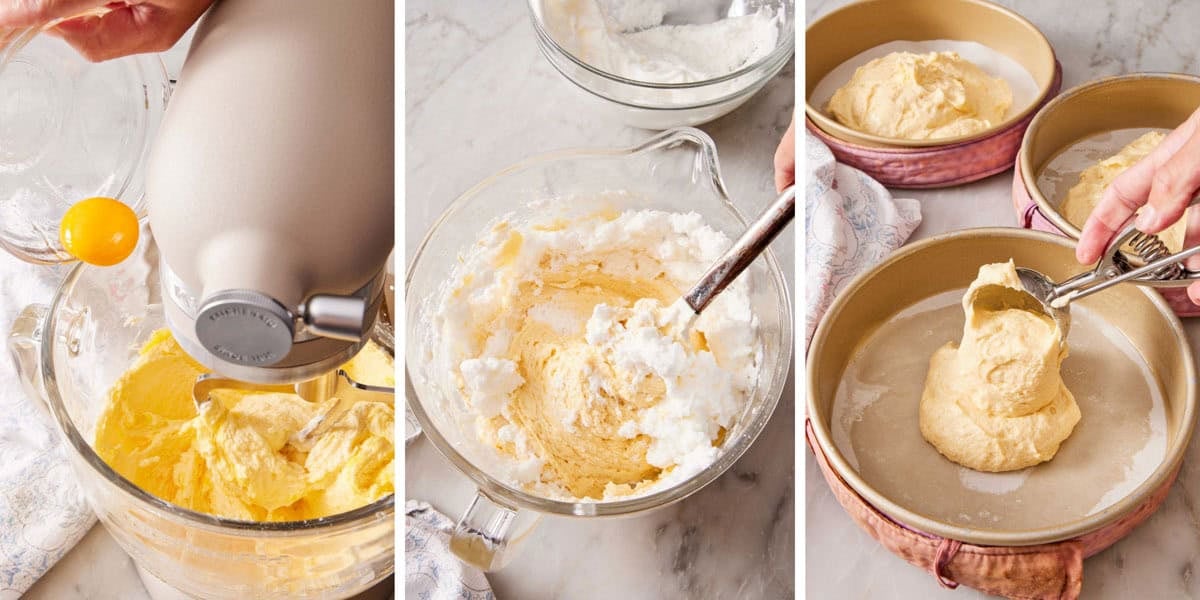
What’s actually happening: you’re getting air from two sources—the fluffy creamed butter and sugar and the whipped whites folded in. This makes a cake that’s rich and buttery but noticeably lighter than a straight creamed cake. My Italian cream cake is a classic example: a creamed, buttery base lifted with folded whipped whites so a fairly dense, coconut and pecan-loaded cake still bakes up plush.
The crumb it makes: rich and tender like a butter cake, but with extra lift and a lighter, more delicate structure.
The trade-off: it’s more work. The two mixing processes mean more bowls, and, like the foam method, it lives or dies on folding the whites in without knocking the air out. Fold in a third first to lighten the batter, then gently fold in the rest.
How to Choose the Right Method
You usually don’t have to choose! A well-written recipe has been designed to work with the mixing method in the recipe that works best for the cake’s format (stacking layers, cupcakes, etc.). But now it’s easy for you to identify the method being used! See oil in the ingredients and a “whisk wet into dry” instruction? That’s a blended cake; don’t cream it or worry about getting your mixer out. See softened butter creamed with sugar? That’s a creaming (or combination) cake, and it needs that air and an electric mixer.
Knowing the methods pays off in real ways. It tells you when you can’t make an ingredient swap—you can’t simply substitute oil for the creamed butter in a layer cake and expect the same rise, because the butter was doing structural work the oil can’t. It tells you how to fix a texture problem—a tough cake means gluten, which means you overmixed after the flour went in. And it lets you predict a result before you bake: reach for reverse creaming recipes when you want very flat, fine layers, a sponge when you want something light to soak, or the oil method when you want to make it in advance so it stays moist and soft for longer.
If flat, level layers are your goal no matter the method, that’s a separate skill worth learning too! (See How to Bake Flat Cake Layers.) And since every one of these methods depends on measuring flour, sugar, and fat correctly, my How to Measure Ingredients Correctly is the perfect companion to any recipe.
Frequently Asked Questions
The creaming method. It’s the default for the majority of butter cakes, layer cakes, and cupcakes, where creaming softened butter with sugar creates the air pockets that help the cake rise. It’s also used for a lot of cookie recipes to get just the right balance of lift and spread. If a recipe uses softened (not melted) butter and starts by beating it with sugar, you’re using the creaming method!
The order of mixing, which changes the crumb texture. In traditional creaming, you beat butter and sugar first to whip in air, giving a taller, airier cake. In reverse creaming, you beat butter into the dry ingredients first, which coats the flour in fat, limits gluten, and produces a finer, more tender, flatter cake that’s harder to overmix. Creaming gives more lift; reverse creaming gives more tenderness and level layers.
The blended (oil) method and reverse creaming are the most forgiving. Both are hard to overmix into a tough cake. The oil method is great because you barely stir it and you don’t need a mixer. And reverse creaming works well because the fat coats the flour and limits gluten. Start there before tackling foam or combination cakes, which require careful folding.
Toughness almost always means overmixing after the flour went in, which develops gluten. Be sure to mix the dry ingredients on low speed, just until the streaks disappear. A dense texture usually means not enough air was incorporated, either from undercreaming the butter and sugar, deflated whipped eggs, or using the wrong method for the recipe.
Usually not without changing the recipe. The method is matched to the fat type and leavening ratios: an oil cake relies on more chemical leavener because oil can’t hold air, while a creamed cake counts on that whipped-in air for structure. Swapping methods without adjusting the formula tends to give you a flat or dense result.
More Tutorials To Try
Now that you know how to mix the perfect cake, expand your knowledge with one of my other baking tutorials:
- How to Bake Flat Cake Layers — get level, even layers from any mixing method, so your cakes stack straight.
- How to Measure Ingredients Correctly — the foundation of every method; too much flour is the most common cake-wrecker.
- Baking Pan Sizes & Conversions — scale any cake batter up or down to the pan you actually own.
- How to Line a Cake Pan with Parchment Paper — clean release for delicate sponge and foam cakes.
- How to Freeze Cakes — bake your layers ahead once you’ve nailed the method.
If you’ve read this tutorial on the 5 main cake mixing methods, then don’t forget to let me know what you learned in the comments below. I love hearing from you!






