
This post may contain affiliate links. Please read our disclosure policy.
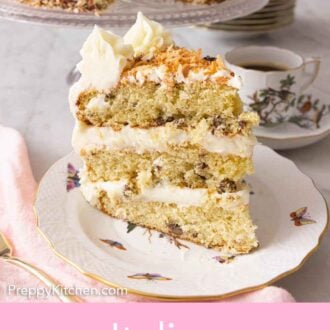
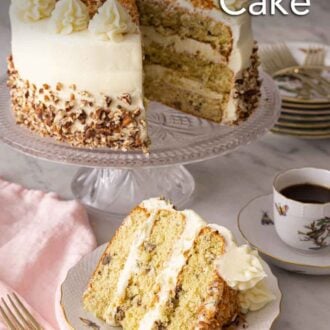
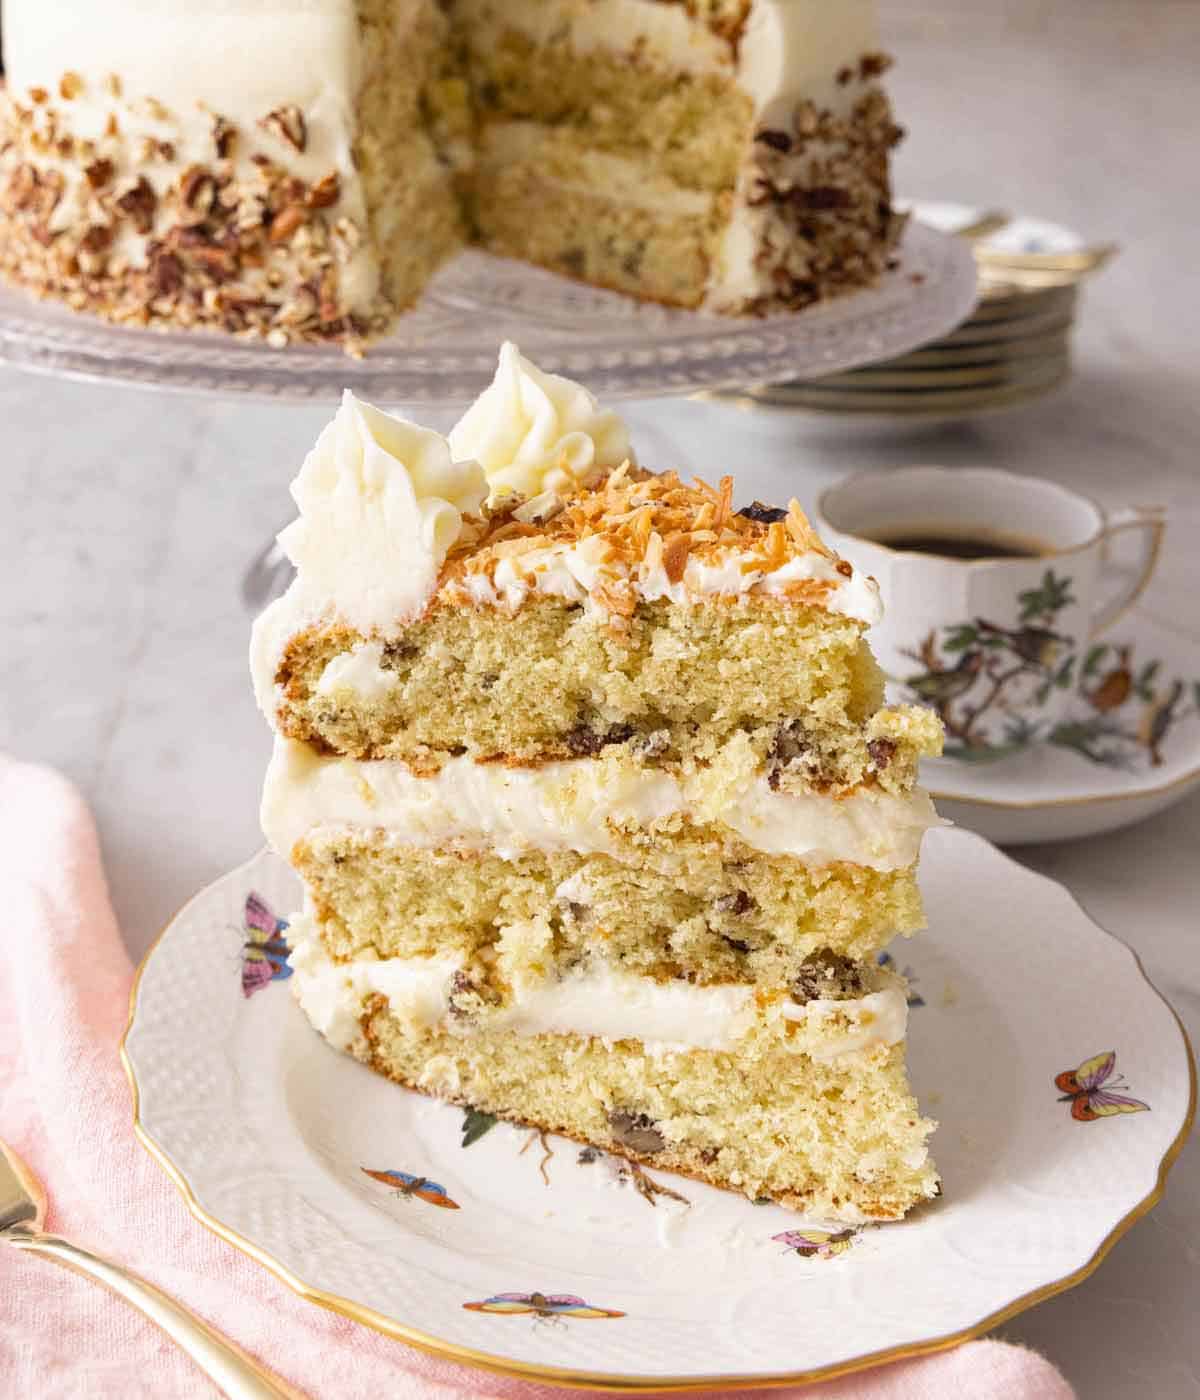
Italian Cream Cake is a Southern layer cake made from tender sponge cake studded with toasted pecans and coconut. The layers are stacked and finished with a decadent cream cheese frosting for a bakery classic that can be made in advance.
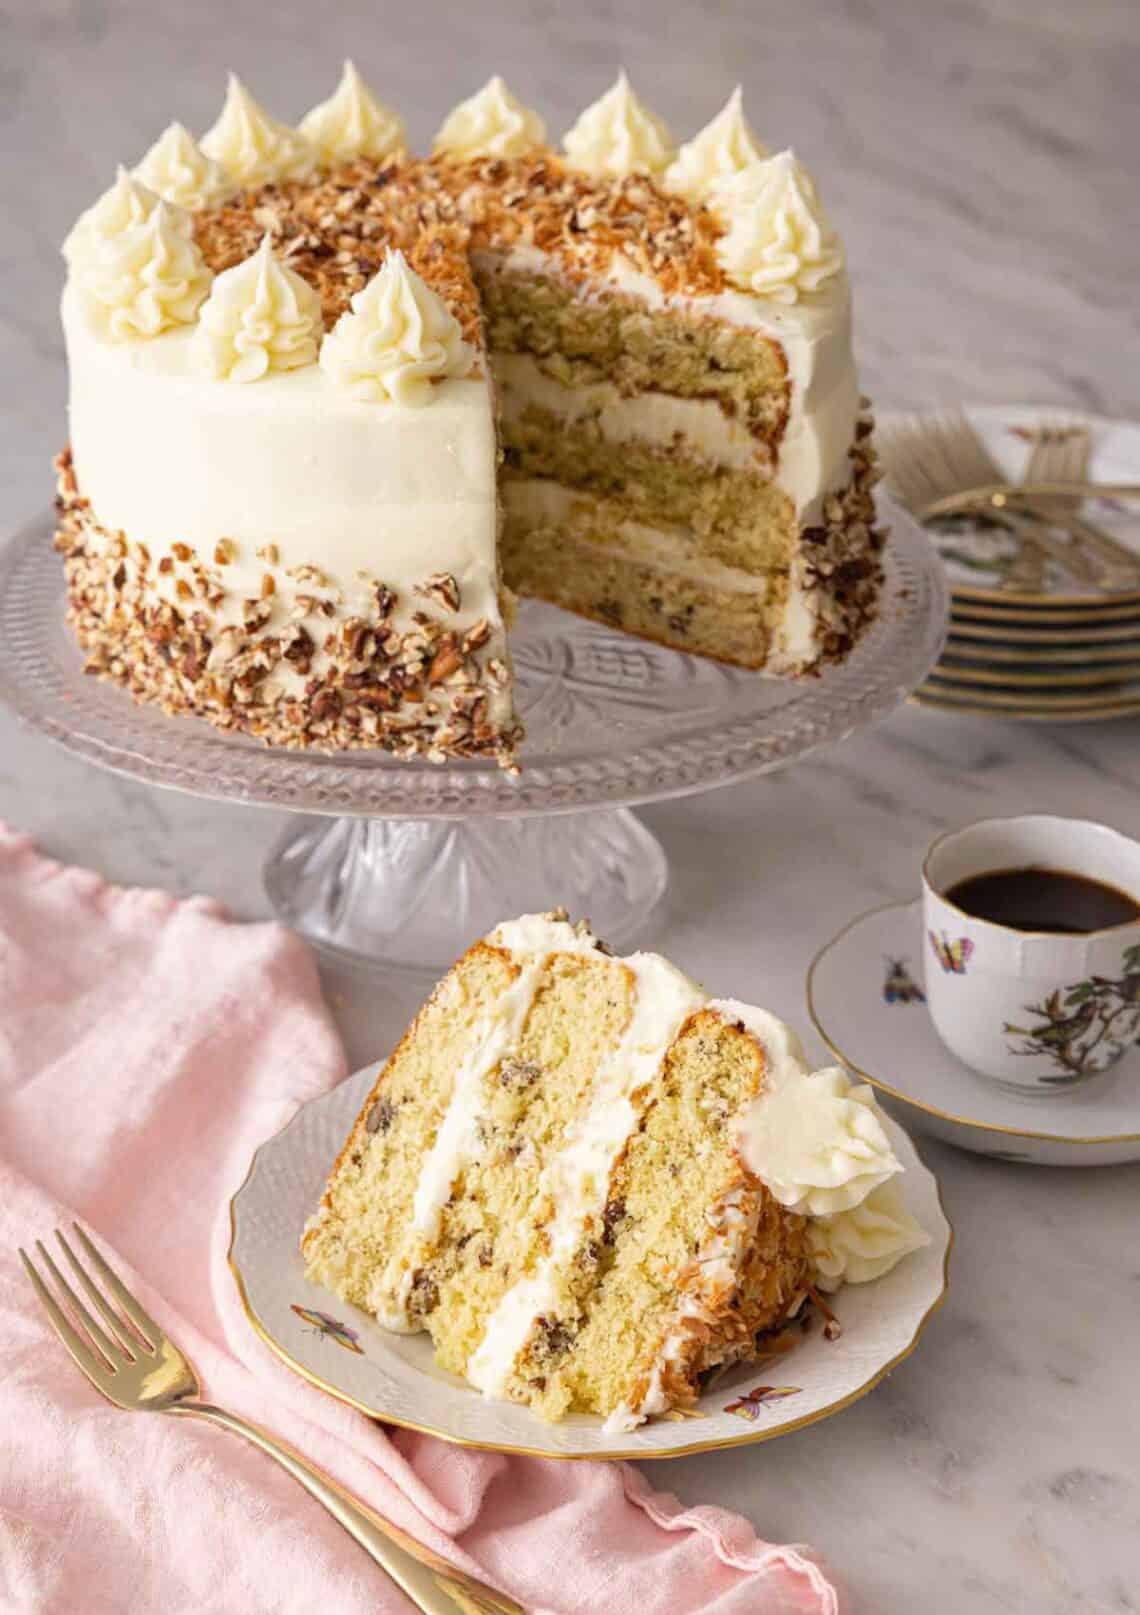
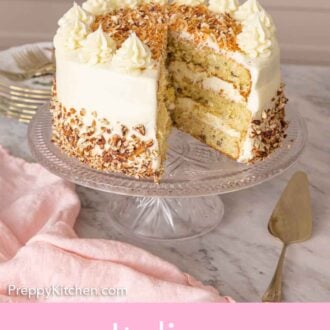
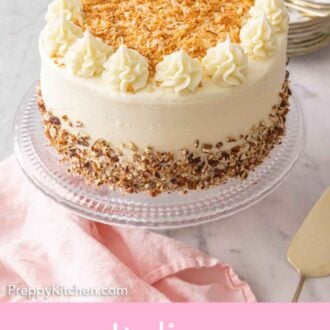
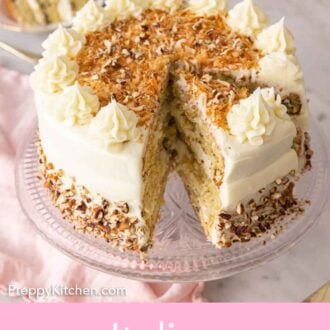
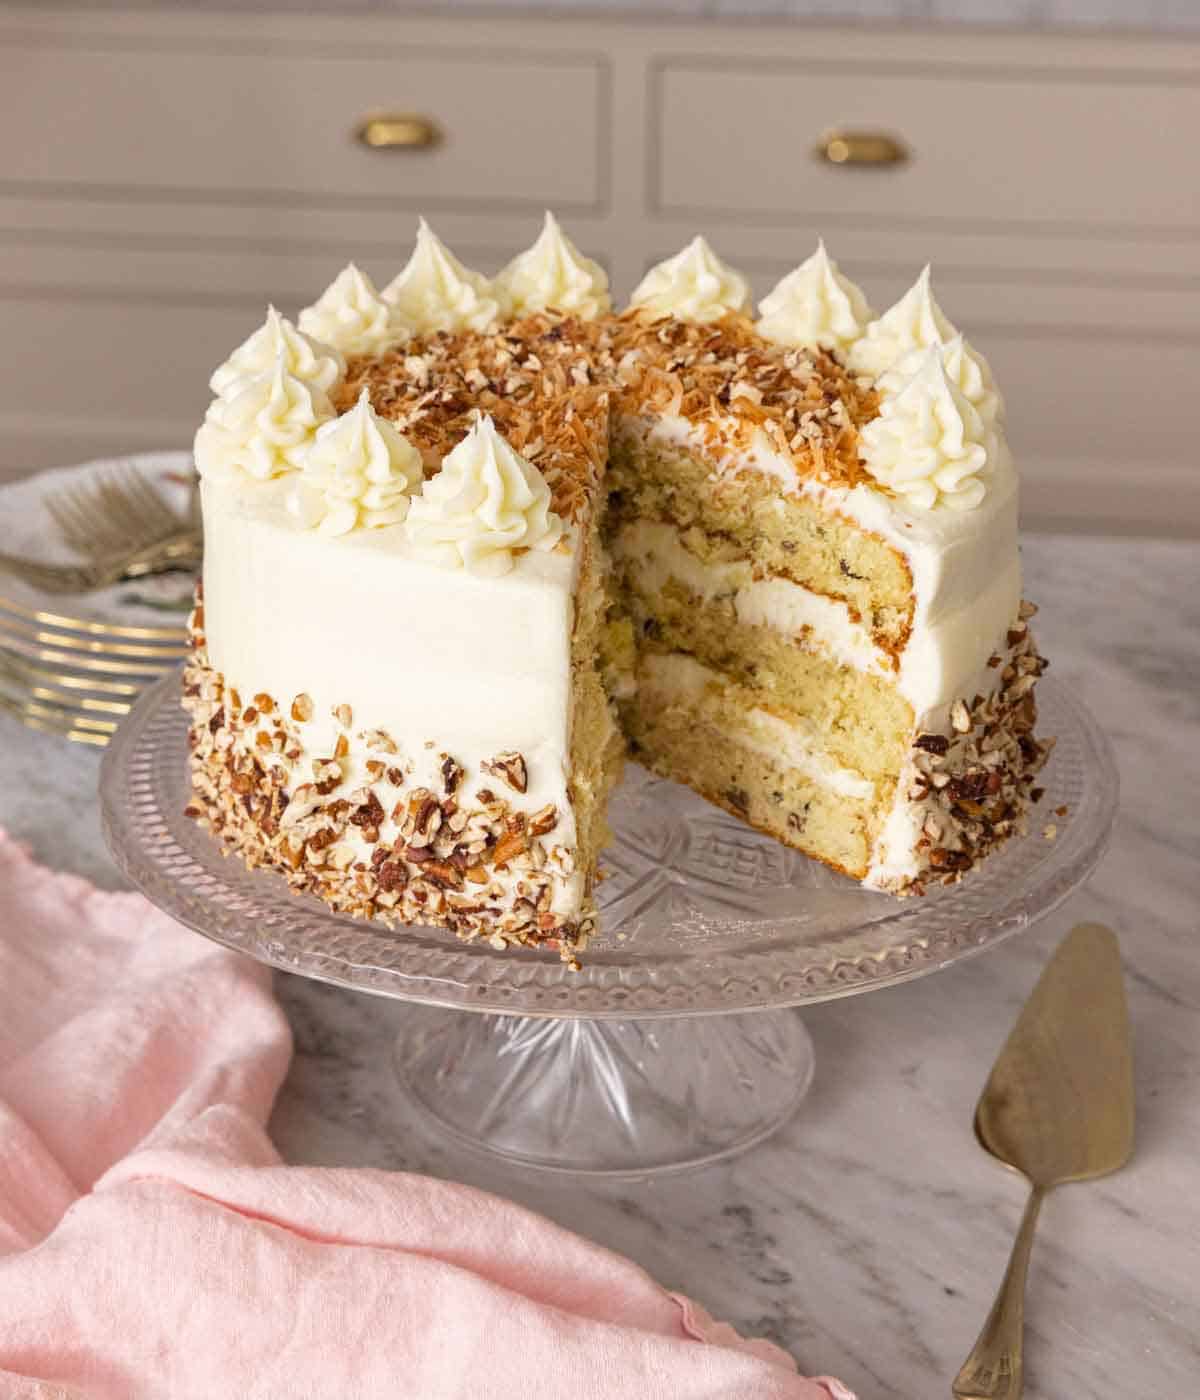
This Italian Cream Cake is a Southern showstopper that travels well, slices cleanly, and tastes even better on day two. Three tender layers are filled with shredded coconut and toasted pecans, blanketed in cream cheese frosting, and finished with more toasted coconut and pecans on the sides.
I’ve recently retested this recipe to address a few reader questions and make it even better than before. The original version used 9-inch pans, and the layers were a bit too thin for most readers. The current version uses three 8-inch pans for taller, sturdier layers (I’ll explain why that matters in the troubleshooting section).
A note on the name: this cake is not Italian. It originated in the American South—most likely Texas—and showed up in print in the 1970s. The “Italian” part has a few theories, mostly attributed to marketing, family-recipe lore that stuck, and potentially created by an Italian baker that lived in Texas. Outside the name, what’s special about this recipe is in the method: whipped whites are folded back into the batter for a very light crumb, and the coconut-pecan combination adds texture and flavor to every bite.
“There isn’t an Italian Cream Cake recipe that I haven’t tried. This one is By Far The Best Ever! Very simple directions to follow. I fixed this for New Year’s Day lunch and it was a hit.”
Katie
Why This Recipe Works
This cake builds tenderness three ways at once to give it the perfect texture. It requires more than one bowl, but it’s worth the extra dish.
- The whipped egg whites do the lifting. The eggs are separated, the whites beaten to stiff peaks, and folded into the finished batter in three additions. This is a combination cake mixing technique, combining a creaming method and a sponge method. There’s plenty of fat from butter and shortening doing structural work, but the beaten whites add lift that chemical leaveners alone won’t produce.
- The butter-shortening hybrid keeps it soft when cold. Butter adds flavor, but shortening matters because this cake lives in the fridge, and a pure-butter cake turns hard when refrigerated. Shortening stays soft at lower temperatures, so a slice after chilling still feels tender. When I first developed this recipe, I tested all-butter against the hybrid, and the all-butter version was noticeably stiffer after chilling overnight.
- Buttermilk and almond extract carry the flavor. Buttermilk’s acid tenderizes the gluten and adds a tangy backbone that keeps the cake from tasting too sweet or flat. Almond extract is the secret flavor ingredient here—just a splash lifts the coconut and pecan flavors without anyone noticing it as “almond.”
Ingredient Notes
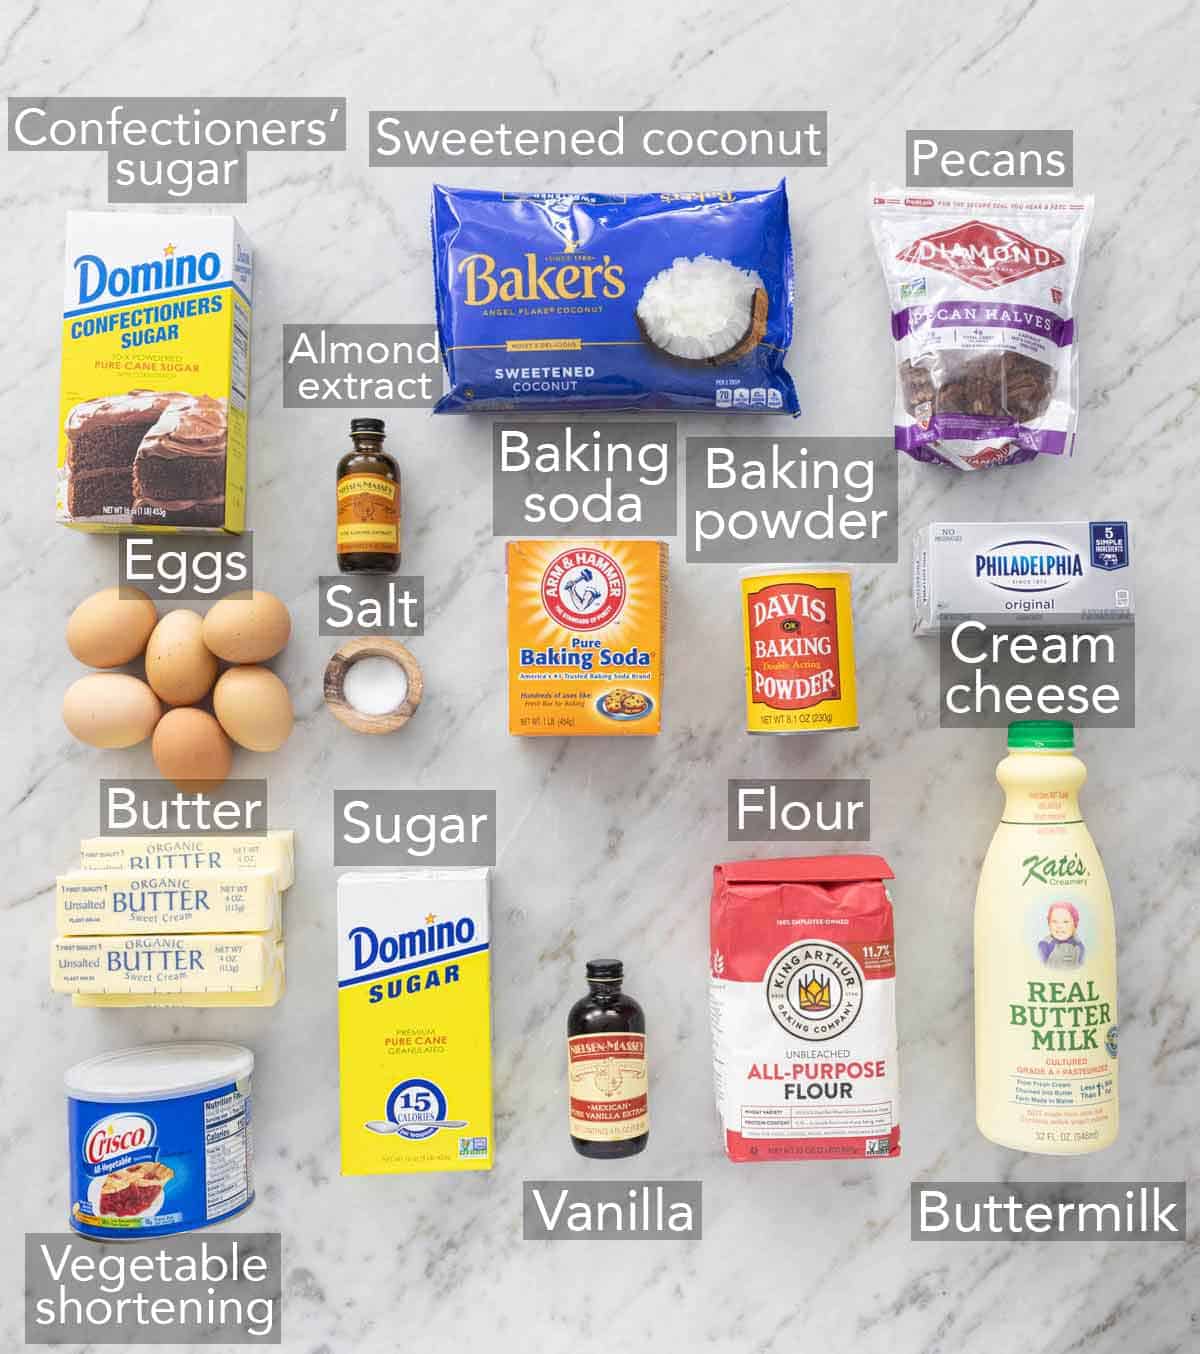
These are the main ingredients you need to make homemade Italian cream cake. You can find the full list of ingredients and measurements in the recipe card below.
Unsalted butter — use unsalted butter because brands vary in salt content for salted butter. (Read my Academy lesson on Salted vs Unsalted Butter to learn more!) Bring the butter to room temperature—it should yield easily when you press it, but not look greasy or melted. Cold butter won’t cream properly, and you’ll get a dense crumb texture. Soften butter quickly with one of my hacks if you are short on time.
Vegetable shortening — shortening is 100% fat, unlike butter (about 80% fat), so it contributes greatly to the tenderness of the cake. If you try to substitute the shortening for butter, the cake texture will change and be firmer, especially when chilled.
Buttermilk — real cultured buttermilk is best. If you don’t have any, see my buttermilk substitute made from milk plus a tablespoon of lemon juice or vinegar. Powdered buttermilk also works; reconstitute according to the package instructions first.
Sweetened flaked coconut — this is the standard for Italian cream cake. It’s sweet, slightly chewy, and holds its texture in the batter. Unsweetened shredded coconut works, but it is drier and the cake reads less sweet overall; if you swap, add an extra tablespoon of milk to the batter so the cake doesn’t turn out too dry. Toast shredded coconut for an easy and elegant decoration on the frosted cake.
Toasted pecans — toasting the pecans makes a big difference in flavor and texture. Raw pecans taste flat, turn slightly bitter when baked into the cake, and become chewy rather than crisp. You can follow my easy steps for how to toast pecans using one of three different methods. Cool the nuts completely before adding to the batter, or the residual heat will start melting the butter.
Almond extract — pure almond extract, not imitation. Less than a teaspoon is the right amount to bring out the nutty flavor of the coconut and pecans. Combined with vanilla extract, this gives the cake a deeper, more rounded flavor.
Cream cheese — use full-fat blocks, not the spreadable kind in tubs. Spreadable cream cheese has stabilizers and extra water that will give you a runny, slightly gummy frosting (you can see this tested comparison in my cream cheese frosting recipe). Bring the blocks to room temperature—cold cream cheese is the number-one cause of lumpy cream cheese frosting. I like to set out my blocks when I start baking the cake layers, so they can warm up while the cake bakes and cools.
How To Make Italian Cream Cake
Below, I’ve highlighted portions of the recipe in step-by-step process images along with instructions for making this traditional Italian cream cake. You can find the full set of instructions in the recipe card below.
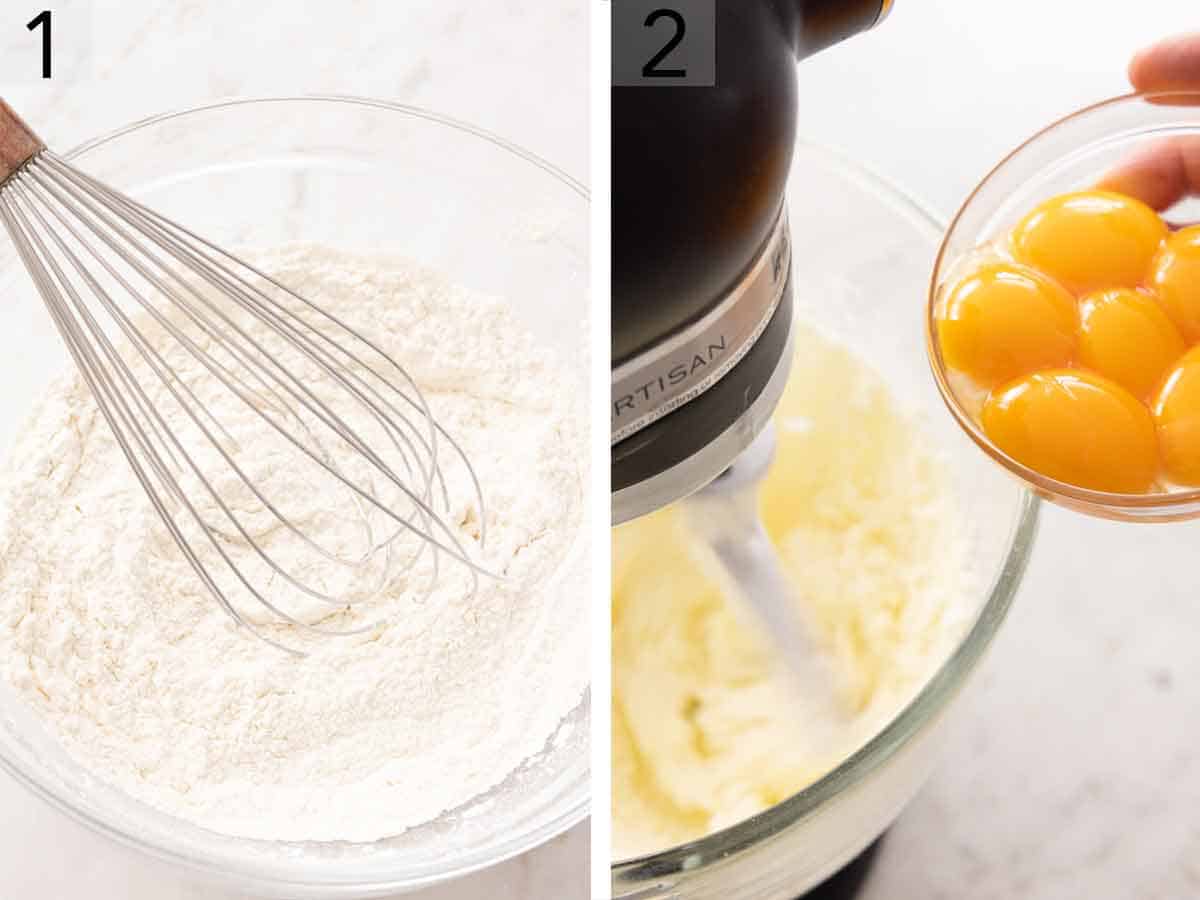
1. Combine the dry ingredients. Whisk together the all-purpose flour, baking powder, salt, and baking soda in a medium bowl. This forms the dry mix that gives the cake batter structure.
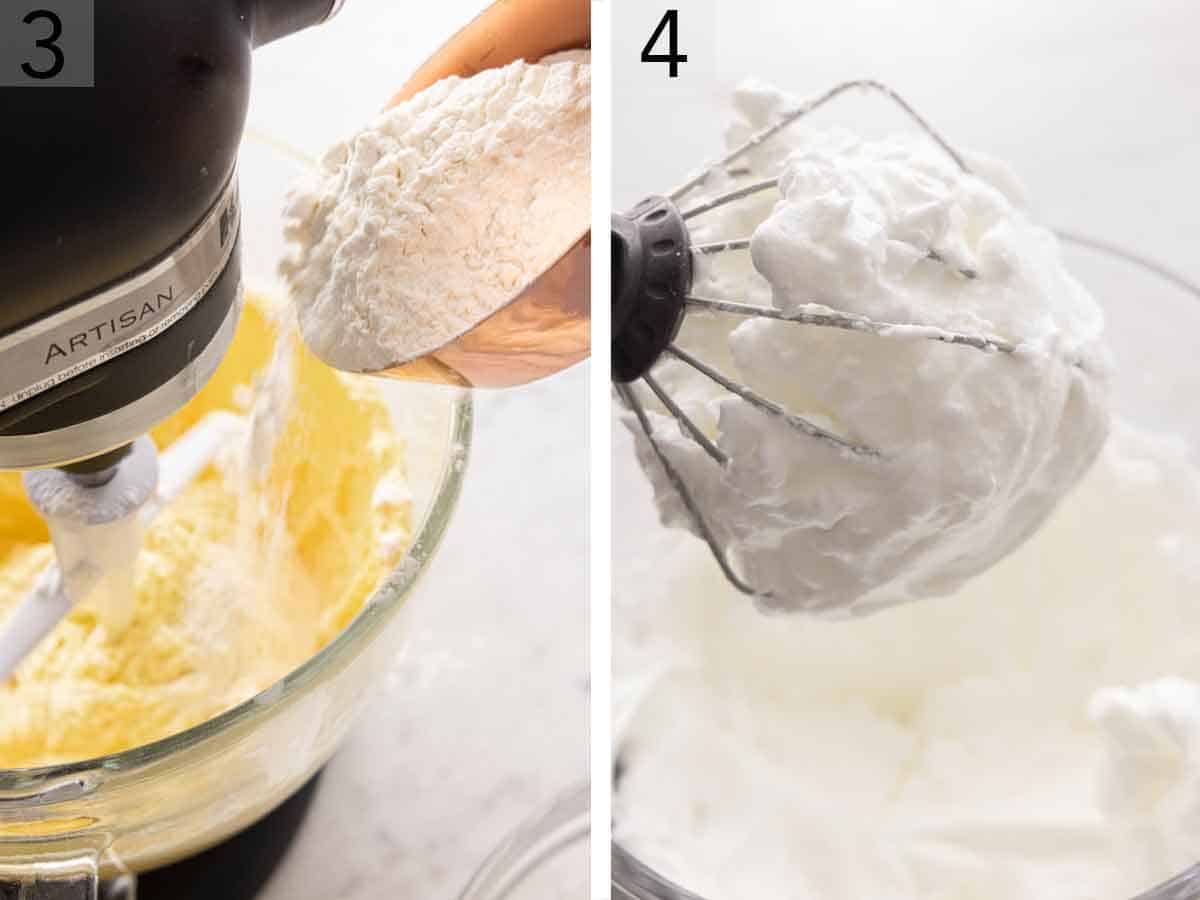
2. Cream the fats with sugar. Beat the butter and shortening together in a large bowl until they’re combined, then add the sugar and beat for a full three minutes until light and fluffy. This step is where you build air pockets that help lift the cake along with the chemical leaveners and whipped whites. Add yolks one at a time, beating between each so each one fully incorporates before the next. Then, add the vanilla and almond extracts.
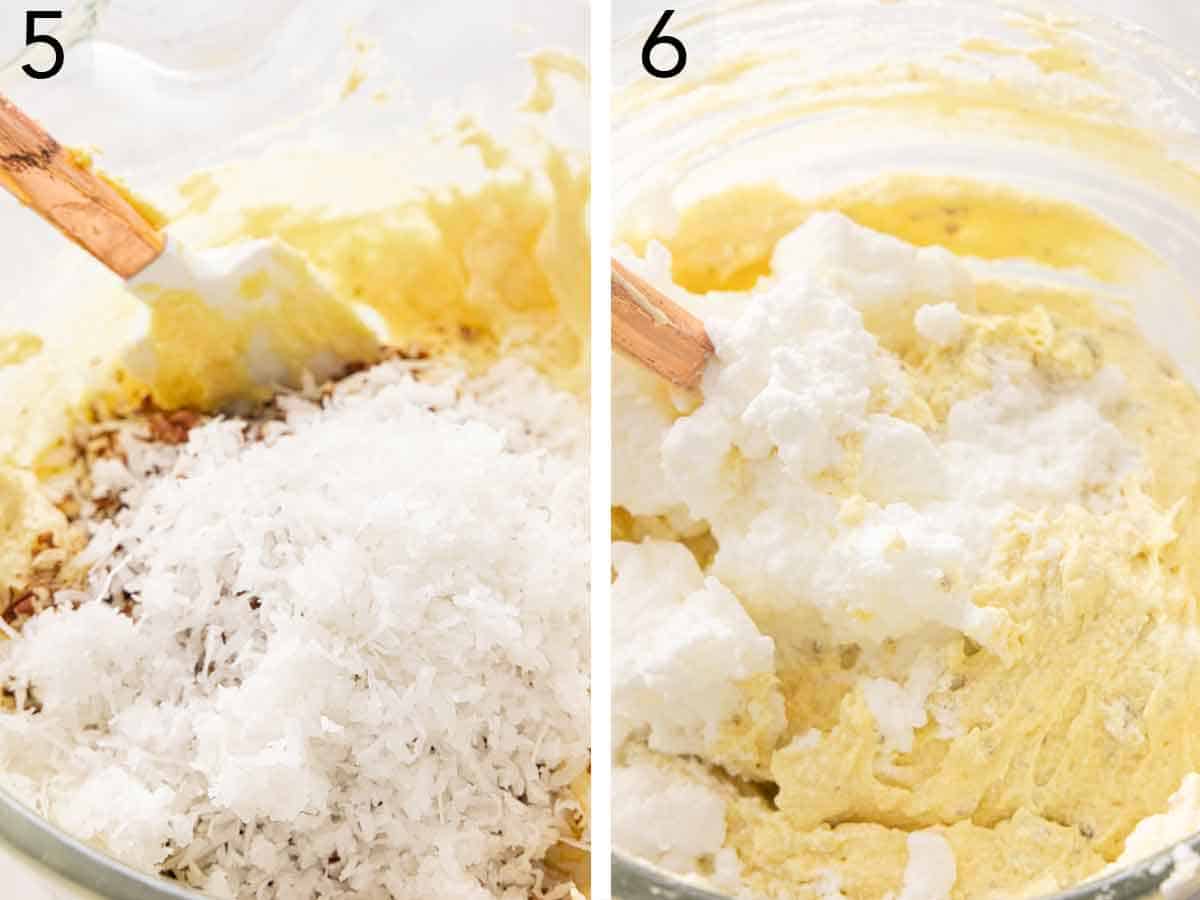
3. Alternate dry and wet. Add the flour mixture in three additions, alternating with the buttermilk in two additions. Mix on low and stop the second the flour streaks disappear. This is where most cakes get tough—overmixing flour once it is hydrated develops gluten, and too much gluten in a cake reads as chewy and dry.
4. Whip the whites separately. This is where the cake gets most of its lift. In a clean bowl with clean beaters, whip the whites to stiff peaks—the peak should hold its shape when you lift the whisk, not flop over. Any trace of yolk or grease in the bowl will keep the whites from whipping; this is why you separate carefully and use a metal or glass bowl, not plastic.
5. Stir in the coconut and pecans by hand with a spatula to avoid over mixing again.
6. Fold the egg whites in three additions. Drop the first third of the whites into the batter and stir them in normally—this lightens the heavy batter and makes the next two folds easier. Then fold in the remaining whites in two more additions, using a motion of cutting down, then pulling it around the bowl, then up. A flexible spatula is the ideal tool. Split the batter evenly between three buttered and floured 8-inch round pans wrapped with cake strips. Bake at 350°F for 30 to 35 minutes. The cake is done when the edges have just started to pull away from the sides of the pan, the top is golden, and the center of the cake feels springy to the touch.
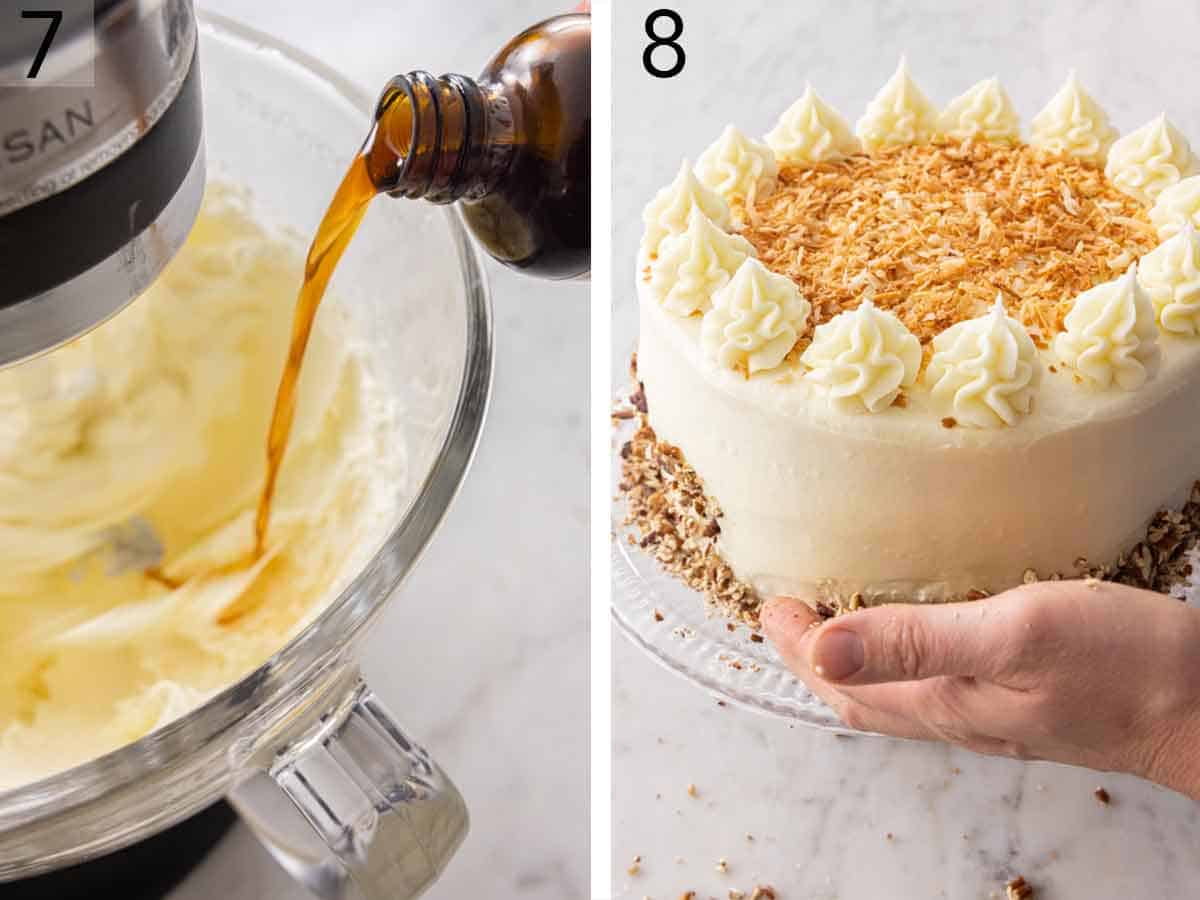
7. Cool the cakes and make the frosting. The cakes can cool in the pans for a few minutes, then invert them onto wire racks to cool completely. Once cooled, make the frosting by beating the cream cheese, butter, and vanilla with an electric mixer until smooth. Gradually mix in the powdered sugar on low speed. Occasionally, stop to scrape down the bowl, then beat until it’s fluffy, about a minute.
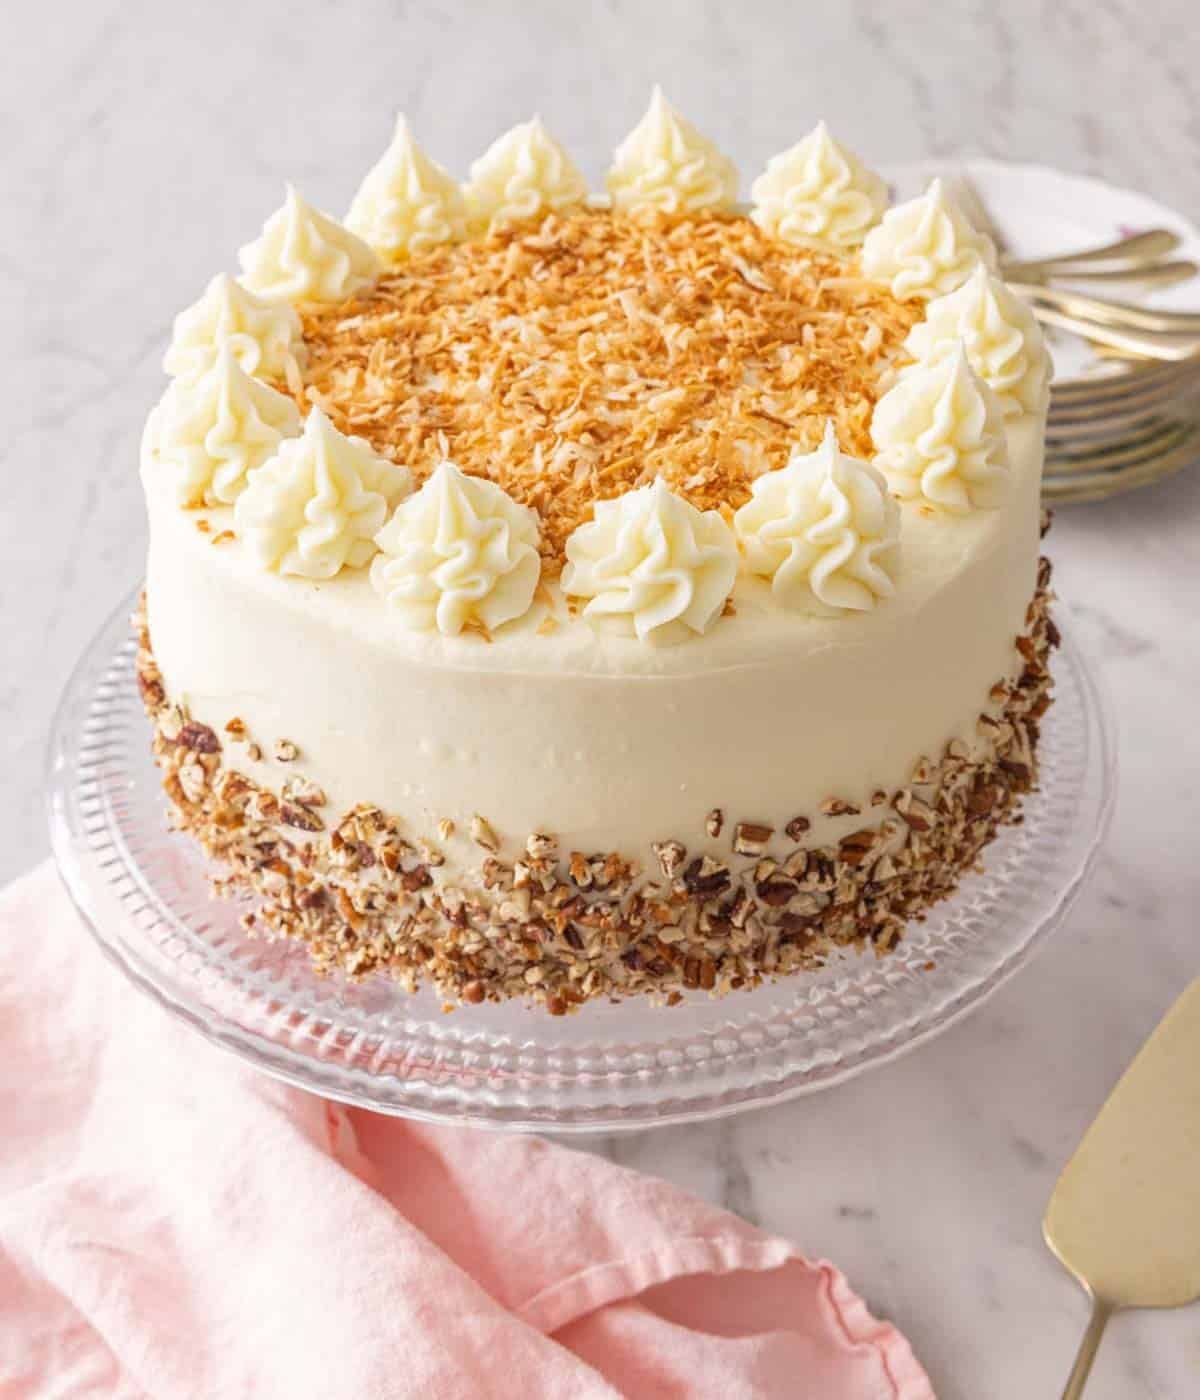
8. Assemble the cake by placing one cooled layer on a cake stand. Top with some of the frosting, spreading it to the edges. Repeat with another layer and more frosting. Place the final layer bottom-side up, and spread the remaining frosting all over the top and sides of the cake. You can reserve 1 cup of frosting to pipe a decorative border on top of the cake if you’d like. Garnish with toasted pecans on the sides and toasted coconut on top of the cake. Chill for 30 minutes before serving.
The Four Things That Can Go Wrong
Domed layers. If the centers rise higher than the edges, your oven is running hot, or your pans are dark and conducting heat too fast. (Learn how to check your oven’s actual baking temperature in my Academy lesson: Knowing Your Oven.)
To easily fix this, wrap wet baking strips around each pan—they keep the outside edge cool so the whole pan rises evenly. You can buy them, or make your own with strips of soaked paper towels and foil. I tested these cake layers without cake strips and the texture inside was fine, but the outer crust was harder and darker, and the layers weren’t as tall. If your layers still dome, level them with a serrated knife once cooled. (For the full DIY method, see my post on how to get perfect flat cake layers.)
Tough, dry crumb. This is almost always the result of overmixing once the flour goes in. Set the mixer to low, watch for the streaks to disappear, and stop. The other common cause is over-baking. Pull the layers when you see the edges start to pull away from the sides of the cake. Just a very small gap—you shouldn’t see a big space. This indicates that the structure is set. Plus, the cake batter keeps cooking from residual heat for a few minutes after it leaves the oven.
Lumpy frosting. Typically caused by cold cream cheese or clumpy powdered sugar. Be sure to pull the cream cheese out at least two hours before you start, or microwave in a bowl (no wrapper!) on 50% power for 10-20 seconds (no longer, or it’ll start to melt). Check your powdered sugar before you start, and sift it if you see any hard lumps. If your frosting still has lumps, beat it longer on medium-low speed; most lumps will work out with a minute or so of additional beating.
The cake collapses, or the layers split when stacked. There are three potential causes: the layers were still warm when frosted (frost only at room temperature), too little frosting between layers (use the full 1¼ cups per layer specified—it’s structural, not just decorative, holding the layers together), or the layers were underbaked and can’t support the weight.
The 8-inch pan size makes a thick layer that should be sturdy if cooked correctly. Underbaking means the cake structure didn’t set properly, so the centers can sink and the bottom or middle layers can collapse under the weight of the frosting and decorations. Make sure the centers feel springy before you pull the cakes from the oven.
Pro Tips For The Best Italian Cream Cake
Use a kitchen scale to measure flour. Measuring by weight ensures accuracy, and too much or too little flour will change the texture of the cake. If you don’t have a scale, fluff the flour with a spoon, spoon it into the cup, then level off with a knife—this prevents overpacking. You can learn the exact spoon and level technique and how to use a kitchen scale in my Academy lesson: How to Measure Ingredients Correctly.
Separate the eggs while cold, then bring them to room temperature. Egg yolks and whites both whip up best at room temperature, but eggs are easier to separate when cold. The yolks are firmer and less likely to break when cold, and a broken yolk can contaminate the egg whites, preventing them from whipping up into stiff peaks.
If your cake tops are not flat, use a serrated knife to cut off the dome. Cake strips help your layers come out evenly by keeping the outside edge of the pan cooler so the whole cake rises at the same rate. They are ideal to use, but if you don’t have them, be sure to level off the layers so your cake stacks evenly and is stable.
The frosting uses powdered sugar for stability, not just sweetness. Don’t reduce it; a stiffer frosting is what holds the layers in place. To cut perceived sweetness, add ¼ teaspoon more salt or a teaspoon or two of lemon juice rather than pulling back on sugar.
Italian Cream Cake Recipe
Equipment
- 9-inch round cake pan
- Mixer
Ingredients
For the Cake:
- 2⅓ cups all-purpose flour (280g)
- 1¼ teaspoon baking powder
- ¾ teaspoon salt
- ½ teaspoon baking soda
- ⅔ cup unsalted butter (152g)
- ½ cup vegetable shortening (96g)
- 2 cups granulated sugar (400g)
- 6 large eggs separated
- 2 teaspoons vanilla extract
- ¾ teaspoon almond extract
- 1 cup whole buttermilk (240mL)
- 1 cup sweetened flaked coconut (100g)
- 1 cup toasted pecans chopped (115g)
For the Frosting:
- 2 (8-ounce/226g) blocks cream cheese room temperature
- 1½ cups unsalted butter (340g)
- ½ teaspoon vanilla extract
- 7 cups confectioners’ sugar (840g)
For the Garnish
- toasted coconut
- toasted pecans
Instructions
For the Cake:
- Preheat the oven to 350F. Butter and flour three 8-inch round cake pans or spray with baking spray. (Wrap the cake pans with soaked baking strips if you’d like.)
- In a medium bowl, whisk together the flour, baking powder, salt, and baking soda.
- In a large mixing bowl or the bowl of a stand mixer with the paddle attachment, beat the butter and shortening together on medium-low speed until combined. Add the sugar and beat until light and fluffy, about 3 minutes. Add the egg yolk one at a time, and beat until well combined. Scrape down the bowl and beat in the vanilla and almond extracts.
- With the mixer on low, add in the flour mixture alternating with the buttermilk until combined. Scrape down the bowl and stir in the coconut and pecans.
- In a separate bowl with clean beaters, beat the egg whites until stiff peaks form. Fold into the batter in three portions. Divide the batter evenly among the cake pans and smooth into an even layer. Gently tap the pans on the counter a few times to settle the batter and pop and larger trapped air bubbles.
- Bake for 30 to 35 minutes or until golden brown and the edges of the cake start to pull away from the sides of the pan. Let the cakes cool in the pans for 15 minutes then remove and continue cooling completely on wire racks.
For the Frosting:
- In a large mixing bowl or the bowl of a stand mixer with the paddle attachment, beat the cream cheese, butter, and vanilla on medium-low speed until smooth. With the mixer on low speed, gradually mix in the confectioners’ sugar until combined. Increase speed to medium-low and beat until fluffy, about 1 minute.
For the Assembly:
- Place a cake layer on a cake plate. Top with 1¼ cups of frosting, and spread into an even layer to the edge of the cake. Repeat with another cake layer and frosting. Top with the remaining cake layer. Spread the remaining frosting on the top and sides of the cake, saving about 1 cup for piping on the top, if desired. Garnish with toasted coconut, pecans, and rolled cookies, if desired. Keep the cake refrigerated until ready to serve. Keep any leftover, loosely covered, in the fridge for up to 1 week.
Notes
- Tap the cake pans on the counter to pop trapped air bubbles before baking. Just four or five gentle taps will do the trick. This levels out the batter and removes any larger pockets of air that can get trapped with folding in the egg whites. Large air pockets will bake large holes in the cake, so this is a helpful step!
- An offset spatula or bench scraper makes frosting the cake easier. The shape of an offset makes it easier to spread the frosting between each layer and on the outside of the cake by keeping your hand elevated above the cake’s surface. A bench scraper is a good finishing tool for a perfectly smooth side once all of the frosting is on.
- When whipping egg whites, use a metal or glass bowl with no trace of grease or water, or the whites won’t reach stiff peaks. Fat inhibits the egg proteins from setting properly when beating.
- When folding in egg whites, use a cutting motion through the batter, not a stirring motion, to preserve the air you whipped in. A silicone spatula does this job the best!
- Make ahead: This cake flavor improves on day two as the cake absorbs moisture from the frosting and flavors in the layers meld. Once assembled, keep it covered in the fridge until you are ready to serve it.
- For 9-inch cake pans: Prepare three pans the same way and divide the batter between them. Reduce the bake time to 25-30 minutes since the pans are wider. The cake layers will be thinner, and they are very delicate, so be careful removing them from the pans and when assembling the cake.
Nutrition
Have you tried this recipe? Tag me today!
Mention @preppykitchen and tag #preppykitchen!
Decorating and Storage
To assemble: level any domed tops with a serrated knife. Place the first layer on a cake stand, spread frosting to the edge, center the second layer, and repeat. Then top with the third layer, bottom-side up, so the top of the cake is perfectly flat, and frost the top and sides. Reserve about a cup if you want to pipe a border. If you want more tips, find them in my post on how to decorate a cake.
Storage: The cake needs to be stored in the fridge because of the cream cheese frosting. Once the frosting is firm, cover the cake loosely—a cake keeper works best, or use toothpicks to hold plastic wrap off the surface if needed. I like to press a piece of parchment or plastic wrap to any cut surface as well, to prevent the cake from drying out. It keeps up to a week in the fridge. Bring slices to room temperature for 20 minutes before serving.
To freeze: Wrap unfrosted layers in plastic, then foil, and freeze for up to three months. Thaw for several hours in the fridge. Frosted cake or individual slices can be flash frozen, then double wrapped and frozen for up to two months. Thaw in the fridge as well.
Frequently Asked Questions
Yes. Walnuts work fine flavor-wise, though pecans are more traditional. Toast them the same way—6 to 8 minutes at 350°F until fragrant—and chop to roughly the same size. Toasted almonds and pistachios also work, but are a bit firmer in texture.
Yes. Pour all the batter into a buttered 9×13 pan and bake at 350°F for 35 to 45 minutes (start checking at 35 since it may bake on the faster side). You won’t need three layers’ worth of frosting for a single sheet if you just plan to spread it on the top, so you can halve the frosting recipe.
You can, but it changes the cake. Without coconut, the texture loses its characteristic chew, and the cake feels more like a richer vanilla cake with pecans than an Italian cream cake. If you don’t like coconut, I’d actually point you toward my carrot cake or butter pecan cake instead. Both have the same Southern layer-cake architecture, with a similar cream cheese frosting, and no coconut.
More Recipes To Try
If you like this kind of cream-cheese-frosted Southern layer cake, try one of these cake recipes next:
- Red Velvet Cake — another Southern classic with fluffy cake layers and a tangy cream cheese frosting.
- Carrot Cake — moist and studded with carrots, pecans, and warm spices.
- Coconut Cake — if you love the coconut in this cake, you have to try my all-coconut version!
- Sour Cream Pound Cake — Southern dessert canon’s other workhorse that can’t be beat.
- Lemon Cake — a zesty classic covered with a lemony cream cheese frosting that takes it to the next level.
If you’ve tried this Italian cream cake recipe, then don’t forget to rate it and let me know how you got on in the comments below. I love hearing from you!


