
This post may contain affiliate links. Please read our disclosure policy.
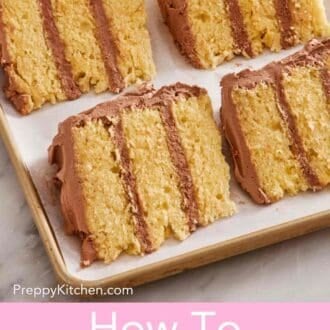
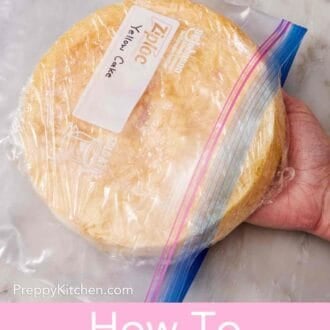
Cake freezes beautifully, and better than most people think. This guide covers freezing unfrosted layers, frosted whole cakes, individual slices, sheet cakes, and buttercream frosting itself. You’ll learn the wrap method and a thaw technique that produces cake nearly indistinguishable from freshly baked.
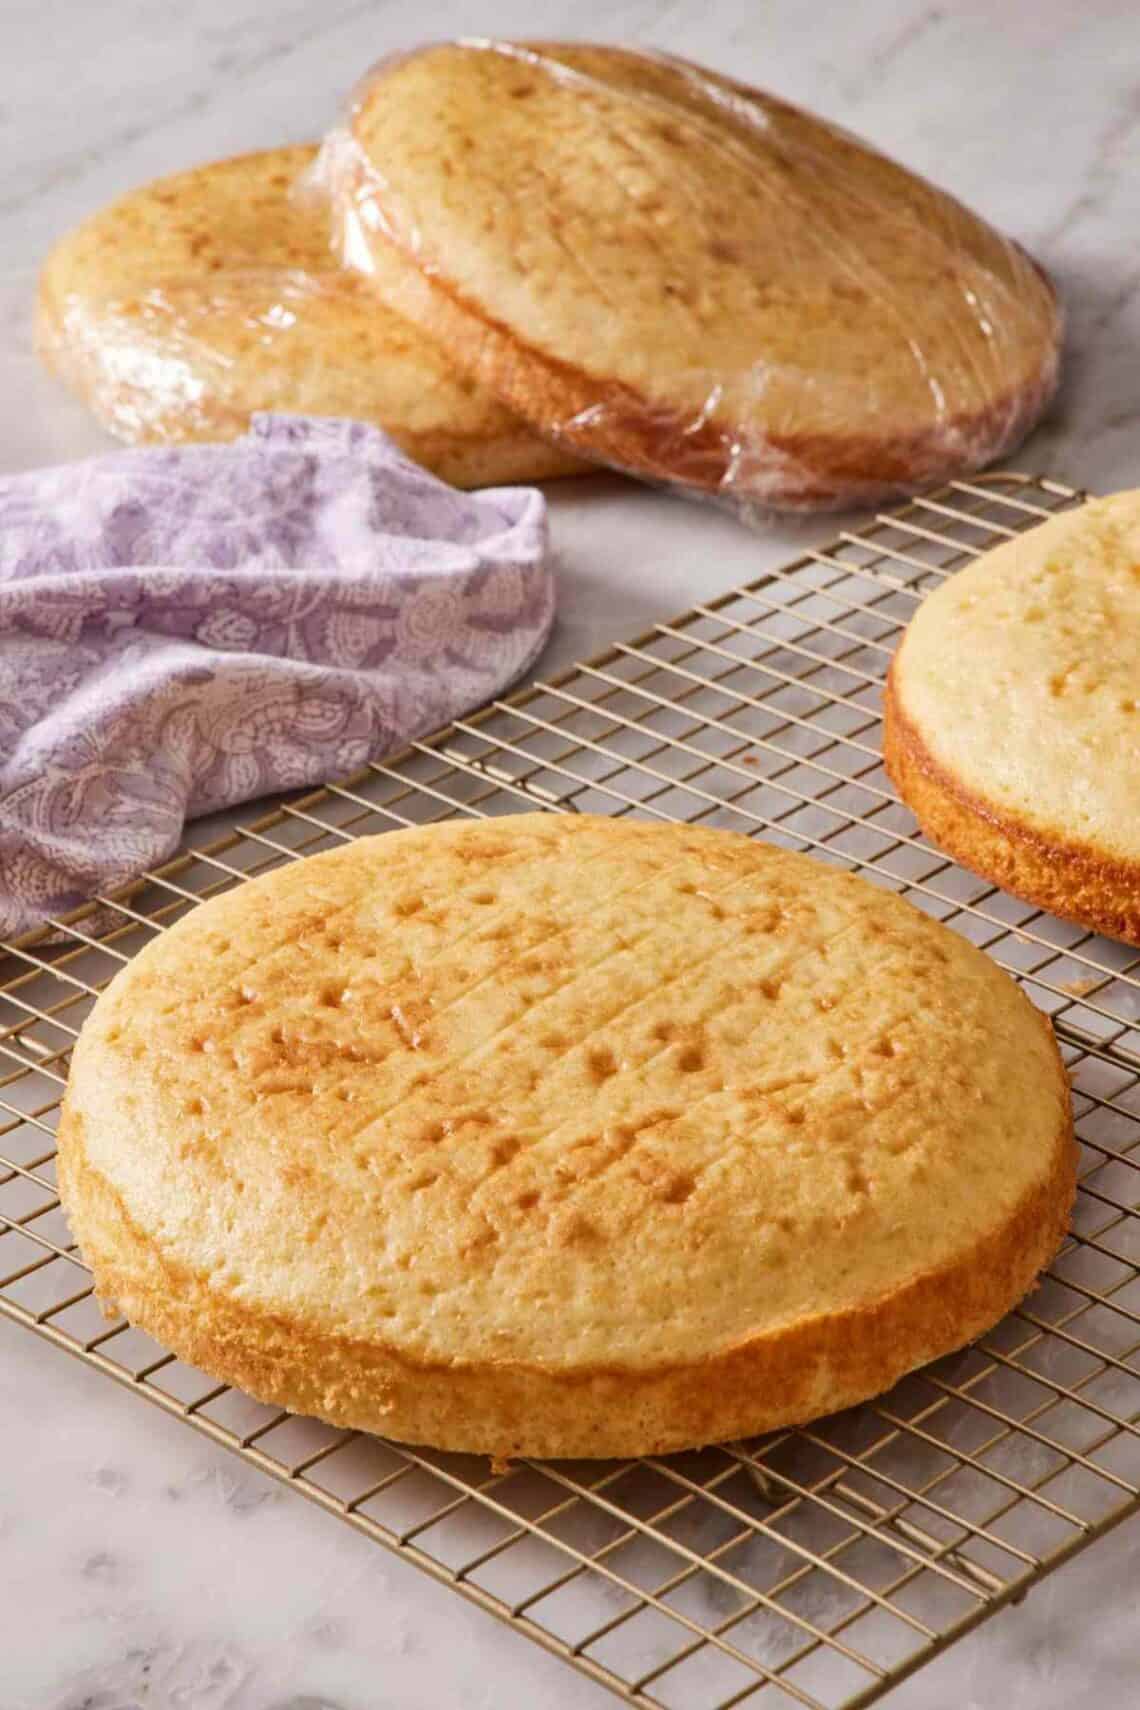
Most home bakers underuse their freezer. A properly frozen cake, wrapped right, frozen at the right point in the recipe, and thawed correctly, comes out almost indistinguishable from a freshly baked cake, even when frozen for 3 months. The cake stays moist, the frosting holds its shape, and you reclaim hours of baking time on the day of the event. It’s one of the most useful techniques in cake baking, and it’s almost universally underused with home bakers!
In this lesson, I’ll cover how to freeze unfrosted cake layers (the most common use), whole frosted cakes and individual slices, sheet cakes and single-layer cakes, and buttercream frosting for decorating. I’ll also share my side-by-side test of fresh vs. frozen cake, the wrap method that prevents freezer burn, the right way to thaw a cake without condensation, and the cake-types and frostings that don’t freeze well. By the end, you’ll be able to bake cakes weeks ahead and serve them like you finished baking that morning.
“This leveled up my baking so much! I love making cakes for holidays and celebrations, but it is a lot to do along with hosting. I’ve started making my cake layers or cupcakes a few weeks ahead, freezing them, and just defrosting them a day before decorating. So much less stress, and the cakes are still moist and delicious!”
Mariah
The Side-By-Side Test: Frozen vs. Fresh
To answer the question I get most on cake freezing—does it actually still taste good? The short answer is, “Yes!” I baked a batch of my vanilla cake, double-wrapped the layers, and froze them for 4 weeks. After 4 weeks, I thawed the frozen layers overnight in the fridge. I then made a fresh batch of cake, frosted the fresh and frozen layers identically, and tasted both side by side.
The result was honestly hard to tell apart. The frozen-and-thawed cake had the same crumb structure, the same buttermilk-and-vanilla flavor, and the same tender bite as the fresh-baked version. The fresh layers were ever so slightly softer, but if they weren’t side-by-side, you wouldn’t even notice.
The trick isn’t whether freezing works (it does, reliably). It’s about doing it right: cooling the cake completely before wrapping, wrapping tightly enough to block all air, freezing in a freezer-safe container (or wrapped in foil), and thawing slowly enough to prevent condensation. Skip any of those four steps, and you’ll risk a soggy, freezer-burned, or oddly-textured cake. Hit all four, and the cake comes back as fresh as the day you baked it.
The rest of this guide will walk you through all four of these steps in detail for the perfect frozen cake.
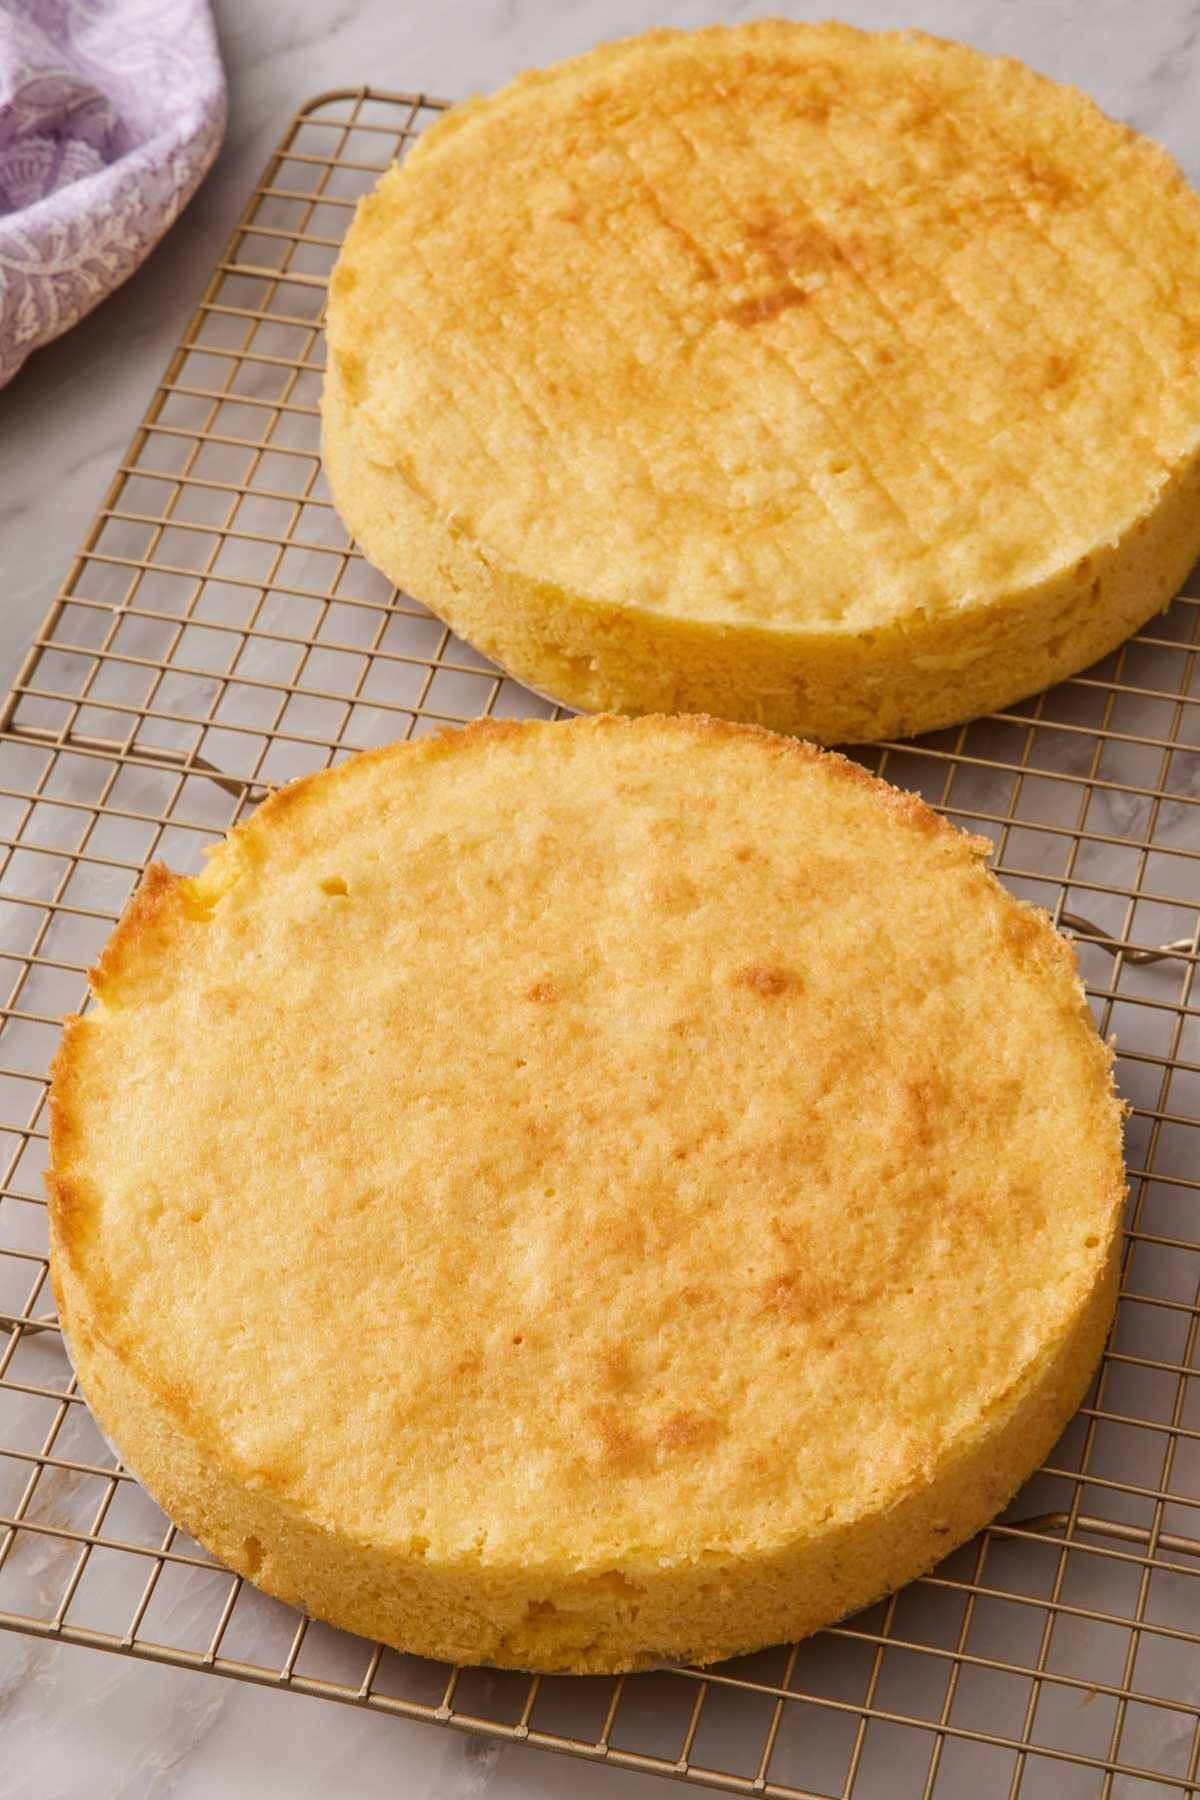
Storage Methods Compared
Before getting into the freezing methods, here’s how the cake storage options stack up:
| Storage Method | Best For | Maximum Duration | Notes |
| Room temperature, covered | Most cakes, serving day-of baking | 1-2 days | Not suitable for cakes with cream cheese, custard, or whipped cream frosting/filling |
| Refrigerator | Cakes with dairy frosting/filling | 5-7 days | Cover tightly to prevent drying; let warm to room temp before serving |
| Freezer (unfrosted layers) | Make-ahead prep | 3 months | Plastic wrap + freezer bag or foil |
| Freezer (whole frosted cake) | Special-occasion saves | 3 months | Flash freeze 1 hour first, then double-wrap |
| Freezer (individual slices) | Leftovers | 3 months | Flash freeze on a tray, then wrap and bag |
| Freezer (buttercream frosting) | Make-ahead | 3 months | Freezer bag or airtight container; re-whip after thawing |
The freezer section is what unlocks make-ahead baking. Three months is the practical maximum for full freshness. Beyond that, freezer burn risk rises, and the flavor starts to change even with perfect wrapping. I also label everything with the cake type and date in Sharpie, so I never have to guess.
How To Freeze Unfrosted Cake Layers
Freezing unfrosted cake layers is the single most useful freezing technique for home bakers. It’s how I prep vanilla cake, funfetti cake, white cake, strawberry cake, lemon cake, and other layer cakes ahead of birthdays and big events. Freezing the cake unfrosted lets you bake on a relaxed weekend and assemble on the day of the party.
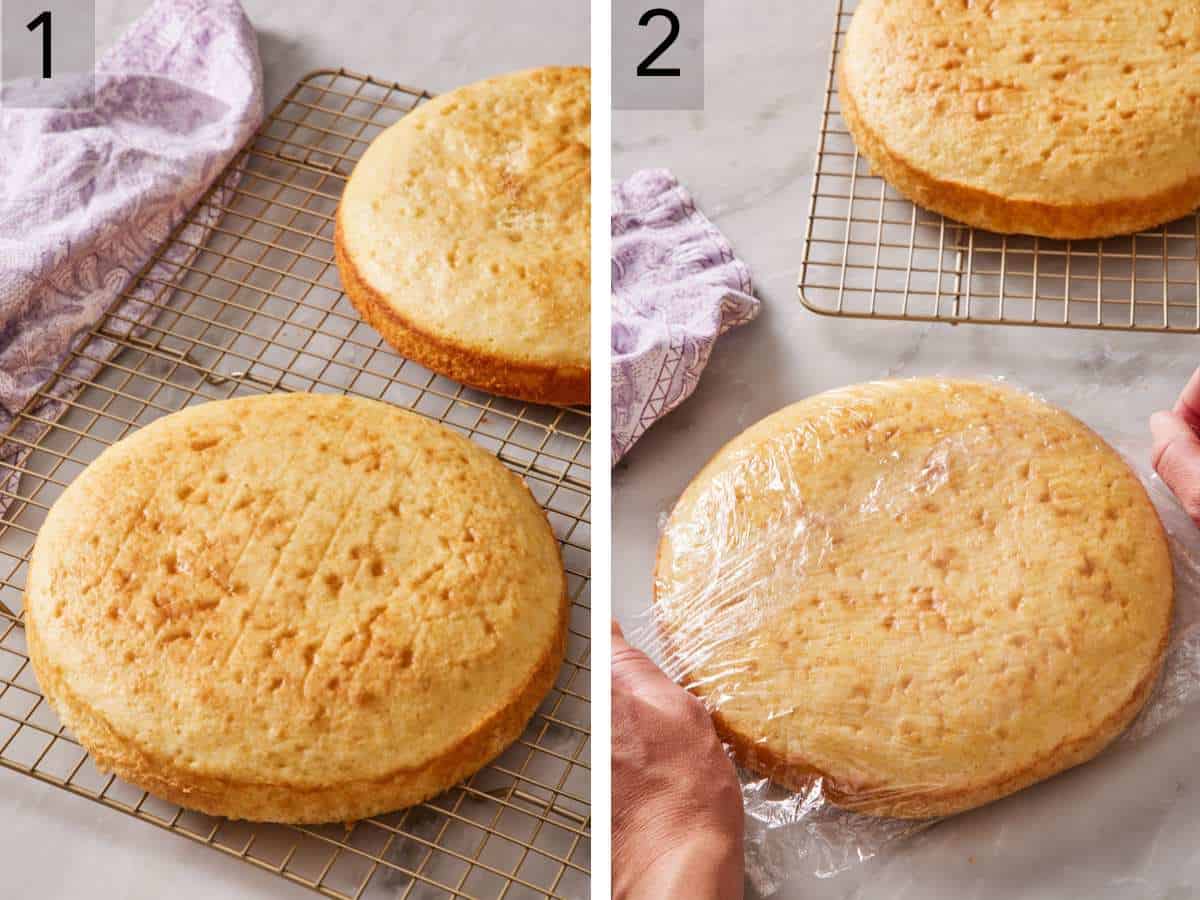
1. Cool completely. Wait until the baked cake layers have cooled to room temperature. If this is skipped, you can ruin frozen cake. If they’re still warm, steam gets trapped under the wrap, soaking into the cake and producing a gummy surface when thawed. Give the cake 2-3 hours on a wire rack until truly cool to the touch (check the top and bottom of the cake).
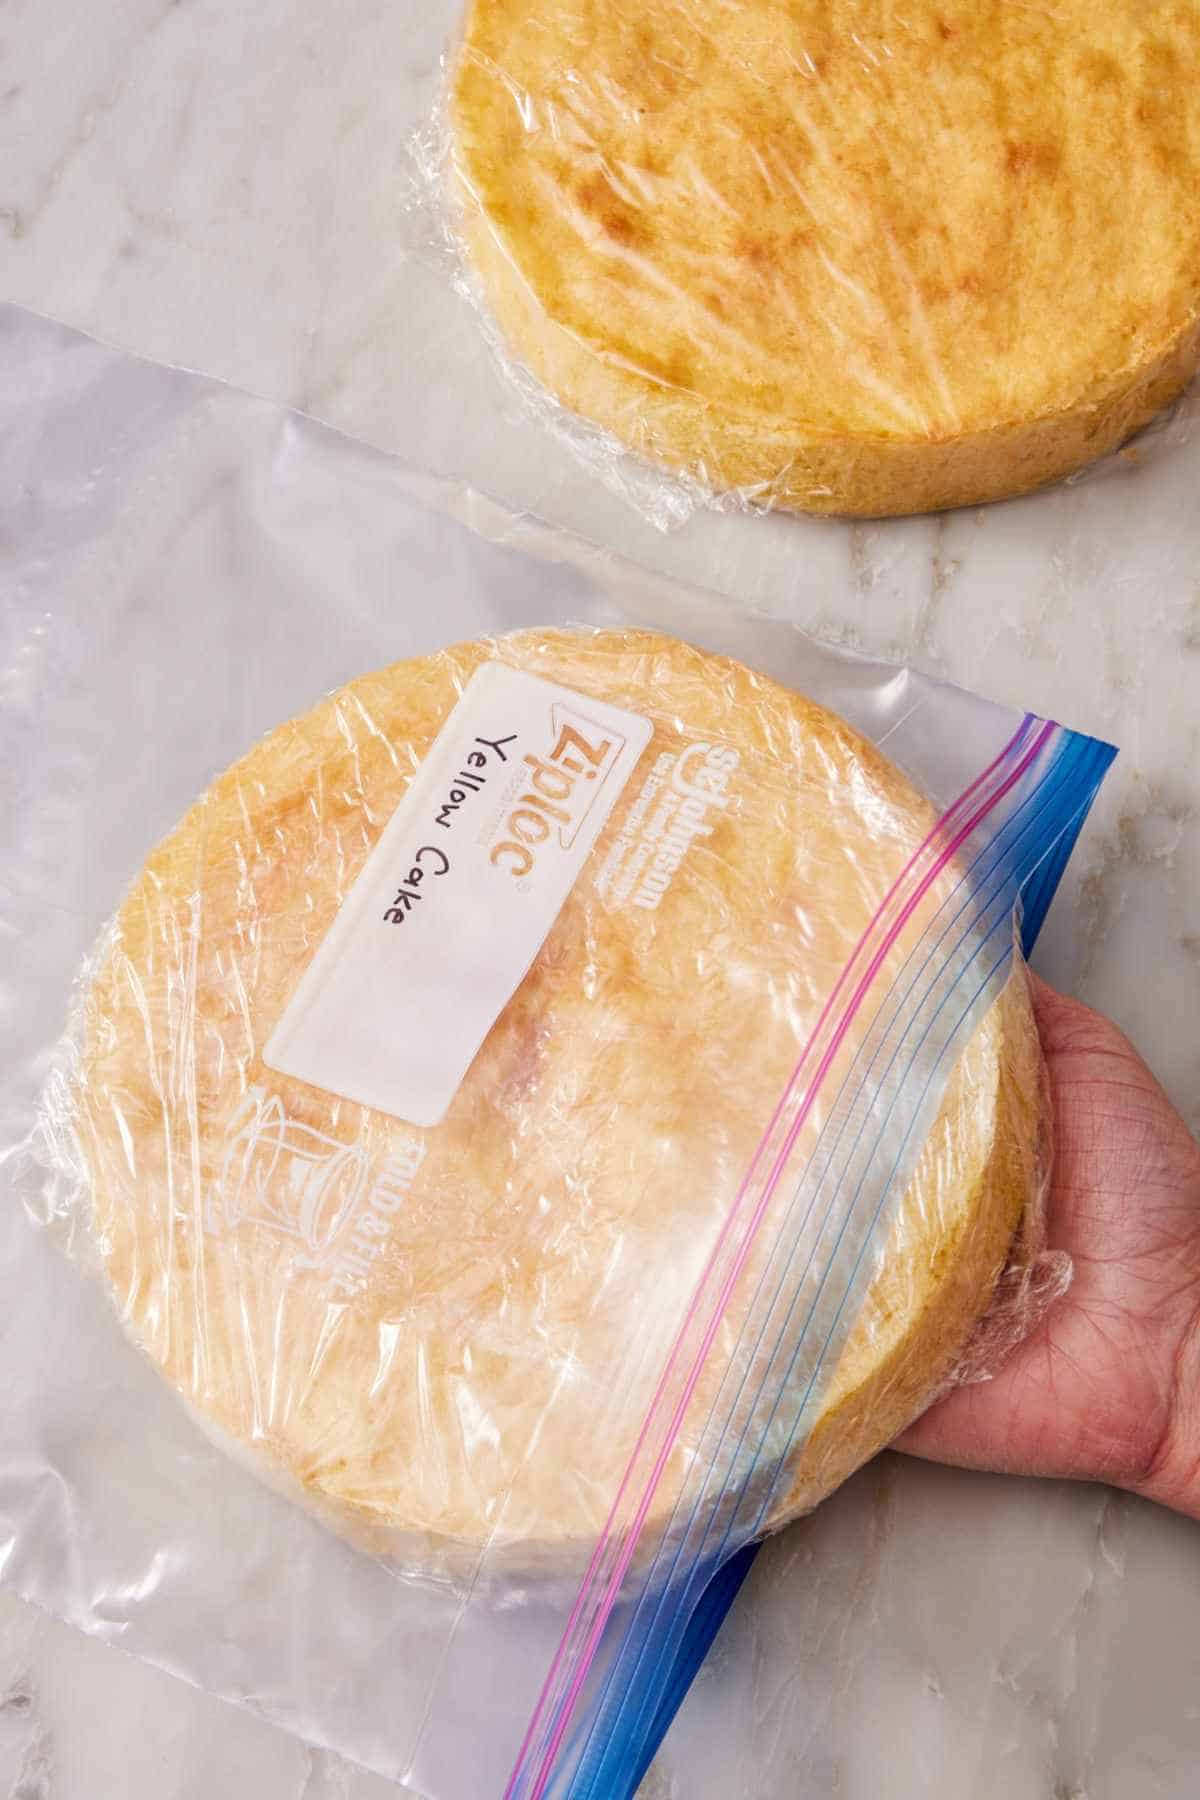
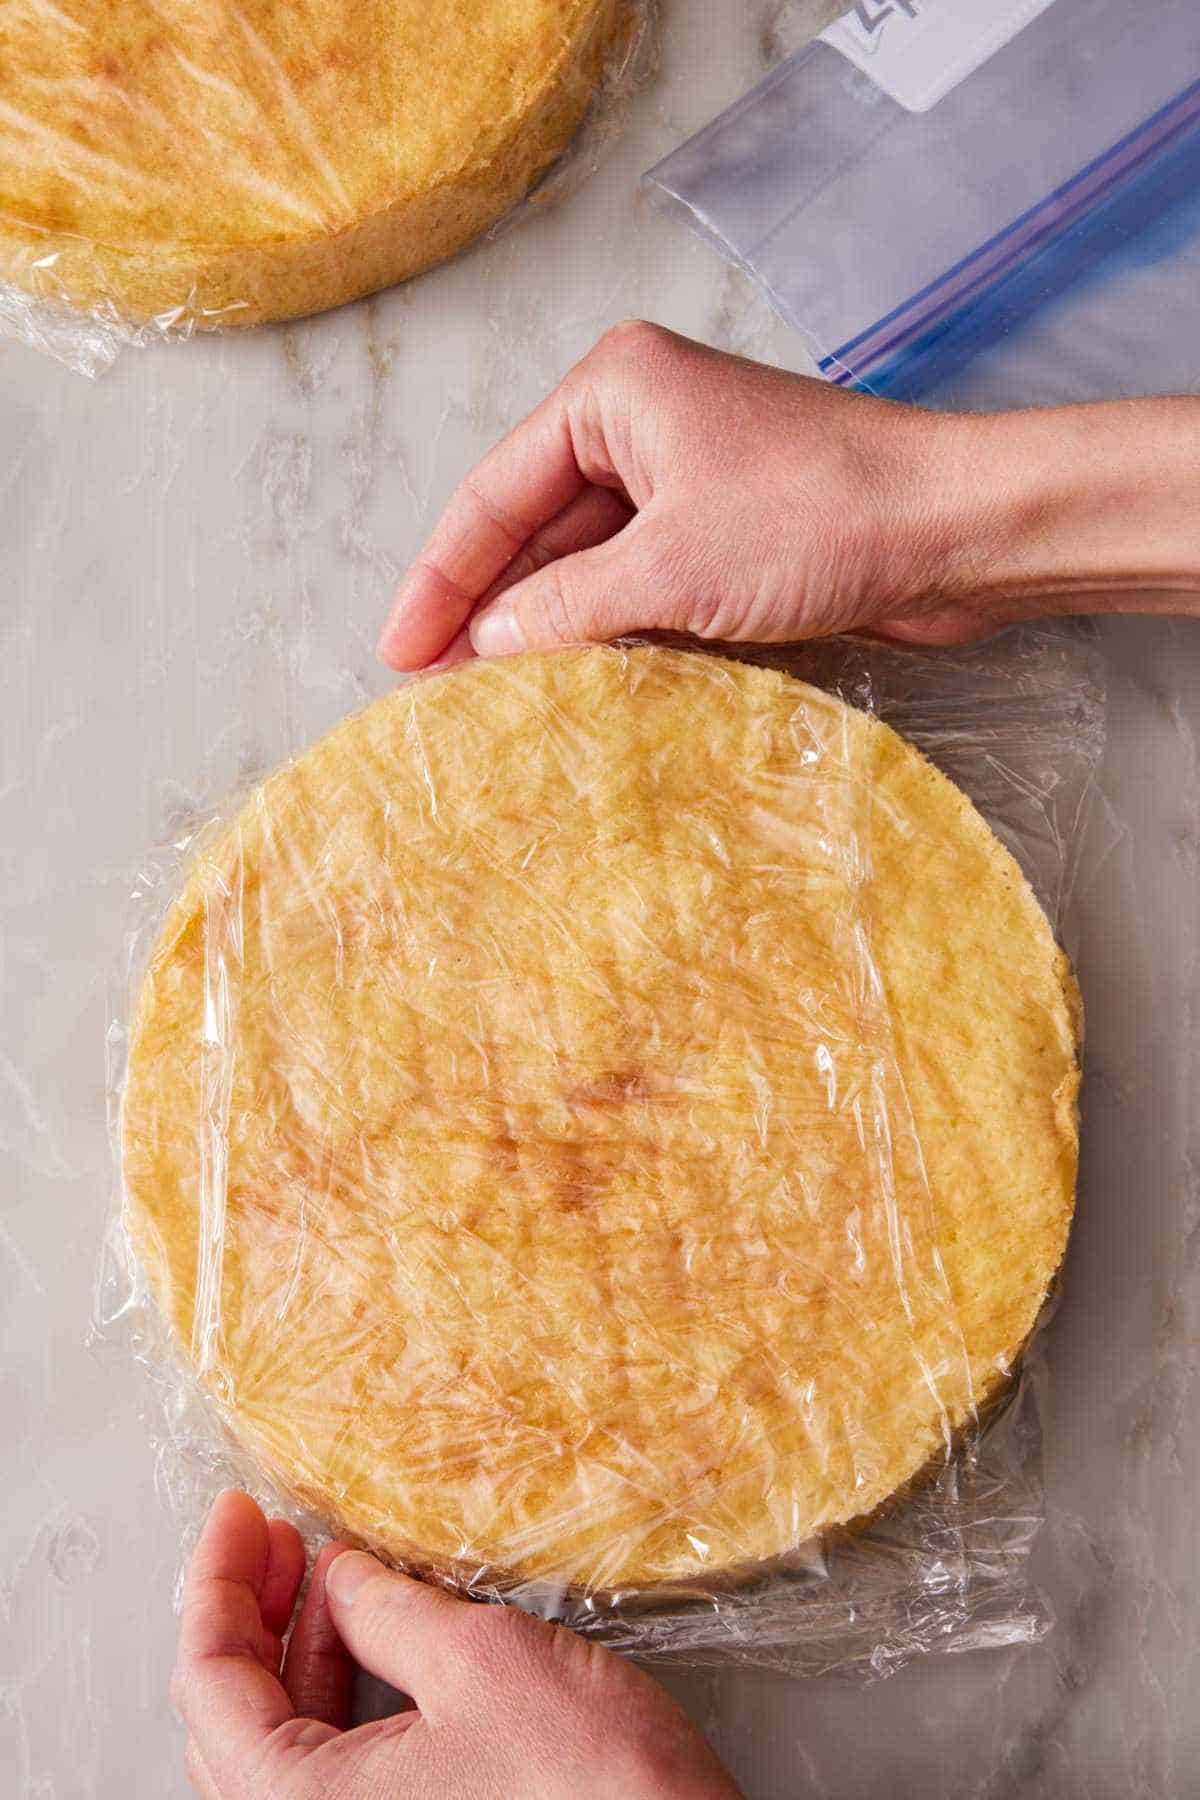
2. Wrap individually. Wrap each cake layer separately and tightly in two layers of plastic wrap. Press the plastic flush against the cake—air pockets are where freezer burn forms.
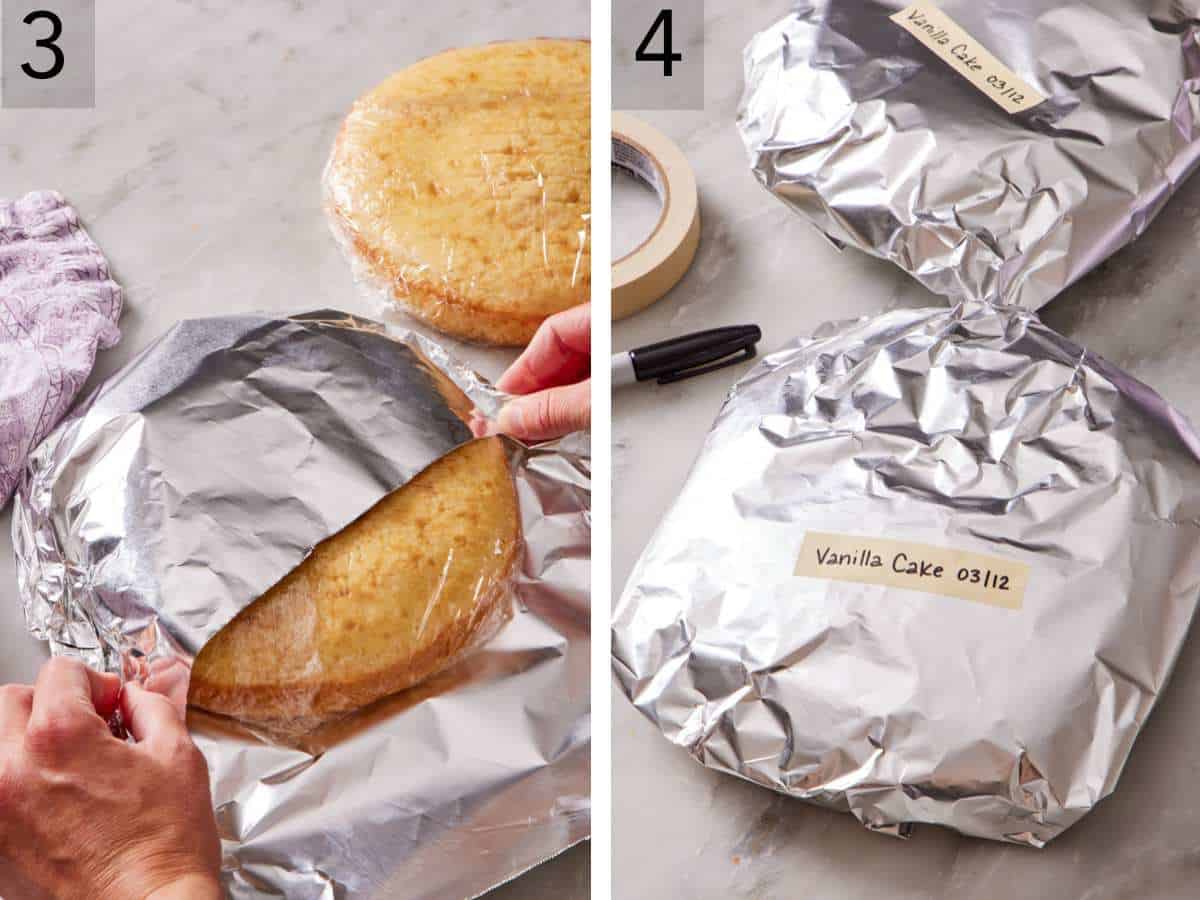
3. Add a second barrier. Place the wrapped layers in a freezer bag, freezer-safe container, or wrap in foil. The double layer (plastic + bag/container/foil) is what prevents freezer burn over multi-month storage. Mark with the cake flavor and date in Sharpie.
4. Freeze for up to 3 months. Most cakes will hold their full quality for 3 months. Beyond that, the cake can start to absorb flavors from the freezer and dry out, even with perfect wrapping.
A note on storage time: I bake and freeze a lot of cakes. I have consistently noticed that, regardless of the cake flavor, after 3 months, the cake was still moist and flavorful but slightly less robust than cakes frozen for shorter periods (1 week to 1 month). By 4 months, I could detect a faint freezer-storage flavor. Three months is a real ceiling, not just a conservative recommendation.
A Note On Cupcakes
Cupcakes follow the same general principles as cake layers—cool completely, double-wrap, freeze up to 3 months—but the specific mechanics are slightly different. Smaller surface area, paper liner moisture issues, faster thaw times, and the way frosted cupcake decorations behave during thawing all warrant their own treatment.
For the full cupcake-specific guide, including the paper liner trick, how to bulk-freeze for events, mini cupcake variations, and side-by-side testing of frosted vs. unfrosted, see my Academy: How To Freeze Cupcakes lesson in the Cupcake Academy.
How To Freeze Frosted Cake (Whole or Sliced)
Freezing a fully assembled and frosted cake is a great way to save leftovers, stash an entire dessert for an upcoming holiday, or preserve a wedding cake’s top tier for an anniversary. It works, but you need to add a step that freezing unfrosted layers doesn’t need. And keep in mind that the thawed result will be slightly less than perfect with the frosting component. If you have the option to freeze the layers and frosting separately, that’s the better play.
When you do freeze frosted cake:
1. Flash freeze first. This is the most important step that home bakers often skip. Place the frosted cake (or individual slices on a lined sheet pan) in the freezer uncovered for about 1 hour, until the frosting is firm to the touch. This sets the frosting so the wrap doesn’t smear it later.
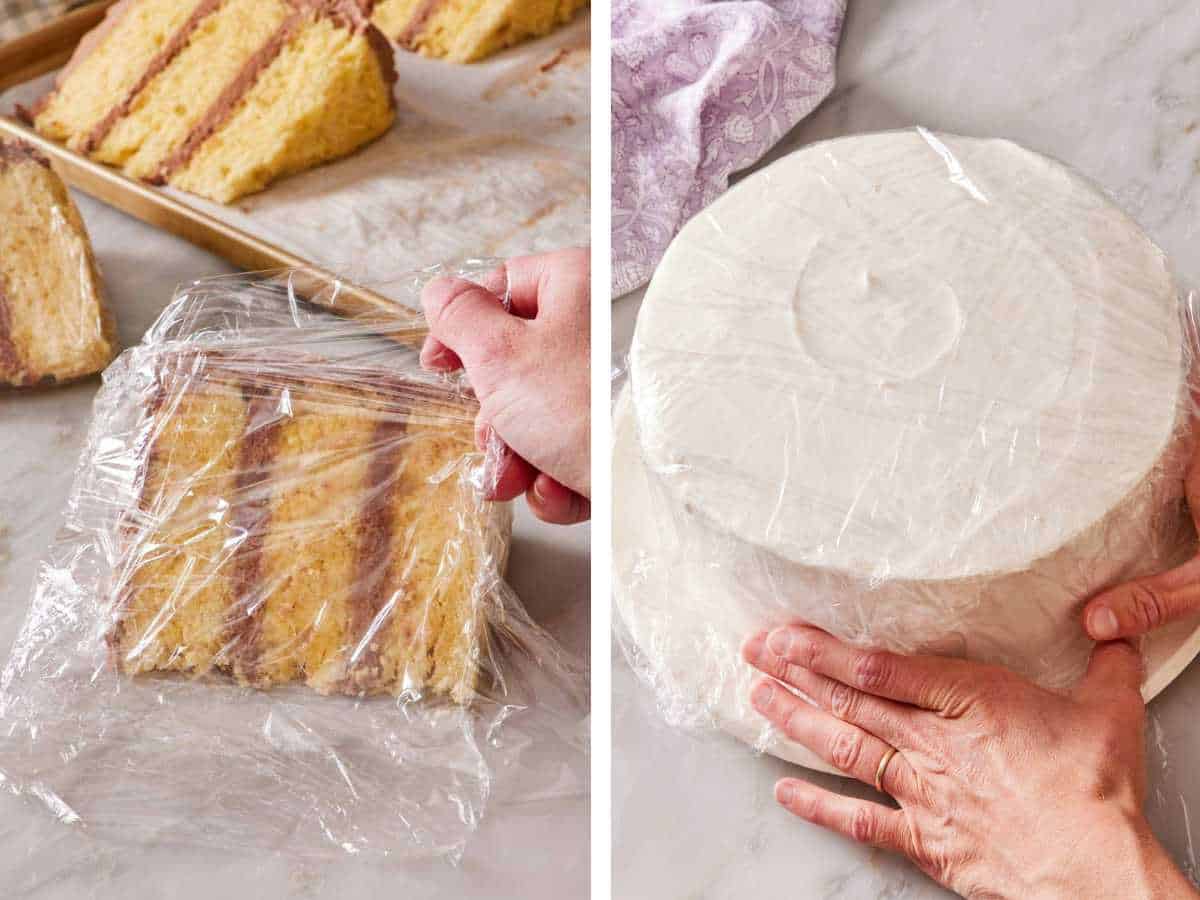
2. Wrap tightly. Once the frosting is firm, wrap the cake or slices in 2 layers of plastic wrap. The firm frosting means you can press the plastic flush against the surface without ruining the decoration.
3. Add a second barrier. Wrap the entire bundle in foil OR place sliced wrapped pieces in a freezer bag. Mark with the cake flavor and date.
4. Freeze up to 3 months. Account for plenty of thawing time if you plan to serve the cake at a holiday or party.
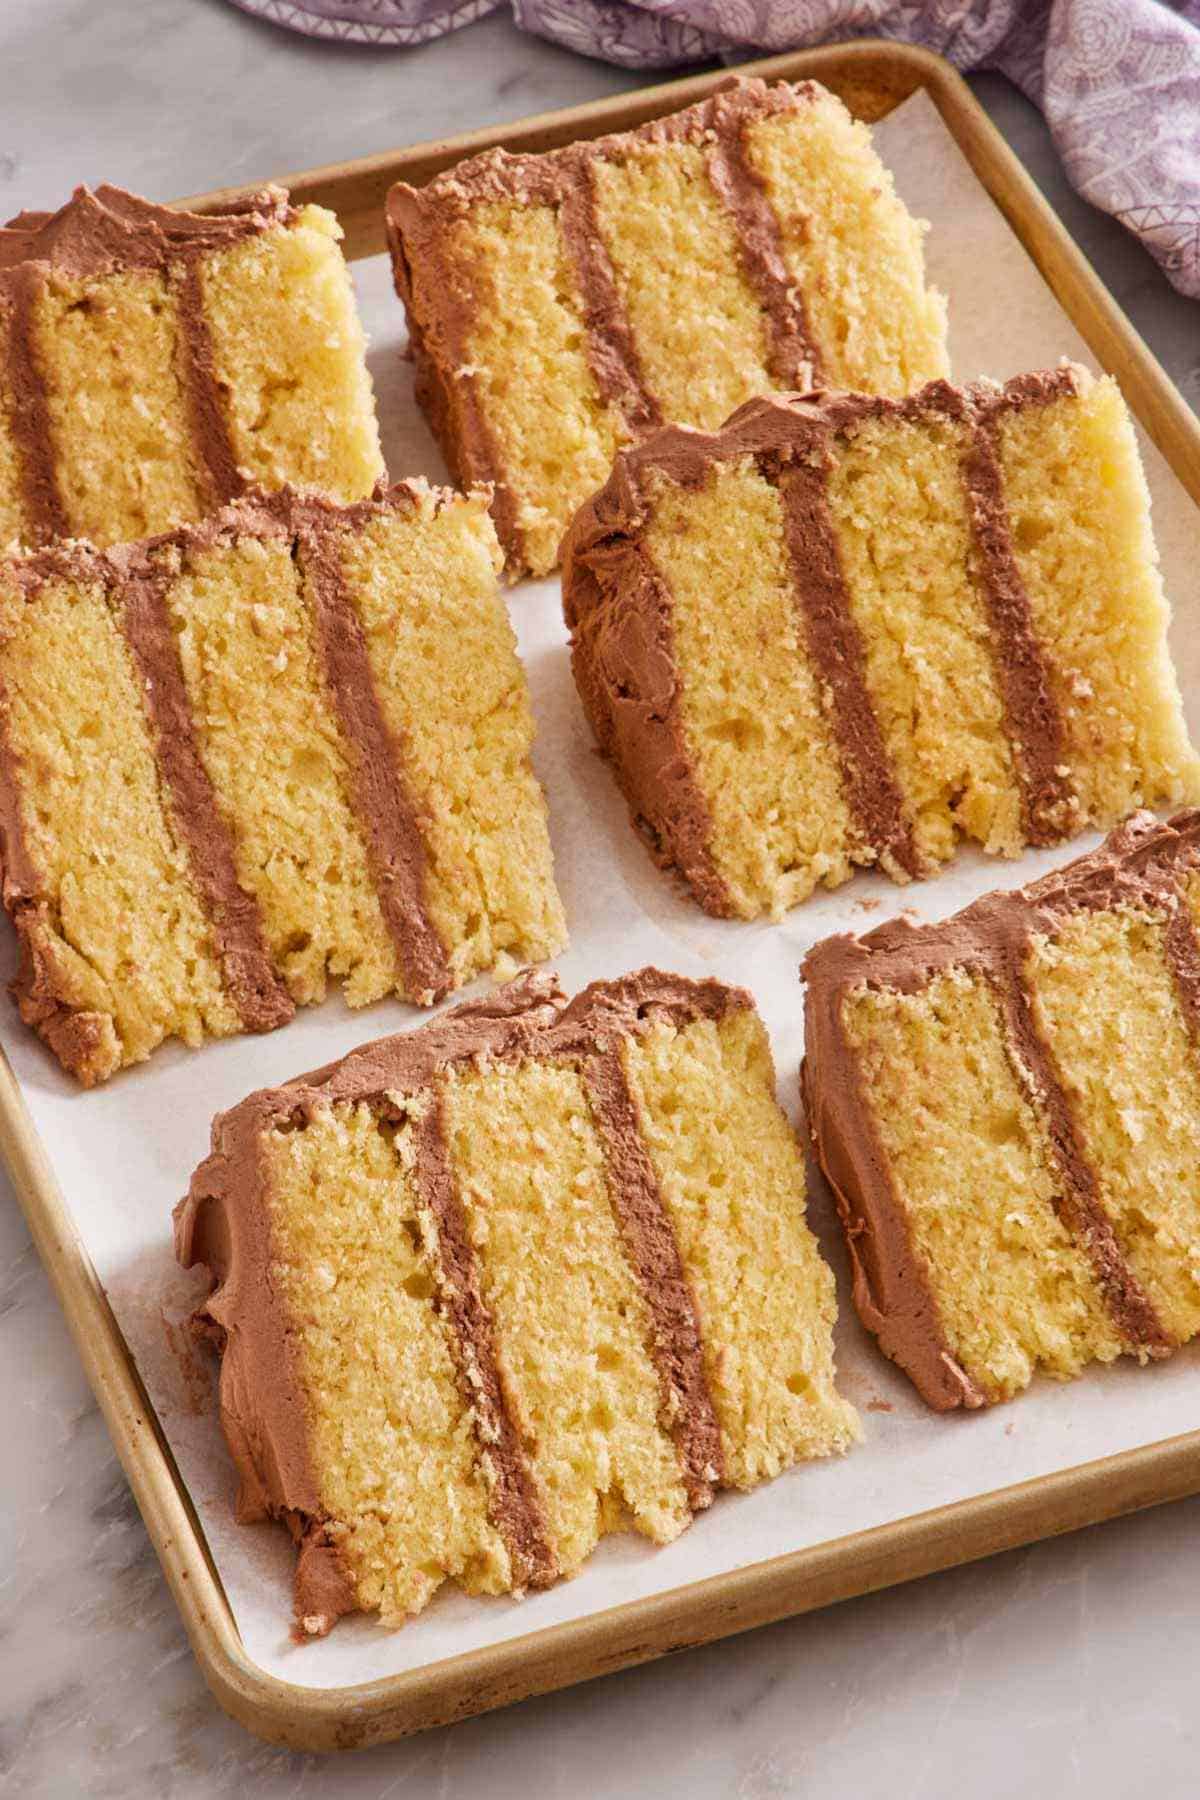
For individual slices specifically—which is the most practical use for home bakers since we’re usually saving leftovers—the flash-freeze-then-wrap process is genuinely worth the effort. I tested it with leftover slices of yellow cake, and the slices came out cleanly preserved without smudged frosting.
One clear no-go: Don’t freeze cakes with whipped cream frosting or fresh fruit fillings. The whipped cream’s air structure can’t survive the freeze-thaw cycle. I tested freezing my chantilly cake (whipped cream and mascarpone frosting), then thawing it, and the results weren’t great. The frosting actually wasn’t terrible since the whipped cream is stabilized with mascarpone, but it did turn out a bit watery and less fluffy. The fresh fruit in the center released a lot of liquid, making the cake layers wet and soggy. More on that below.
How To Freeze Sheet Cakes And Single-Layer Cakes
Single-layer cakes, like olive oil cake, pineapple upside-down cake, flourless chocolate cake, and coffee cake, freeze well as full cakes or as individual slices. For slices, simply wrap each one tightly in 2 layers of plastic wrap and place them in a freezer bag, marked and dated. Freeze up to 3 months.
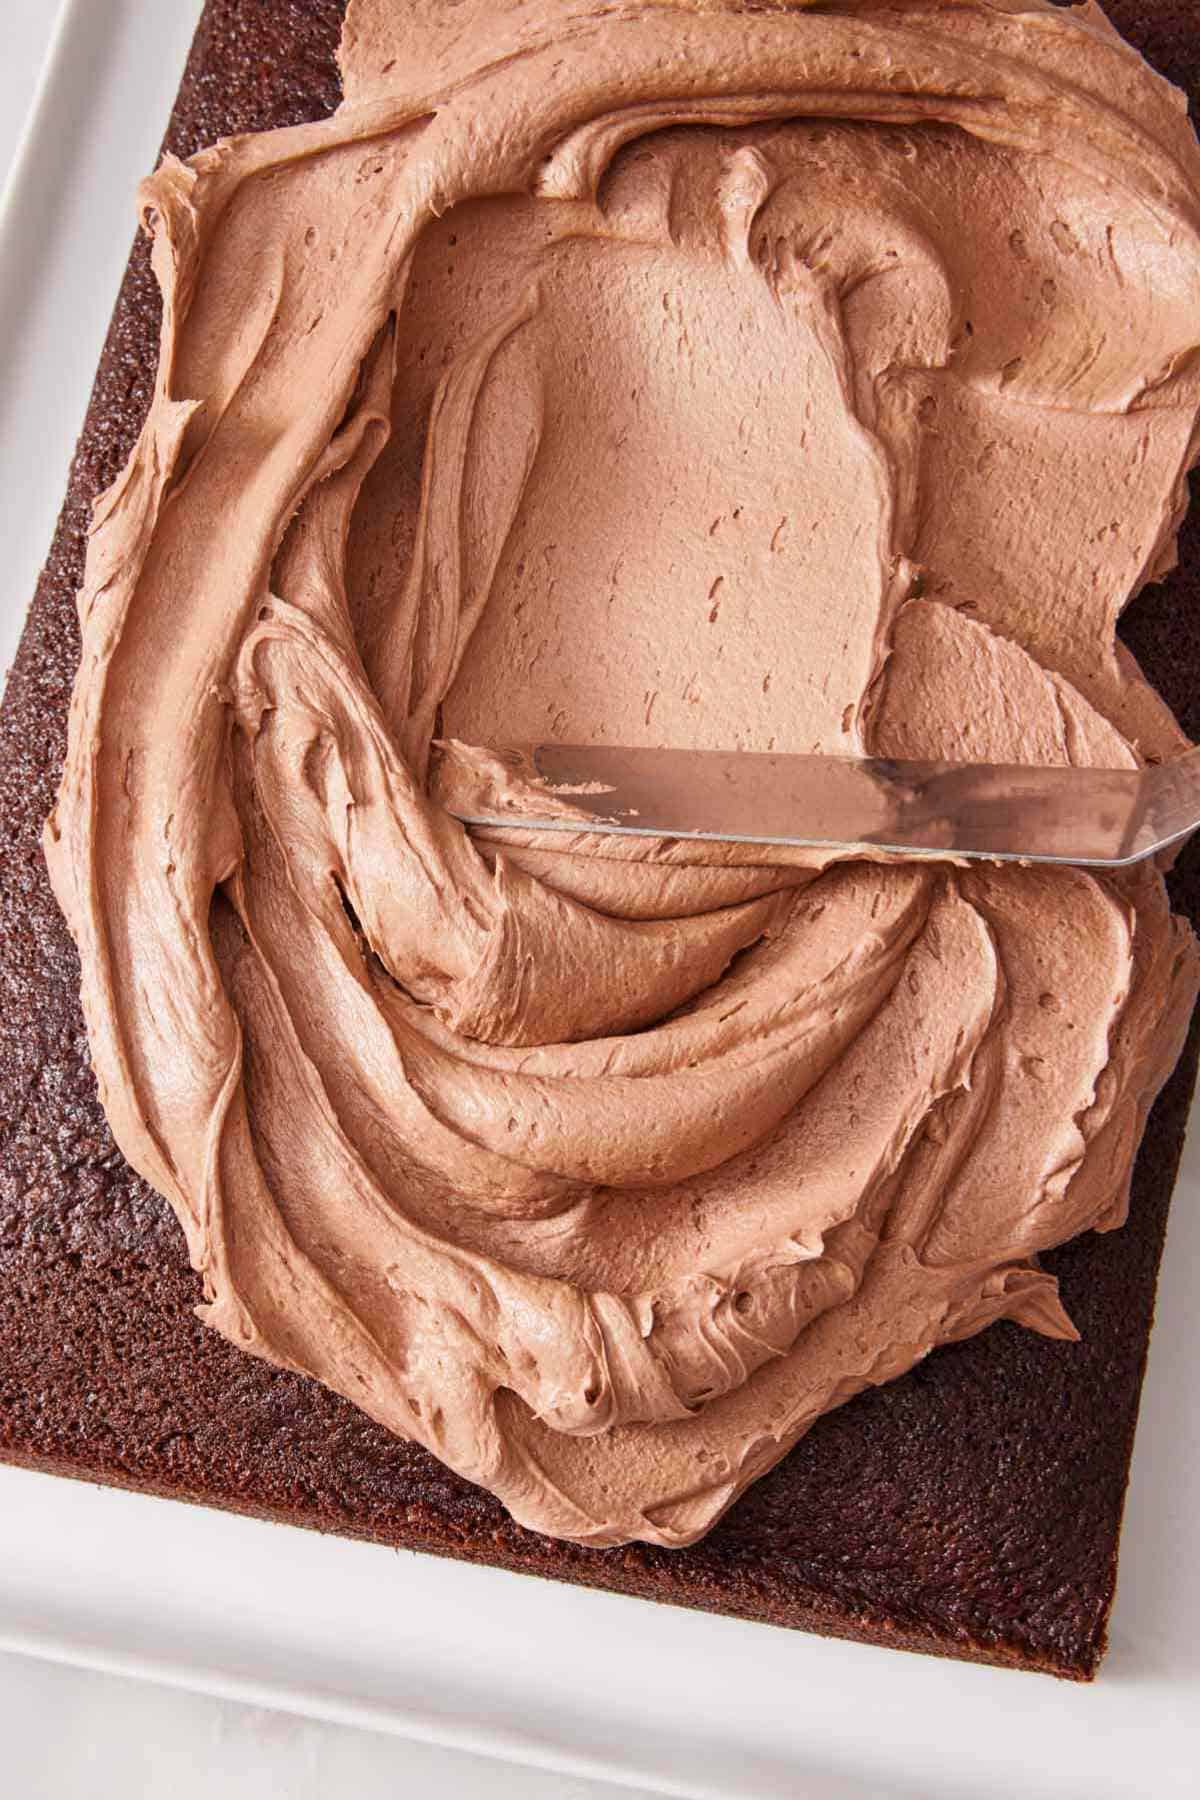
For frosted sheet cakes like chocolate sheet cake, pumpkin cake, or banana cake, you can freeze the entire pan if you’ve baked it in a freezer-safe container:
1. Bake in a freezer-safe pan (like metal) and cool completely.
2. Frost as directed in the recipe. (Make sure the frosting you use is okay to be frozen and thawed!)
3. Flash-freeze the entire pan for 1 hour to firm the frosting.
4. Wrap the pan tightly in 2 layers of plastic wrap and a layer of foil. Mark with the flavor and date. Freeze up to 3 months.
When ready to serve, transfer the frozen cake to the refrigerator and let it thaw overnight or for at least 8 hours. The cake will be ready to slice straight from the pan once thawed.
Which Frostings Freeze Well?
Most frostings freeze beautifully, but a few do not. Freezing the wrong frosting will ruin an otherwise good cake.
Don’t freeze:
- Whipped cream frostings, and any frosting where whipped cream is the dominant component that you will serve thawed. The airy structure collapses during the freeze-thaw cycle and the frosting becomes watery and runny.
- Custard or pastry cream fillings. The starch and egg structure breaks during freezing; the filling separates and goes grainy and watery when thawed.
- Glazes that haven’t fully set. A pourable glaze that’s still wet during freezing will form ice crystals that ruin the surface. Let glazes dry fully (at room temperature for about an hour) before freezing.
Generally fine but slightly tricky:
- Italian and Swiss meringue buttercream. These can survive freezing but the re-whip is more demanding than with American buttercream. Test in advance if this matters for an event.
- Cream cheese frosting. Freezes well but may need extra re-whipping.
- Stabilized whipped cream frostings spread on a cake, especially if it stays frozen, like on ice cream cake. If the whipped cream contains a good amount of cream cheese or mascarpone, it can freeze okay but will still lose some of its texture if thawed.
Freezes beautifully:
- American (powdered sugar) buttercream
- Chocolate buttercream
- Cream cheese-based buttercream variants
- Most ganaches (set firmer when frozen, but otherwise fine)
- Caramel sauces (used as fillings)
How To Freeze Buttercream Frosting
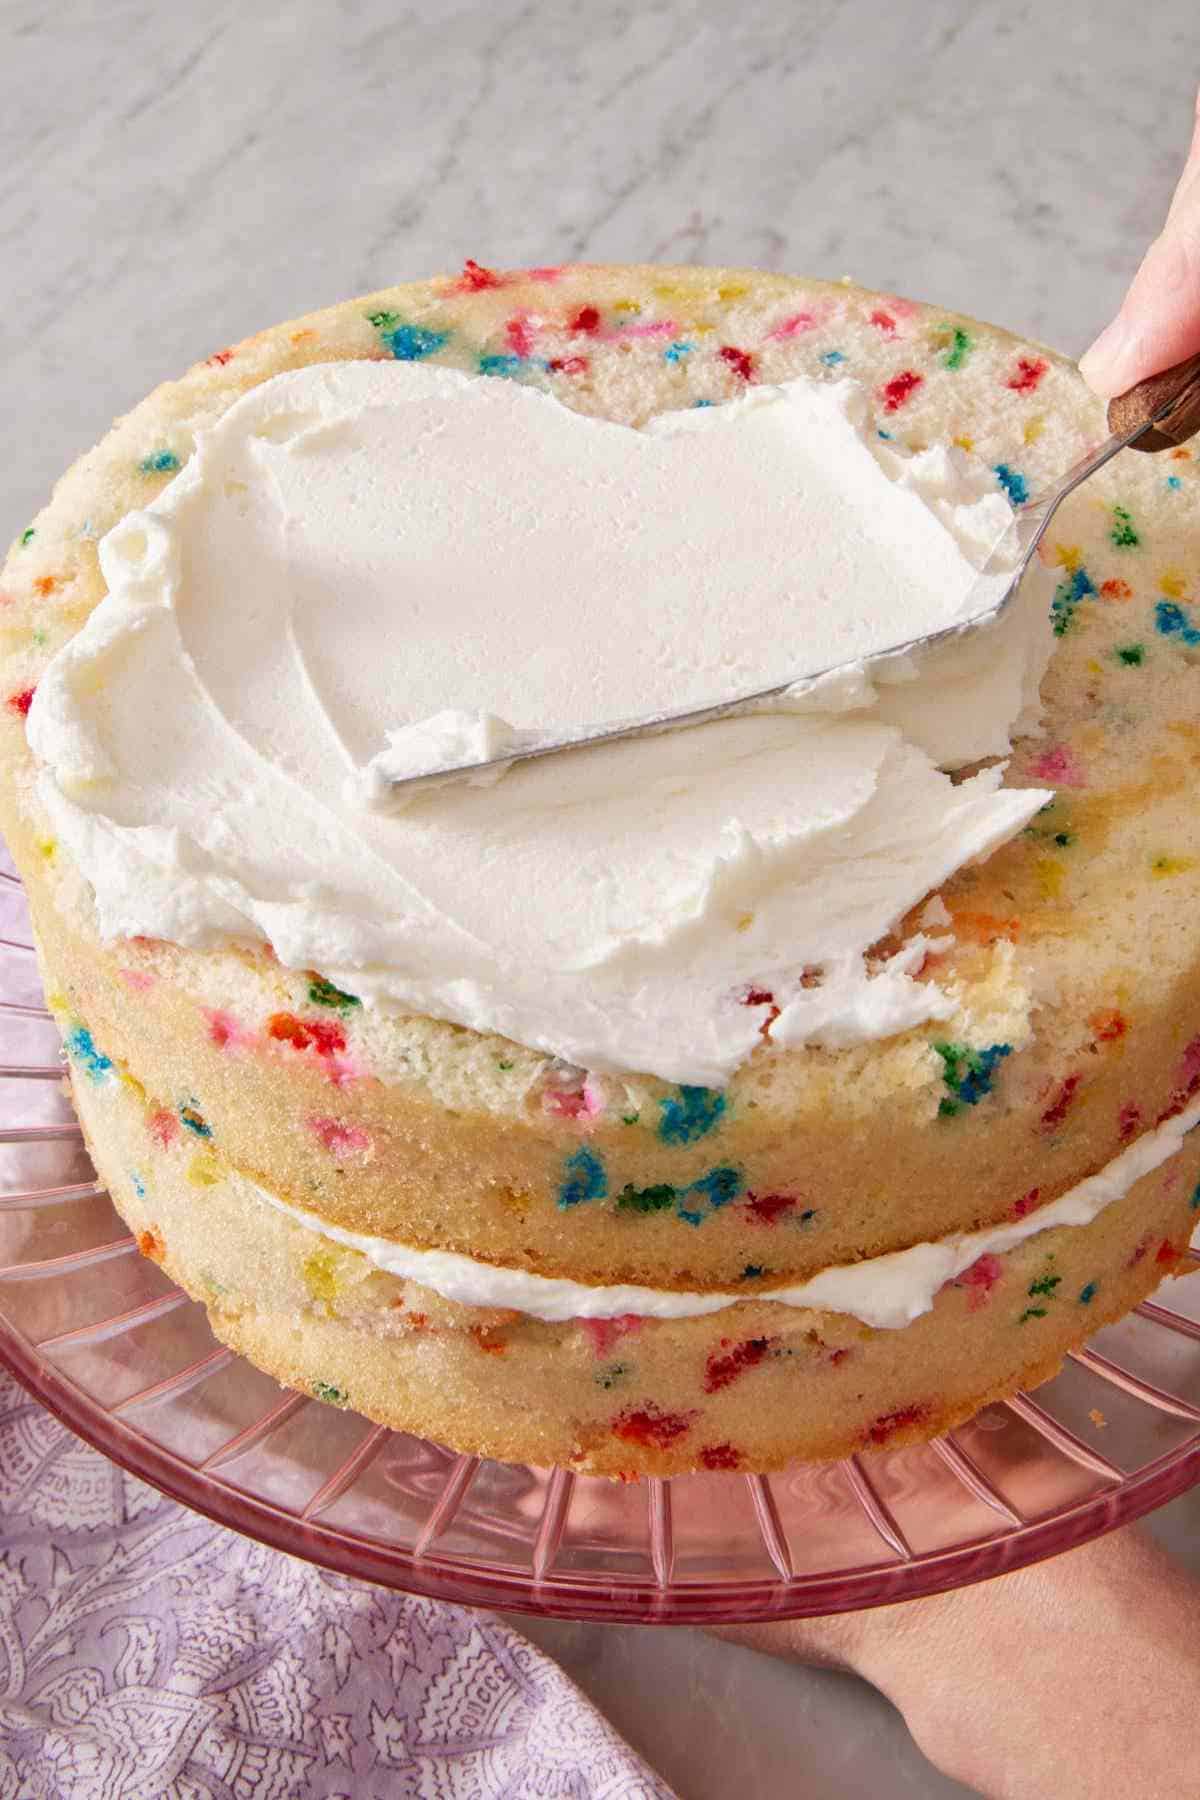
This is the freezing technique that is a huge time-saver. Buttercream freezes beautifully, which means you can make a batch ahead of a big baking project and have it ready to spread when you need it.
1. Transfer the whipped frosting to a freezer-safe container or large freezer bag, pressing out as much air as possible. In a container, press a sheet of plastic wrap or parchment paper directly to the surface.
2. Freeze up to 3 months with the date marked.
3. To use: Thaw overnight in the refrigerator, then bring the frosting to room temperature.
4. Re-whip with a stand mixer or hand mixer for 30-60 seconds. The frosting will look slightly broken or grainy at first. Keep mixing until it’s smooth and fluffy again. A splash of cream or milk helps if it’s still too stiff.
This works for vanilla buttercream, chocolate buttercream, strawberry buttercream, and other butter-based frostings or American-style buttercreams.
How To Thaw Frozen Cake
Freezing the cake well is only half the work. Thawing it correctly is the other half. The wrong thaw produces condensation, a soggy surface, and frosting that may slide off, which can ruin your best freezing efforts.
| Thawing Method | How To Thaw | Results |
| The best way: in the refrigerator. | Place the cake (still wrapped) directly into the fridge from the freezer. Let it thaw for 8-24 hours depending on size. | The slow thaw means the cake warms gradually, reducing the risk of condensation. |
| The faster way: at room temperature. | If you’re in a hurry, you can let the wrapped cake thaw on the counter for 2-4 hours. | This works but produces more condensation, which can soften the frosting on a frosted cake or cause the surface of an unfrosted layer to feel slightly tacky. Use this method for unfrosted cake or when the cake will be frosted right after thawing anyway. |
The critical rule, regardless of method: Don’t unwrap until the cake is fully thawed. This is the one detail so many bakers get wrong. If condensation is going to form, you want it to form on the plastic wrap and stay there. Unwrapping early means the moisture forms on the cake’s surface, potentially ruining the texture.
Pro Tips For Freezing Cakes
Cool cakes completely before freezing. This is the rule that will ruin your cakes if you are impatient. Warm cakes trap steam under the wrap. The result is a soggy, gummy texture when thawed. Wait until they are cool to the touch, including the bottom of the cake.
Wrap tightly enough that air can’t reach the cake. Press the plastic wrap flush against every surface. Air pockets, even small ones, are where freezer burn forms.
Always double-protect. Two layers of plastic wrap are necessary, not optional, but plastic wrap alone isn’t enough for multi-month storage. After wrapping in plastic, place the cake in a freezer bag, a freezer-safe container, or foil. The double barrier is what protects your cakes for 3 months without freezer burn.
Label and date. Freezer time blurs together. I write the cake type and date on the wrap or container in Sharpie, so I don’t have to guess.
Use a deep freeze, if you have one. A standalone chest or upright deep freezer holds temperature better than the freezer compartment of a fridge. If you have access to both, store cakes in the deep freezer where the temperature stays more constant.
The cold-cake frosting trick for decorating. This is one I learned from working with frozen cake layers: A slightly chilled cake is actually easier to frost than a freshly baked one. The firmer surface holds buttercream cleanly without tearing. If you’re frosting a thawed cake from the freezer, you have a slight advantage over someone frosting a fresh-baked cake on the same day. Since your cake should thaw in the fridge, keep it there until you are ready to frost it so they stay cold.
Make-ahead moisture trick. If you are concerned your frozen cake layers might be dry, use this trick to help: brush thawed cake layers with simple syrup before frosting (¼ cup sugar dissolved in 2 tablespoons water). This syrup soaks into the cake and makes it feel moist and fresh.
Frequently Asked Questions
Most cakes freeze well, especially denser, moist cakes like pound cake, a vanilla bundt cake, carrot cake, chocolate cake, and hummingbird cake. Lighter cakes like chiffon cake or angel food cake can dry out faster or turn slightly sticky when thawed because of their high egg-white content, so they’re less ideal but still possible. Cheesecake also freezes very well using these same techniques.
No. Freezing raw batter doesn’t work for most cake recipes. Once wet and dry ingredients are combined, the chemical leaveners (baking soda and baking powder) start activating. Freezing the batter halts the reaction, but when you thaw it, the leavening power has already dissipated. Your cake won’t rise properly. Bake the cake first, then freeze the baked layers.
Most fillings freeze well— fruit jam, lemon curd, ganache, and buttercream all hold up. Avoid freezing cakes with custard, pastry cream, or whipped cream-based fillings. These break and weep when thawed.
Freezer burn happens when air contacts the cake’s surface during long-term storage. Prevent it by double-wrapping: 2 layers of plastic wrap pressed flush against every surface, then a freezer bag or container as a second barrier. Eliminating air contact is the entire game.
Before, when possible. Unfrosted cake layers freeze and thaw more cleanly than fully frosted cakes. The frosting can be made fresh the day of decorating (or frozen separately and thawed). If you’re saving leftovers of an already-frosted cake you can freeze slices or the whole cake. Check out the section above for How To Freeze Frosted Cake (Whole or Sliced).
If the cake feels firmer than expected, it’s usually because the butter and frosting are still cold from thawing. Let the cake sit at room temperature for 30-60 minutes before serving. The texture will soften back to normal as it warms. This is the same principle that makes cold cake taste denser than room-temperature cake.
More Tutorials To Try
I have more baking tutorials for you to check out that answer all your cake-baking questions!
- Academy: How To Decorate A Cake — once your cake layers are thawed, this is the next step. Tips for smooth sides, sharp edges, and piped decoration.
- Academy: How To Bake Flat Cake Layers — flat layers stack better and store more efficiently in the freezer. The technique that solves dome-shaped layers.
- Academy: How To Cut A Cake — clean even slices, perfect for individually wrapping leftovers.
- How To Soften Butter — when you’re using thawed frosting, you’ll often need to incorporate a fresh butter splash. This is the quick-soften technique.
- How To Make Buttermilk — many of the cakes that freeze best (vanilla, chocolate, lemon) use buttermilk for extra moisture.
- Academy: How To Measure Ingredients Correctly — accurate measurement matters even more when freezing, since under-hydrated cake batter produces a drier cake that fares worse in the freezer.
If you’ve tried this “how to freeze cakes” tutorial, then don’t forget to rate it and let me know how you got on in the comments below. I love hearing from you!






