
This post may contain affiliate links. Please read our disclosure policy.

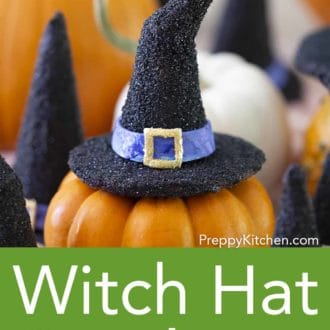

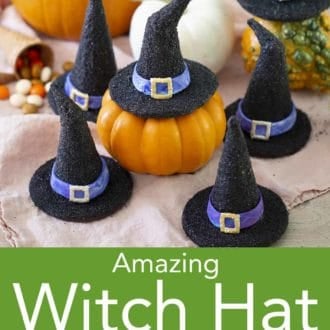

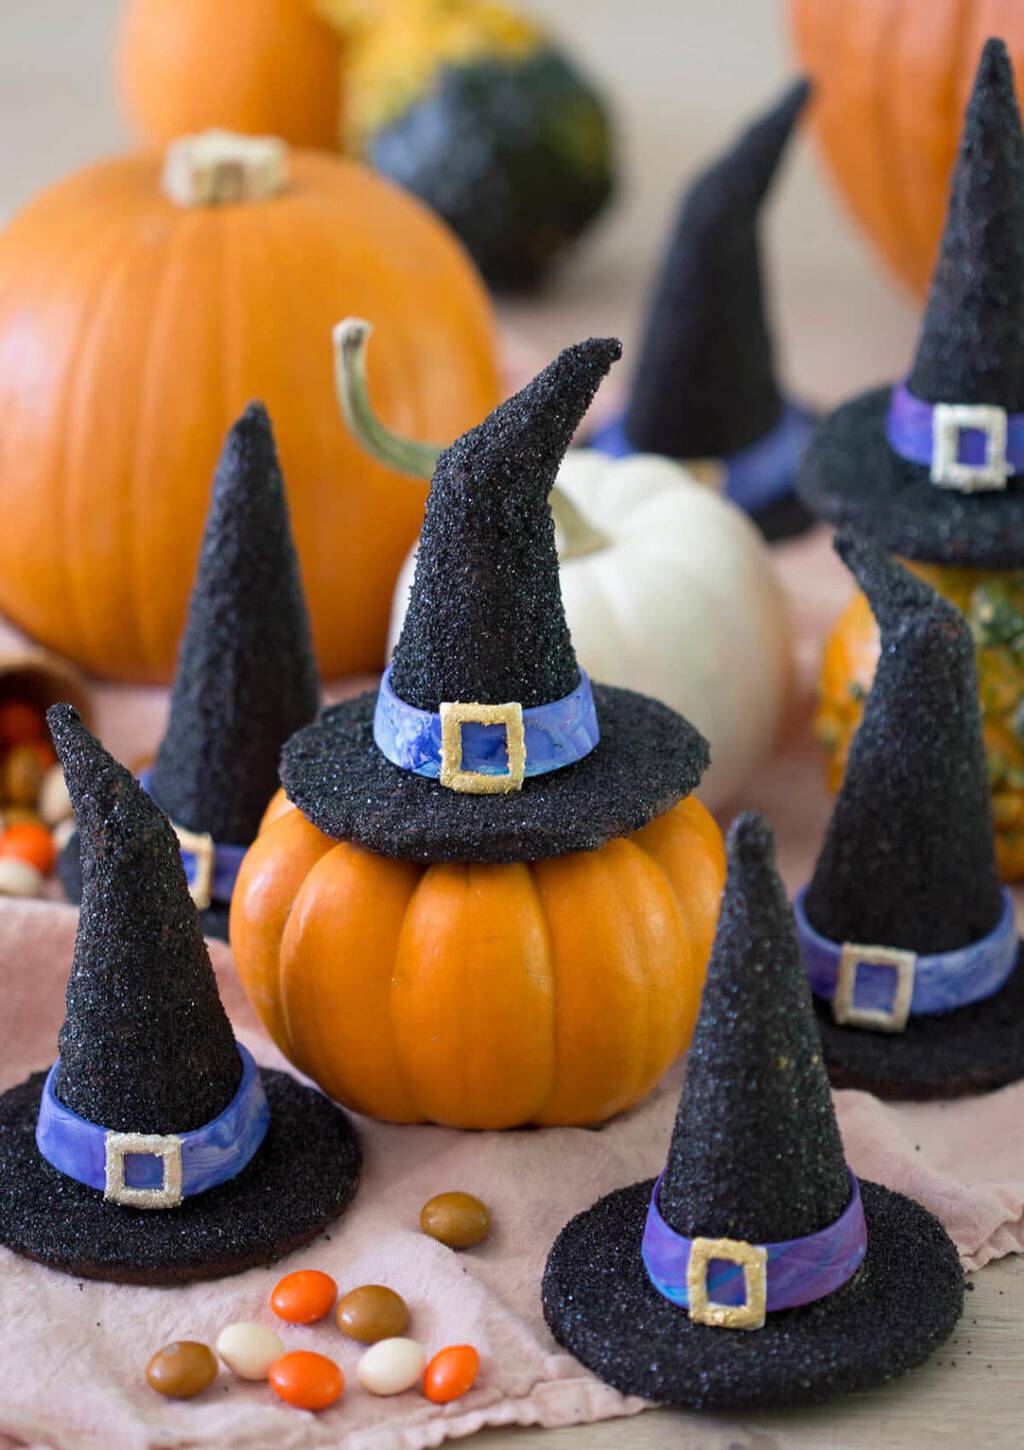
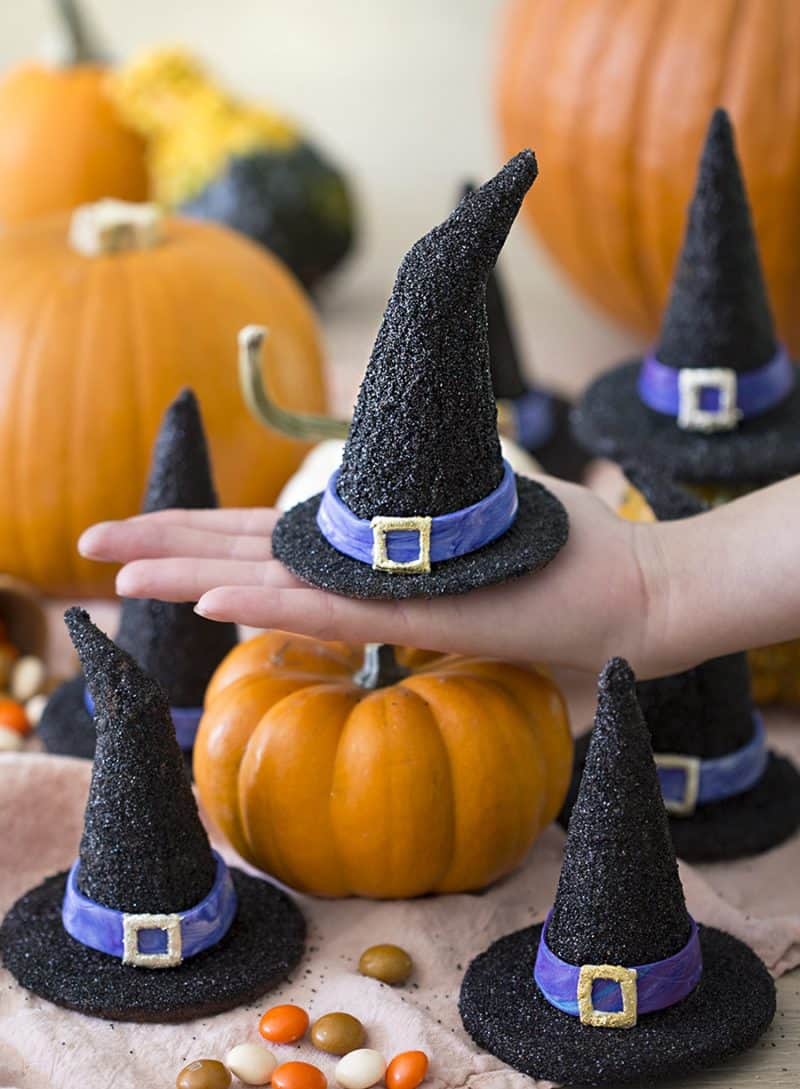
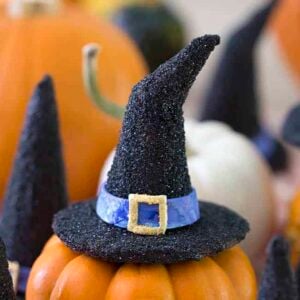
These witch hat cookies are the perfect treat for Halloween! The bases are delicious chocolate sugar cookies while an ice cream cone is used for the top. Inside they’re filled with candy for an extra surprise!
I love how realistic these cookies look while still tasting great and being deceptively easy! If you want to go ALL OUT then cut the tops of the cones off at an angle, and reattach them at an angle for a sinister/droopy effect.
Hope you enjoy! And if this all seems like too much work, just make the chocolate sugar cookies, they’re SOOOOOO GOOD! I ate about four cookies raw ?
Pro Tips for Amazing Witch Hat Cookies
- If you’re making them with little ones you can easily just go for the straight cone as it’s less difficult to roll in melted chocolate and sanding sugar, and you don’t have to cut the sugar cone.
- Black sanding sugar is MESSY! So best to work over a baking pan and contain the chaos!
- When working on the cookies pop them into the freezer to set quickly
- You will be microwaving your chocolate from time to time as it cools while you’re doing the various steps. Black Candy Melt can be substituted for chocolate. It’s easer to melt and you don’t need to worry about it seizing.
- I used gold leaf for the buckles but they could also be made from yellow fondant.
Frequently Asked Questions
How can I make black Sanding Sugar?
Add some sugar and a few drips of black food coloring to a sealable plastic bag and mush is around with your fingers until all the sugar has changed color. Add more food coloring as needed and allow to dry out a bit on a baking sheet before handling.
How long will these cookies keep for?
These cookies will last for a week at room temperature if covered and two weeks in the refrigerator.
Can you make these without fondant?
You can use marzipan or modeling chocolate to make the band and buckle. I’ve tried using buttercream and piping it on but its not easy to get a clean line, especially on the bumpy sanding sugar covered surface.
Can you make fondant at home?
Yes It’s so easy. Just melt 8oz of marshmallows with 2 tablespoons of water in the microwave in 30 second intervals mixing between bursts. Fold in 3 cups of powdered sugar then knead together on a counter greased with shortening. add more sugar as needed and grease your hands up too!
How did you make the buckles?
I cut little squares of fondant for the buckles. Originally I was going to pipe them with buttercream but realized that piping onto sanding sugar would be a nightmare! I just happened to have gold leaf hanging around so I added that to the buckles for some extra sparkle. Brush the fondant with a LITTLE water and then the gold leaf will stick right to it. You could use yellow fondant for a similar look.
How to Make Witch Hat Cookies
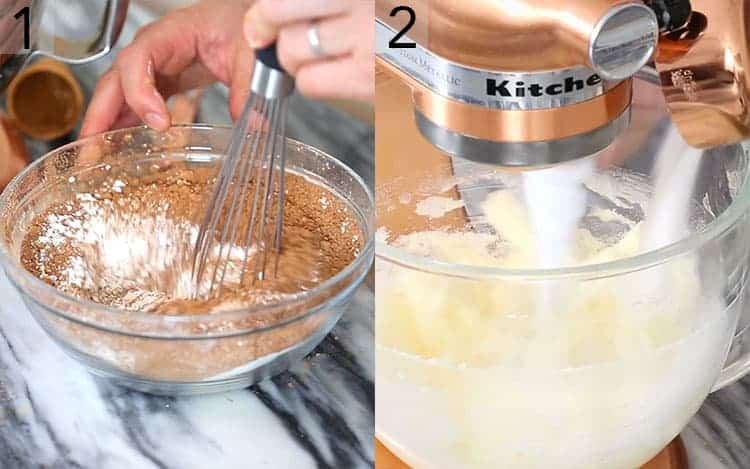
1. Preheat oven to 350 degrees. Sift together flour, cocoa and salt. Whisk to combine.
2. Combine butter and sugar in a bowl. Mix on medium-low speed with a paddle attachment. Mix until incorporated. Don’t over-mix. Add eggs one at a time mixing until incorporated before adding the next. Don’t forget to scrape the bottom and side of the bowl. Mix in vanilla then add in flour mixture to the bowl. Mix at low speed for 30 seconds.
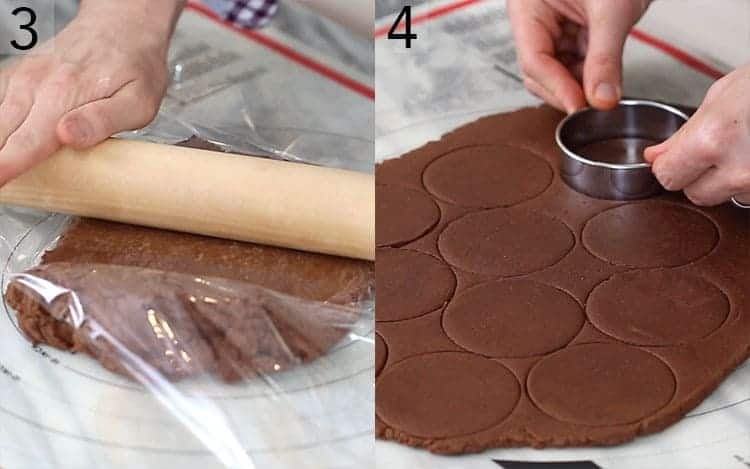
3. Roll out the dough between 2 pieces of parchment paper or plastic wrap. Refrigerate for about an hour.
4. Use a cookie cutter to cut out shapes. If you want super sharp edges then refrigerate pieces again for about 20 minutes but this is totally optional. Bake on parchment or silpat lined baking sheet for 8-12 minutes or until centers are set.
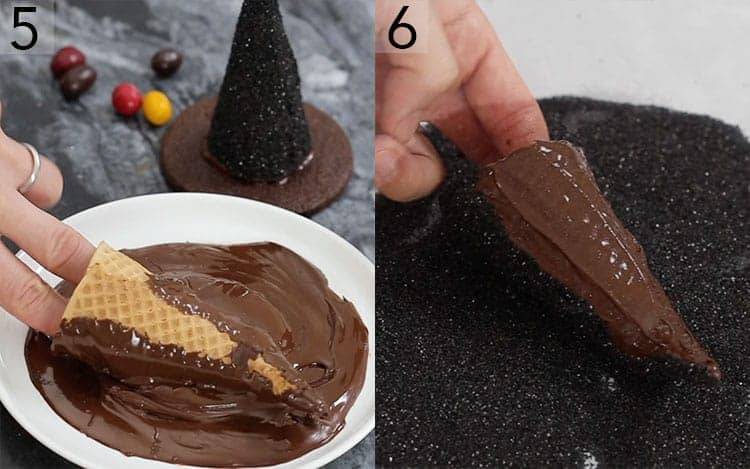
5. Roll ice cream cone in either melted chocolate or black candy melt. Use a knife or small spatula to wipe off the excess and cover any stray areas. See below for how to make a CROOKED witch hat.
6. Roll the cones in black sanding sugar. You can also spoon on the sugar for more coverage.
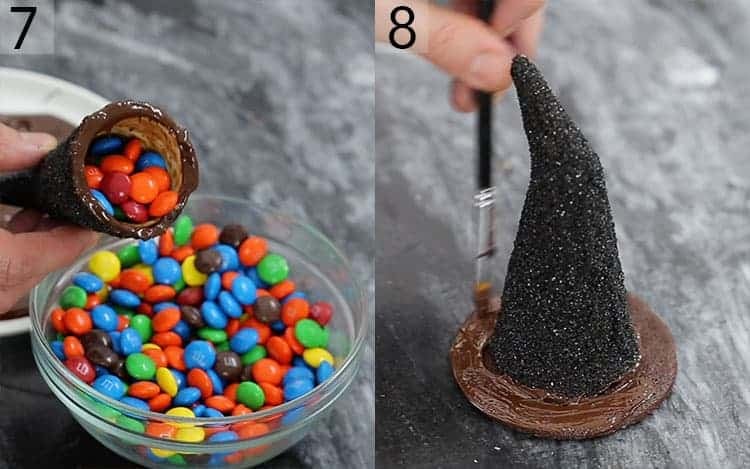
7. Dip the base of the cone in melted chocolate or candy melt then fill cone with candy. You could also pipe or wipe melted chocolate onto the cone instead of dipping it.
8. Attach cookie to cone then brush melted chocolate or candy melt onto the brim.
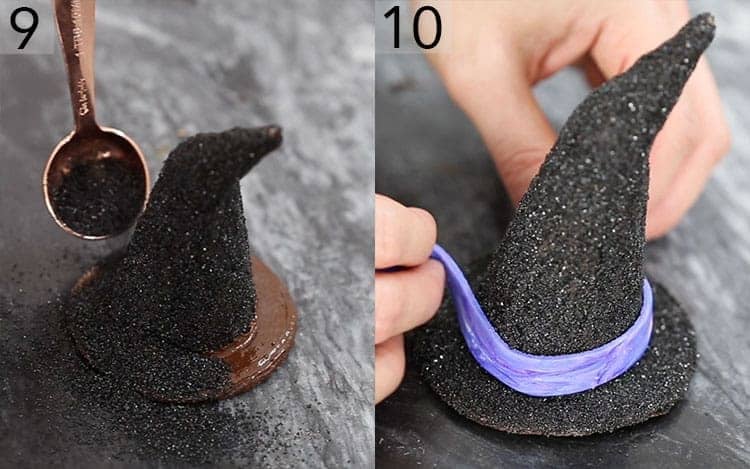
9. Sprinkle sanding sugar onto the brim.
10. Add red and blue food coloring to fondant (mixing more will give an even color. Mixing less will give a tie dye look) Roll out and cut bands for the hat. Cut out a buckle shape. You can either color the fondant yellow before rolling or you can use gold leaf or gold luster powder to enhance the buckle. Attach bands to hat then add buckle. You can wipe the back of the buckle with a damp paper towel to help fasten it.
How to make a Crooked Witch hat
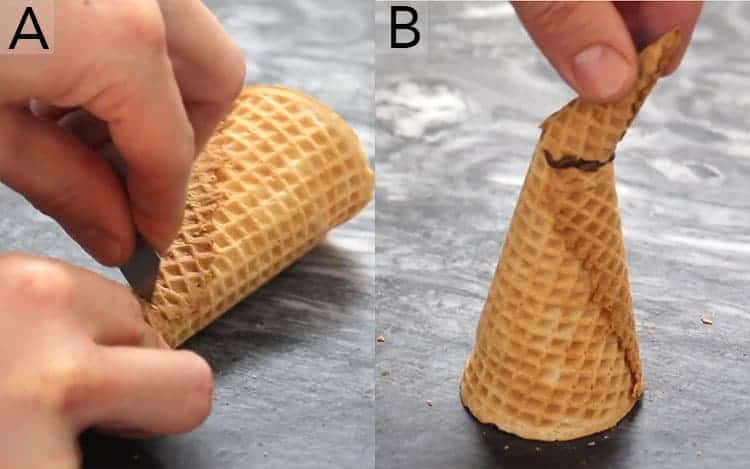
A. Use a very sharp knife or utility blade to cut the ice cream cone at a diagonal. Don’t worry if the cut is not perfectly clean as you’ll be covering everything in chocolate and sanding sugar.
B. Brush on some melted chocolate to use as glue then turn the tip of the cone 180 degrees and reattach. Depending on the angle of your cut the hat will be more or less crooked.
If You Liked This Recipe Try These Out
If you’ve tried this crazy cookie out then don’t forget to rate the recipe and let me know how you got on in the comments below, I love hearing from you!
Witch Hat Cookies
Ingredients
INGREDIENTS:
For the Cookies:
- 1 cups unsalted butter at room temperature 236.5mL
- 1 cups sugar 236.5mL
- 1 large egg
- 2 cups all-purpose flour 473mL
- 3/4 cups cocoa powder 177.4mL
- 1/2 tsp salt 2.1g
- 1 tsp vanilla 4.2g
- 1 tsp almond extract 4.2g
- 8 ice cream cones sugar
For the Assembly:
- 1 cup semi sweet chocolate
- 1 1/2 cup black sanding sugar 354.8mL
- 1 package M&Ms or your choice of candy
- 3 tbsp fondant 42.9g
- red and blue food coloring
- gold leaf or gold dusting powder
Instructions
For the Cookies:
- Preheat oven to 350 degrees.
- Combine butter and sugar in a bowl. Mix on medium-low speed with a paddle attachment. Mix until incorporated. Don’t over mix.
- Add eggs and mix and scrape the sides of the bowl.
- Stir in vanilla.
- Sift together flour, cocoa and salt.
- Add in flour mixture to the bowl. Mix at low speed for 30 seconds.
- The dough is ready when it sticks to the paddle mixture. Do not over mix.
- Roll out the dough between 2 pieces of parchment paper.
- Put on a baking sheet and refrigerate for 1 hour.
- Use a cookie cutter to cut out shapes.
- Refrigerate pieces again for about 20 minutes.
- Bake for 8-12 minutes or until centers are set.
- Let cool.
For the Assembly:
- Add red and blue food coloring to fondant (mixing more will give an even color. Mixing less will give a tie dye look)
- Roll out and cut bands for the hat.
- Cut out a buckle shape. You can either color the fondant yellow before rolling or you can use gold leaf or gold luster powder to create the buckle.
- Cut off the end of an ice cream cone.
- Cover cone in melted chocolate, then in sanding sugar.
- Attach tip, chill in freezer to set.
- Pipe melted chocolate onto the cut edge of the cone
- Fill with candy of your choice (I chose m&ms)
- Dip the edge in chocolate and attach to cookie.
- Brush brim with melted chocolate onto cookie.
- Sprinkle sanding sugar.
- Attach band and buckle. You can brush a little water on if the fondant isn't sticking.
Notes
- If you're making them with little ones you can easily just go for the straight cone as it's less difficult to roll in melted chocolate and sanding sugar, and you don't have to cut the sugar cone.
- Black sanding sugar is MESSY! So best to work over a baking pan and contain the chaos!
- You will be microwaving your chocolate from time to time as it cools while you're doing the various steps. Black Candy Melt can be substituted for chocolate. It's easer to melt and you don't need to worry about it seizing.
Nutrition
Have you tried this recipe? Tag me today!
Mention @preppykitchen and tag #preppykitchen!


