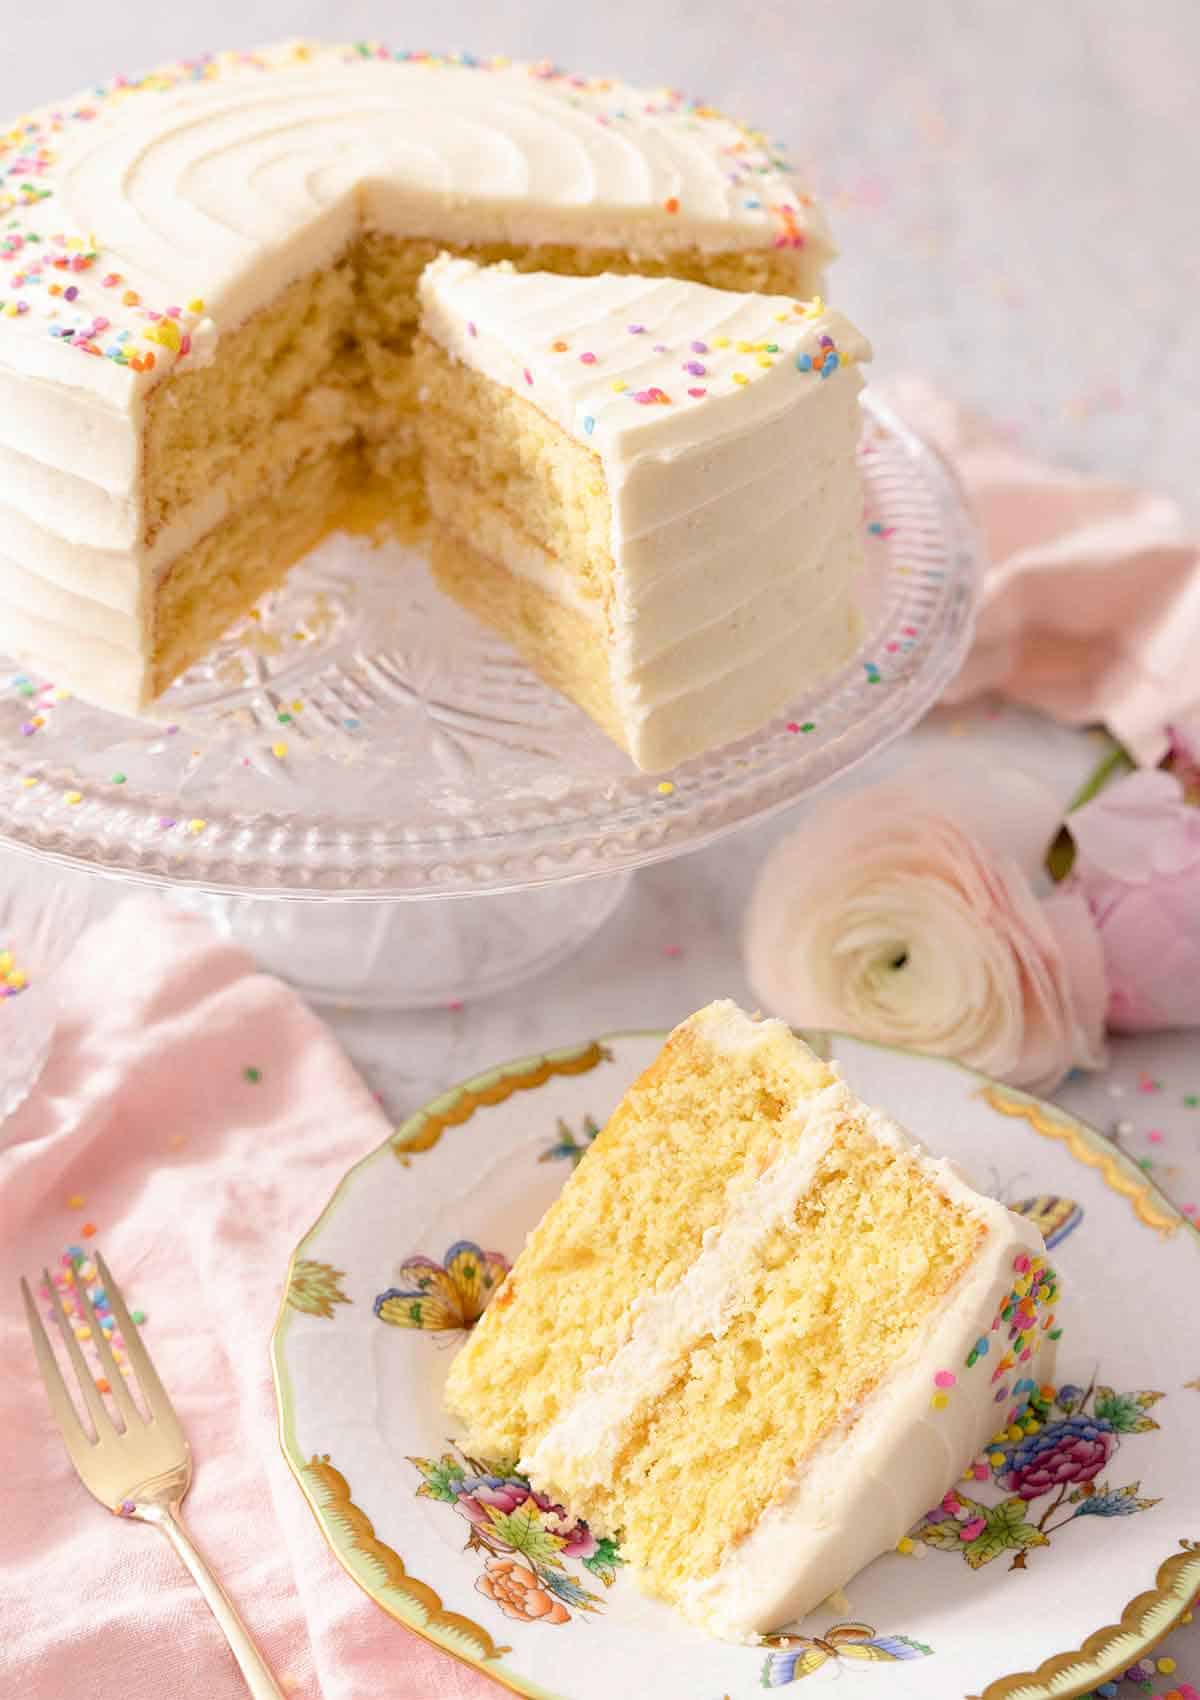
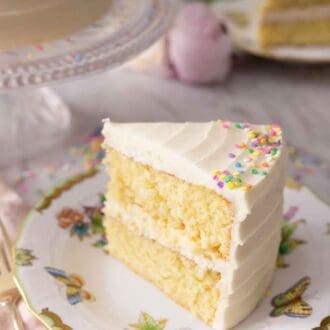
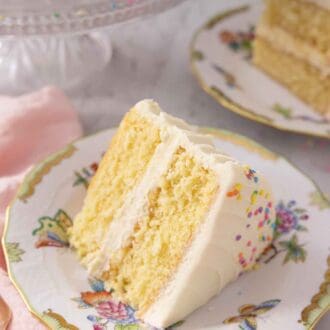
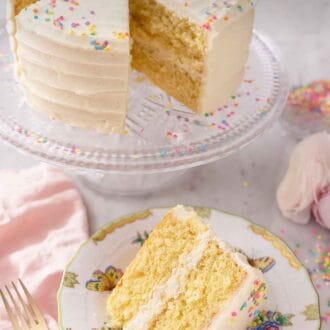
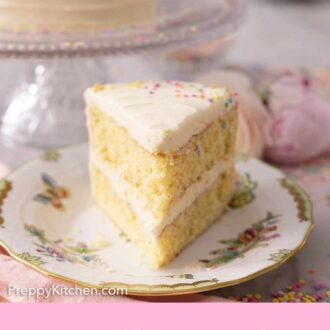
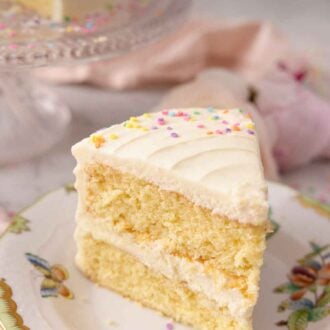
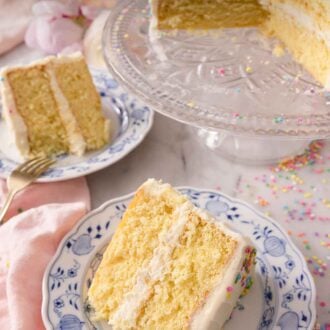
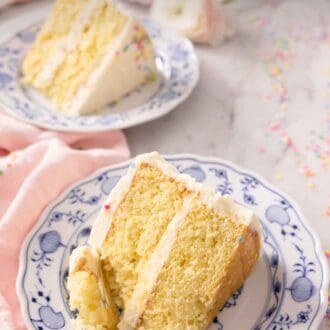
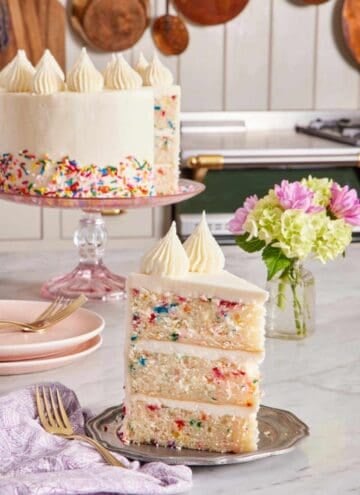
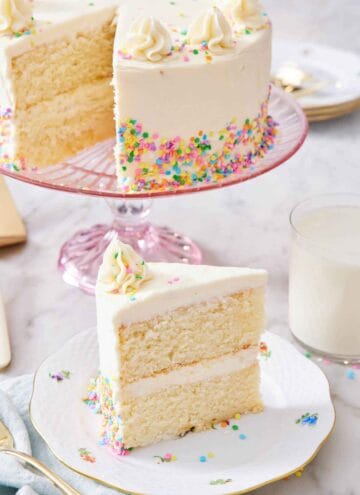
Whether you are making a cake for a birthday party, wedding, or just a general get-together, it is hard to go wrong with this traditional vanilla cake recipe. I think this the best vanilla cake recipe out there as it has a buttery and perfectly even crumb that holds up well on its own but will practically melt in your mouth when you take a bite.
A classic vanilla cake like this one is definitely a dessert that you should have in your back pocket as it will never fail to impress. If you’re looking for other classic desserts, then you should try my Chocolate Cake, Baked Alaska Recipe, or German Chocolate Cake. There are never any leftovers when these desserts show up to the party!
WHAT YOU NEED TO MAKE THIS RECIPE
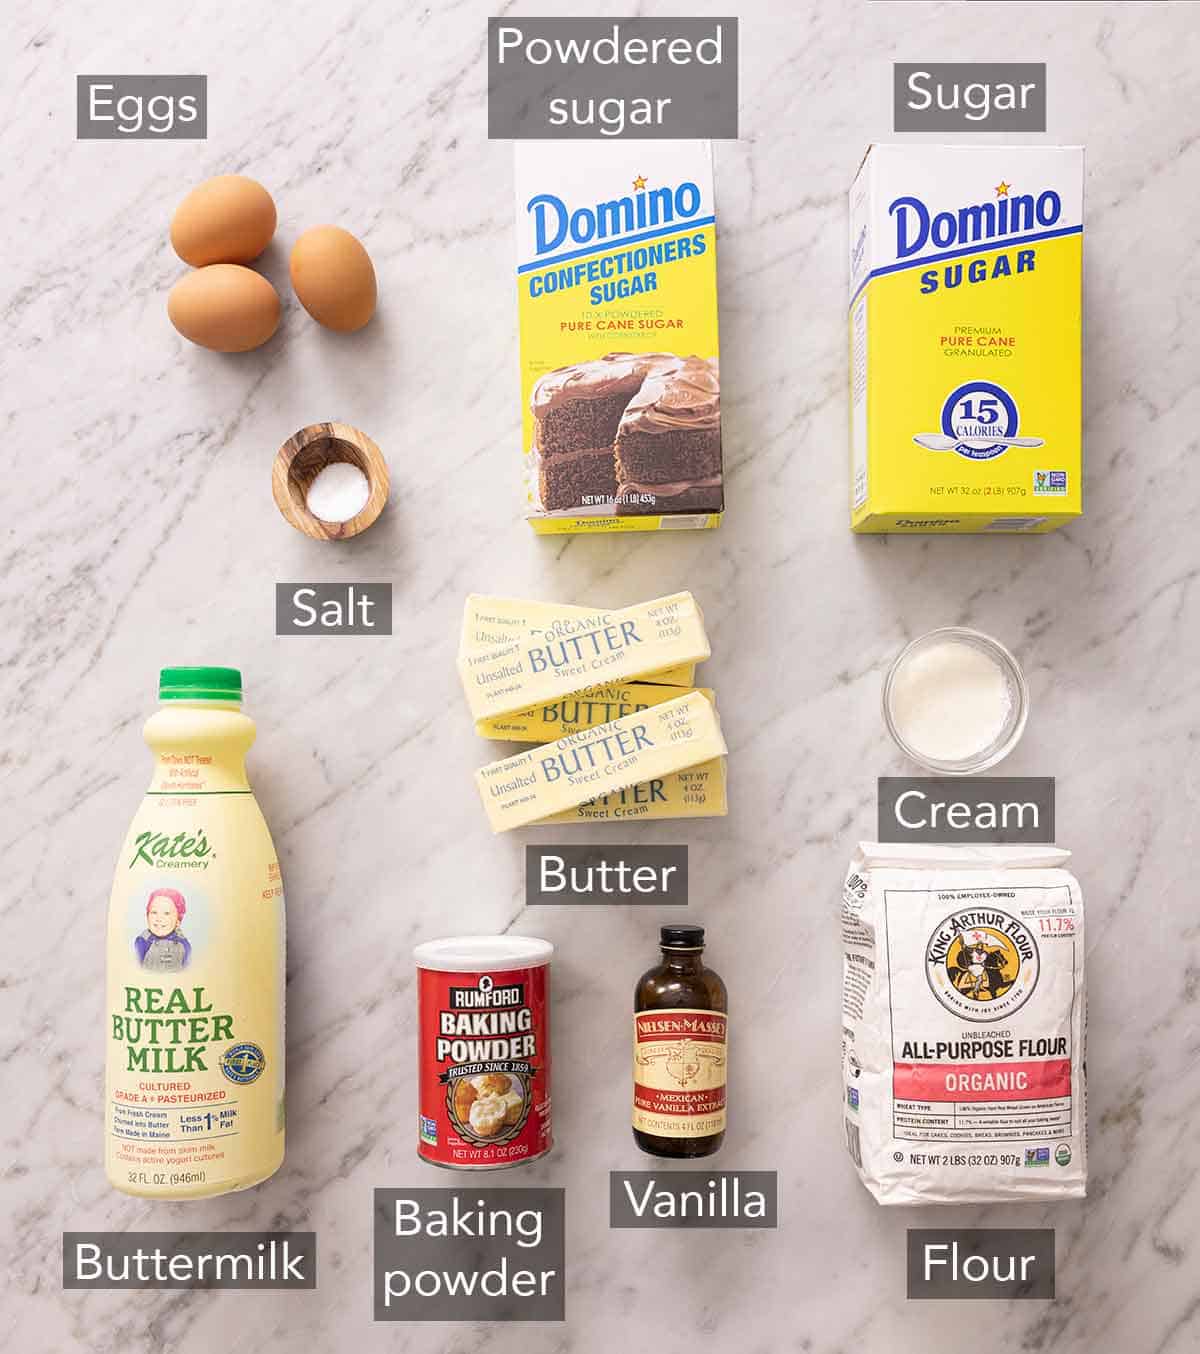
Vanilla – I highly recommend using a high-quality vanilla extract instead of artificial vanilla as this is the backbone of the flavor of the cake.
Butter – different brands of salted butter vary in salt content, so it’s best to use unsalted butter and then add salt to the batter. Be sure to have your butter at room temperature so you can cream it easily. Room temperature butter should make a slight indent when pressed with your finger.
Buttermilk – buttermilk brings a tangy flavor to your cake and keeps it super moist. If you don’t have buttermilk, see my easy post on making buttermilk at home.
HOW TO MAKE VANILLA CAKE
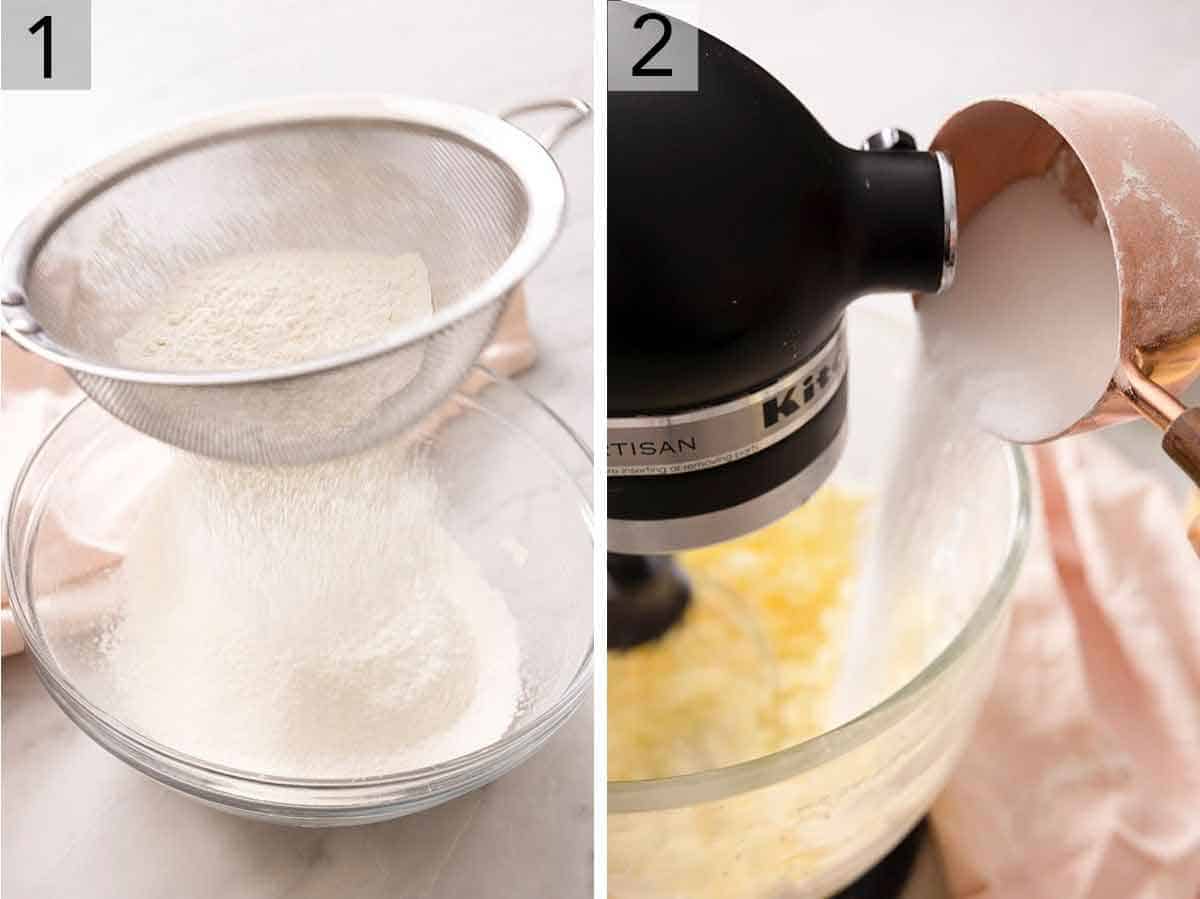
1. Sift the flour, baking powder, and salt into a bowl, then whisk together and set aside. Sifting the dry ingredients helps prevent lumps that would weigh down the batter.
2. Cream the butter and then add the sugar. The mixture should look pale yellow and fluffy when done.
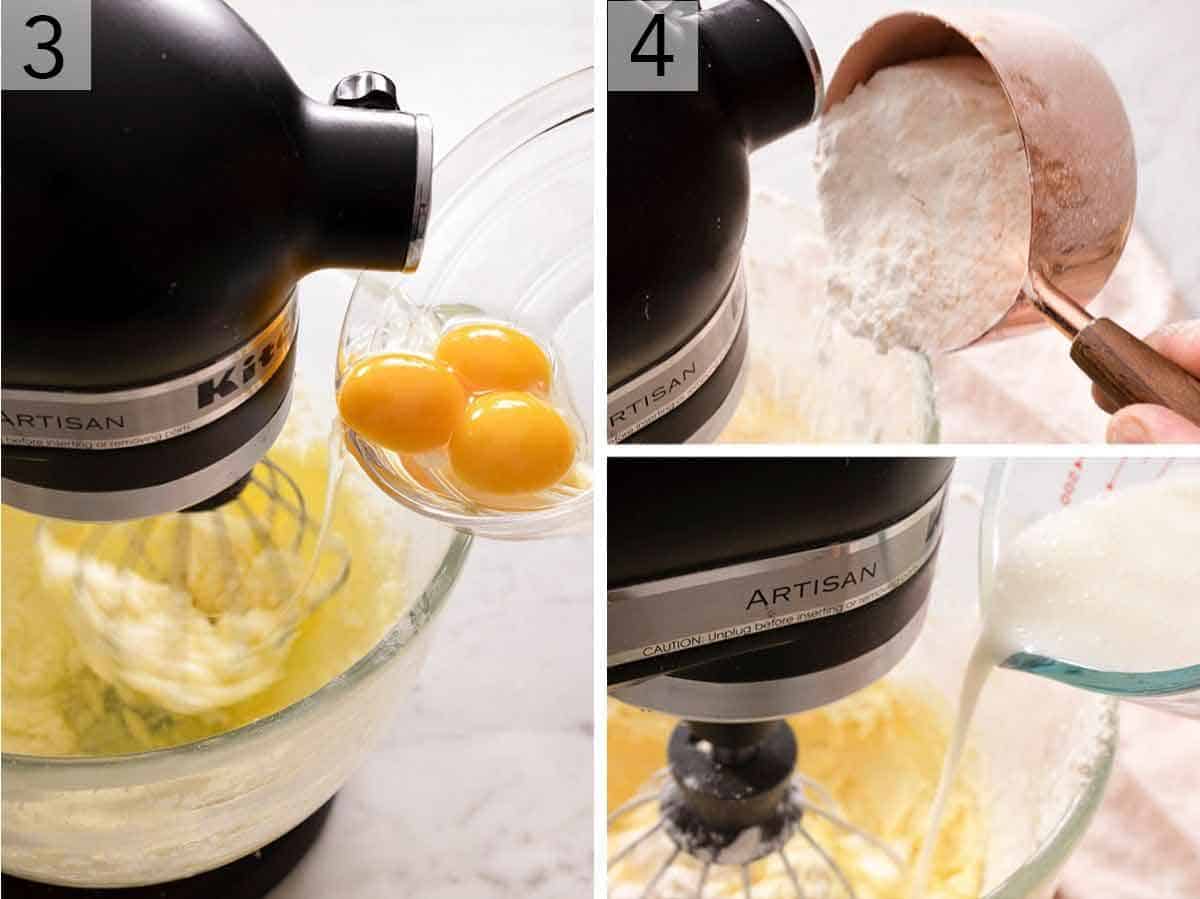
3. Add the vanilla, then eggs one at a time. Scrape the bowl down in between so everything is evenly mixed.
4. Add the flour in three batches alternating with the buttermilk to help the butter mixture combine evenly and avoid over-mixing the batter.
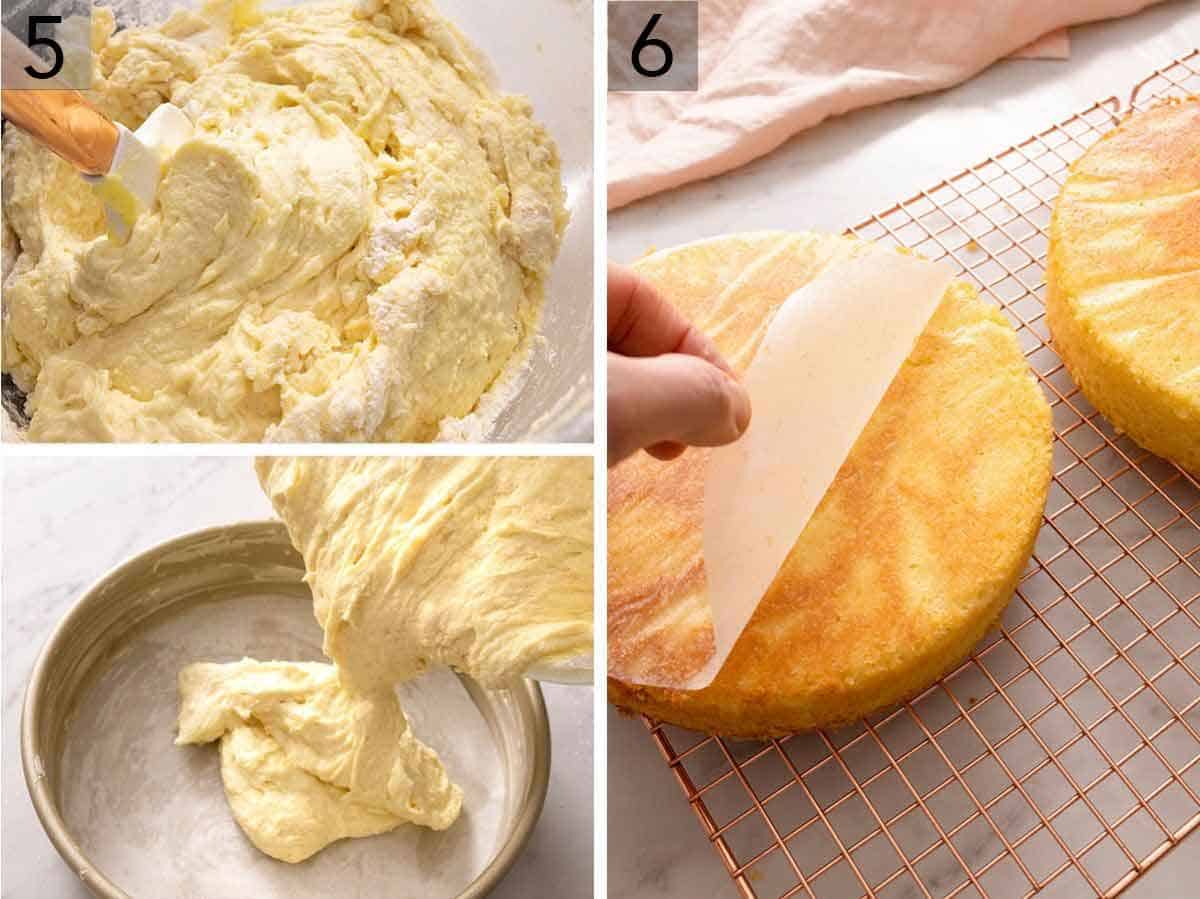
5. Once the batter is almost combined, manually fold in any remaining butter/flour using a spatula to prevent over-mixing. Then, divide the batter equally between the two pans.
6. Bake for 30 minutes or until the edges pull away from the pan. Allow to cool in the pans for about two minutes, then invert layers onto a cooling rack, remove the paper, and set them aside to cool completely.
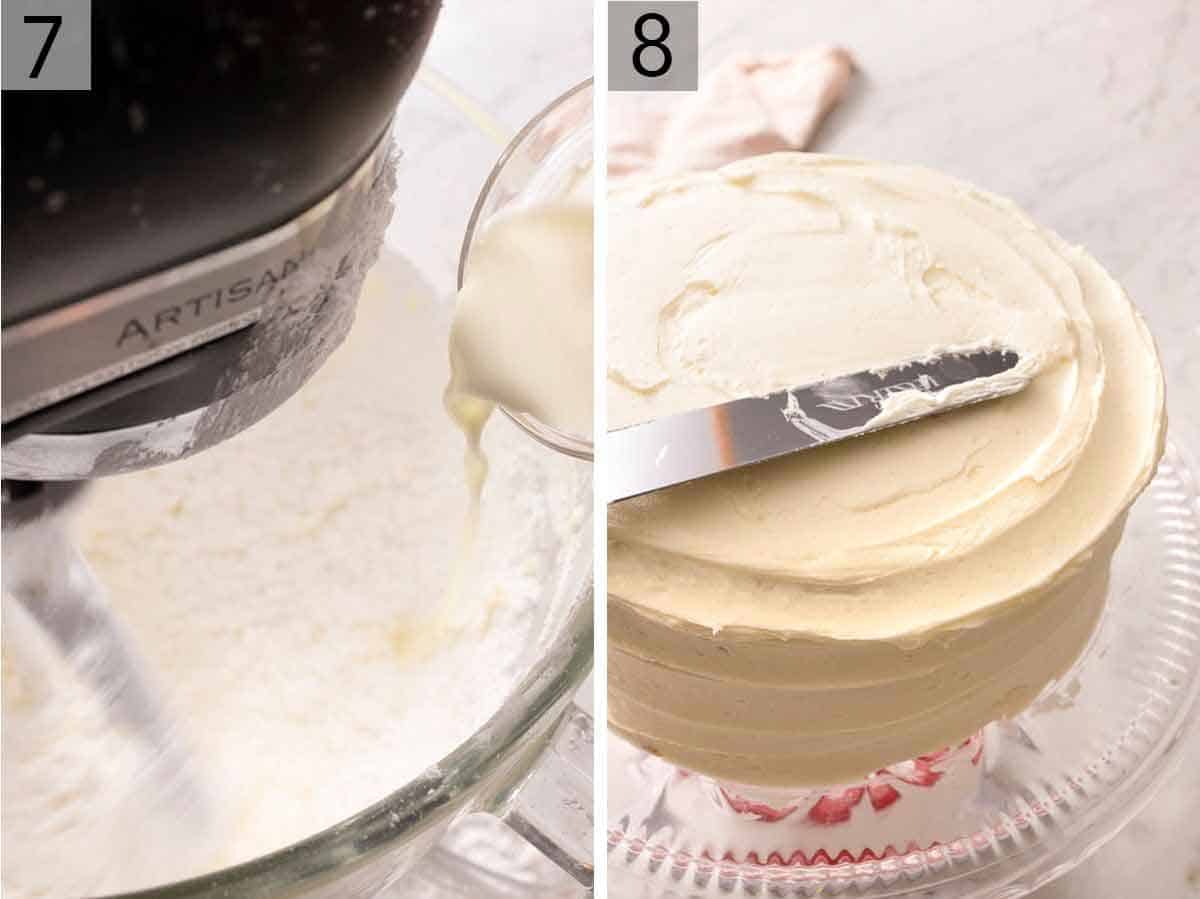
7. Make the buttercream frosting by creaming the butter, salt, and sugar before drizzling in the cream and vanilla. The buttercream frosting should form a soft peak with a slight curl, meaning it’s not too stiff to frost the cake effortlessly.
8. Frost your layered cake however you’d like and enjoy.
PRO TIPS FOR MAKING THIS RECIPE
- I highly recommend using a scale to measure your flour. However, if you don’t have a scale, be sure to fluff your flour with a spoon and then spoon it into your cups before leveling it off with a knife. This method is the best way to measure flour without overpacking the measuring cup.
- Listen to your cake. The cake layers have finished baking when they are quiet. If it makes a crackling sound when you put your ear close, it needs another minute or two.
- Be sure to check the expiry date of the baking powder. If the layers come out dense, this is usually the culprit or you have over-mixed the batter.
- Always preheat your oven and prepare the pans before starting the batter. Once your baking powder has combined with liquid in your batter, it is activated. So when you let your batter sit around, you risk the baking powder losing its leavening abilities.
- If you find decorating to be a bit intimidating, do not worry! I have a How to Decorate a Cake post containing lots of helpful tips and a how-to video to help you out.
- You can use cake strips to help your layers come out evenly. Cake strips work by keeping the outside edge of the pan cooler to ensure that the entire cake rises at the same rate, preventing a dome from forming in the middle. If you don’t want to purchase a set, check out my post on How to Get Perfect Flat Cake Layers to learn how to DIY the strips.
- To ensure that there are no large air bubbles in the batter, you can bang the pans on the countertops as you do with macarons to burst them.
- I used American buttercream frosting, but to take things up a notch you could also use Swiss meringue buttercream or Italian buttercream, which are more silky and slightly less sweet.
FREQUENTLY ASKED QUESTIONS
What is the difference between white cake and vanilla cake?
At first glance, the two cakes may seem similar however they have some significant differences. White cake uses only egg whites instead of the whole egg to keep the batter from being tinted yellow by the egg yolks. Also, traditional vanilla extract will leave a tint, so clear vanilla is used to flavor the cake instead. Vanilla cake is also softer than white cake as the egg yolks add fat to the batter.
Why do I have to add one egg at a time?
When you add one egg at a time to the batter, it ensures that the egg is being thoroughly combined with the batter and fully emulsified. When not emulsified correctly, you run the risk of the cake baking uneven and a dense crumb.
What makes it moist and fluffy?
To make this vanilla cake moist I used buttermilk. Aside from adding a slight tang to balance the sweet, buttermilk gives you a rich, moist flavor that’s hard to beat!
How long does this keep?
You can keep the frosted cake at room temperature for a couple of days. Just make sure to place it in an airtight container. You can also store the cake in the fridge if you’d like it to last a few days longer.
Can I freeze this?
If you’d like to make this ahead of time, you can tightly wrap the unfrosted cake in plastic wrap and aluminum foil before freezing it for up to 3 months. When ready to enjoy, thaw the cake in the fridge overnight and then bring it to room temperature before frosting. If you are freezing leftover slices of cake, use the same method but keep in mind that the frosting may not be as pretty when thawed.
If you’ve tried this Vanilla Cake recipe then don’t forget to rate the recipe and let me know how you got on in the comments below, I love hearing from you!
Vanilla Cake Recipe
Video
Equipment
- Mixer
- 8 inch cake pans
Ingredients
For the Cake:
- 2½ cups all-purpose flour (280g)
- 2¼ tsp baking powder
- ¾ tsp salt
- 1⅔ cups granulated sugar (333g)
- ¾ cup unsalted butter room temperature (170g)
- 3 large eggs room temperature
- 1 Tbsp vanilla (15mL)
- 1 cup buttermilk (240mL)
For the Frosting:
- 1½ cups unsalted butter room temperature
- ¼ tsp salt
- 5 cups powdered sugar
- ¼ cup cream or milk plus more as needed
- 2 tsp vanilla (10mL) plus more to taste if desired
Instructions
For the Cake:
- Preheat oven to 350F and line two 8 inch pans with parchment paper and butter the sides. Sift the flour, baking powder, and salt into a bowl, then whisk together and set aside.
- Cream the butter in a stand mixer fitted with a whisk attachment or an electric hand mixer. Add the sugar and beat on high for 3-4 minutes, scraping the bowl down as needed. Add the vanilla, then eggs one at a time while mixing on medium speed, then scrape the bowl down and mix in high for a minute.
- Reduce speed to low and add the flour in three batches alternating with the buttermilk. Once almost combined, remove the whisk attachment and fold in any remaining butter/flour using a spatula. Do not over-mix the batter.
- Divide batter equally between the two pans, then bake at 350F for about 30 minutes or until the edges pull away from the pan, and a toothpick inserted in the center comes out clean.
- Allow to cool in pan for about two minutes, then invert layers onto a cooling rack, remove the paper, and set aside to cool completely.
For the Frosting
- Cream the butter and salt in a stand mixer fitted with a paddle attachment or an electric hand mixer. Add the sugar a few cups at a time while mixing on low. Drizzle in the cream and vanilla, then scrape the bowl down and increase speed to high. Mix for about three minutes, then reduce the speed to low and mix an additional minute.
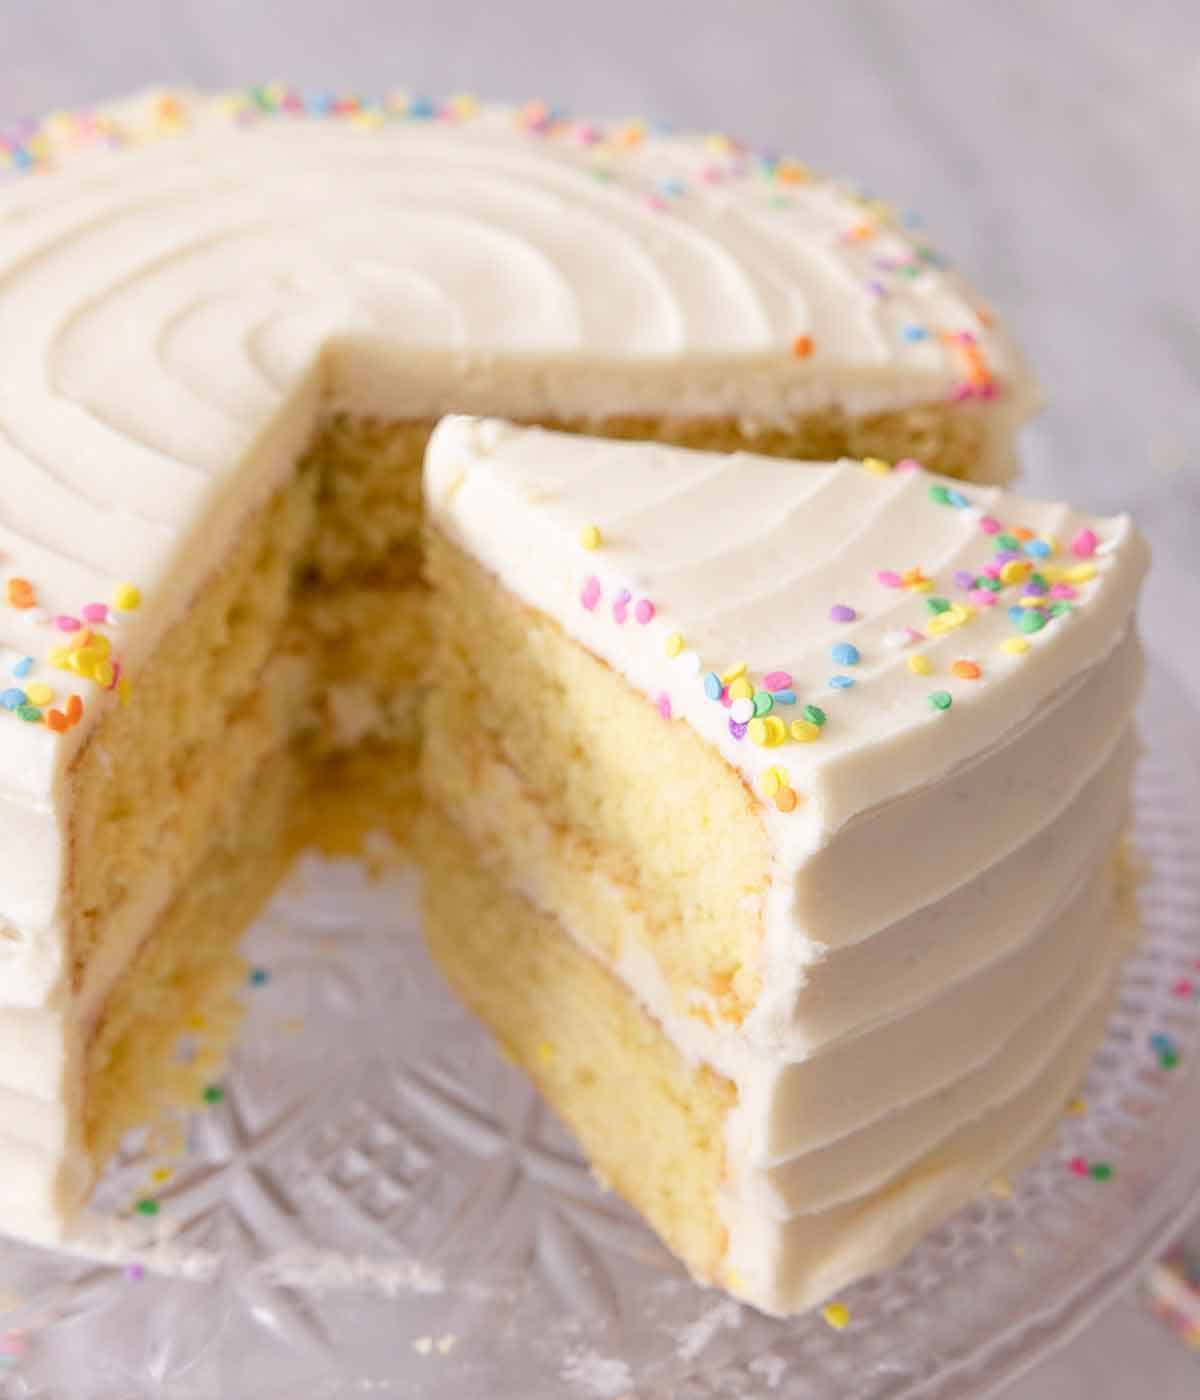
- Use a spatula to press some of the larger bubbles out of the buttercream, then spread over the first layer of your cake, add the second and cover the top and edge in buttercream. Smooth or finish with rustic swoops or a spiral pattern.
Notes
- I highly recommend using a scale to measure your flour. However, if you don’t have a scale, be sure to fluff your flour with a spoon and then spoon it into your cups before leveling it off with a knife. This method is the best way to measure flour without overpacking the measuring cup.
- Listen to your cake. The cake layers have finished baking when they are quiet. If it makes a crackling sound when you put your ear close, it needs another minute or two.
- Be sure to check the expiry date of the baking powder. If the layers come out dense, this is usually the culprit.
- Always preheat your oven and prepare the pans before starting the batter. Once your baking powder has combined with liquid in your batter, it is activated. So when you let your batter sit around, you risk the baking powder losing its leavening abilities.
- If you find decorating to be a bit intimidating, do not worry! I have a How to Decorate a Cake post containing lots of helpful tips and a how-to video to help you out.
- You can use cake strips to help your layers come out evenly. Cake strips work by keeping the outside edge of the pan cooler to ensure that the entire cake rises at the same rate, preventing a dome from forming in the middle. If you don’t want to purchase a set, check out my post on How to Get Perfect Flat Cake Layers to learn how to DIY the strips.
- To ensure that there are no large air bubbles in the batter, you can bang the pans on the countertops as you do with macarons to burst them.



Jennifer says
I really loved this recipe, I’ve already tried a lot of your recipes and they’re really delicious. I have to admit that I just discovered a new passion during lockdown, I’m just loving it and I wanted to thank you for your amazing work!
Rajika Datta says
Hi John,
This cake turned out to be awesome. My Son who is 19 years old made it and we just loved it. How can I send you a picture?
Christina Davies says
Made this for a friends Bday! It was delicious! Good vanilla really makes the difference.
Janine says
I made this cake for a group of 10 people and to my delight had 2 pieces left over! I doubled the recipe to make it an 8″ round cake with 3 layers. The vanilla flavor was warm and delightful. The texture was firm yet moist. The American buttercream is a bit sweet, so next time I’ll probably do a meringue buttercream instead. I added some strawberry jam to some of the buttercream for a surprise between the layers. I was skeptical about sour cream in the cake, but I couldn’t even taste the “bite” of the sour cream. I made the cake the day before the event, so having been in the fridge for about 24 hours, it was not at room temp when I served it. For more robust flavors, I definitely will serve it at room temp next time. I’ve been looking for a go-to basic cake recipe and I think I’ve finally found it!
Neel Gupta says
Hi !
Can I use a springform round pan instead of regular cake pan?
Please let me know!!
🙂
John Kanell says
I think so but I have never done that 🙂
Nicola says
Hi John!
I wanted to ask,
I’m use to creaming the sugar and butter (soft room temp) at the beginning then adding the eggs one at a time followed by then adding the dry ingredients to the wet ingredients in two stages swapping between the dry ingredients and sour cream into the wet ingredients before placing in the oven. I can see you do it completely different in this recipe which is great but I wanted to know if there is any specific reason why you do it this way and if doing it this way makes the cake more moist or better and if my technique isn’t the best.
Thank you so much!
Nicola from London
Natasha says
I would love to know this too as I usually use the same method as you, so would be interesting to understand how it effects it.
Rabail Arshad says
Hello John
First time in my life I am able to bake a perfect cake using this recipe.
Its springy, soft and perfect colour .
I baked one 9inch with this recipe
Took 30 35 mins.
The strips are a real game changer , I wrapped old towel cut into strips.
Mounika says
I have made this cake a couple days back and it turned out absolutely delicious.
But, how do I keep the frosting smooth without getting crusting/hard once decorated on the cake.
Shakti says
Hello! Thank you so much for this recipe, which worked wonderfully for me. In a daring move, I decided to use this recipe to make a rainbow cake for my 3 year-old’s birthday – without doing a test run (which I always do before making big party cakes). Other than some questionable math on my side (calculating layers and tripling the batch) this cake was beautiful. So moist people asked if I’d used a sugar syrup (I hadn’t), and fluffy but stable enough to stack 6 giant layers. It fed about a million people (again, my bad on the math) but such a great vanilla base. Thank you for sharing!
Adrienne Martinez says
Hi, my vanilla/white cakes always have a cornbread taste. I’ve tried different recipes, different methods. The majority of the time they just taste like cornbread! I’ve tried weighing vs just measuring, creaming vs one bowl, hand mixing vs mixer, and using a spatula to fold the flour vs just mixing it in, and no matter what they always taste like cornbread. The texture is great it’s light and fluffy but the taste is off. Any thoughts or suggestions? Thank you!