

This post may contain affiliate links. Please read our disclosure policy.
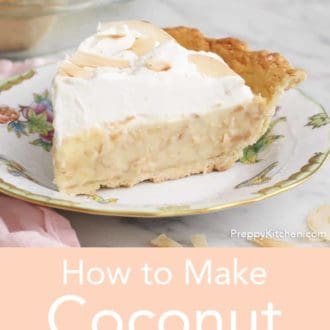

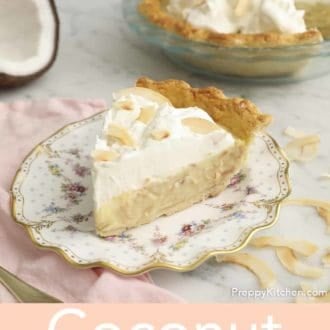
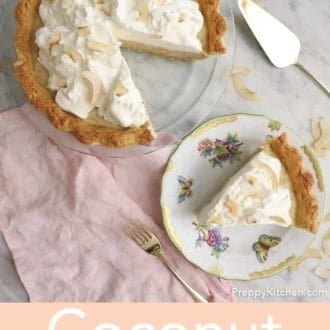
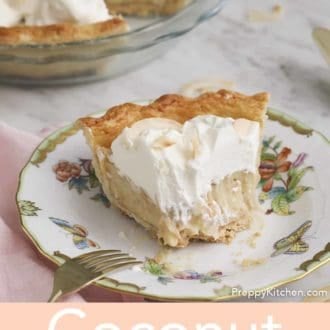
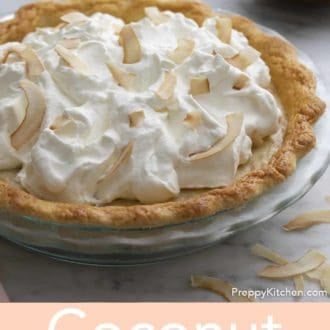
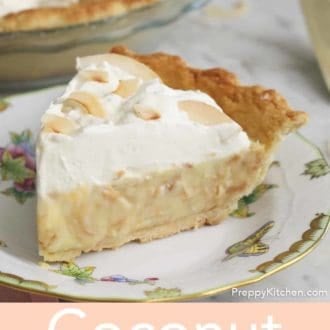
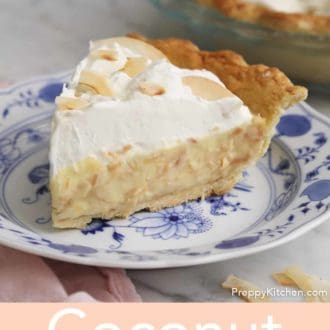
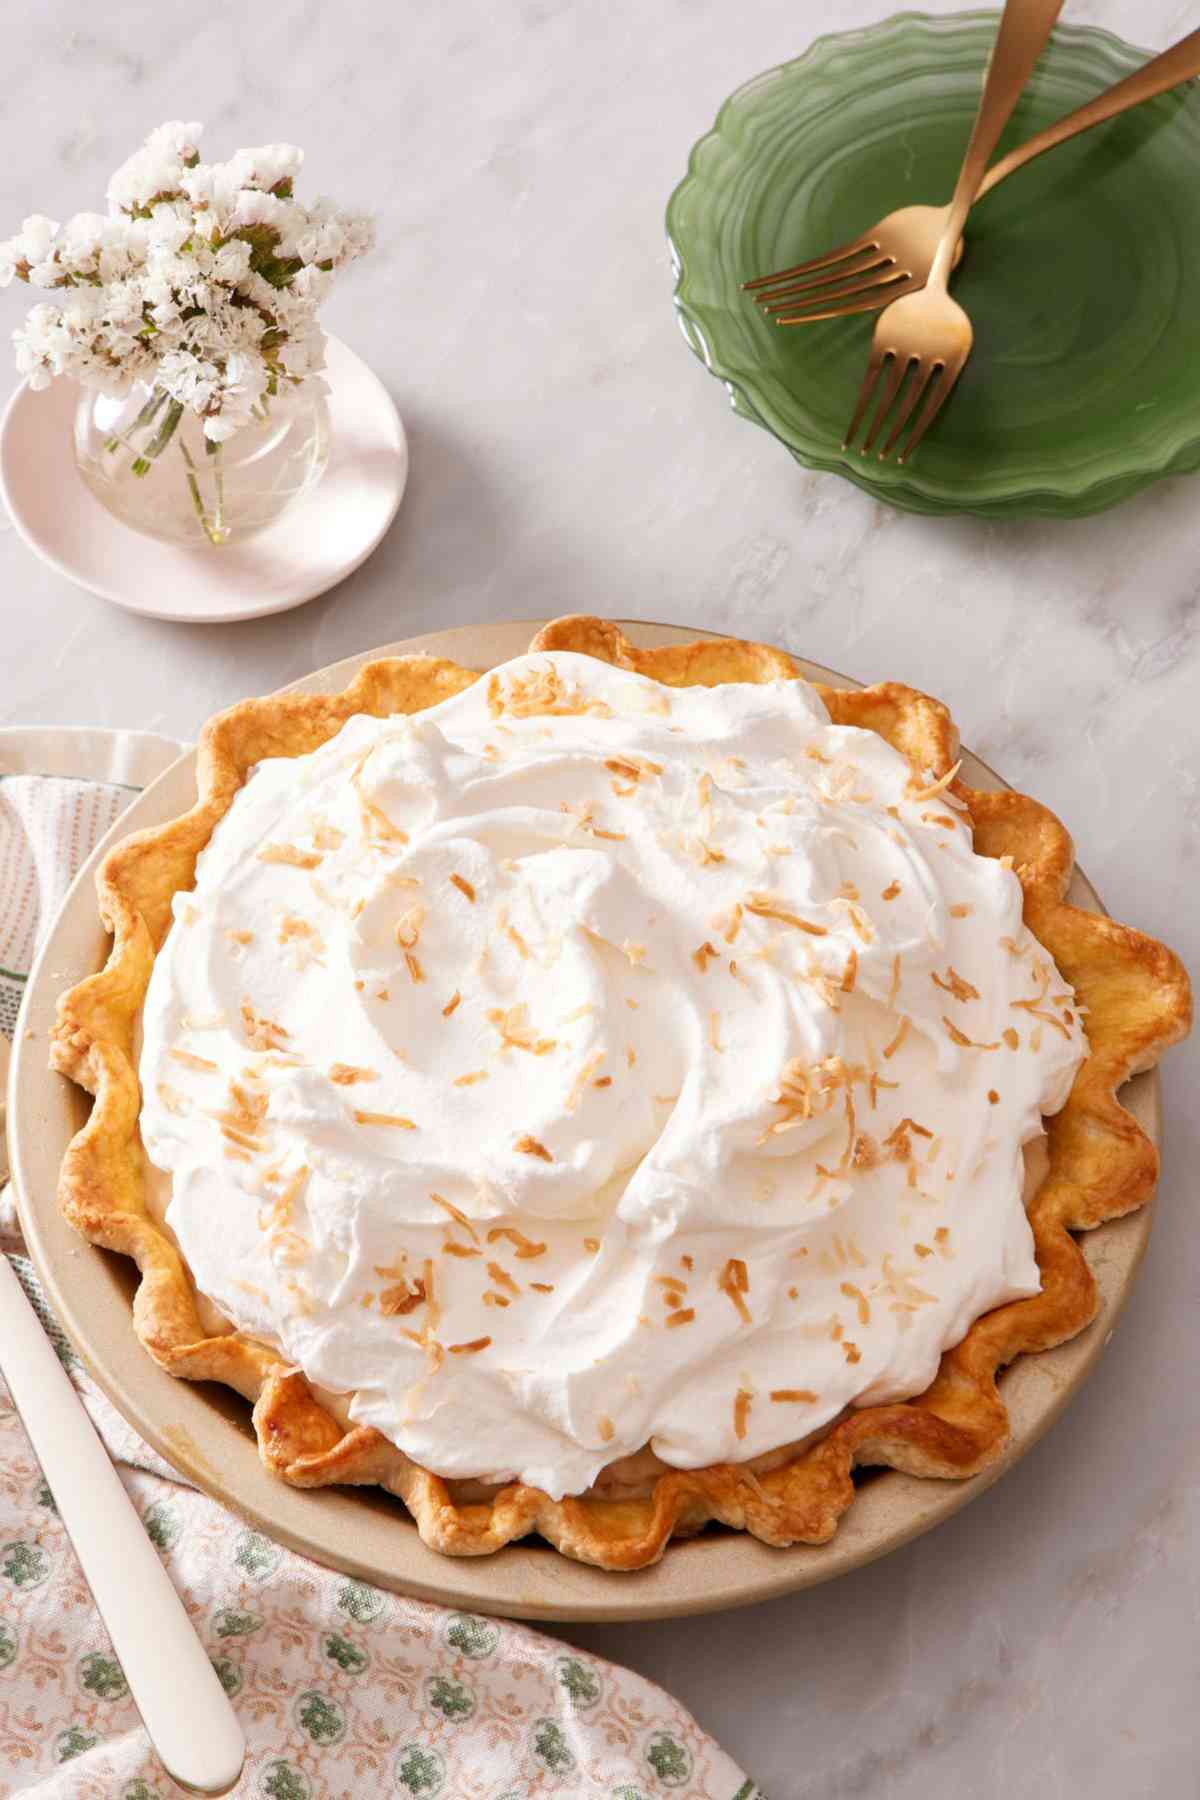
Homemade Coconut Cream Pie is made with a flaky crust filled with a creamy custard that’s loaded with coconut flavor from coconut milk and shredded coconut. A fluffy whipped cream topping is the perfect finishing touch. I’ve updated this recipe slightly and answered a few common reader questions for the best coconut cream pie recipe.
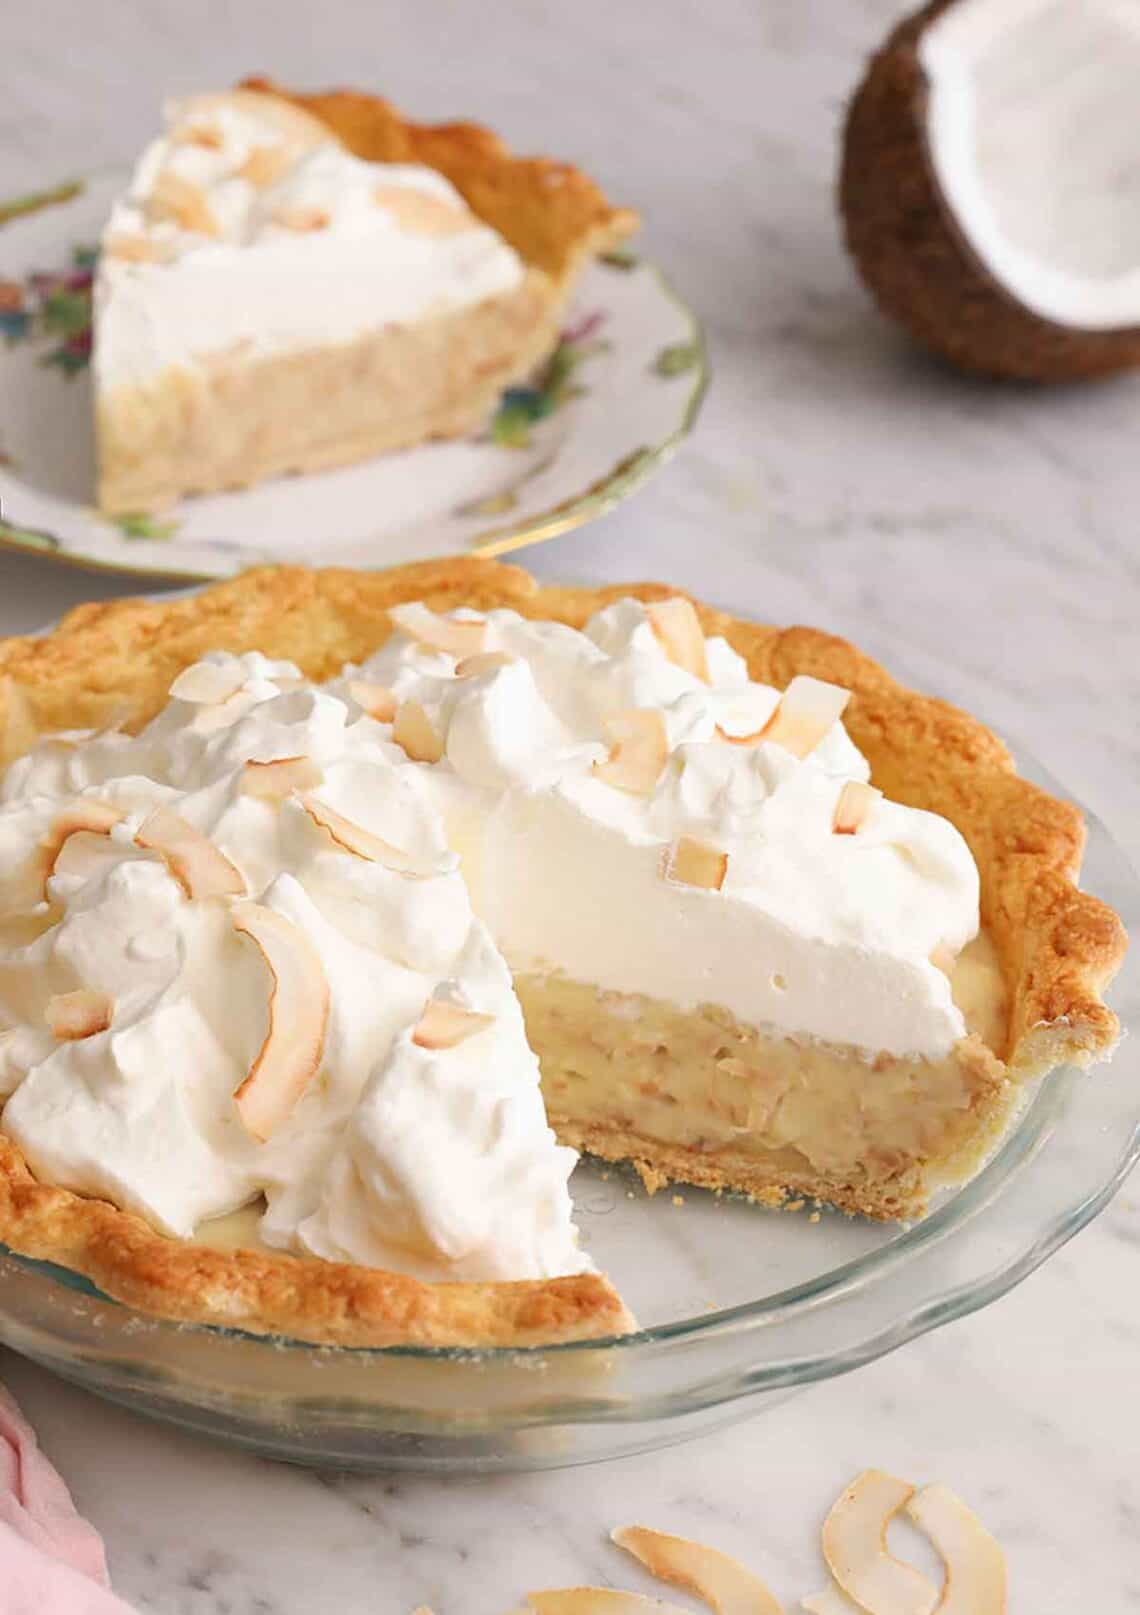
My classic coconut cream pie recipe is a hit every time! Brimming with coconut flavor from toasted coconut and coconut milk, this pie is perfect in every way. From the buttery, crisp crust to the thick, custardy filling to the fluffy whipped topping, it will be a hit at your next gathering. I recently re-tested the recipe and adjusted the ratio of coconut milk and cornstarch for a perfectly set, creamy custard filling. Just follow my step-by-step instructions for a no-fail coconut cream pie every time!
“I made this Coconut Cream pie recipe. Absolutely delicious. I loved the strong coconut flavor; the coconut milk really makes a difference.”
Arlene
Key Ingredients & Substitutions
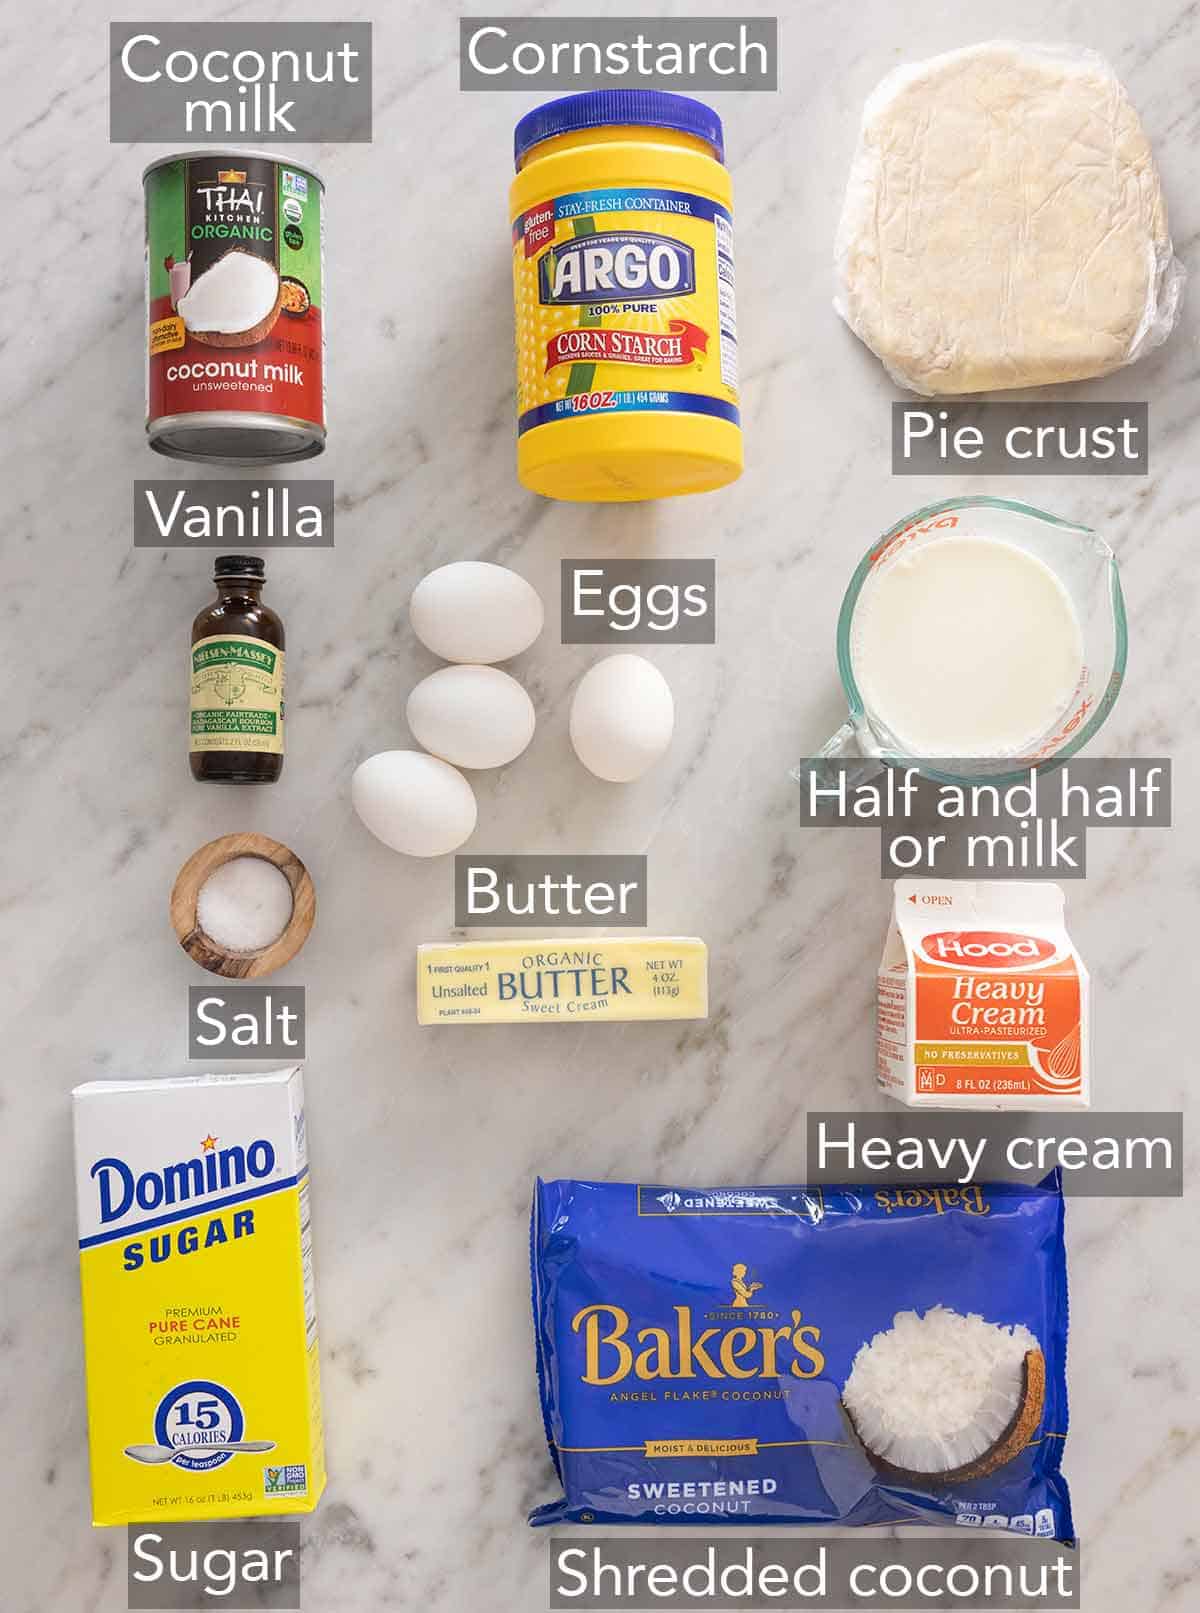
These are the main ingredients you need to make homemade coconut cream pie. You can find the full list of ingredients and measurements in the recipe card below.
Pie crust — use a store-bought or homemade pie crust. You’ll par-bake it before brushing it with an egg wash made with heavy cream and an egg, then continue blind-baking it until it is fully baked through.
Eggs — you’ll need two eggs and two egg yolks to add structure to the pie filling and to help it set. They form the base of the pudding-like filling, helping it set up into a creamy, sliceable pie. Instead of throwing out your egg whites, hold on to them and make my easy meringue cookies, beautiful baked Alaska recipe, or a whiskey sour cocktail.
Coconut milk — use full-fat canned coconut milk and not the coconut milk in a carton. Coconut milk in a carton is watery, lower in fat, and less flavorful than canned coconut milk. No need to shake the can beforehand, as any separated fat and cream will melt when the coconut milk is heated. One reader asked if they could substitute coconut cream for the coconut milk. You can, but keep in mind that the filling will be firmer when it has chilled.
Half and half (or whole milk) — you’ll mix half and half or whole milk with the coconut milk, tempered eggs, and a cornstarch slurry to make a rich, thick custard filling. If you want to make this dairy-free, you can replace the dairy with more coconut milk and leave off the whipped cream topping.
Coconut — toasted coconut adds so much flavor and a slightly crunchy texture to the filling. Sweetened shredded coconut is a must as it is crisp after toasting, and the sugar in the coconut helps it turn golden brown. I don’t recommend using unsweetened coconut— it is very hard and dry and will change the texture and sweetness of the pie filling.
Whipped cream topping — to make the velvety, rich whipped topping, you need heavy whipping cream, powdered sugar, and vanilla extract. Make sure the cream is cold, or it won’t whip up properly.
Coconut Milk vs. Cream vs. Cream of Coconut: What’s The Difference, And Which Should I Use?
This is an understandably confusing topic! For this recipe, you need coconut milk. I recommend a full-fat version, not low-fat, to ensure the pie sets properly with the best texture. Each coconut product has important distinctions, so here’s your cheat sheet to make sure you have the right one every time:
- Coconut milk is made from squeezing fresh coconut meat. It is thinner in consistency, less fatty, and typically unsweetened. You can find it in recipes like coconut cake, Thai red curry, and coconut rice.
- Coconut cream is the solid layer of coconut fat that separates from coconut milk and is typically unsweetened. It’s an important ingredient in my coconut frosting recipe and also makes delicious strawberry popsicles!
- Cream of coconut is made from coconut cream or milk and is syrupy, highly sweetened, and flavored with coconut extract. It’s honestly quite similar to sweetened condensed milk and is what makes a perfect piña colada!
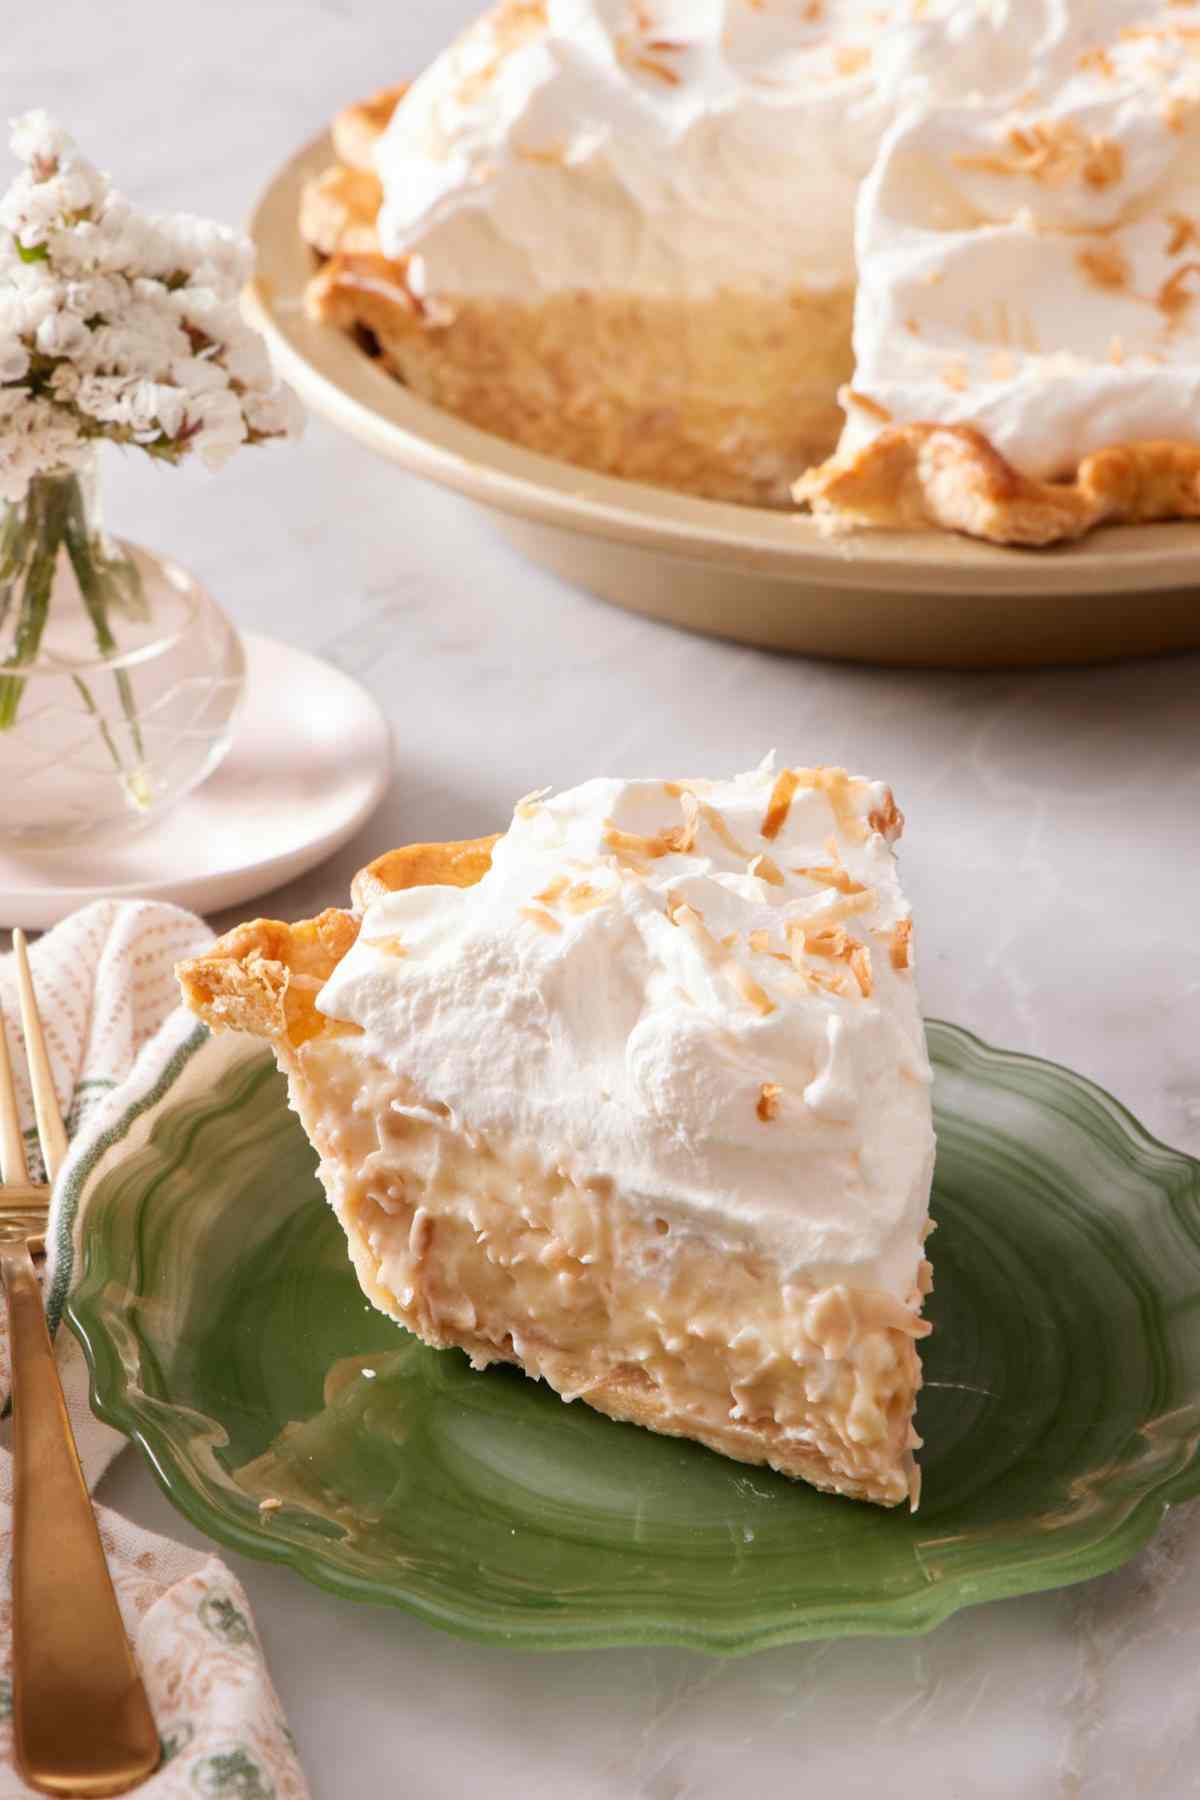
Tips For Baking The Pie Crust
It’s easy to get a perfectly crisp, flaky pie crust every time if you follow these simple tips:
- Freeze the crust before baking. This helps the crust hold its shape (it’s less likely to shrink) and helps it turn out flaky. Cold butter steams when it hits a hot oven, which produces an irresistibly flaky crust.
- Use plenty of pie weights. These hold the crust in place and keep it from slumping or sliding down the sides of the pan. They also help the crust keep its shape. You can buy ceramic pie weights or use dried beans or rice. If you use beans or rice, you can’t cook with them afterwards, but you can reuse them almost indefinitely, so keep them in a jar for future blind baking!
- Look for a dry crust after blind baking. Once the pie weights are removed and the crust is baked for the second time, the bottom and sides inside the crust should have little bubbles all over the surface, appear dry, and be lightly golden brown in color. The crust isn’t being cooked again later, so it’s important to bake it thoroughly at this stage, so it stays crisp and holds the slice well.
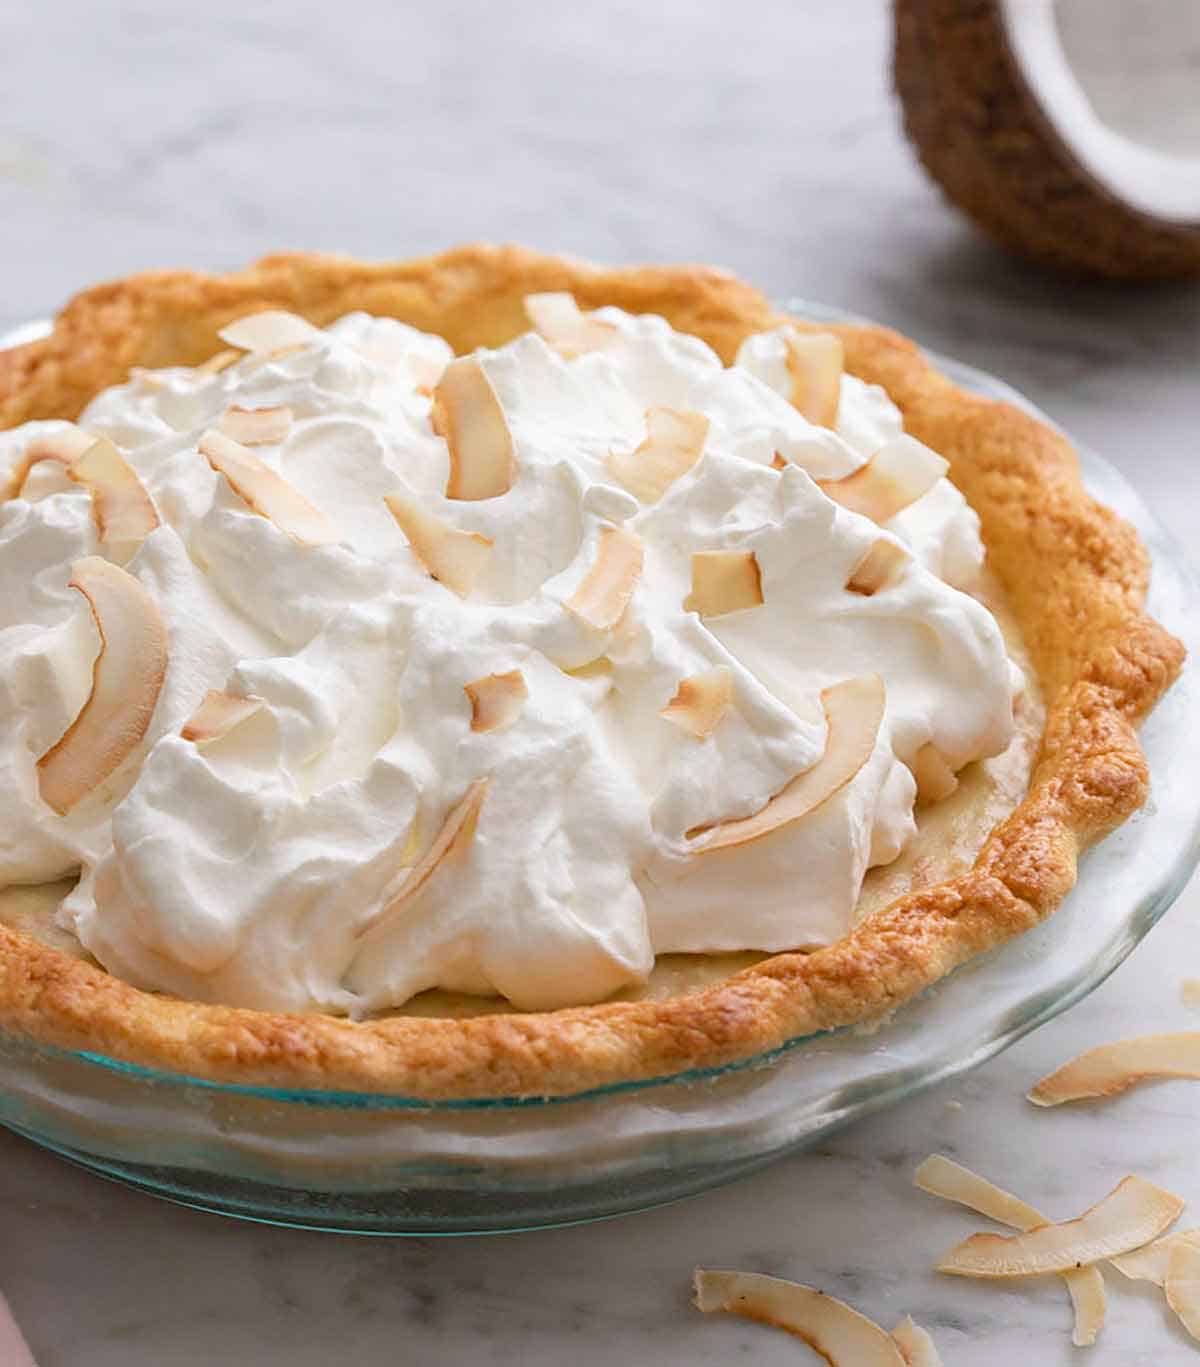
How Can I Tell If The Filling Will Set?
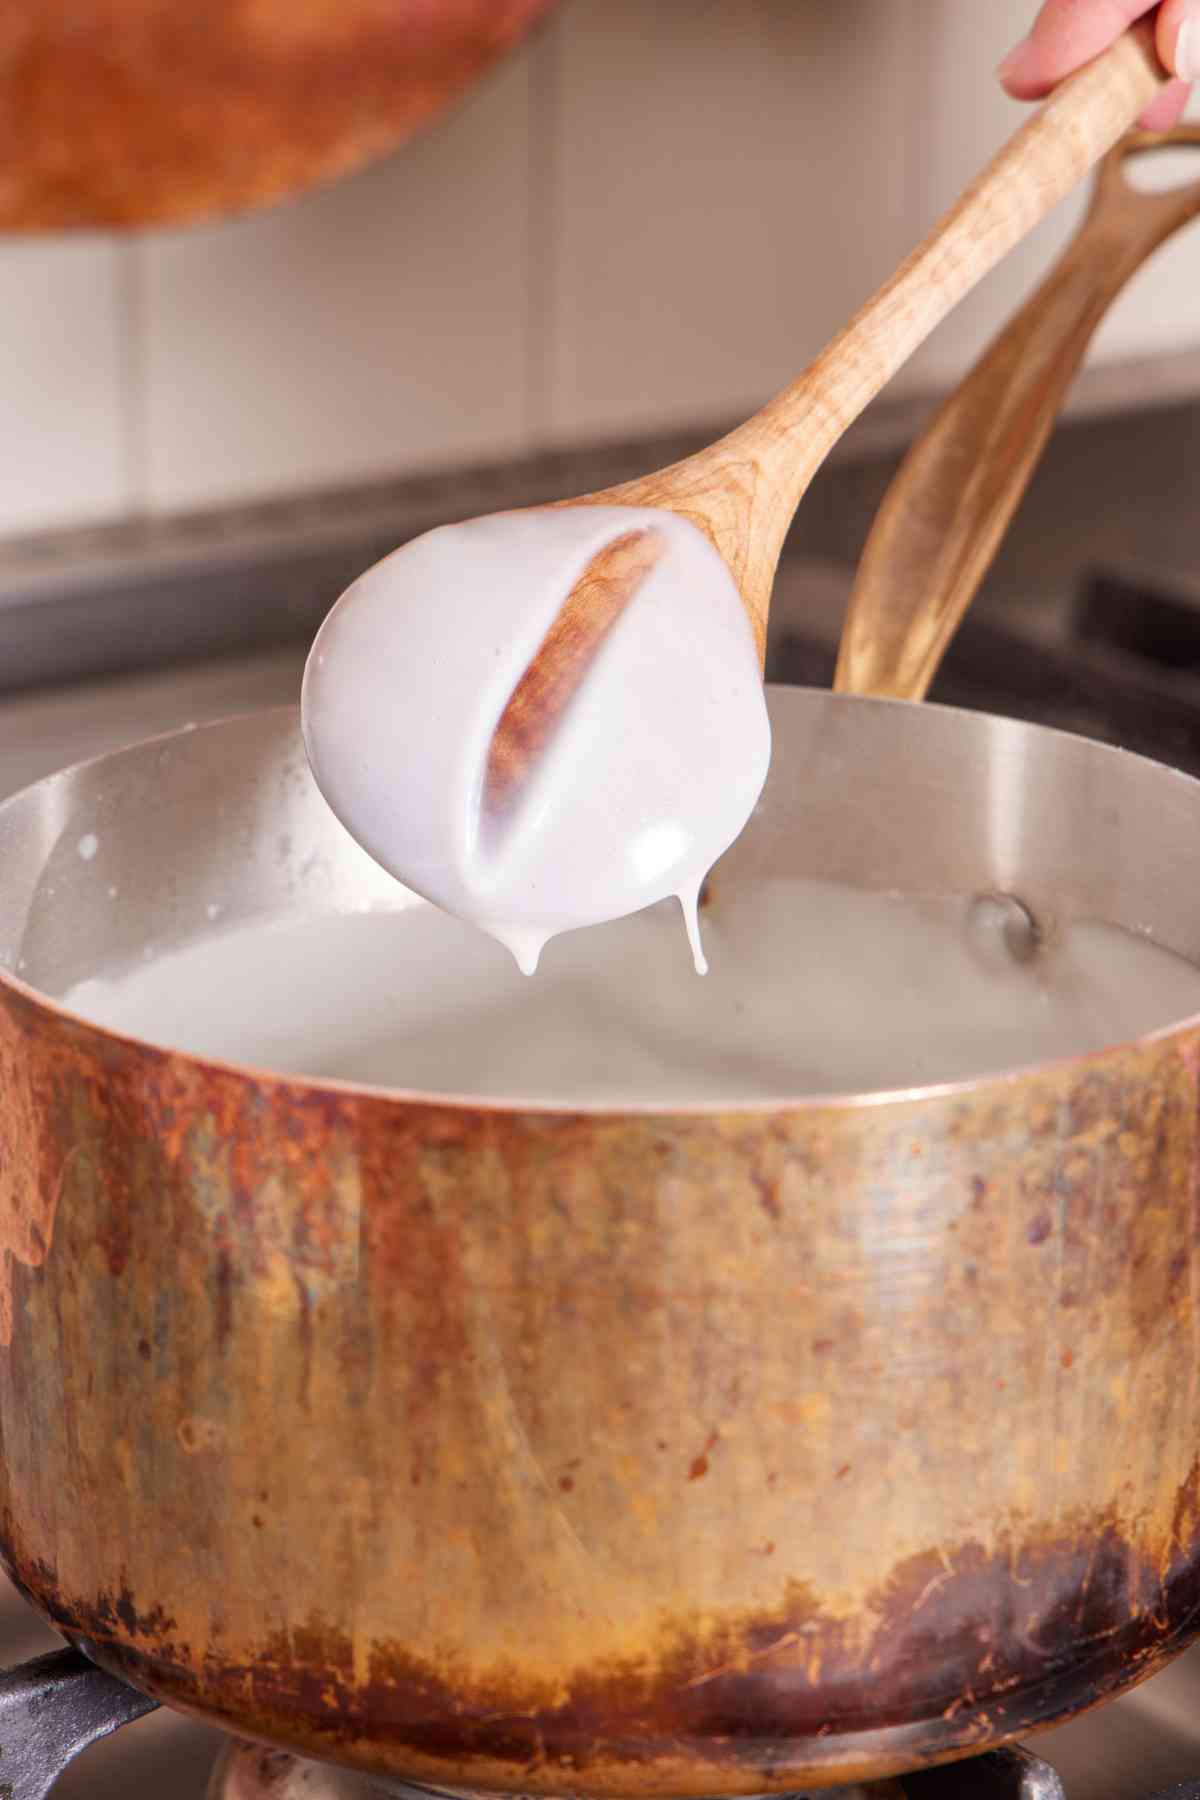
For the coconut cream pie filling to set properly, the milk and cornstarch mixture needs to be thickened well. There’s an easy way to check this: It should easily coat the back of a wooden spoon. Then, when you swipe your finger through it, it should hold a clean line, as shown in the image below. This ensures that the cornstarch has fully activated!
Try it, and if it doesn’t, continue cooking the custard filling for another minute and check again. See the image just below for what the custard should look like when you swipe a finger through it.
Pro Tips For Making The Best Coconut Cream Pie
Separate the eggs in advance if possible. Eggs are easier to separate when cold, but combine better when at room temperature. I recommend separating them in advance if you have the time, so the egg yolks and whole eggs are able to warm to room temperature.
You don’t need coconut extract! This coconut cream pie is full of coconut flavor thanks to coconut milk and plenty of shredded coconut. It’s perfect for the coconut lover in your life! Skip the temptation to add coconut extract to it, as it can add a strong, artificial flavor.
Tent the pie crust edges during blind baking after the egg wash goes on. This way, the middle of the crust can get crisp and golden without burning the edge. To do so, cut strips of aluminum foil and wrap them loosely around the edges of the pie crust, keeping the center uncovered. If you have a pie crust shield, you can use that as well.
How To Make Coconut Cream Pie
Below, I’ve highlighted portions of the recipe in step-by-step process images along with instructions for making coconut cream pie. You can find the full set of instructions in the recipe card below.
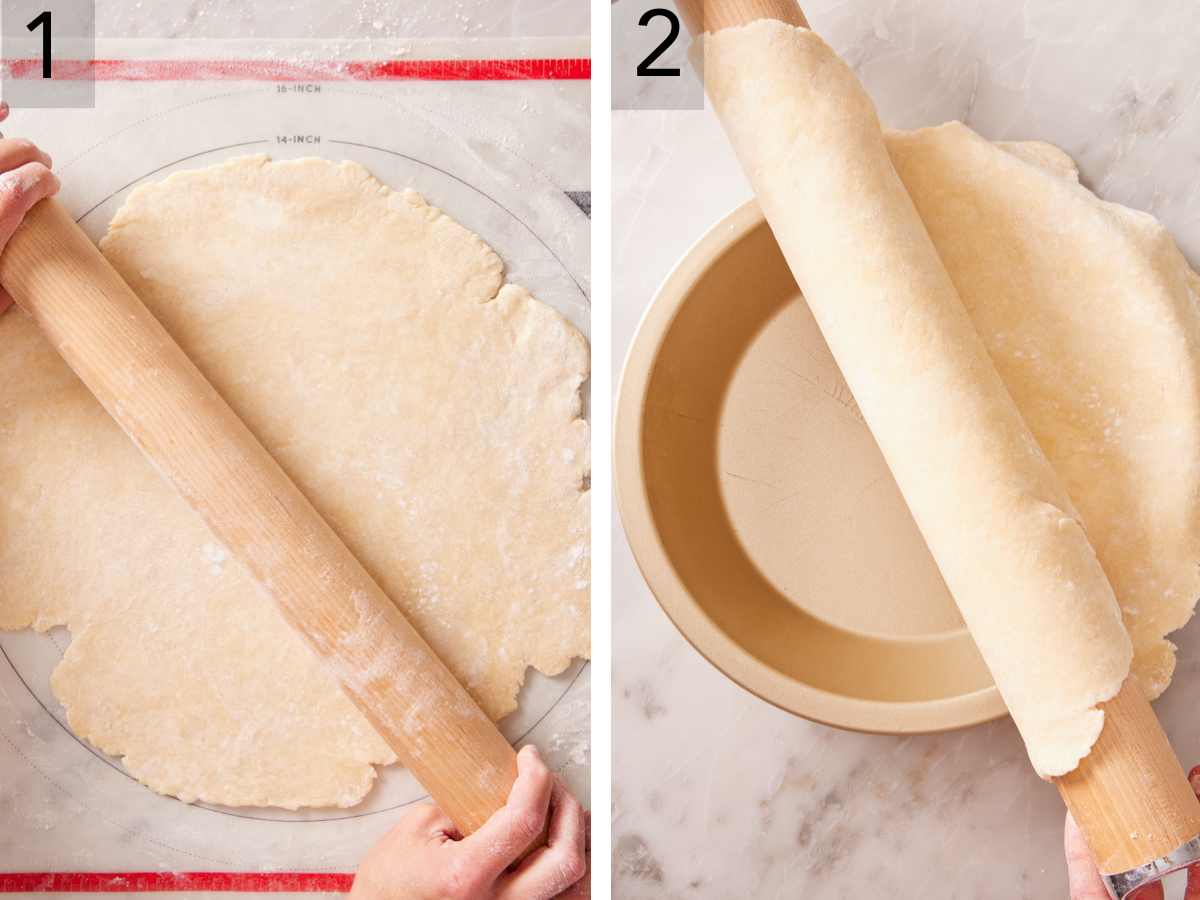
1. Roll the pie dough into a 13-inch circle on a lightly floured surface. (It should be about ⅛” thick.)
2. After rolling the dough onto your rolling pin, unroll it into the pie pan. Then press the dough into the pie pan and trim the excess. Leave a 1-inch overhang.
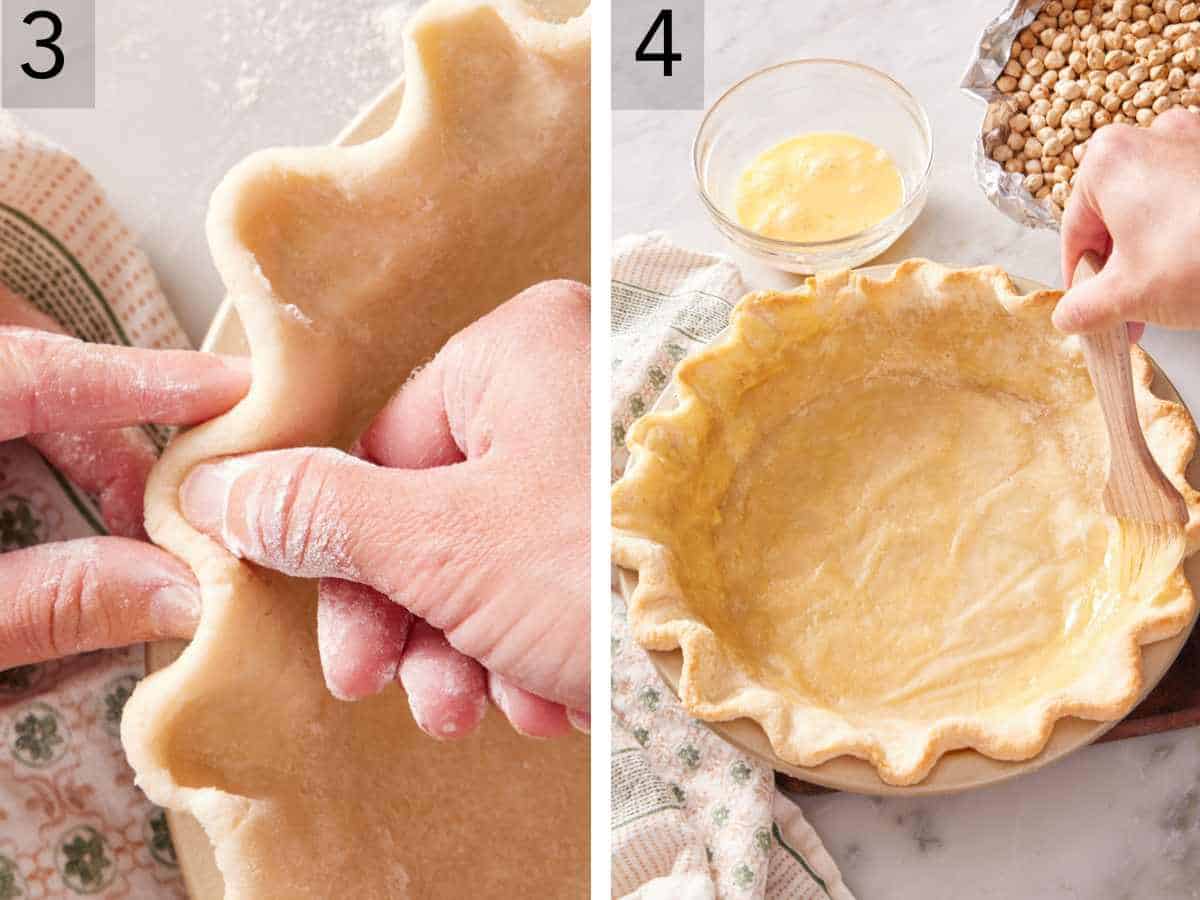
3. Fold the overhanging edge under and crimp it. Chill the crust for one hour in the refrigerator or freeze for 30 minutes. Preheat the oven to 425°F during this time. Place a round of parchment paper, then a piece of aluminum foil, into the pie crust and fill with pie weights or rice/dried beans. Bake until the edges are golden brown (15 to 25 minutes).
4. In a small bowl, make the egg wash by whisking together the egg and heavy cream. Remove the par-baked crust from the oven and carefully remove the pie weights, foil, and parchment paper. Use a fork to prick the bottom of the crust several times before brushing it with the egg wash. Tent the edges of the crust with foil to prevent them from becoming too dark in the oven, and bake for another 10 to 15 minutes.
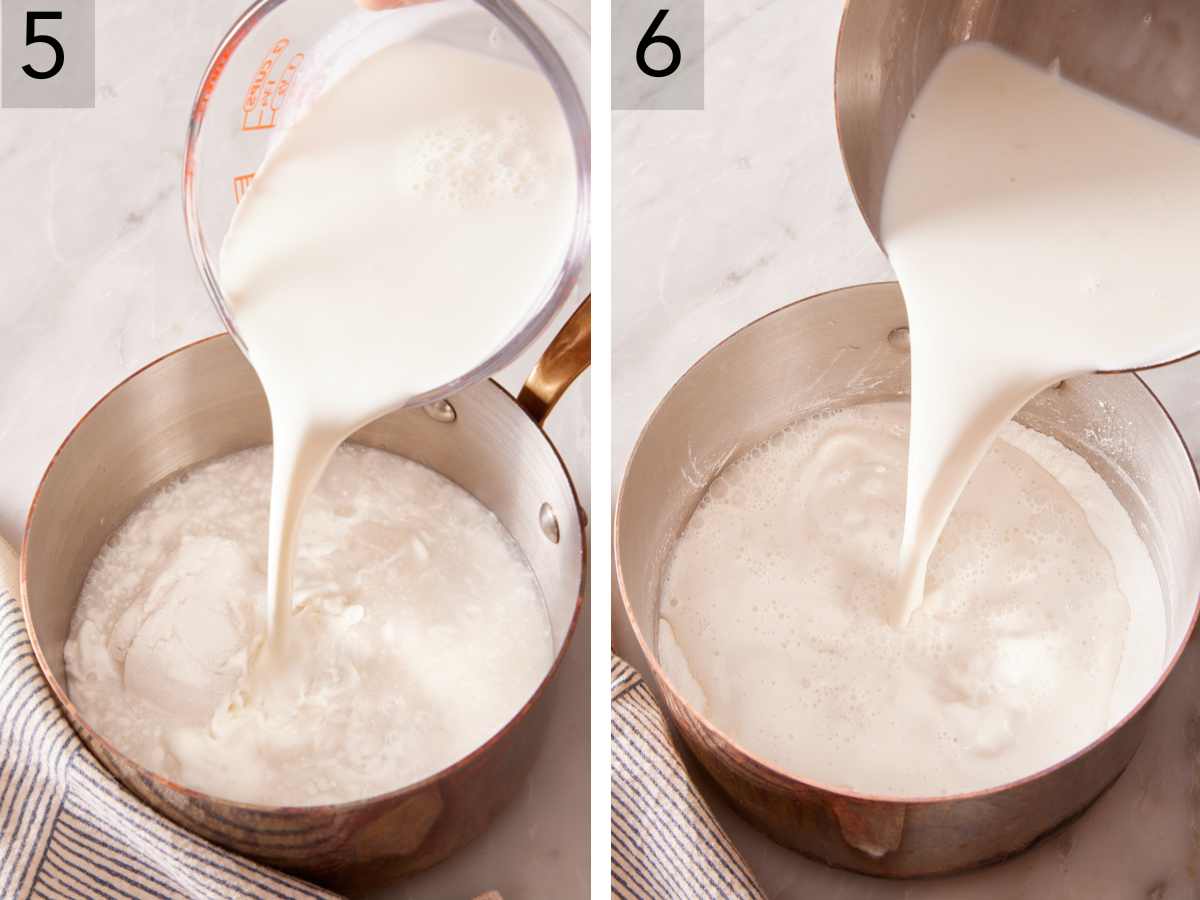
5. Now it’s time to work on the coconut cream pie filling! Whisk together the eggs and egg yolks in a heatproof bowl and set aside for the time being. To a small pot, add the half and half or whole milk and coconut milk and place over medium heat. Stir from time to time and remove from the heat when the coconut solids have melted. This will take 3 to 5 minutes or so.
6. To a medium pot, add the white sugar, cornstarch, and salt and whisk to combine. Pour the milk mixture into the cornstarch mixture and whisk again, making sure there aren’t any lumps.
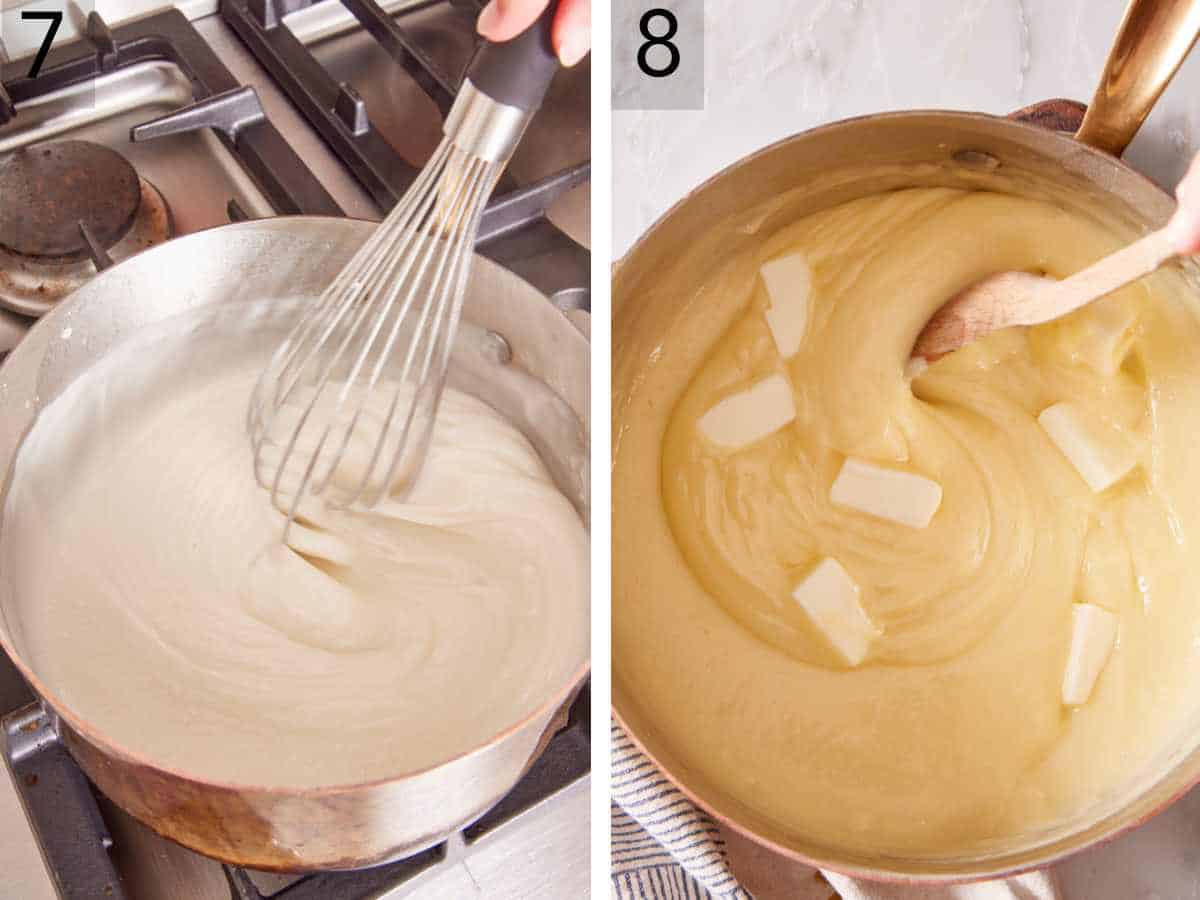
7. Place the pot over medium heat and cook, while whisking constantly, until it begins to thicken. Once the mixture coats the back of a spoon and is noticeably thickened, remove it from the heat. Next, temper the eggs by slowly pouring 1 cup of the coconut milk mixture into the bowl with the whisked eggs while whisking vigorously. Then slowly pour the tempered eggs back into the pot with the rest of the filling mixture while whisking. Return to medium heat. Doing this prevents the eggs from scrambling by not suddenly mixing room-temperature eggs with hot milk. Cook until the whisk leaves a trace when swept through. Whisk frequently during this time as well.
8. Add the butter and stir to melt it, then stir in the toasted sweetened coconut flakes and let the filling cool for 10 minutes.
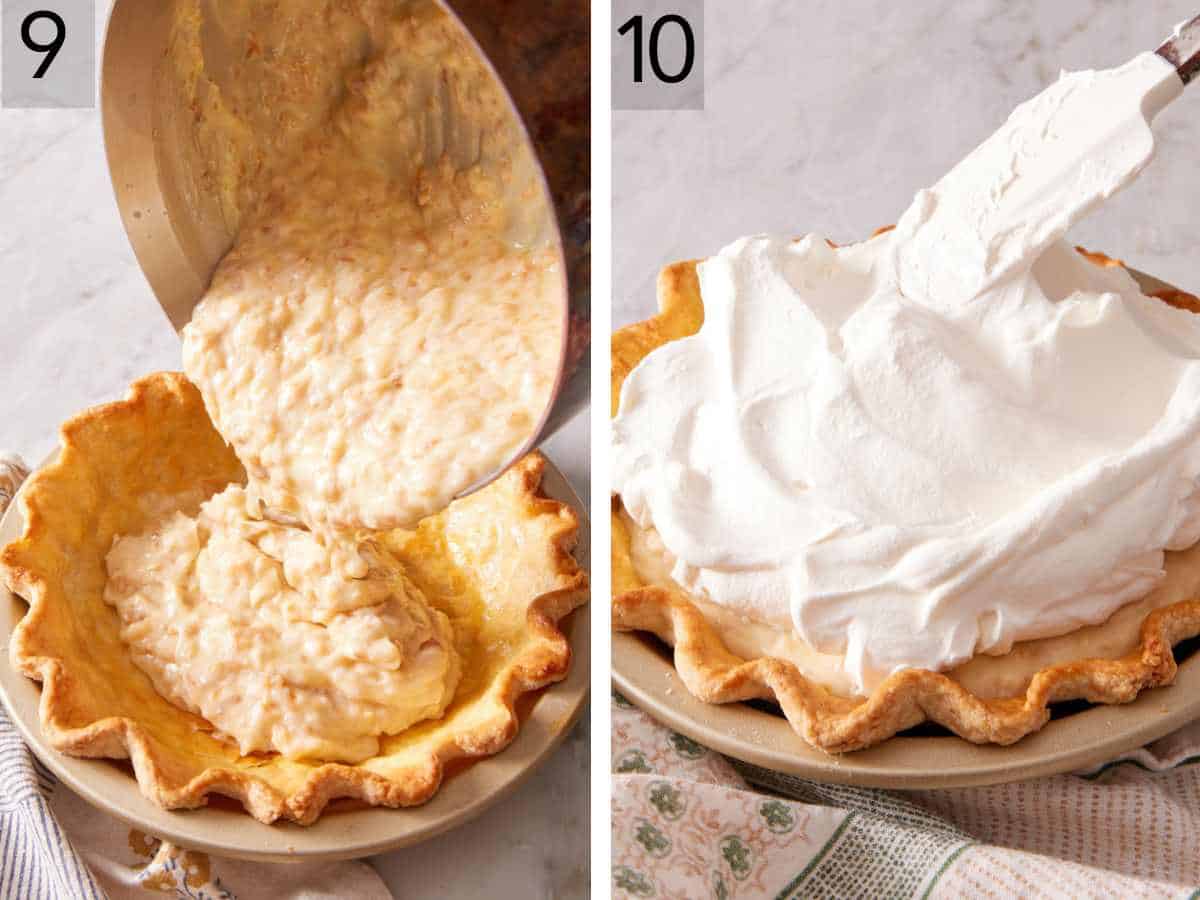
9. Pour the coconut filling into the pie shell and smooth it into an even layer with a spatula. Cover and chill in the fridge for at least 6 hours, but preferably overnight to give it plenty of time to set.
10. After the pie has chilled and you’re ready to serve, make the homemade whipped cream topping by combining the heavy cream, powdered sugar, and vanilla in the bowl of a stand mixer fitted with the whisk attachment. Beat on high speed until soft peaks form and dollop the whipped cream on the pie before serving. Sprinkle with more toasted coconut if desired.
Coconut Cream Pie Recipe

Equipment
- 9-inch deep dish pie plate
- pie weights
Ingredients
For the Pie Crust
- 1 pie crust homemade or store-bought
- 1 large egg
- 1 tablespoon heavy cream
For the Filling
- 2 large eggs
- 2 large egg yolks
- 1½ cups coconut milk (360ml)
- 1½ cups half and half or whole milk (360ml)
- 1 cup granulated sugar (200g)
- 5 tablespoons cornstarch (40g)
- ¼ teaspoon salt
- ¼ cup unsalted butter (57g), cubed
- 1⅓ cup sweetened shredded toasted coconut plus more for serving, (100g)
For the Whipped Cream Topping
- 2 cups cold heavy whipping cream (480mL)
- ¼ cup confectioners sugar (30g)
- 2 teaspoons vanilla extract
Instructions
For the Pie Crust:
- On a lightly floured surface, roll the pie crust into a 13-inch circle. (Roll from the center to the edge, turning and flouring the dough so it doesn’t stick to the board.)
- Roll the dough onto your rolling pin. Unroll the dough into the pie pan without stretching. Press the dough into the pie pan and trim the excess dough, leaving a 1-inch overhang around the pan. Fold the edge under and crimp with either your fingers or the tines of a fork. Refrigerate the crust for 1 hour, or freeze for 30 minutes.
- While the crust chills, preheat the oven to 425°F.
- Place a round of parchment paper inside of the crust, and press a piece of aluminum foil onto the paper, pushing it against the sides of the crust. (This will keep your pie crust propped up during baking.) Fill the foil with pie weights or dry beans. Bake for 15 to 25 minutes until the edges are golden brown.
- Meanwhile, in a small bowl, whisk together the egg and heavy cream.
- Carefully remove the paper, foil and pie weights. Prick the crust 10 to 12 times all over the bottom with the tines of a fork and brush with the egg wash. Tent just the edges of the crust with foil.
- Bake for another 10 to 15 minutes, or until the crust is golden all over. (I tent my crust during this step which just means that you’re covering the crust’s edge in foil so it doesn’t burn while the center is crisping up.)
For the Filling:
- In a medium, heat-proof bowl, whisk together the two eggs and two egg yolks, then set aside.
- In a small pot, combine the half and half or milk and coconut milk. Place over medium heat. Stir occasionally, removing from heat once the coconut solids are completely dissolved and the mixture is warm, 3 to 5 minutes.
- In a medium pot, combine the sugar, cornstarch, and salt. Whisk to combine, then pour in the milk mixture and whisk again to distribute all the dry ingredients. You don’t want clumps!
- Place over medium heat and cook, whisking constantly, until it starts to bubble and thicken, about 5 minutes. The mixture will coat the back of a spoon, and you’ll see a noticeable difference in the consistency. Remove from the heat.
- Time to temper the eggs! Slowly drizzle in 1 cup of the hot milk mixture to the eggs while whisking vigorously. Slowly pour the tempered egg mixture back into the pot, while whisking, and return to medium heat. Cook, gently whisking frequently, until thickened and the whisk leaves a trace when swooped through it. This should take 2 to 3 minutes, but may take longer depending on your stove. Remove from the heat.
- Add the butter and stir until the butter is all melted. Mix in the toasted coconut and allow to cool for about 10 minutes. Then pour the filling into the baked pie shell. Smooth it into an even layer, cover, and refrigerate for at least 6 hours, or for best results, overnight.
For the Whipped Cream Topping:
- When you’re ready to serve, in the bowl of a stand mixer with the whisk attachment, combine the heavy cream, powdered sugar, and vanilla. Beat on high speed until soft peaks form, about 2 minutes.
- Dollop the whipped cream over top of the pie before serving. For a final touch, you can sprinkle with more toasted coconut.
Notes
- To toast the coconut: Spread the shredded coconut in an even layer on a baking sheet. Bake at 350°F, stirring every 2 to 3 minutes or when the coconut on the edges of the tray starts to toast, until evenly golden brown. This should take 5 to 8 minutes. You can find more details in my post about how to toast coconut.
- Instead of spreading the whipped cream, you can pipe it with a tip of your choice. Check out my post on making your own whipped cream if you want more guidance on making it.
- For a pretty garnish, you can use large flakes of coconut. I don’t like them for the filling as they are too big and chewy, but they make a lovely finish to the pie.
Nutrition
Have you tried this recipe? Tag me today!
Mention @preppykitchen and tag #preppykitchen!
Storing, Make Ahead, & Freezing
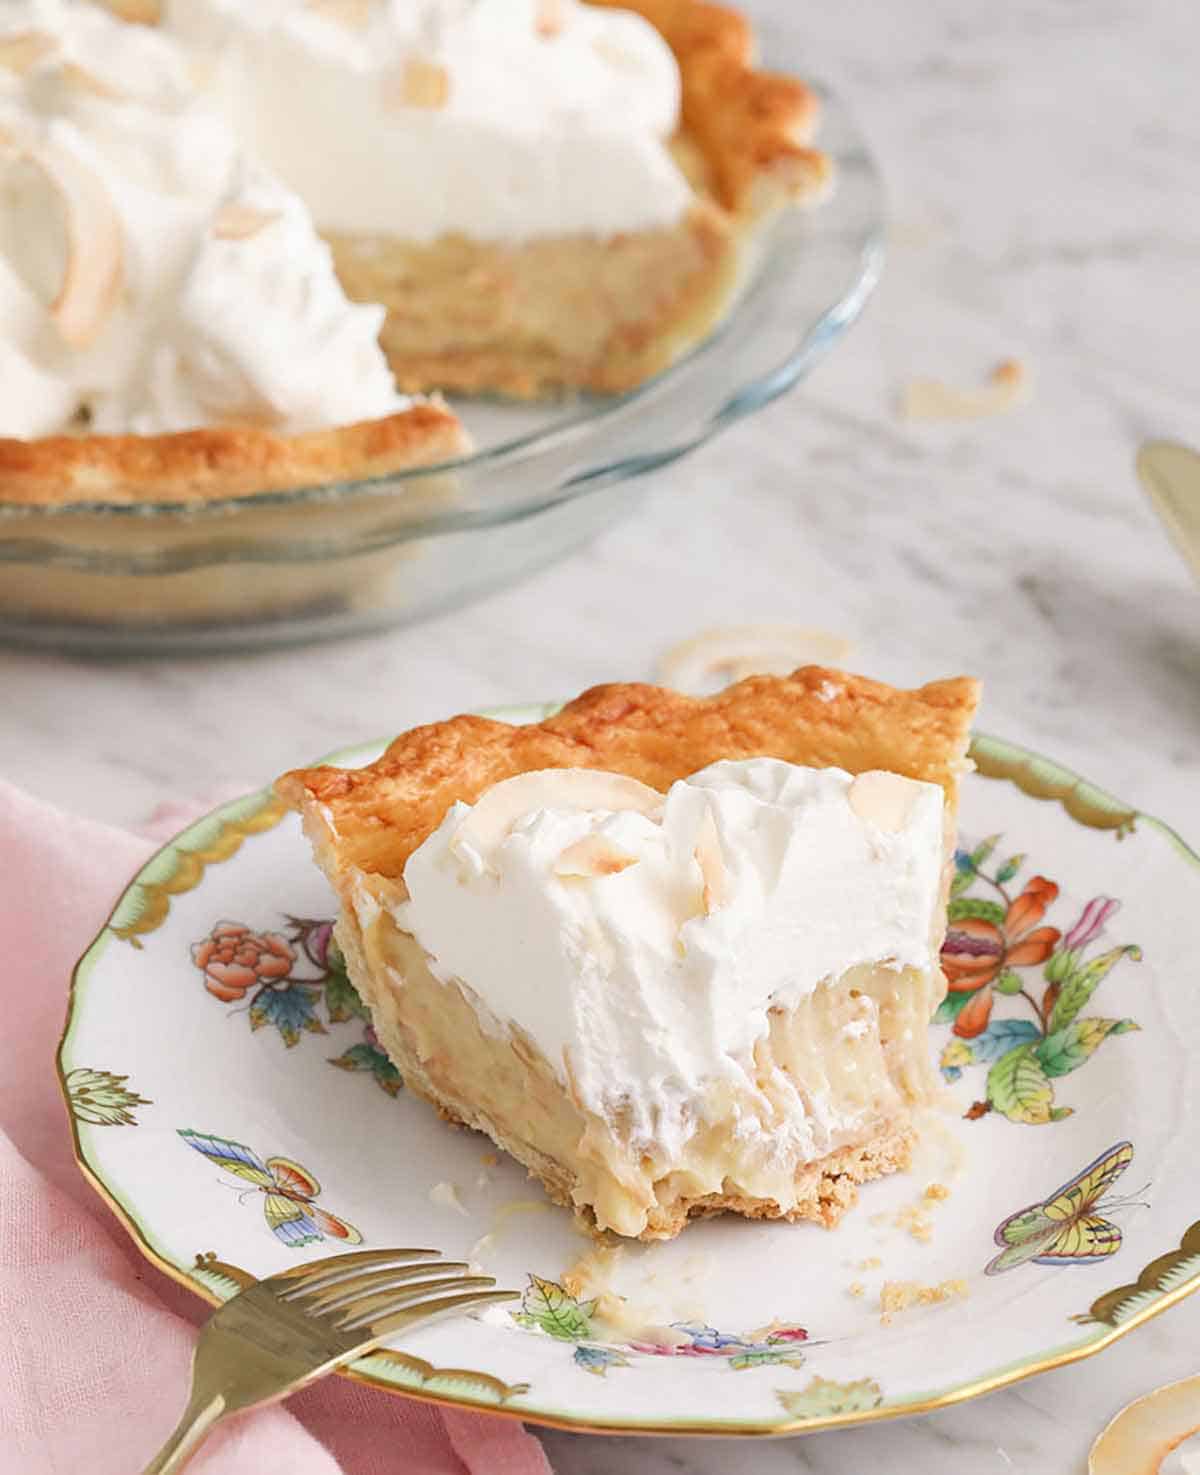
Storing: Leftover coconut cream pie will keep, covered, in the refrigerator for up to 5 days.
Make ahead: If making my homemade pie crust, you can refrigerate the dough for up to 3 days or freeze it for up to 6 months. Thaw the pie dough disc overnight before rolling it out. Since coconut cream pie stores well, feel free to bake the crust and add the filling in advance, then cover and refrigerate for up to 2 days. I recommend making and adding the whipped cream topping right before you serve, so it doesn’t deflate.
Freezing: You can freeze coconut cream pie without the whipped cream topping. Chill completely, then wrap well with plastic wrap and aluminum foil to prevent freezer burn, and freeze for 2 to 3 months. Thaw overnight in the refrigerator and top with whipped cream before serving.
Frequently Asked Questions
Yes. I do this with a very common ingredient addition— instant vanilla pudding mix! Add 1 tablespoon per 1 cup of whipped cream (you’ll need 2 tablespoons for this recipe). This will keep the whipped cream from weeping or deflating much at all for 2 to 3 days.
Yes! You can swap the whipped topping for the topping from my lemon meringue pie or pumpkin meringue pie and place it on the filling once it has cooled. Toast it with a kitchen torch or in the oven according to the recipe directions.
Absolutely! Instead of a classic pastry crust, try my graham cracker crust or Oreo pie crust. Keep in mind that the slices may not hold up as well since a crumb crust is crumbly and a bit less sturdy than a butter crust.
More Pie Recipes To Try
I have loads of delicious homemade pie recipes on the site, including lots of cream pies, that you can try!
One of my favorites is my classic apple pie, made with an abundance of fresh apples lightly spiced and piled into a buttery, flaky pie crust.
If you’re a fan of banana pudding, my banana cream pie is a must-try! Firm, ripe bananas with a yellow peel and very few brown spots make the best pie.
My classic buttermilk pie is beyond easy and made with simple pantry ingredients. A flaky pie crust is filled with a sweet custard filling that develops a crackly golden top.
You can never go wrong with an iconic pumpkin pie on your holiday table. It’s a fuss-free dessert — just whisk together the pumpkin filling, pour it into a pie crust, and bake!
Tangy, refreshing key lime pie is so easy to make from scratch and bakes up in just 10 minutes! If you can’t find key limes, regular limes (also known as Persian limes) will work just fine!
If you’ve tried this coconut cream pie recipe, then don’t forget to rate it and let me know how you got on in the comments below. I love hearing from you!





