
This post may contain affiliate links. Please read our disclosure policy.
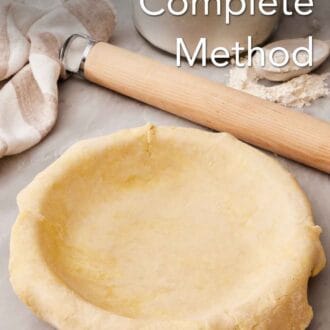
Here’s everything you need to know to make a perfect, flaky pie crust every time! Cold butter, controlled hydration, and a long rest are doing more work than you realize. From food processor to golden, crimped edges, I walk you through the complete method, plus the most common problems and how I fix them.
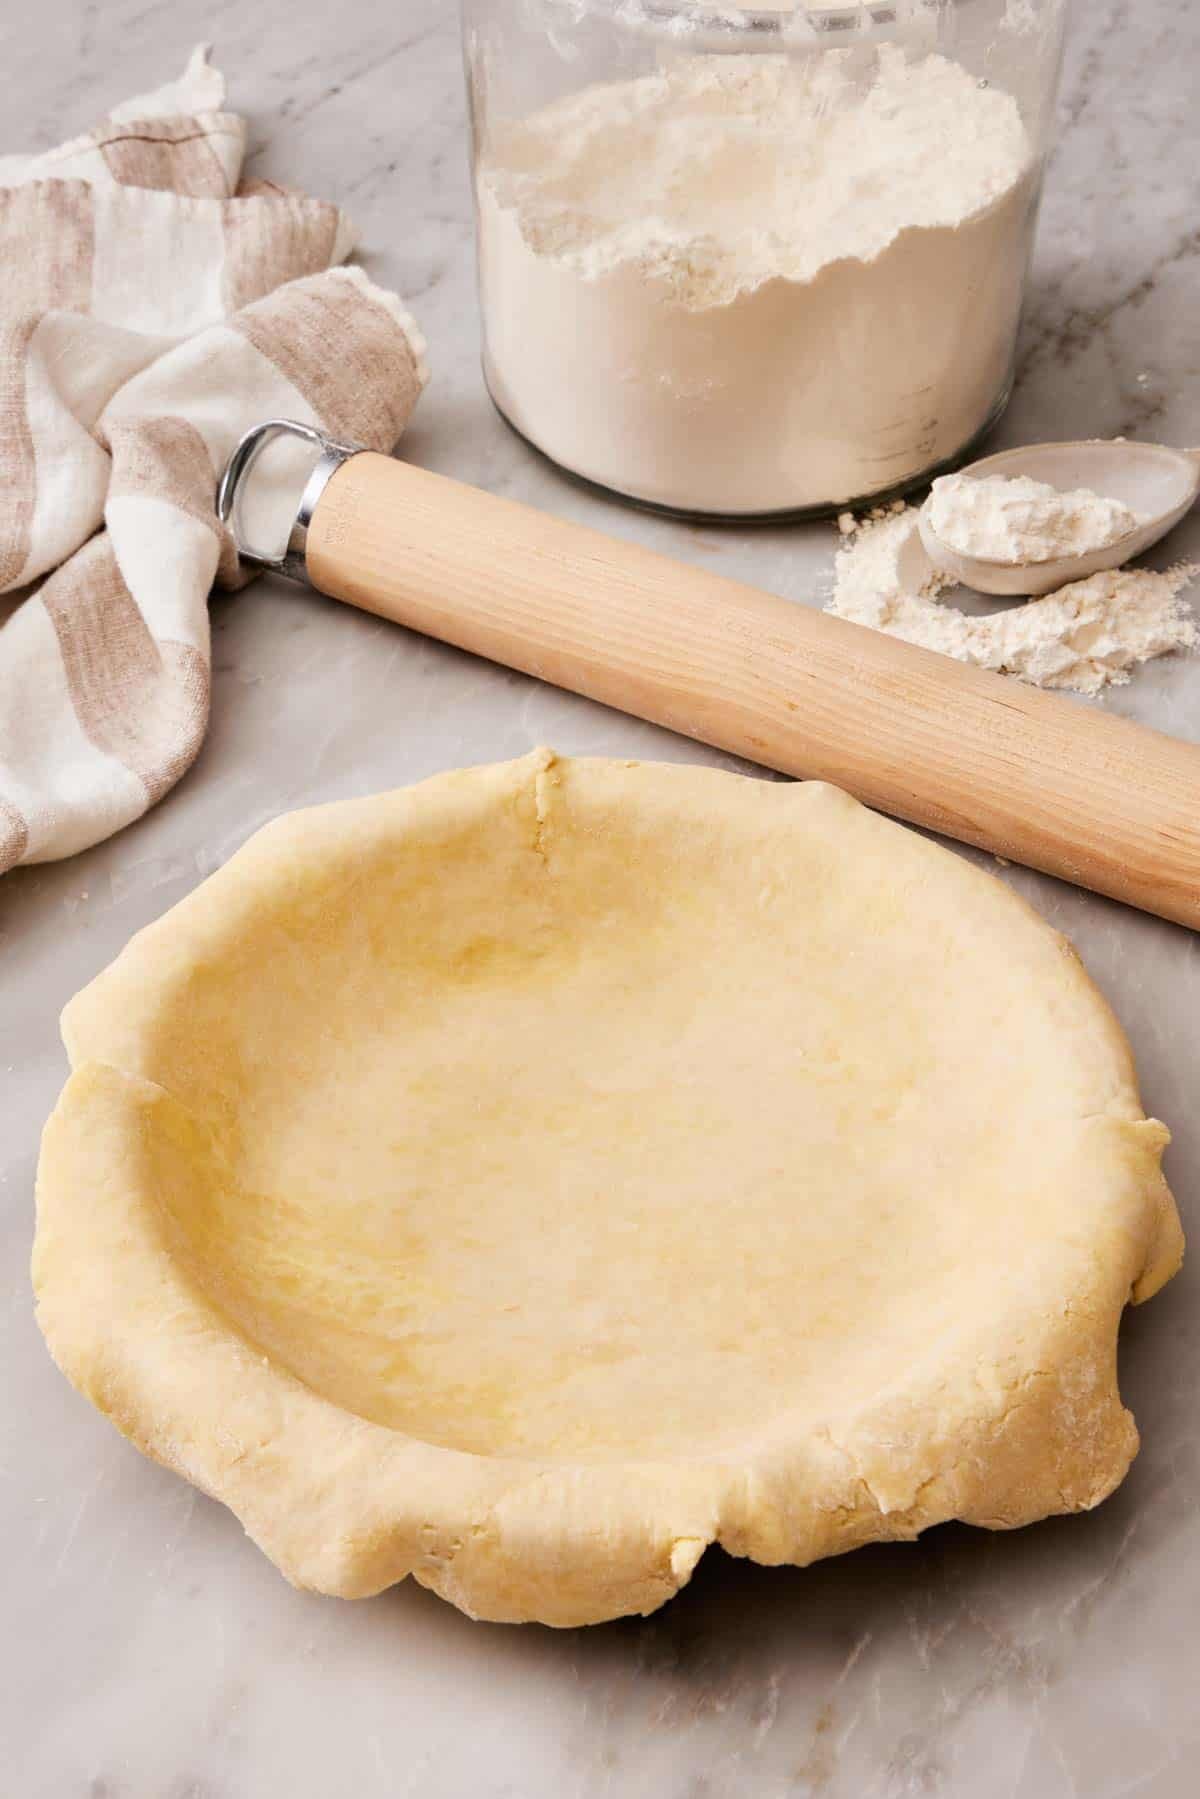
The first time I made pie crust from scratch, I treated it like cookie dough—I mixed in the butter until it looked uniform and left it out on the counter for almost an hour while I finished the filling. The baked pie shell was dense, tough, and felt more like a cracker than a buttery pastry. I’ve made hundreds of pie crusts since then, and the main lesson that’s stuck with me is that pie crust’s biggest factor isn’t a physical ingredient—it’s temperature. You can swap brands of butter or use a different fat, adjust the balance of sugar and salt, switch from a 9-inch dish to a 10-inch, or even use a different rolling surface to produce different types of crust. What is constant between them all is that the dough needs to be cold.
In this guide, I’ll walk you through the seven rules for perfect pie dough, the four main failures and how to diagnose them by feel and sight, how different ingredients affect the texture of a baked pie crust, and everything about rolling, shaping, and baking your pie. Everything in this guide centers on my classic pie crust recipe and is the companion you need for making the best pies!
“My crusts would always crack when I rolled them until I tried your recipe! I love how easy it is to work with the dough and everytime I make it someone comments on how buttery it is. The tips in this guide helped me shape the crust better so my pies now look as good as they taste! Freezing the crust before baking was the biggest gamechanger.”
Sam
The Pie Pastry Family: From Pâte Brisée to Graham Cracker
“Pie crust” as Americans use the term is actually one branch of a larger pastry family. Knowing the family helps you understand which crust fits which filling.
Shortcrust pastry is the umbrella term for any pastry made by cutting cold fat into flour with a small amount of liquid to bind. American pie crust is technically a shortcrust. The British have a slightly different version of shortcrust that turns out more cookie-like than flaky. Shortcrust pastry can either be sweet or savory, depending on its intended purpose and how much salt, sugar, or other flavorings are added.
Pâte brisée is the French version of shortcrust. It’s usually a touch richer (a single egg yolk is sometimes used), and a touch less sweet than American pie crust. It’s the standard base for French fruit tarts and savory tarts. It’s often interchangeable with American all-butter pie crust for most single crust recipes.
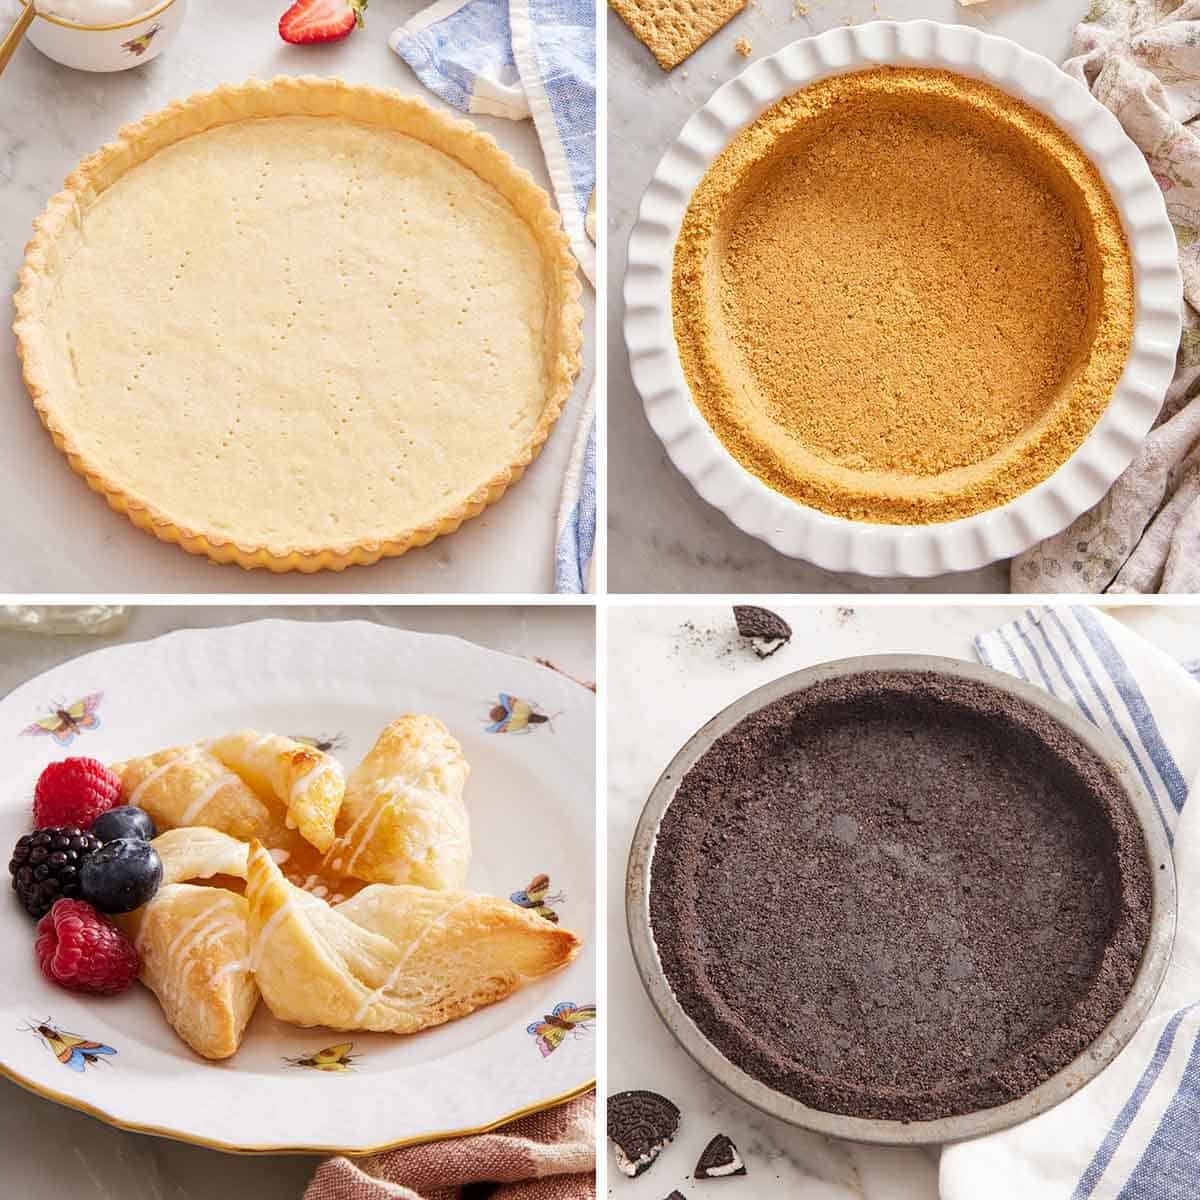
Pâte sucrée is the sweetened version of pâte brisée. Sugar makes up a more meaningful percentage of the dough, and it’s mixed differently (blended until crumbly with no large pieces) to produce a tender, sandy texture closer to shortbread than to flaky pie crust. It’s what you want under a lemon tart or a fruit-and-pastry-cream tart. My tart tart crust recipe is in this family!
Pâte sablée is pâte sucrée’s cousin, using even more butter and sugar, with an even sandier texture. The name actually translates to “sandy.” It’s a cookie-like base typically used for fancier fruit tarts or French pastries.
Hot water crust pastry is a traditional British savory dough. Hot water and lard are worked into flour to produce a sturdy, sliceable, sometimes free-standing shell for things like pork pies. It behaves nothing like an American pie crust—you mold it into shape while warm, and it sets firm after cooling.
Graham cracker and cookie crumb crusts are on the no-pastry-skills-needed end of the spectrum. To make a crumb crust, crushed cookies (graham crackers, Oreos, vanilla wafers, gingersnaps) are bound with melted butter and a touch of sugar, pressed into a pan, and briefly baked. My graham cracker crust and Oreo pie crust are both in this family. They’re what you typically make for no-bake cream pies and cheesecakes.
Puff pastry and rough puff are really a different conversation in the pastry realm. Each is a laminated dough where butter is folded into a dough package and rolled out repeatedly to create dozens of butter layers. They are flakier than pie crust by an order of magnitude, but also fussier. My easy version of a puff pastry recipe walks you through it in detail. These doughs are more suited to individual pastries or as the topping for a pot pie.
While we are focusing on one type for this post—American-style pie crust (shortcrust pastry), it’s worth knowing all of these other types exist. If a recipe ever asks for them, you’ll know what it’s referencing! It’s also worth noting that “pie crust” in the US almost always means a flaky all-butter or a butter-and-shortening shortcrust pastry.
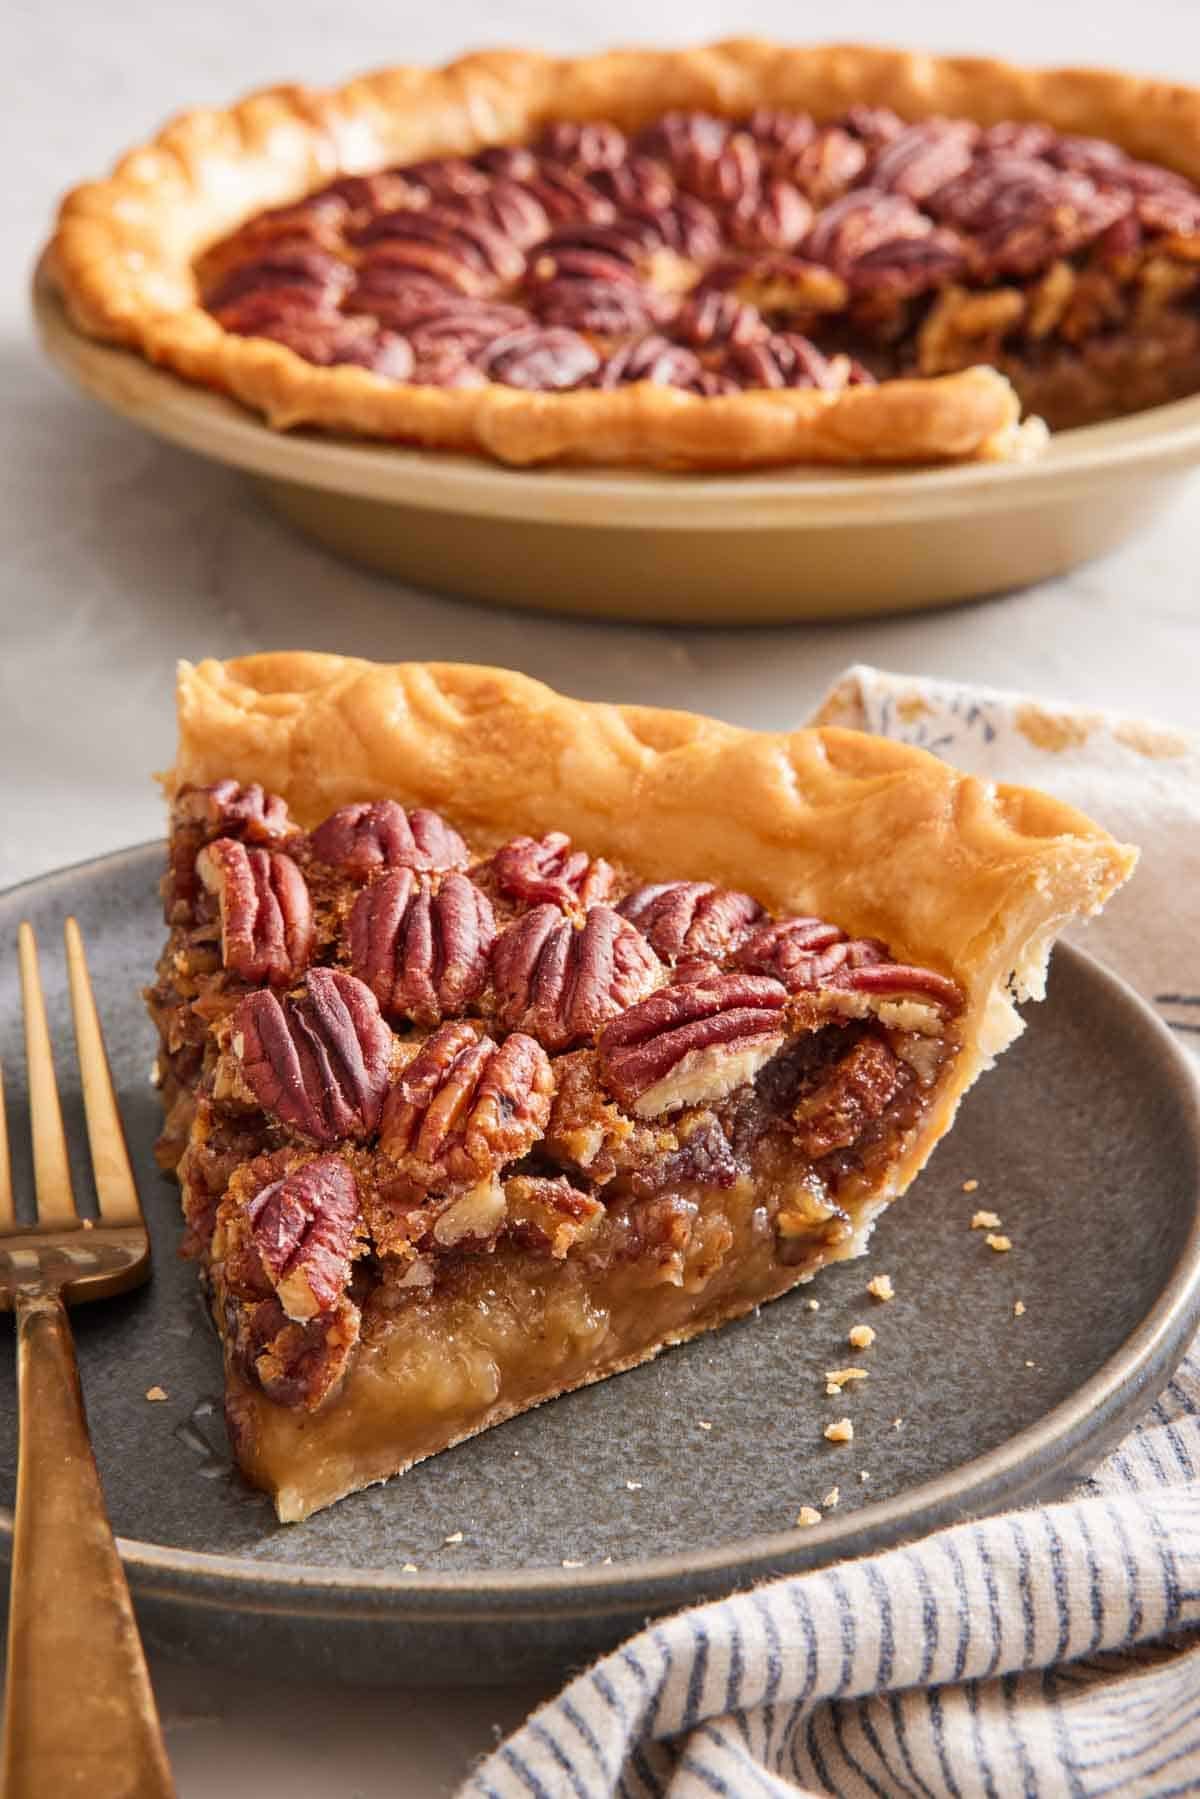
The 7 Rules of a Flaky Pie Crust
These are my 7 fundamentals to making pie dough that turns into exceptionally flaky pie crusts!
Rule 1: Use cold butter and cold water. This is probably the one you’ve already heard, but here’s what it actually means in practice: the butter should be cold, straight from the fridge (36-40°F) when it goes into the flour, the water should be about the same (ice floating in it the entire time you’re working), and your kitchen should ideally be under 72°F. On a hot summer day, I’ll cube the butter, spread it on a piece of parchment or wax paper, and stick it in the freezer for 10 minutes before I start. Same for the flour and the food processor or mixing bowl. Warm butter dissolves into the flour as a paste, which is the enemy of those big flakes.
Rule 2: Coat half the flour in butter first. This is a trick I picked up a few years ago, and it made my pie dough recipe more beginner-friendly! Take half your flour, pulse it together with half the butter until it’s uniform and very crumbly—there shouldn’t be any big chunks. Then, add the remaining flour and the remaining butter for bigger chunks throughout. The pre-mixed flour is coated with butter and can’t absorb water as well, so it can’t form gluten. The freshly added flour and butter behave normally, creating a perfect net result: half the dough is structurally tender and chemically protected from getting tough; the other half delivers the cold butter flakes that make American pie crust iconic.
I tested this side-by-side against the classic method of cutting all of the butter into the flour at once versus coating half of the flour first. The coating method came out noticeably more tender, was easier to roll, didn’t shrink as much, and held a decorative crimp better. If you have a food processor, it’s definitely the way to go!
Rule 3: Leave (some of) the butter in visible pieces. Pea-sized to almond-sized lumps of butter throughout the dough are what bake into flakes. Each lump of cold butter contains water. In the oven, that water flashes to steam, pushing the surrounding dough apart and leaving a void where the butter used to be (i.e., flaky pockets). No visible butter means no steam pockets, which results in a pie crust without flakes. This is the science behind what the recipe means when it says “you should see streaks of butter in your finished crust!”
Rule 4: Add water gradually. Flour is hygroscopic, and how “thirsty” it is varies by brand, humidity, and how long the bag has been open. The 4 to 6 tablespoons of water listed on most recipes is given as a range for this reason. You may need more or less. Drizzle in 4 tablespoons, pulse twice or mix it in, then do the pinch test—grab a handful of the loose dough and squeeze. If it holds together easily, you’re done. If it crumbles back apart, mix in one more tablespoon and pinch again. I’ve made the same recipe in winter (using 6 tablespoons) and in August humidity (4 tablespoons) and gotten the same final texture both times by feel.
Rule 5: Rest the dough at least an hour in the fridge. This is non-negotiable. Resting lets the flour fully hydrate (those flecks of dry flour you see in the freshly mixed dough disappear during the rest), it relaxes the gluten that did form during mixing, and it re-chills any butter that warmed up while you were handling things. I’ve cut the rest and chill time to 30 minutes before when I was on a deadline, and the crust shrank visibly in the oven. Set a timer, go do something else, and come back to it. (A few hours to 2 days is actually even better! It’s great to make ahead.)
Rule 6: Don’t stretch the rolled dough. When you transfer the rolled dough into the pan, gently press it into the corners. The instinct is to pull the dough toward the center or edge of the pan to make it fit, but resist that urge. The stretched gluten strands contract as soon as the dough hits oven heat and will cause your crust to shrink. If you didn’t roll the dough wide enough to drape into the pan with slack, peel it back off, roll it a bit bigger, and try again. The five extra minutes are worth it to not have a slumped crust.
Rule 7: Chill the shaped crust before it goes in the oven. Once the dough is in the pan, crimped, and ready, put the whole pan in the freezer for 15 to 30 minutes (uncovered is fine) or in the fridge for about an hour. This step separates pie crust that holds its crimped edge from pie crust that melts back into the pan in the first five minutes of baking. The extra 15-30 minutes of chill time is worth it to not lose your hard work!
Butter, Shortening, & Lard: What Each Fat Does
This is the eternal pie-crust debate that everyone seems to have the “best” answer to. There’s no real answer to which is the best fat to use because they all produce a slightly different result. It varies based on your personal preference or what texture you want in your baked crust. Here’s the general guide to how each fat trades flavor against handling and how they bake:
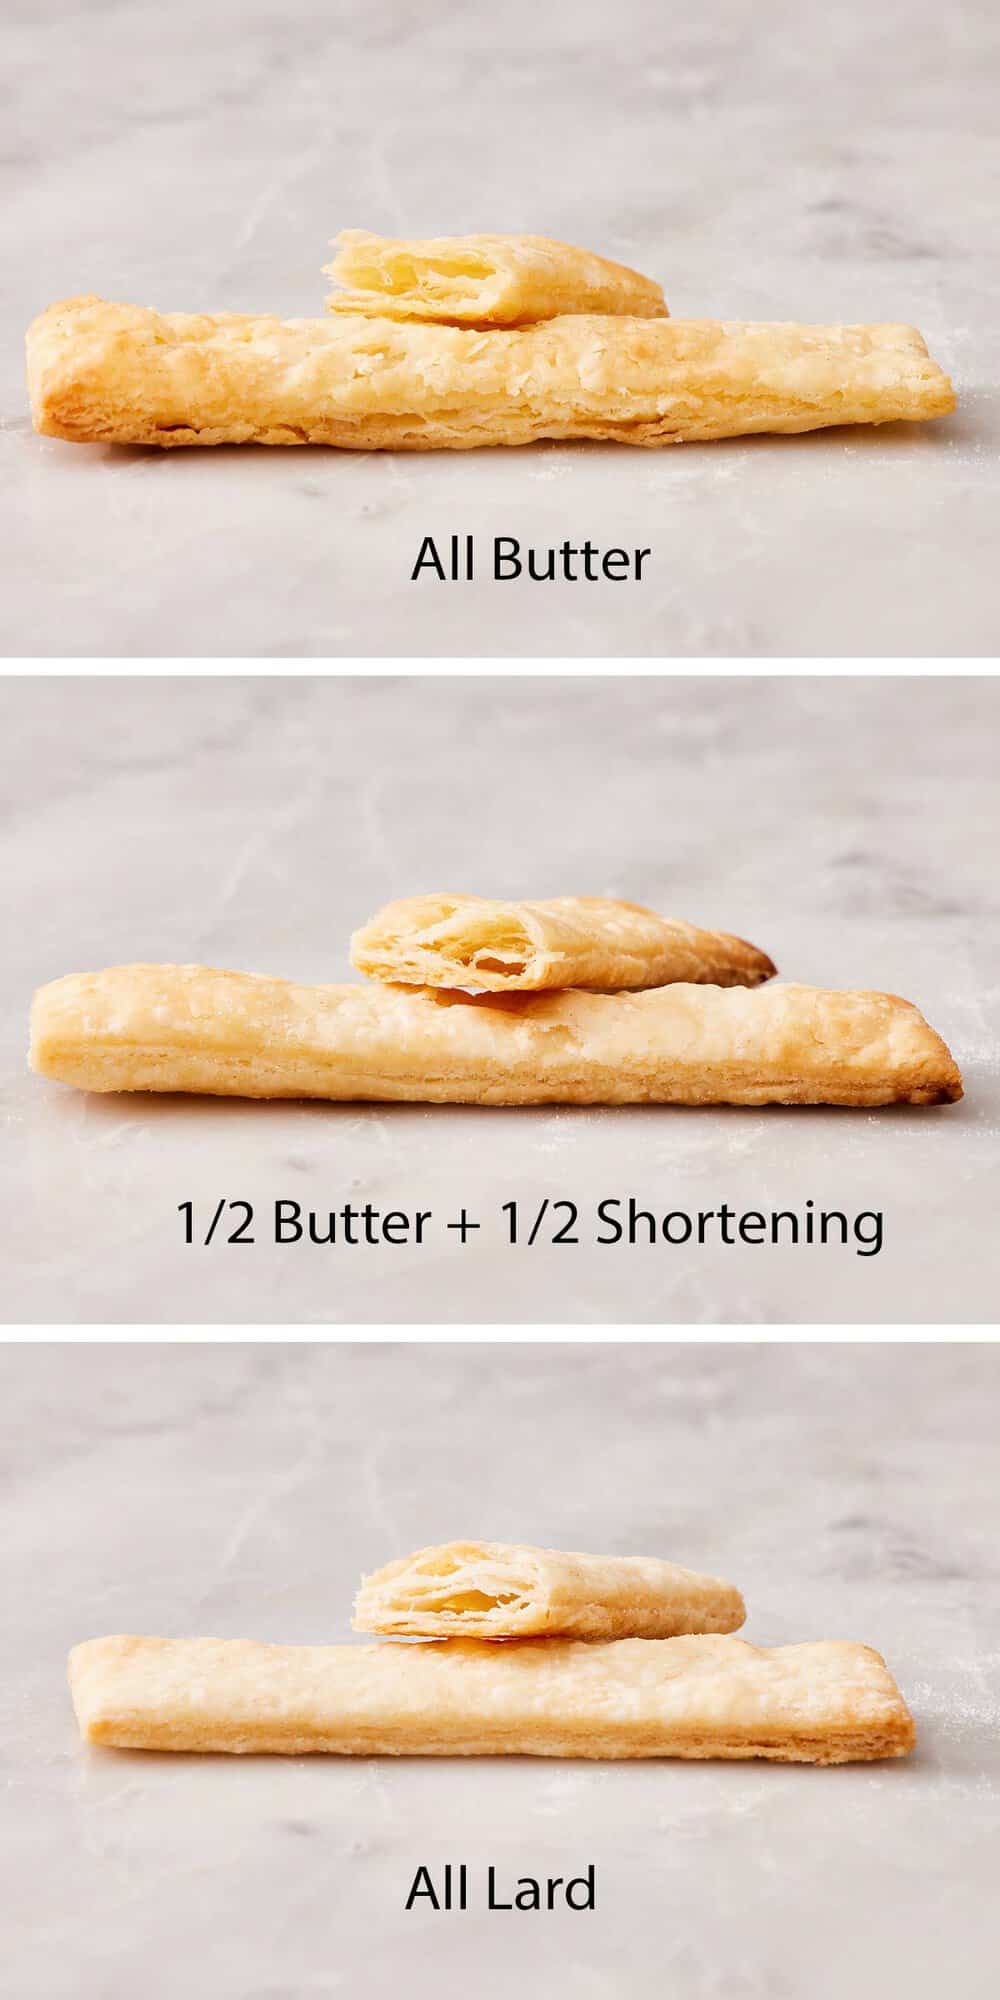
All butter. This is my default, and it’s what’s in my pie crust recipe. American butter (like Land O’Lakes) is around 80% fat and 16% water. As I mentioned earlier, that water content is what creates steam and lift in the oven. The flavor is irreplaceable in my opinion! There’s a reason a reader once told me her family thought my crust tasted “a little like toffee”—that’s the milk solids in the butter along with some sugar in the crust caramelizing as the crust browns. You can also use European butter with a higher fat content (82%) for a supremely flaky and tender crust.
The downside: butter melts at around 90°F, so the dough is a little fussier to handle and roll on warm days, and the crust can lose some shape definition if you skip the prebake chill in Rule 7.
Butter plus shortening. This is a very old-fashioned combination! Vegetable shortening (Crisco) is 100% fat with no water and has a higher melting point (around 117°F) than butter. Substituting half of the butter with shortening makes the dough a bit easier to roll and handle, and it holds its shape well, and crimps stay defined during baking. What you sacrifice is flavor—shortening tastes like nothing. But for intricate decorative crusts or in a hot kitchen, the trade-off is sometimes worth it. Use shortening sticks rather than scooping from the tub for easier measuring. Be sure to chill it first, too.
Lard. Old-school crust bakers swear by leaf lard (pork fat from around the kidneys). It has a higher melting point than butter, makes a very tender pie crust, and contributes a savory richness that’s outstanding for a chicken pot pie or quiche. It is slightly less flaky than all-butter since it doesn’t have the same water content, but the higher fat amount makes up the difference by adding more tenderness. I find lard crusts to feel more crumbly than flaky, but they are still sturdy.
Leaf lard can be hard to find outside specialty grocery stores or butcher shops, but if you’ve got access to good leaf lard, a half-butter/half-lard crust on a savory pie is genuinely delicious. It is less ideal for fruit pies, though an apple pie pairs nicely with it.
Testing All Three Fats
My team and I cross-tested my classic pie dough three ways: all butter, butter plus shortening (50% of each), and all lard. Each version worked with slightly different trade-offs. Here are the results:
- The all-butter crust won on flavor and flakiness. The crust puffed nicely, turned a buttery golden brown (which means it was flavorful from caramelization!), and felt buttery without being greasy when I was eating it.
- The butter and shortening combination was less flaky than the all-butter crust but still very tender. The flavor was good but fairly neutral with less butter, and it was less golden from the shortening not having any milk solids.
- The lard crust was exceptionally tender, but had a more crumbly feel. The lard has less moisture than butter, so it puffed less, which means it didn’t appear as flaky. The high fat content, however, makes the dough very tender, so it isn’t tough despite looking denser. It was also the lightest of the batch, with less browning from using pure fat. Because it puffs less, it also holds crimping, shaping, or decorative details better than all-butter.
Should I Put Vinegar Or Vodka In The Water?
This is a trick that floats around the internet and cookbooks that calls for replacing some of the ice water with cold vodka or white vinegar. Alcohol and acid don’t promote gluten formation, so the thinking is it hydrates the dough without toughening it. My answer is: you can, but you don’t have to.
I’ve tested this and found it is most effective when you are making dough by hand or with a classic method (not coating the flour with fat). The improvement is small but real—in my tests, the pie crust made by hand that did include it came out flakier once baked. That being said, the ones without it were still great. So, it’s not a requirement, but it can help!
A tablespoon of apple cider vinegar, lemon juice, bourbon, or rum in the water can all be used for the same effect, and they add a faint tang or flavor that can complement certain pie fillings. You can even replace all of the water with a flavored liquid like orange juice and get the benefit of less gluten with added flavor!
In my pie crust recipe, you don’t need it because you are coating part of the flour with butter first, greatly reducing the chance of overdeveloping the gluten.
Mixing Pie Dough
There are two main ways to mix pie dough—by hand or with a food processor. The hand method typically involves cutting butter into cubes and either cutting it into the flour with a pastry blender or rubbing the pieces between your forefinger and thumb, pressing them into small discs. The food processor makes the mixing method faster by doing the same thing, but with greater speed. You can also do the fat-coating method like I use to make a more foolproof dough. Both methods make a great pie dough, and I include them both in my pie dough recipe!
There are three main tips for making the best dough, regardless of your mixing method:
- Don’t overmix the butter. When you are finished working in the butter, you want to make sure you have a lot of big chunks left throughout the flour mixture. Remember, those turn into the flaky pockets, so having bigger and smaller pieces gives the crust a good texture and flakiness once baked.
- Don’t add too much water. The dough should look shaggy but hold together when pinched and not be very sticky. Overhydrating it will make the dough dense or tough.
- Don’t overwork the dough. When you shape the shaggy mixture into a ball, you will gently knead it a few times just to bring it together. Do not knead it like bread, or you will overdevelop the gluten and make the dough tough, and it will shrink during baking. Simply press the dough together a few times until it sticks in one ball—if there are still a few cracks or crumbles on the edges, don’t worry. The flour will absorb moisture as it chills.
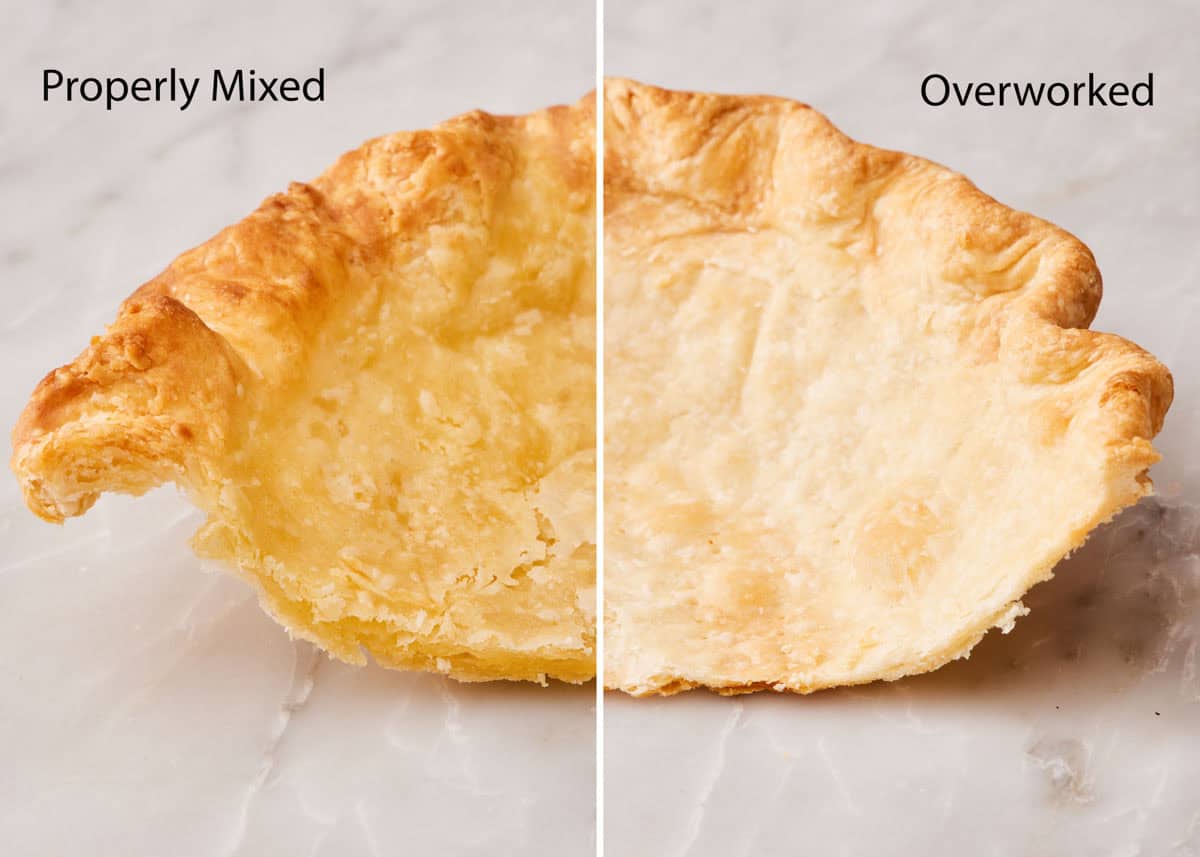
I made two batches of my pie dough, mixing one properly and overworking the other. The pie crust on the right had the butter mixed in until the pieces were very small (almost unnoticeable). I also kneaded the dough after the water was added until the dough was smooth on the outside (about 30 seconds). You can see the baked pie crust is noticeably denser without defined flakes. Texture-wise, it was also much tougher and didn’t break apart as easily.
Tips For Rolling and Shaping Pie Dough
These are my top tips for working with pie dough as you roll it and shape your crust. You can find the full step-by-step method in my pie crust recipe!
- Let the disc warm up slightly. A super cold dough will crack as you try to roll it, so take the disc out of the fridge 10 to 15 minutes before rolling if it has chilled for longer than the recipe initially says (typically 1 hour). It should give slightly under finger pressure but still feel cold. If it starts to crack when you roll it, recover it, and let it sit for 5 minutes before trying again.
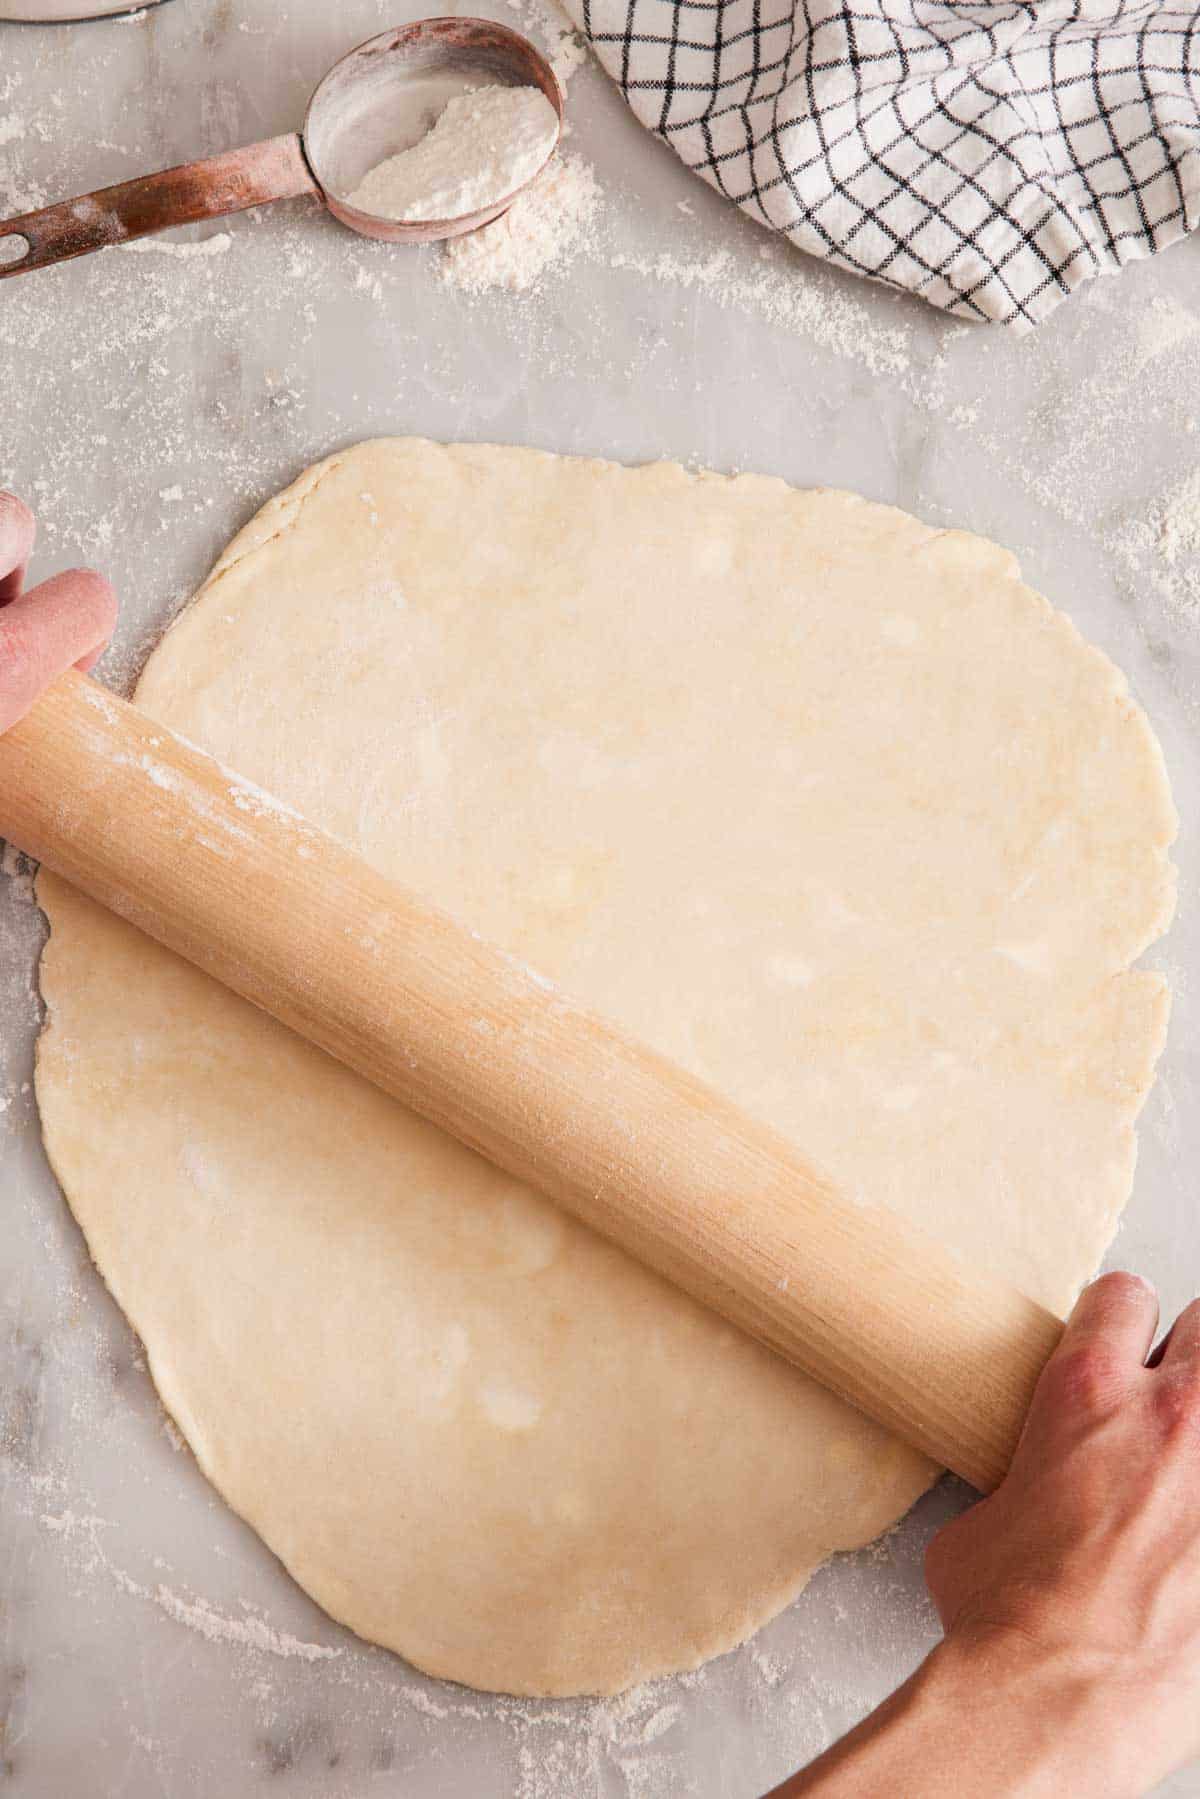
- Keep the dough moving. Rotate the dough a quarter turn after every two or three rolls. The quarter-turn does three things: keeps the dough round, keeps it from sticking to the counter by re-flouring underneath, and helps you roll it into an even thickness.
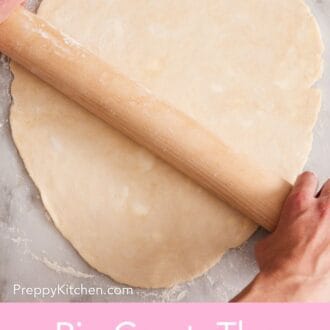
- For a single-crust pie or bottom crust, roll the pie dough into a circle 3-4 inches larger than the diameter of the pan. This way it will fit into the bottom, up the sides, and have enough excess to be tucked and crimped for the edge.
- For a double-crust pie, roll the top crust 2 inches larger than the diameter of the pan. Place it over the filling, then trim both the bottom and top crust together so that they are the same size before crimping.
- Always tuck excess dough around the edge under itself for crimping. This makes the crust around the edge of the pie at least two layers thick (three, if using a top crust). If you simply trimmed the crust to the edge of the pan and crimped (no tucking), it would burn easily. The crust edge is exposed to the most direct heat, so the thicker edge takes longer to cook through and helps prevent it from overbaking.
- Leave steam vents on the top if you are making a double crust pie. Without them, the crust will puff up and can either split open or form a huge gap between the crust and the filling once it cools. For a solid top crust, cut 3-5 slits with a paring knife or use decorative cookie cutters to make small holes. If you cover the top with dough cutout shapes, the steam will vent naturally so you don’t need to worry about leaving gaps.
If the dough forms small cracks at the edges while you’re rolling, press the cracks back together and keep going. If it splits dramatically or across the middle, the dough is either too dry or too cold—sprinkle a few drops of water on the crack if it’s crumbly and rub it in with your fingers, or let it warm up another five minutes, and try again.
Blind Baking, Par-Baking, and Soggy Bottoms
Blind baking means fully baking the crust before adding the filling. You blind-bake when the filling will not be baked at all (banana cream pie, French silk pie) or when the filling cooks faster than the crust would (a quick custard for a fresh fruit tart, key lime pie).
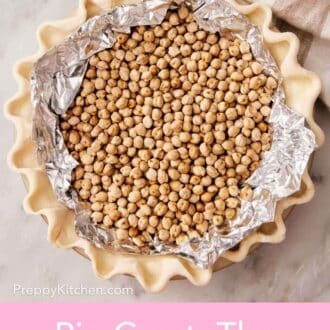
The basics: line the chilled, shaped crust with parchment paper, fill it to the rim with pie weights (ceramic weights, dried beans, or uncooked rice), and bake at 425°F for 15-20 minutes. Lift out the parchment and weights, dock the bottom of the crust with a fork (small pricks to let steam escape), and return it to the oven for another 10-15 minutes until the bottom is dry and golden. The full method is in my how to blind bake a pie crust guide. When properly baked, a blind baked crust should be sturdy enough to be removed from the pie pan without collapsing.
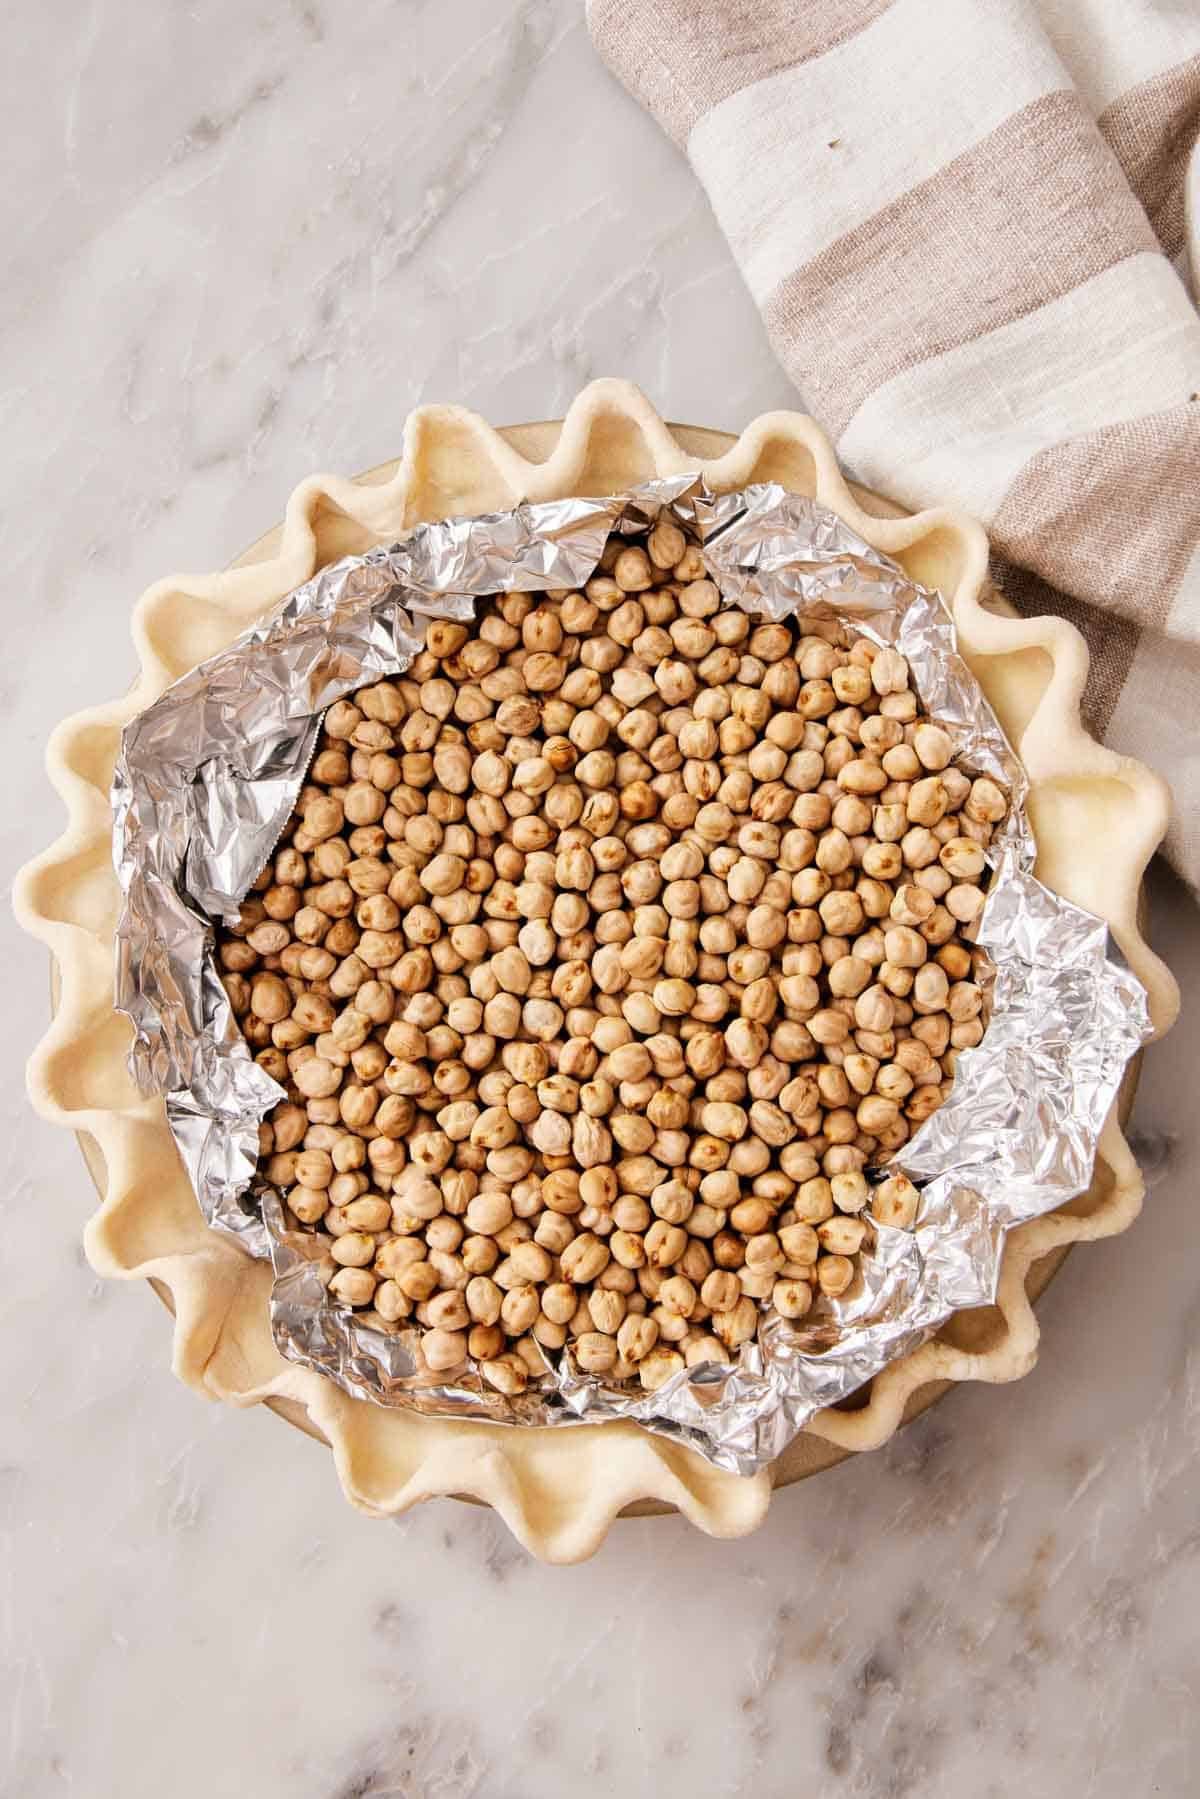
Par-baking is the half-baked version: blind bake the crust with weights until the crust is set but not browned, then add the filling and finish baking the assembled pie. It’s best for homemade pie crusts on pumpkin pie, sweet potato pie, and most custard pies. The crust gets a head start so the wet filling can’t soak in, and the filling cooks just the right amount without overbaking. Par-baking runs the risk of the edges getting a bit too brown, so I often shield the crust once the filling is added. You can learn how to do this in my Academy lesson: How To Shield A Pie Crust.
Typically, you only blind bake or par-bake a single-crust pie. A double-crust pie is usually a fruit pie and designed to be baked once fully assembled. You also don’t need to par-bake a store-bought crust unless the recipe specifies that. They are formulated with different moisture and fat contents and can actually burn if par-baked before going back in the oven with a filling.
Avoiding a soggy bottom is the top question and pie-baking fear I hear from readers. There are three main ways to avoid it, depending on the type of pie you are baking:
- Par-bake when the filling is very wet or liquidy, like a custard filling, even when it is being baked after assembly. The high moisture content can prevent the crust from baking thoroughly.
- Brush a par-baked crust with beaten egg wash before you finish blind baking. The egg white sets into a thin waterproof seal between crust and filling. This can be particularly helpful if you make a pie with a no-bake filling a day ahead of serving it.
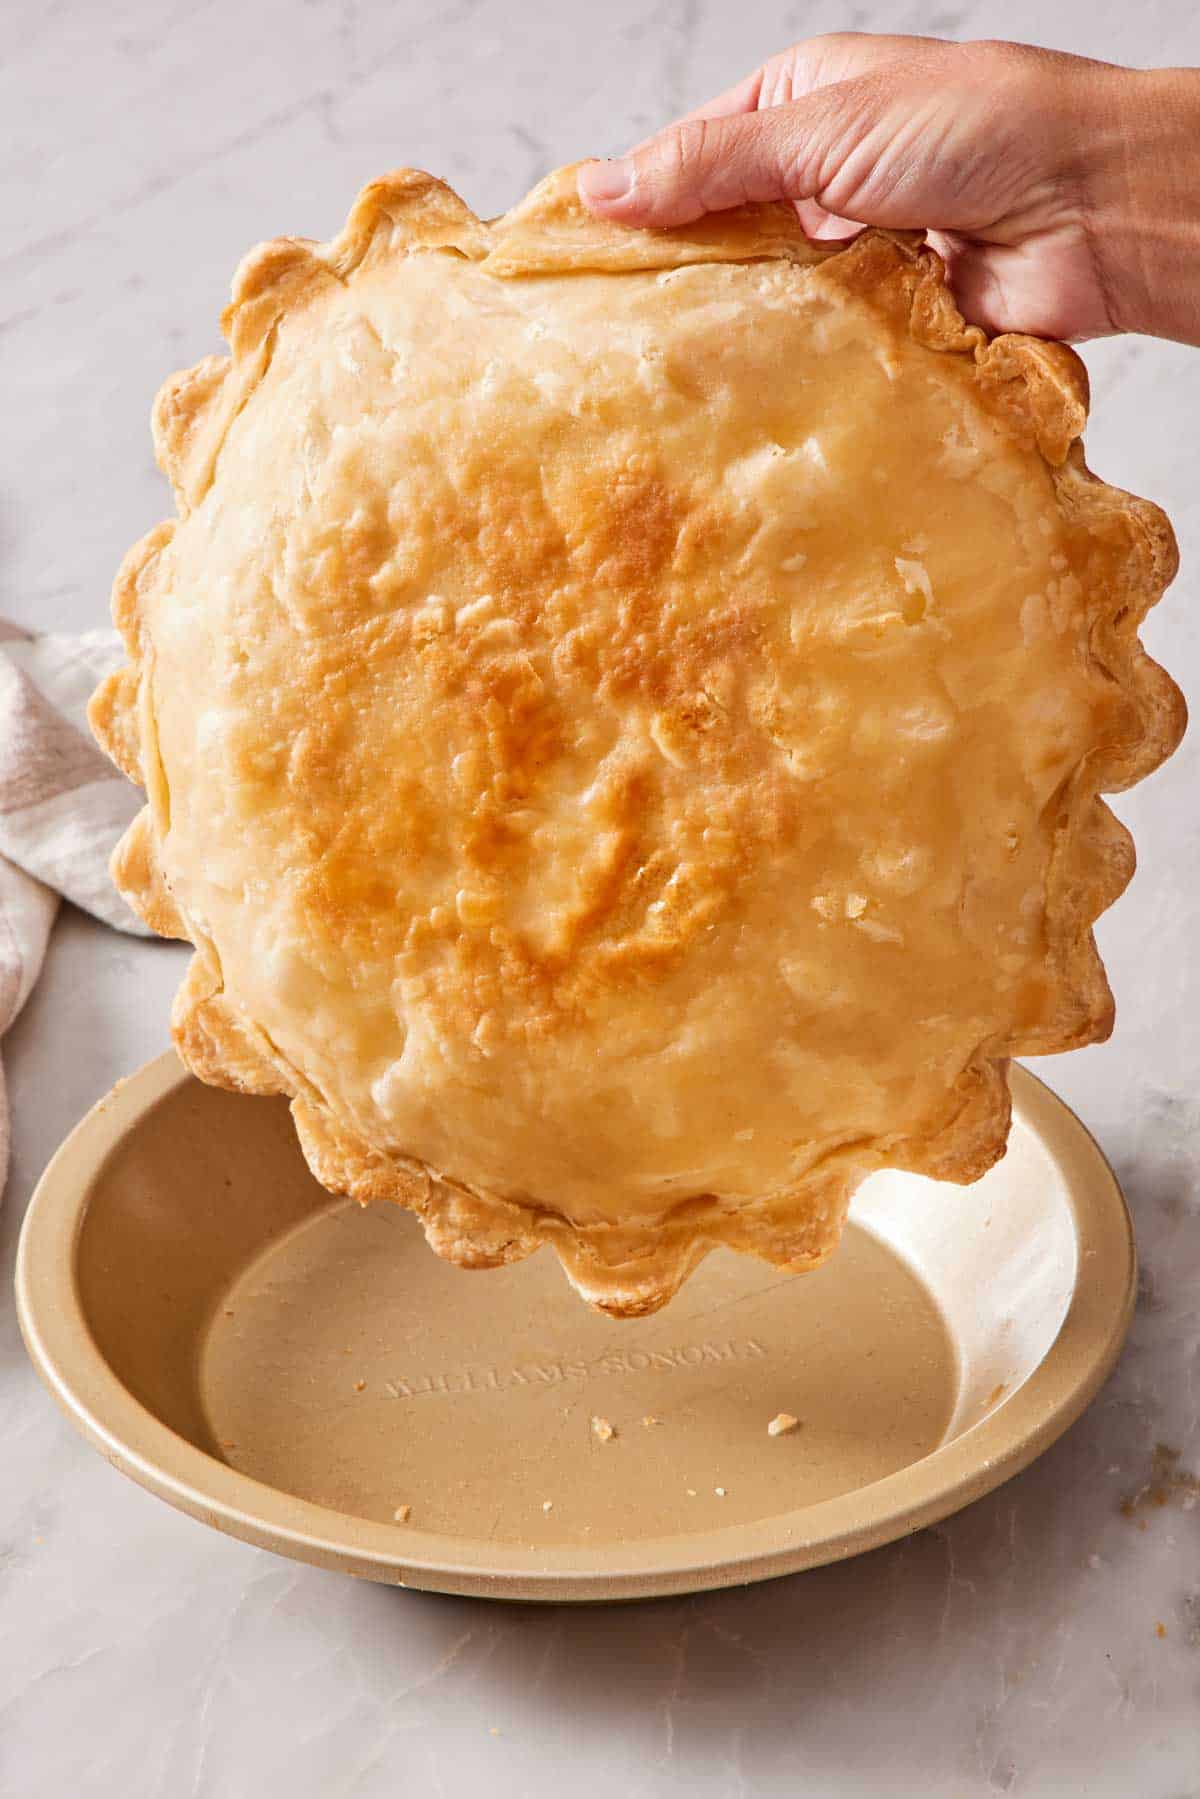
- Bake in the bottom third of your oven. Heat concentrates in the lower third, which applies more direct heat to the bottom of the pan. This encourages the crust to brown more. The added benefit is that it also moves the top of the pie farther from the top of the oven (also hotter) and helps prevent the edge or top crust from over-browning. The image below shows a pie crust I blind baked in the lower third with good caramelization on the bottom. It was also sturdy enough to remove from the pan easily without breaking!
Troubleshooting: Why Crust Goes Wrong
These are the most common ways a homemade crust fails. Knowing which one you’re dealing with helps you know what to fix next time!
The dough cracked while rolling. Too dry, too cold, or both. If you under-hydrated the dough, it will form spiderweb-like cracks all around the edge. If it has been chilling for several hours (or over a day) and you roll it straight from the fridge, it will break apart around the edges, and you press into the dough. To fix it, let it warm up for 5-10 minutes on the counter and try again. Press the cracks back together as you roll to keep large splits from forming.
The crust shrank down the pan during baking. This is from stretched gluten contracting. There are two causes: you pulled the dough toward the center of the pan to make it fit (instead of easing it into the corners with slack), or you didn’t chill the shaped crust before baking. Both let the gluten in the dough hold tension into the oven, where the heat causes it to contract. To fix this, roll the dough wider than you need so you can drape it with slack, and ease it into the pan without stretching. Then, chill or freeze the shaped crust 15 to 30 minutes before it goes in the oven.
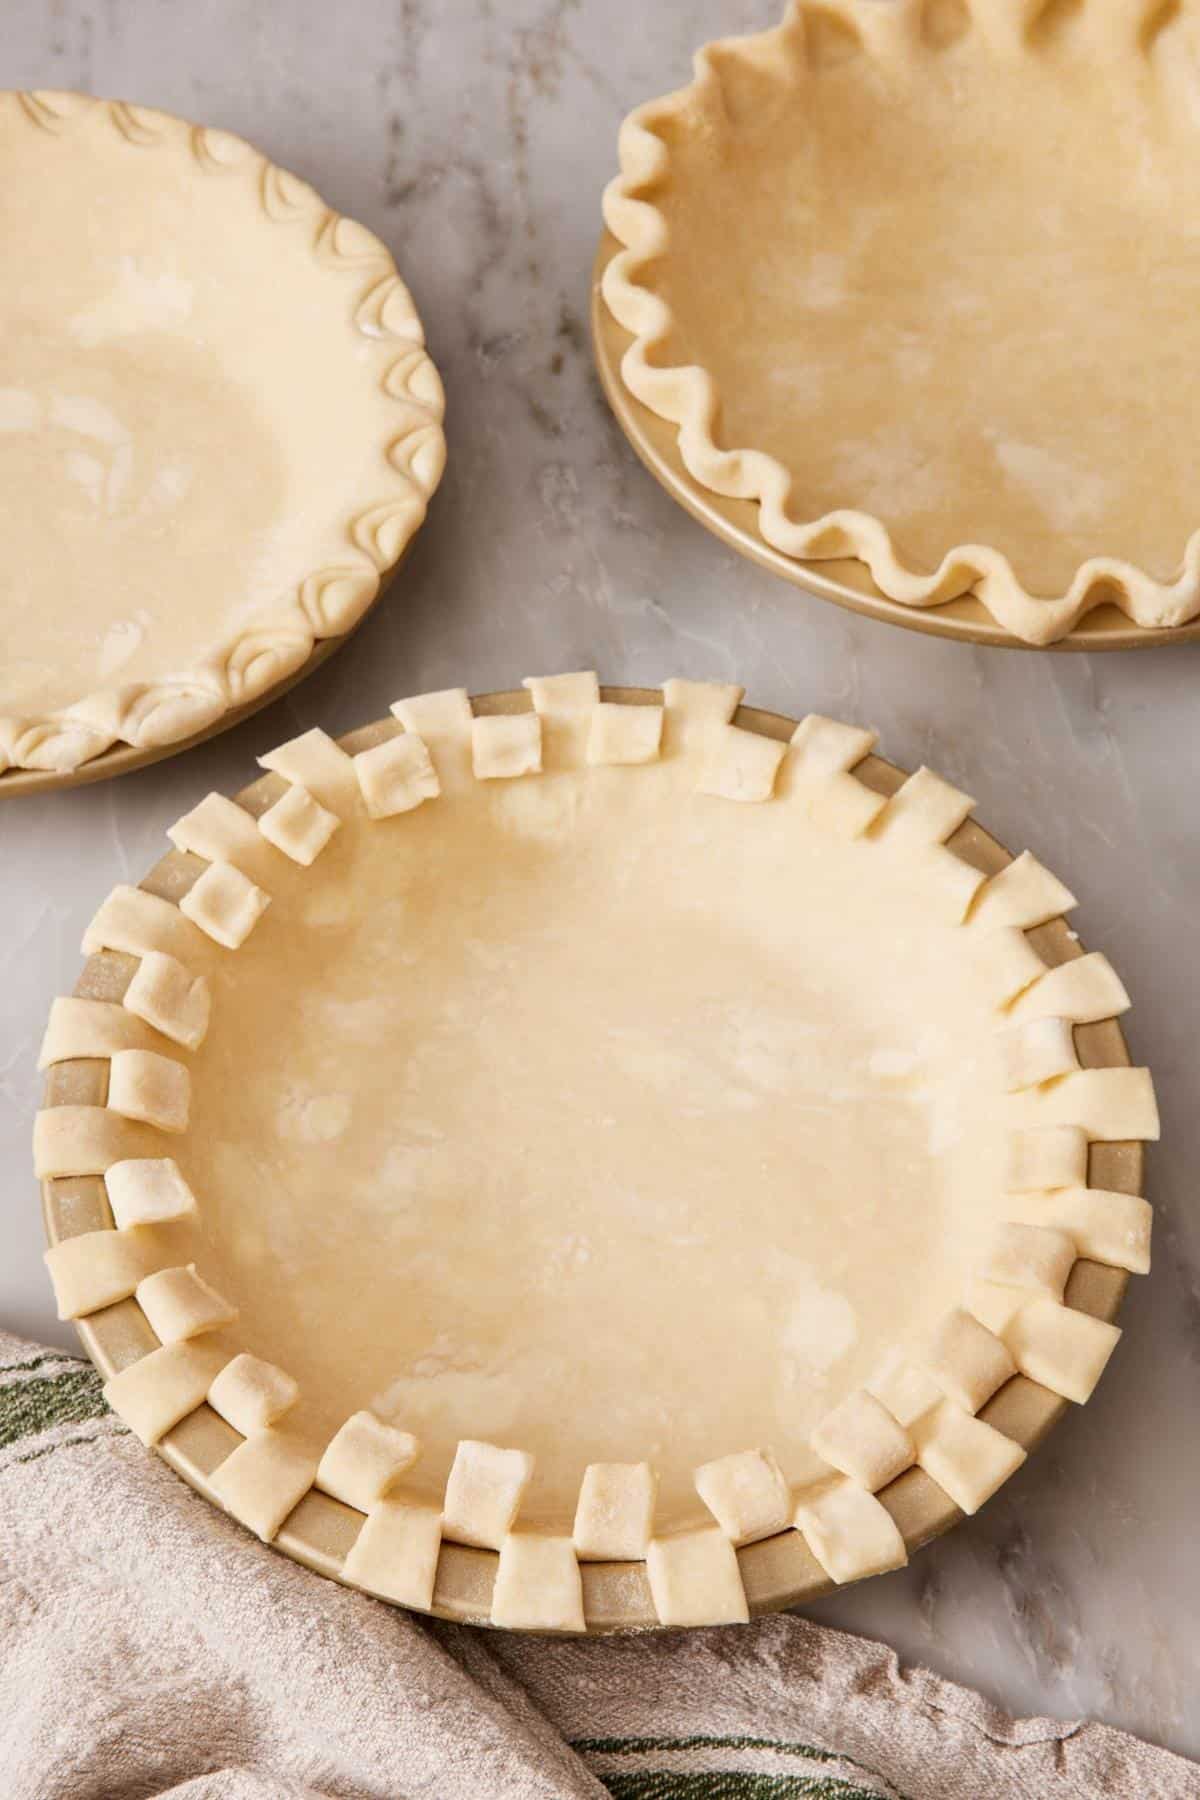
The crimped edges melted flat. The dough was too warm when it hit the oven. The pre-bake chill time (in Rule 7) protects your decorative crimps, so don’t skip it. If you are short on time, even 15 minutes in the freezer is better than none.
It bakes pale or soggy on the bottom. The crust didn’t get enough direct heat at the bottom, or the pie was underbaked. Baking on a lower rack is the easiest fix. If you have a pizza stone or steel, you can also put that in the oven when it’s preheating and bake your pie on top of it. Metal pans also bake better. Glass and ceramic pans bake more slowly and a touch softer since they don’t conduct heat as well as metal pans.
The edges browned too fast. This is one of the most common problems with a butter crust, especially if your oven runs hot. Loosely tent the edge with foil, or use a pie crust shield—strips of foil folded over the rim—for the second half of the bake.
The crust is tough. The dough was overworked or had too much water. Gluten developed, the strands tightened in the oven, and the crust turned hard instead of flaky. To fix it, handle the dough less at the mixing stage, and hydrate it less aggressively. Be sure to let it rest for long enough in the fridge for the flour to fully absorb all of the liquid.
The fruit pie filling wasn’t set. This is not actually a crust problem, but the crust can often be blamed for pulling a pie out of the oven too soon. If the filling came out runny, it didn’t bake long enough, and that is usually because a pie crust looks brown and is considered done. A pie crust should be richly golden brown, not pale, and the filling should reach about 175ºF to 195ºF in the center.
How to Store, Chill, and Freeze
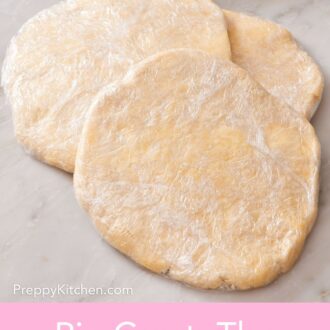
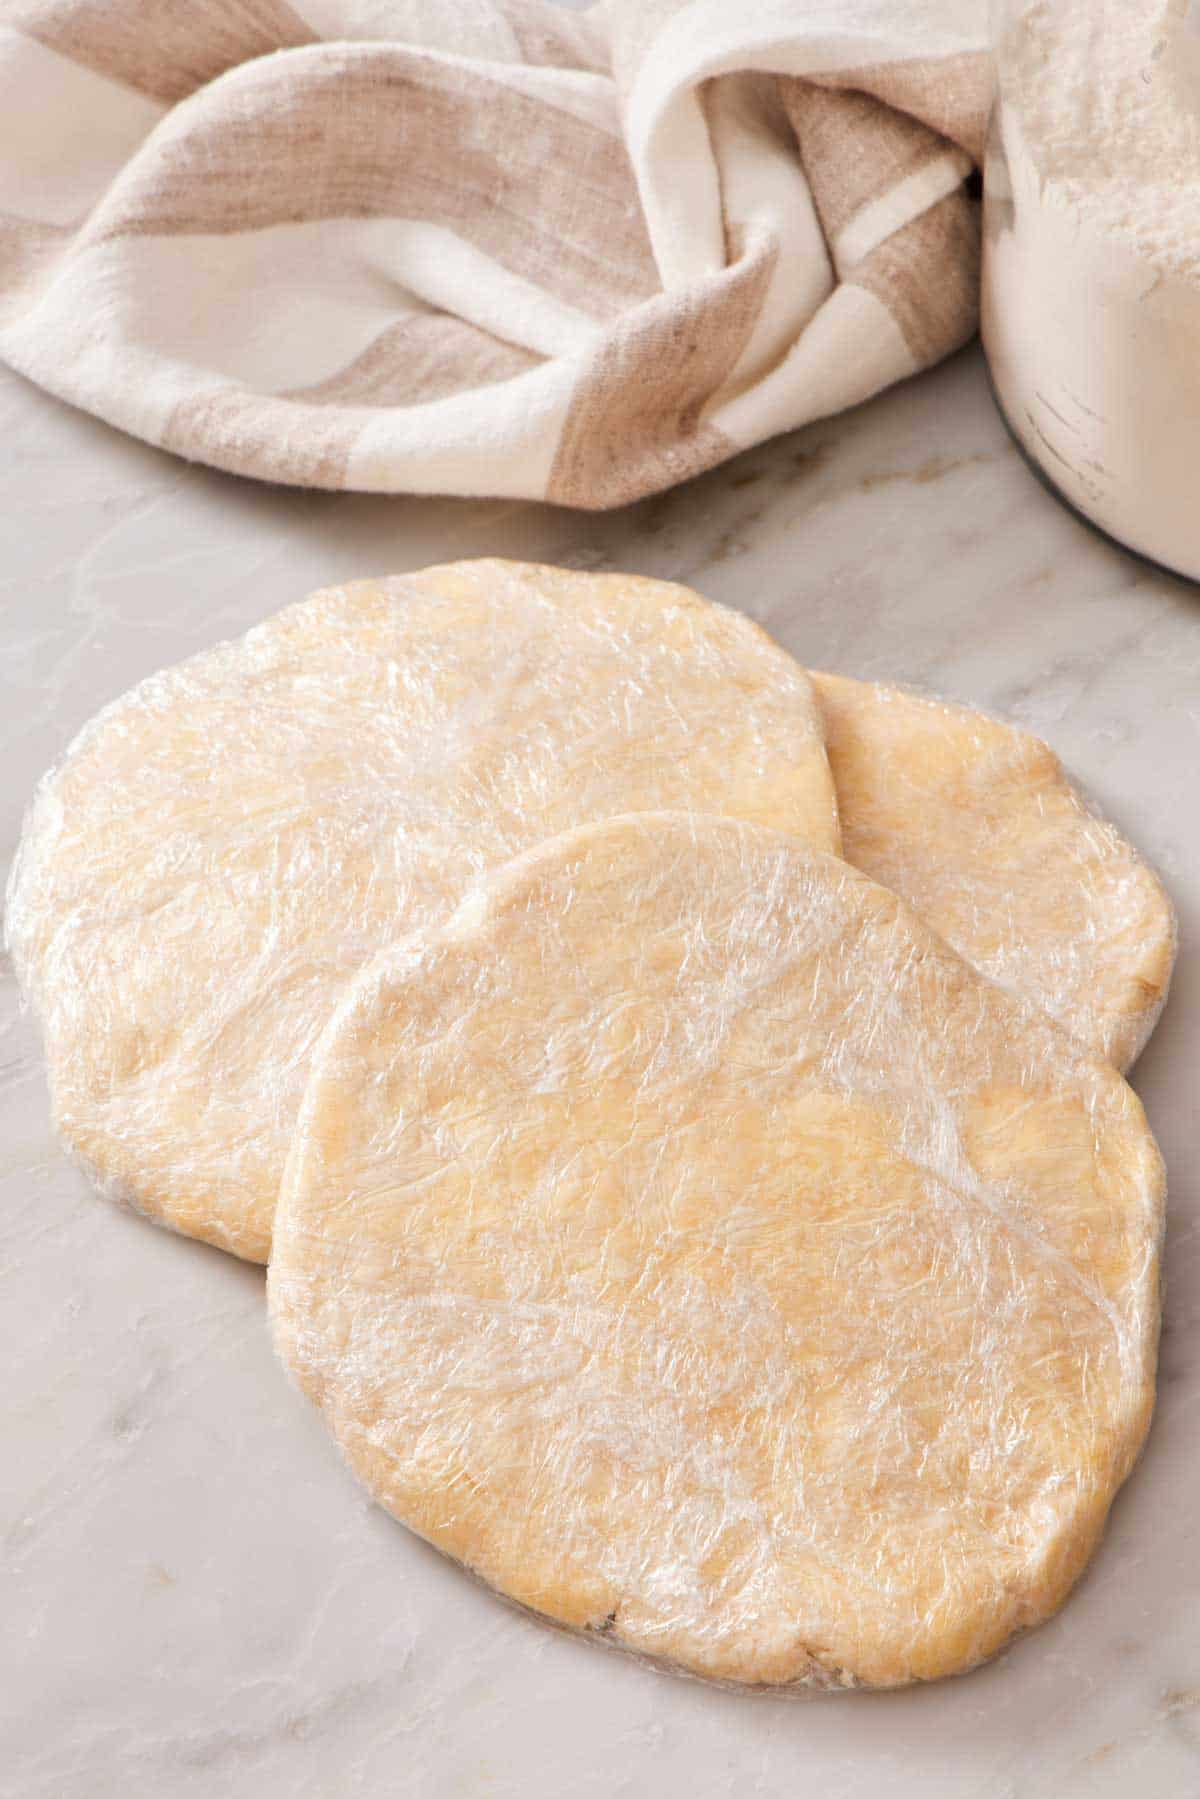
Refrigerator, unrolled dough. Wrap each disc tightly in plastic. The dough discs last up to 3 days. After that, you’ll see slight grey discoloration as the flour and butter oxidize—it’s still safe to use for up to 1 week, but the flavor degrades.
Freezer, unrolled dough. Wrapped in plastic or foil and stored in a freezer bag, the dough discs keep up to 6 months, though it is best if it is used within 3 months. The longer it is frozen, the greater the risk of freezer burn damaging the dough. Thaw the frozen dough overnight in the fridge before rolling it.
Freezer, rolled-out and shaped crust. A shaped pie crust in its pan, wrapped in plastic and frozen, can go straight from the freezer to the oven for blind baking or filling (no thawing needed). Add 5 to 7 minutes to the bake time. This is the move for Thanksgiving meal prep! Assemble the pie shells the weekend before, freeze them, then blind-bake, fill, and finish on the day. Get more details in my Academy lesson: How To Freeze Pie Crust.
Baked crust storage. A blind-baked crust holds at room temperature, covered, for about 24 hours before the texture starts to soften. You can wrap it and freeze it for up to a month if you need longer.
Pie Baking Pro-Tips
Use a metal pie pan if you’re new to pie baking. Metal conducts heat more quickly than glass or ceramic, making it more foolproof for preventing a soggy bottom. Enameled or non-stick steel or natural aluminum pans work great.
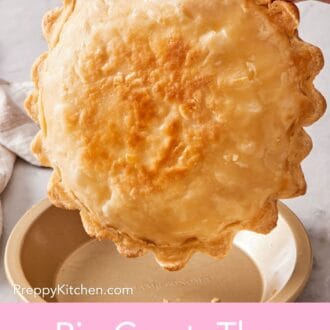
Don’t be afraid of a golden crust. The crust should be a deep, amber color all over. A deeply browned crust means flavor from the caramelized sugar and butter! For a double crust pie, the edges may be darker than the center of the top crust, but the top should still be quite golden. Most pies don’t set because they are underbaked for fear of burning the crust. Shield the edges or top if needed to prevent it from burning while the filling finishes baking.
Freeze decorative cutouts. If you want to cover the filling with pie dough cut into shapes instead of a solid pie crust on top, freeze the cutouts on a lined baking sheet first. This will make them easier to arrange on top of the filling.
Frequently Asked Questions
Butter wins on flavor. All-butter crusts have unparalleled toffee-caramel notes from the browning milk solids and produce flakier layers because of butter’s water content. Shortening melts at a higher temperature, so the dough is easier to roll and holds decorative crimps better, but it tastes pretty neutral. It’s a trade-off for sharper decoration or best flavor. My go-to is all butter!
Brushing the shaped pie crust with egg wash is optional in most recipes, and it is usually an aesthetic step. It makes the crust shiny and takes on a richer color. Some recipes need an egg wash to make decorative cutouts stick, seal the inside of a blind baked crust to prevent moisture absorption, or seal the edges of hand pies together. But if it’s simply brushing the edges or top of a pie before baking, you can skip it if you’d like!
Yes! Making it by hand produces very good results—it’s just slower and is less foolproof because you don’t coat any of the flour with butter first. Whisk dry ingredients in a wide bowl, toss in cold cubed butter, and cut the butter in with your fingers or a pastry blender until pieces range from pea- to almond-sized. Drizzle in ice water one tablespoon at a time while stirring with a rubber spatula, and mix until a pinch holds. The risk with hand-mixing is warming the butter with your fingers, so work fast or use a pastry blender.
More Tutorials To Try
- Academy: How To Crimp Pie Crust — learn how to make a sturdy, decorative pie crust edge with your perfect pie dough!
- Academy: How to Lattice Pie — a classic design for a double crust pie; it’s easier than you think!
- Academy: How to Make a Pie Crust Shield — this simple technique will prevent your crust from overbrowning while the filling bakes thoroughly.
- Academy: How to Freeze A Pie — perfect for prepping whole pies ahead of time for holiday meals.
- Academy: How to Freeze Pie Crust — freeze a shaped pie crust or frozen discs of dough for several months.






