

This post may contain affiliate links. Please read our disclosure policy.


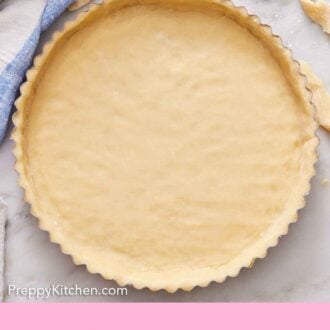
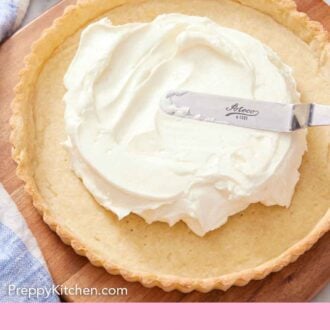
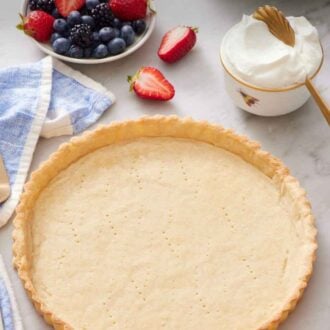
Learn how to make a crisp, tender tart crust in about 10 minutes! The pâte sucrée-style dough can be rolled out to fill a tart pan or pressed straight into the pan for a super easy tart shell.
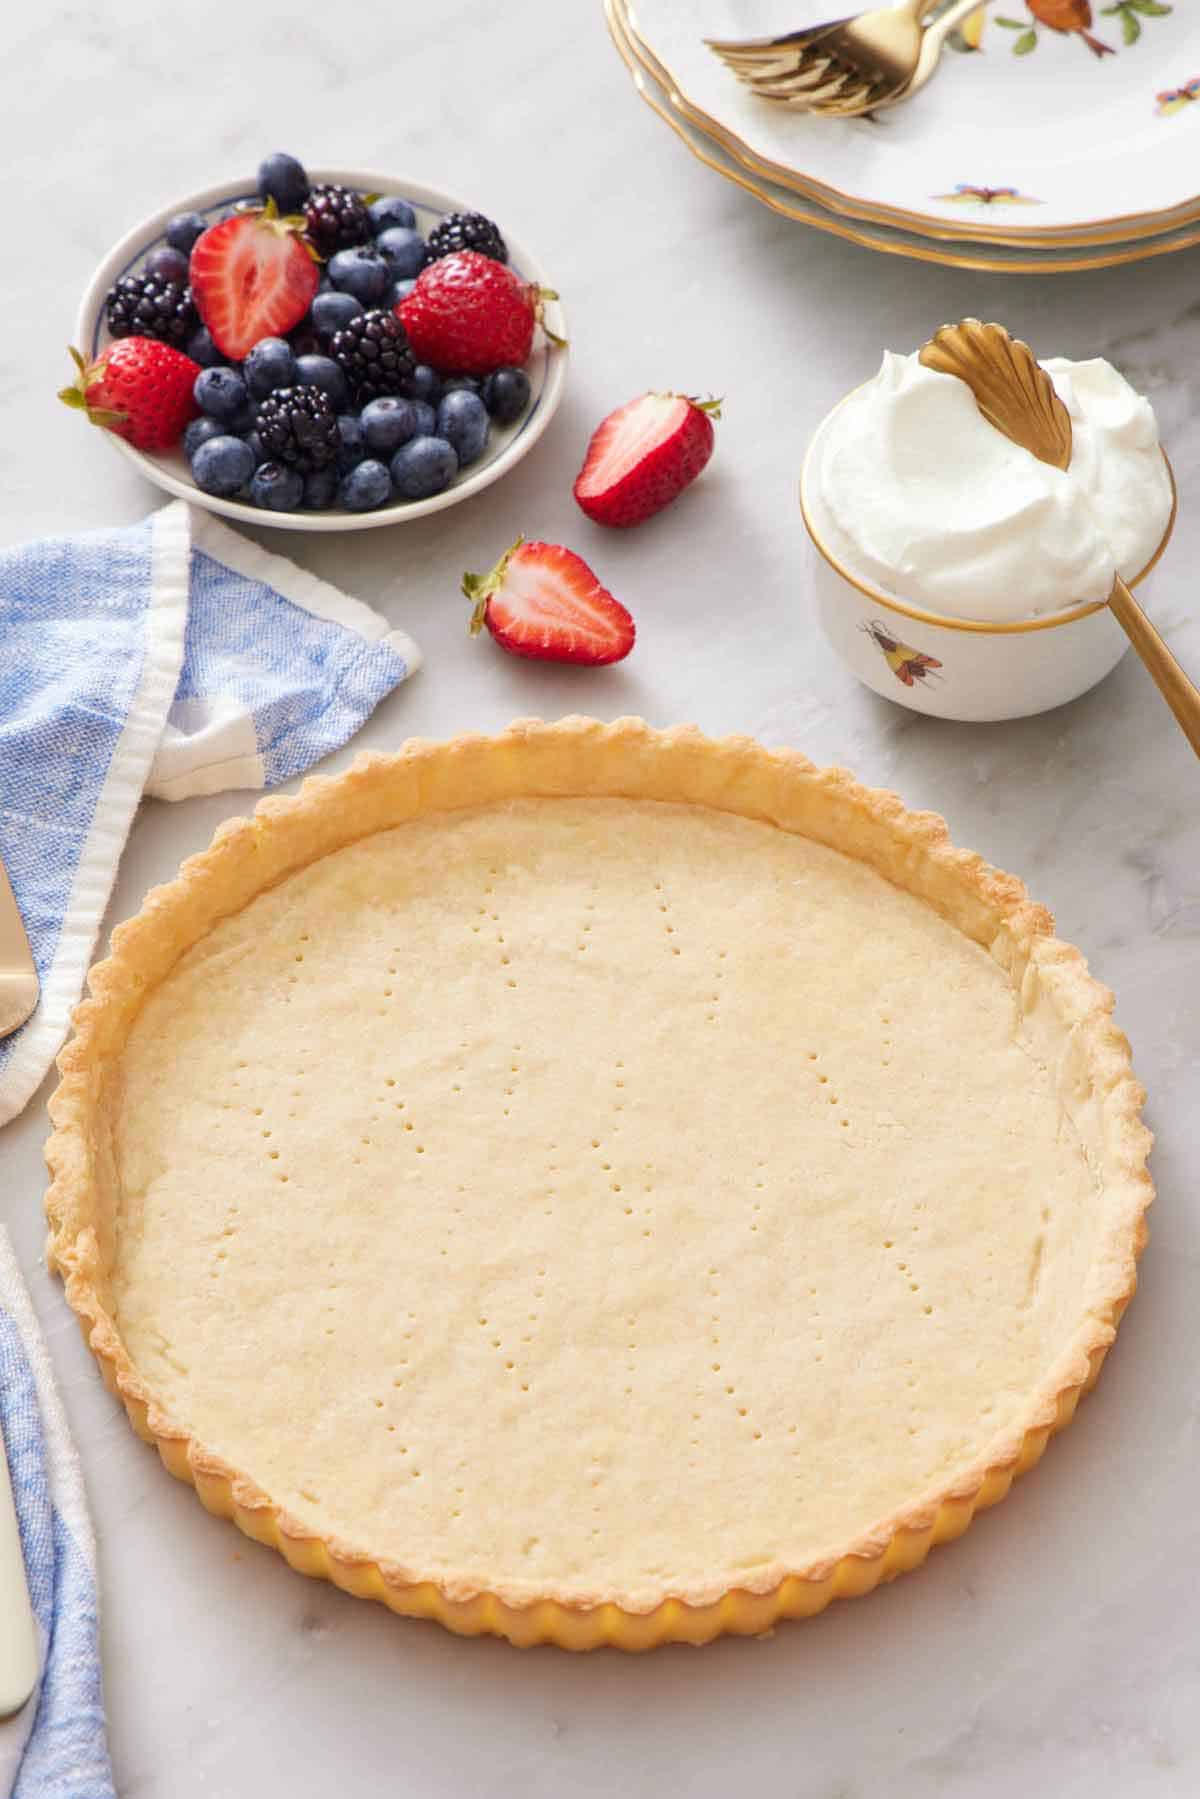
To start, it’s important to note that a tart crust is not simply a sweet pie crust. It is closer to a shortbread cookie in texture: dense, crisp, lightly sweetened, and sturdy enough to hold a wet filling without going soft underneath. This one comes together in about ten minutes in a food processor or by hand.
It also has a small quirk I want to be upfront about, because it’s something a lot of readers run into: the dough can crack when you roll it and press it in the pan. That is not a mistake you made but rather a natural part of this dough’s character. There is a section below on exactly why it happens and two ways around it (the fix is very easy). I also include a method where you skip the rolling pin entirely! Fill your baked tart shell with vanilla pastry cream and berries, ganache, or lemon curd, or use it as the base for my fruit tart, lemon tart, or French apple tart.
“My go to tart recipe! It’s very simple, tastes delicious, and always the perfect texture. I definitely recommend it! I feel like it could work with different types of desserts, but I use it for my full tarts and mini tartlets.”
Kianna
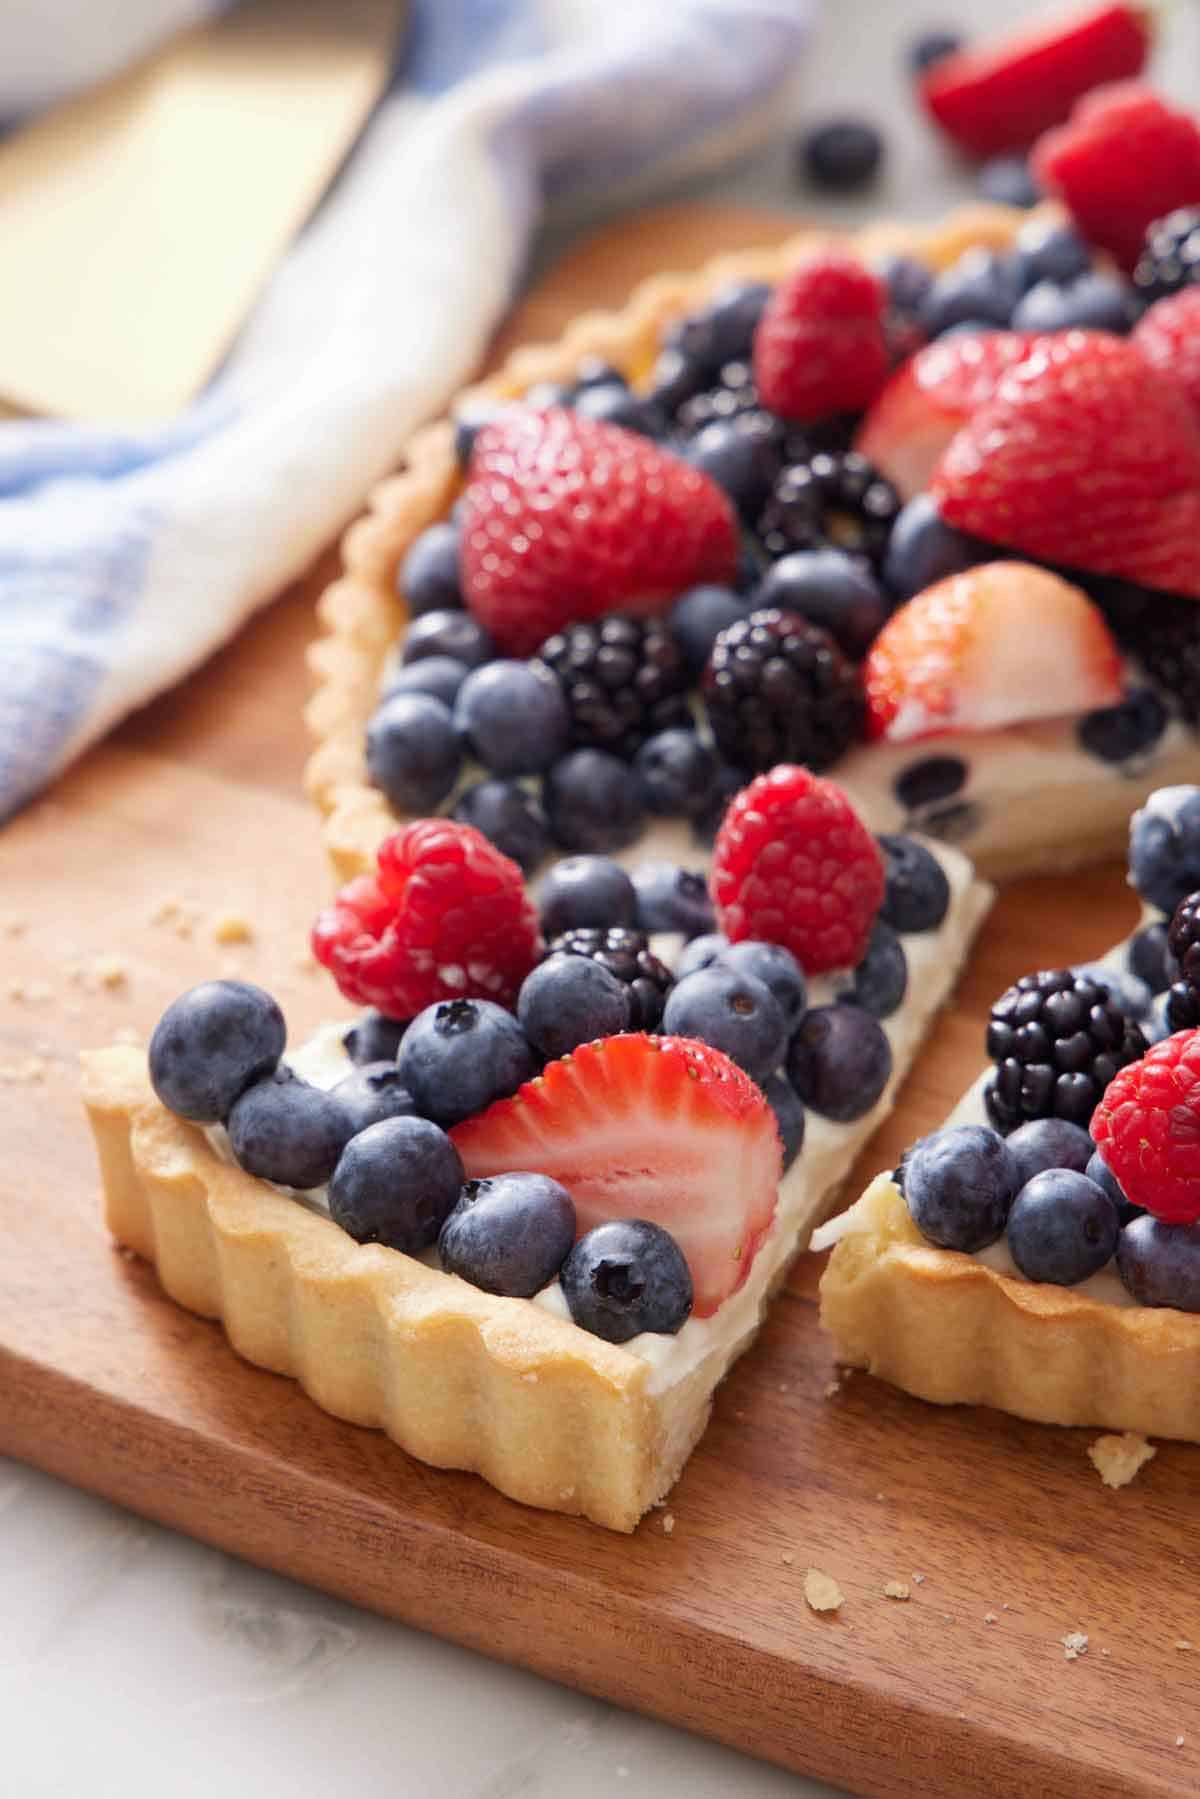
Tart Crust vs Pie Crust
These two doughs are built on different foundations with different textures as the goal.
A pie crust keeps large pieces of cold butter suspended in the flour. In the oven, they melt and steam, and the steam pushes the dough apart into flaky layers. Flakiness is the goal. Pie dough is also minimally worked, with as little moisture as possible added to produce the flaky, pastry-like texture.
A tart crust does the reverse. The butter is worked completely into the flour before any liquid is added, so no pieces are left to steam into layers. You get a short, tight, crisp crumb that holds a clean molded shape and slices without shattering. Many tart crusts, including this recipe, include an egg (unlike pie crust). Neither dough substitutes well for the other, so keep that in mind!
Key Ingredients
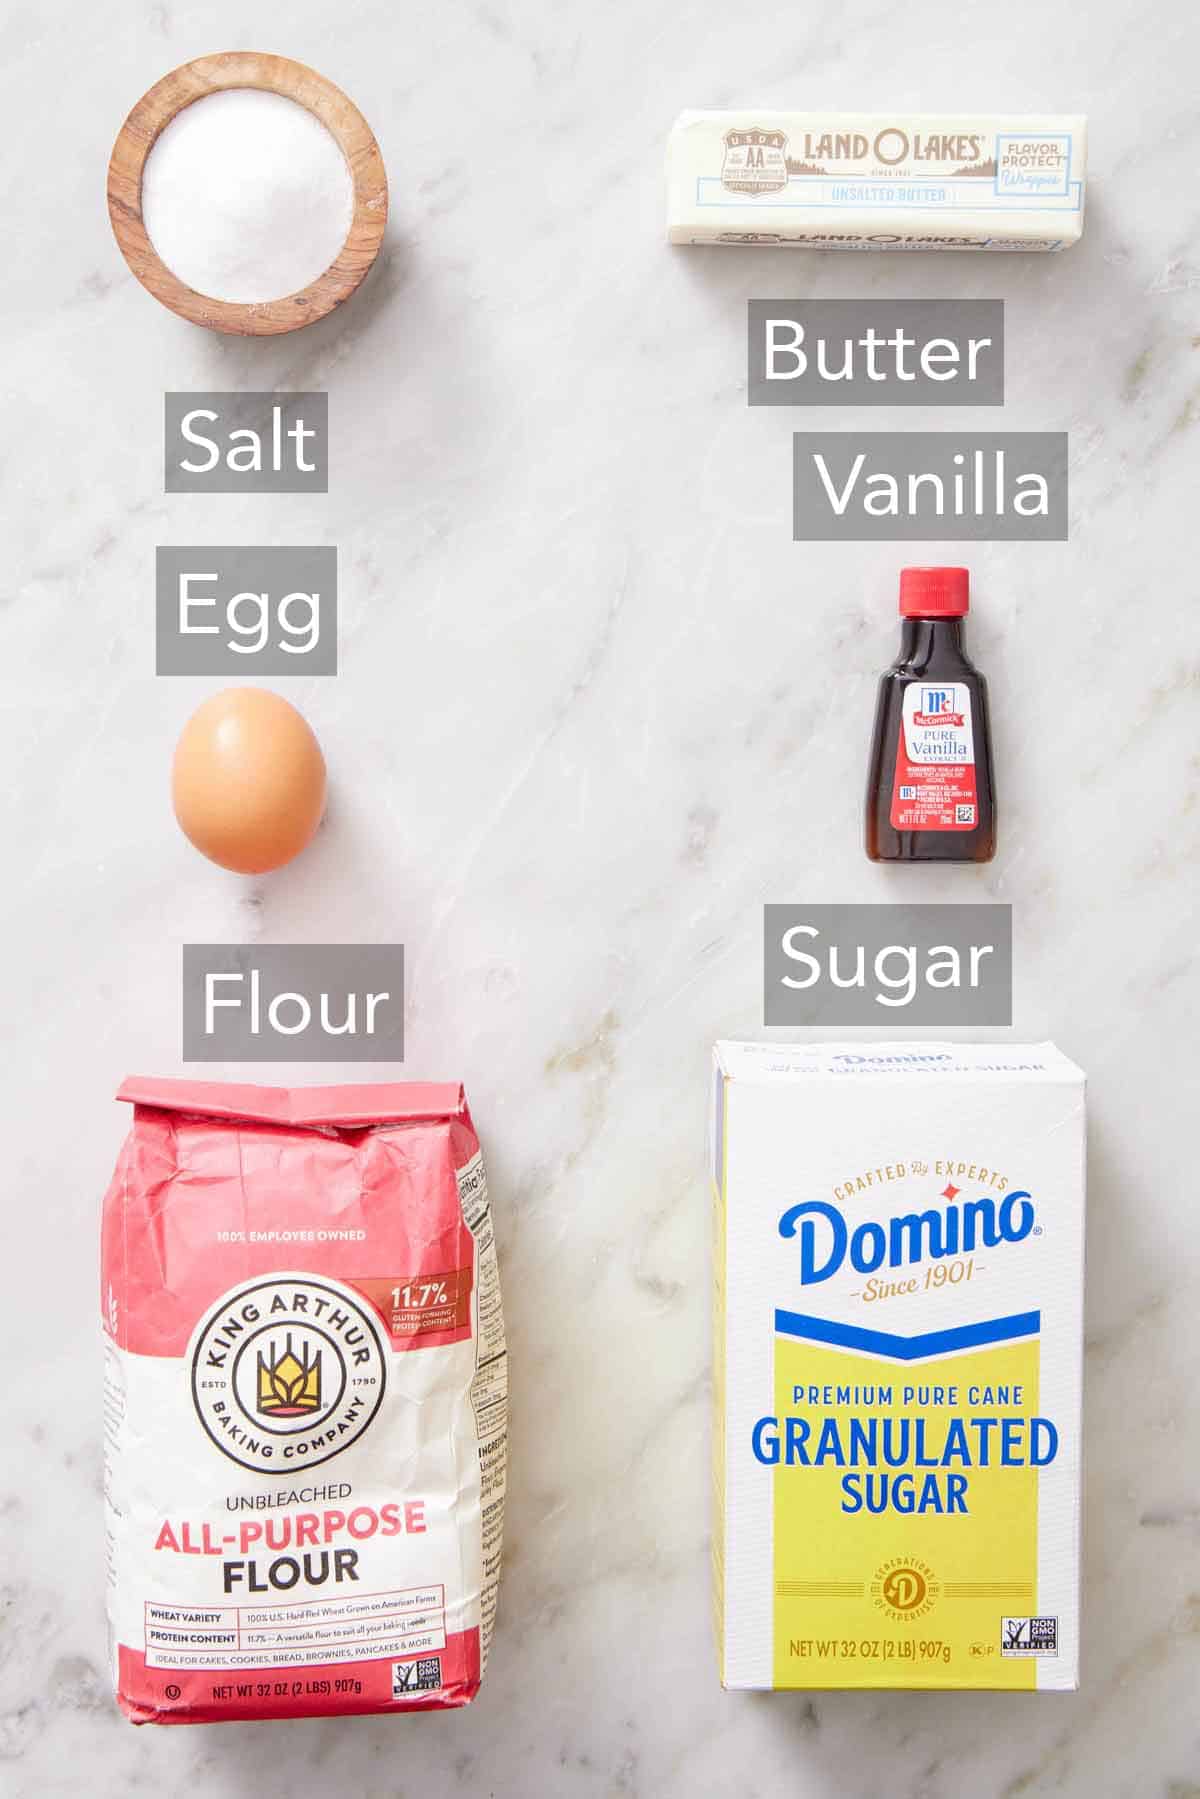
These are the main ingredients you need to make this easy tart crust. You can find the full list of ingredients and measurements in the recipe card below.
All-purpose flour — too much flour is the most common cause of a dough that is dry, crumbly, and will not come together at all. Be sure to weigh it with a scale or fluff and level it in a scoop if measuring by volume. (See Academy: How to Measure Ingredients Correctly for the full technique.)
Granulated sugar — sugar does more than sweeten here: it softens the gluten structure, which is part of why this crust bakes tender rather than tough.
Cold unsalted butter — if my kitchen is warm, I like to dice it and put it back in the fridge for ten minutes before I start. Warm butter smears into the flour instead of staying in distinct grains, and you lose the sandy texture this method depends on. Cube it, put it in the fridge, then get out your food processor, tart pan, and measure the other ingredients.
Large egg — the egg binds the dough and tenderizes it. Make sure it’s cold too, so it doesn’t warm up the butter when added. It is also the reason this dough behaves the way it does, which I get into below.
Why the Butter Gets Fully Worked In
The technique here is sablage, from the French sable, meaning “sand.” You rub or pulse cold butter into the dry ingredients until the mixture looks sandy, or like coarse breadcrumbs, and only then add the liquid.
The order matters, too. Coating the flour in fat first means the water in the egg cannot reach the flour proteins as easily. Less water contact means less gluten, and more tenderness.
The other traditional route is crémage, or creaming, where soft butter and sugar are beaten together first, and the flour goes in last. That method is in the Pro Tips if you would rather use a stand mixer.
How To Make A Tart Crust
Below, I’ve highlighted portions of the recipe in step-by-step process images along with instructions for making a tart crust. You can find the full set of instructions in the recipe card below.
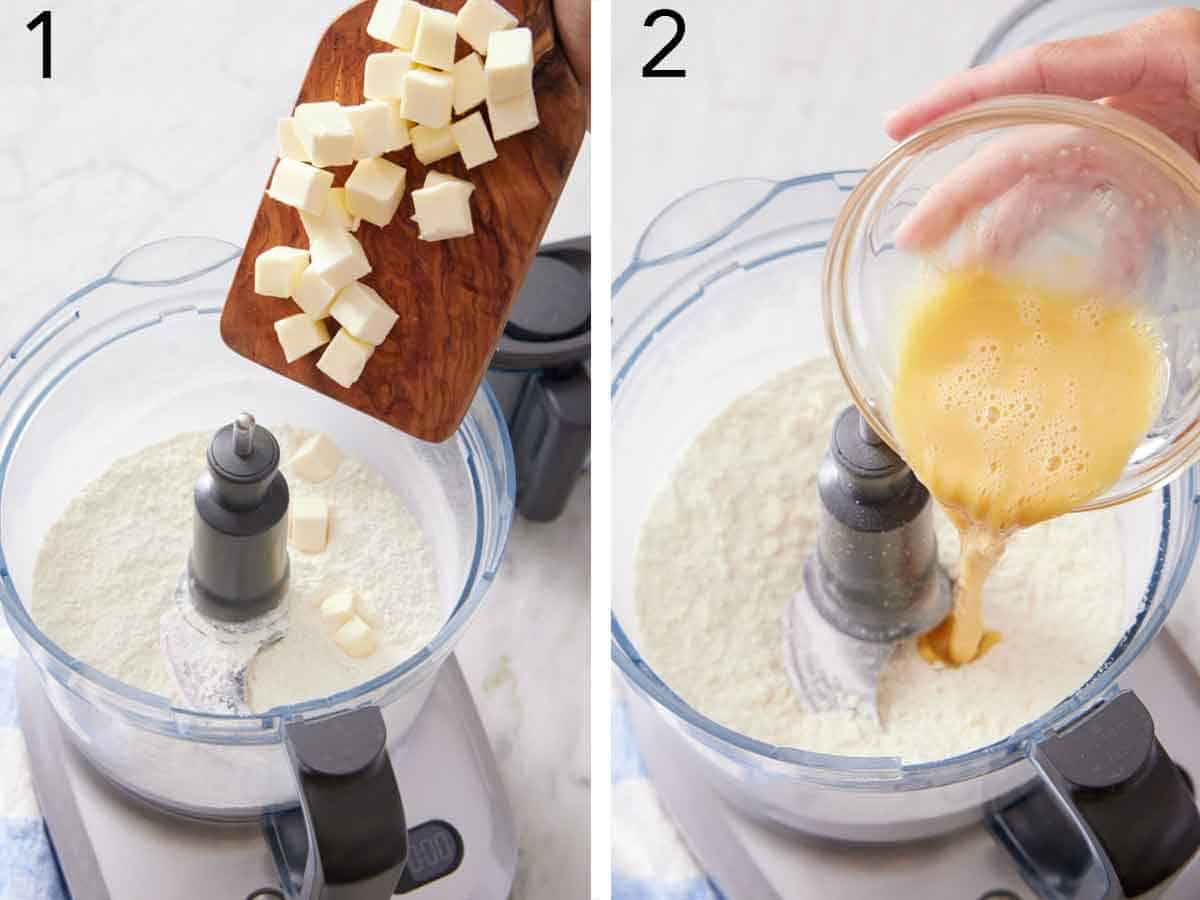
1. Pulse the flour, sugar, and salt together just to combine everything well. Add the cold diced butter and pulse 8 to 10 times, until the butter is broken down to about the size of peas. (The pieces will continue to get smaller as the dough is mixed.)
2. Whisk the egg and vanilla together, and pour the mixture into the food processor with the sandy butter and flour mixture.
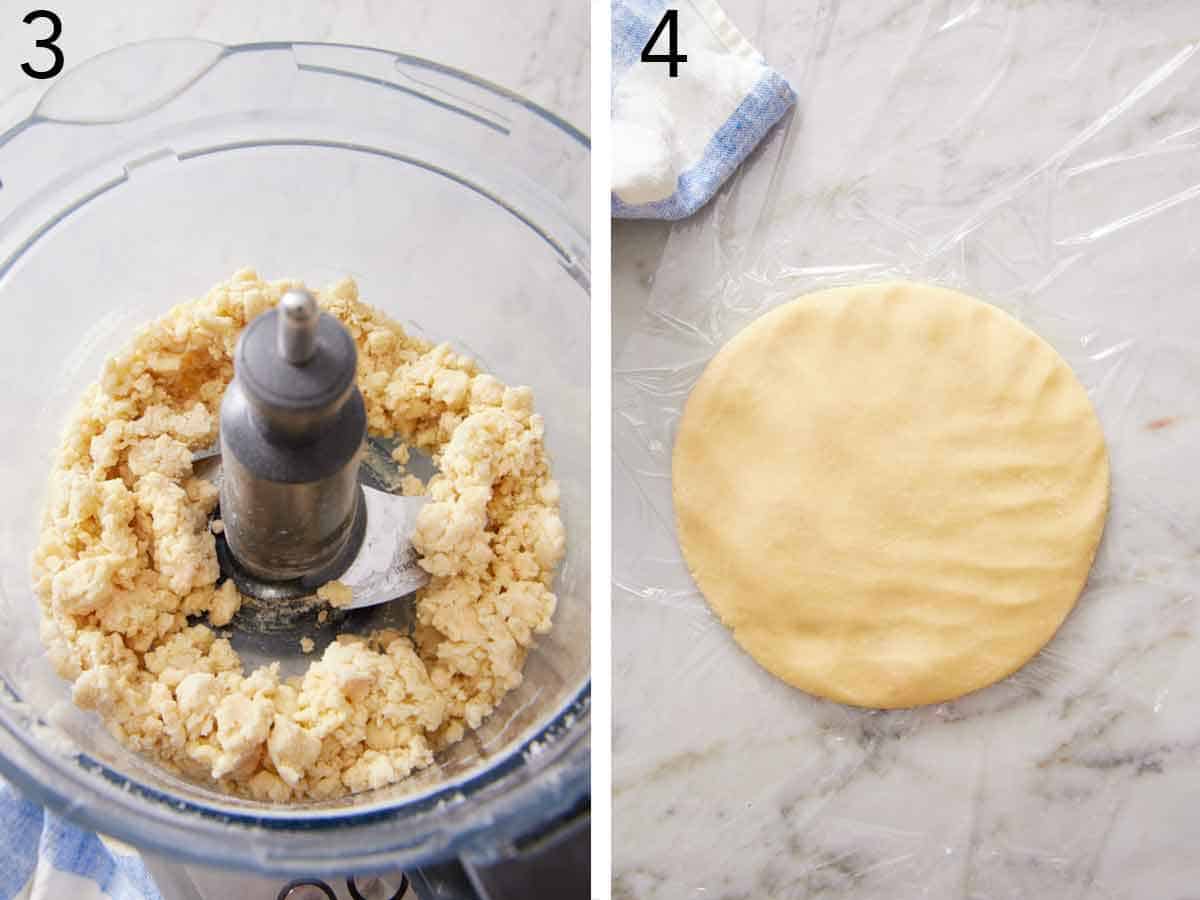
3. Process for about 5 seconds, just until the mixture looks crumbly. It may look like coarse breadcrumbs (Panko) or have formed little balls throughout the workbowl.
4. Turn it out onto a floured surface and knead 3 to 5 times, just enough to bring it into a cohesive ball. Flatten to a 1-inch disc, wrap, and chill 1 hour or freeze 30 minutes.
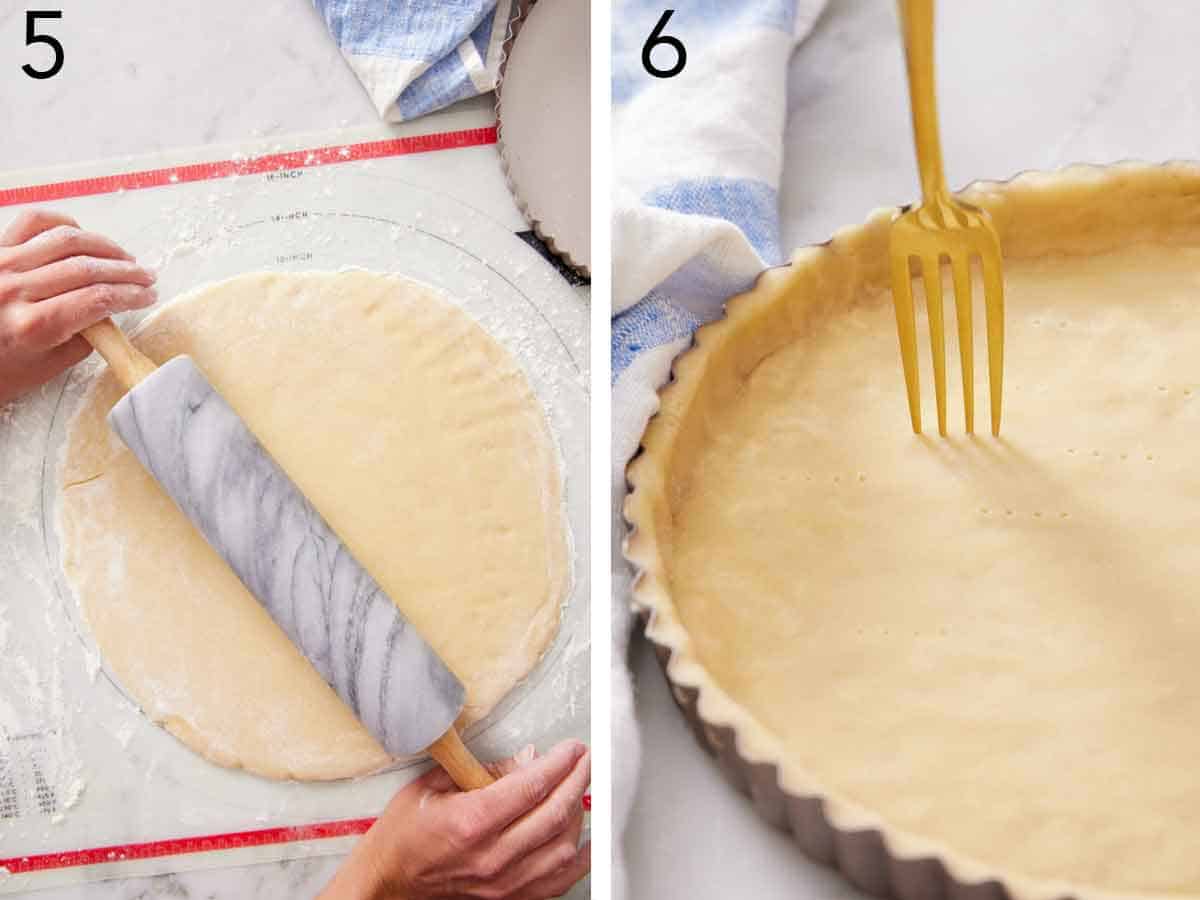
5. Roll on a well-floured surface to an 11-inch circle that’s about an eighth of an inch thick. Fold the rolled sheet into quarters, lift into a 9-inch or 10-inch tart pan, unfold, and press the dough into the corners and up the sides. Trim the dough flush with the rim. Chill again in the fridge for 1 hour or 30 minutes in the freezer. This time is important to set the crust so it doesn’t shrink too much or slump down the sides of the tart pan.
6. When you’re ready to bake, prick the base 8 to 10 times, line it with parchment, fill with pie weights, and bake at 375°F. The bake time will vary depending on whether you want it parbaked or fully baked. (General baking times for both are in the recipe card, or you can follow a recipe’s specific instructions based on the filling you will use.)
If Your Dough Cracks When You Roll It
This is very common, so don’t think you did something wrong.
Why it happens: Because the flour is coated with fat prior to adding the egg, and egg is the only liquid used (no added water), the dough develops a less strong gluten structure. This is excellent for the baked texture and tenderness! But it’s less elastic, so when you roll out the dough, it’s more prone to cracking. It can also happen if the dough is too cold. If you chilled it for more than 1 hour, the butter in the dough is very hard and doesn’t want to press under the rolling pin as easily, so it cracks.
What to do about it: first, don’t panic (it’s an easy fix!). Second, let it warm up slightly on the counter before you continue rolling. If it cracks immediately, the dough is too cold and stiff. Cover it, and leave it for 5 to 10 minutes, then try again.
Patching A Cracked Crust
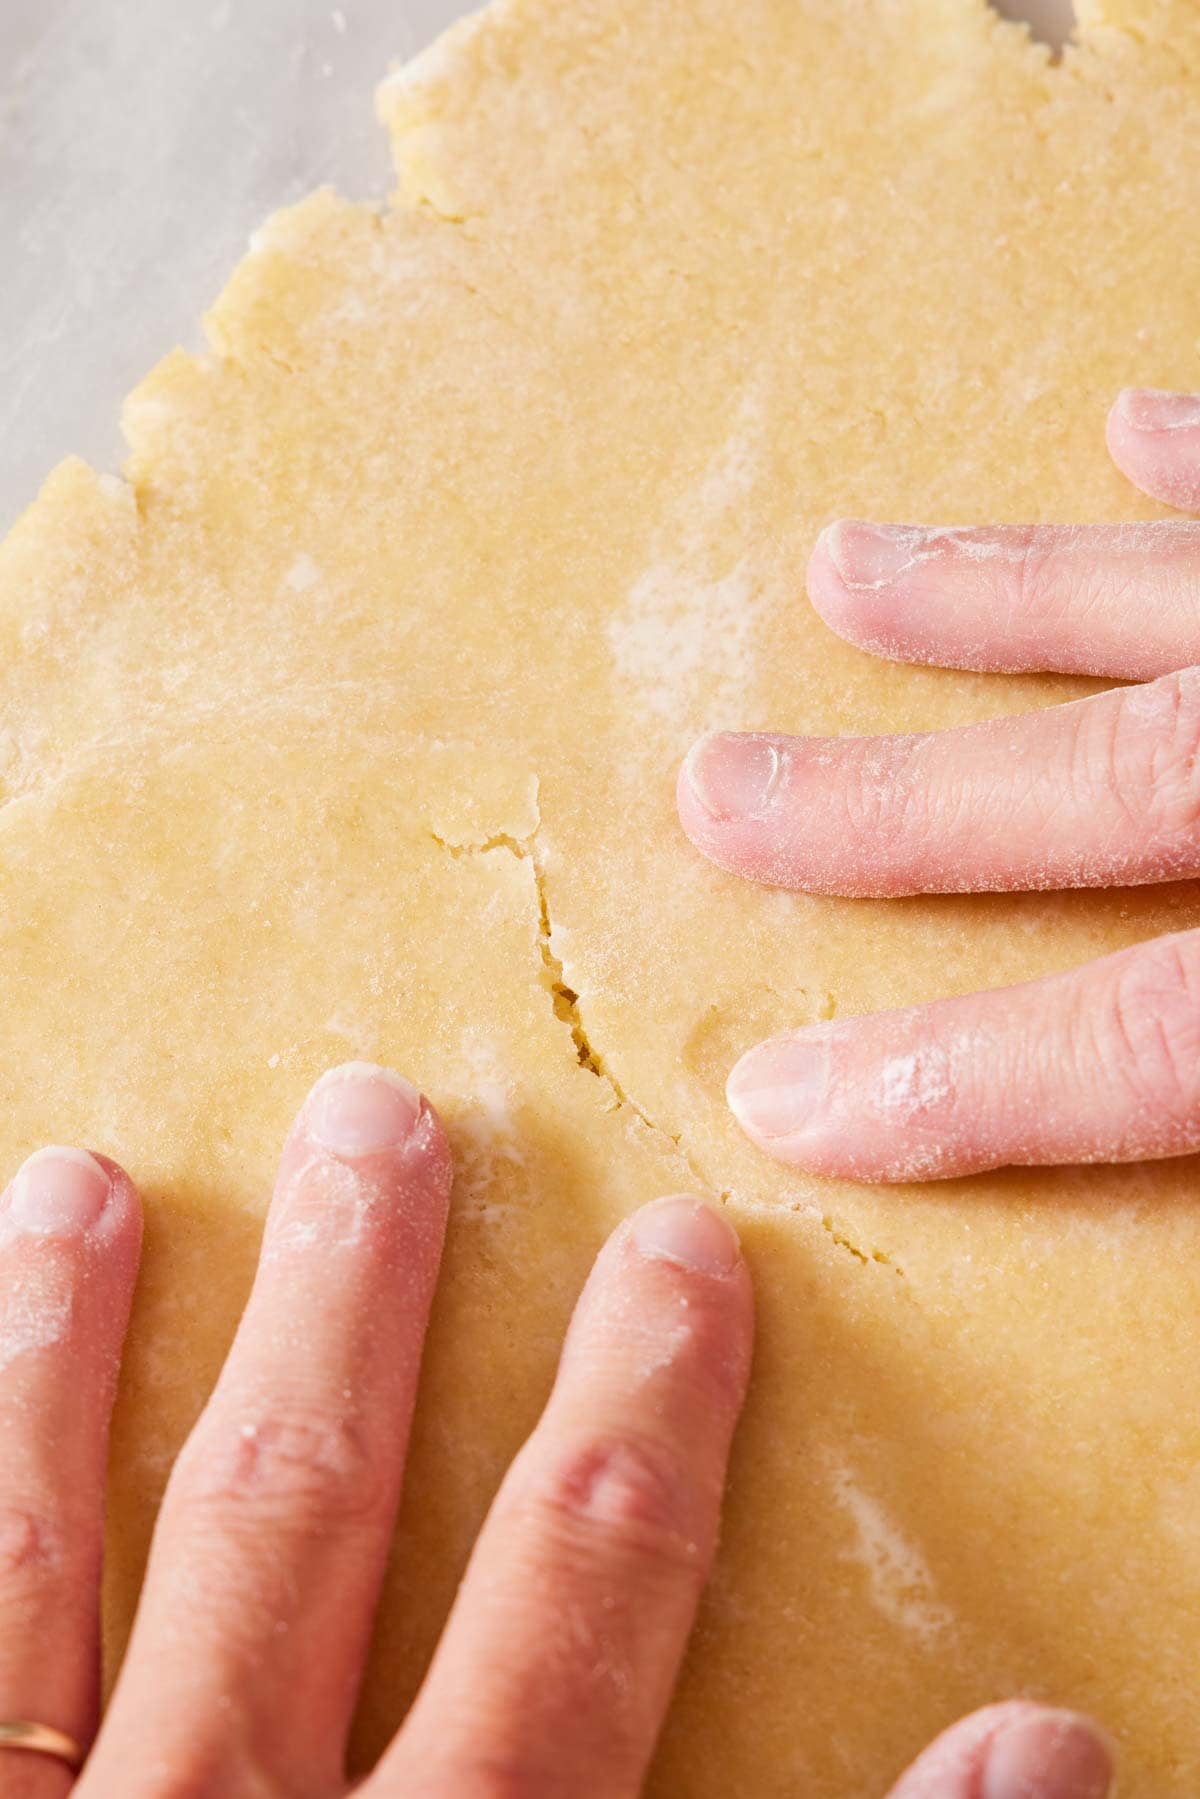
Cracks in the dough when rolling it out or when you place it in the pan are not a problem. When rolling, press any cracked areas back together with your fingers, then continue rolling. Use gentle pressure when you first go over the cracks so they seal, instead of getting pushed back apart.
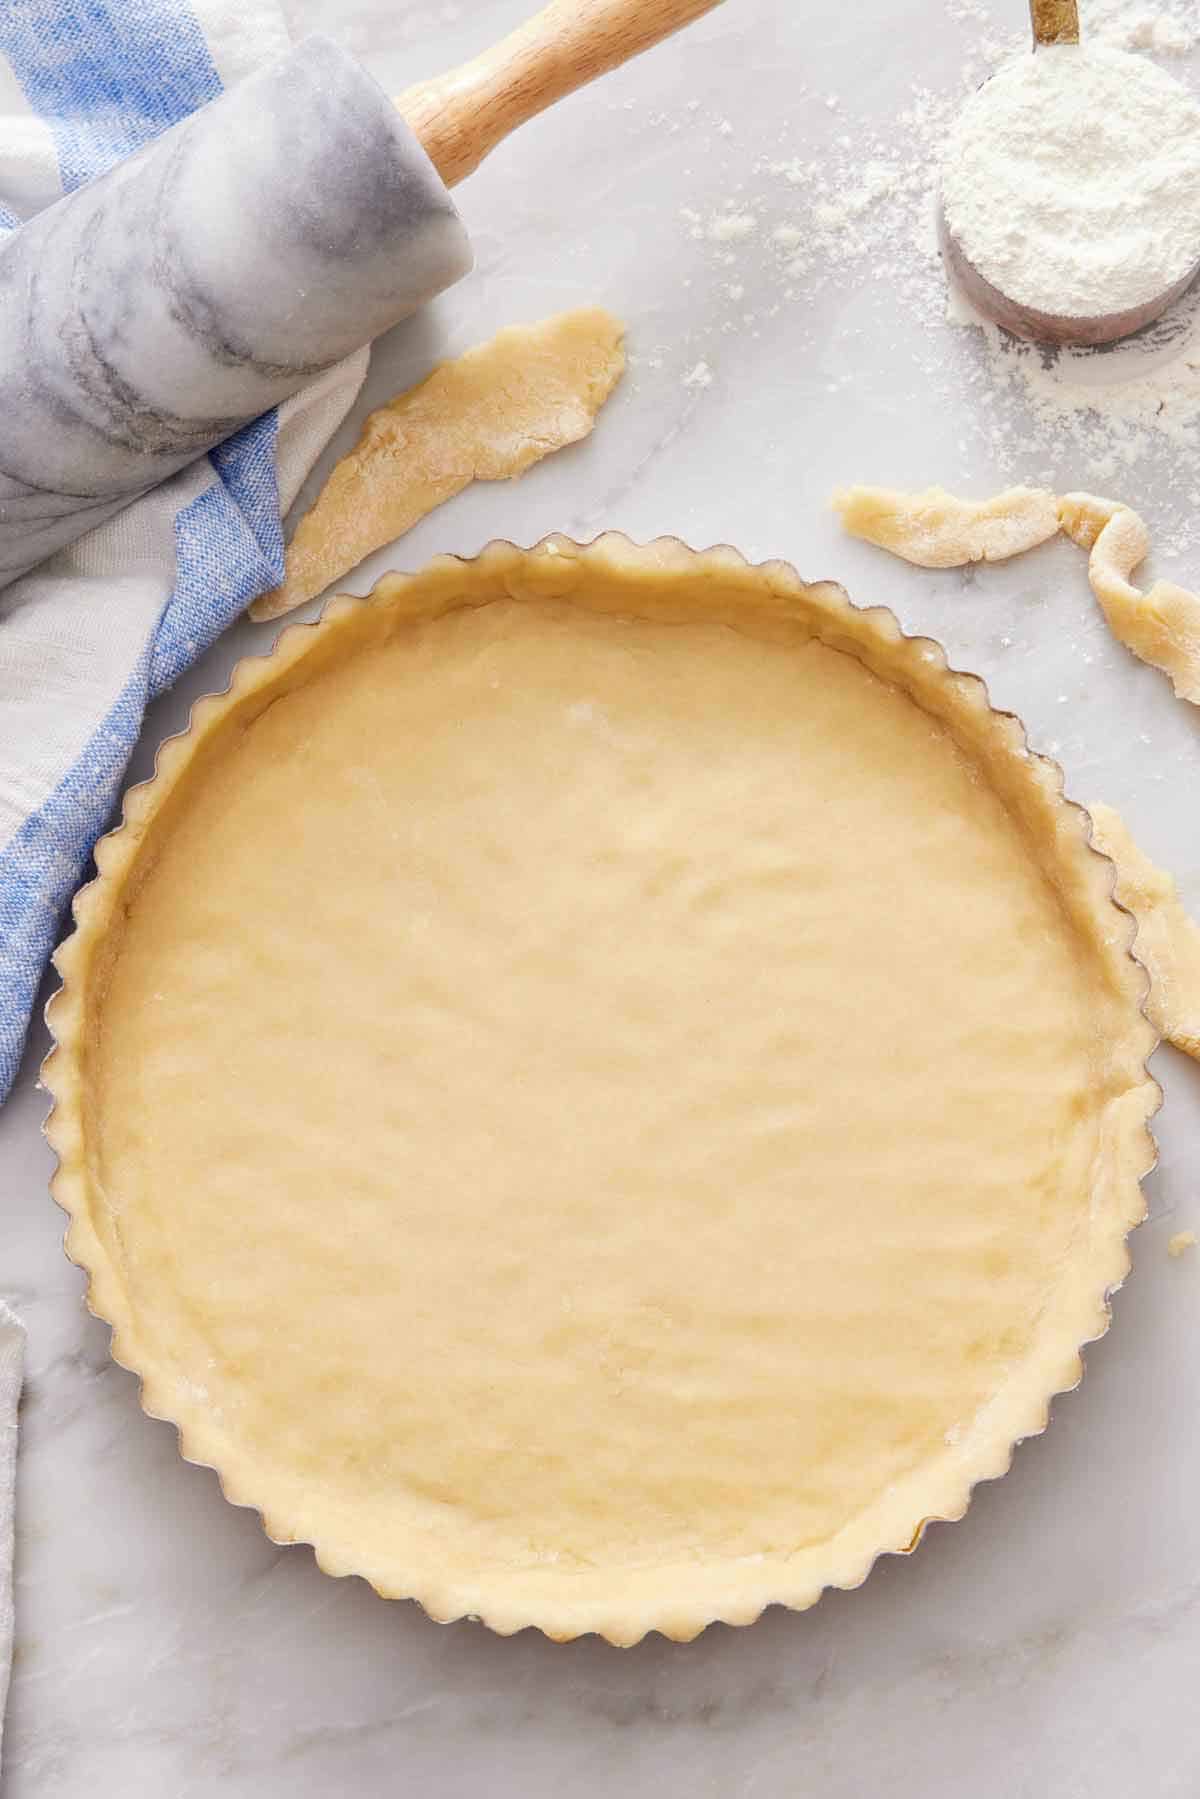
If it cracks in the pan, do the same, pressing the cracks back together. You can also flatten a scrap of trimmed dough into a thin patch and press it over the gap. It fuses in the oven and disappears under the filling. A patched base bakes exactly like an unpatched one, as long as you don’t see any gaps before it goes in the oven.
Press-In Crust Option
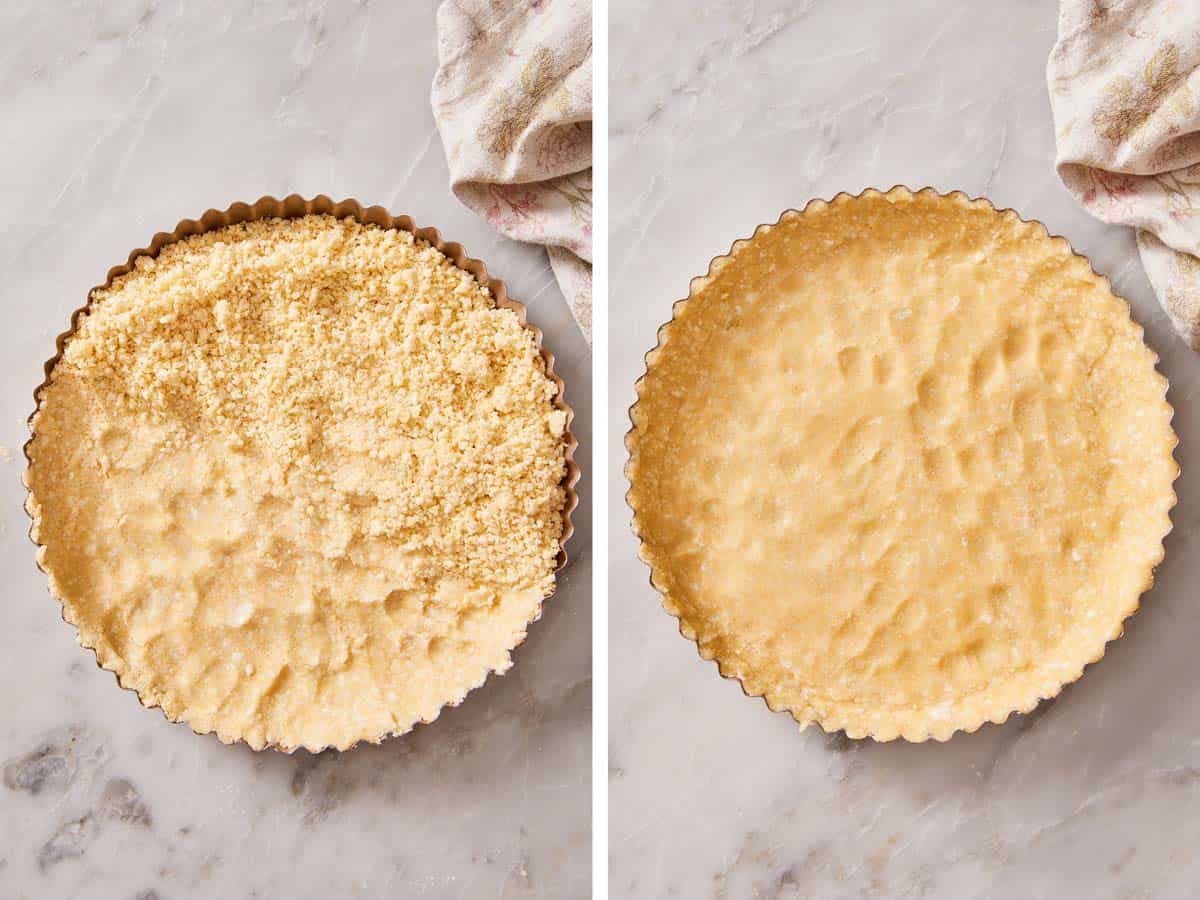
This is a great way to make it on a weeknight if you don’t want to roll out the dough, or you don’t have a rolling pin. To press the dough straight into the pan, mix the dough in the food processor, then scatter it across the base of the tart pan. Press the dough up into the sides with your thumbs, then press it into an even layer in the bottom. Use the back of a small spoon or a flat-bottom measuring scoop to square off the corner where the base meets the wall. Chill or freeze, then bake as directed in the recipe.
Aim for even thickness rather than speed. Make sure all of the cracks and gaps are smoothed out before baking! If any show before baking, they can get bigger in the oven and the filling will seep into the crust, making it soggy. You can see in the images below that, when I tested this method, the dough looked very crumbly at first, but it pressed into a compact layer easily. It won’t be as perfectly smooth as a rolled crust, but the rustic nature of it will mostly be hidden by the filling!
Blind Baking: Parbake or Fully Bake
There are two methods for cooking the tart crust. Which one you need depends entirely on the filling you intend to use!
Parbake when the filling still has to bake. Oven-set custards, frangipane, quiche-style fillings. Bake at 375°F for 12 minutes with weights, then 8 to 10 minutes without, until the surface looks dry and just barely golden. It finishes in the oven with the filling.
Fully bake when using a no-bake filling. Pastry cream and fruit, ganache, or curd. Follow the same instructions but bake for 14 to 16 minutes more after the weights come out, until it is properly golden brown all over. Cool completely before filling, or the residual heat will loosen or melt whatever you put in it.
Don’t skip the pie weights! An unweighted base puffs in the middle, and you lose the flat bottom, and your filling won’t fit properly. You don’t need specific ceramic pie weights either—dry beans or rice work great.
Can I Make Mini Tarts With This Recipe?
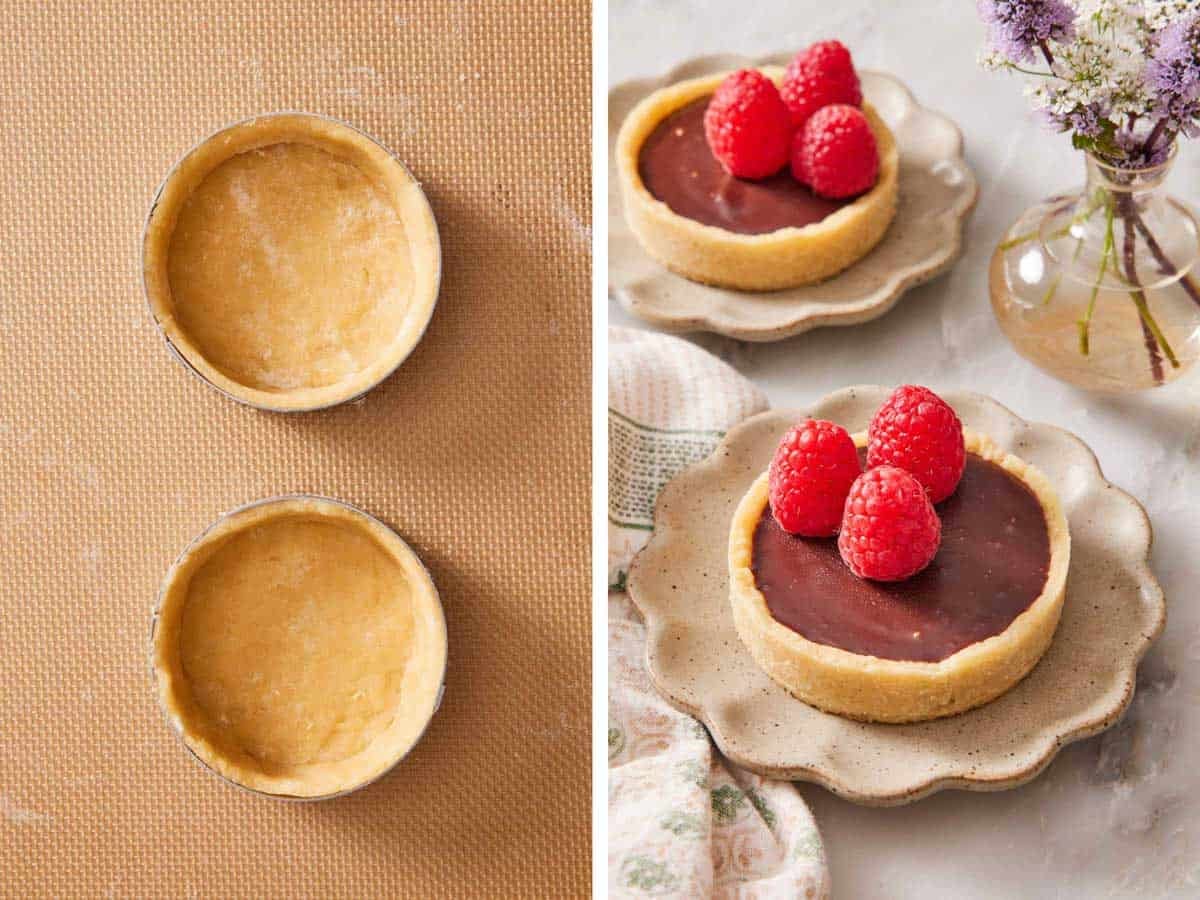
Yes! Many readers and I use this recipe to make mini tarts with great success! Roll and cut circles about an inch wider than your molds, or press the dough in. Or, if you have French tart ring molds, cut a circle to fit the mold as the base, then cut a strip for the sides. I show you exactly how to shape this style of mini tart in my YouTube video in the recipe card below!
Bake the smaller tarts at 350°F. The exact bake time will change based on the size of your mini tarts—a 4” tart shell takes roughly 12-15 minutes.
Pro Tips For The Best Tart Crust
Chill twice, not once. Once as a disc, and once in the pan. The first chill hydrates the dough and firms up the butter so the dough is easier to roll and mold. The second chill is what stops the sides from slumping down the pan wall in the oven.
Don’t have a food processor? Make this tart crust or pâte sucrée using the creaming method. This is a slightly more traditional method. First, beat the butter and sugar together until fluffy and lightened in color. Add the egg and mix to combine. Then mix in the flour and salt until the dough is very crumbly. Continue as written in step 3. The high sugar and fat content help reduce the development of gluten, so the crust will be tender and crumbly even when using the mixer.
Use powdered sugar. This sweet tart crust recipe is a version of a pâte sucrée, which is sometimes made with confectioners’ sugar. You can substitute ⅓ cup of powdered sugar for the granulated sugar if you’d like. It works with either the food processor or the mixer method, too!
Filling and Making The Crust Ahead
Wrapped as a disc, the dough keeps for 3 days in the fridge and 3 months in the freezer. If a refrigerated disc is too firm to roll, give it 10 minutes on the counter.
You can also shape it in the pan, wrap it in plastic and then foil, and freeze it for up to 3 months. Bake it straight from frozen, no thawing. Follow my instructions for Academy: How to Freeze Pie Crust for specific instructions on storing the tart crust dough disc or shaped in the pan long-term in the freezer.
A fully baked shell holds 2 days at room temperature, covered, in its pan, or 3 months double-wrapped in the freezer.
For fillings: vanilla pastry cream with berries is the one I make most. Ganache or lemon curd both work, and both need an hour or two in the fridge to set. Or follow my fruit tart, French apple tart, or strawberry tart recipes using this crust!
Tart Crust Recipe
Equipment
- Food processor or pastry blender
- 1, 9 or 10-inch tart pan
Ingredients
- 1½ cup all-purpose flour (180g)
- ¼ cup granulated sugar (50g)
- ¼ teaspoon salt
- ½ cup cold unsalted butter diced (113g)
- 1 large egg cold
- ½ teaspoon vanilla extract
Instructions
- Food processor method: In the bowl of a food processor, pulse to combine the flour, sugar and salt. Add the cold butter and pulse 8 to 10 times until the butter is the size of peas. In a small bowl, whisk the egg and vanilla until well combined. Add the egg mixture to the flour mixture and process for about 5 seconds until the mixture resembles coarse breadcrumbs (like panko).
- Mix by hand: In a large mixing bowl, whisk to combine the flour, sugar, and salt. Add the cold butter and cut it into the flour mixture using a pastry blender or by pressing it together with your fingers until it resembles coarse breadcrumbs. In a small bowl, whisk to combine the egg and vanilla. Add it to the flour mixture and stir and knead to combine.
- Turn the dough out onto a floured surface. Knead 3 to 5 times to bring it together into a cohesive ball. Flatten it into a disc shape, about 1 inch thick, and wrap it with plastic wrap. Refrigerate for 1 hour or freeze for 30 minutes.
- To roll-out the crust, place the crust on a well-floured surface and sprinkle flour all over the top. WIth a rolling pin, roll the crust into an 11-inch circle, about ⅛-inch thick. If it starts to crack when rolling, cover it and let it sit for 5 minutes, and try rolling it again.
- Fold the crust into quarters, place it in a 9-inch or 10-inch tart pan, and open it up, centering it in the pan. Press the crust into the corners and sides of the pan. (If the crust cracks or breaks, you can press it back together or press a piece of excess crust into any holes.) Trim any overhang at the top rim of the pan. Refrigerate the crust for 1 hour or freeze it for 30 minutes.
- To parbake: Preheat the oven to 375°F. Prick the bottom of the crust 8 to 10 times with the tines of a fork. Line the crust with parchment paper and fill with pie weights. Bake for 12 minutes. Remove the pie weights and bake for another 8 to 10 minutes, until the crust looks dry and lightly golden brown.
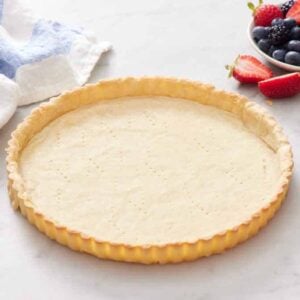
- To fully bake: Follow the parbake instructions above. After removing the baking beans, cook for 14 to 16 minutes, until the crust is golden brown. Let it cool completely before filling.
Notes
- This makes enough tart dough for one 9- or 10-inch tart pan or several small tarts. I can usually get four 4-inch tarts from one recipe. (Rolling instructions are for larger tart pans.)
- Use a pan with a removable base. A push-up bottom is essentially for easily removing the crust without risk of breaking it. You can simply press up on the bottom to release, or place the pan on a tall, wide object and slide the side of the pan down. Use a thin spatula to ease the tart shell off of the base, if needed.
- If the dough starts to crack while you’re rolling it out…it might be too cold. Cover it and let it sit for 5-10 minutes, then try rolling it again.
- Bake the scraps! The trimmings are essentially shortbread and make a great chef’s snack. Press them together, roll to ¼-inch-thickness, cut, and bake at 350°F for about 10 minutes.
Nutrition
Have you tried this recipe? Tag me today!
Mention @preppykitchen and tag #preppykitchen!
Frequently Asked Questions
For this recipe, yes. Some tart doughs are stiff enough to hold their shape, but this one is softened by the whole egg and will dome slightly in the center without weights. Dried beans or rice work as well as ceramic weights. Don’t forget to prick the base first!
Use a gluten-free all-purpose blend that already contains xanthan gum. Without gluten, the dough often stays too crumbly to come together after the egg, so add water a tablespoon at a time until it does. It will also be easier to press in the crust, rather than rolling it.
A shallow metal pie pan works best as a swap. Trim the dough level with the inside top edge of the pan rather than draping it over the rim, since there is nothing to crimp here. Prick and fill with pie weights just like using a tart pan. You will lose the fluted wall, which is most of a tart’s appeal, so use a tart pan if you can.
A nonstick fluted pan with a removable bottom, 9 or 10 inches. This recipe also fits a 9-inch square pan or a rectangular pan up to 14 by 5 inches, rolled an inch larger than the pan in each direction.
More Recipes To Try
Try one of these dessert recipes next!
- Fruit Tart — this crust filled with pastry cream and fresh fruit is the classic French tart.
- Lemon Bars — uses a press-in shortbread crust like this tart crust and is parbaked before adding the lemon curd on top.
- Shortbread Cookies — a crisp, buttery cookie with powdered sugar to create the tender yet crisp texture.
- Lemon Tart — a sharp curd filling in a fully baked shell.
- Apple Tart — an easy, fresh apple filling baked directly into the tart crust.
If you’ve tried this tart crust recipe, then don’t forget to rate it and let me know how you got on in the comments below. I love hearing from you!






