

This post may contain affiliate links. Please read our disclosure policy.
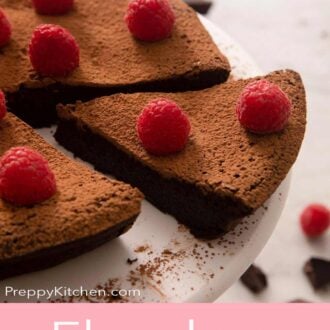
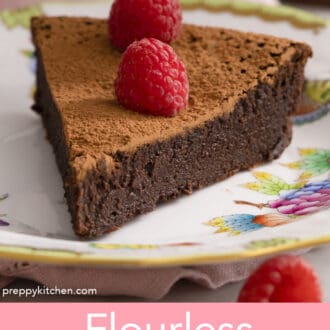
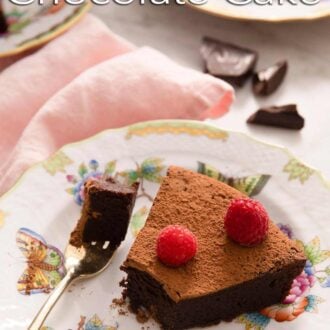
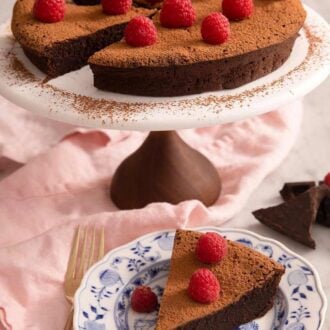
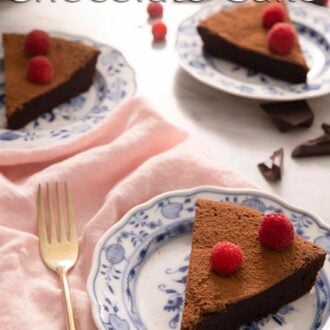
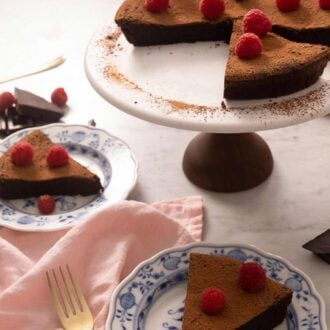
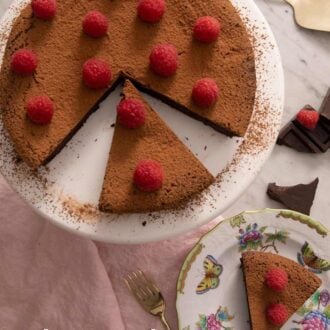
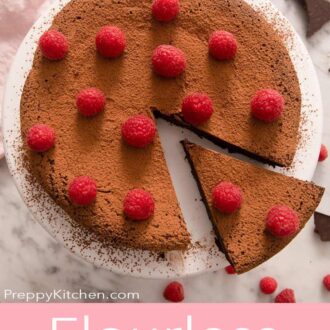
Dense and fudgy, my flourless chocolate cake is intensely chocolatey thanks to melted bittersweet chocolate and cocoa powder. You only need one bowl and a few ingredients—no mixer, no water bath, and no flour is required (it’s naturally gluten-free!).
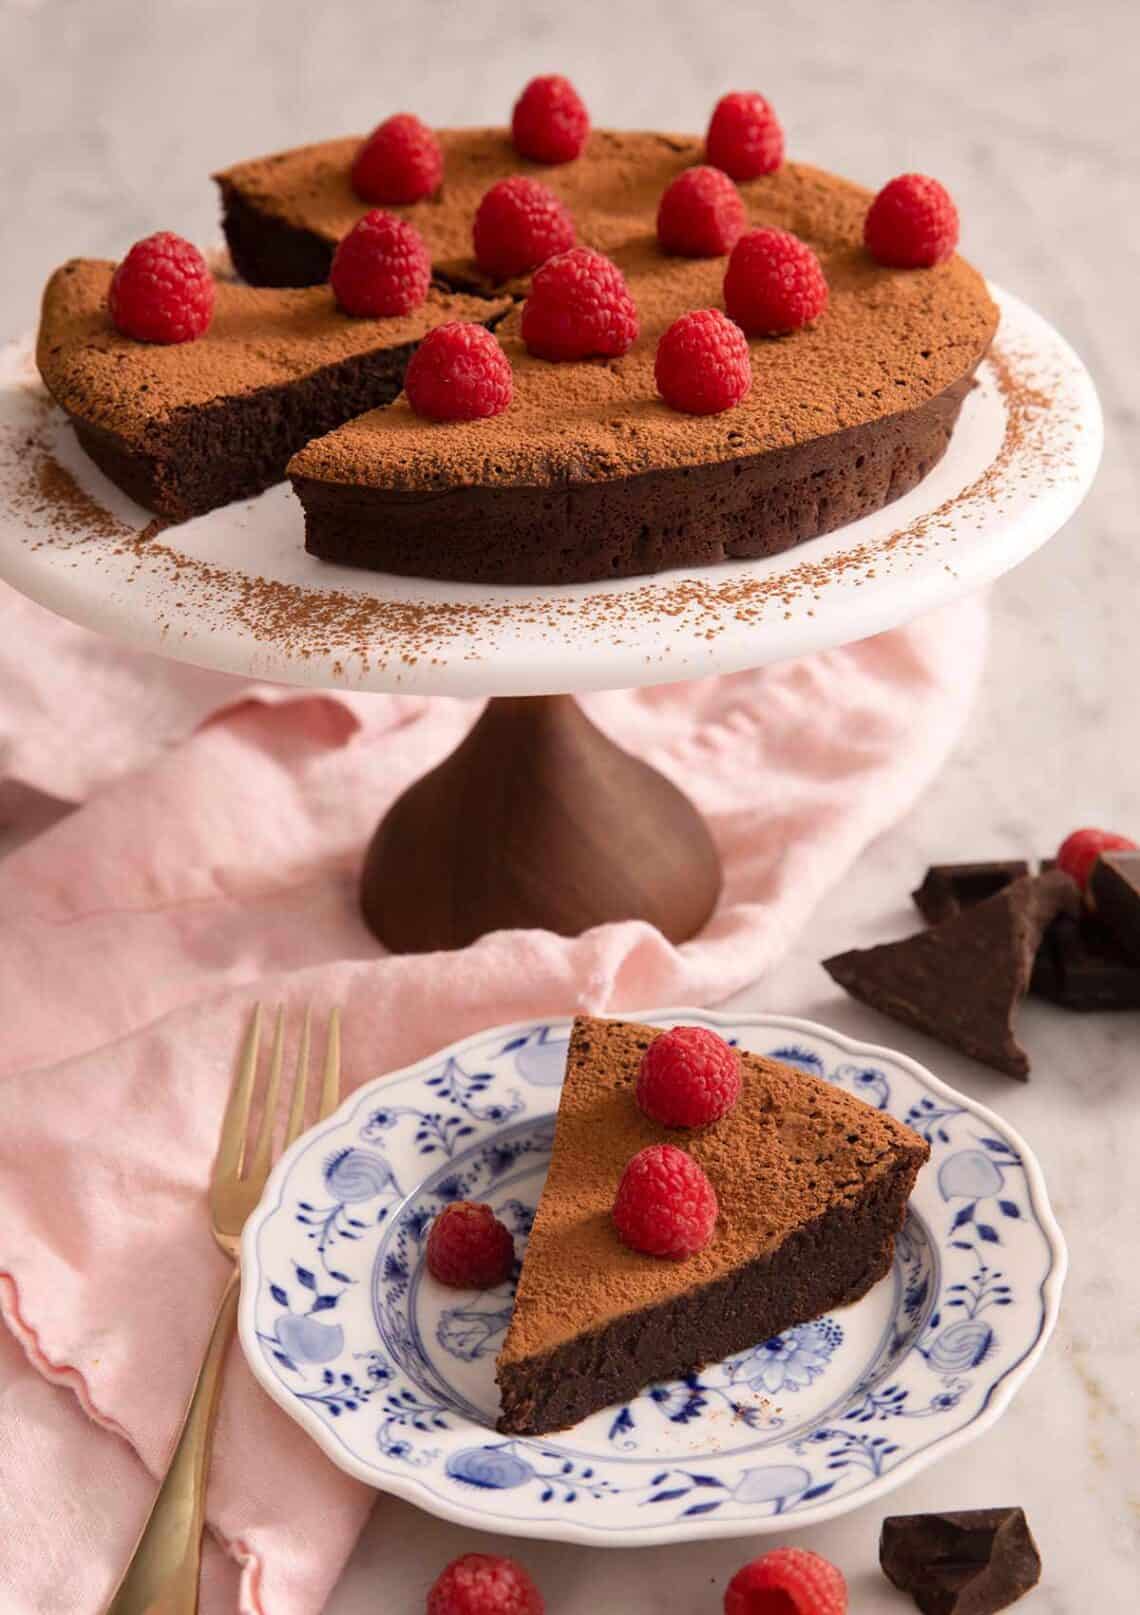
The decadence of a flourless chocolate cake comes down to two things: the chocolate you use and how long you bake it. There’s no flour to add texture and no leavening to lift it—melted bittersweet chocolate, butter, cocoa, sugar, and eggs doing all the work. And that’s exactly why I love it! It comes together in one bowl, no mixer or water bath needed, and bakes in about 20 minutes into something dense and fudgy that’s closer to a chocolate truffle than a cake. Because there’s no flour at all, it’s also naturally gluten-free.
I tested several versions of this cake, and the one I kept coming back to used both melted chocolate and cocoa powder. The melted bar gives the cake its body and that truffle-like texture once set; the cocoa drives the flavor darker and deeper.
“I have been baking this cake regularly for the past 3 years for my daughter’s birthday. She loves it!! Thank you for a fabulous recipe!!”
Asha
Key Ingredients
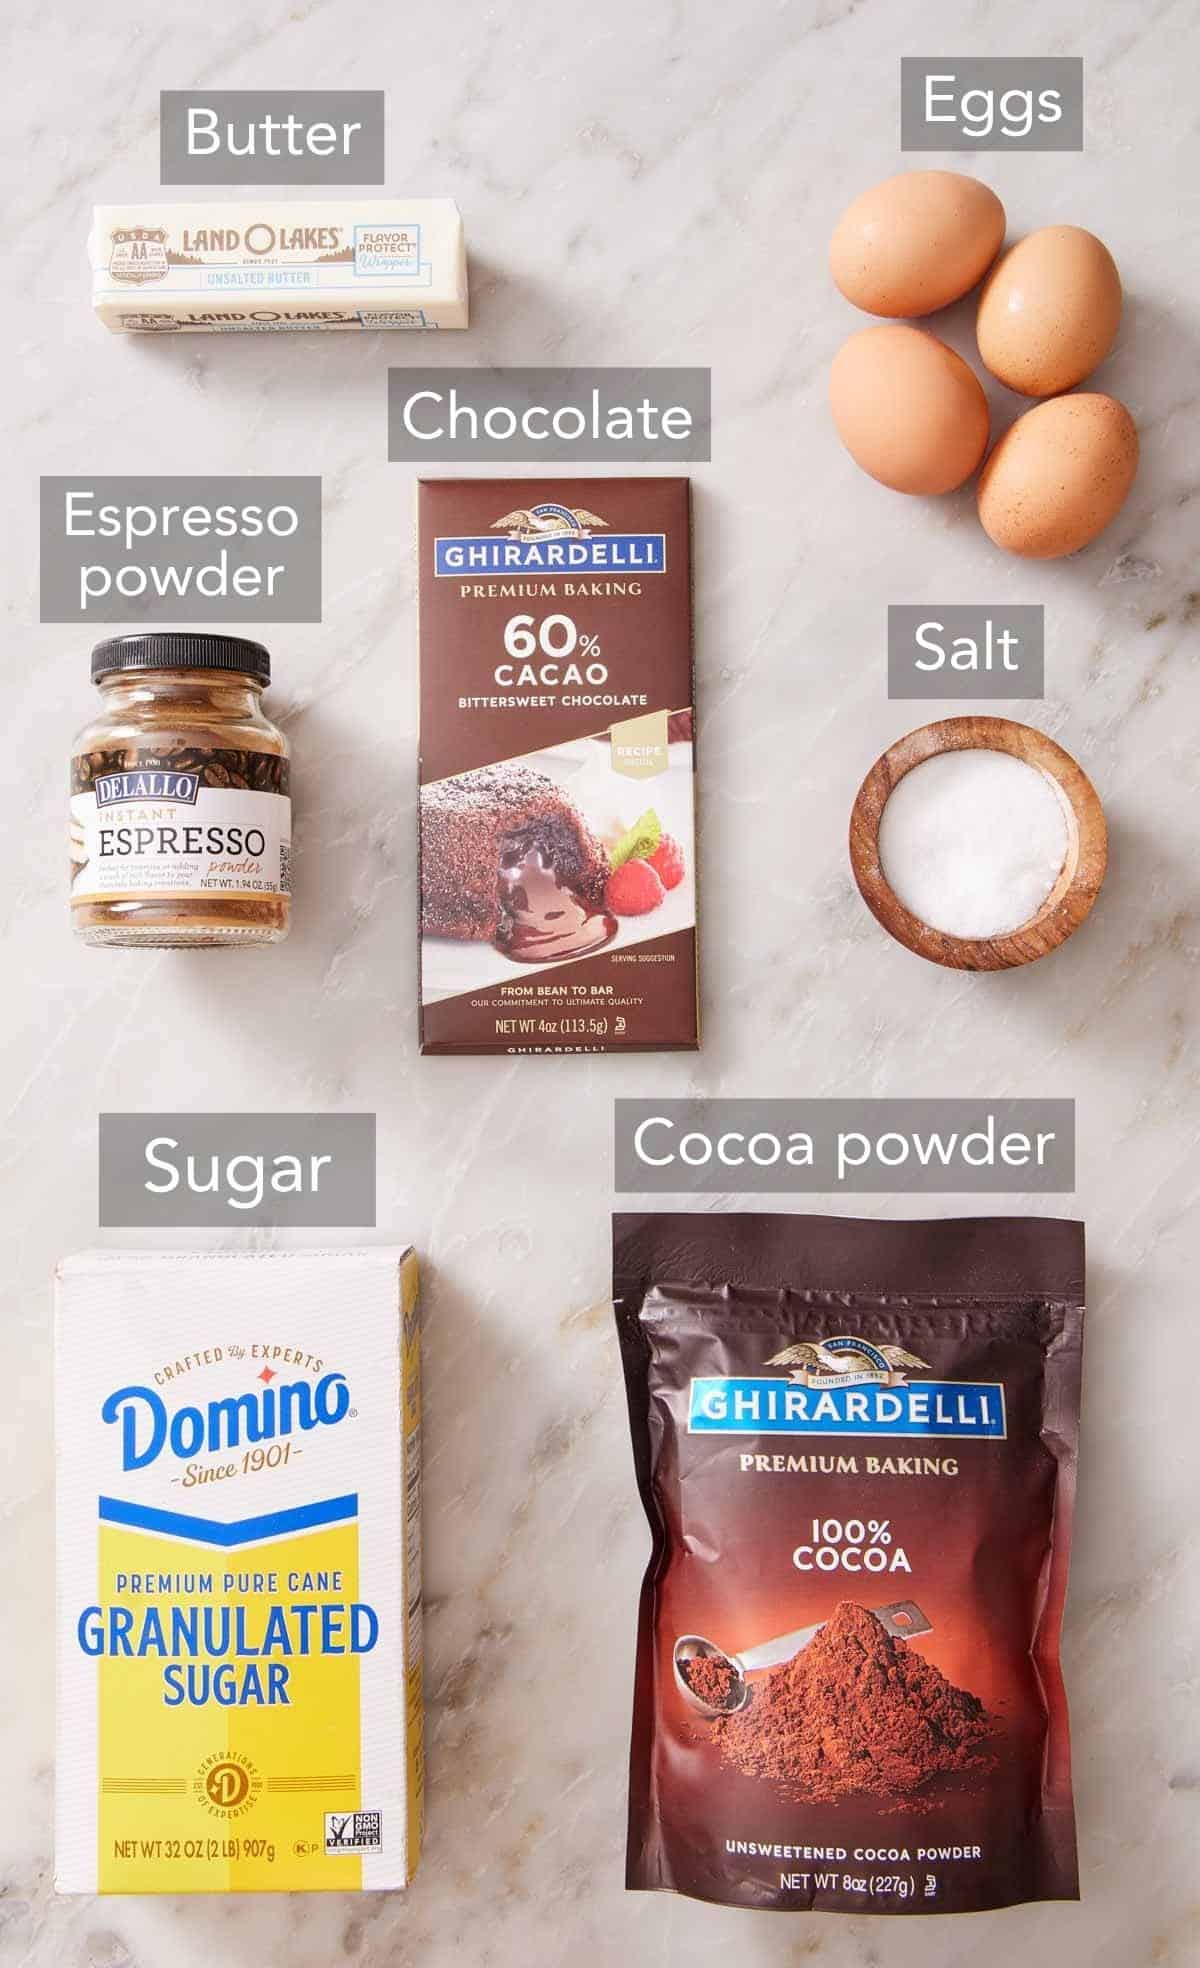
These are the main ingredients you need to make this gluten-free, flourless chocolate cake. You can find the full list of ingredients and measurements in the recipe card below.
Bittersweet chocolate — I use a good-quality 60% bittersweet bar and chop it myself. Bars melt more smoothly and taste better than most chocolate chips, which carry stabilizers that can prevent a smooth melt. You can use semisweet if that’s what you have, or prefer a less dark chocolate flavor.
Cocoa powder — this recipe uses natural unsweetened cocoa powder, which gives a brighter, cleaner chocolate flavor. Dutch-processed cocoa works too and pushes the color darker and the flavor smoother and richer. Use whichever you like, since there’s no baking soda or powder here for the acidity to interact with! I have tested this recipe with both types with great results every time. I do recommend you sift whichever kind you use. Cocoa clumps and the lumps don’t fully whisk out of the thick batter.
Butter — use unsalted to control the flavor. If all you have is salted, cut the added salt to just a pinch. You can learn more about making the swap and why I mostly use unsalted butter in baking in my Academy lesson: Salted vs. Unsalted Butter.
Sugar — plain granulated works perfectly in this cake. It sweetens the cake and interacts with the egg proteins to form the right texture once set. Without the sugar, the cake would feel dry and crumbly.
Espresso powder — this is optional, and it won’t make the cake taste like coffee, but it deepens the chocolate flavor. I add it almost every time I make a chocolate dessert! It’s the ingredient you don’t realize is there, doing work, until it’s missing.
Eggs — you need four large eggs at room temperature. They’re the entire structure of this cake since there’s no flour or leavening. Cold eggs will seize the warm chocolate, pull them out of the fridge 30 minutes ahead, or soak them in a bowl of warm water for 10 minutes.
How To Make Flourless Chocolate Cake
Below, I’ve highlighted portions of the recipe in step-by-step process images along with instructions for making this easy flourless chocolate cake. You can find the full set of instructions in the recipe card below.
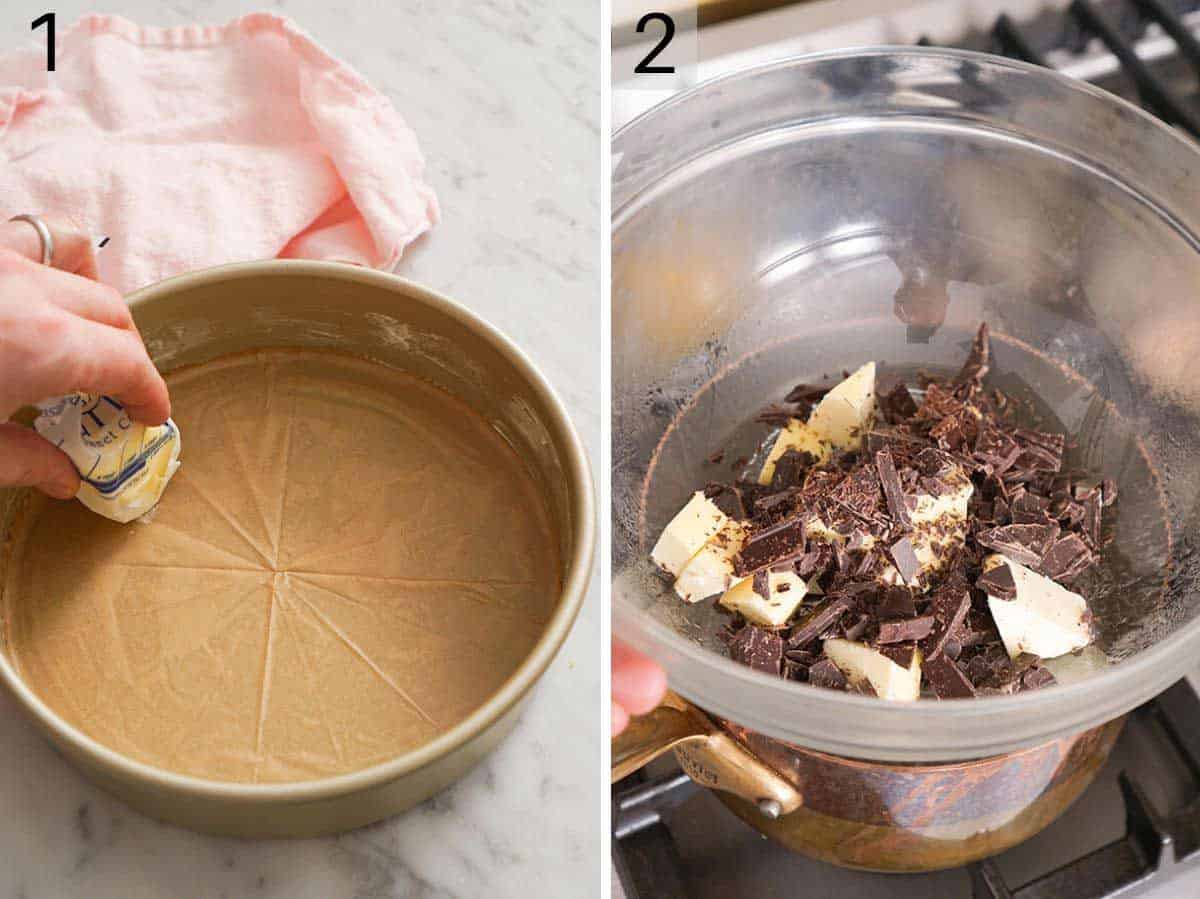
1. Prep the pan. To prevent the cake from sticking, butter an 8-inch round cake pan on the bottom and sides, then line the bottom with parchment paper. The paper lining really helps this fudgy cake release cleanly, so I wouldn’t skip it. You can lightly butter the paper, too, if you’d like some extra insurance.
2. Melt low and slow. Set the chocolate and butter in a heatproof bowl over about 2 inches of simmering water. Make sure the bottom of the bowl is above the water, not touching it. Stir occasionally until melted and smooth. I use a double boiler rather than the microwave here for one reason: control. Chocolate scorches fast and turns grainy once it overheats. Gentle, indirect heat is the easiest way to avoid that.
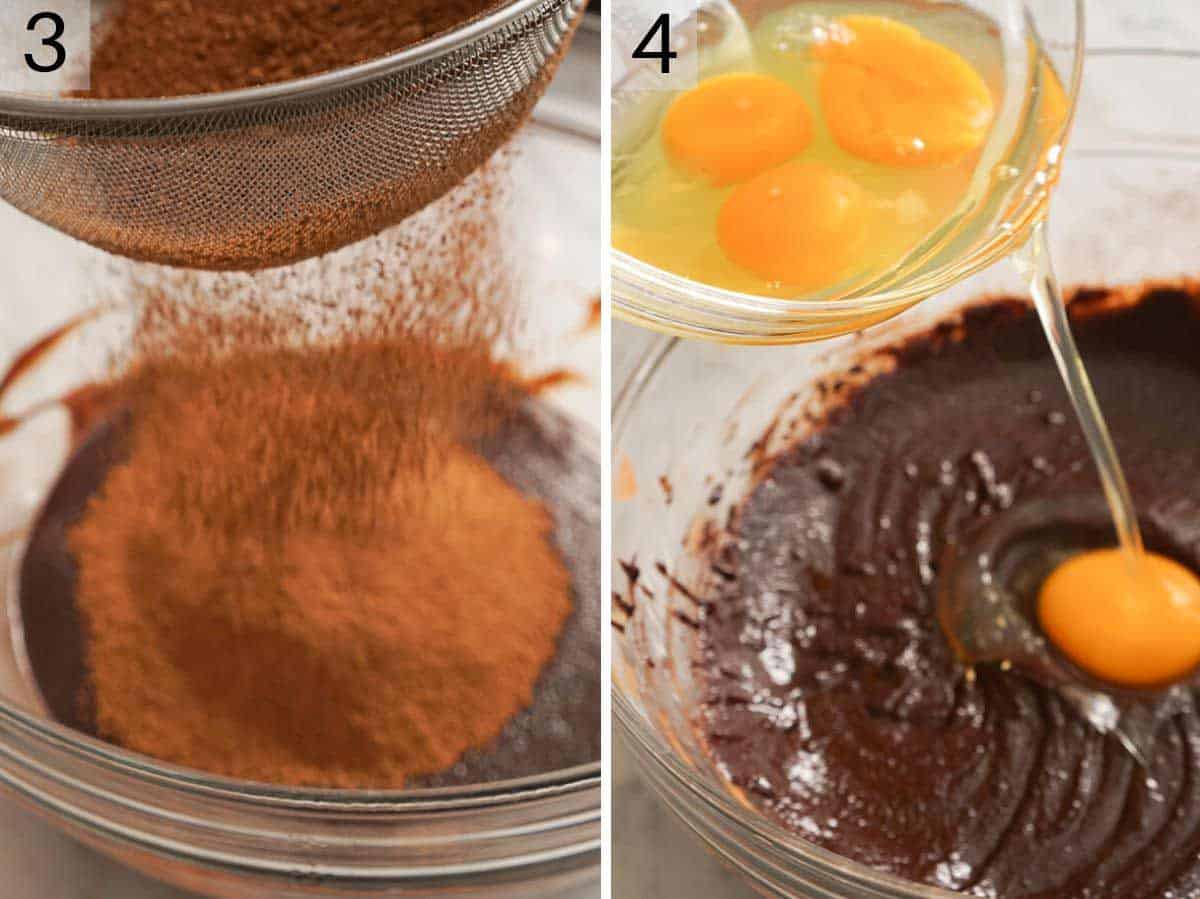
3. Mix the batter. Take the bowl off the pot, sift in the cocoa, then whisk in the sugar, salt, and espresso powder. The mixture might look grainy or curdled at this point, but don’t worry. The eggs bring it together.
4. Add the eggs one at a time, whisking well after each. Adding them one by one keeps the warm chocolate from cooking any single egg, and you’ll feel the batter turn glossy and thick. Don’t beat them too hard, though—if you whip too much air in, your cake will bake with big bubbles. Whisk to combine the eggs well, but you don’t need to be vigorous or make the batter fluffy.
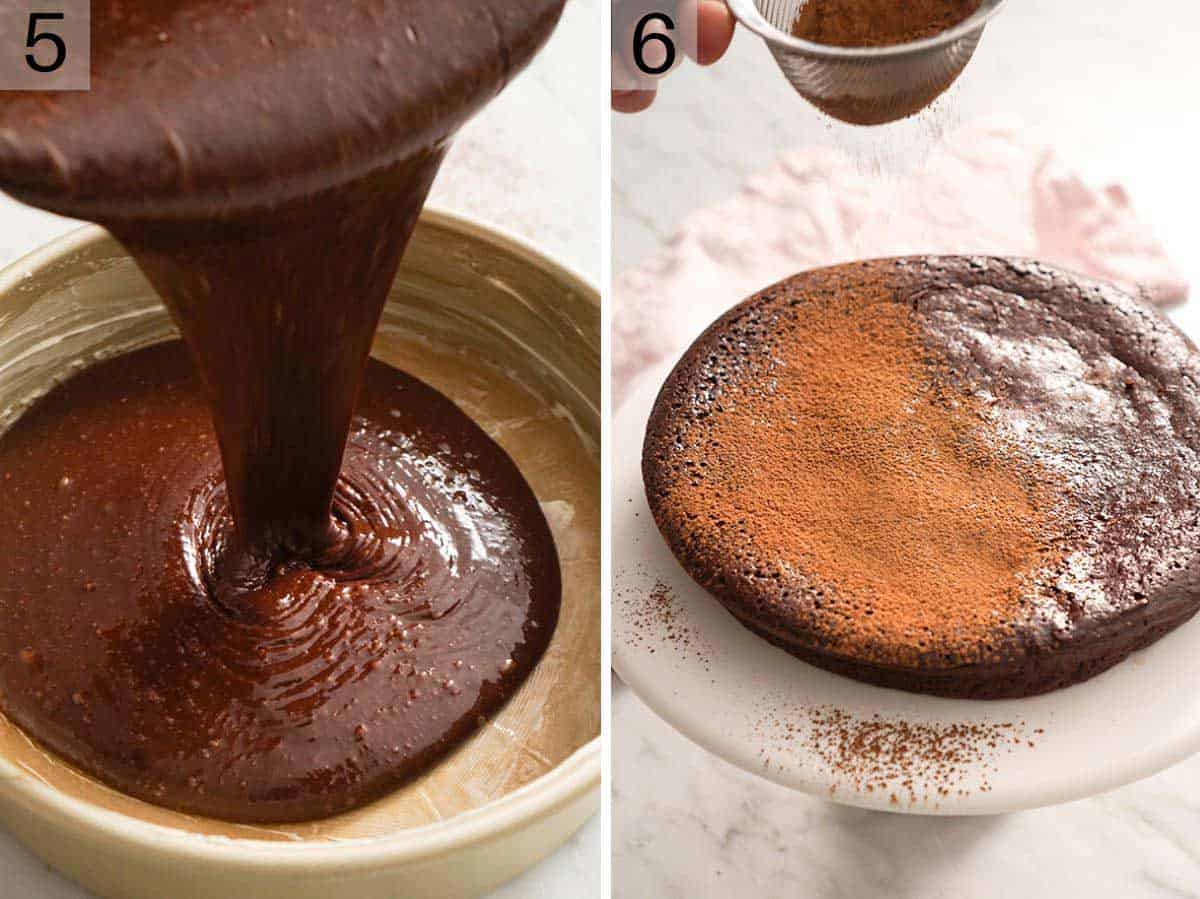
5. Bake for a gooey center. Pour the batter into the prepped pan and bake at 350°F for about 20 minutes. You’re looking for edges that are slightly puffed and set, while the very center stays shiny and slightly gooey. That underdone-looking middle is the point — it firms as it cools into the fudgy, truffle-like texture this cake is known for. I tested a longer bake time, keeping it in the oven until the center puffed up, and the cake turned crumbly and felt dry instead of fudgy.
6. Cool, then release. Let it sit in the pan for a few minutes, then run a knife around the edges of the pan, and invert onto a serving plate to cool completely.
Why Did My Cake Rise Unevenly?
This is a common reader question I’ve gotten over the years! If you’ve made this cake and noticed a large bubble forming during baking or the cake rises more on one side than the other, it’s okay! It happens to me on occasion, too. It won’t affect the taste or texture of the cake.
During recipe testing I found because the cake batter is thick and the only leavener in the cake is eggs, how much you mix the batter can affect how it rises. Beating it more traps more air, so as the eggs cook and the air expands, it can form air pockets under the surface of the cake that form a bump. This is also likely to happen if you overbake the cake.
To help prevent this, you can tap the pan on the counter a few times before baking it to release any larger trapped air bubbles. Also, don’t over-bake it—the longer it bakes, the more the eggs will rise and trapped air will expand. The edges should be set, and the center should still appear shiny. If you see a large bump forming, your cake is probably done.
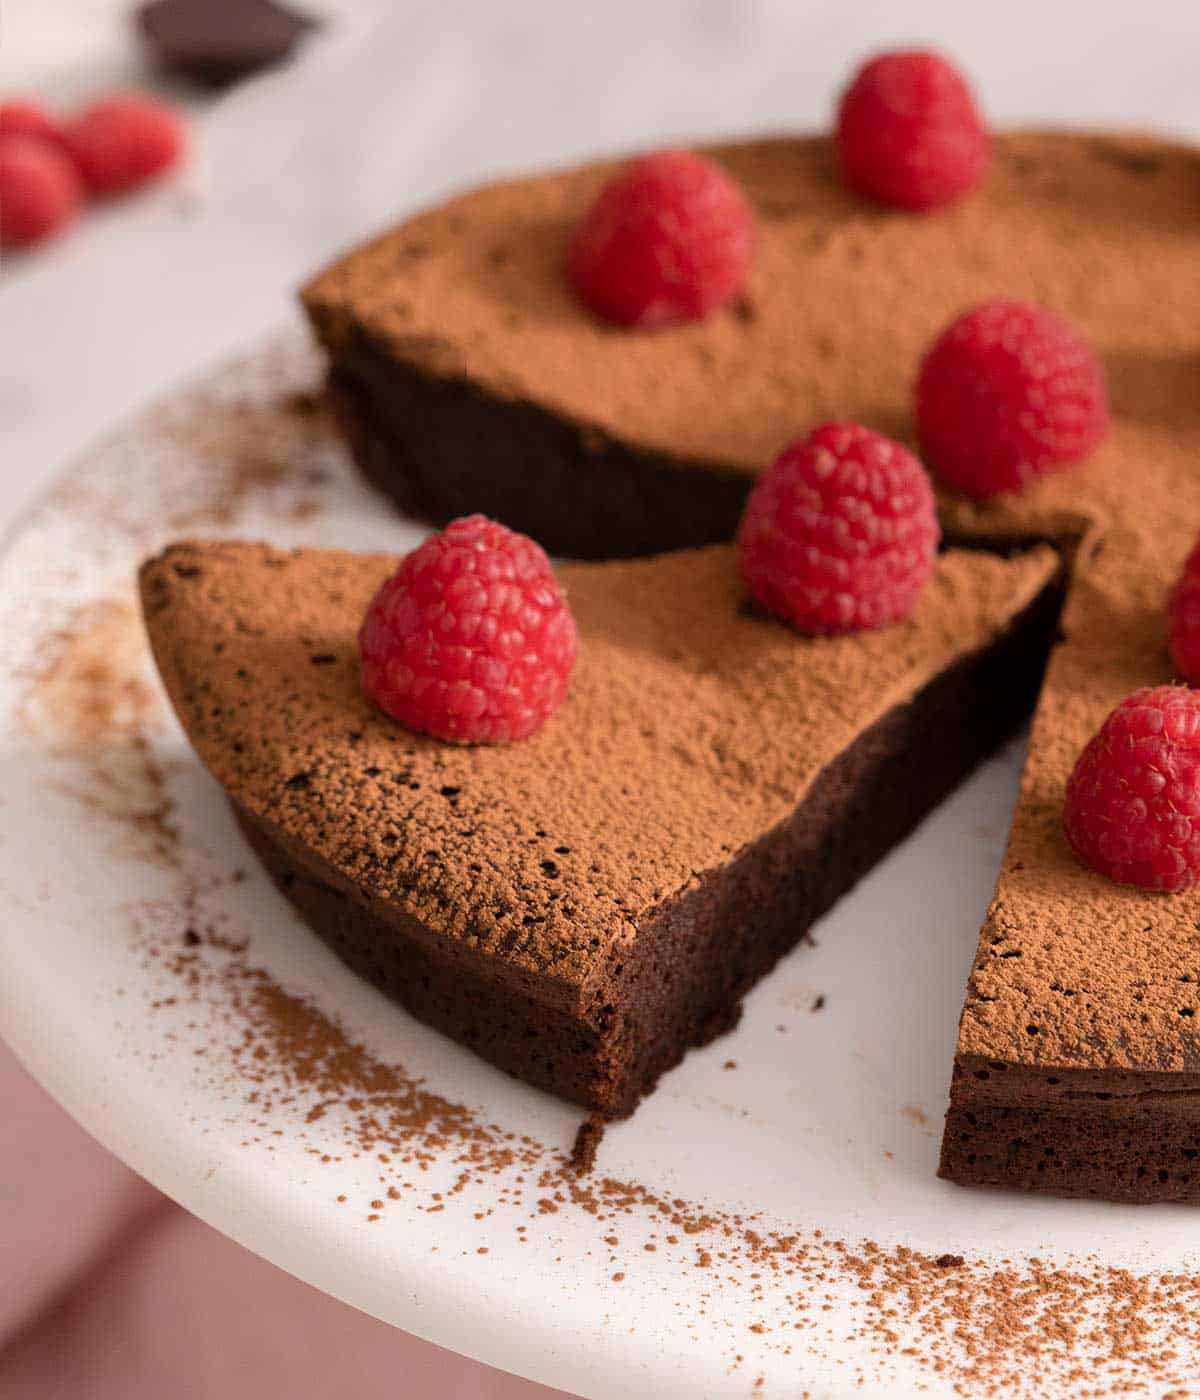
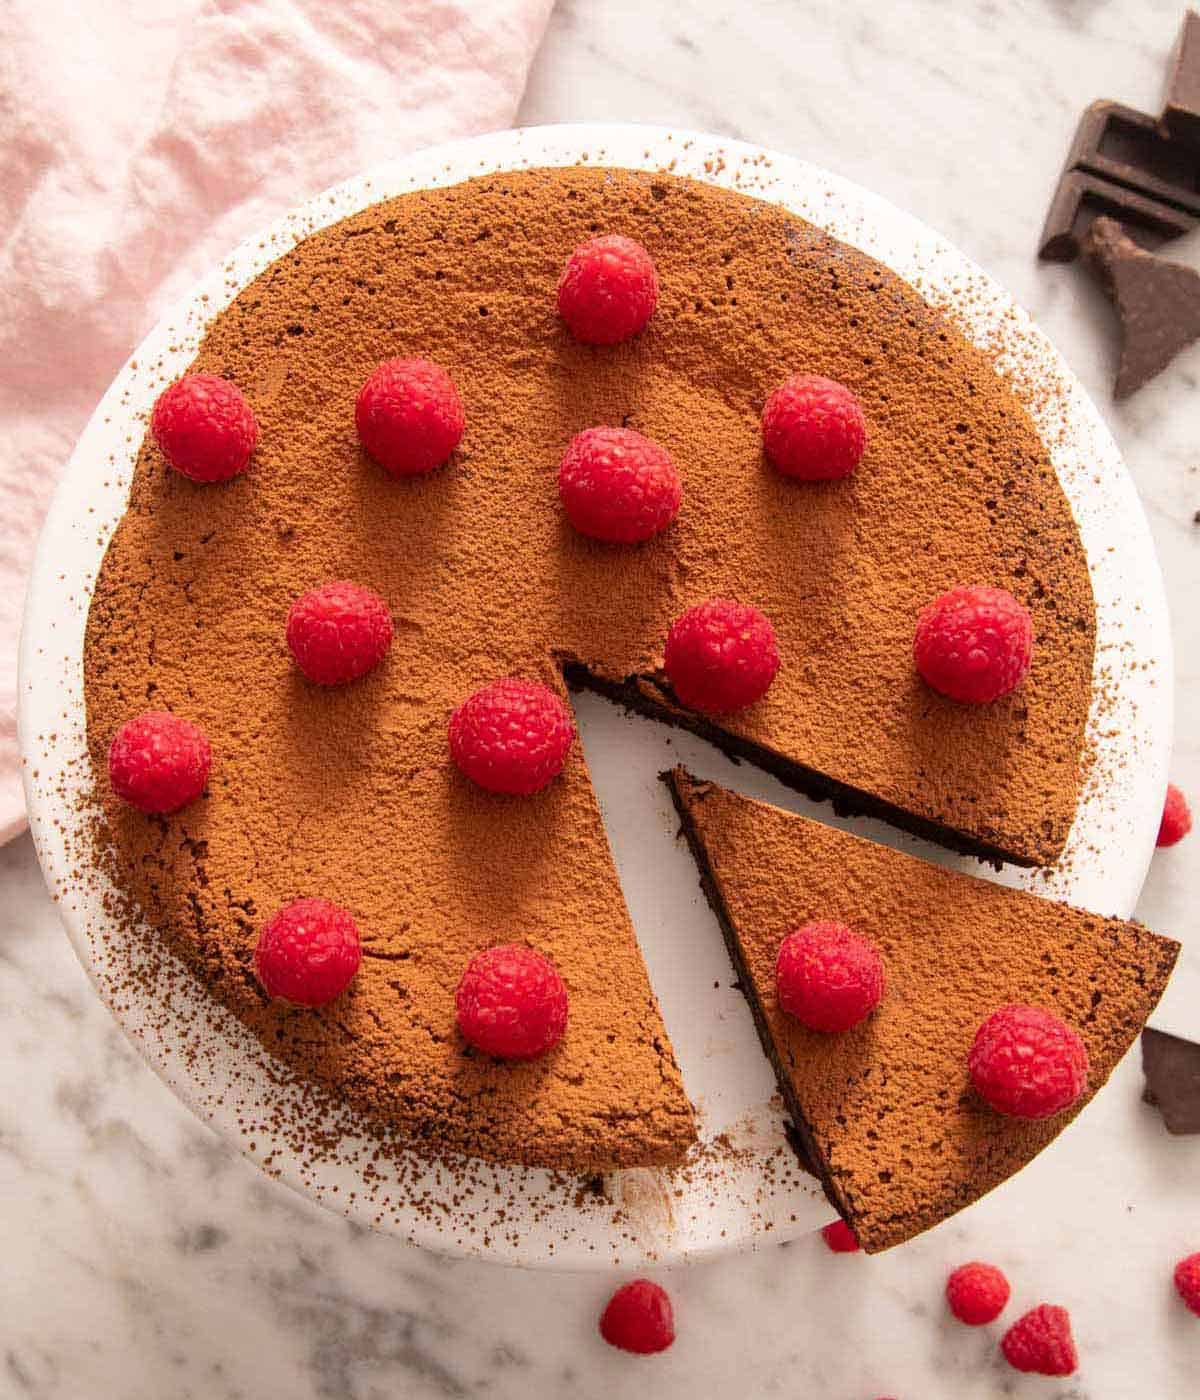
If you don’t like the bumpy surface, dust the cake with cocoa powder, spread whipped cream on top, or top it with fruit, and no one will ever know!
John’s Tips for the Fudgiest Cake
Don’t over bake the cake. A flourless cake goes from fudgy to dry faster than a layer cake because there’s no flour to hold moisture. Pull it while the center still looks slightly underdone. If your edges come out hard or the cake bakes up dry, it spent too long in the oven; check it at 16 minutes next time. Your oven may run hot if this is the case. Learn how to find your oven’s true temperature in my Academy lesson: Knowing Your Oven.
A few cracks are normal. The crackly top isn’t a flaw; it’s just the nature of a flourless chocolate cake that’s expected. A dusting of cocoa or powdered sugar covers any rough spots!
Slice clean. Because it’s so dense, a sharp knife dipped in hot water and wiped dry between cuts gives you sharp slices instead of a smeared edge.
Flourless Chocolate Cake Recipe
Ingredients
- 4 ounces (1 bar/113g) bittersweet chocolate coarsely chopped
- ½ cup unsalted butter cubed (113g)
- ½ cup unsweetened natural cocoa powder (50g)
- ¾ cup granulated sugar (150g)
- 1 teaspoon espresso powder optional
- ¼ teaspoon salt
- 4 large eggs
- Optional toppings: cocoa powder fresh berries, powdered sugar, ganache
Instructions
- Preheat the oven to 350ºF. Grease an 8-inch round baking pan with butter or baking spray and line the bottom with parchment paper.
- In a double boiler or a heatproof bowl over a pot with about 2 inches of simmering water, combine the chocolate and butter (be sure that the bottom of the bowl is not touching the water.) Stir occasionally until the chocolate and butter are fully melted and smooth.
- Remove from the heat, sift in the cocoa powder and add the sugar, salt, and espresso powder. Whisk until combined. Add the eggs one at a time whisking well between each addition.
- Pour the mixture into the prepared pan and bake for 18-22 minutes. The top should form a light crust and the edges of the cake should be slightly puffed and set while the center remains shiny and slightly gooey.
- Allow the cake to cool in the pan for a few minutes before running a knife along the edge to loosen it. Invert onto a wire rack to cool completely. Dust with cocoa powder, powdered sugar, fresh berries or ganache.
Notes
- A springform pan works if you’d rather not flip it. Just line the bottom with parchment either way so it releases cleanly.
- It’s rich, so I slice it into smaller servings. Ten servings from an 8-inch cake sounds modest for a normal cake. But this one eats like a chocolate truffle, and small slices are the right call.
Nutrition
Have you tried this recipe? Tag me today!
Mention @preppykitchen and tag #preppykitchen!
Toppings & What to Serve With It
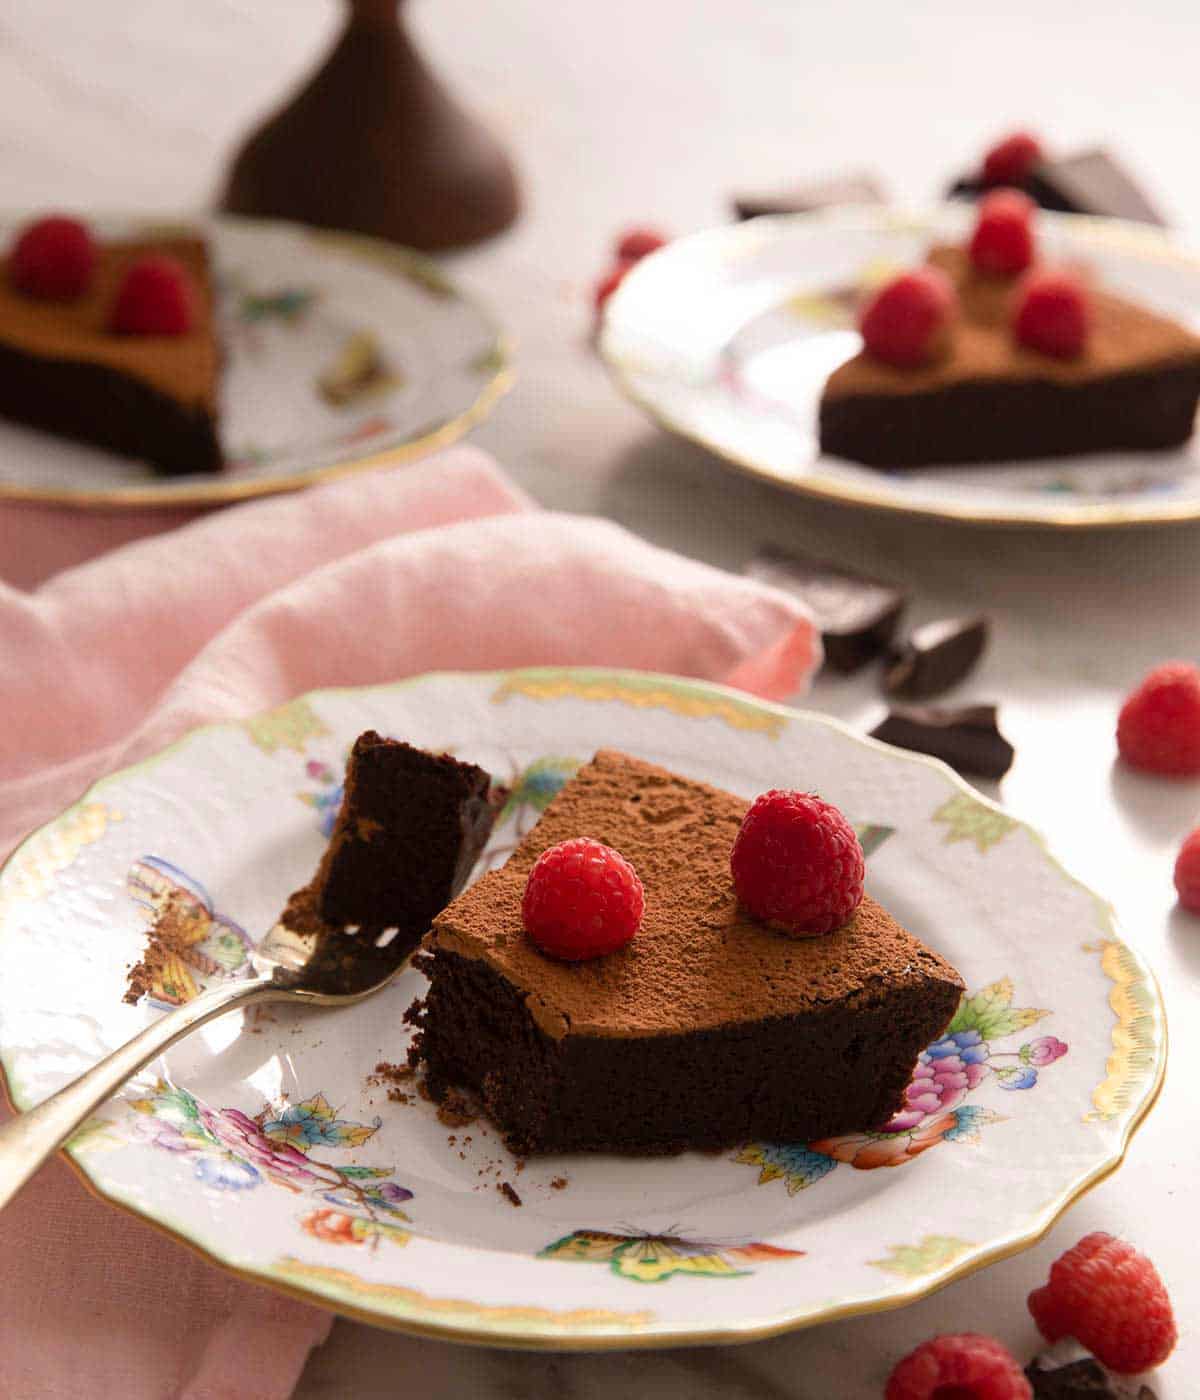
This cake is great with just a dusting of cocoa or powdered sugar, but it pairs well with other toppings. Spread chocolate ganache over the top for a glossy, rich finish, add a dollop of whipped cream for a light, creamy complement to the rich chocolate, or pipe chocolate buttercream on top for a birthday-cake feel.
Fresh raspberries or strawberries are a classic pairing—their tartness is the perfect foil for all that dark chocolate—and a scoop of vanilla ice cream turns a slice into a lovely plated dessert.
Make Ahead & Storing
This is a strong make-ahead dessert! In fact, it’s arguably better the next day, once the flavors settle and the texture firms. Bake it a day or two ahead, invert and cool completely, then cover and refrigerate. Bring it back to room temperature for about 30 minutes before serving so the center softens. If you’re chilling it for more than a few hours, dust the top with cocoa before you invert it, which I discovered helps each slice lift cleanly off the plate.
Stored airtight in the fridge, leftovers keep up to a week. It freezes well for up to 3 months, too. Wrap the whole cake tightly, or freeze slices with parchment between them in a freezer container, and thaw overnight in the fridge.
Frequently Asked Questions
Yes, because it’s made with no flour at all, this cake is naturally gluten-free. If you’re baking for someone with celiac disease, choose chocolate and cocoa that are labeled and certified gluten-free: under the FDA’s gluten-free labeling standard, that claim means the product contains less than 20 ppm of gluten, which guards against cross-contamination from shared equipment.
The top will have formed a thin crust, and the edges will be slightly puffed and set, while the center still looks slightly gooey, shiny, and underbaked. Don’t wait for the middle to look fully set or puffed—it firms up as it cools, and an over-set center means a dry cake.
Either works here, since there’s no baking soda or powder for the cocoa’s acidity to react with. Natural cocoa gives a brighter, cleaner chocolate flavor; Dutch-process cocoa gives a darker color and a smoother, rich chocolate flavor. It’s purely a flavor preference!
More Chocolate Desserts to Try
Once you’ve made this cake, give one of these other dessert recipes a try:
- Chocolate Cake — my classic layered chocolate cake for when you want a tall, frosted showstopper.
- Chocolate lava cake — an individual, molten-centered cousin that uses the same gooey-center idea in single-serving form.
- Devil’s Food Cake — the darkest, most tender chocolate layer cake of all of my cake recipes.
- Chocolate Mousse — a light, airy, egg-based chocolate dessert that’s also naturally flourless if you want another gluten-free option.
- Chocolate Soufflé — another chocolate-and-egg dessert with almost no flour, for when you want a warm, dramatic finish.
If you’ve tried this flourless chocolate cake recipe, then don’t forget to rate it and let me know how you got on in the comments below. I love hearing from you!






