
This post may contain affiliate links. Please read our disclosure policy.

Learn two easy aluminum foil methods to protect your pie crust edges from burning—tested across dozens of pies and three different ovens.
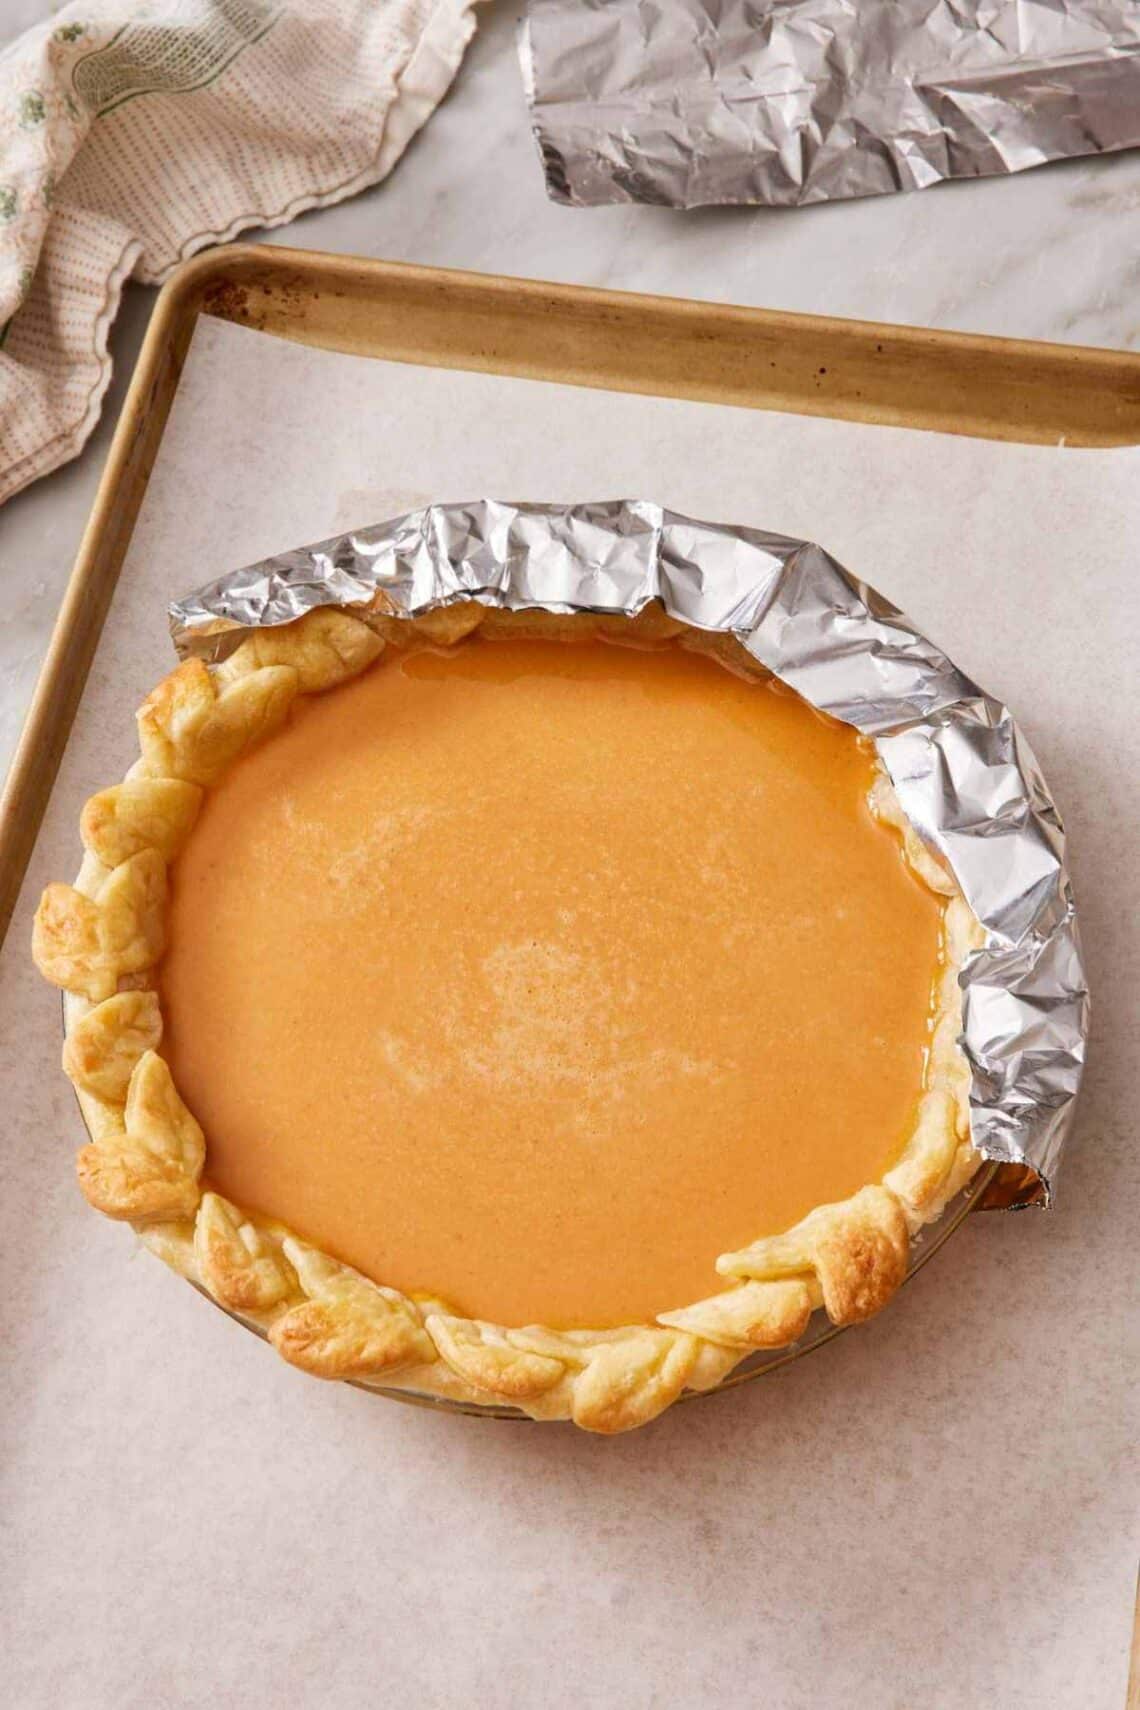
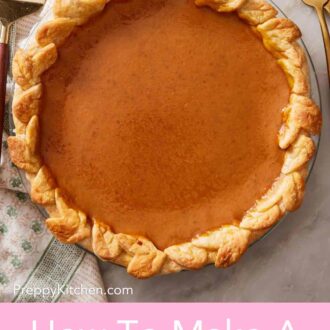
If you’ve ever pulled a pie from the oven with beautifully golden filling and mahogany-black edges, this guide will fix that for good. After testing dozens of pies across a standard electric oven, a gas range, and a convection oven, I found that edge-browning isn’t just about bake time—it’s about direct heat hitting the thinnest, most exposed part of your crust. These two shielding methods were the most reliable in my tests for preventing over-caramelization (the fancy term for burnt sugar) on the crimp.
Below, I’ll walk you through when to reach for a shield, how to make both styles, which works best for which pie, and whether DIY or store-bought is worth it. I’ll also cover the troubleshooting questions I get most often from readers.
“I have always struggled with burned edges on my pies, not realizing I could shield the edges! I made a pumpkin pie with a perfect pie crust for the first time using the cutout shield. Thank you!”
Kieth
What Is A Pie Crust Shield?
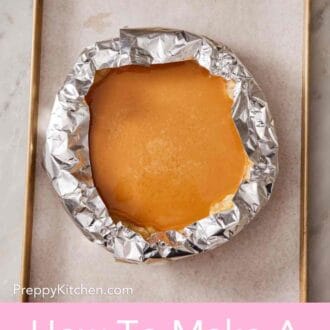
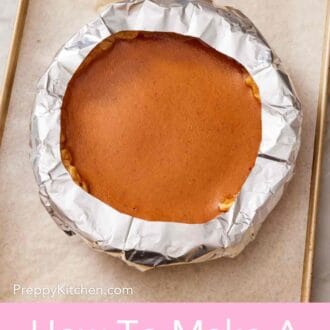
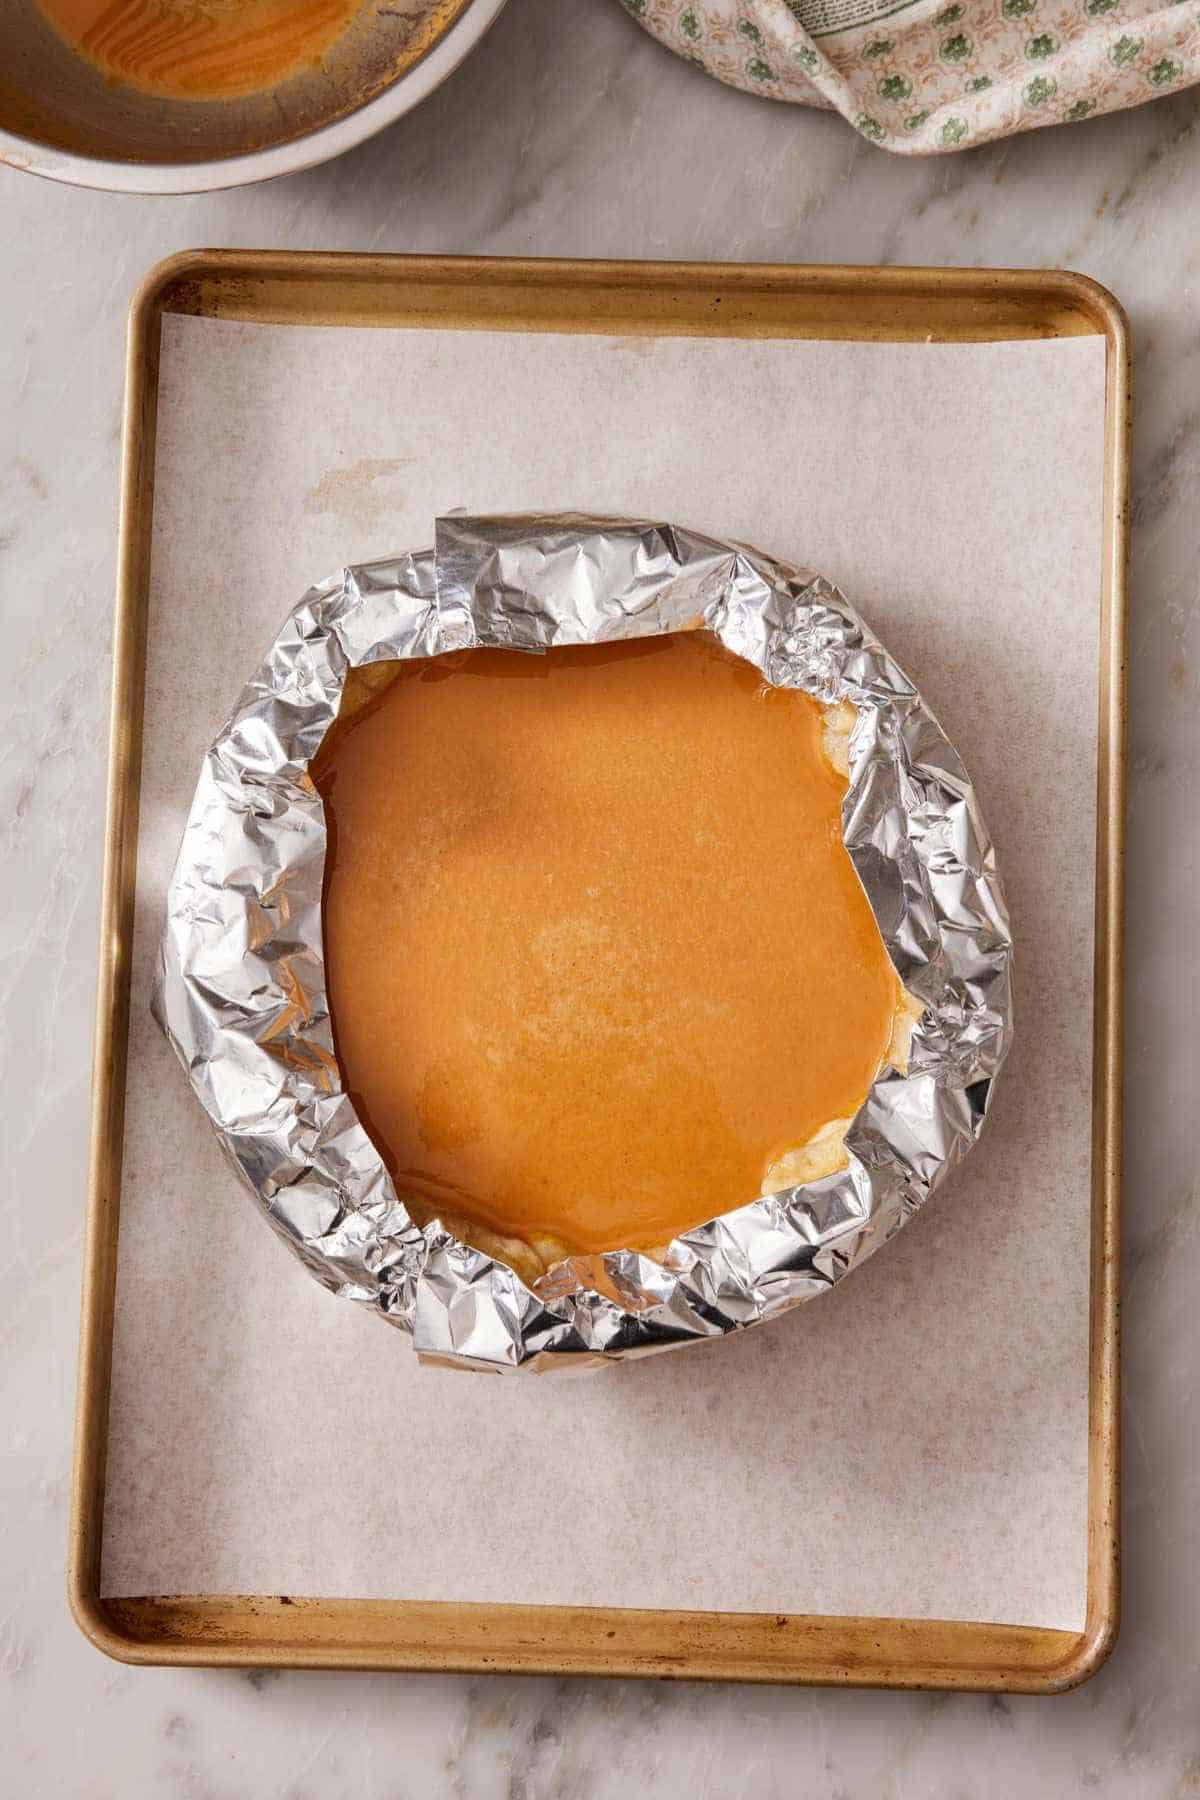
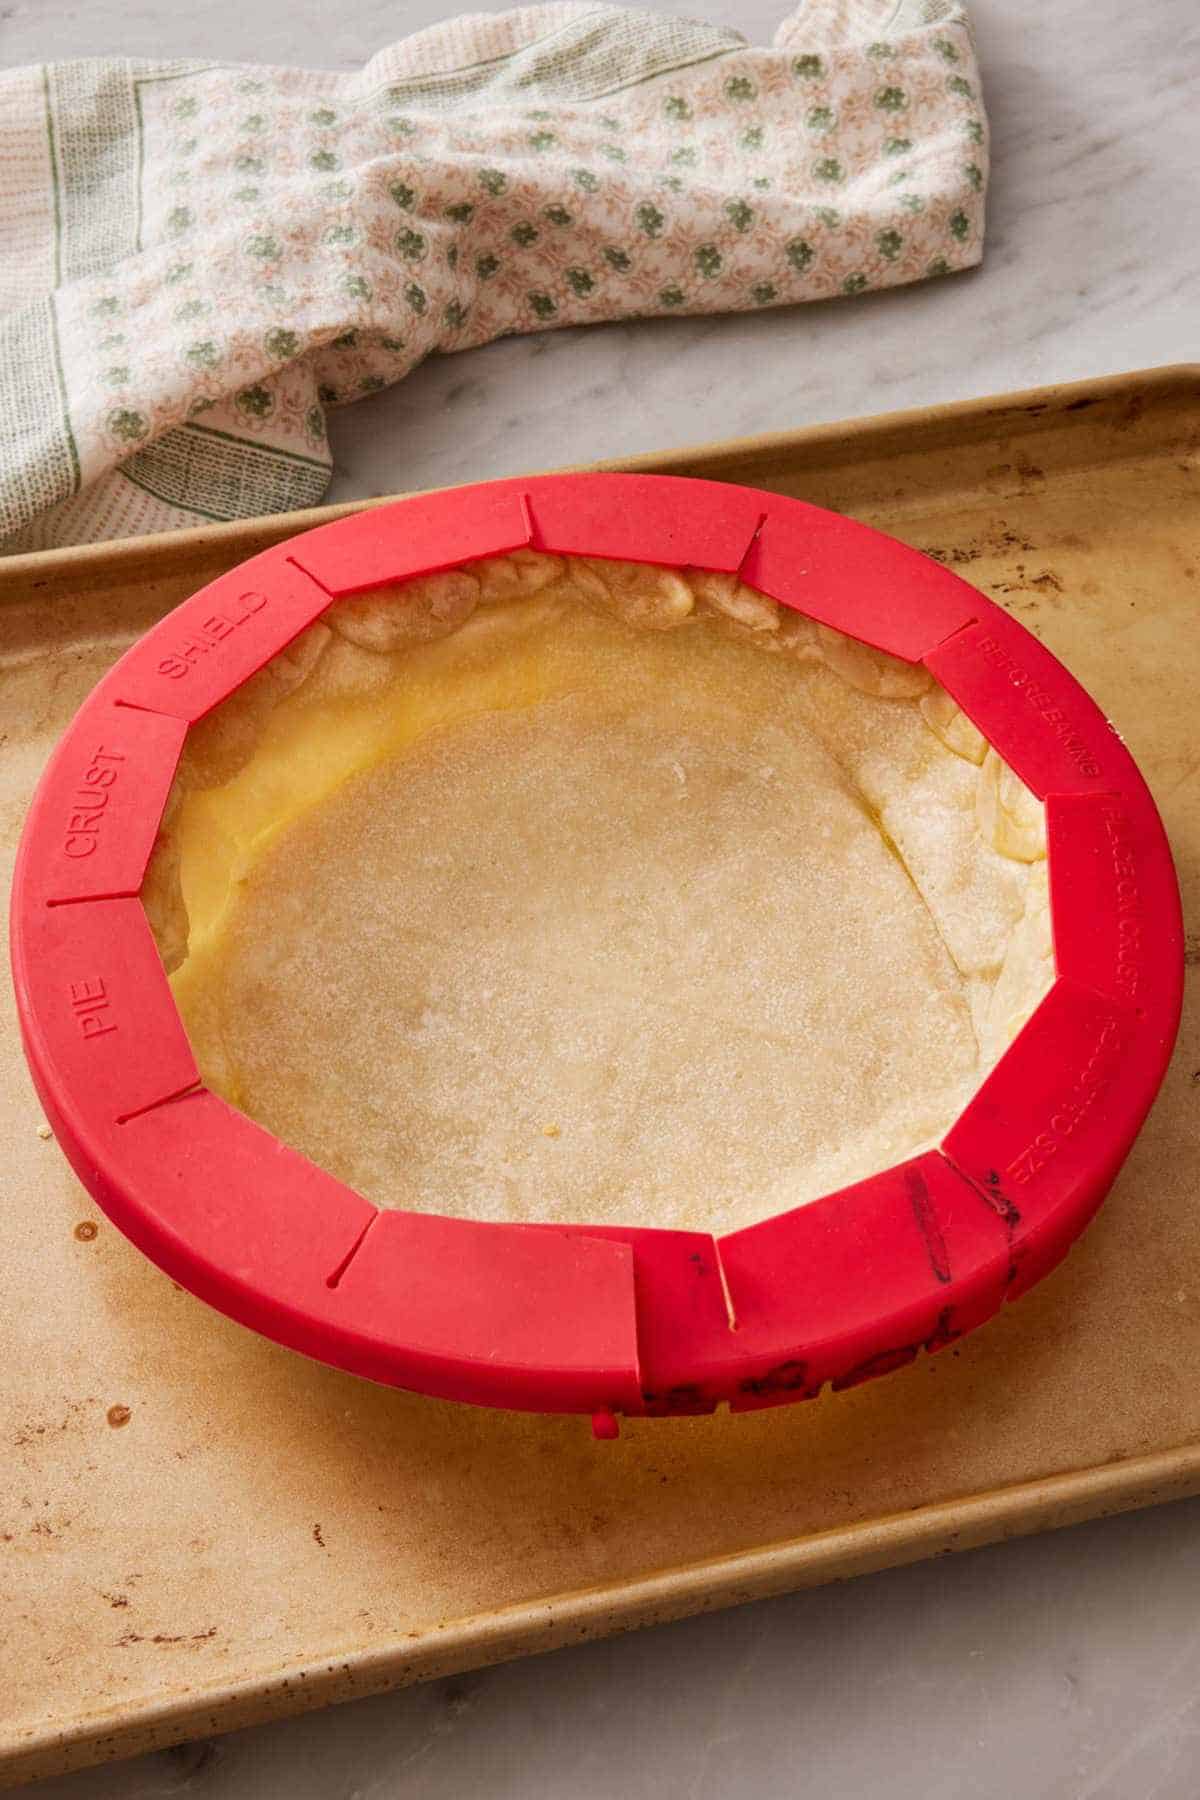
A pie crust shield is simply a ring that covers the edge of a pie crust to insulate it from direct heat in the oven. This shield helps prevent it from getting too dark or burning while the rest of the pie finishes baking. It can easily be made at home out of aluminum foil, or you can buy silicone or metal pie shields.
When Do You Need To Shield Pie Crust?
Not every pie needs a shield—it depends on your crust type, filling, and bake time. You typically only need to shield a flaky pie crust (whether using butter or shortening). Here’s a quick reference from my testing:
| Pie Type | Shield Needed? | When To Apply |
| Blind-baked flaky crust | Yes, usually | After pie weights are removed |
| Double crust fruit pie (apple) | Sometimes | Last 15-20 minutes |
| Custard pie (pumpkin, chess) | Sometimes, especially if the crust is par-baked first | When edges start darkening |
| Frozen pie baking from solid | Yes, usually | When edges start darkening, typically after 45 minutes to 1 hour of baking |
| Crumb crust (graham cracker or Oreo crust) | No | n/a |
As a general rule, reach for a shield any time you notice the edges getting very dark with more than 10 minutes of bake time left. Ovens vary—gas ovens tend to brown edges faster than electric, and convection ovens can over-crisp the rim before the center sets.
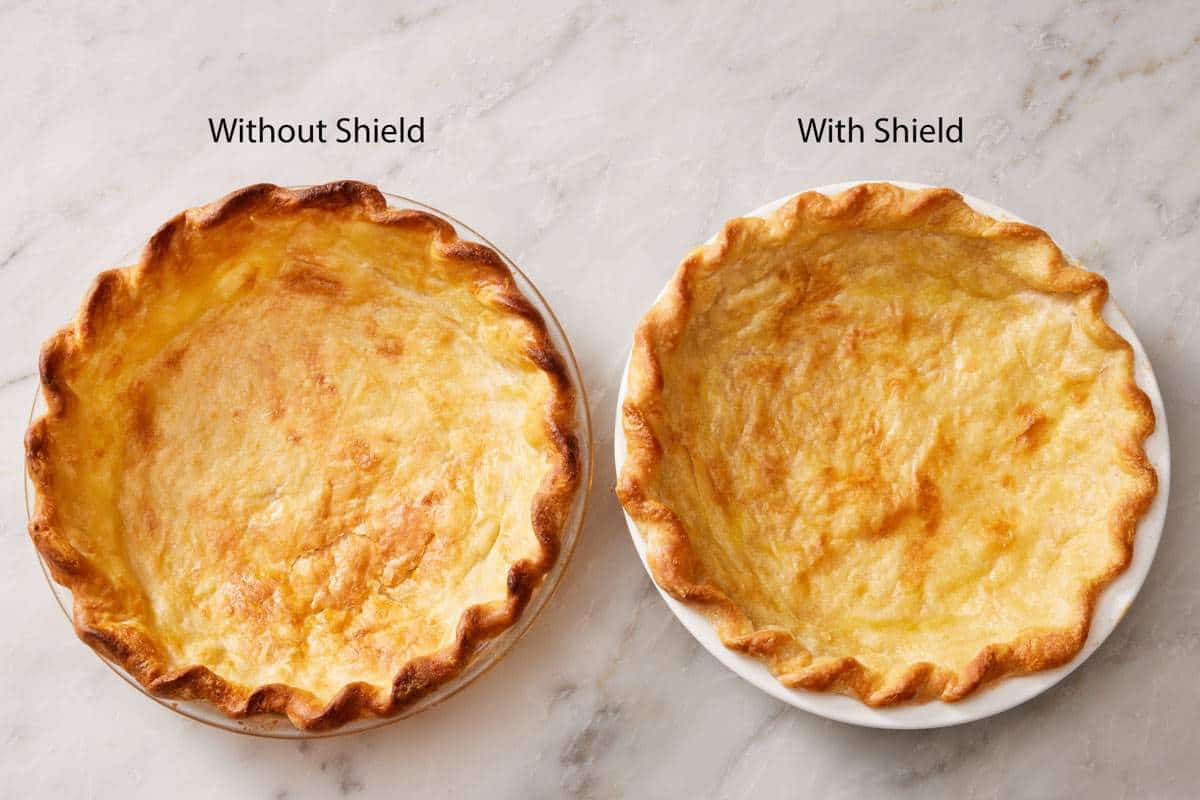
During a side-by-side test with two identical blind-baked pie crusts in the same electric oven, the unshielded crust reached a burnt state at the 30-minute mark, while the shielded crust stayed perfectly golden for the full 35-minute bake.
How To Make A Pie Crust Shield (Two Methods)
There are two simple methods for making a DIY pie crust shield with aluminum foil: the ring method and the cutout method.
The Ring Method
The Ring Method will insulate the edge a bit more since it uses a double layer of foil. This is great for baking frozen pies, or if the crust is already very dark when you add the shield. This is the easiest pie crust shield to make!
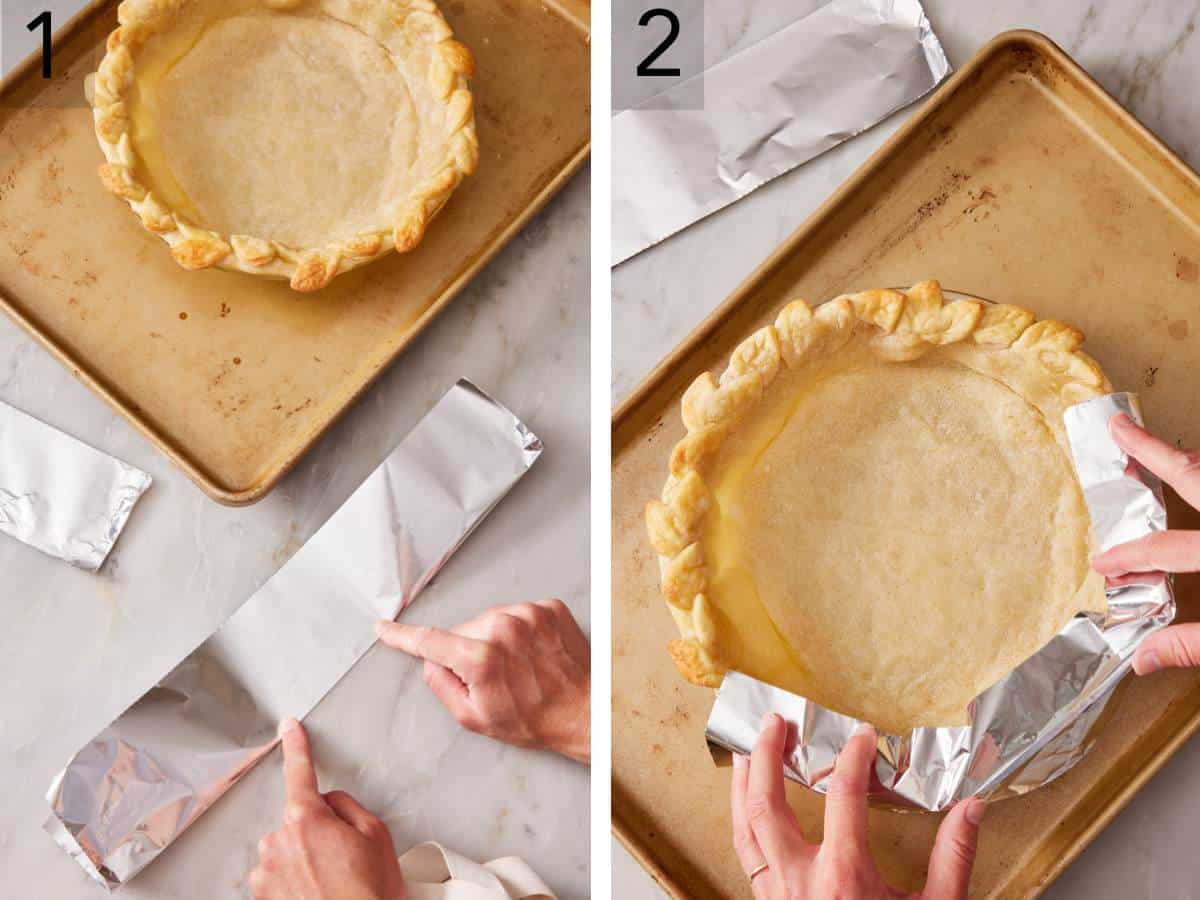
1. Cut two to three long strips of foil (about 12 inches each). Fold them in half lengthwise.
2. Press 1 strip of foil against the side of the pie plate to cover a portion of the edge of the crust.
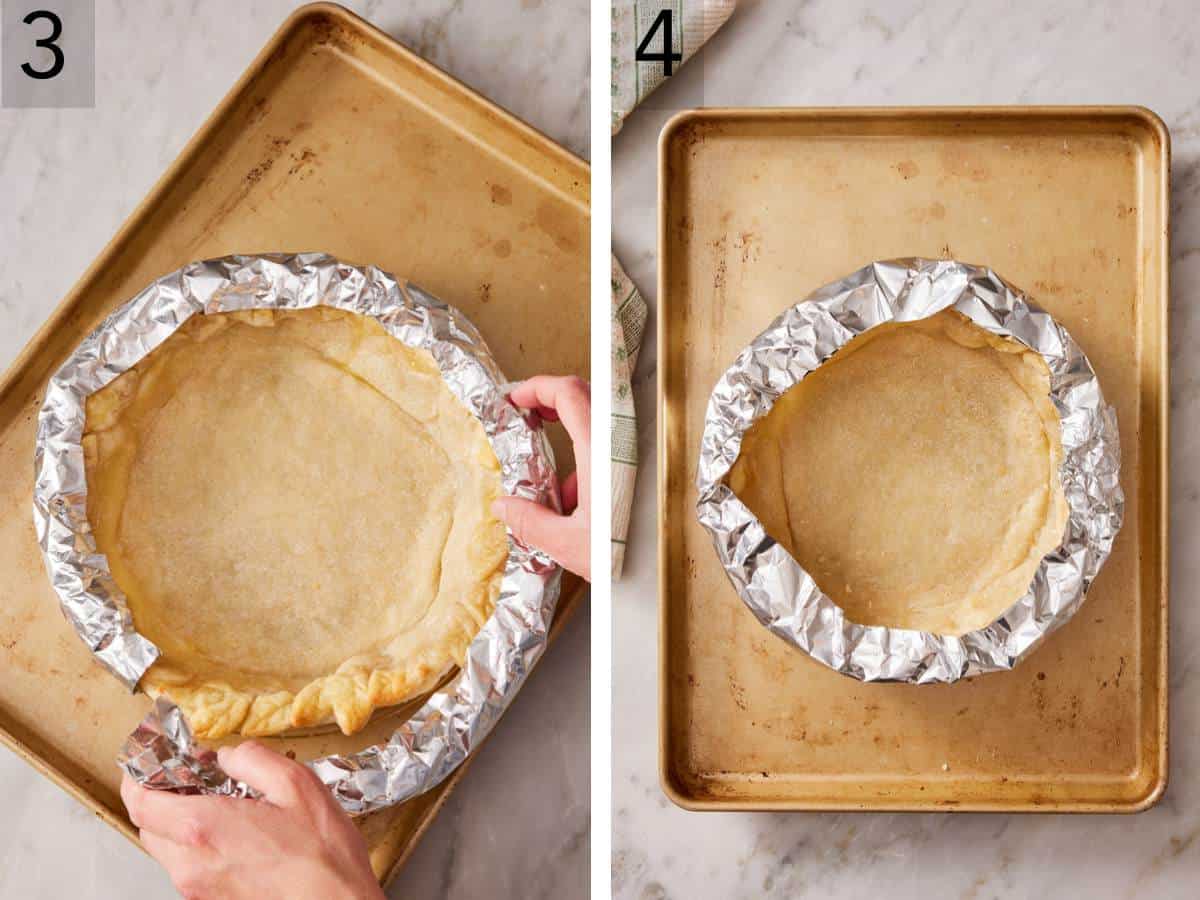
3. Repeat with another strip of foil.
4. Repeat once more if needed, until the entire edge of the pie crust is covered with foil strips. The center of the pie should remain mostly uncovered.
The Cut Out Method
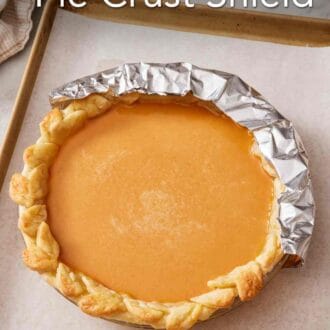
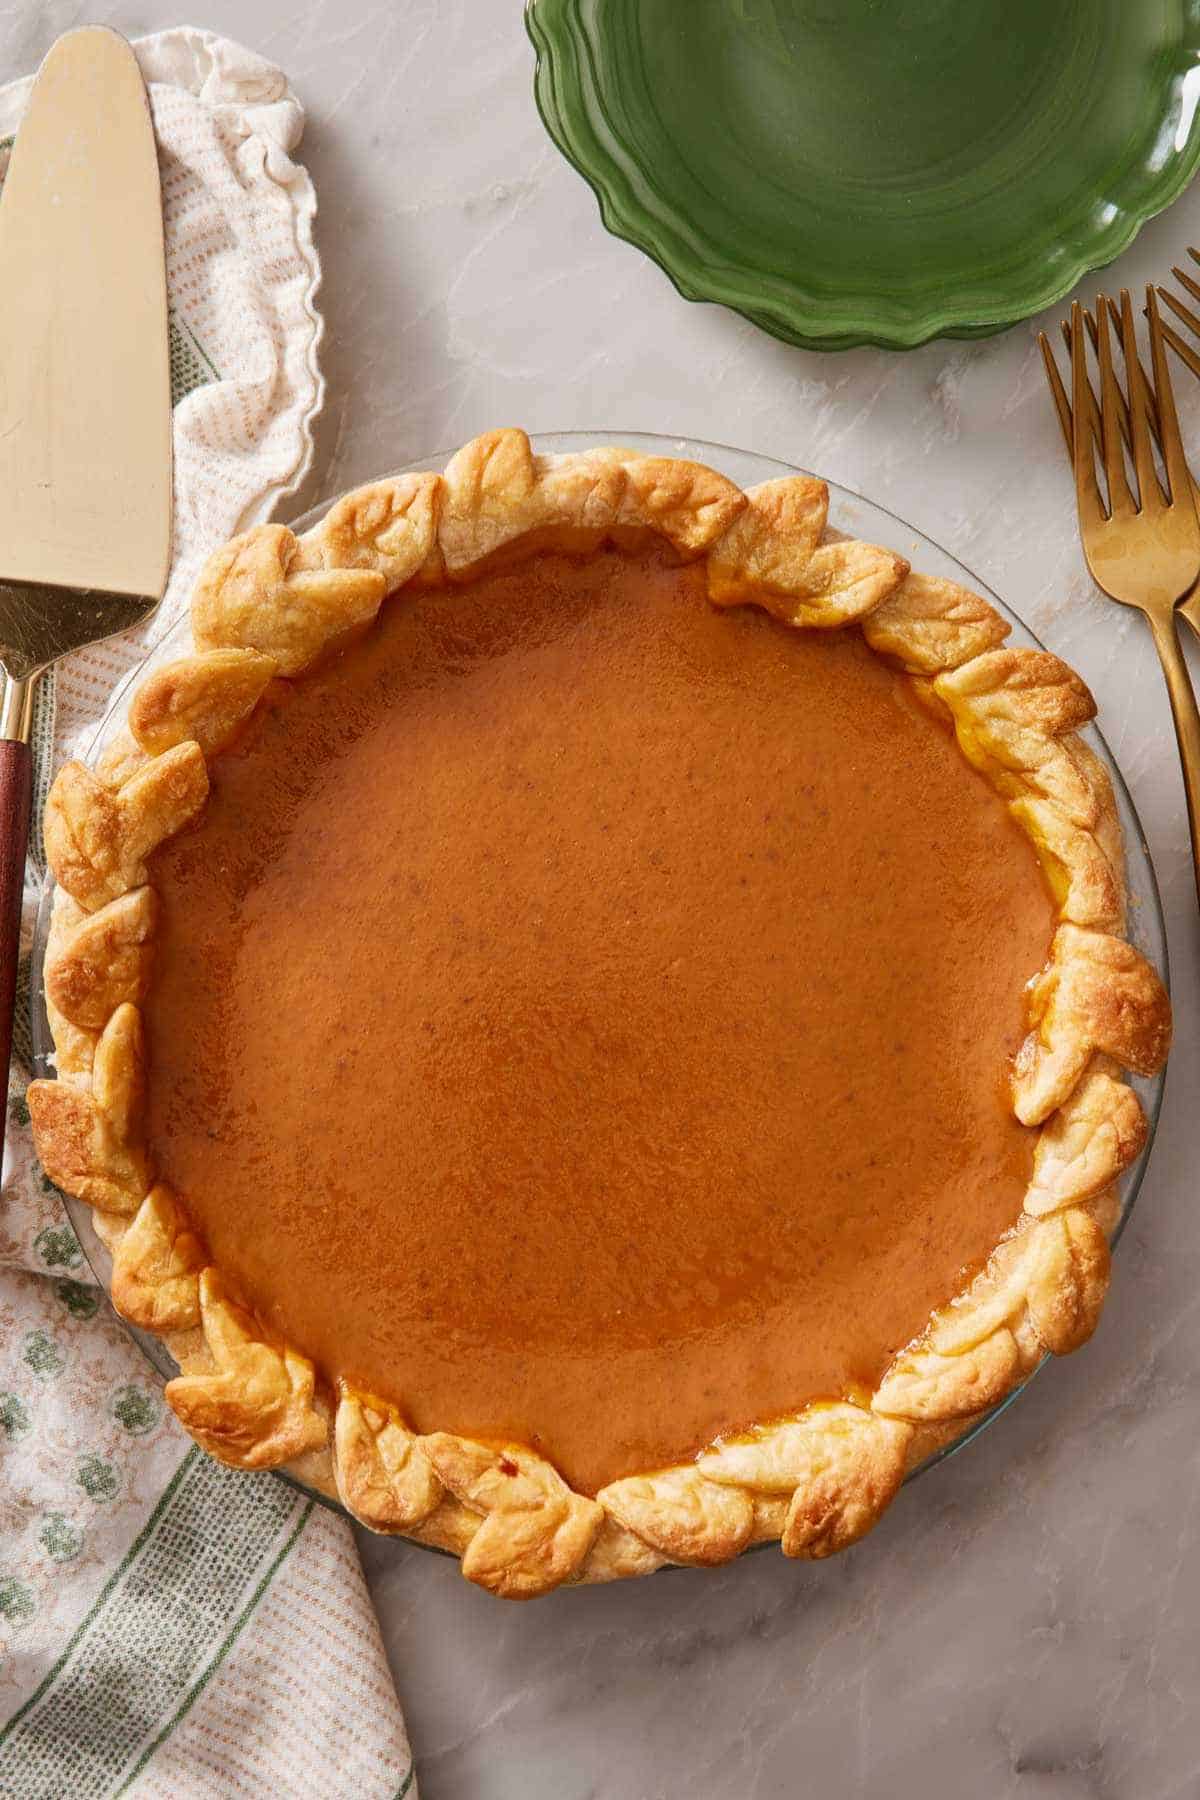
In our Academy tests, we found that the Cut Out method is superior for delicate designs like a decorative leaf edge (see how to crimp a pie crust) because it drops straight down without snagging the intricate dough work. This method is a bit more precise and is easier to quickly place on the pie. It only uses one piece of foil—if you think your pie crust needs extra insulation, use heavy-duty foil or double up with two layers.
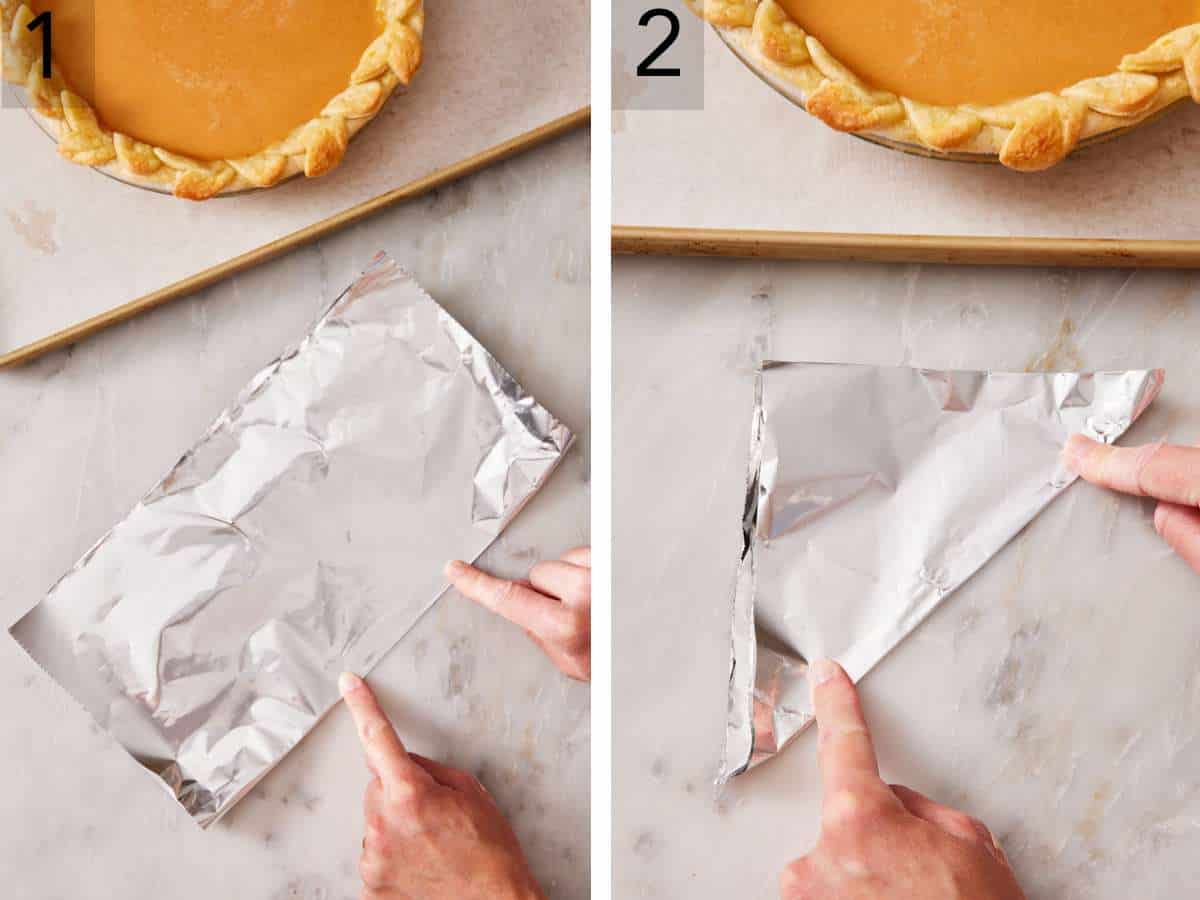
1. Grab a piece of foil large enough to cover the entire pie with overhang (about 12 inches square). Fold it in half, then in half again to make a square.
2. Fold the foil in half once at a diagonal, forming a triangle. (If you’ve ever made paper snowflakes, this is the same folding technique!)
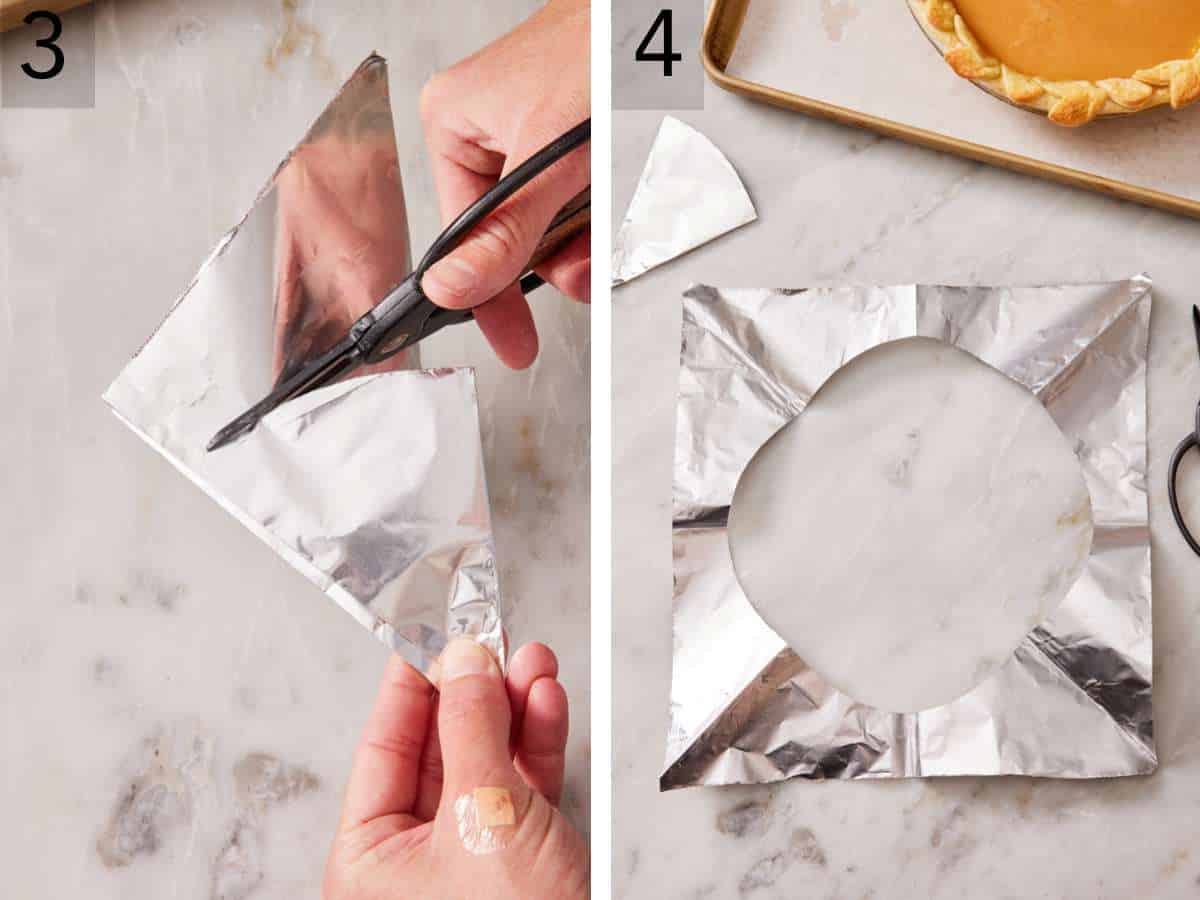
3. Measure about 4 inches up from the folded point of the triangle, and make a curved cut from edge to edge, removing the tip. (Your cutout will look like the shape of a snowcone.)
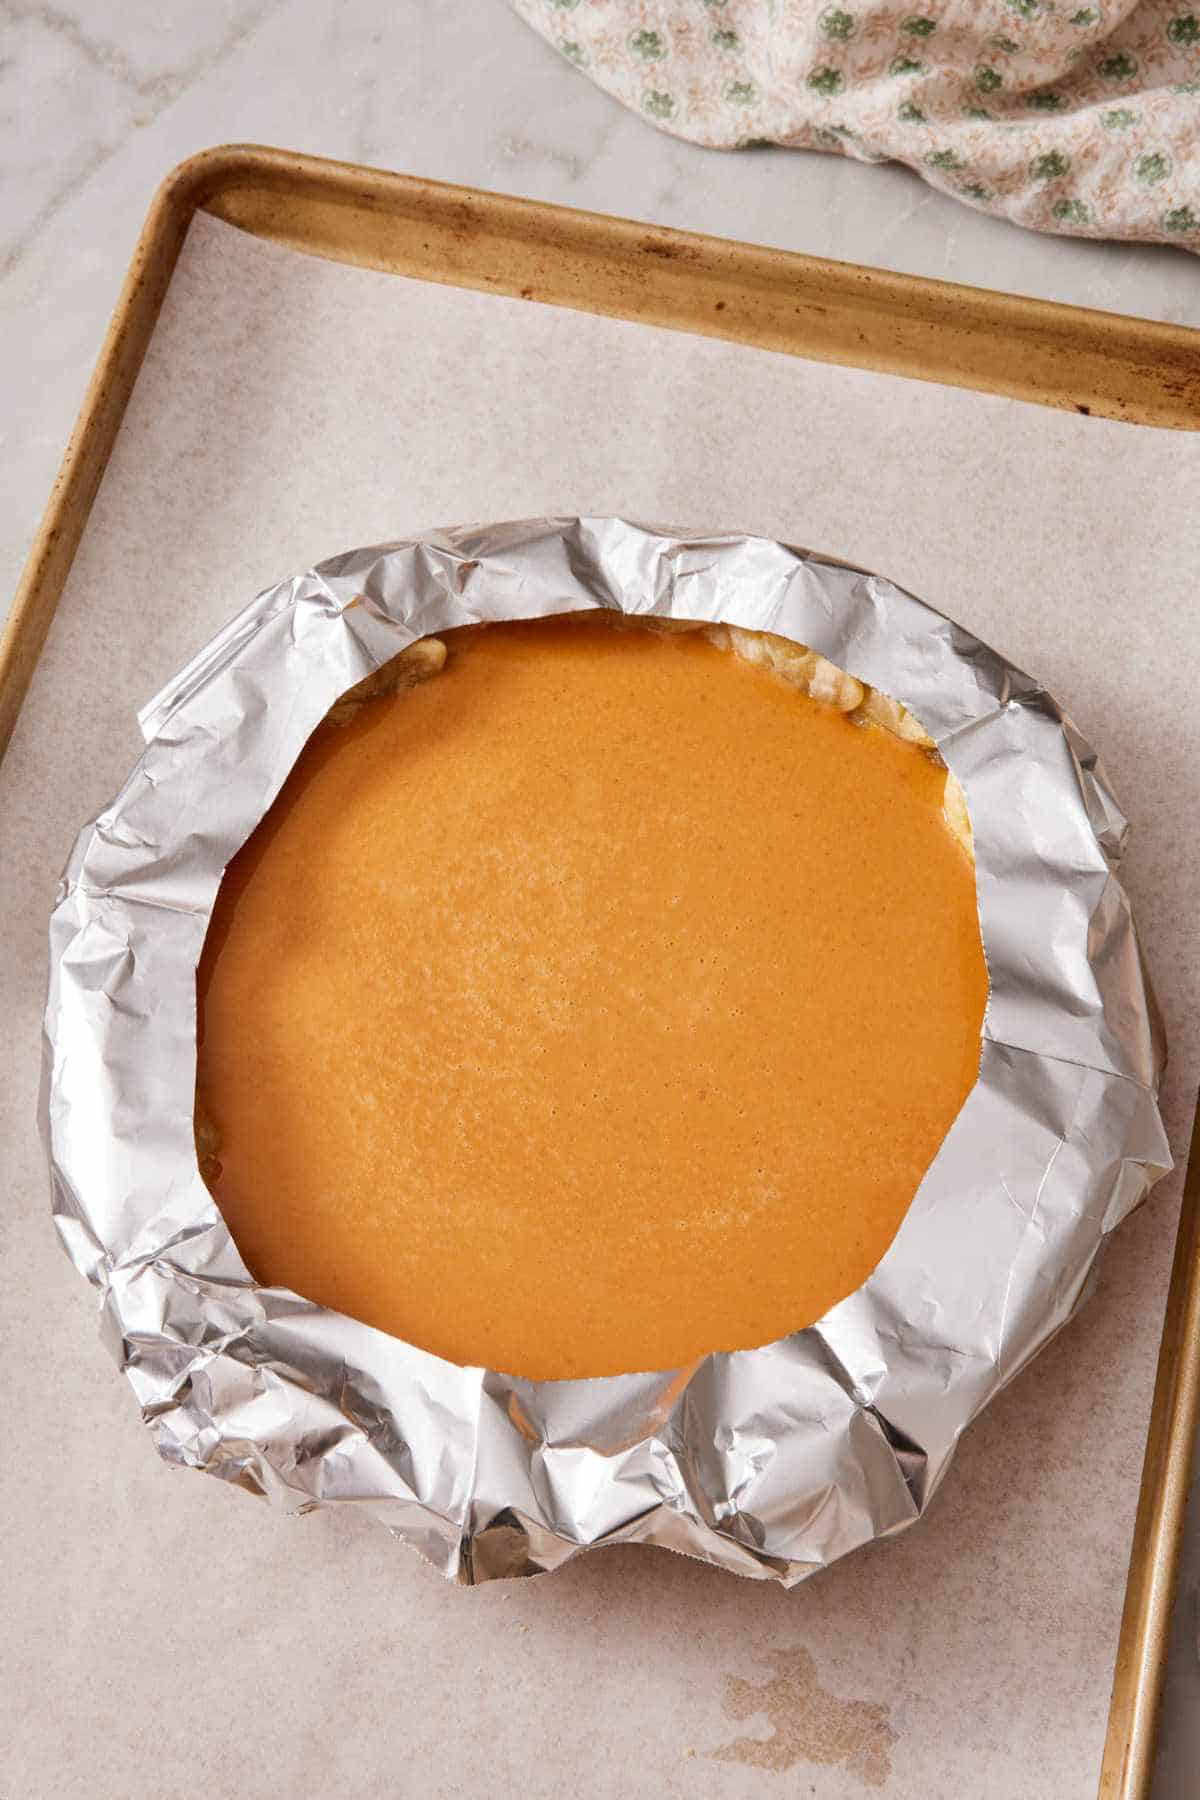
4. Unfold the pie crust shield. There should be a large circle cut out in the center, about 8 inches in diameter. Don’t worry if it isn’t a perfect circle. Place the shield over the pie so the center is exposed, and fold the excess loosely down over the side of the pan so the edge of the crust is protected.
Pro Tips For Making A Pie Shield
Be careful when placing the shield on the pie (it’s hot!). Your pie will have been in the oven for at least 20 minutes when you put the pie shield on, so it will be very hot! Remove the pie dish from the oven carefully, with oven mitts. Be careful when placing the shield on as well to prevent burning yourself on the hot pastry. I recommend keeping on the oven mitts if you’d prefer.
Leave the center open. The shield’s job is to protect the edges only. Covering the center insulates the filling and slows baking, which can lead to a soggy bottom crust or an undercooked filling. Only tent the center loosely if a lattice pie crust or double-crust top (like peach pie) is browning too fast.
Pre-form your shield before the pie goes in. For the cutout method especially, I often make the shield while the pie is in the oven for its first 20 minutes. That way, when the edges start to color, I’m not fumbling with foil while the crust continues browning. For the Ring Method, you can form them on the sides of a firm crust (if it’s been frozen) before it goes in the oven, then all you have to do is slip them on when it’s time.
Which is Better: DIY or Store-Bought Shield?
Both work great! Here’s how I decided which one to use:
Choose a store-bought pie shield if you bake pies frequently and want something reusable. Silicone and aluminum shields are typically sized for standard 9-inch pie plates, hold their shape well, and provide slightly more insulation due to their thickness. The downside: they don’t adapt to non-standard pan sizes, and they take up drawer space.
Choose a DIY foil shield if you bake pies occasionally, use different pan sizes, or want something you can shape to a specific crimp design. Foil shields cost virtually nothing, conform to any pan, and can be made in seconds. The tradeoff is that they need to be replaced periodically as the foil tears or sugar builds up.
For most home bakers, DIY foil is the right call. I keep a box of heavy-duty foil on hand, so it’s quick to grab a piece and shield a pie when needed.
Troubleshooting
My crust is still burning even with a shield on. Your shield may not be covering the full edge, or your oven runs hot. Check that the foil wraps down the side of the pan (not just over the top), and consider lowering your oven temperature by 25°F for the final 15 minutes.
My pie filling is undercooked but the crust looks done. You may have covered too much of the pie center, insulating the filling. The shield should only cover the outer rim, roughly the last inch or so of pie from the edge inward. Everything inside that should stay exposed. This can also mean your oven runs hot and browns the crust before the filling has fully heated up. Again, consider dropping the oven temp 25°F.
The foil is sticking to my crust. This usually happens when sugar or an egg wash coating from the crust has caramelized onto the foil. Wait a minute or two before peeling the shield off, and pull gently at an angle rather than straight up. Next time, try lightly greasing the inside of the foil that touches the crust or using non-stick foil.
My edges are dark before I even add a filling (blind baking). Your crust may be too close to the top heating element, or your oven runs hot. Try moving the rack to the middle or lower-third position and shield from the start rather than midway through.
My shield keeps falling off. The cutout method holds better than the ring method if this is happening. Make sure you’re pressing the foil around the side of the pan so it grips the rim.
Frequently Asked Questions
It depends on the pie. For blind-baked crusts, put the shield on after the pie weights are removed. For double-crust or crumb topped fruit pies, add it in the last 15–20 minutes of baking. For custard pies, watch the edges and add the shield once they start getting golden—usually around the 25-minute mark. Frozen pies will vary based on the bake time of your recipe, but typically you will shield them after 45+ minutes of baking.
Yes! Just don’t crush it between uses. Keep it as smooth or in its formed shape as you can. If butter and sugar build up on the foil, replace it.
Not really. Parchment won’t hold its shape against the side of the pan and doesn’t reflect heat the way foil does. Stick with aluminum foil for shielding, and save parchment for lining pans and blind baking with pie weights.
Typically, you want the center of the pie exposed so that it cooks through. Covering the center of the pie will insulate it and make it bake more slowly. However, if you are making a double-crusted pie and the top is browning heavily, lay a sheet of foil on top without sealing it to the sides. This will loosely tent it to help reduce browning, but still allow air to circulate so the pie bakes properly.
Unless a recipe calls for one, no. Pies with a graham cracker crust, Oreo pie crust, or other crumb crusts bake for a short time and sit below the edge of the pan or filling, so they are less exposed to direct heat.
Use whatever temperature your recipe calls for—the shield doesn’t change your oven temp, just how much heat reaches the edges. If your edges are still burning at the recipe’s temperature, drop the oven by 25°F for the final stretch.
This is where DIY foil shines. Measure the diameter of your pan, then use the cutout method with a foil square about 3 inches larger than your pan. Adjust the center cutout so it leaves about 1 inch of covered edge around the rim.
More Tutorials To Try
I have so many baking tutorials on the site that answer common baking questions and share my favorite baking hacks.
- How to Freeze A Pie — learn how to freeze a whole pie and bake it from frozen, or save slices of leftover pie to enjoy for weeks to come.
- How to Crimp a Pie Crust — if you’ve ever been baffled by “crimp the edges,” this post walks through three styles with photos.
- How to Freeze Pie Crust — freezing pie dough is the single best way to prep for holiday baking. My post covers both disc and tin methods.
- How to Freeze Cake Layers — the best way to bake cakes ahead of time and make leftover cake last.
- How to Freeze Cookie Dough — different cookie doughs freeze differently. This post has the rules for each type.
If you’ve tried this “how to make a pie crust shield” tutorial, then don’t forget to rate it and let me know how you got on in the comments below. I love hearing from you!






