

This post may contain affiliate links. Please read our disclosure policy.
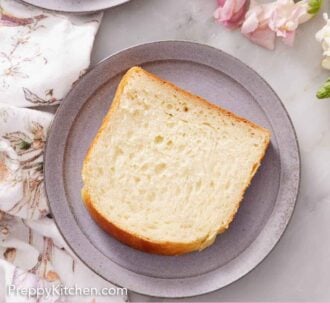
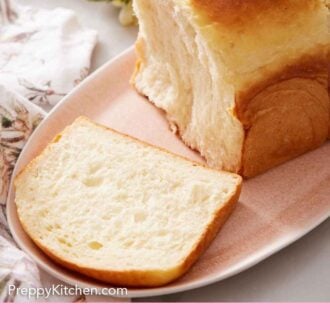
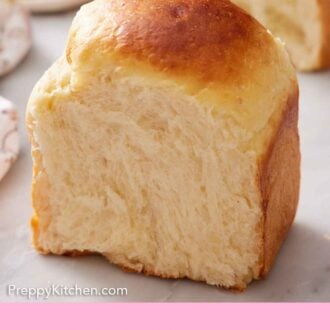
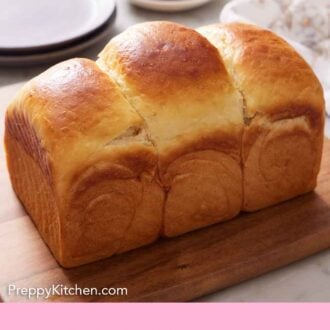
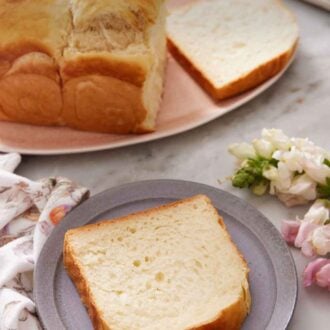
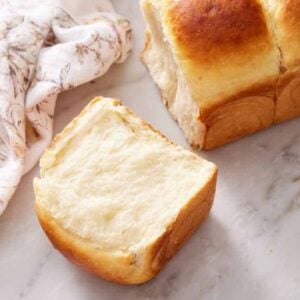
This milk bread is an incredibly fluffy and tender loaf of bread that gets its signature texture from a cooked flour paste called tangzhong. This Japanese bread stays soft and fresh for days. Learn how to make it in two different styles of loaf pans to make the perfect sandwich bread.
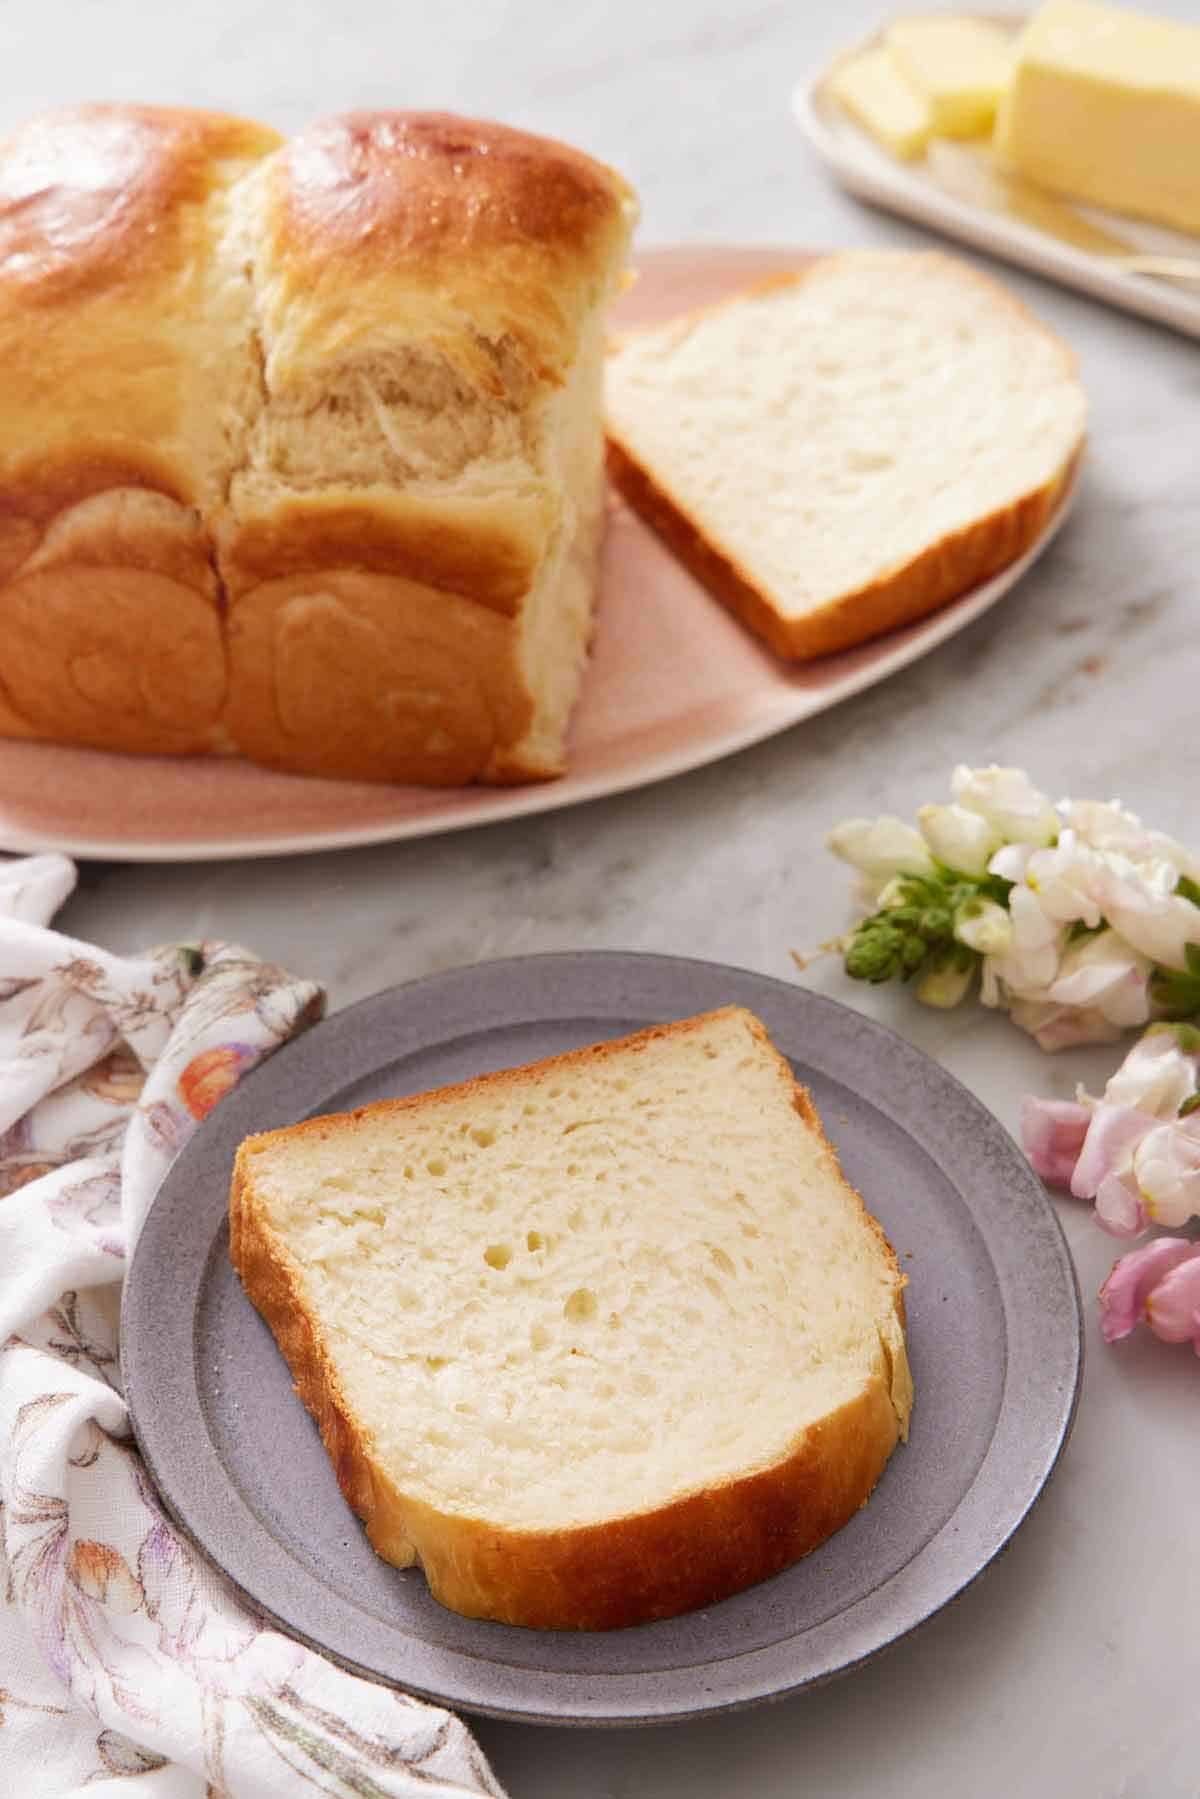
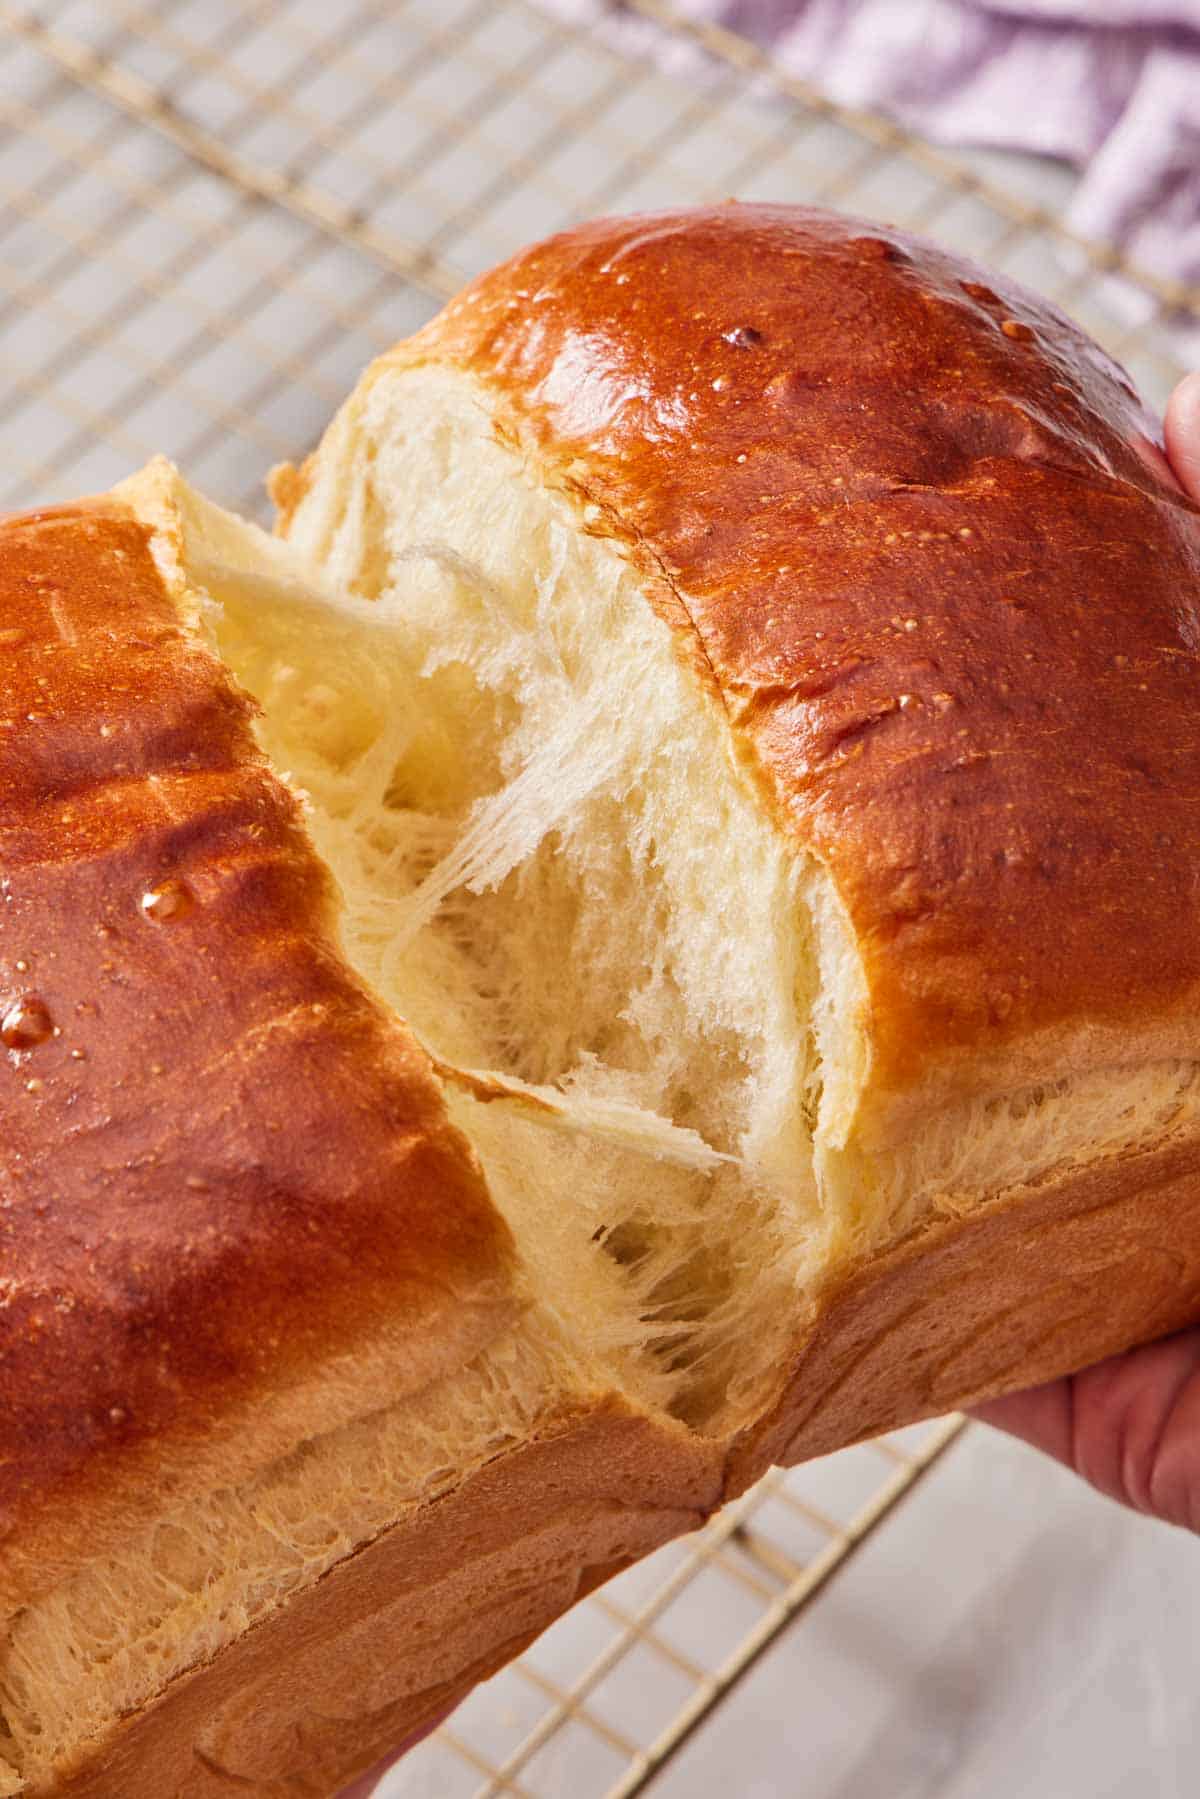
The secret behind Milk bread is a cooked flour paste called tangzhong that forms the base of the dough. The loaf pulls apart into strands instead of breaking into crumbs, and it stays soft for days.
My recipe follows a classic Japanese method, kneading the tangzhong into a dough that is enriched with milk, egg, and butter. It also follows a classic shaping method by rolling the dough into three sections that puff up high and golden above the pan. I tested this recipe in various pan styles to show you how to change the shape of the loaf. Plus, I give you the exact internal temperature to bake the loaves to ensure they are cooked through without overbaking so your loaf turns out with soft, tender strands inside.
“I have already made this twice. First time I made it as described – delicious! Second time I doubled the recipe and made one loaf and then a batch of rolls. This will definitely be my go-to for bread moving forward!”
Sharon
What is Milk Bread?
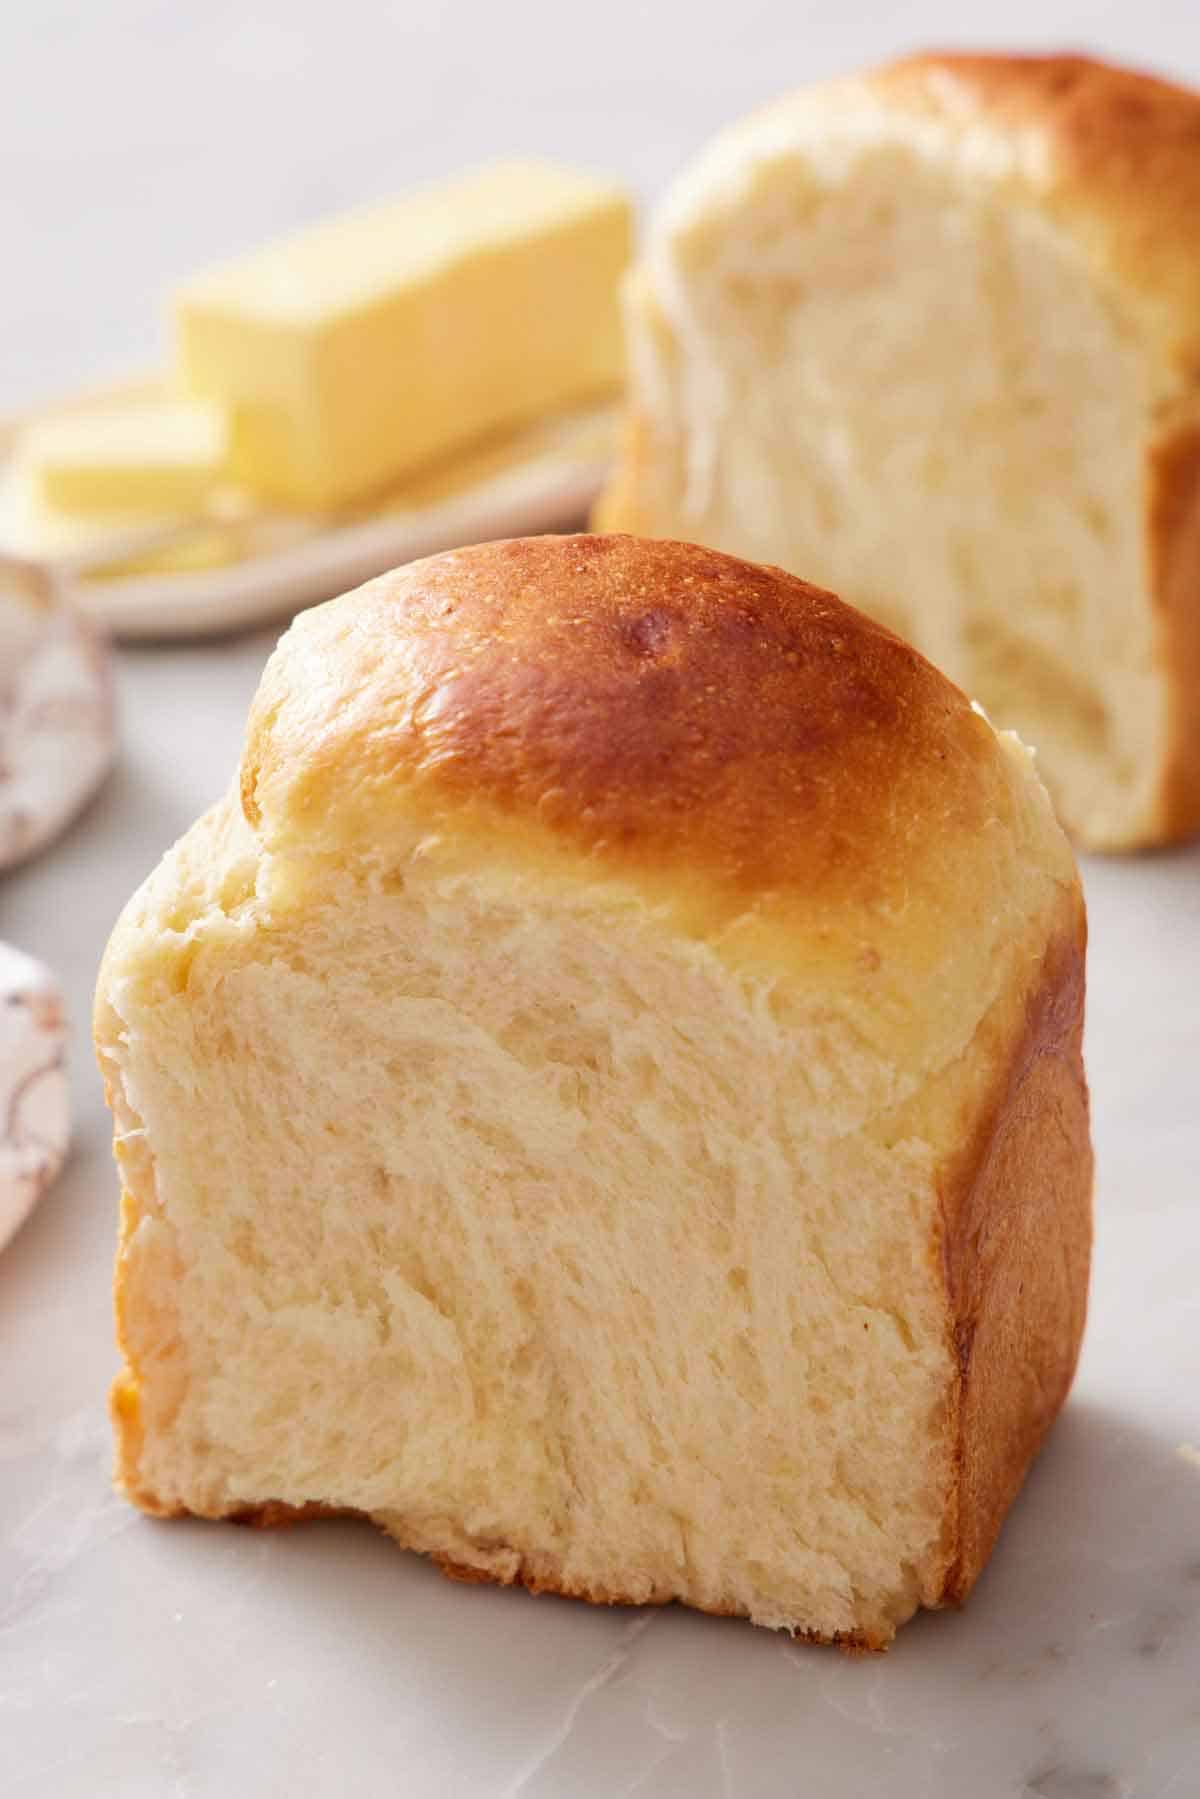
It’s a soft, faintly sweet enriched bread loaf made with milk and a cooked flour paste called tangzhong. Tangzhong is actually a Chinese name for what is originally a Japanese technique called yudane, and is used throughout Asian countries for various baked goods.
In Japan, the pan-baked loaf is called shokupan, also labeled as Hokkaido milk bread. Chinese bakeries use the same dough as the base for buns. In the US, this Japanese bread is simply sold as milk bread—there’s no different American version, though it’s a close cousin of Hawaiian sweet bread.
What Tangzhong Actually Does
Tangzhong is flour and liquid cooked together into a paste before it is kneaded with other dough ingredients. Here, it’s milk, water, and bread flour, whisked over medium heat for 2 to 4 minutes until it thickens to roughly the consistency of mashed potato.
Why it works: starch gelatinization. Heating flour in liquid past about 140°F makes the starch granules swell and absorb several times their own weight in water, holding about five times more water than raw flour can hold. This water then goes into the dough locked inside the starch rather than free, so you get a very hydrated dough that handles more like a drier one, without being too slack or wet.
Two ways this impacts the texture of the bread: the crumb is finer and more tender, because there’s more water in it during baking. And the loaf stays soft for days rather than going firm overnight because the water trapped in the starch leaves the crumb far more slowly.
Not all milk bread uses a tangzhong, but I do. Some recipes leave it out, with the tester saying they never got consistent results with it. There can be variation, but in my testing, I found that it all came down to temperature. Dough made with a warm tangzhong slackens the dough, melting the butter that is added to it. Cool it until it’s barely warm to the touch (about 15 minutes at room temperature); the bread consistently turns out with great results.
I will also note that how long you cook the tangzhong can affect how much water evaporates out of the paste. I made two loaves of milk bread one morning, and the second batch of dough I made weighed 20g more and was slightly softer than the first. The tangzhong stayed in the hot pot for about 30 seconds longer the first time as I fetched a bowl to transfer it to. Both doughs were easy to shape, and the breads baked up beautifully regardless. I mention this not to discourage you! But just to note this small variable if you make the milk bread often.
Milk Bread vs Brioche, Challah, and White Bread
Milk bread belongs to the enriched-dough family—doughs with fat, sugar, eggs, or dairy added to the basic flour-water-salt-yeast foundation. What makes different types distinct is which enriching ingredient does the heavy lifting.
| Bread | Main enrichment | What it’s like |
| Milk bread (shokupan) | Milk (sometimes butter and eggs too) | Light, springy, faintly sweet; tears into strands |
| Brioche | Butter and eggs | Rich and tender, almost cake-like, deep yellow crumb |
| Challah | Eggs and oil | Chewier, glossy crust, slightly firmer bite and denser crumb |
| Hawaiian sweet bread | Milk, butter, and sugar (often pineapple juice) | Noticeably sweet, soft |
| Plain white sandwich loaf | Little to none (sometimes milk or butter is used) | Neutral, sturdier, holds up slicing and sandwich fillings |
Does milk bread have a different American name? There isn’t a separate one. It’s sold as milk bread here, too! You’ll also see it as shokupan (the Japanese name for the pan-baked loaf) and Hokkaido milk bread, and Chinese bakeries use the same tangzhong technique as the base for pineapple buns, cocktail buns, and char siu bao.
Key Ingredients
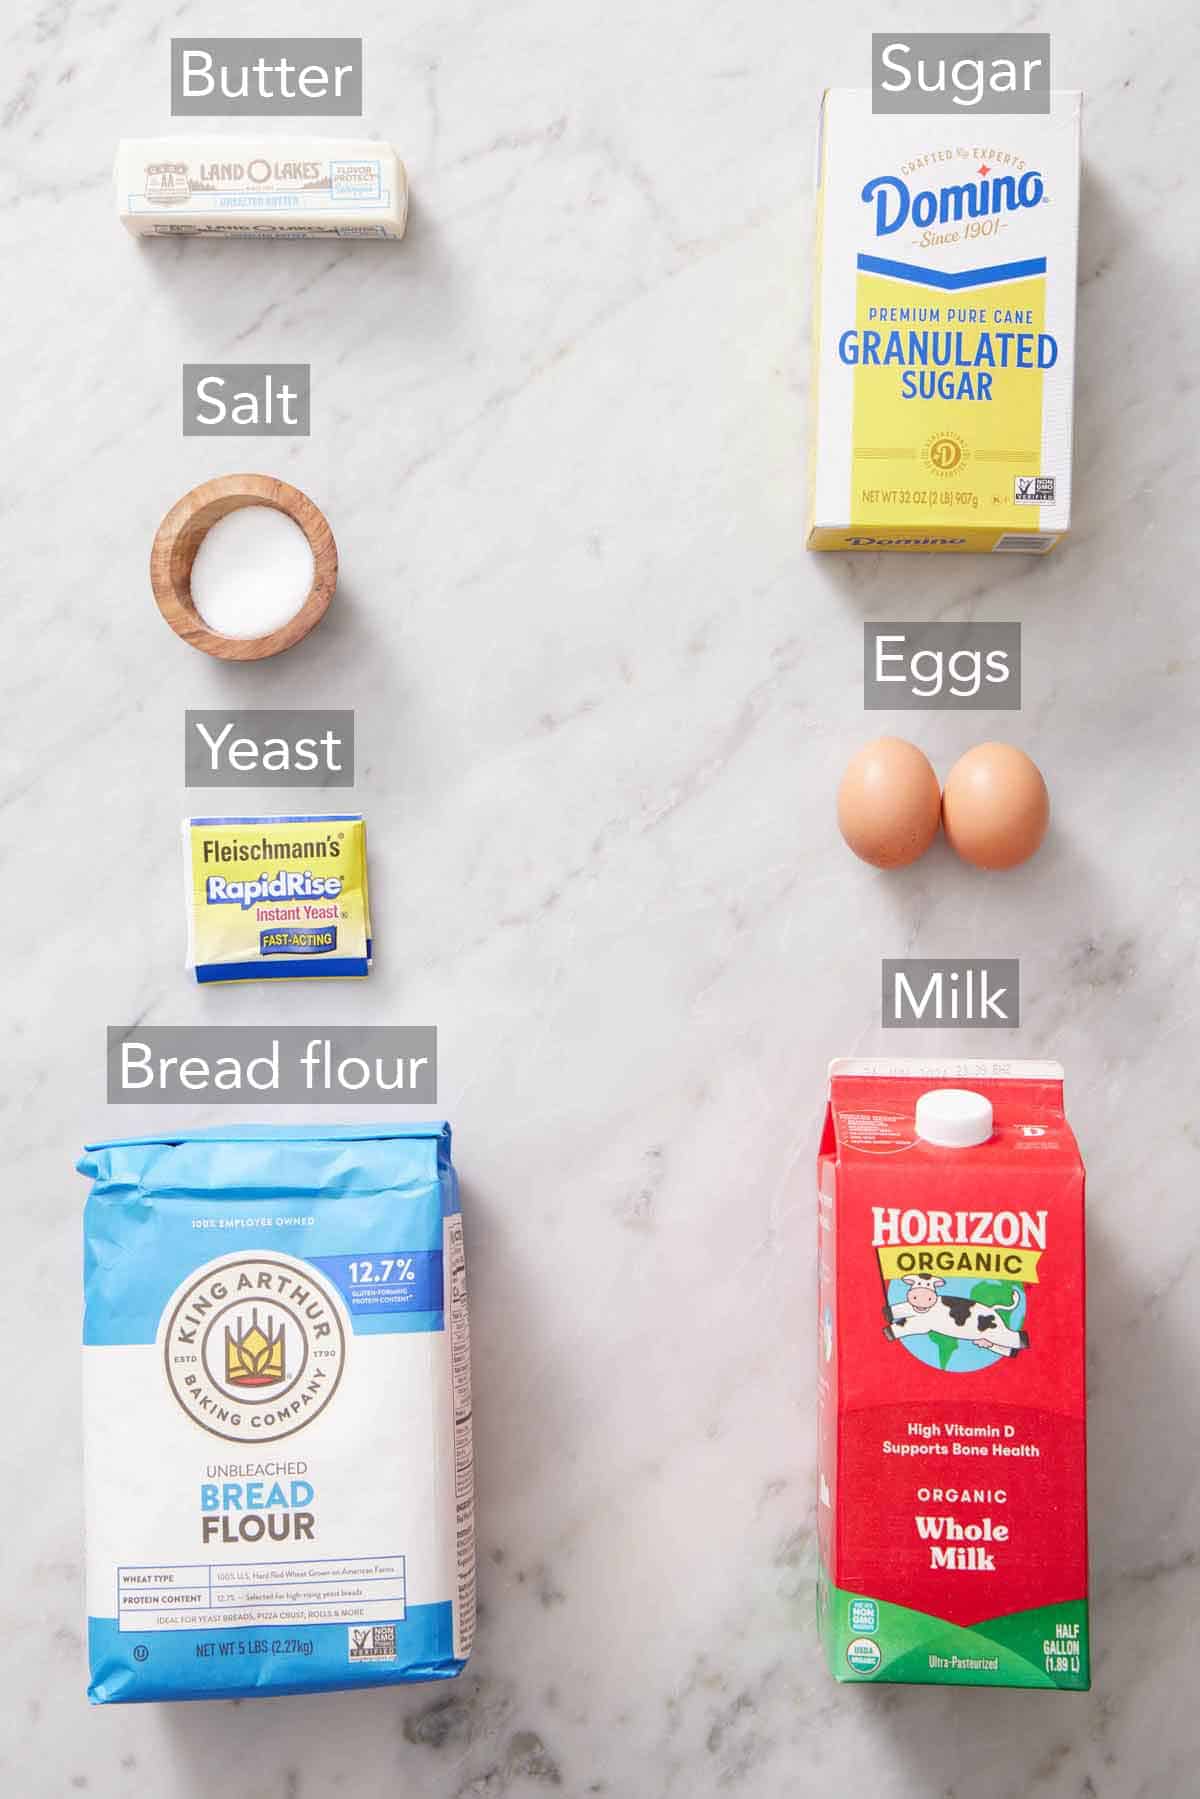
These are the main ingredients you need to make milk bread. You can find the full list of ingredients and measurements in the recipe card below.
Bread flour — the higher protein content of bread flour is what gives this loaf its structure and the springy chew that helps set milk bread apart from soft white bread. All-purpose flour will work, and the loaf will still be good, but it’ll be a bit more crumbly and less chewy. King Arthur bread flour, with about 12.7% protein, is what I used to test this recipe.
Instant yeast — you can add the packet straight to the dry ingredients without blooming it first. Instant yeast doesn’t need to be dissolved first to activate it (learn more in How to Activate Yeast). It also rises faster than active dry yeast or fresh yeast, reducing the time it takes to make this homemade bread! If you want to learn about swapping in active dry, follow my tips in the Active vs Instant Yeast guide.
Whole milk — you will warm the milk to 105–110°F for the dough. Hotter than that starts killing yeast. Cooler, and the rise is either very slow or the yeast never activates.
Unsalted butter — softened cubes of butter are added after the dough kneads for a few minutes. This way, the butter enriches the dough, making it soft and moist but still allows good gluten formation. Adding it at the start coats the flour and blocks gluten from forming as strong a network.
Eggs — one egg goes into the dough, aiding in structure and tenderness. The other is beaten into an egg wash to brush on top for a deeply golden brown, shiny crust.
How To Make Milk Bread
Below, I’ve highlighted portions of the recipe in step-by-step process images along with instructions for making milk bread. You can find the full set of instructions in the recipe card below.
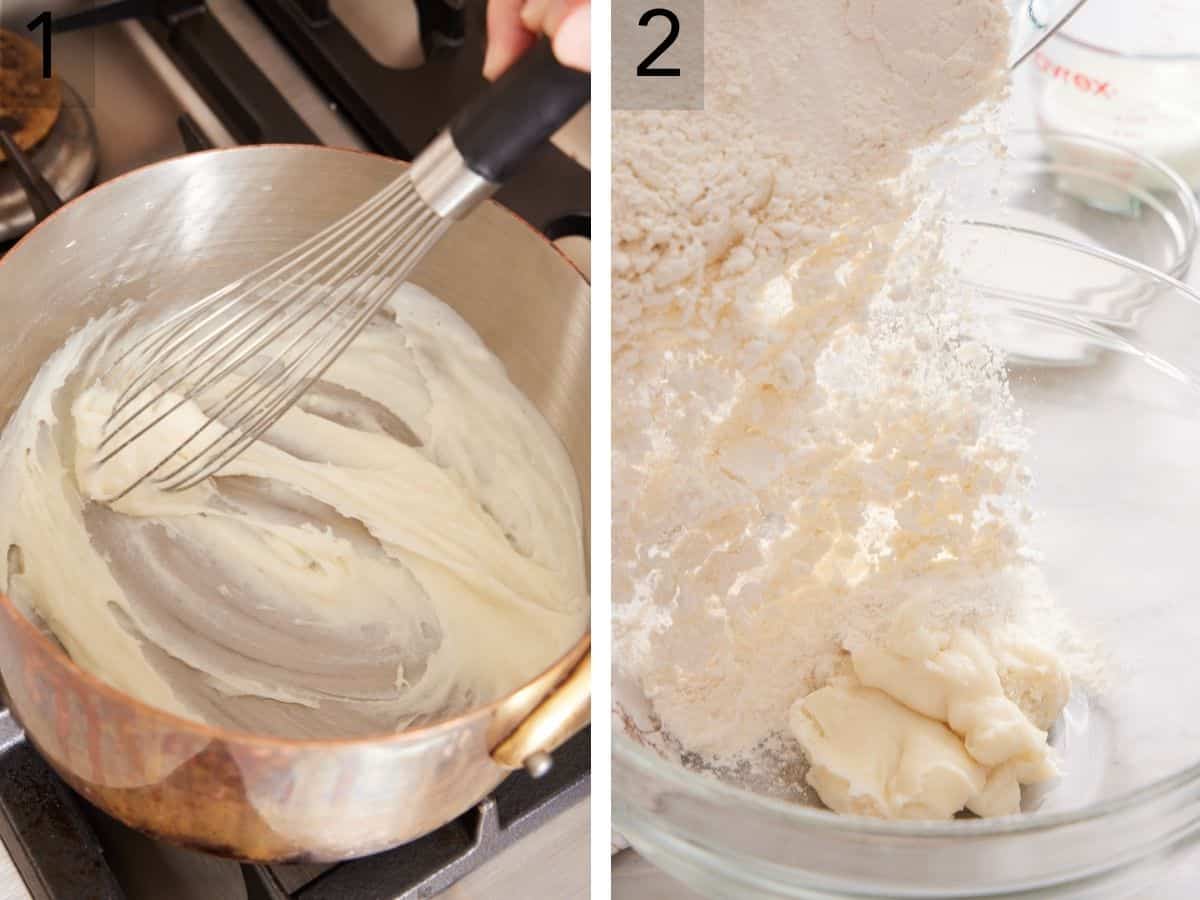
1. Make the tangzhong. Whisk milk, bread flour, and ¼ cup water smooth in a small saucepan. Cook over medium heat for 2 to 4 minutes, whisking, until it’s a thick paste. Once it is the consistency of mashed potatoes, scrape into the stand mixer bowl and cool for 15 minutes or until barely warm. In a hurry? Put it in the fridge and stir occasionally.
2. Make the dough: Add the flour, warm milk, sugar, salt, yeast, and one egg.
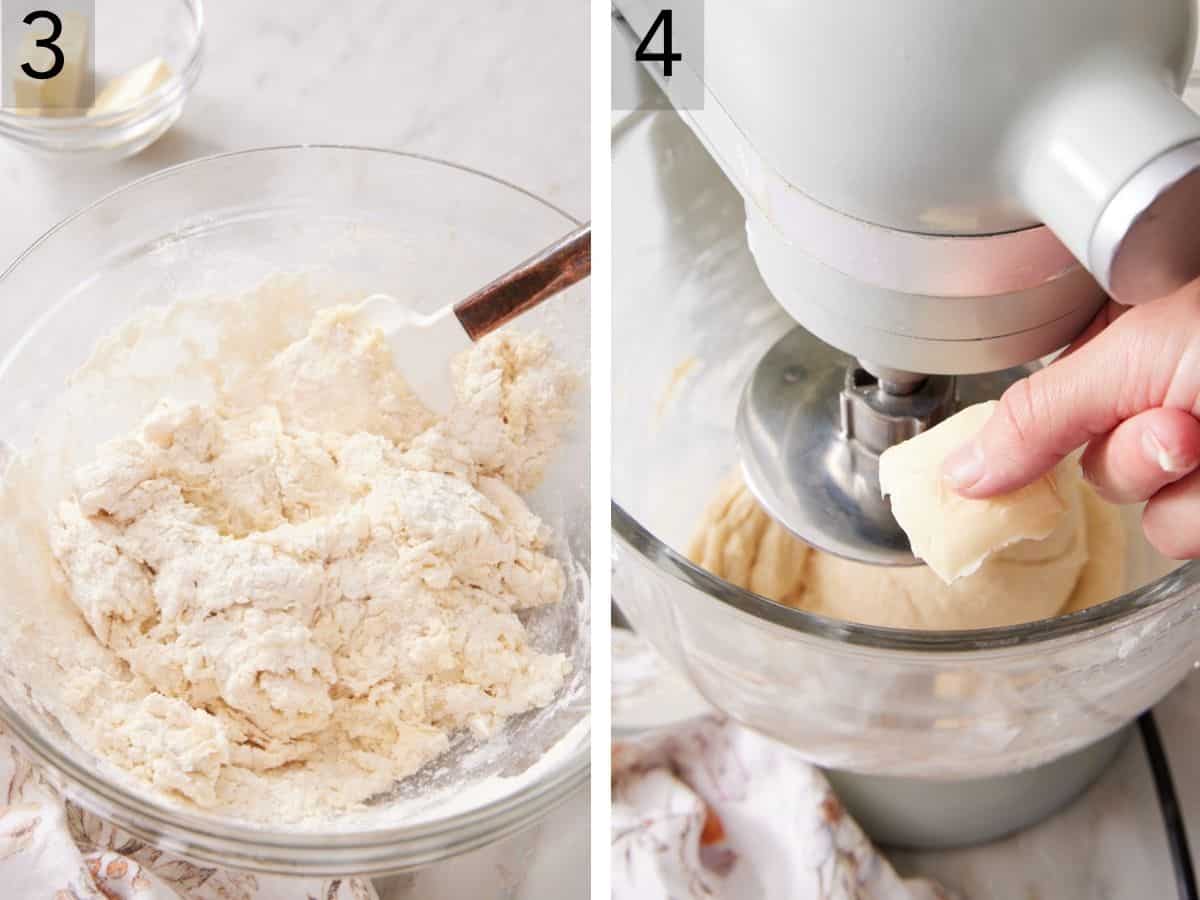
3. Scrape the tangzhong up off the bottom and stir to a shaggy mass.
4. Knead the dough in stages. Knead for 5 minutes to bring it together and scrape down the bowl. Knead for 5 more minutes while you add butter, one or two cubes at a time. Finally, knead for another 5 minutes after the butter is added until the dough is smooth, stretchy, and balls up around the hook. Don’t speed up your mixer to make the kneading faster—you can overwork the mixer motor.
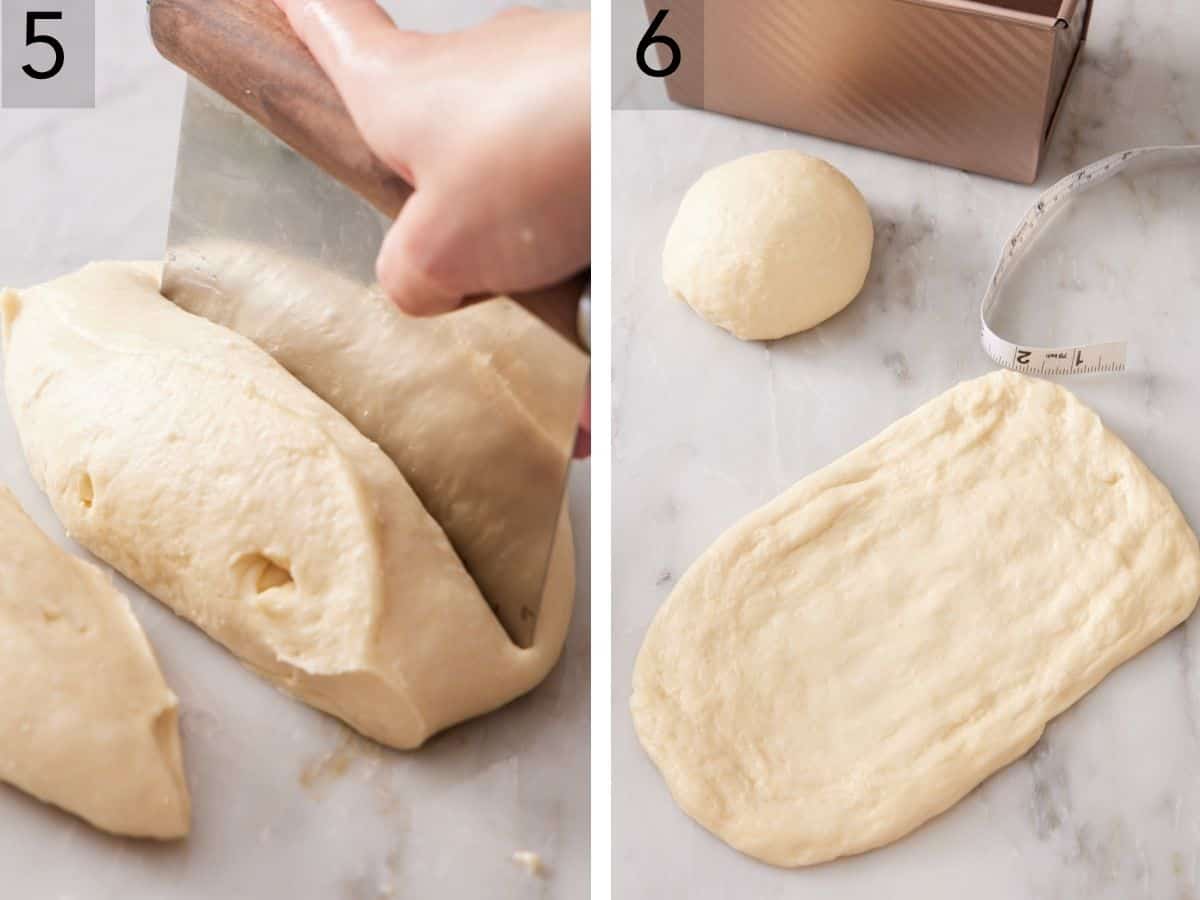
5. First rise. Place the dough in an oiled bowl and turn to coat. Cover the dough and let it rise for 40-50 minutes, or until doubled in size, in a spot that’s roughly 75°F. Once risen, divide the dough into 3 pieces.
6. Shape. Stretch each piece to about a 10×6 inch rectangle. Fold both long sides into the middle, pinch the seam, then press and stretch it so the short ends are the width of your pan.
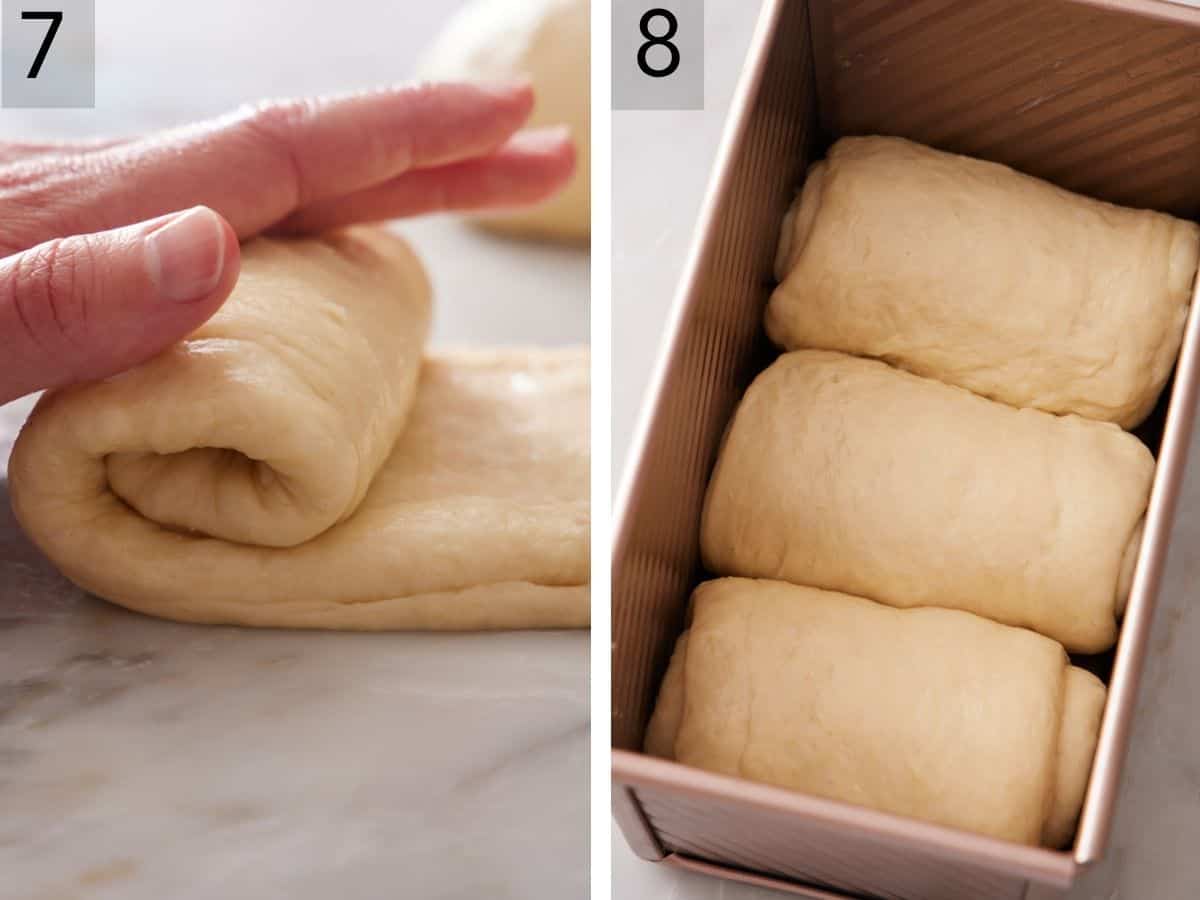
7. Roll up from the short end into a log. Place the three logs in the oiled loaf pan and cover the pan.
8. Second rise. Let the pan sit for 30 to 40 minutes, or until doubled. (Preheat the oven to 350°F after the first 15 minutes.) Egg wash the top of the loaf and bake for 32-35 minutes. The top will be deeply golden brown, but check the internal temp to reach 195-200°F in the center before you pull it.
Two Rises: How To Tell When It’s Ready
To form a dough that has a strong enough gluten network but also has smaller bubbles of carbon dioxide from the yeast, the dough needs to rise twice. And nearly any problem a reader has encountered with this loaf traces back to the proofing steps.
Under-proofed dough hasn’t produced enough gas to open the crumb, and you get a dense, tight loaf that never really rose. Over-proofed dough has exhausted its structure and collapses in the oven, giving you a loaf that looked promising during the start of the bake and then sank.
Judge by size, not by time. The rise times are a guide, but yeast rises faster or slower depending on the ambient temperature where it is rising. Look for it to double regardless of whether that takes 30 minutes or 1 hour. I have made this in the winter when my kitchen was around 68°F, and it took twice as long to rise, and it did in the summer when it was 73F on my counter. If you’re nervous about this stage, check out my Academy guide: How to Proof Bread for all of my tips on how to get a proper rise.
A slow first rise isn’t a failure. Readers regularly report a sluggish first rise followed by a stronger/faster second one. That’s normal for an enriched dough, where the fat and sugar slow the yeast down early on. Yeast microbes multiply two-fold as they grow, so more time means exponential growth and faster rising. Give it the time it needs rather than just moving on at the 50-minute mark because the recipe said so.
Pullman Pan vs Loaf Pan
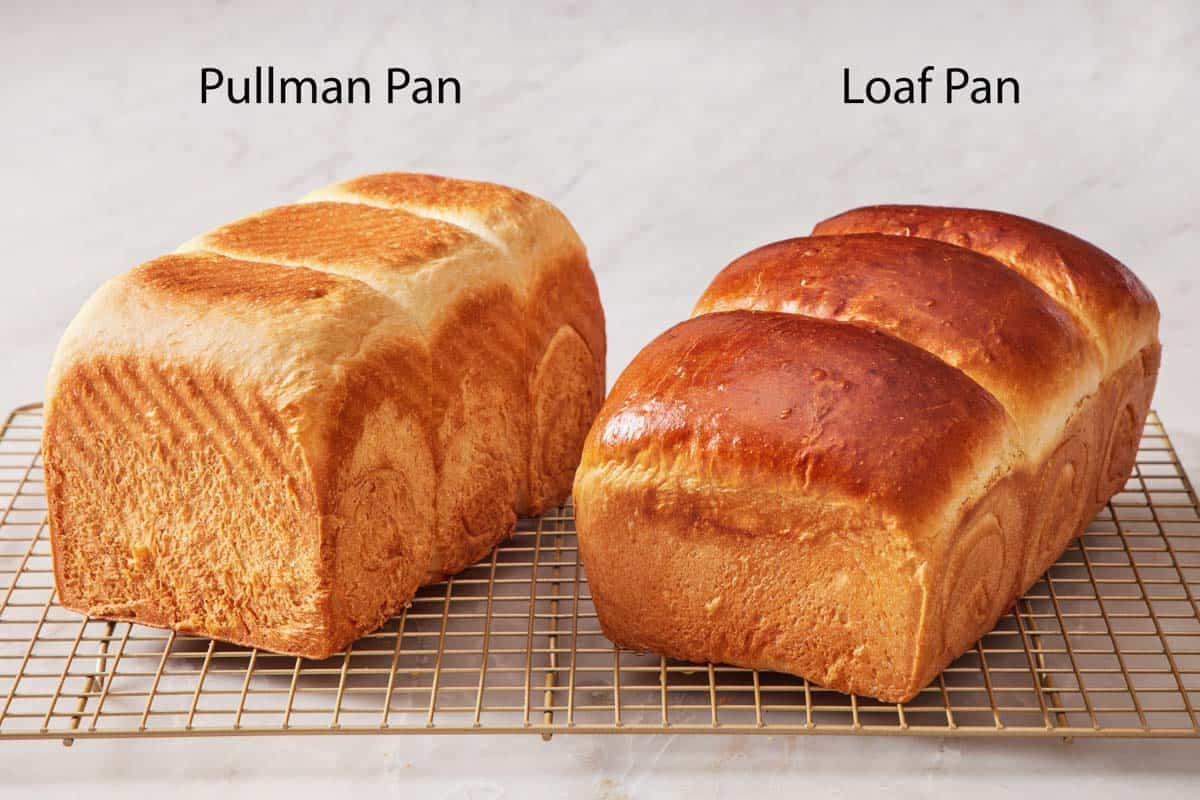
I tested this recipe with the same ingredient amounts and shaping technique, but in two different pans with two different baking styles that are common to milk bread
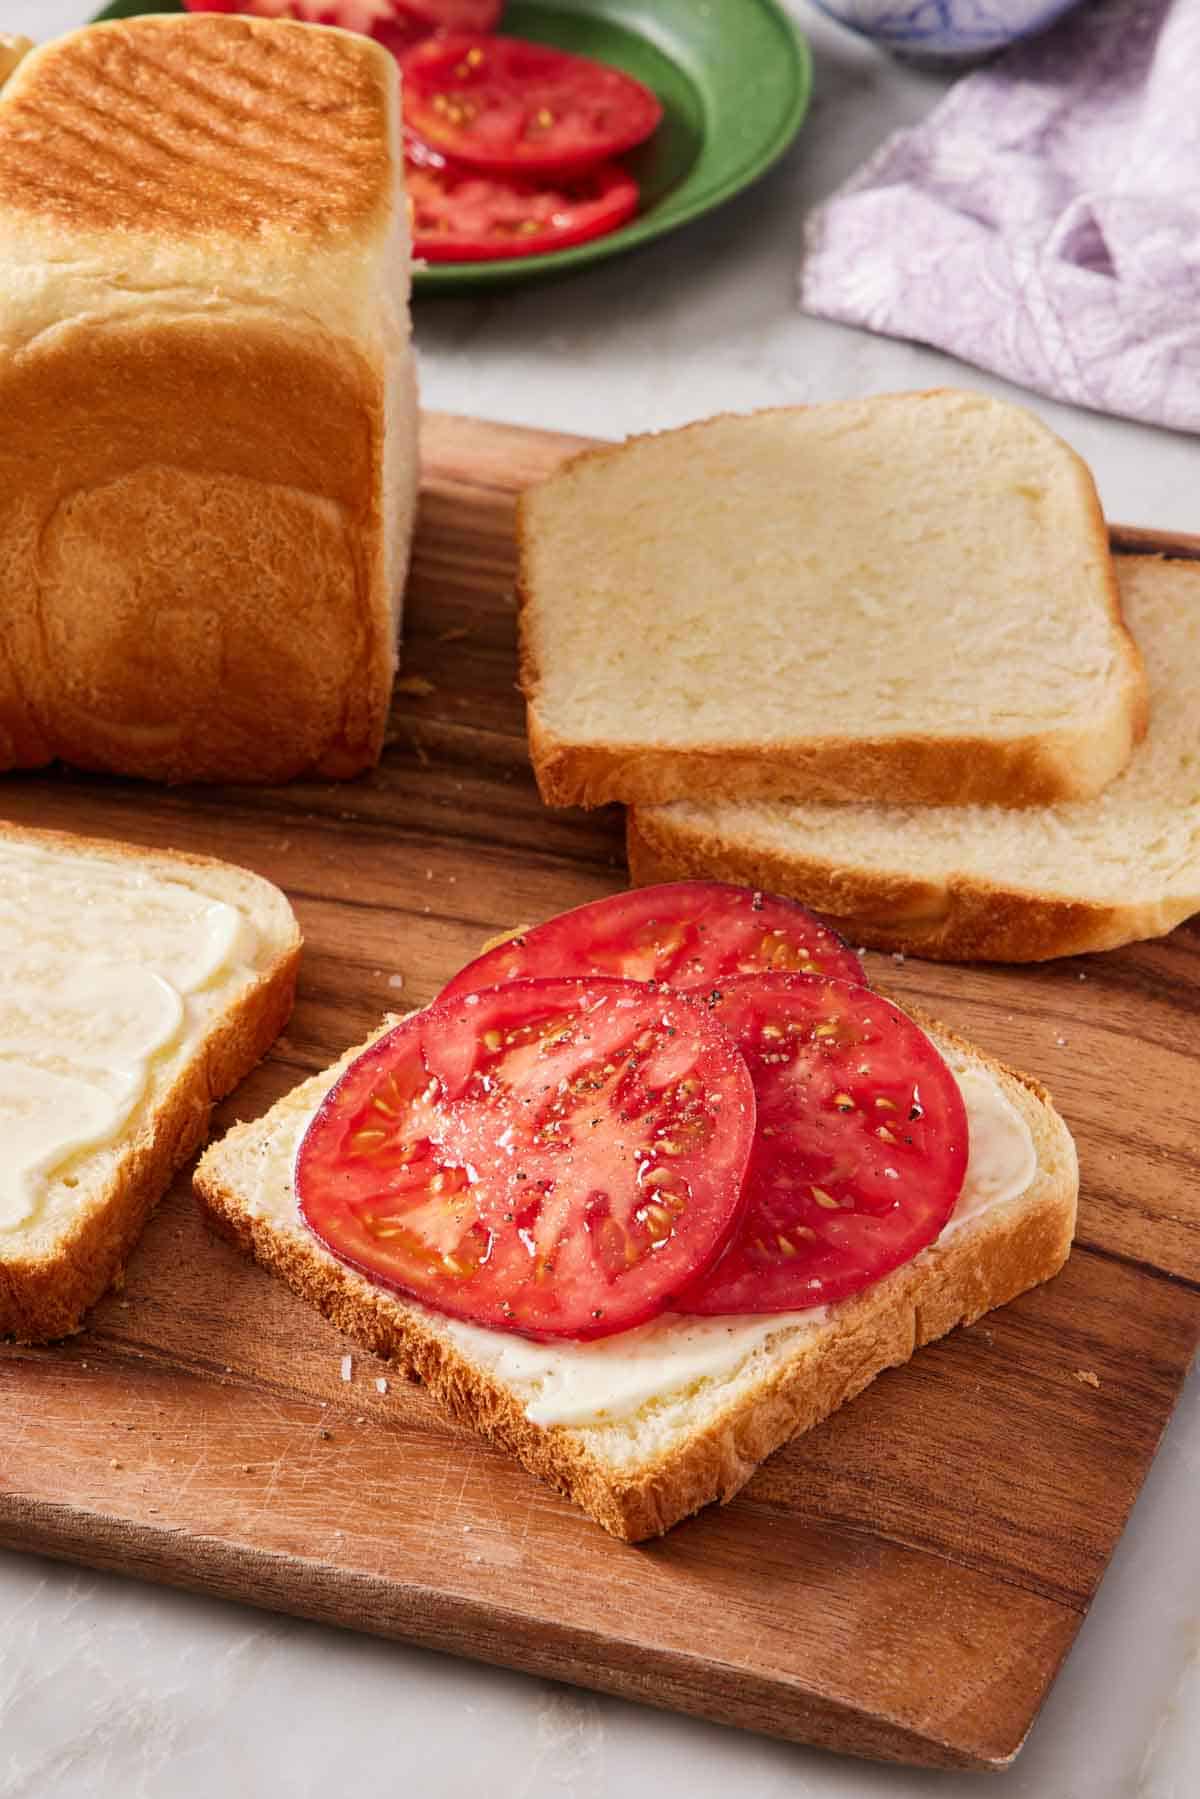
8x4x4-inch Pullman pan — this pan is tall, square-shouldered, and comes with a lid. You can either bake it with the lid off so the top domes (like pictured in most of the photos). Or, you can slide the lid on top and bake a rectangular loaf with a flat top (like pictured below). This makes a great sandwich loaf!
9×5-inch loaf pan — this pan is wider and shorter, so the loaf domes over the top.
Both work. The Pullman gives you a bakery-style tall, dramatic loaf with neat square slices for sandwiches. The standard loaf pan gives you a more familiar bread loaf shape and is the pan most people already own. Both pans had the same rise and bake times. An 8½x4½-inch pan also works and will run slightly taller than the 9×5.
What doesn’t change is the internal temperature. If you are uncertain about doneness, insert an instant-read thermometer into the center of the loaf. It should reach 195-200°F. A Pullman pan with the lid on is harder to tell doneness since it doesn’t brown in the same way as the open loaf pans. I suggest taking the internal temperature to be certain.
Turning It Into Rolls
You can make incredibly soft dinner rolls with this same dough! Several readers now make it this way as their go-to dinner rolls, so I tested it myself for you! Divide the proofed dough after the first rise into 9 equal pieces, shape into balls (follow the method in my dinner rolls recipe), and space them in a greased 8-inch square or round baking pan. Cover and rise for the second time until they have doubled in size (about 30 minutes), then bake at 350°F for roughly 20 to 25 minutes, since smaller pieces bake faster.
Pro Tips For The Best Milk Bread
Weigh the flour. This is the best way to ensure your milk bread turns out as soft and fluffy as you hope it will! Using too much flour will make the dough firm and dense, so it doesn’t rise as well or develops too much gluten. You can learn how to use a scale or fluff and scoop your flour to properly measure by volume in my How to Measure Ingredients Correctly.
If you don’t have a stand mixer, you can knead the dough by hand. It will require you to flour the surface and your hands, so the bread won’t be as fluffy and soft because more flour will be worked into the dough. Learn the proper technique in my How to Knead Dough.
Weigh the dough. When you are ready to divide the dough into thirds for shaping, weigh the whole dough ball before dividing it so all three pieces match. Uneven pieces will rise and bake unevenly.
Use room temperature eggs and butter. They blend into a cohesive dough more easily. And cold butter will never fully incorporate into the dough, leaving pockets of butter throughout the dough that form holes or gummy spots in the loaf.
Bake to internal temperature, not just color. The egg wash browns the top well before the center is done. The loaf is finished when it reaches 195-200°F in the middle. On my test bakes, that took about 32-34 minutes in an 8x4x4-inch Pullman pan and 9×5-inch loaf pan.
Storing and Serving
Room temperature: keep in an airtight container or tightly wrap in foil or plastic wrap up to 4 days. Remember, the tangzhong is why this loaf still tastes fresh on day 3!
Freezer: cool completely, then freeze whole or sliced in a freezer bag for up to 3 months. Toast straight from frozen, or defrost for 10 to 15 seconds in the microwave.
Slice it just warm, not hot. Cutting into a hot enriched loaf compresses the crumb and tears it. Let it cool on a rack for at least 30 minutes or until it’s barely warm.
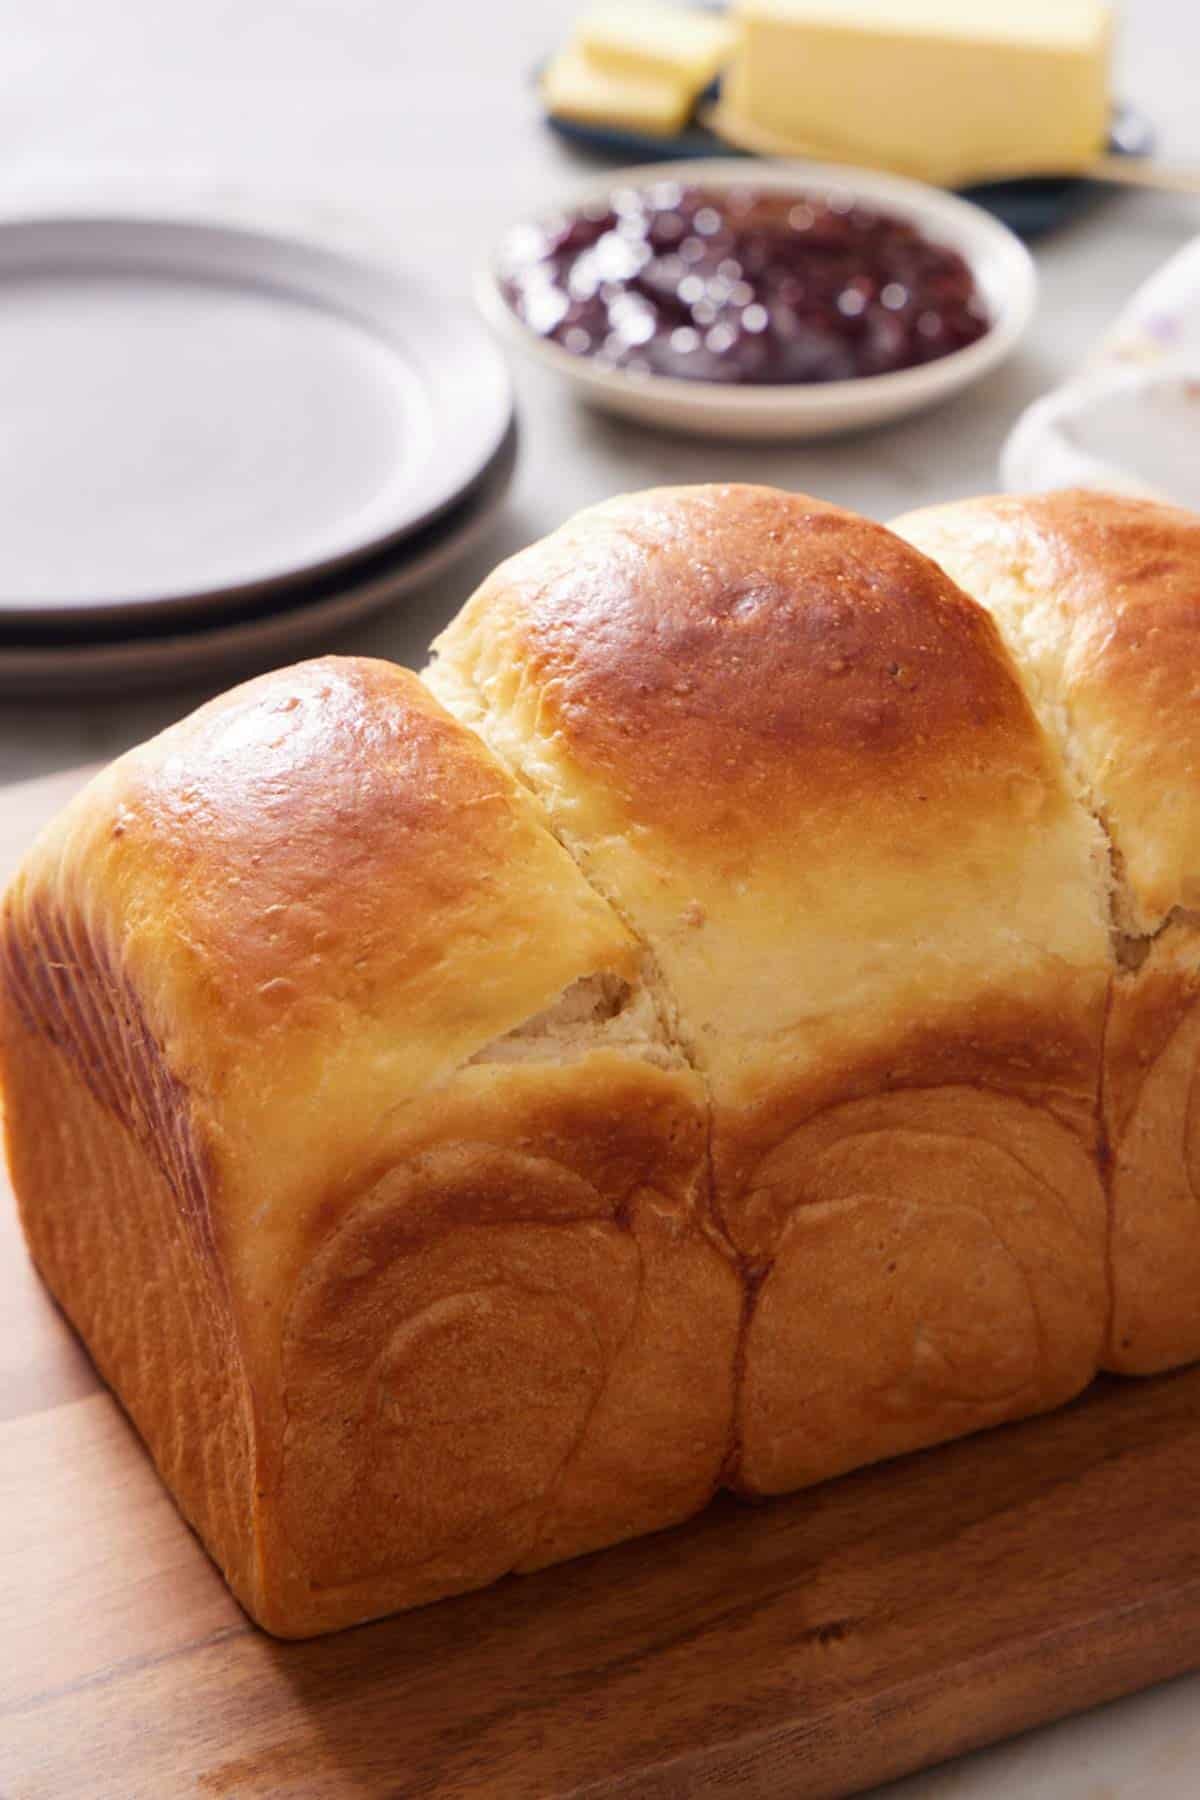
What to do with it: toast it and spread butter and strawberry jam or honey butter on it. Slice it thick for French toast (this bread is close to ideal for it), or use the roll version for ham and cheese sliders.
Milk Bread Recipe
Equipment
- Stand mixer with dough hook
- 9x4x4-inch Pullman loaf pan or 9×5-inch loaf pan
- Bench scraper
- Plastic wrap
Ingredients
For the Tangzhong
- ¼ cup whole milk (60mL)
- ¼ cup water (60mL)
- 3 tablespoons bread flour
For the Bread
- 2¾ cups bread flour (330g)
- ½ cup warm whole milk (105°F to 110°F) (120mL)
- ¼ cup granulated sugar (50g)
- 1 teaspoon salt
- 1 (0.25-ounce/7g) envelope instant yeast
- 2 large eggs room temperature, divided
- 3 tablespoons unsalted butter cubed and softened
Instructions
For the Tangzhong:
- In a small saucepan, whisk together the milk, water, and flour until smooth. Place over medium heat and cook, whisking constantly, just until the mixture turns into a thick paste (like mashed potatoes), 2 to 4 minutes. Remove from the heat and whisk until very smooth.
- Transfer the mixture to the bowl of a stand mixer. Let it cool for 15 minutes until it’s just barely warm.
For the Milk Bread:
- To the same mixing bowl with the cooled tangzhong, add the flour, warm milk, sugar, salt, yeast, and 1 of the eggs. With a rubber spatula, scrape the tangzhong from the bottom of the bowl and stir the mixture together to create a shaggy dough.
- Place the bowl on the stand mixer and attach the dough hook. Knead on low speed for 5 minutes until the dough looks much smoother and starts to ball up around the hook. Stop and scrape down the sides and bottom of the bowl.
- Mix for another 5 minutes on low speed. While mixing, add 1 to 2 small pieces of butter at a time. Scrape the sides of the bowl as needed so that the butter is fully incorporated between each addition.
- Once all of the butter has been added, continue to mix on low speed for another 5 minutes until the dough is stretchy, smooth and balls up around the dough hook. (Some of it may still stick to the side of the bowl, but some should ball up around the hook).
- Scrape the dough into a ball and lightly oil the top of the dough and sides of the bowl. Flip the dough over, then cover the bowl with plastic wrap and let it rise in a warm, draft-free spot (75°F) for 40 to 50 minutes, until doubled in size.
- Once the dough is risen, lightly grease a 8x4x4-inch Pullman loaf pan or a 9×5-inch loaf pan with butter or baking spray.
- Punch down the dough and turn it out onto a lightly oiled work surface. Divide the dough into 3 equal pieces (235g each). Stretch and shape each piece into a rectangle about 10×6-inches and ¼-inch thick. Fold each long side into the center of the rectangle so that both sides meet in the middle. Pinch the seam where the two sides meet. Press and stretch the rectangle to be the width of the baking pan that you are using.
- Beginning with the short end closest to you, roll each dough piece into a thick log. Place the logs width-wise, side by side, seam side down in the prepared pan. Cover the pan with plastic wrap and let rise in a warm, draft-free spot (75°F), until doubled in size, 30 to 40 minutes.
- After 15 minutes of proofing, preheat the oven to 350°F.
- Once the loaf has finished rising, in a small bowl, whisk the remaining 1 egg with 1 tablespoon of milk or water until smooth. Brush the top of the risen loaf with the egg wash. (Skip the egg wash if you are baking in a Pullman pan with the lid on.)
- Bake for 32 to 35 minutes until golden brown on top and the center temps at 195-200°F. Let cool for a few minutes in the pan, then remove and cool on a wire rack until just warm before slicing.
Notes
- Pan choice. The 8x4x4-inch Pullman pan yields a taller, more dramatic loaf, but a 9×5-inch or 8½x4½-inch loaf pan works well too. Both pans were tested with the same dough amount for the same rise times.
- Speed up cooling the tangzhong. Refrigerate the cooked paste, stirring occasionally, to cool it down faster (about 8 minutes).
- Tip for working with the dough: The dough will feel moist but shouldn’t be sticky. Don’t flour your work surface. Lightly oil it with nonstick spray, or rub a tablespoon of vegetable oil on with a paper towel. Use a bench scraper and oiled hands to stretch and shape them. Adding flour during shaping dries the surface of the dough out so it cracks or doesn’t rise as well.
- Don’t overwork your mixer. On a KitchenAid, “low speed” is number 2 or 3. Don’t mix the dough higher than that, or you can overwork the motor on your mixer.
Nutrition
Have you tried this recipe? Tag me today!
Mention @preppykitchen and tag #preppykitchen!
Frequently Asked Questions
No, but it is a long process. There’s no difficult technique here—no lamination, no starter, no shaping that takes practice. You will start by cooking a paste that also has to cool, and then the dough has two rises. Total elapsed time runs about two and a half hours, of which maybe 30 minutes is actual hands-on time. If you’ve made any yeasted loaf before, you can make this! Plan for the afternoon rather than an hour.
The dough should feel moist and tacky but not sticky. This means it might feel like it wants to stick to your hands, but when oiled or touched quickly, it releases cleanly from your fingers instead of sticking to them. Moisture is the usual cause when it crosses that line. This can mean a more humid day, mismeasuring ingredients, or slightly less moisture cooked out of the tangzhong, as I mentioned earlier. Don’t fix it with flour, which dries the loaf and makes it denser. Instead, lightly oil your work surface (nonstick spray, or a little bit of vegetable oil rubbed on the counter and your hands). Use a bench scraper to help you shape the loaf if needed.
Yes. Shape it, put it in the pan, cover tightly, and skip the second rise. Immediately refrigerate the loaf for up to 12 hours. It’ll rise partway in the fridge, which is fine. Take it out an hour before baking to come to room temperature, and make sure the loaf looks doubled in size, then bake as written.
Yes, but bloom it first: stir it into warm water at 105-110°F with a pinch of the sugar, leave it for 5-10 minutes until foamy. Rise times will run a little longer than with instant. Either way, check the date on the packet. Dead or weak yeast is the most common reason a loaf never rises!
More Bread Recipes To Try
Build your baking skills and try one of these bread recipes next:
- Brioche Bread — the butter-heavy enriched loaf, richer and more cake-like than this one.
- White Bread — the plain sandwich loaf when you want something neutral and sturdy.
- Dinner Rolls — soft pull-apart rolls for the table, and the closest thing to the roll version of this dough.
- Challah — egg-enriched and braided, chewier than milk bread with a glossy crust.
- Brioche Buns — enriched burger buns, sturdy enough to hold up to a patty.
If you’ve tried this milk bread recipe, then don’t forget to rate it and let me know how you got on in the comments below. I love hearing from you!





