

This post may contain affiliate links. Please read our disclosure policy.
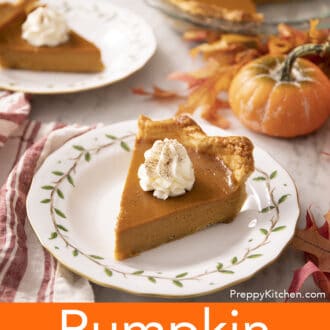
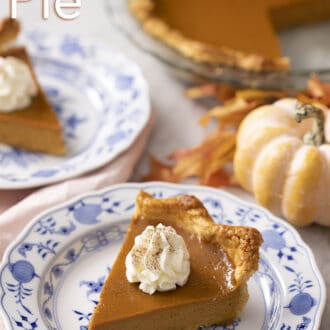
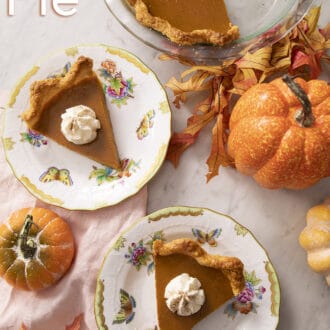
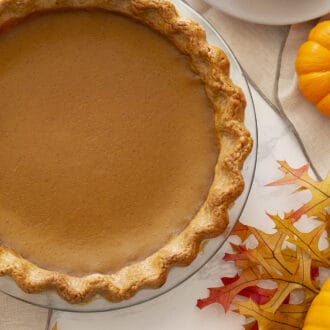
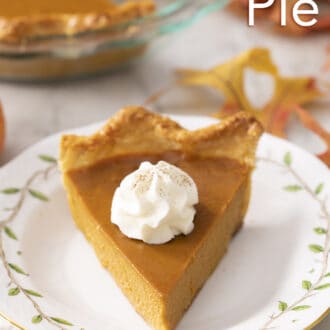
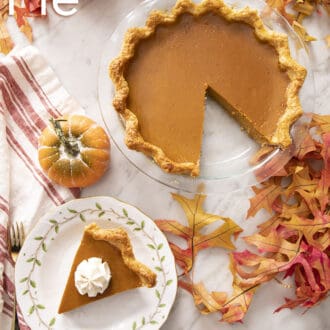
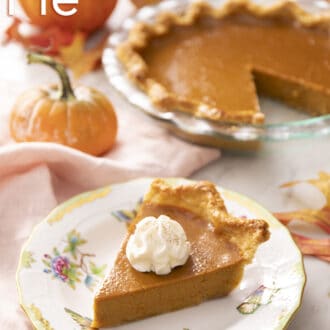
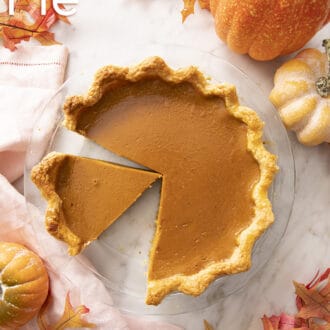
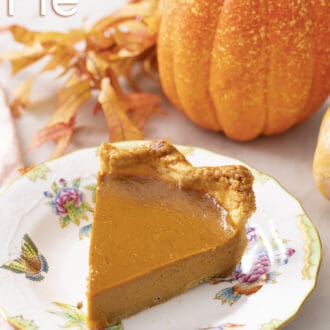
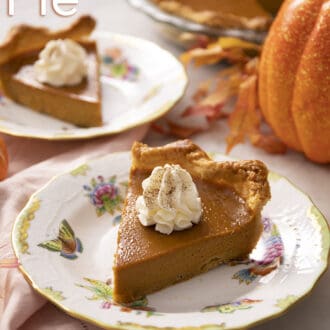
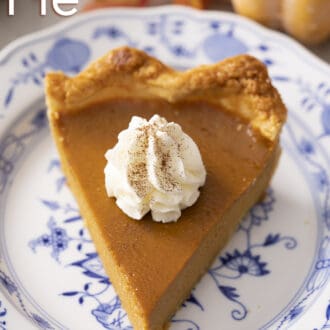
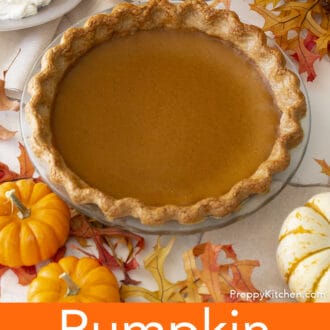

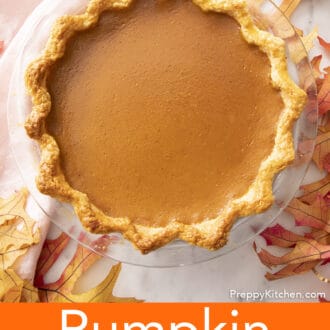
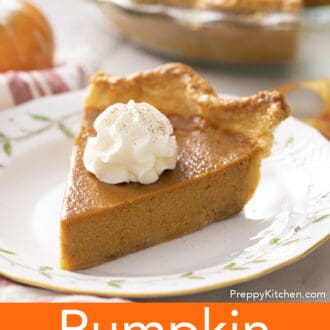
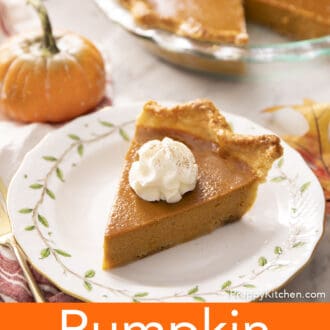
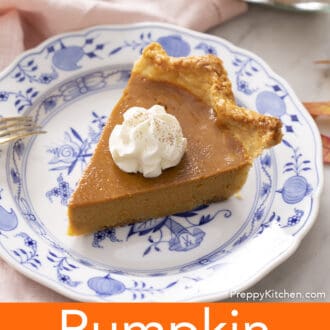
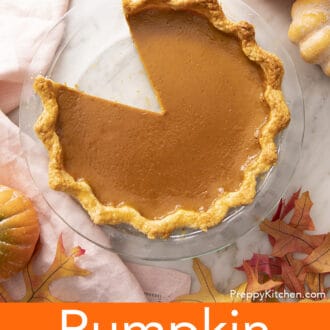
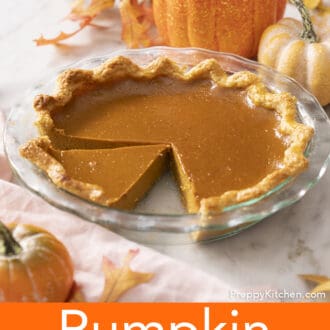
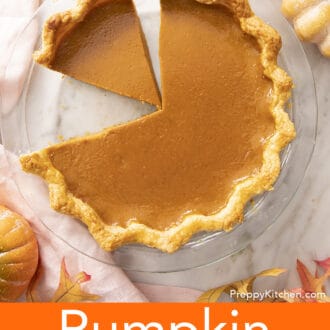
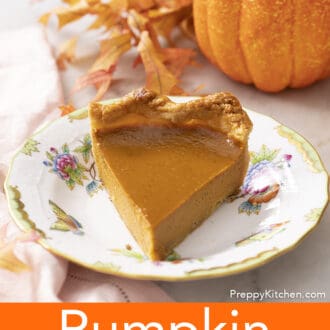
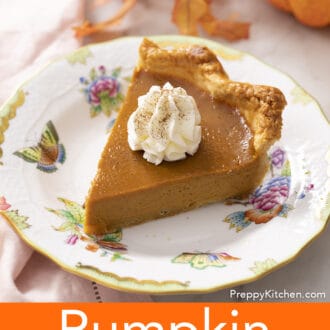
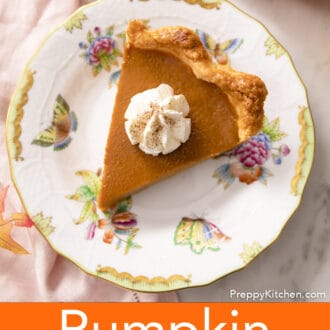
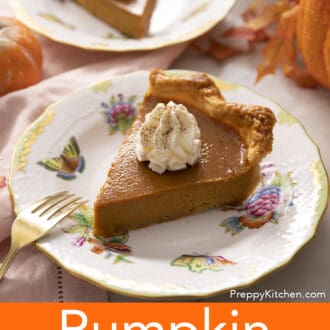
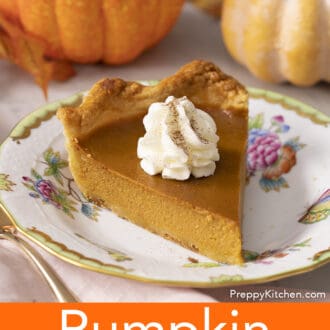
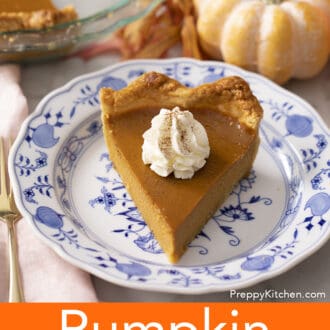
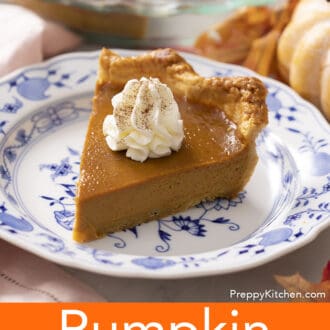
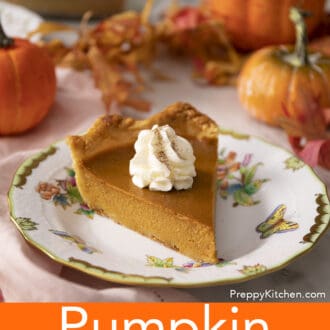
Homemade Pumpkin Pie is a classic for a reason: a no-fuss dessert with a silky-smooth custard filling in a flaky crust. Simply whisk the filling together in one bowl, pour it into a pie crust, and bake! You can also freeze it unbaked and bake from frozen.
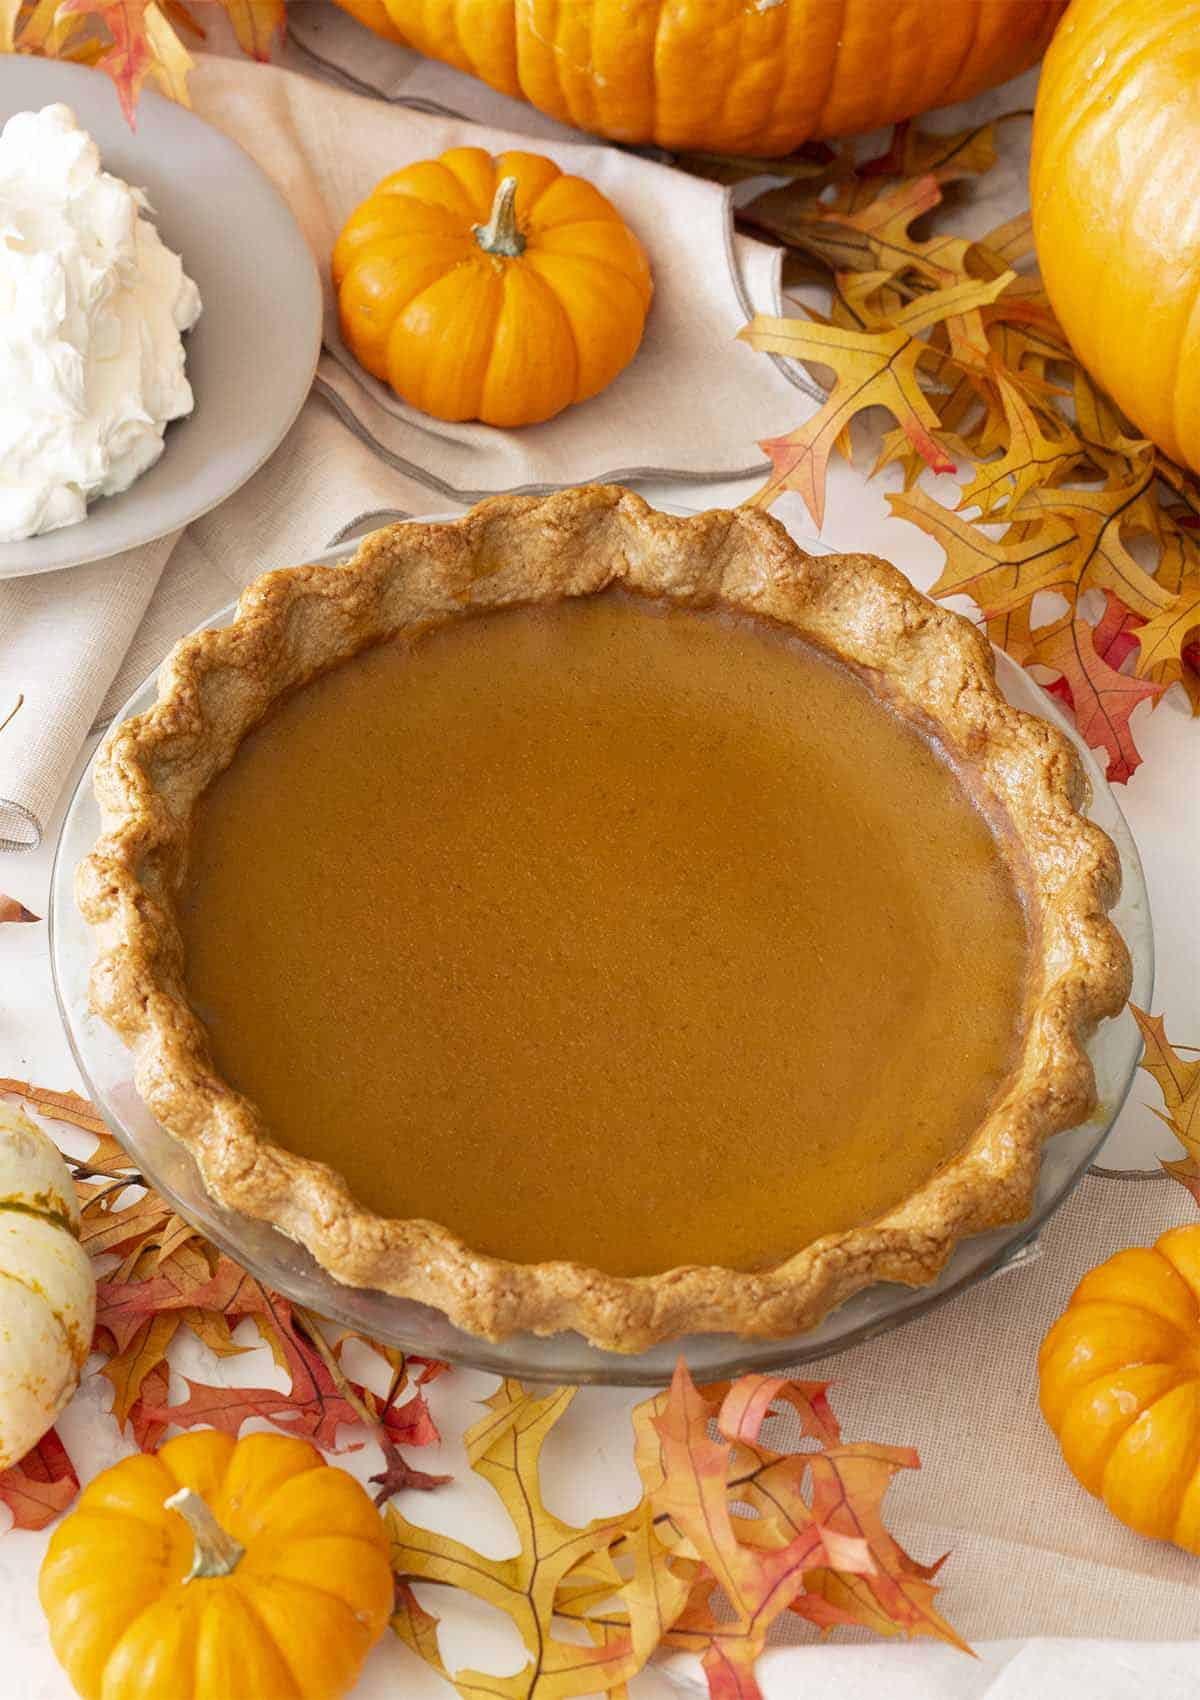
I have been making pumpkin pie every November since 2019, and I’ve tweaked the version I make throughout the years. I used to cook the filling on the stovetop first. It made a slightly richer pie, but it also added an extra step to the recipe. So I simplified it to a whisk-and-pour method, retested, and was in love with the results!
What follows is what my team and I learned in the testing process and from years of making pumpkin pies. I’ve included the crust test we ran that answers your questions about blind baking, helpful ingredient substitutes, and my new favorite make-ahead method of freezing the pie before baking it, then baking it from frozen! It’s the perfect make-ahead dessert for stress-free holidays.
“I have made this pie 6 times now, the ultimate way as said in the notes! It is the best pumpkin pie anyone in my family has had 🙂 a perfect recipe, thank you so much.”
Emily
Key Ingredients & Substitutions
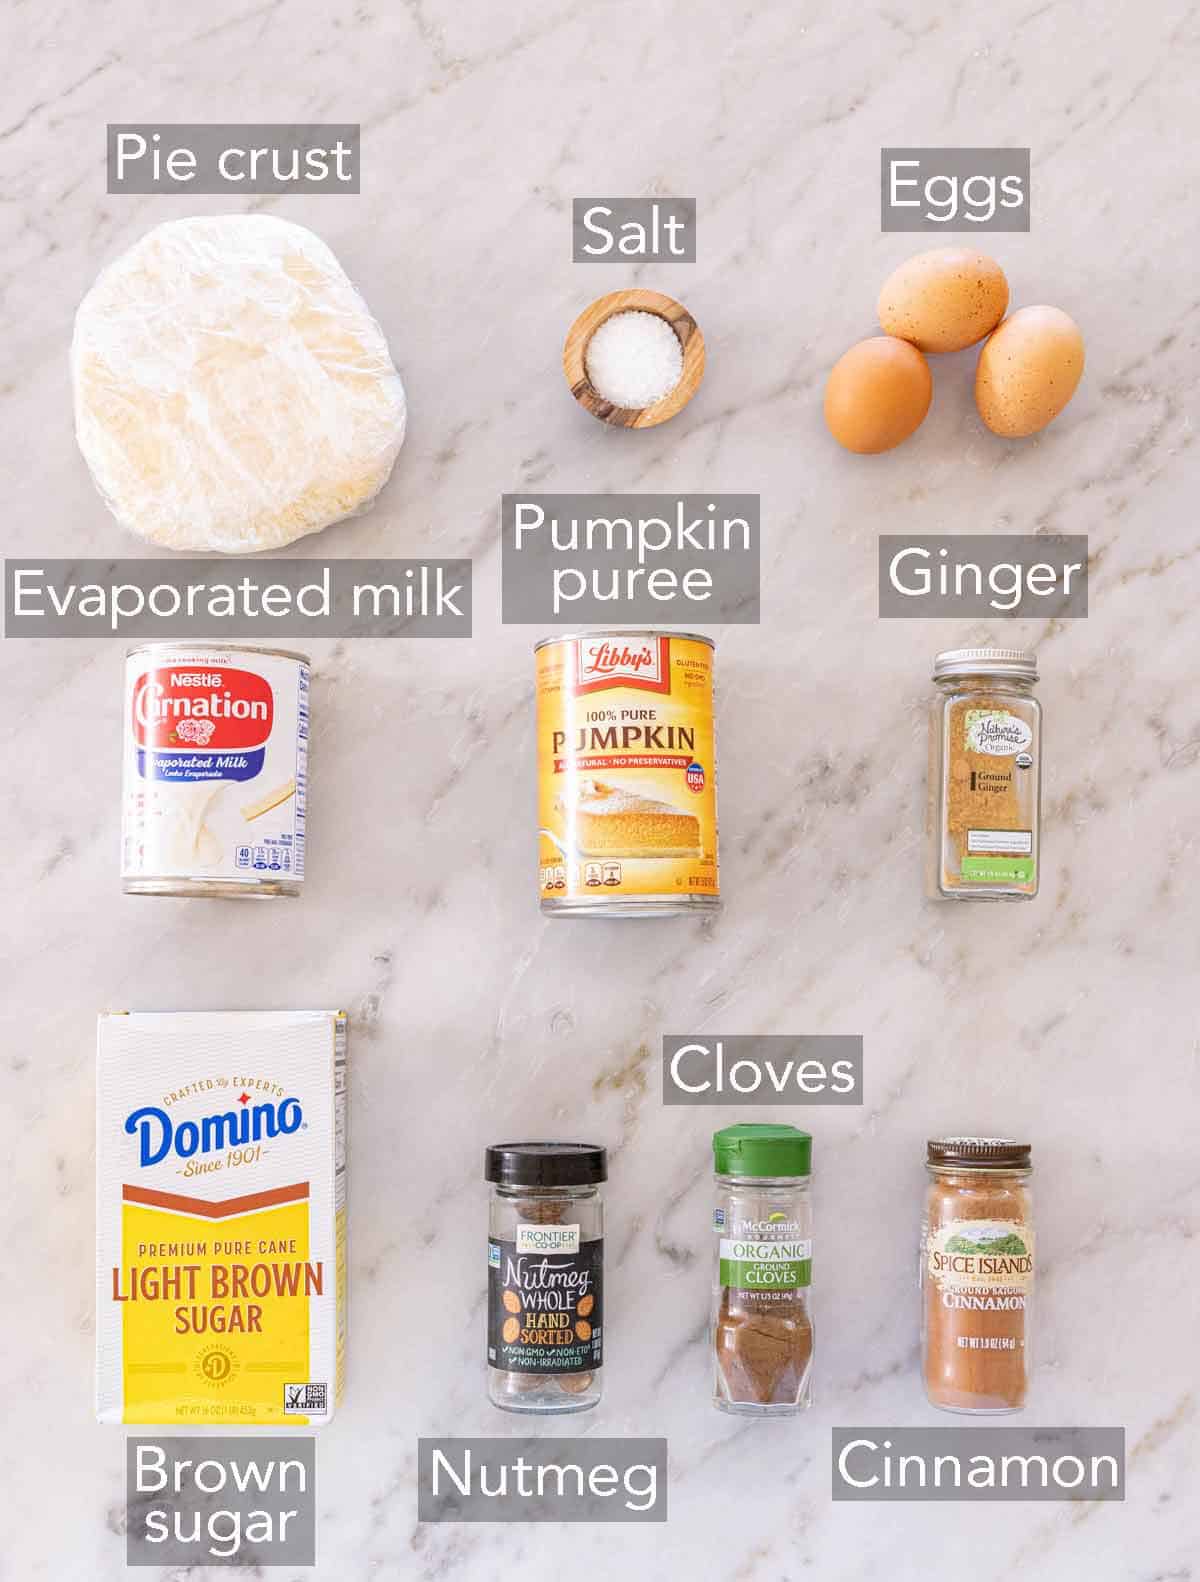
These are the main ingredients you need to make homemade pumpkin pie. You can find the full list of ingredients and measurements in the recipe card below.
Pumpkin — canned pumpkin purée is my go-to for the filling. Buy 100% pure pumpkin purée, not pumpkin pie filling, which is pre-sweetened and pre-spiced (intended to be added straight to the pie crust). The brand matters more than people expect. I develop with Libby’s because it’s thick and deeply colored. I’ve tried other cans that were noticeably paler and looser, and a looser purée means a wetter filling that takes longer to set. This is the same for homemade pumpkin puree. If your puree is runny or wet, spread it on paper towels, let it sit for 10 minutes, then scrape it off and measure it again.
Evaporated milk — this is concentrated milk with about 60% of the water removed, helping the filling set into creamy custard rather than turn soupy. I tested two swaps if you don’t want to use the canned milk: Half-and-half or heavy cream both work (use 1⅓ cups) and give you a slightly richer, softer slice. Do not substitute regular whole milk. There isn’t enough milk solids in it to set the eggs and a full can of pumpkin properly, and so your pie will be soft after baking.
Eggs — bring them to room temperature (30 minutes on the counter is fine). Cold eggs tend to break apart into pieces and leave streaks instead of evenly dispersing. You end up whisking longer, which you don’t want to do to a custard. This incorporates too much air and can make the filling puff too much and then crack when it cools. Cover cold eggs in warm tap water for 5 to 10 minutes if you forgot to set them out.
Brown sugar — I use light brown sugar for a balanced caramel flavor against the pumpkin. Granulated sugar or dark brown sugar both work at the same amount, if you’d prefer to swap.
Spices — I used my favorite blend of cinnamon, ginger, nutmeg, cloves, and salt. If you’d rather use a spice blend, swap all four spices for 1½ teaspoons of pumpkin pie spice. Also, the salt isn’t optional; without it, the pumpkin flavor goes flat and tastes more vegetal despite adding a savory component.
Pie crust — I prefer to use a homemade crust for the buttery flavor in complement to the spiced pumpkin filling. My homemade pie crust makes two 9-inch crusts’ worth of dough, but you just need one disc for this recipe. Wrap and freeze the second disc for up to 3 months and thaw it in the fridge for 24 hours. Store-bought pie crust works fine, too! Roll and shape your own, or use a deep-dish frozen pie shell. If you only find regular frozen shells, use two and divide the filling between them. (Baking details are in the recipe card notes!)
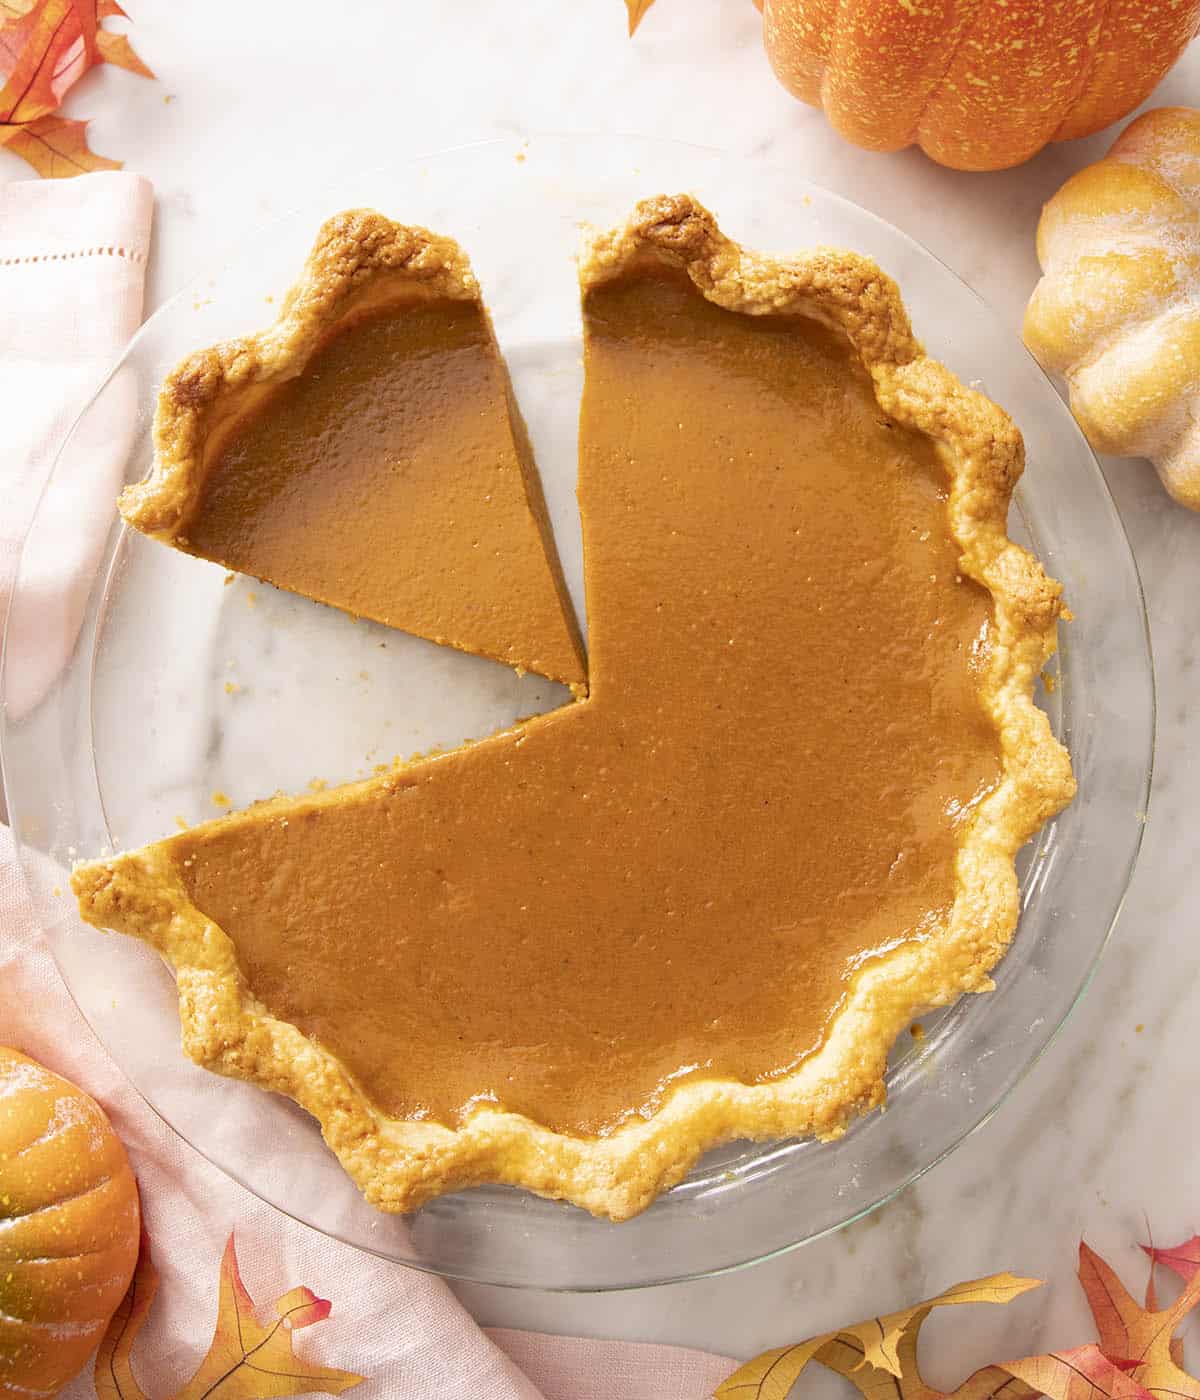
Do I Need to Blind Bake the Crust?
Technically, you don’t need to! My executive editor, Sarah, baked this recipe twice with the same homemade dough, one crust blind-baked and one raw. The unbaked crust came out golden and crisp on the bottom anyway, because the pie is baked in the bottom third of the oven where the heat is concentrated and the first 15 minutes run at 400°F, which sets the pastry before the wet filling can soak in. The blind-baked version was crisper—noticeably so on the bottom and around the edge—but the difference wasn’t large enough to justify the extra step for most people. I use the same bottom-third technique for my pecan pie and sweet potato pie.
If you want the crispest possible crust, blind bake it. Freeze the crimped crust for 20 minutes, line it with parchment, fill with weights, and bake for 15 minutes at 425°F before adding the filling. Find the full method in how to blind bake a pie crust.
Store-bought crusts don’t need it. Frozen pre-shaped shells and refrigerated crust sheets carry different fats and moisture levels and crisp up fine on their own.
Yes, Your Filling Is Supposed to Look That Loose
I get asked over and over if the filling was mixed wrong because it is runny. When you finish whisking, the filling is thin, closer to a milkshake than a thick cake batter. That is correct! There is a full can of evaporated milk, eggs, and wet pumpkin in there and no flour, cornstarch, or anything significant to thicken it. The eggs do all the work setting the pie, but they don’t set until they are heated. If your filling looks pourable, you did it right!
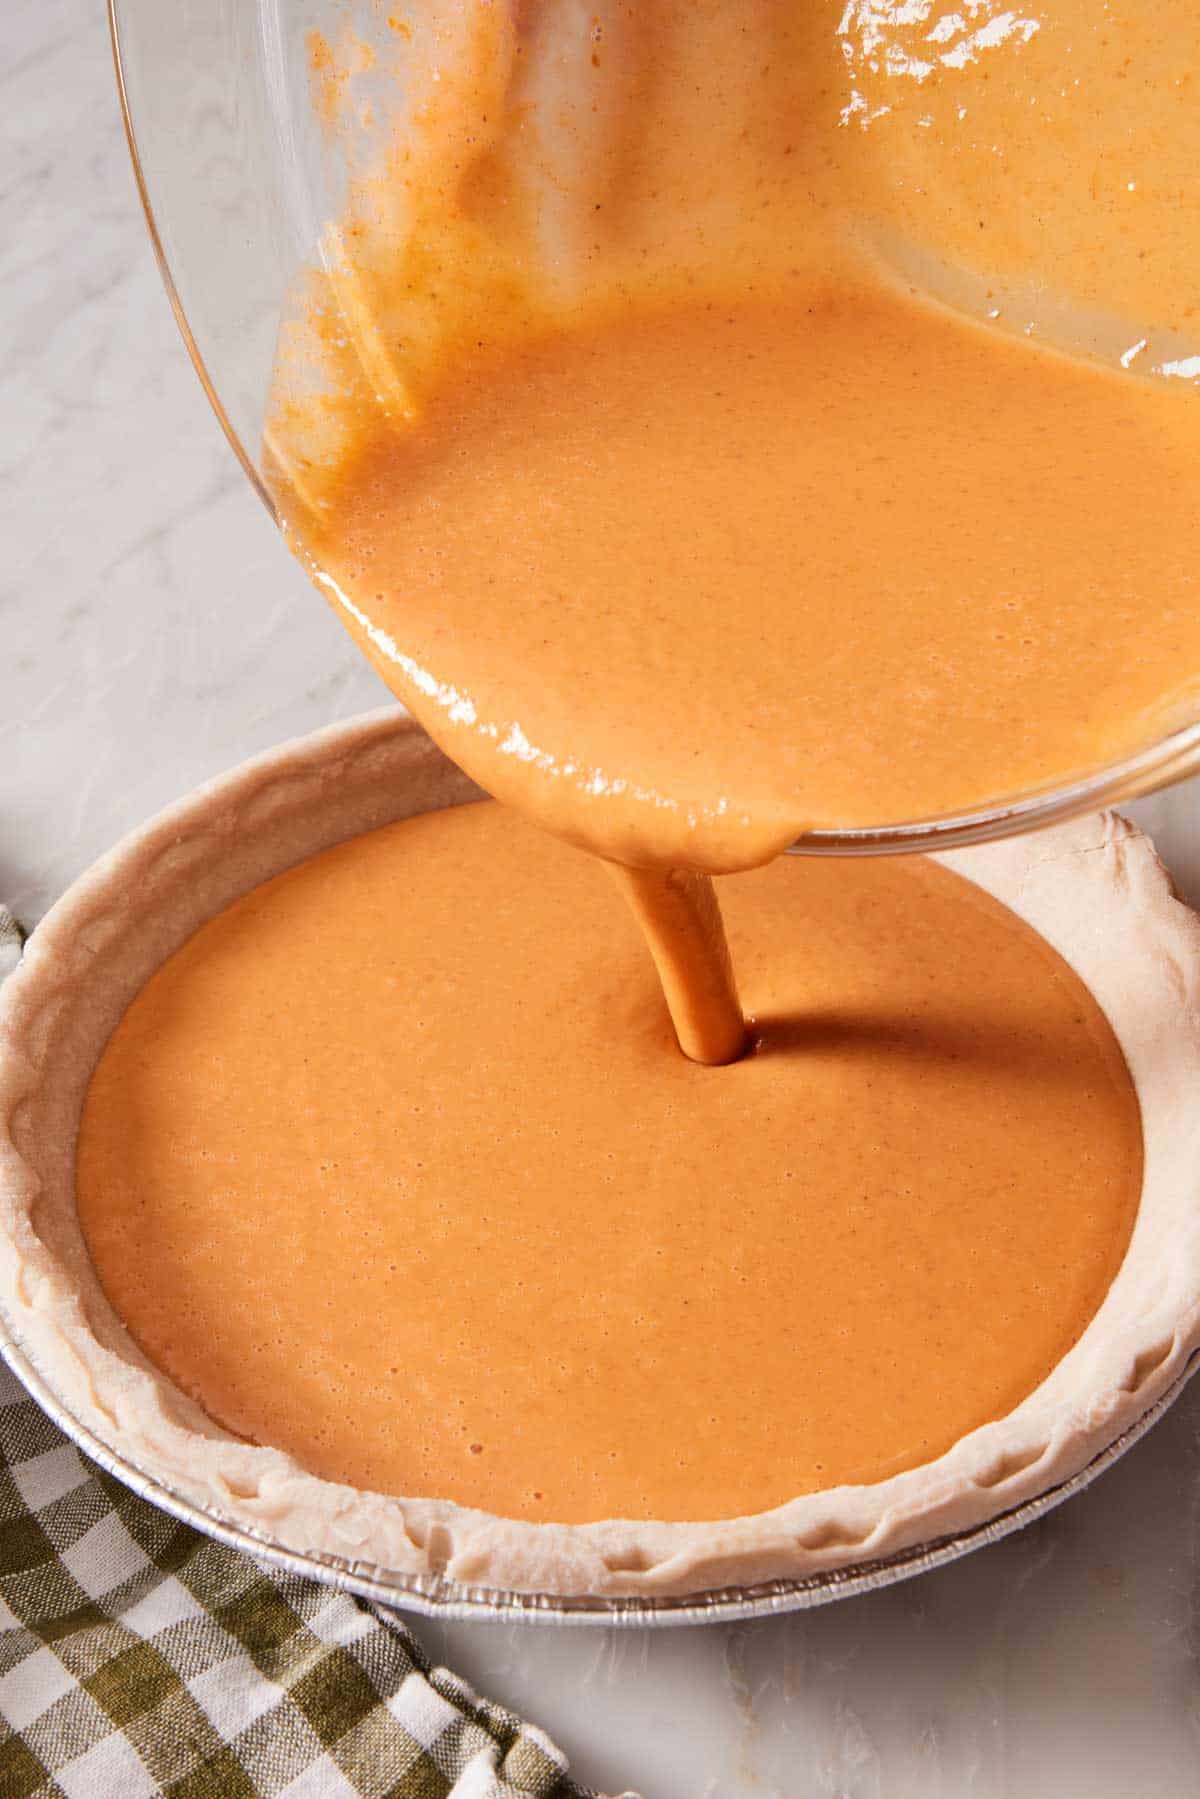
Filling A Homemade vs Store-Bought Pie Shell
This is the one part of pumpkin pie that can be a bit tricky: store-bought pie shells vary in size and depth, so they don’t all hold the same volume of filling. This recipe makes 4¼ cups of filling. It’s perfect for a standard 9-inch pie pan (1½ to 2 inches deep) using a homemade crust. A shallower pan or a pre-shaped frozen shell will not hold as much filling.
I recommend looking for a “deep dish” label on a supermarket pie crust, but even still, this is not a standardized measurement. I’ve bought two brands labeled deep-dish that hold different volumes by 1cup each.
If your store-bought crust holds less than 4¼ cups, you can divide the filling between two shallow crusts or use a 10-inch frozen pie crust. The filling will be a bit thinner on each of these options, so reduce the second round of baking and check for doneness starting around 30 minutes. You can also bake the extra filling as mini pumpkin pies!
How to Prevent Cracks
Whisk until combined, then stop. Over-whisking works in air. Air expands in the oven, the filling domes high, and then it deflates as it cools and the surface tears apart along the way. You want the filling homogeneous but not aerated. Thirty seconds of steady whisking is usually enough (not two minutes of vigorous mixing!).
Drop the temperature at 15 minutes. The high starting oven temperature is for setting the crust. The filling is a custard, and custard eggs puff, curdle, and split if you hold them at 400°F for too long. After 15 minutes, the oven comes down to 350°F for the rest of the bake. Set a timer so you don’t forget! Forgetting it is the most common way to crack a pumpkin pie.
Don’t overbake. If the custard filling sets too much, it will turn very firm and dry out. This makes the filling crack as it cools, or crack while it’s still in the oven. If it’s your first time baking the pie in your oven, check it 5 minutes early. It’s also good to know your oven, if it runs hot or cool, and use an oven thermometer to make sure it’s running at the correct temperature.
Cool it on the counter, undisturbed. Moving a hot pie straight to the fridge shocks the surface and cracks it. Let it come to room temperature on a wire rack first.
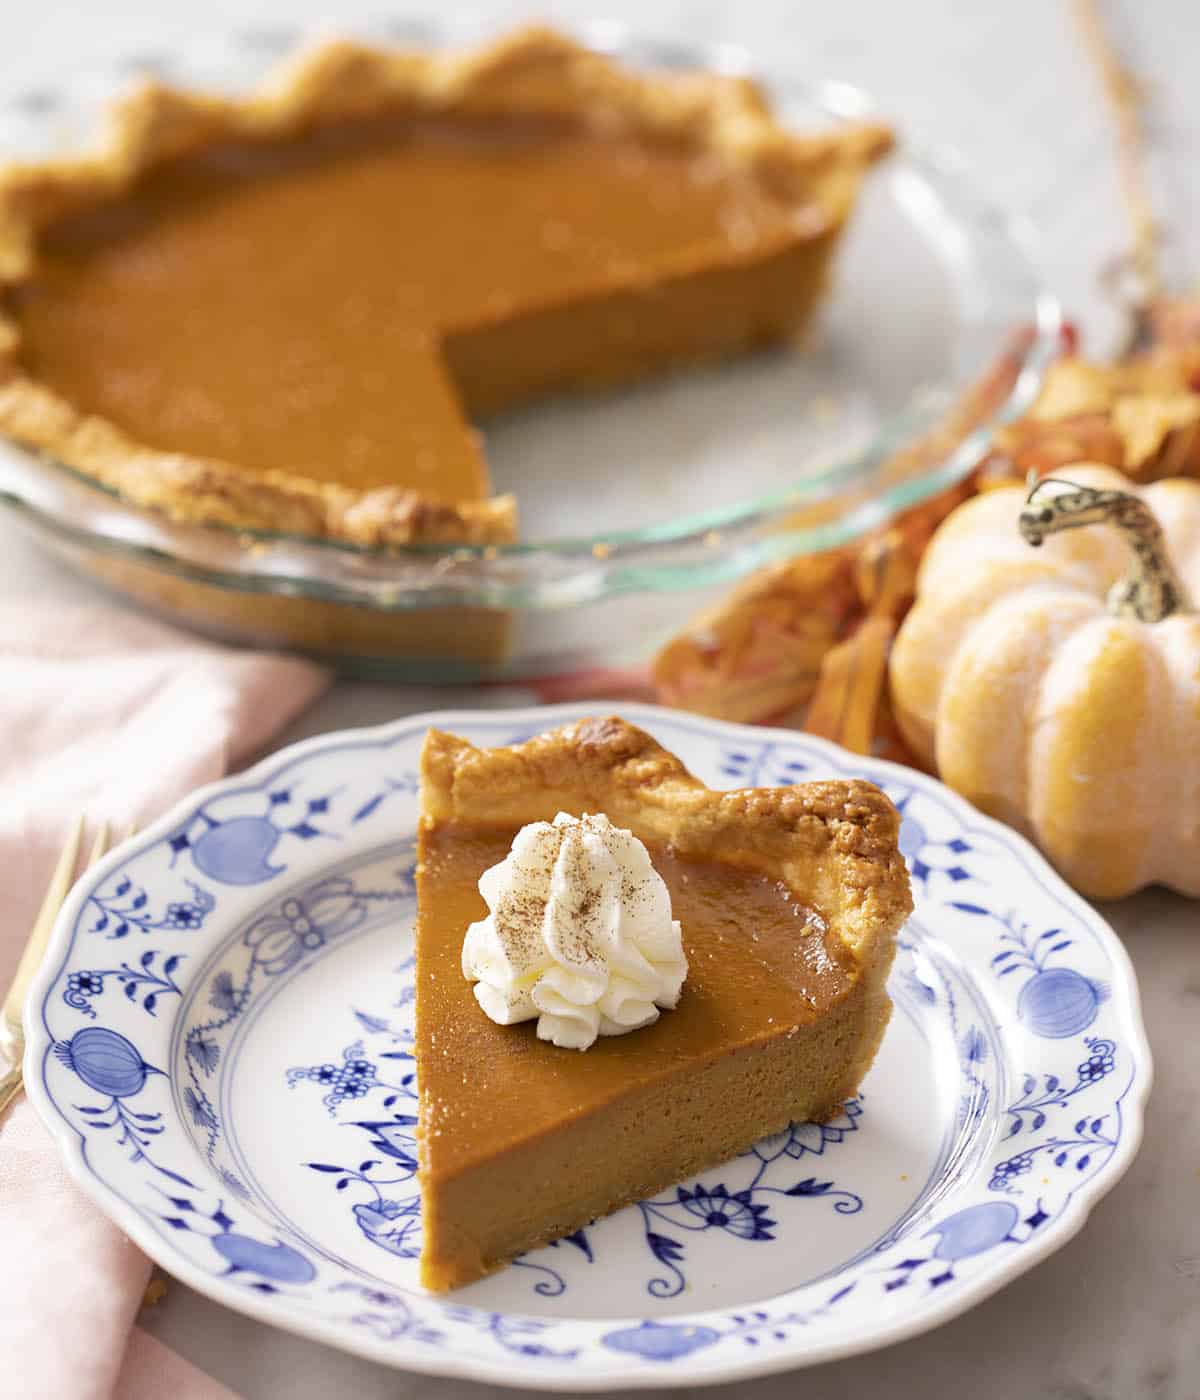
How to Tell When It’s Done
Jiggle the pan. A finished pie wobbles slightly like Jello at the very center—about a 2-inch area of the center should gently move—and it should be set (motionless) everywhere else. That center firms up completely as it cools. If you bake until the middle is motionless, you’ve gone too far, and the texture turns grainy. The edges may also puff up a bit during baking.
A thermometer reads 170-175°F at the center when the custard has set, but it leaves a visible hole in the surface, so I only use it if I’m unsure.
Pro Tips For The Best Pumpkin Pie
Don’t forget to change your oven rack position. Do this before you preheat the oven. Baking the pie lower in the oven helps ensure the bottom crust crisps up and gets golden brown without needing to blind bake it! Use my Knowing Your Oven post for the proper rack placement.
Jazz up the filling with some added flavorings. You can whisk the zest of 1 orange, a tablespoon or two of rum or bourbon, or 2 teaspoons of vanilla extract into the filling if desired!
How To Make Pumpkin Pie
Below, I’ve highlighted portions of the recipe in step-by-step process images along with instructions for making pumpkin pie. You can find the full set of instructions in the recipe card below.
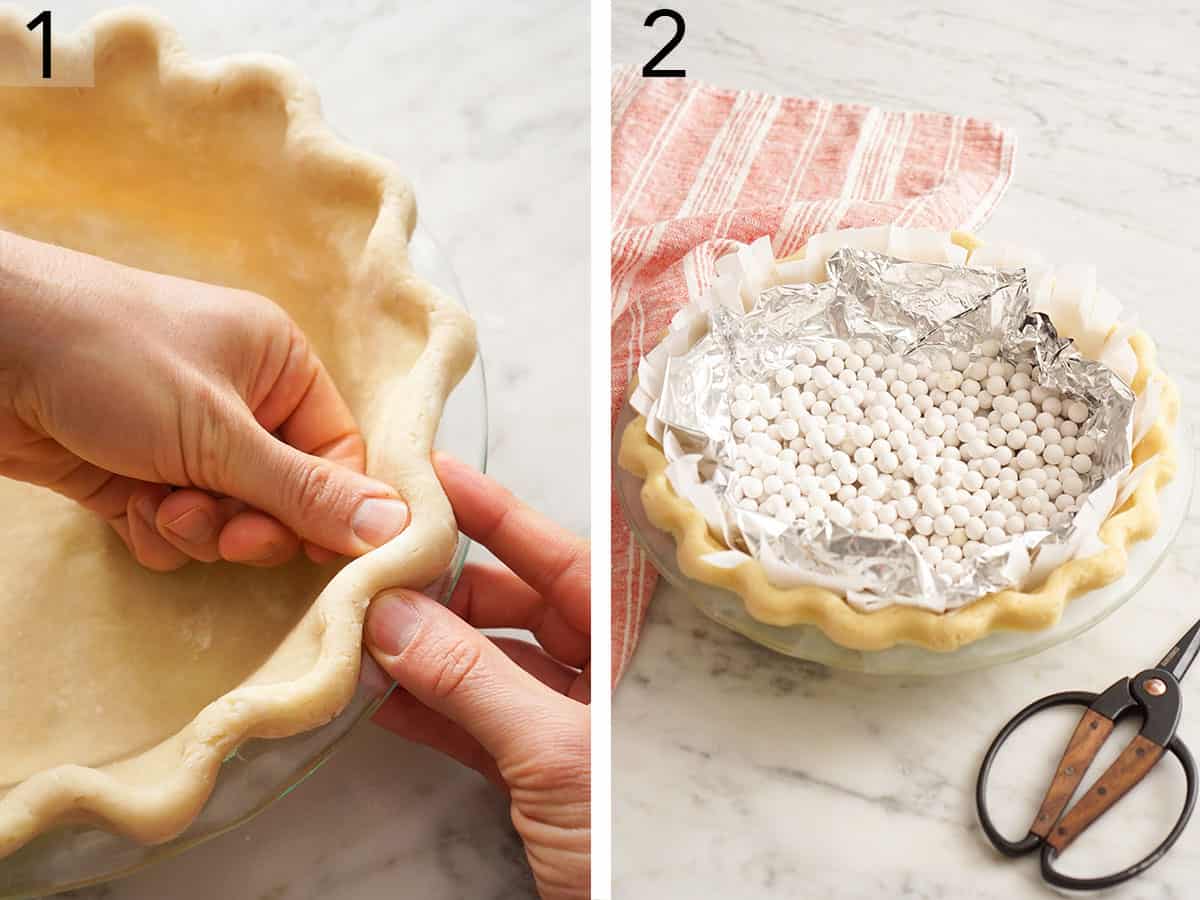
1. Roll homemade dough to a 14-inch circle (or unroll a store-bought sheet), line a 9-inch pie dish, crimp the edge, and freeze the crust for 20 minutes. If you are using a frozen pie shell, leave it in the fridge or freezer until it’s ready to fill.
2. If you’re blind baking, line with parchment and weights, and bake for 15 minutes at 425°F. Remove the parchment and weights.
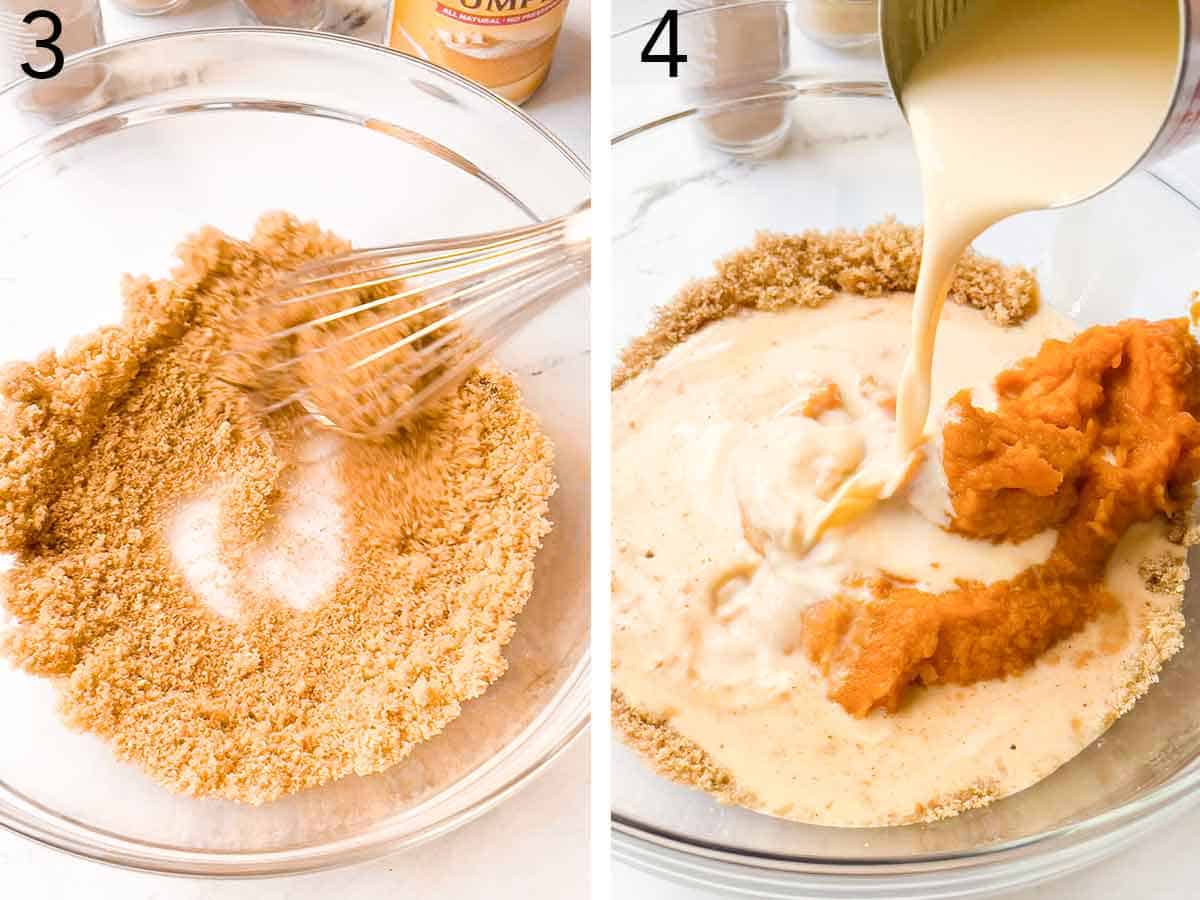
3. Position a rack in the bottom third and heat the oven to 400°F. Whisk the sugar, spices, and salt together in a large bowl first—dry ingredients disperse into each other far more evenly than they do into wet purée.
4. Add the pumpkin and evaporated milk.
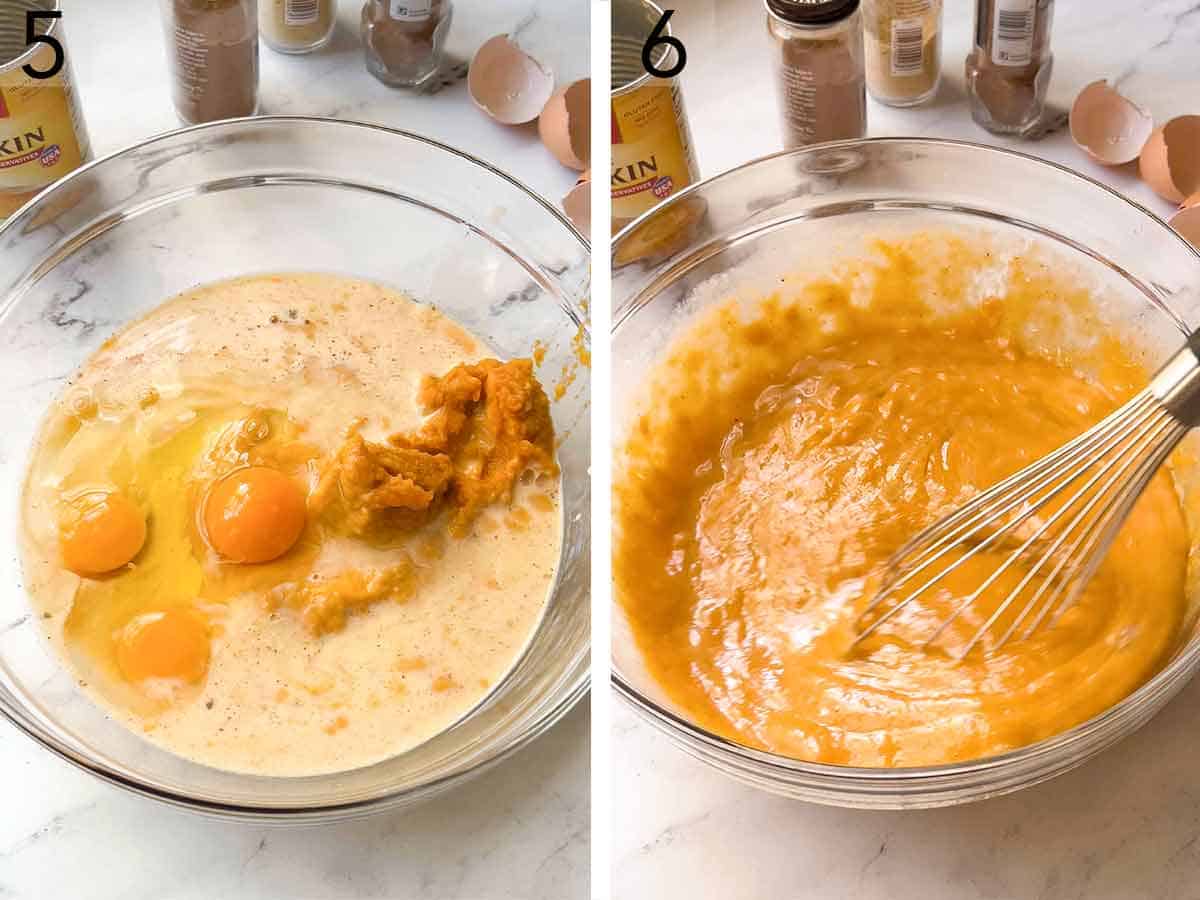
5. Add the room-temperature eggs.
6. Whisk everything together just until combined and smooth. Stop there! Whisking more will add air and can make the filling puff too much and crack.
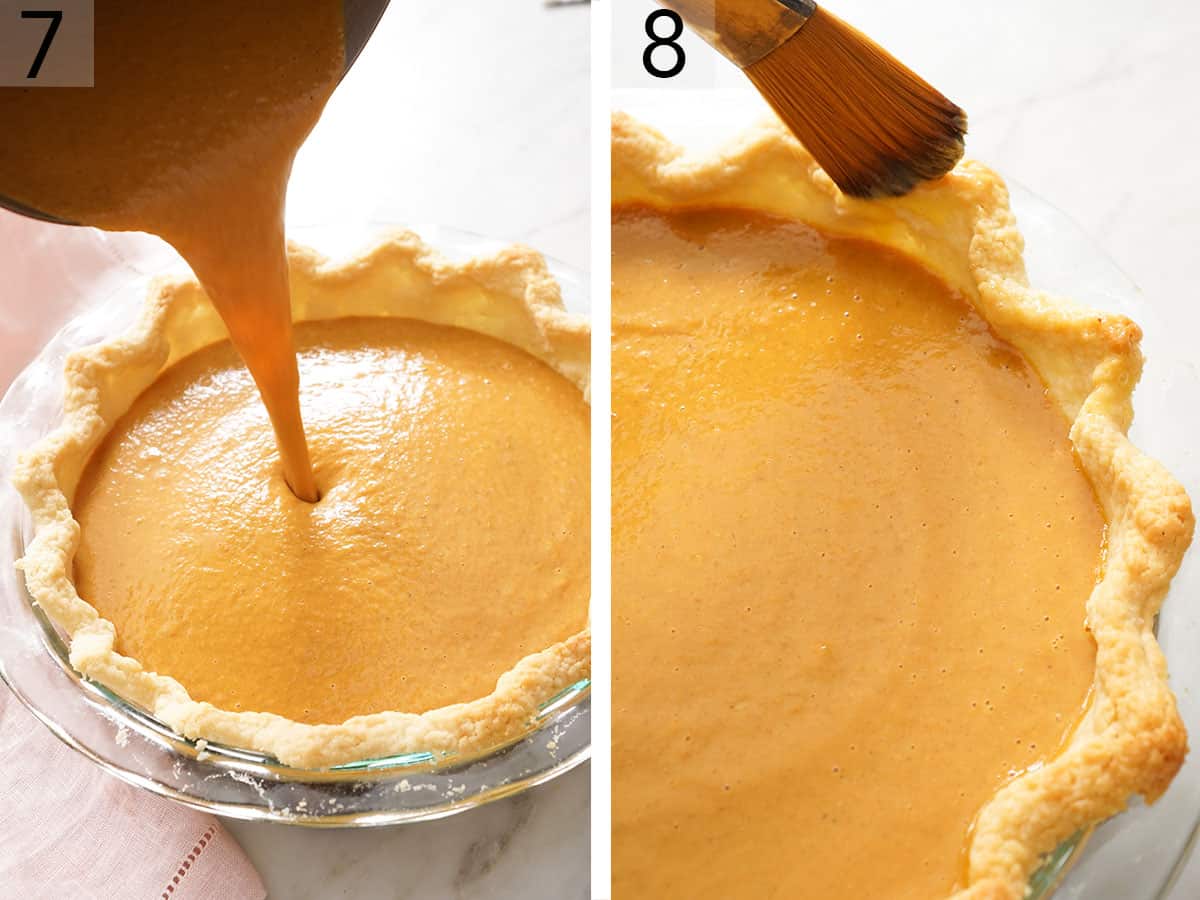
7. Pour the filling into the blind-baked or frozen pie shell.
8. Brush the crust edge with egg wash if you want extra color there, but this is totally optional. Bake for 15 minutes at 400°F, then reduce the oven to 350°F and bake about 40 minutes more. The center should jiggle only slightly when the pie is done. Cool completely on a wire rack.
Make-Ahead, Storing, and Freezing
Make ahead: The filling can be whisked up to 24 hours ahead and refrigerated. Re-whisk briefly before pouring it into the pie crust since it separates as it sits. The pie dough can be made and chilled for a couple of days, or you can freeze the pie crust to make it several weeks or months in advance!
Storing: Pumpkin pie is an egg-and-milk custard, and it does not keep on the counter. Refrigerate it within two hours of cooling, loosely covered, and use it within 4 days (Iowa State University Extension and Outreach, citing USDA guidance for egg-rich pies). Serve chilled or let slices sit out briefly before serving.
Freezing: cool completely, wrap tightly in plastic, and freeze for up to 3 months. Thaw overnight in the refrigerator.
Can I freeze pumpkin pie before baking?
Yes! I tested this, and the pie baked from frozen turned out beautifully. The image below is the pie after cooling and slicing. It took 35 minutes longer to bake, but all of the prep was done a week in advance. You need to bake it at a lower temperature the whole time, since the pie starts very cold and needs to be in the oven for longer.
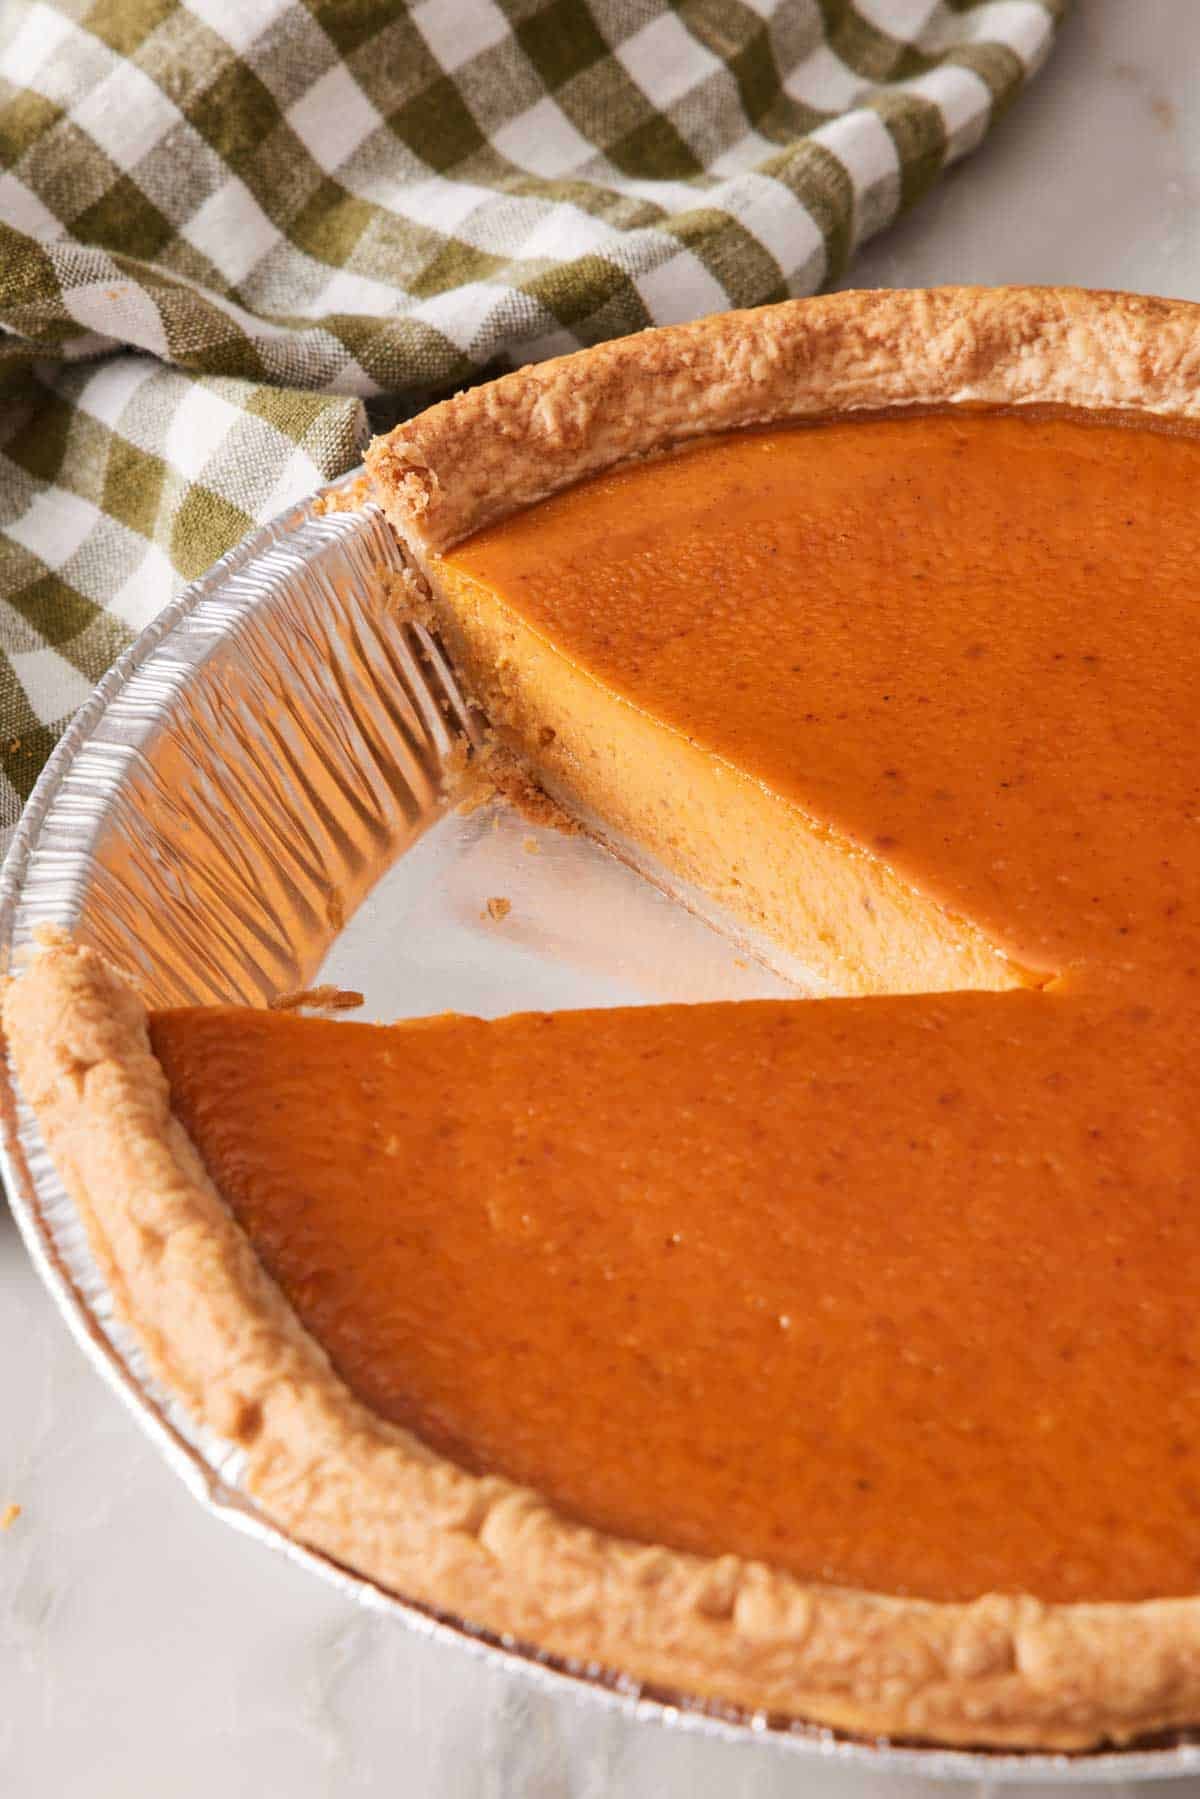
To freeze: Fill an unbaked pie shell (I used a deep-dish store-bought crust) and place it in the freezer until solid. (Make sure it is level in the freezer.) Then wrap it in plastic wrap and foil, and store. See my Academy guide on how to freeze a pie for specific storage instructions to avoid freezer burn.
To bake from frozen: Place the frozen pie on a rimmed baking sheet and bake at 350°F for 65 to 80 minutes. (My pie baked for 75 minutes, but the timing will depend on the exact depth of your pie filling based on the crust you use.) If the edge of the crust turns a deep brown by 50 minutes, make a pie crust shield to prevent it from burning. Cool as directed before slicing.
Pumpkin Pie Recipe
Ingredients
- 1 (9-inch) homemade pie crust or deep-dish store-bought pie crust (See Notes!)
- ¾ cup packed light brown sugar (165g)
- ½ teaspoon ground cinnamon
- ½ teaspoon ground ginger
- ¼ teaspoon ground nutmeg
- ⅛ teaspoon cloves
- ½ teaspoon salt
- 1 (15-ounce/425g) can pumpkin puree
- 1 (12-ounce/354ml) can evaporated milk
- 3 large eggs room temperature
Instructions
- If using a homemade pie crust, roll the pie crust to a 14-inch circle. Line a 9-inch pie dish with the pie dough and crimp edges. Chill the crust until ready to use (see notes about blind baking).
- Position an oven rack in the bottom third, and preheat the oven to 400F.
- In a large mixing bowl, whisk together the sugar, spices, and salt. Add the pumpkin, milk, and eggs, and whisk until well combined. Pour into the pie shell. (You can brush the edges of the pie crust with an egg wash, if desired. If you are using a store-bought crust, you may have leftover filling.)
- Bake for 15 minutes. Reduce the oven temperature to 350F. Continue baking until the filling is puffed and jiggles slightly in the center when gently shaken, about 40 minutes. (If you have two store-bought crusts, reduce the second bake time by 10-15 minutes.) Remove from the oven and let cool completely on a wire rack. If making ahead, cover and refrigerate for up to 2 days before serving.
Notes
- Using store-bought crust? The filling yield is 4¼ cups. This fills a standard 9-inch pan 1½ to 2 inches deep with a homemade crust. Shallow pans and pre-shaped frozen shells will hold less—fill a second crust or bake the extra as mini pumpkin pies.
- If using a homemade pie dough, blind-bake the crust for an extra crispy shell. To blind bake, line the crimped pie crust with parchment paper and fill with weights. Bake for 15 minutes at 425°F. Remove the parchment and weights, then add the filling and bake as directed.
- Swap the spices for pumpkin pie spice. Use 1½ teaspoons of pumpkin pie spice in place of the cinnamon, ginger, nutmeg, and cloves.
- Decorate the pie: Use extra pie dough or scraps to cut out leaves. Brush with egg wash and bake them separately on a baking sheet at 400°F for about 10 to 15 minutes, or until golden brown and crispy. Place them on top of the cooled pie. You can also add sugared cranberries or homemade whipped cream!
- I updated this recipe to make the filling super easy. If you prefer the old method, you can follow these instructions: In a small pot, combine the pumpkin, sugar, cinnamon, ginger, nutmeg, cloves, and salt. Place over medium-low heat, and cook, frequently stirring, until hot and bubbling. Remove from the heat. Swap the evaporated milk for heavy cream and warm the cream in the microwave for about 90 seconds, just until steaming. Whisk the eggs in a medium bowl until lightly beaten, then whisk in the cream. Whisk the egg mixture into the pumpkin mixture until well combined. Pour into your frozen or blind-baked crust and bake as directed.
Nutrition
Have you tried this recipe? Tag me today!
Mention @preppykitchen and tag #preppykitchen!
Frequently Asked Questions
You can use either one. Evaporated milk is what I use for a firm, clean slice—it’s concentrated enough to set reliably. Heavy cream works great with a slightly softer custard. I’ve made it both ways and honestly think they are both delicious.
Yes. It’s a custard set with eggs and milk, which puts it in a different category from apple or cherry pie. Refrigerate within two hours of it cooling and keep it there for up to 4 days. Commercially baked pumpkin pies sold shelf-stable contain preservatives; yours doesn’t.
Yes, with one adjustment. Homemade purée carries more water than canned, so it needs blotting, or the filling won’t set properly. Spread 2¼ cups of homemade purée on a doubled layer of paper towels, lay more on top, wait 10 minutes, then scrape it off and measure—you want 1¾ cups of blotted purée to replace one 15-ounce can. Expect a paler, more delicate flavor than canned.
Three usual causes: regular milk substituted for evaporated milk, unblotted homemade purée, or the pie was underpacked. A pie pulled from the oven when the center is still sloshing with liquid custard will not set properly.
More Pie Recipes To Try
Make one of these pie recipes to fill out your holiday dessert table:
- Pumpkin Meringue Pie — the classic pumpkin pie filling topped with billowy meringue.
- Cranberry Pie — a great Thanksgiving pie filled with tart fruit and a flaky crust.
- Chess Pie — a Southern classic with a custard filling that forms a crackly sugar crust on top.
- Banoffee Pie — a no-bake pie perfect for the holidays with a caramel and banana filling.
- Banana Cream Pie — a creamy pudding pie filling in a flaky crust; a cold companion to pumpkin pie on a holiday dessert table.
If you’ve tried this pumpkin pie recipe, then don’t forget to rate it and let me know how you got on in the comments below. I love hearing from you!






