
This post may contain affiliate links. Please read our disclosure policy.





Freezing a pie is how I cook a fresh pie in the middle of the holiday rush. The trick is knowing which pies survive the freezer, which ones turn watery, and whether you should bake them before or after freezing.
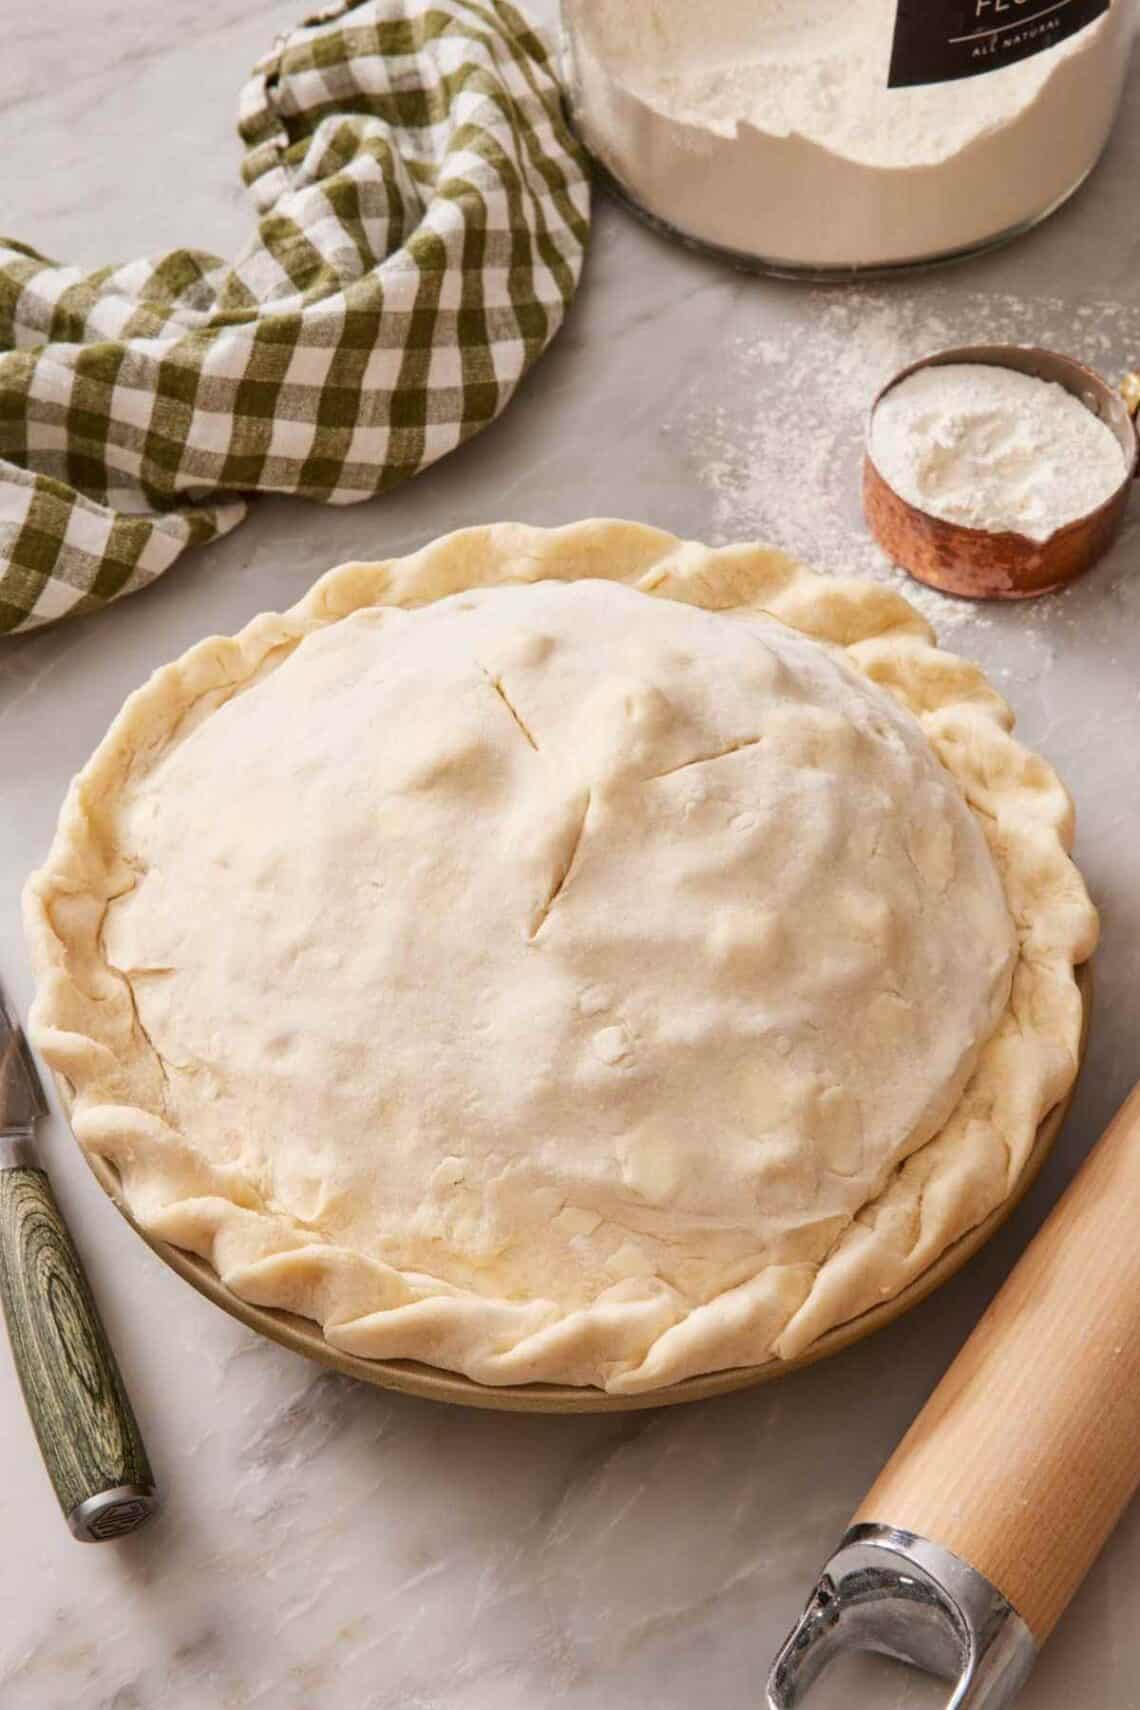
Some pies freeze beautifully—cooked fruit pies, pecan pie, double-crust fresh fruit pies. Some pies do not—unbaked pumpkin and sweet potato, anything custard or cream-based, lemon meringue. This article covers all of it: which pies to freeze and which to skip, the unbaked-pie method (my main recommendation for fruit pies), the baked-pie method (when freezing leftovers or reheating later), what kinds of pans hold up, and how long pies will keep in the freezer.
Plus, we’ll go over a thickener swap that prevents a watery-filling failure and how to bake or thaw frozen pies. The baked-from-frozen method is one of the highest-leverage tricks in my holiday baking playbook—done right, it gives you fresh pie at the end of dinner with only a few minutes of work that day.
“I froze two unbaked blueberry pies this year, and they baked up beautifully! The crust was somehow crispier, and the filling set up great (I used tapioca starch). It was so nice to just pop it in the freezer and not have to stress about assembling a whole pie!”
Cassandra
Which Pies Freeze The Best?
The fastest way to know whether a pie will survive the freezer is to ask what’s in the filling. Here’s a good breakdown:
Pies that freeze beautifully (unbaked, then baked from frozen):
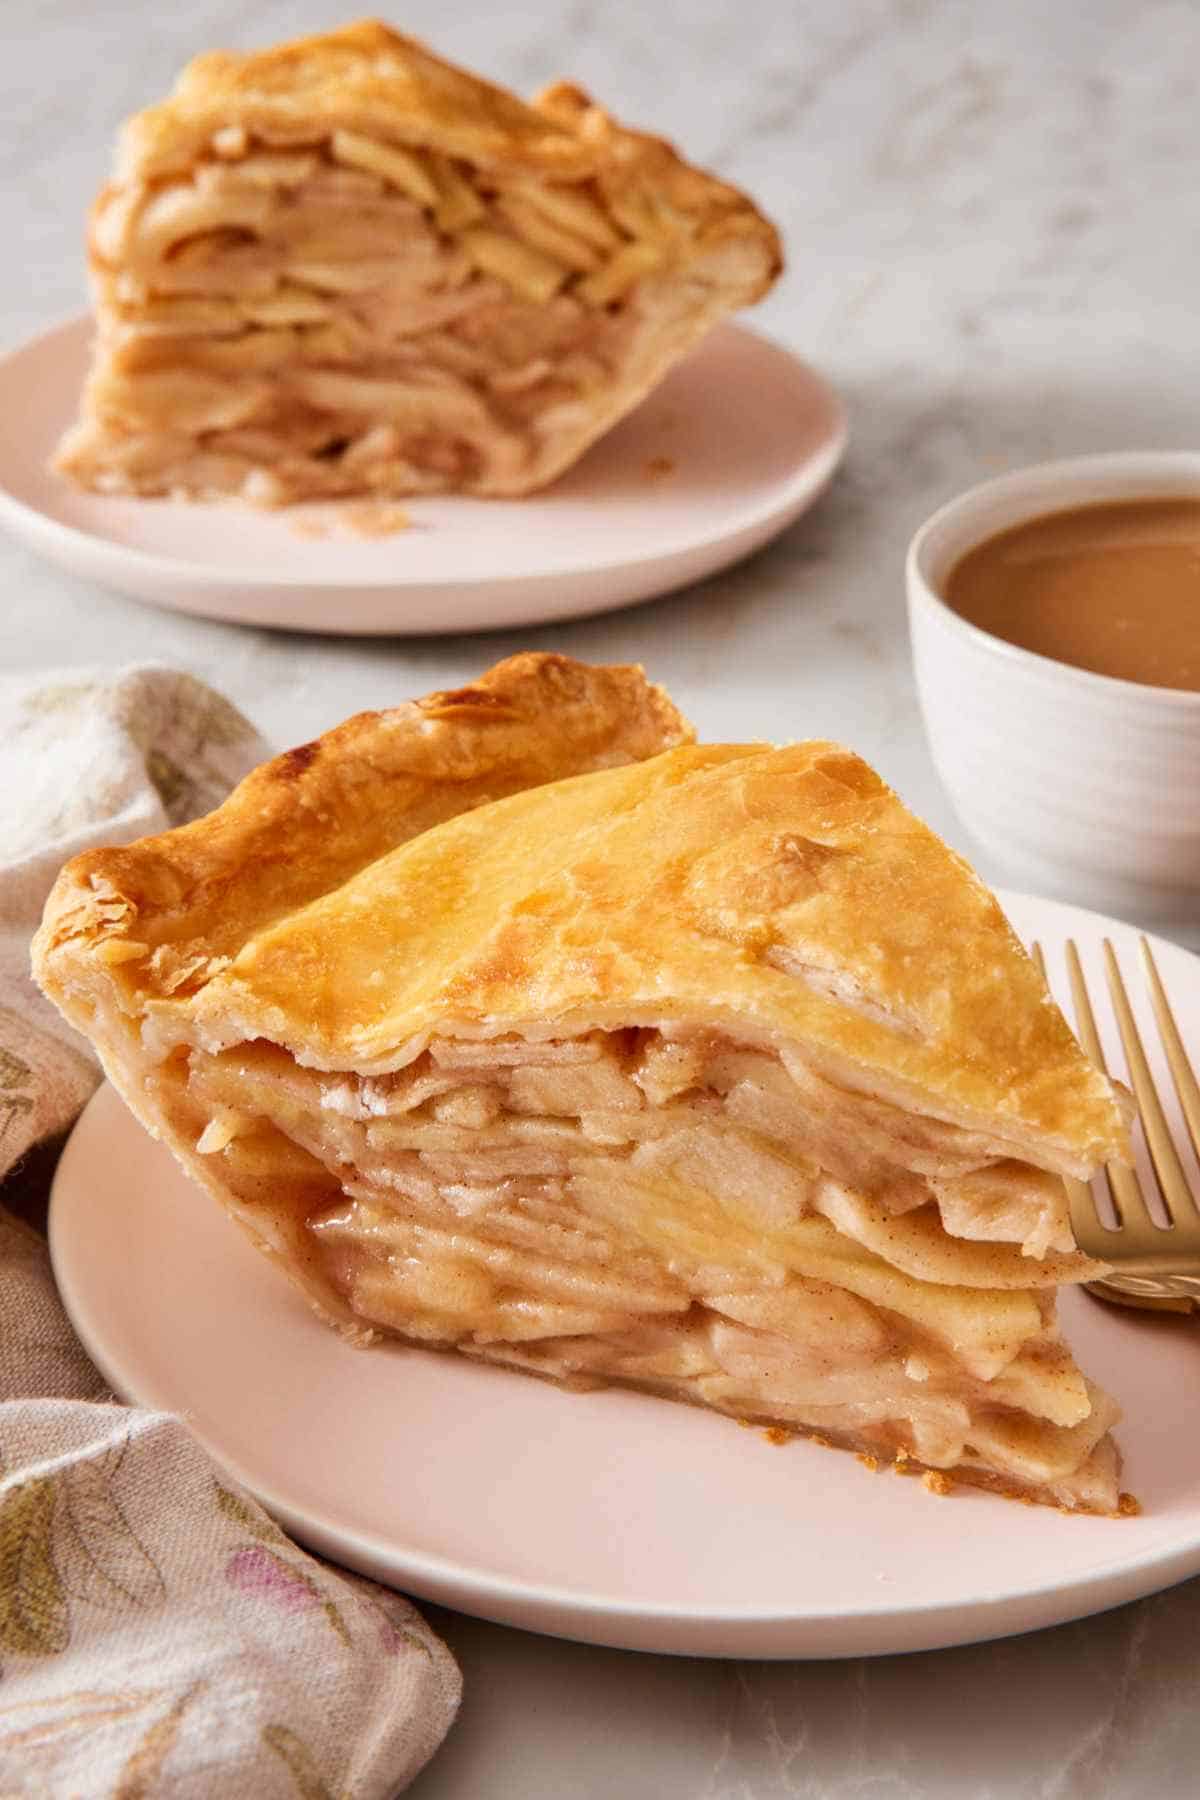
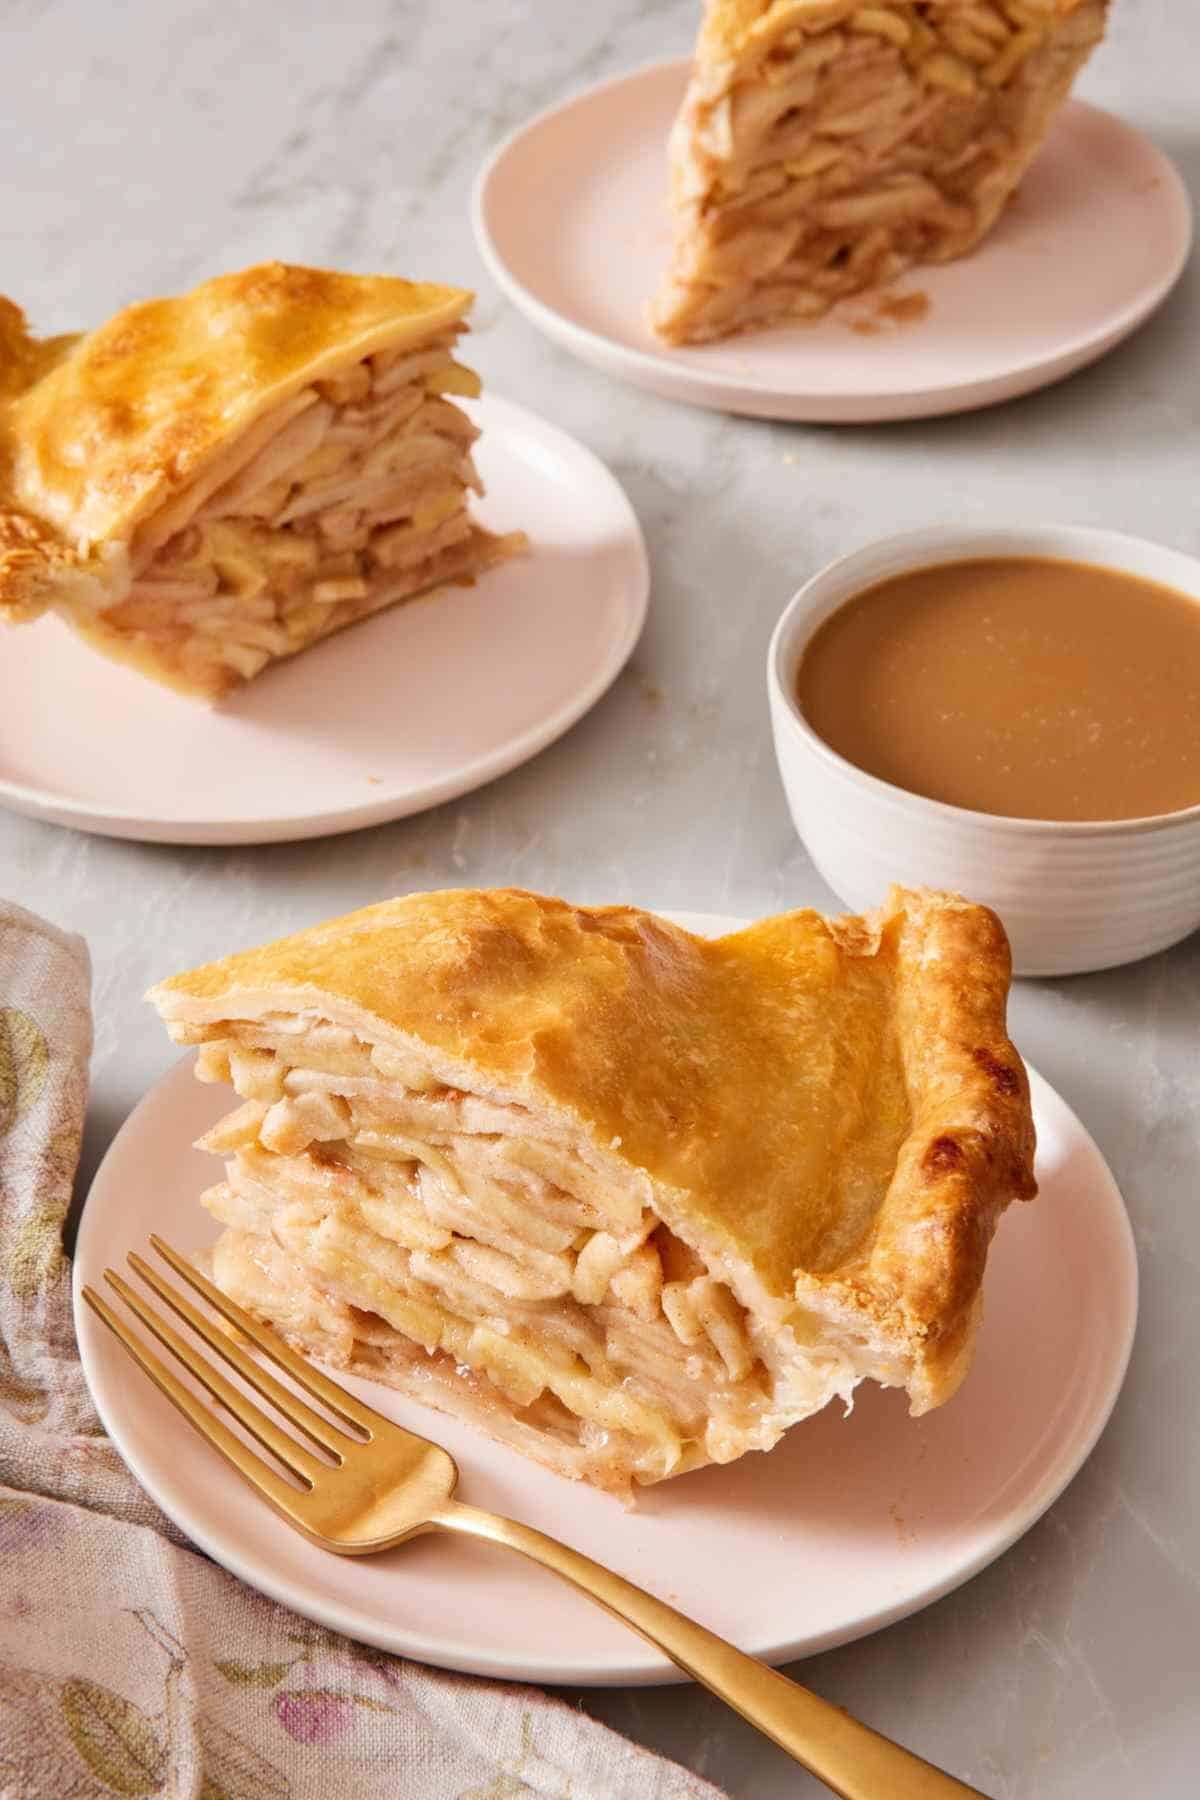
- Apple pie, peach pie, cherry pie, blueberry pie, strawberry rhubarb pie, blackberry pie—basically any double-crust fruit pie
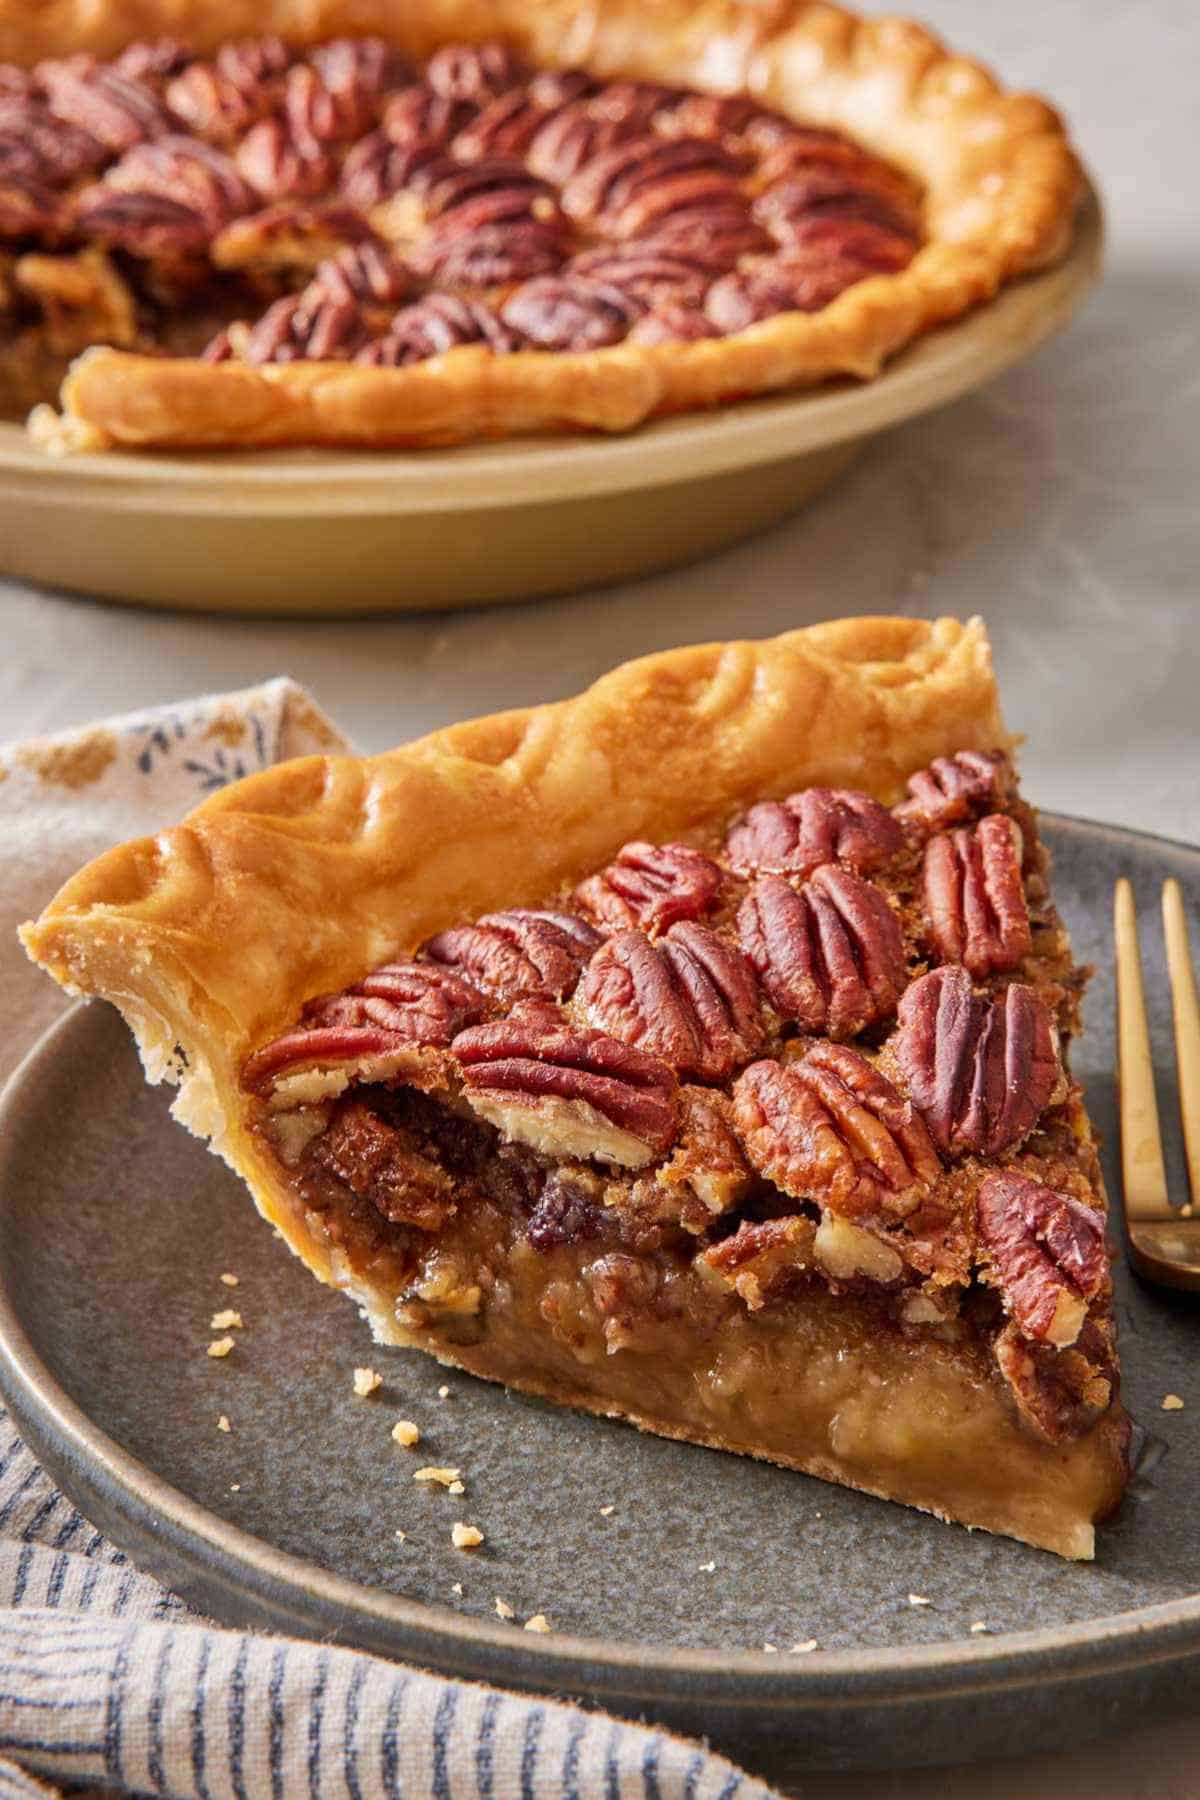
- Pecan pie: The egg-and-corn-syrup filling sets just fine after a freeze, thanks to sugar, and the pecans don’t suffer
- Mini apple pies and other muffin-tin fruit pies
- Pot pies and other savory double-crust pies (chicken pot pie, empanadas)
Pies that freeze acceptably (baked, then frozen and thawed):
- Pumpkin pie and sweet potato pie: The texture goes slightly grainy or watery, but most people don’t notice if it’s well-wrapped and thawed slowly. Do not freeze these unbaked. The custard won’t set right when baked from frozen, and the crust comes out soggy.
- Pecan pie: Also freezes beautifully baked, if that’s easier for you than baking from frozen
- Most baked fruit pies as leftovers
- Some no-bake pies: Fillings that use cream cheese or Cool Whip (no-bake cheesecake, Millionaire’s pie) freeze well since they are stabilized, but are best when served slightly frozen (like ice cream!)
Pies that do not freeze well (skip the freezer entirely):
- Coconut cream pie, banana cream pie, chocolate pie—anything with a custard or homemade whipped cream filling. The filling separates into a watery and grainy mess when thawed, and bananas blacken.
- Lemon meringue pie and any meringue-topped pie: the meringue weeps and shrinks. Pumpkin meringue pie has the same issue.
The pattern is straightforward. Stable starches, sugar, and pectin in fruit hold up. Syrupy filings (pecan) can be frozen unbaked or baked just fine. Baked egg-based fillings (pumpkin) hold up if you bake first and freeze after, but not the other way around. No-bake cream fillings, gelatin-set fillings, and meringue all break. If you remember nothing else: Fruit pies and pecan freeze well; cream pies and meringue pies don’t, ever.
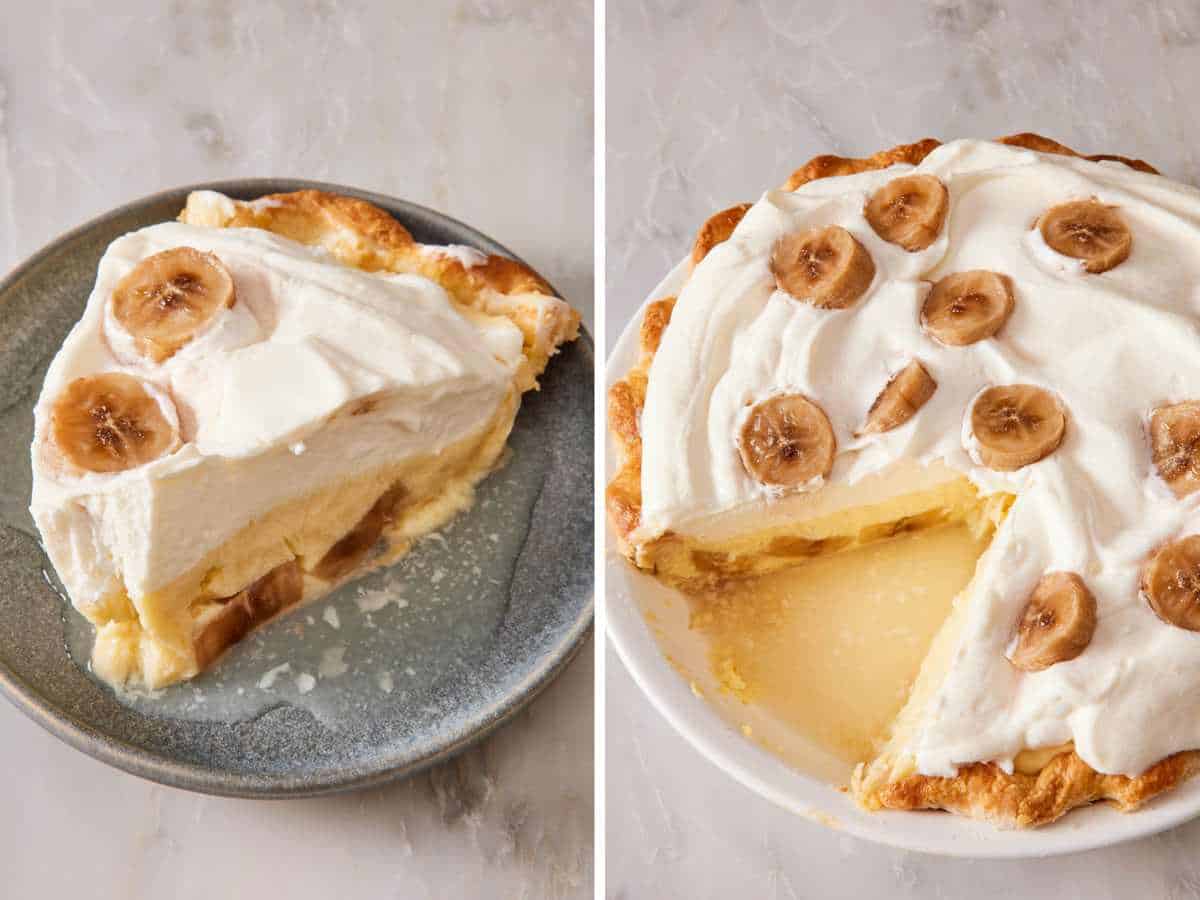
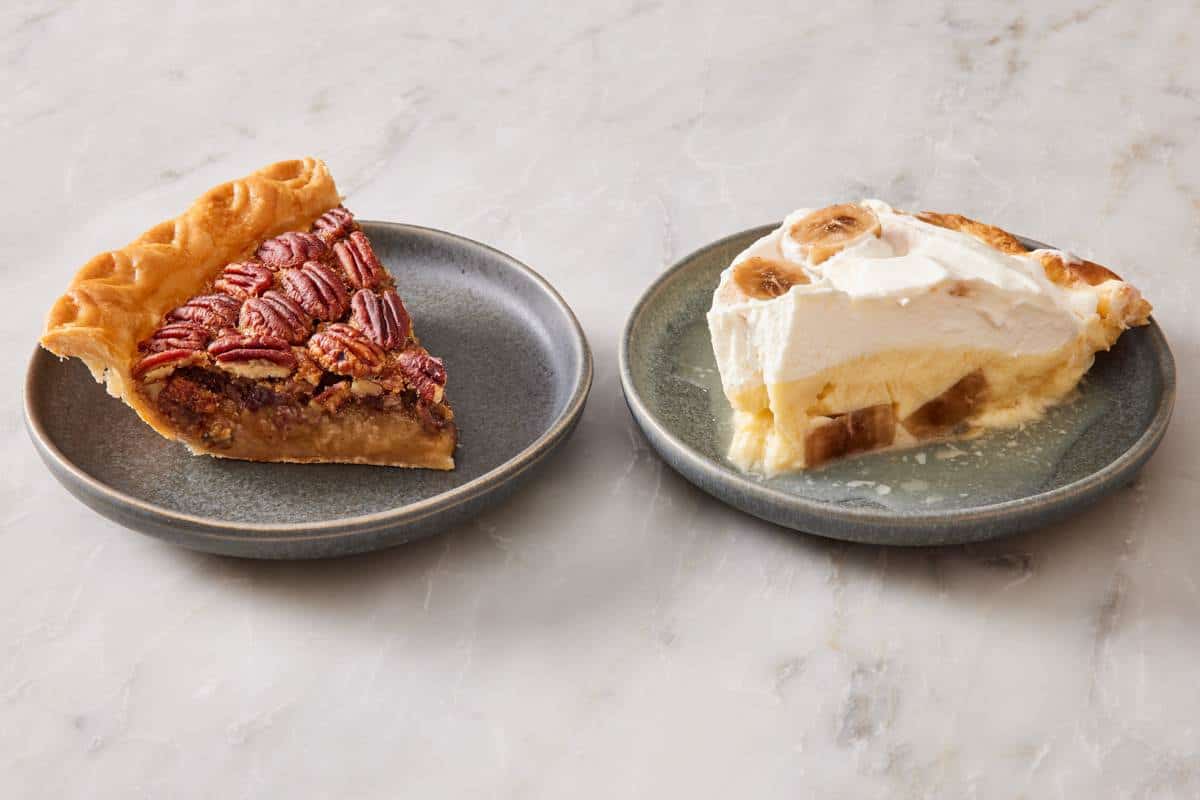
To show you how a custard and whipped cream pie doesn’t hold up well, I froze a banana cream pie in a chest freezer (at 0°F) for 1 week. As the slices thawed for a few hours, the custard slowly leaked watery liquid, the whipped cream topping collapsed, and the bananas turned black and mushy.
In comparison, I froze a baked pecan pie at the same time as the banana cream pie in the same chest freezer. Once thawed, I sliced the pecan pie, and the slice held perfectly, just like it was freshly baked.
The Best Pie Pans For Freezing
This part is very important to freezing a pie properly, and the part most likely to break expensive bakeware. The pan material matters more for freezing than for any other pie technique.
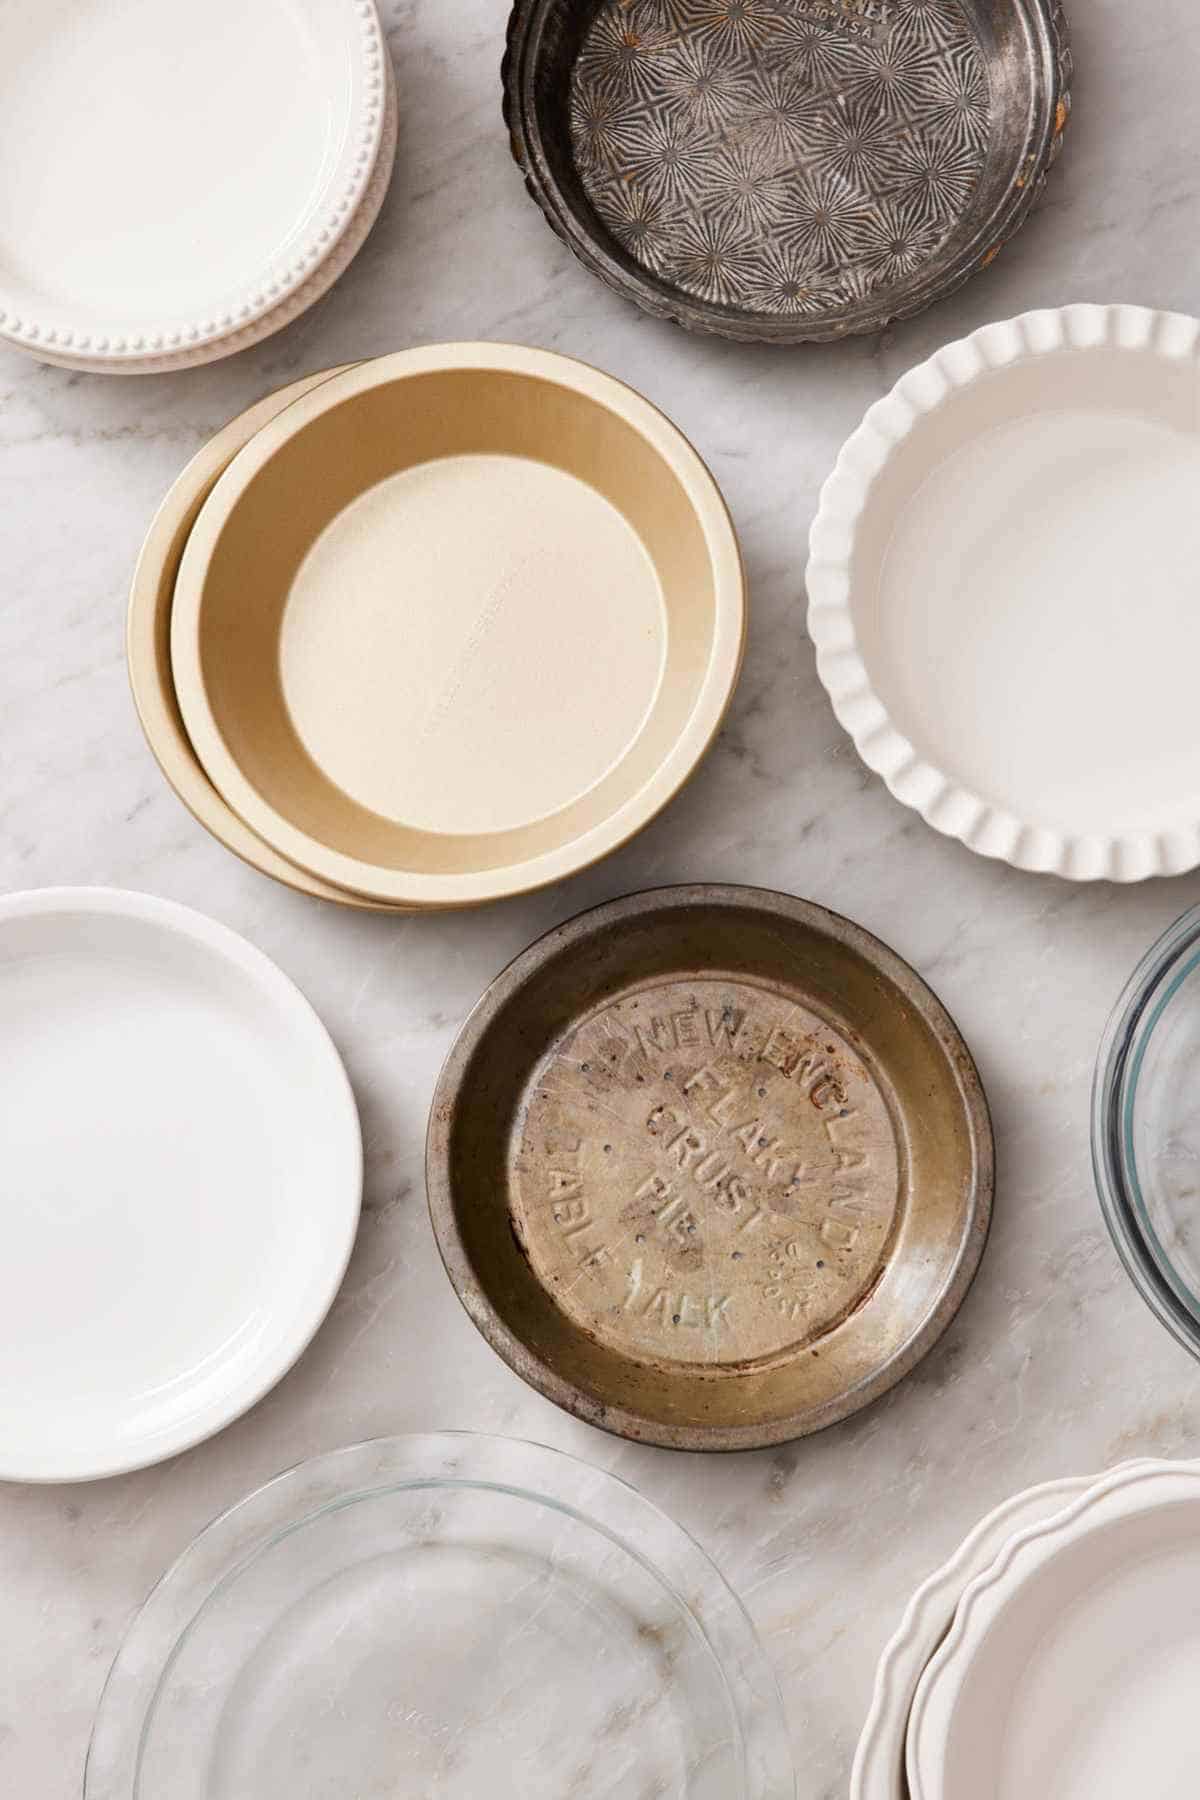
Use metal. Aluminum or steel pie pans are ideal. They handle the freezer-to-oven temperature shock without cracking, they conduct heat efficiently for the longer bake from frozen, and they’re inexpensive enough that you can dedicate one or two to freezer-pie duty without stressing the kitchen budget. Disposable aluminum pans work too. Be sure to buy the deep-dish version, not the shallow ones, since most pie recipes are written for a 9-inch dish that is 1½ to 2 inches deep.
Skip ceramic and glass. Pyrex, ceramic stoneware, and glass dishes can crack or shatter when moved from a freezer (around 0°F) directly into a 375°F oven. The thermal shock is genuinely too much for these materials. Le Creuset and other premium ceramics explicitly warn against this in their care instructions.
If you only own glass or ceramic pie dishes and you want to freeze pies, the workaround is to line the pan with plastic wrap first, then assemble the pie in the pan. Freeze, and remove the pie from the pan using the plastic wrap. Wrap the pie and store it in the freezer, then simply slip the pie back into the same ceramic dish for baking. (Or buy a metal pie pan. You find good ones for about $10.)
A small note: A darker metal pan browns the bottom crust slightly more aggressively than a light one. While I typically don’t prefer dark metal for baking, it works great for freezer pies because the colder temperature can leave the bottom underdone if you’re not careful.
How To Freeze An Unbaked Pie
This is the main method for any fruit pie, pecan pie, or any other freezer-friendly pie that can be frozen raw, then transferred straight to the oven for baking.
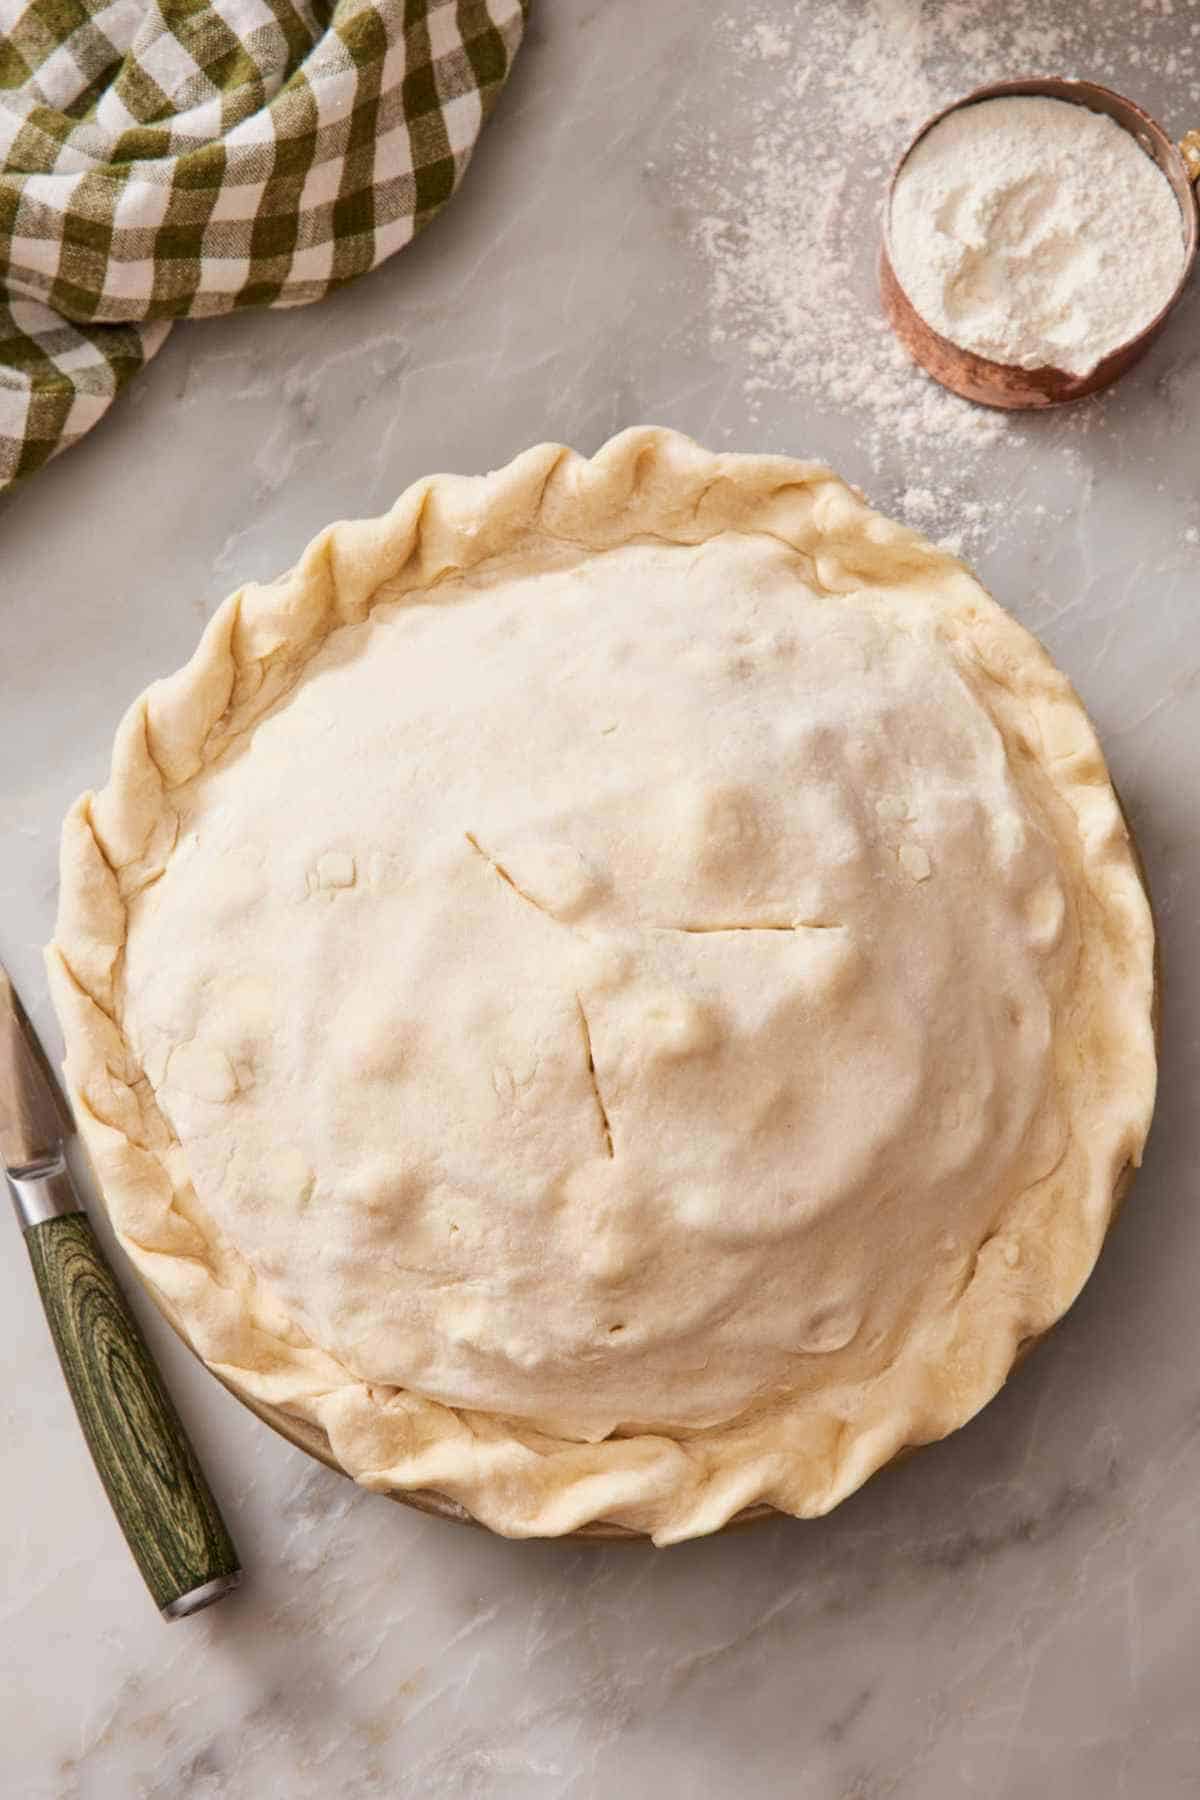
1. Assemble the pie completely. Roll the bottom crust, fit it in the pan, fill, and top with the second crust if it’s a double-crust pie. Trim and crimp. For double-crust pies, cut the steam vents now—you’ll need them for baking, and the dough is hard to cut when frozen. Some recipes tell you to wait and cut vents after freezing, but I find the dough is much harder to slice, and the vents often close up.
2. Flash freeze uncovered. Place the assembled pie on a rimmed baking sheet and slide the whole thing into the freezer, uncovered. Freeze until the filling and crust are solid, usually 4 hours minimum. This step is critical: if you wrap a pie before freezing, the plastic wrap can stick to the soft top crust and tear it when you try to peel it off later, or it can smash any pretty crimping or design work.
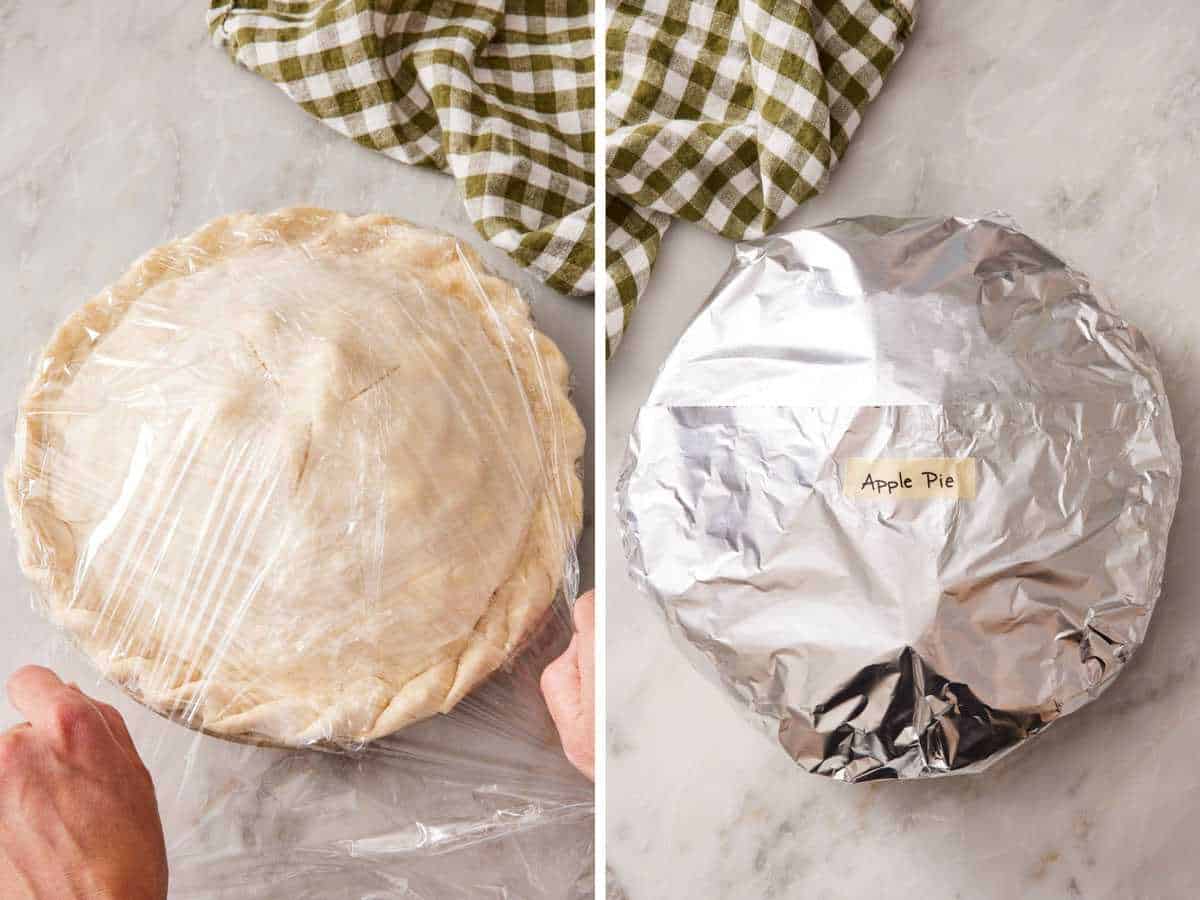
3. Wrap tightly. Once the pie is frozen solid, wrap it in two layers of plastic wrap, pressing the wrap directly against the surface to push out air, then wrap once more in heavy-duty aluminum foil. The double-plastic and foil combo is the best freezer-burn defense. The plastic wrap seals the surface, and the foil blocks the trace airflow that causes ice crystals to form.
4. Label and date. Write with a permanent marker on the foil, including the pie type and the date you froze it. Future-you will thank past-you when you’re staring into a freezer in November and trying to remember whether the foil-wrapped disc is apple or peach. I also like to write the bake instructions on the label (“Bake at 375°F from frozen, 1h 30m”) because by the time you pull it out, you may not remember which recipe you used or want to look it up.
How To Bake A Pie From Frozen
This is the moment of truth step. It feels wrong because it asks you to put a frozen rock into a hot oven, but if it’s done right, it works every time.
Don’t thaw it first. This is the single most important rule! Thawing a frozen unbaked pie before baking lets the filling become watery, the crust slumps, and you end up with a soggy bottom and a leaky pie. Keep it frozen until the moment it goes in the oven.
Unwrap completely. Pull off the foil and both layers of plastic wrap. Check the crust visually—if you cut steam vents before freezing, they should still be visible. If they’ve sealed shut at all, take a sharp knife and re-cut them now. If you didn’t cut vents, cut them now, before the egg wash.
Brush with egg wash and sprinkle with sugar. Beat one egg with a tablespoon of water (or milk, for a deeper mahogany color), brush the top crust and crimped edge in sections, and immediately sprinkle with sugar if your recipe calls for it. The pie is cold enough that the egg wash sets up almost instantly on the surface, so this is why I brush in sections.
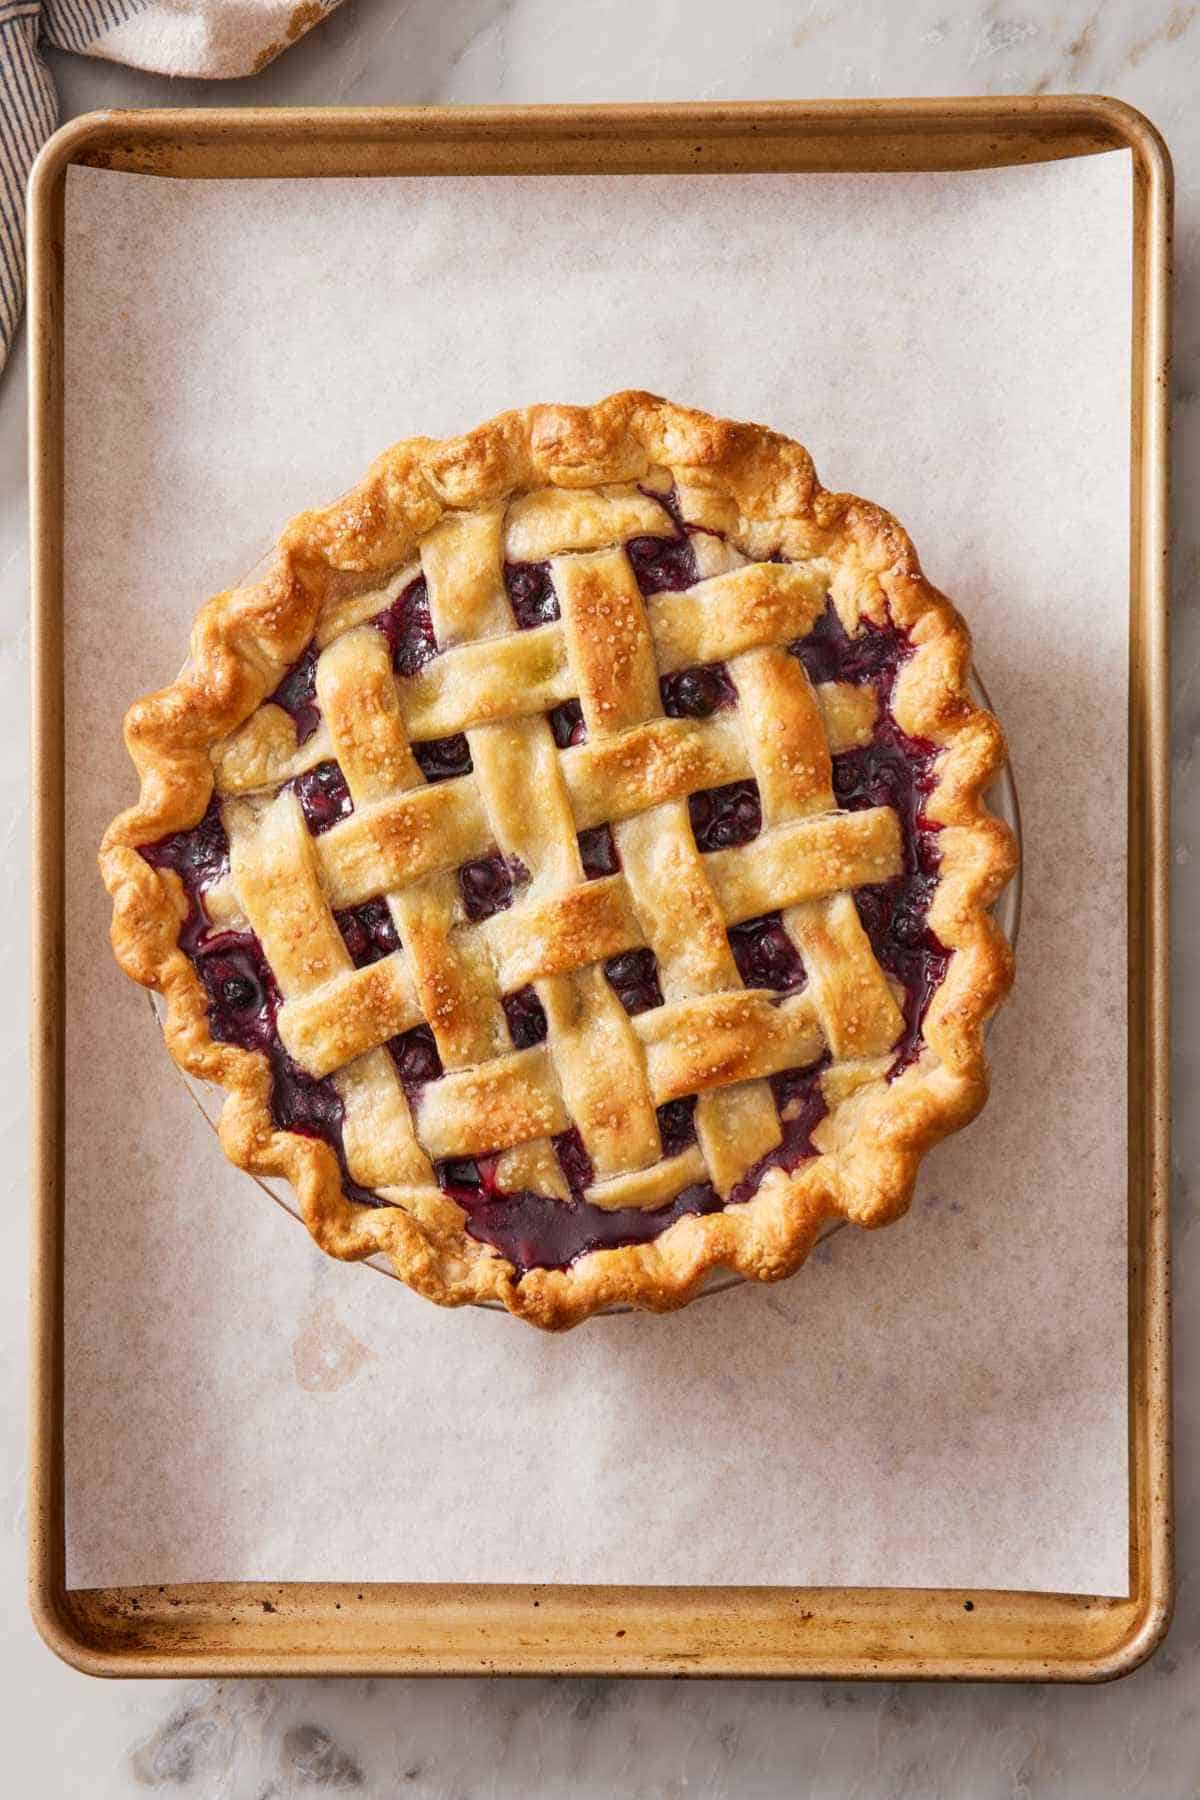
Bake on a rimmed baking sheet lined with parchment. Always. Frozen pies can leak more than fresh ones during the longer bake. The filling has to thaw, then bubble, and some of it will work its way out around the crimp or through a lattice. The sheet pan catches it and saves your oven floor from needing a heavy-duty cleanup.
Use a lower starting temperature. Most fresh pies bake with a high start (425°F for 20 minutes) and then lower down to 350-375°F. For a frozen pie, skip the high start. Bake at 375°F the whole way, or whatever the lower temperature in your recipe is. The high start is meant to set the bottom crust and crimped edges quickly before filling juices soak it or the design slumps. With a frozen pie, the filling can’t soak the crust until it thaws, so the lower temperature gives the bottom crust time to set without burning the top. And the extra cold dough holds its shape for longer to set in the lower heat.
Add 30 to 60 minutes to the bake time. A double-crust apple pie that bakes for 1 hour fresh will bake for 1 hour 30 minutes to 1 hour 45 minutes from frozen. A pecan pie that bakes for 60 minutes fresh will bake for 70 to 80 minutes from frozen. Trust visual cues: the filling should bubble visibly around the steam vents (for fruit pies) or set in the center with no liquid jiggle (for pecan). Use the indicator given in your original recipe. An instant-read thermometer is also a great tool! In the center of a fruit pie, it should hit 190–200°F.
Shield the edges if they brown too fast. Frozen pies bake longer, which means the crimped edge sees more oven time and can darken before the filling is set. A foil shield wrapped around just the rim for the last 20 minutes prevents over-browning. (See Academy: How To Crimp Pie Crust for more on edge-thickness and How To Make A Pie Shield for tips on shield use.)
How To Freeze A Baked Pie
If your pie is already baked—whether you have leftover slices or you prefer to bake first and freeze for later—the process is simpler than freezing unbaked.
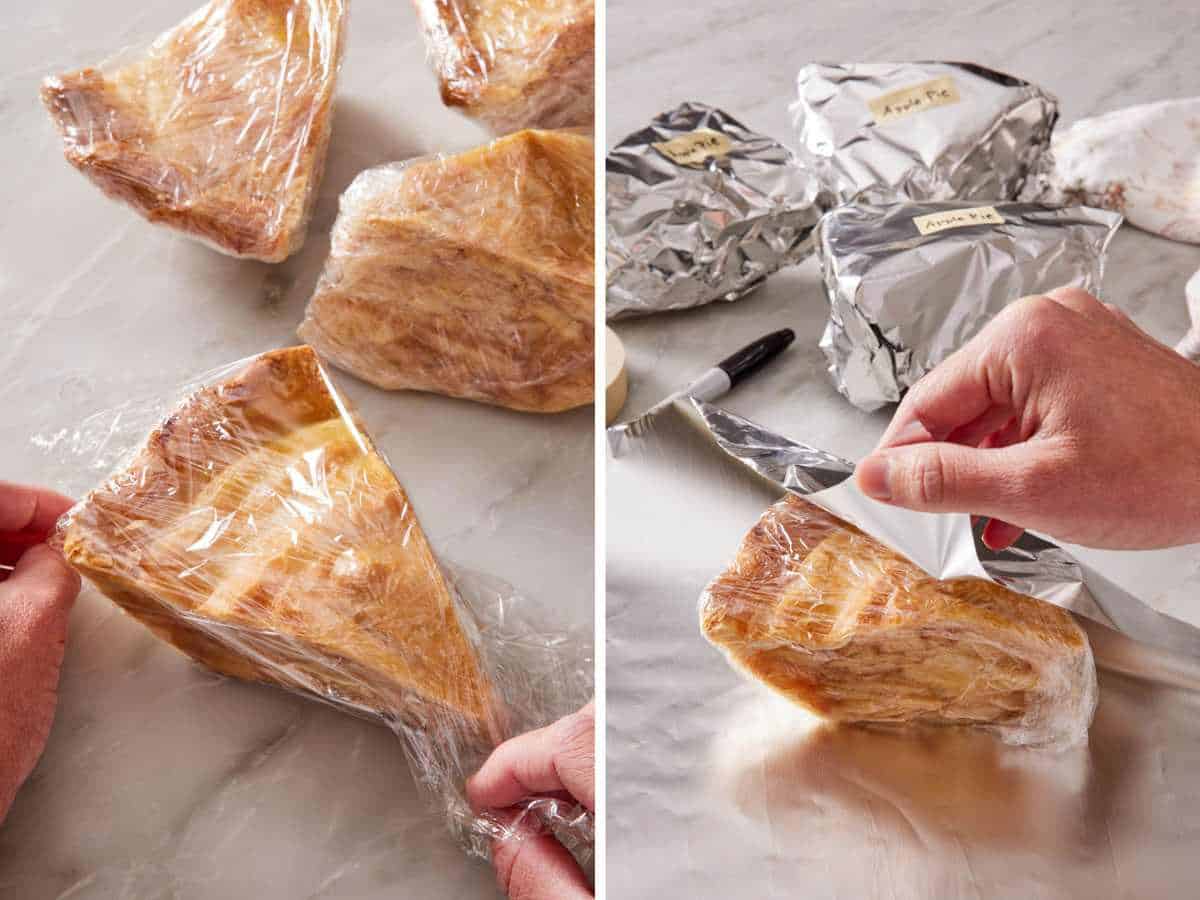
Cool the pie completely. Bring the pie completely to room temperature all the way through. A still-warm pie put in the freezer creates condensation, which becomes ice, which becomes freezer burn. I let pies cool on a wire rack for at least 4 hours, sometimes longer for fruit pies, before wrapping them.
No flash-freeze step needed. Unlike unbaked pies, a baked pie has a set crust and a set filling, so you can wrap it directly without worrying about plastic sticking to the top.
Wrap and label. Use two layers of plastic wrap, one layer of heavy-duty foil, then label with the type and date. (Same as for unbaked pies.) You can wrap a whole pie in the metal pie pan, or wrap individual slices.
Freeze for up to 2 to 3 months. Beyond that, you risk freezer burn that can change the texture and flavor of your pie, even with good wrapping.
How To Thaw and Reheat A Frozen Baked Pie
How you thaw a frozen pie matters. Done wrong, and you get a watery filling and a soggy crust. Done right, the pie tastes nearly fresh.
Thaw slowly in the fridge, overnight. Move the wrapped pie from the freezer to the fridge the night before you plan to serve. A whole pie needs 8 to 12 hours minimum. Individual slices need 2 to 4 hours. A slow thaw lets the moisture redistribute back into the filling instead of pooling at the bottom of the crust or leaking out of slices.
Don’t thaw at room temperature. Surface condensation can form faster than the filling thaws, especially if your kitchen is warm. This means you get a wet, sad surface and a frozen middle. A little bit of condensation may form in the fridge, but the difference in air and pie temperature is much less, which lessens the risk or amount that forms.
Reheat in the oven for the best texture. Unwrap the thawed pie, place it on a parchment-lined sheet pan, and warm at 350°F for 20 to 30 minutes for a whole pie, or 10 to 15 minutes for individual slices. The oven dries any possible condensation off the surface, recrisps the crust, and brings the filling back to a serving temperature where the flavors are most pronounced.
Air fryer alternative for slices. Set the air fryer to 350°F, place the slice on a small piece of foil to catch any drips, and reheat for about 5 minutes. The convection circulation gives a crispier crust and finishes faster than the oven.
Skip the microwave for crusty pies. Microwaves heat unevenly and turn the pie crust soggy and rubbery. They’re acceptable in a pinch for a slice of pumpkin pie or a custard pie that you don’t care about crust crispness on, but they’re never ideal.
The Thickener Rule For Juicy Fruit Fillings
This is the single best tip I learned from years of holiday baking, and it comes straight from food science research published by Penn State Extension’s home food preservation program.
When you freeze a fruit pie, baked or with a cooked filling, the thickeners in the filling don’t all behave the same way. Penn State documented this clearly: “Freezing causes liquids thickened with flour or cornstarch to shear or separate during freezing.” Translation: the cornstarch slurry in your apple pie that gives you that silky, thick filling when freshly-baked can break down, weep, and look watery after it’s been frozen.
Use one of these two adjustments to fix potential problems:
- Option 1: Add an extra tablespoon of your existing thickener. If your fresh blueberry pie recipe calls for ¼ cup of flour or cornstarch, bump it by 1 extra tablespoon (5 tablespoons total). The extra thickener compensates for the post-freeze loss.
- Option 2: Swap to tapioca starch or a modified food starch. Tapioca and modified starches like Instant ClearJel® or Therm-Flo® hold their thickening power through freezing without breaking down. If you bake a lot of frozen pies, it’s worth keeping a small bag of either in your pantry. They both substitute roughly 1:1 for cornstarch by weight, though tapioca leaves a slightly glossier, clearer finish in the filling than cornstarch. (Penn State documents this swap as the gold standard for canned and frozen pie fillings!)
For high-juice fruits like peaches, blackberries, fresh strawberries, and juicy cherries: Make one of these adjustments every time you freeze, whether baked or unbaked. These fruits tend to release more juice when they thaw and heat up, so the extra thickener helps offset a runny filling.
For lower-juice fruits like apples and pears: It’s helpful but not strictly required. I default to bumping the cornstarch on every freezer pie because the cost is negligible and the upside is consistent thickening.
Pro Tips For Freezing Pie
Make multiple pies at once. The setup time for one pie is the setup time for three. When I’m freezing pies for the holidays, I’ll prepare an apple, a pecan, and a pumpkin in the same afternoon. Three pies take about double the time of one, since you already have all of your tools and equipment out. The marginal time cost of each additional pie is small once the flour is on the counter.
Freeze the crust first if you’re short on space. A whole frozen pie takes a lot of freezer real estate. If you’re working in a small freezer, freeze rolled-out pie discs or crimped pie shells separately (see Academy: How To Freeze Pie Crust). Thaw any rolled sheet in the fridge the night before (keep crimped pie shells frozen), and assemble the pie the morning of baking.
Add more thickener to wet fruits. For fruits like peach, blackberry, fresh strawberry, and juicy cherry pies (high-water-content fruits), I add an extra 1 tablespoon of cornstarch or swap entirely to tapioca. The freezer breakdown of these fruits releases more liquid than apple or rhubarb, and you need more thickener to hold it.
Bake on the lower rack of the oven. Frozen pies need extra heat at the bottom to set the under-crust before the top burns. I move my oven rack to the lower third position before baking any frozen pie. The lower rack runs slightly hotter at the bottom, which is exactly where you need it. It also puts the top of the pie farther from the top of the oven (also hotter), which reduces the risk of the top or edges burning. (Check out my Academy lesson on Knowing Your Oven to identify hot spots and know where to position your oven racks.)
Don’t refreeze a thawed pie. If you’ve thawed a baked pie in the fridge, eat it within 2 to 3 days. Refreezing breaks down the texture further once thawed.
How Long Can Pie Be Frozen?
Two to three months is the sweet spot. Beyond that, freezer burn starts to damage the texture, and the crust dries out enough that it bakes up tough or rubbery instead of flaky.
- Unbaked fruit pies: 2 to 3 months. The crust holds its structure best in this window.
- Unbaked pecan pies: 2 months. The egg-and-corn-syrup filling holds up, but the pecans can pick up off-flavors beyond two months.
- Baked pies (fruit, pecan, pumpkin, sweet potato): 2 months for best texture, 3 months at the longest, or the pie will absorb flavors from the freezer and risk freezer burn.
- No-bake or cream pies: Like I mentioned earlier, don’t freeze these unless they are cream cheese or Cool Whip-based fillings and the recipe says it’s okay to freeze.
A pie that’s been in the freezer for 6 months is technically safe to eat, but it will not taste like the pie you put in. Freeze pies within the time frame you intend to use them—pies frozen at the start of summer should be eaten by Labor Day; pies intended for Thanksgiving should be frozen no earlier than August.
Penn State Extension also flags one detail worth knowing: Light-colored fruit fillings (peach, pear, apple) can darken during freezer storage. Adding ½ teaspoon of ascorbic acid (vitamin C powder, sold as Fruit-Fresh® in the canning section of most grocery stores) to the sugar-and-fruit mix when assembling the pie keeps the color bright through the freeze. This is optional, but useful for guaranteed gorgeous pies.
Frequently Asked Questions
For unbaked pies, no, always bake from frozen. Thawing first lets the filling go watery and the crust slump, and you’ll end up with a soggy bottom. For baked pies you’re reheating, yes. Thaw overnight in the fridge first, then warm in a 350°F oven.
The most likely reason is the thickener. Cornstarch and flour both lose some thickening strength when frozen. The fix is to either add more thickener (bump cornstarch by 1 tablespoon) or a swap to tapioca starch or Instant ClearJel®, which holds its thickening power through freezing. The second possibility is that you didn’t bake the pie for long enough, which means the filling didn’t set properly. Use a thermometer if you have one (center should be 190-200°F for fruit pies) and look for the visual cues (deeply golden crust, bubble filling, or jiggly center).
Not for the bake-from-frozen method. Glass and ceramic can crack when transferred from a 0°F freezer to a 375°F oven. The thermal shock is too much for those materials. Use a metal pie pan or a disposable aluminum tin instead. If you are freezing a baked pie that you will thaw before reheating, that’s fine. Thaw it in the fridge, then let it sit at room temperature for 30 minutes before you reheat it in the oven. And always check that your pie dish is freezer-safe!
Pumpkin pie: No. The custard filling needs even gentle heat from start to finish to set into a smooth, silky texture. Baking from frozen gives you a curdled, grainy filling. Freeze the pumpkin pie baked instead, then thaw it slowly.
Pecan pie: Yes. The egg and corn syrup filling is structurally robust enough to survive a freeze-and-bake, thanks to the amount of sugar in the filling. There is naturally less water in a pecan pie filling, and there is a higher amount of sugar from corn syrup. The sugar resists freezing and helps protect the water molecules in the pie filling, stabilizing the structure so it doesn’t turn grainy when it thaws during baking. Pecan is the one custard-style pie that handles either method!
Two options. First, use a disposable aluminum pie tin for freezing. They’re inexpensive, you can buy a stack at the grocery store for a few dollars, and they’re sized correctly for 9-inch pies.
Second, line your pan with plastic wrap before assembling, then freeze the pie in your pan until solid (4 hours), and carefully release the frozen pie. Wrap it, and return it to the freezer without the pan. To bake, set the frozen pie back in the pan and bake.
More Tutorials To Try
I have so many pie technique tutorials on the site to make your home pie-baking endeavors as easy as possible:
- Academy: How To Freeze Pie Crust — for freezing the dough alone, including pre-shaped crusts
- Academy: How To Lattice Pie Crust — woven top crusts that handle the freeze-and-bake method beautifully
- Academy: How To Crimp Pie Crust — five edge techniques, plus the cold-dough rule that keeps crimps sharp through long bakes
- How To Blind Bake A Pie Crust — for cream and custard pies that can’t be frozen but can be made ahead with a fully blind-baked shell
If you’ve tried this “how to freeze a pie” tutorial, then don’t forget to rate it and let me know how you got on in the comments below. I love hearing from you!






