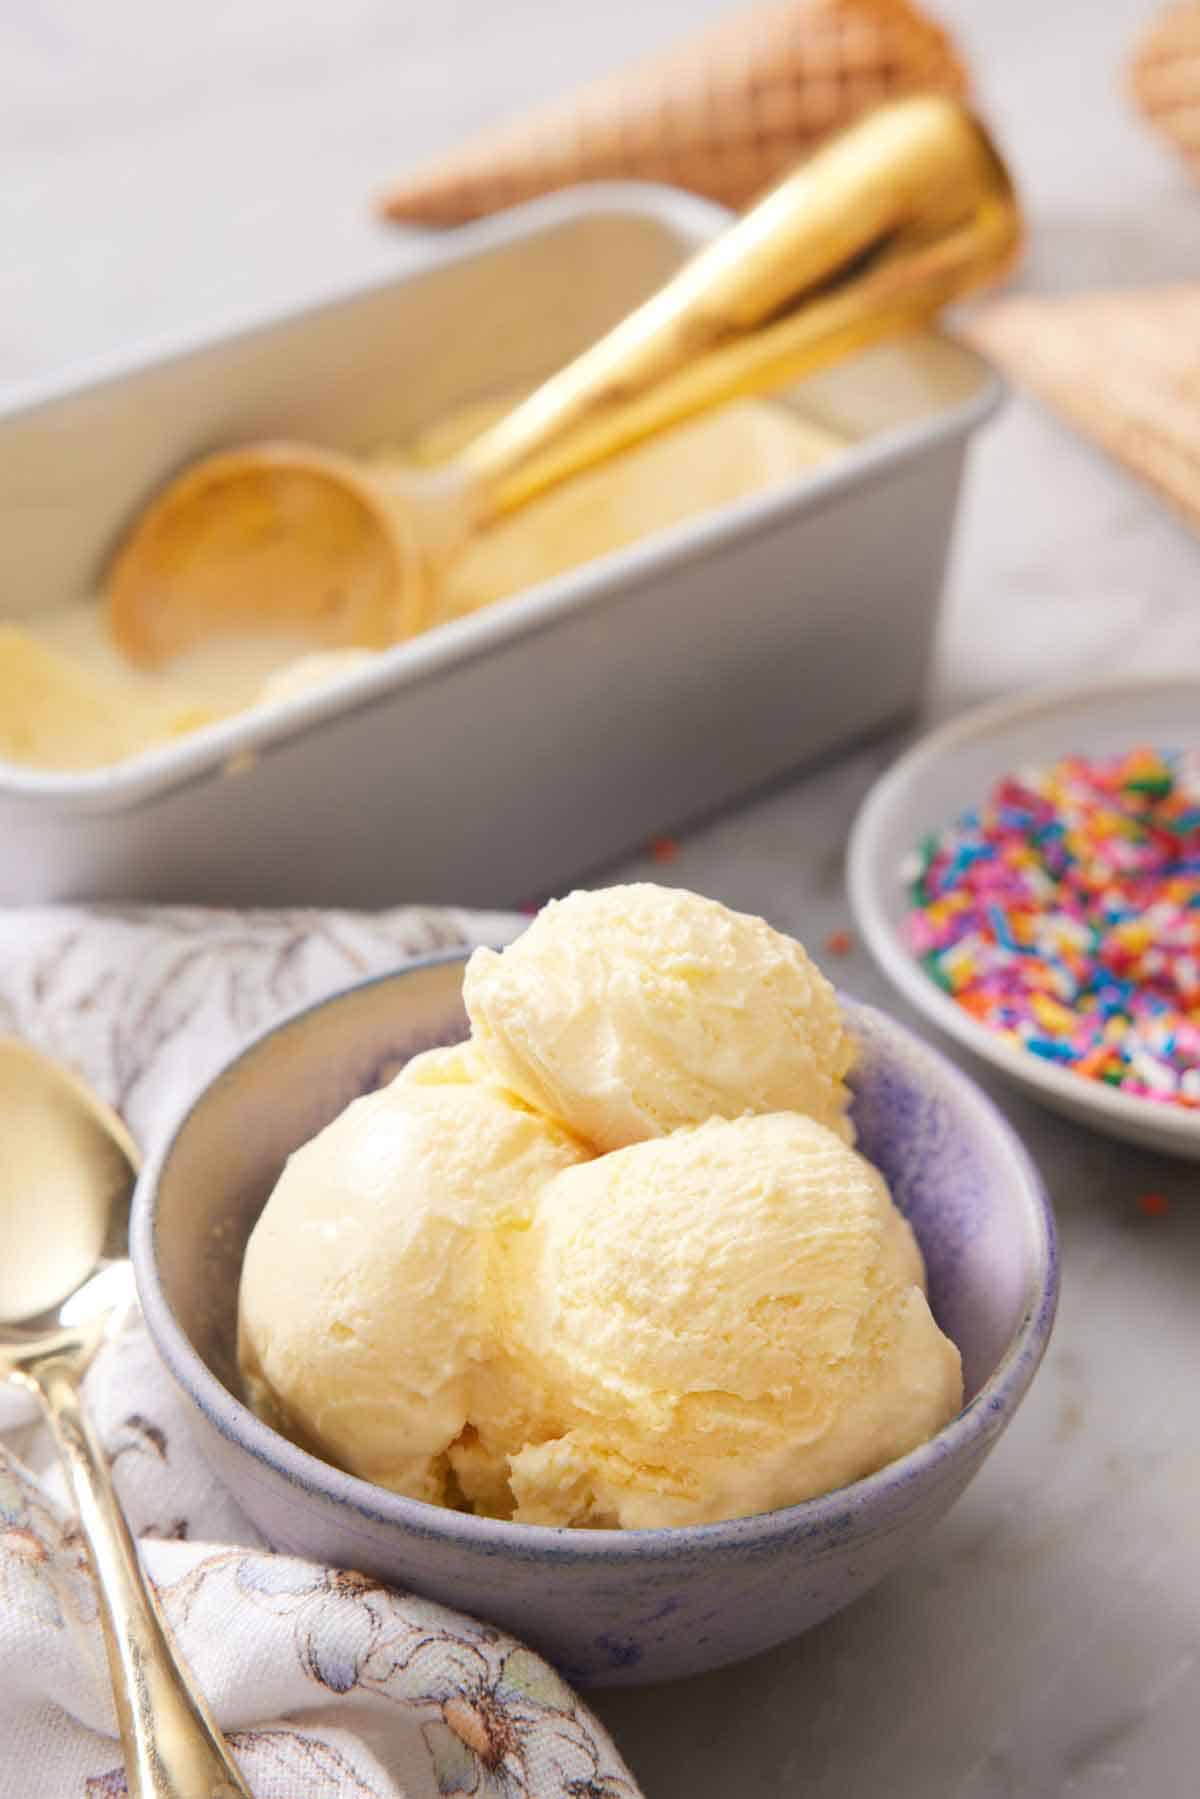
Few things scream “Summer!” like a big bowl of vanilla ice cream drizzled with hot fudge sauce and sliced fresh fruit scooped on top. And with just a few simple ingredients and very little hands-on time, you can make decadent vanilla bean ice cream from scratch at home! An ice cream maker does the heavy lifting. The hardest part of this easy homemade ice cream recipe is simply waiting for it to firm up in the freezer.
Once your batch of custard-style ice cream is ready, pile it into a cone, scoop it into a bowl, and load it up with your favorite toppings, or use it alongside various other sweet treats. I’ve got loads of ideas for you below! For more ice cream recipes, try my ice cream sandwiches, fried ice cream, and baked Alaska.
What You Need to Make this Recipe
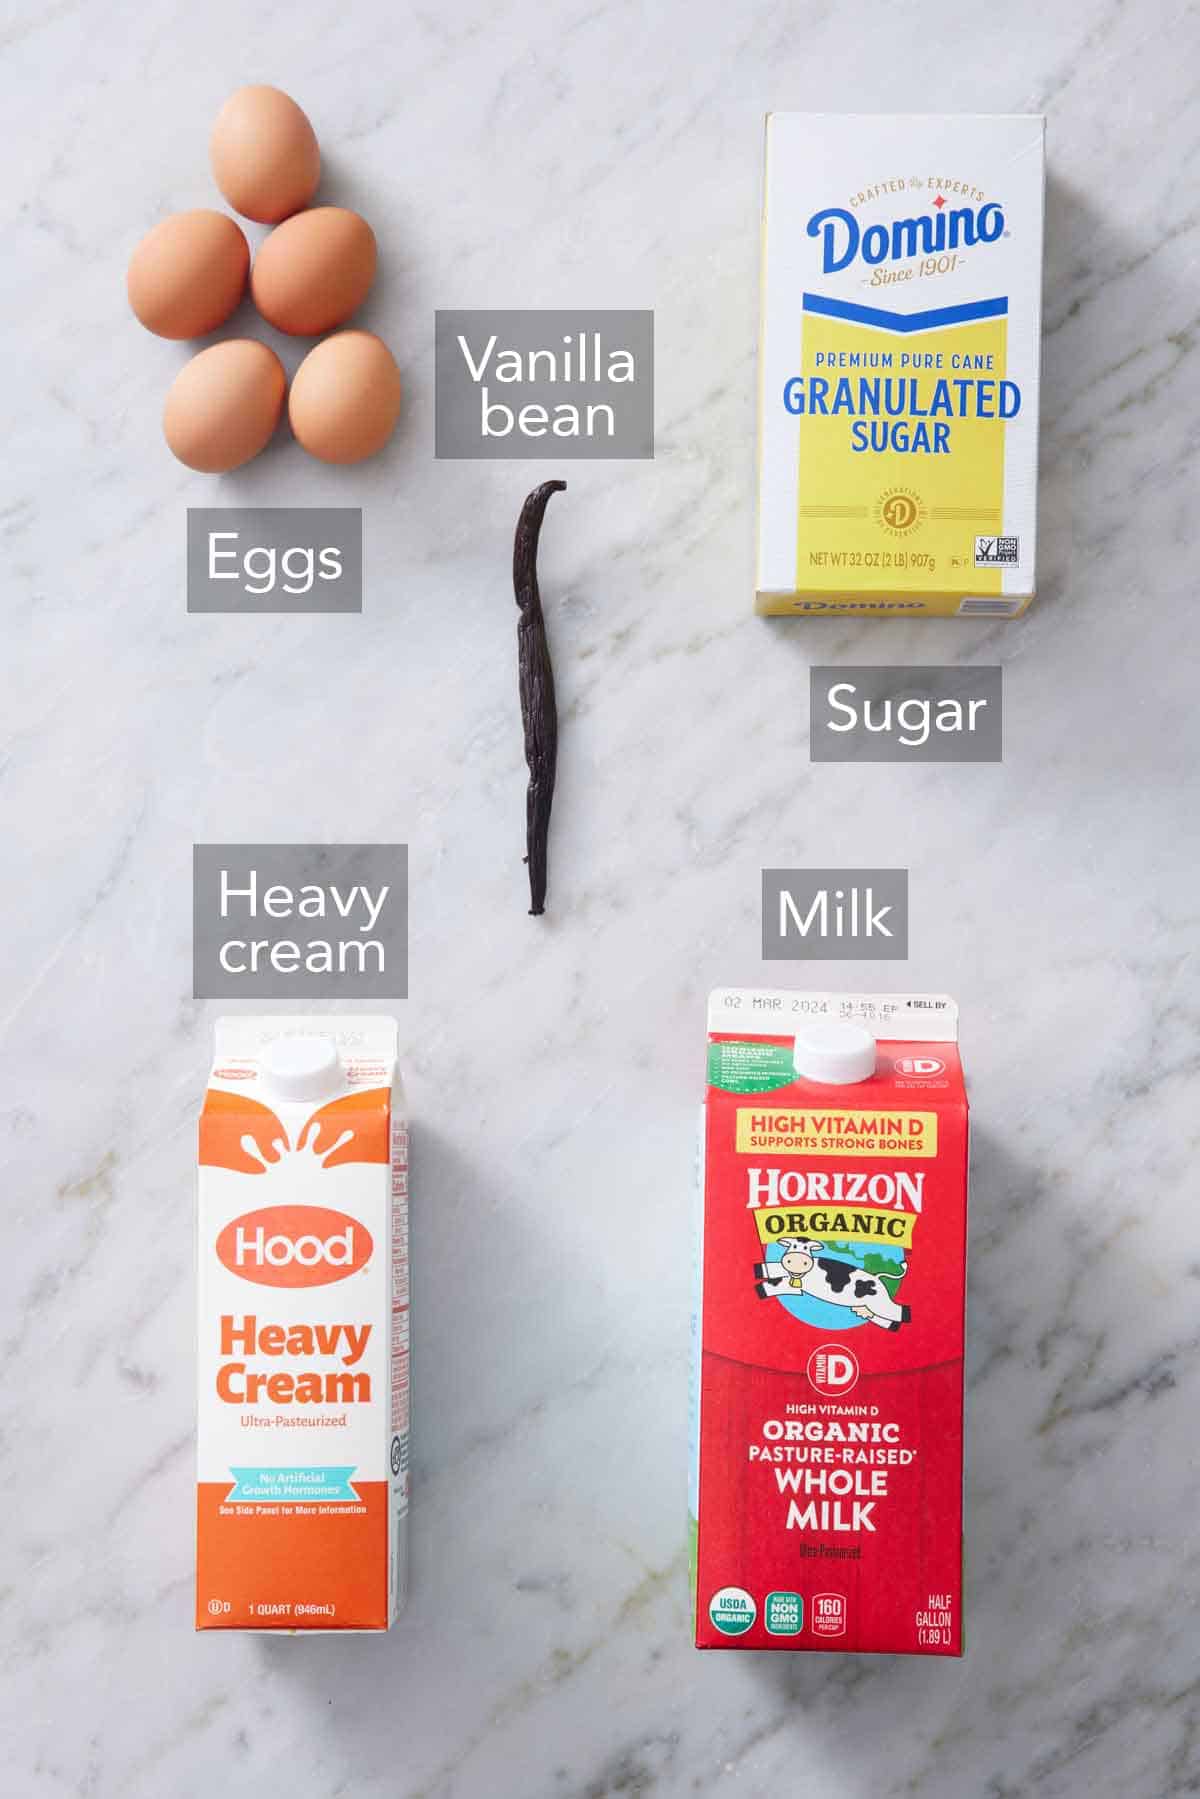
Dairy — you need heavy cream and whole milk for the rich ice cream base. Since this is the foundation of flavor for the ice cream, get the best quality you can.
Sugar — granulated sugar, also called white sugar, sweetens the ice cream.
Vanilla — you have a few options for what kind of vanilla to use. You can use a split vanilla bean with the seeds scraped, 2 teaspoons of pure vanilla extract, or 2 teaspoons of vanilla bean paste. I like the appearance of the vanilla bean flecks throughout the ice cream, so that’s my preference!
Egg yolks — egg yolks are what makes this a French vanilla ice cream recipe, versus Philadelphia-style ice cream, which does not have an egg custard base. Choose high-quality eggs with rich yolks for the creamiest custard. Save the egg whites for Italian buttercream or a whiskey sour!
How to Make Vanilla Ice Cream
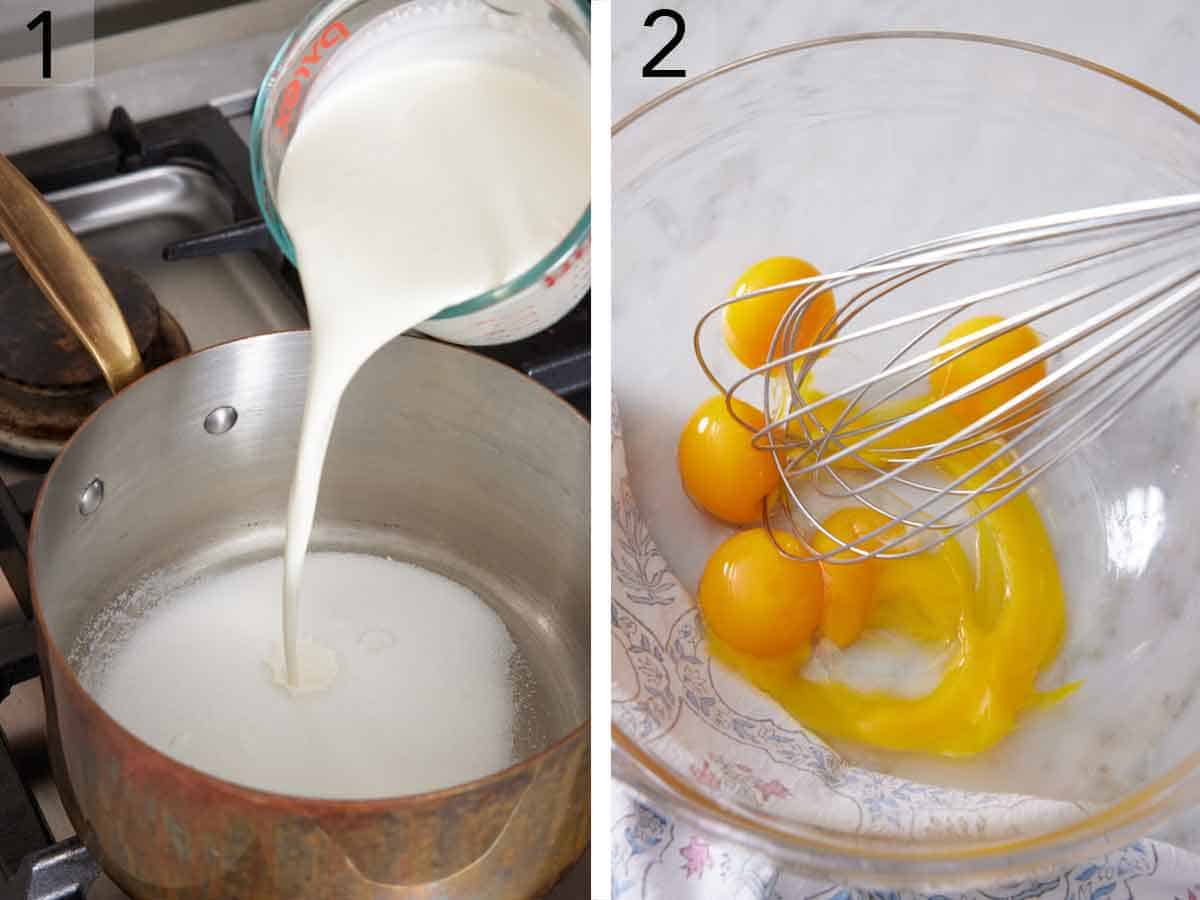
1. In a medium saucepan, combine the heavy cream, whole milk, white sugar, and vanilla. Cook over medium heat until the sugar has dissolved and the mixture starts letting off steam. Whisk frequently during this step, and don’t allow the mixture to simmer. Remove from the heat.
2. In a heatproof bowl, whisk the egg yolks until smooth.
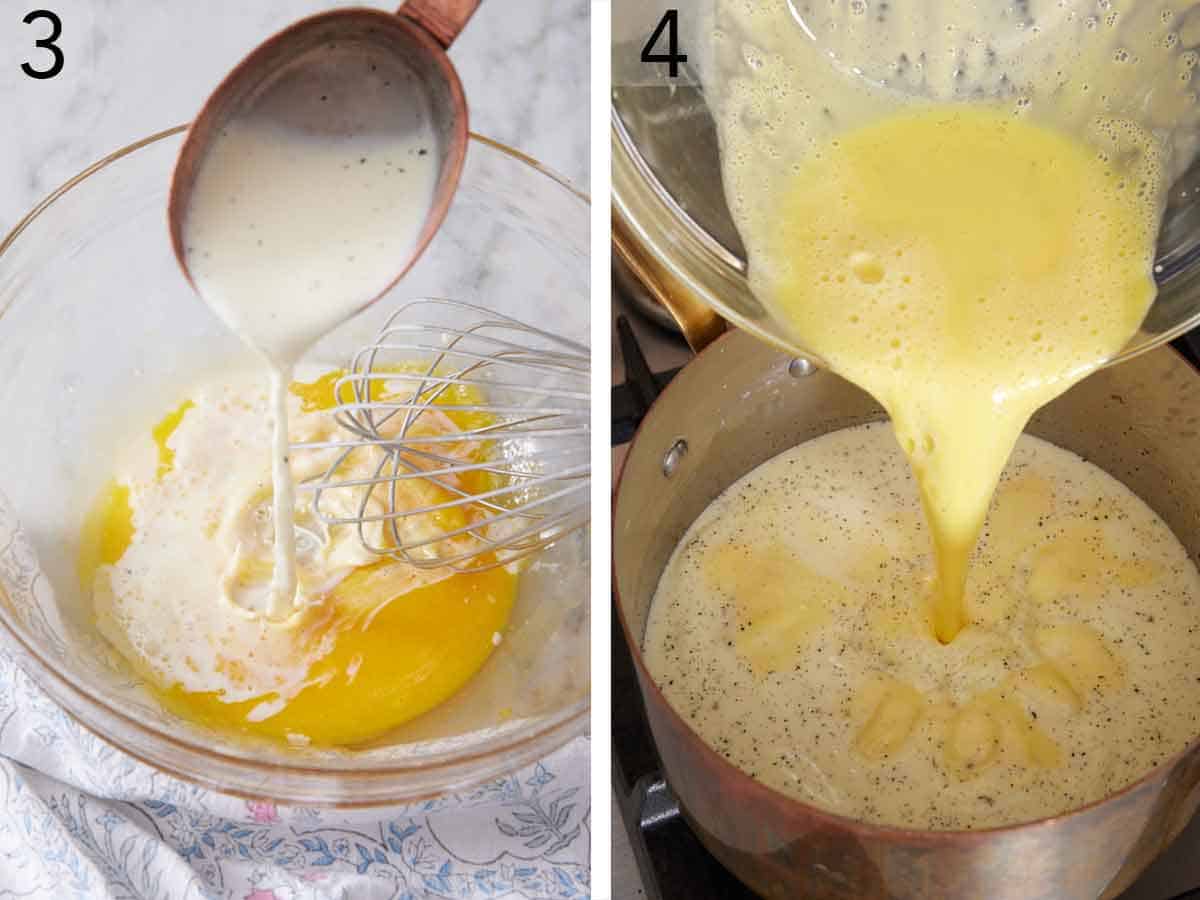
3. Temper the eggs by slowly pouring about ½ cup of the warm milk mixture into the egg yolks. Whisk constantly to slowly warm the egg yolks.
4. Whisk the tempered egg mixture into the saucepan to incorporate it into the milk and cream mixture.
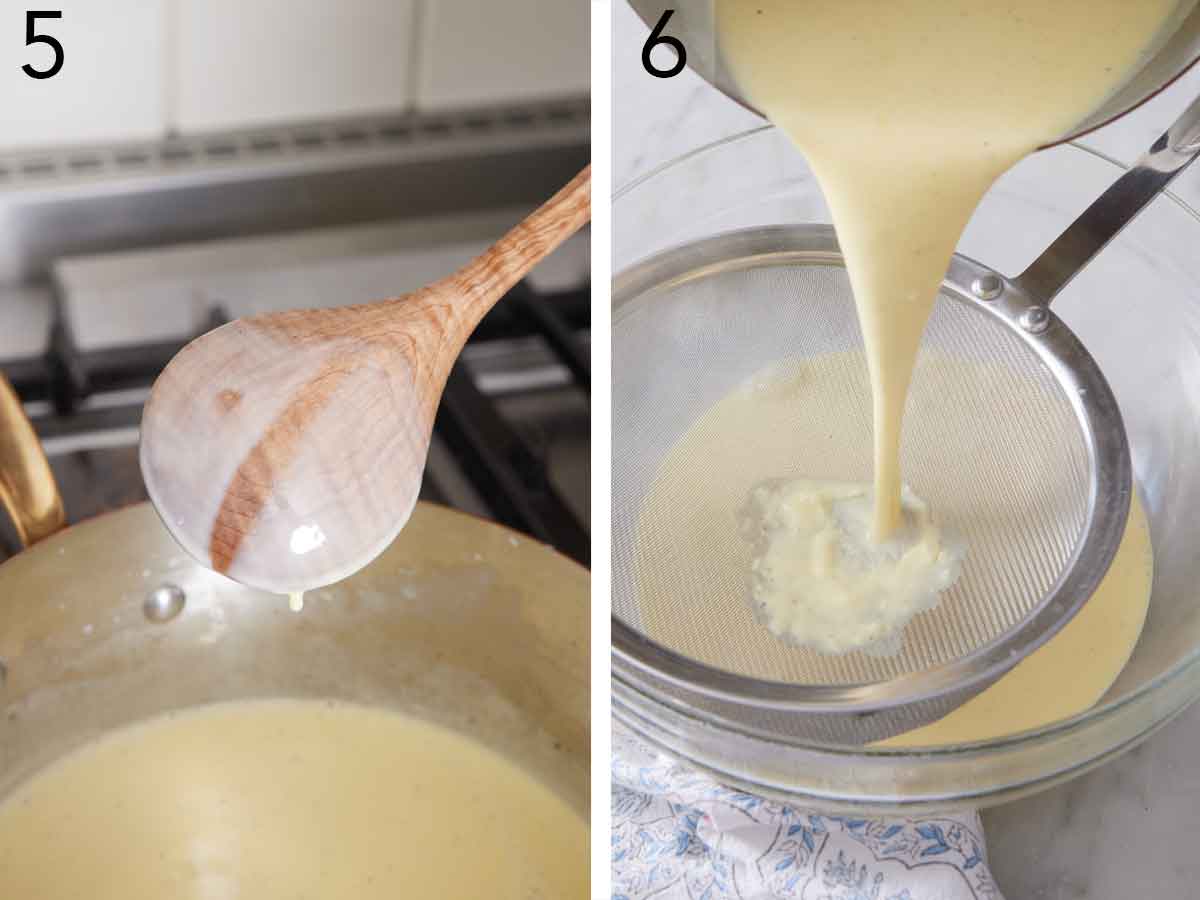
5. Return the saucepan to medium heat, and stir frequently with a rubber spatula. Cook until the egg custard mixture thickens enough to coat the back of a spoon. Use a thermometer to check the temperature, which should be about 180°F.
6. Immediately remove the cooked custard from the heat and strain it into a large bowl using a fine mesh strainer.
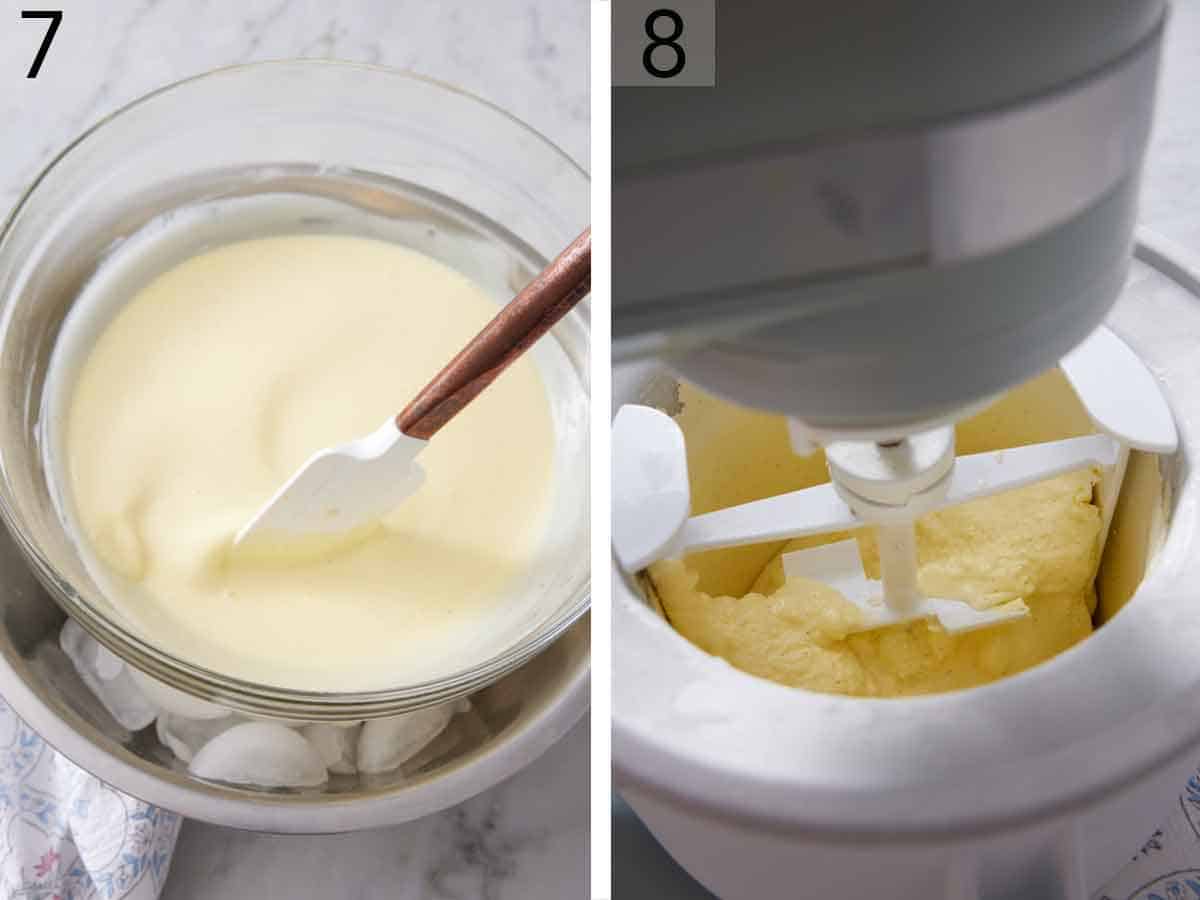
7. Place the ice cream mixture over an ice bath to stop the custard from cooking, and stir occasionally to cool the mixture down quickly. Cover and refrigerate until thoroughly chilled. This will take several hours.
8. Pour the cold custard into a frozen ice cream maker, and churn ice cream according to the manufacturer’s instructions.
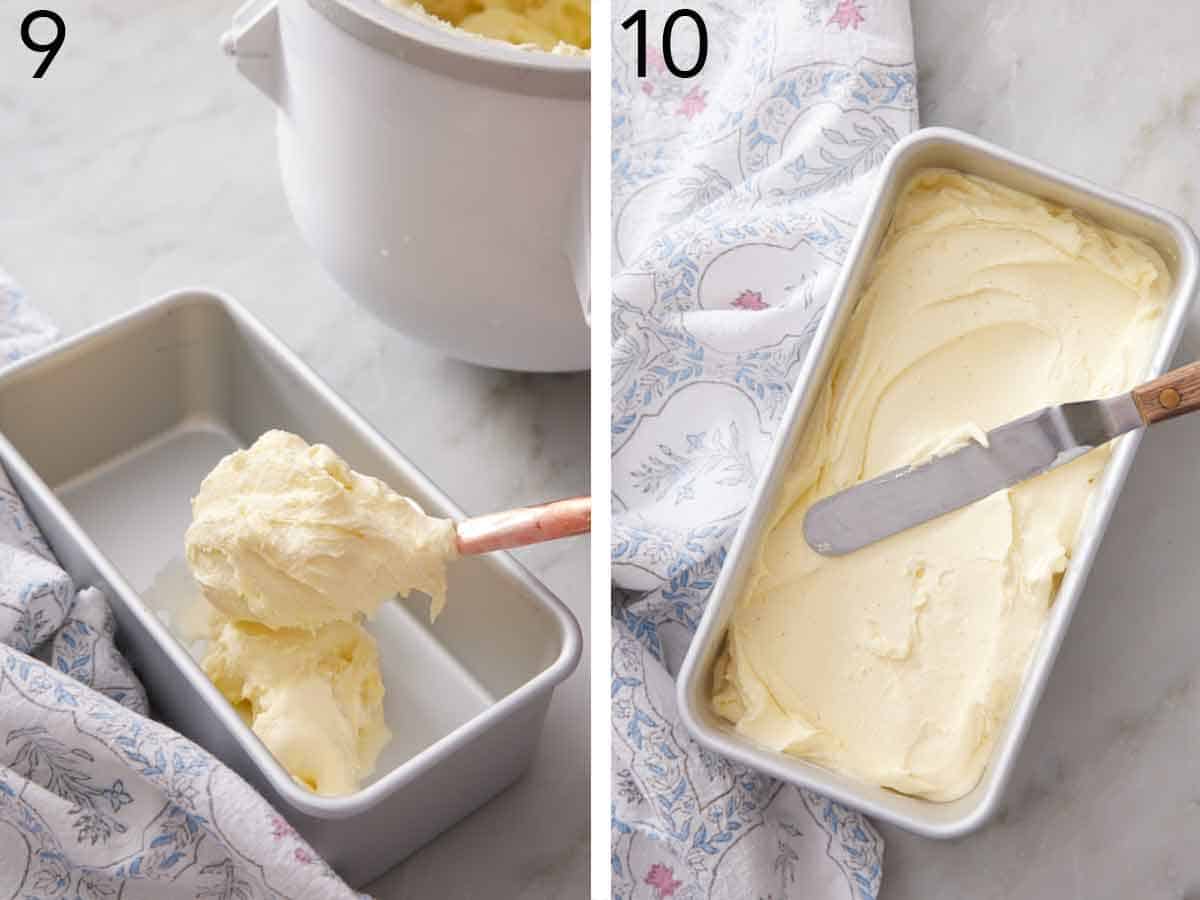
9. Transfer the solid ice cream to a quart-sized freezer-safe container.
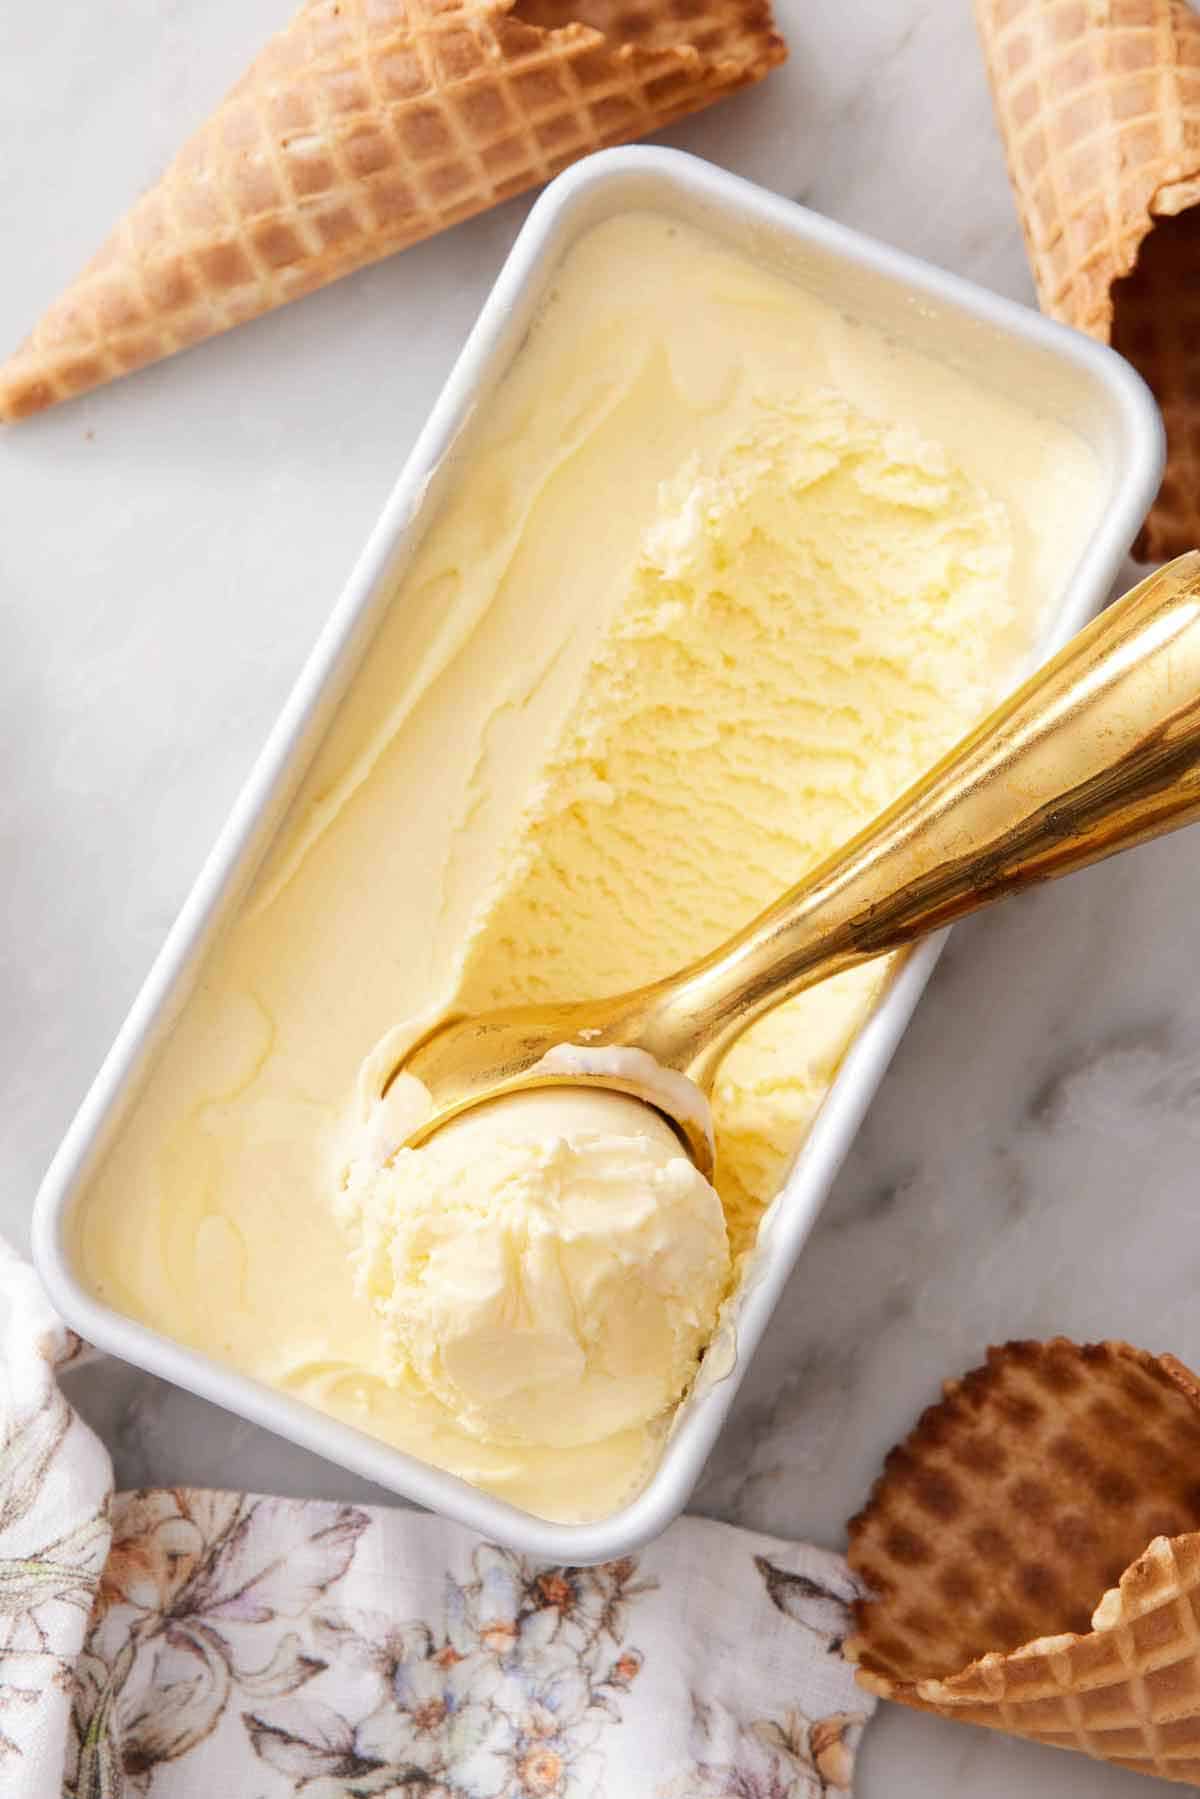
10. Smooth out the top and cover in plastic wrap, wax paper, or foil to prevent ice crystals from forming, and freeze until firm before scooping and serving.
Pro Tips for Making this Recipe
- Temper the eggs. Tempering the egg yolks in this homemade vanilla ice cream recipe ensures that they warm up gradually and become velvety and smooth. If you add them straight into the warm milk mixture, they will instantly cook and scramble, leaving you with egg chunks.
- Use a rubber spatula when cooking the ice cream base. Be sure to scrape the sides of the pot where the egg tends to collect. This will help prevent the custard from burning or overcooking.
- Use a thermometer to ensure your eggs don’t overcook. The temperature should reach about 180°F for the proper thickness.
- Don’t skip straining the custard. Straining catches any little bits of egg that didn’t get tempered or parts of the custard that may overcooked and solidified, ensuring a lusciously smooth ice cream.
- To get even more vanilla flavor: If using a vanilla bean pod, add it back in while the strained custard chills. This will infuse the mixture with even more vanilla flavor. Just be sure to remove the vanilla pod before churning the ice cream.
- To get the flavors to pop: Add a pinch of salt when whisking the egg yolks to balance the flavors of the vanilla, sugar, and cream. Less than ⅛ teaspoon is enough!
- Double this easy recipe if your machine allows for 2 quarts of ice cream! If you’re pulling out the appliance, you might as well get the most reward from the effort. The homemade ice cream holds well for up to a month in the freezer, so keep that in mind when deciding how much to make.
- Freeze the bowl of the ice cream machine. The bowl needs to be totally chilled to help the custard firm up for the best vanilla ice cream. I recommend freezing it for at least 24 hours before you churn the custard.

Frequently Asked Questions
This is a basic vanilla ice cream recipe made French-style, which means it does require egg yolks to make the egg custard base. Philadelphia-style ice creams do not need eggs, but I love the richness of the egg-based custard.
While a scoop or two of classic vanilla ice cream is a decadent dessert as is, especially on a hot summer day, ice cream is also a key component of a creamy milkshake, bananas foster, and an affogato. You can also sandwich it between oatmeal cookies or chocolate chip cookies for a delicious ice cream cookie sandwich.
Go wild with your favorite ice cream toppings! Sprinkles, maraschino cherries, sliced fresh fruit like strawberries and bananas, melted peanut butter, chopped nuts, chocolate chips, warm caramel sauce, hot fudge sauce, homemade whipped cream, and crumbled brownies are all delicious ideas!
Don’t forget that vanilla bean ice cream also pairs well with various sweet treats. Scoop it atop strawberry cobbler, apple pie, peach cake, or blueberry crisp. It’s also the perfect addition to any celebration or birthday cake, like vanilla cake or chocolate cake.
The ice cream will keep frozen for up to 1 month if covered tightly in a freezer-safe container or airtight container. Pressing a piece of plastic wrap, wax paper, or foil onto the top of the ice cream helps to prevent ice crystals from forming.
If you’ve tried this recipe, then don’t forget to rate it and let me know how you got on in the comments below. I love hearing from you!
Vanilla Ice Cream
Equipment
- Ice cream maker
- Medium pot
- Medium bowl
- Rubber spatula
Ingredients
- 2 cups heavy cream (480ml)
- ¾ cup whole milk (180ml)
- ½ cup granulated sugar (100g)
- 1 split vanilla bean seeds scraped, or 2 teaspoons vanilla extract
- 5 large egg yolks
Instructions
- Combine the cream, milk, sugar, and vanilla in a medium saucepan. Cook over medium heat, whisking frequently, until the sugar is dissolved and the mixture starts to give off steam (do not simmer). Remove the heat.
- Whisk the egg yolks in a medium bowl just until broken up and smooth. Slowly pour in about ½ cup of the warm milk mixture into the egg yolks while whisking constantly. Whisk the tempered egg mixture in to the cream mixture in the saucepan.
- Return the saucepan to medium heat, and stir frequently with a rubber spatula. Cook the mixture until it thickens enough to coat the back of a spoon (about 180°-185°F). Immediately remove from the heat and strain through a fine mesh strainer into a bowl.
- Place the mixture over an ice bath and stir occasionally to cool the mixture down quickly. Cover and refrigerate until thoroughly chilled, about 4 hours or up to 24 hours.
- Churn the chilled custard in a frozen ice cream maker according to the manufacturer’s instructions. Transfer the solid ice cream to a container cover in plastic wrap, and freeze until firm, about 3 hours, before scooping. The ice cream will keep frozen for up to 1 month if covered tightly.
Notes
- Temper the eggs. Tempering the egg yolks in this homemade vanilla ice cream recipe ensures that they warm up gradually and become velvety and smooth. If you add them straight into the warm milk mixture, they will instantly cook and scramble, leaving you with egg chunks.
- Use a rubber spatula when cooking the ice cream base. Be sure to scrape the sides of the pot where the egg tends to collect. This will help prevent the custard from burning or overcooking.
- Use a thermometer to ensure your eggs don’t overcook. The temperature should reach about 180°F for the proper thickness.
- Don’t skip straining the custard. Straining catches any little bits of egg that didn’t get tempered or parts of the custard that may overcooked and solidified, ensuring a lusciously smooth ice cream.
- To get even more vanilla flavor: If using a vanilla bean pod, add it back in while the strained custard chills. This will infuse the mixture with even more vanilla flavor. Just be sure to remove the vanilla pod before churning the ice cream.
- To get the flavors to pop: Add a pinch of salt when whisking the egg yolks to balance the flavors of the vanilla, sugar, and cream. Less than ⅛ teaspoon is enough!
- Double this easy recipe if your machine allows for 2 quarts of ice cream! If you’re pulling out the appliance, you might as well get the most reward from the effort. The homemade ice cream holds well for up to a month in the freezer, so keep that in mind when deciding how much to make.
- Freeze the bowl of the ice cream machine. The bowl needs to be totally chilled to help the custard firm up for the best vanilla ice cream. I recommend freezing it for at least 24 hours before you churn the custard.








Leave a Reply