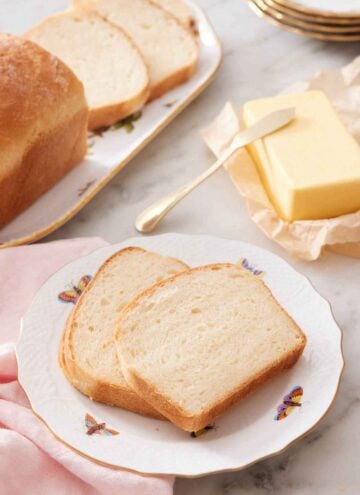
Few things are more comforting and familiar than a warm slice of white bread with soft butter and sweet jam. Try your hand at making my homemade white bread recipe! Easier than you might think, this homemade bread uses simple pantry staples and is tall, soft, and wonderful for sandwiches!
One of the most important ingredients for the perfect sandwich bread is fresh yeast. Before starting this recipe, make sure the yeast you have has not expired. If it does not activate and ferment, the bread will not rise properly. For more homemade bread recipes, try my brioche bread, French bread, and Italian bread.
Ingredients & Equipment Needed
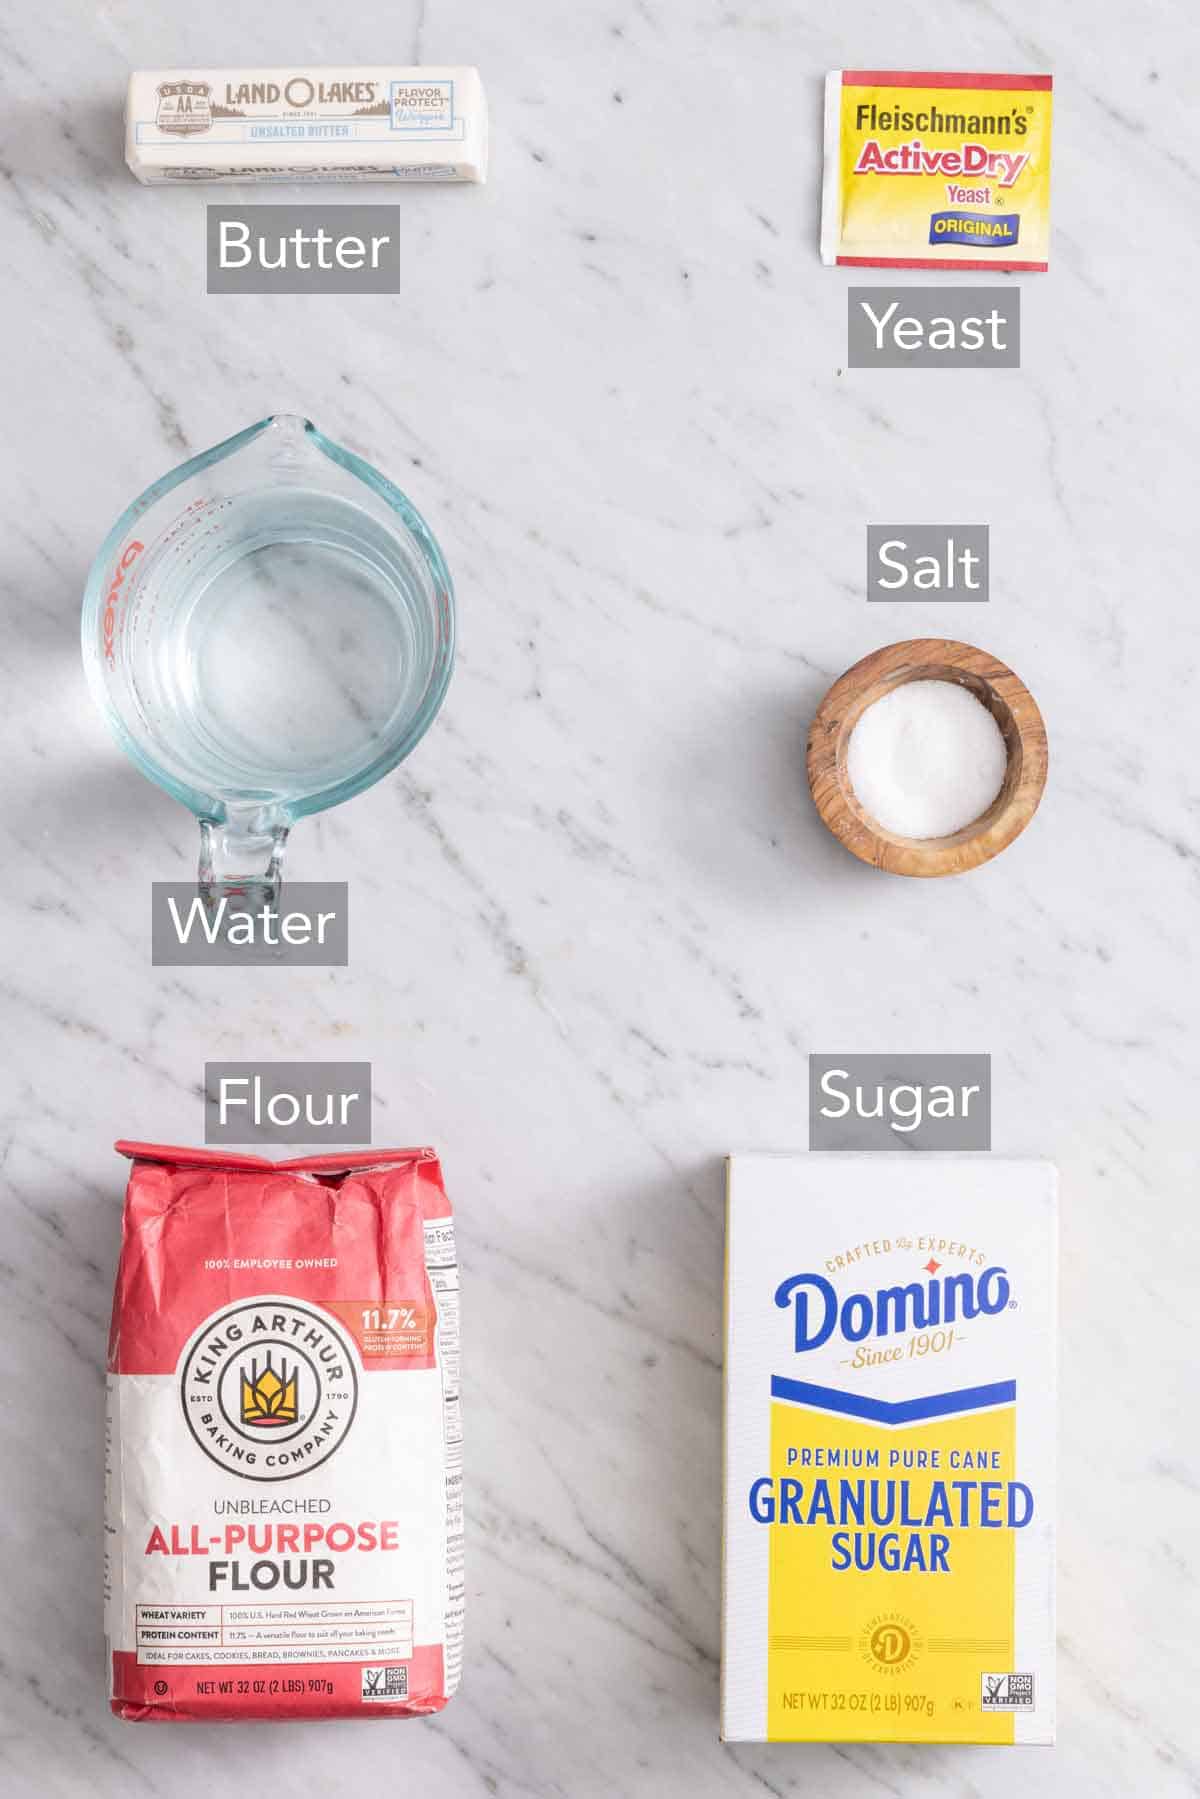
Water — warm water helps activate the yeast. It should be 105 to 110°F when checked with an instant read thermometer.
Sugar — granulated sugar feeds the yeast and helps it produce gas, which will cause the homemade bread recipe to rise.
Yeast — you need 2 packets of active dry yeast for the dough to rise. Make sure the yeast has not expired or else the bread will not rise properly. Don’t replace active dry yeast with instant yeast either.
Flour — I use all-purpose flour, but you can swap it for bread flour if you prefer chewier bread with a sturdy crust.
Butter — butter is what gives this easy white bread recipe its rich flavor and tender crumb. Use unsalted butter so the loaves do not turn out too salty.
Salt — salt is essential to flavoring the sandwich bread.
Equipment:
- Two 9-inch loaf pans: You can use a regular loaf pan or pullman-style bread pan with straight sides.
- Instant read thermometer: This is the best tool for checking the bread for the perfect bake. If you don’t have one, I show you how to check for doneness without it.
- Stand mixer with dough hook attachment: A mixer makes this bread so easy to make! I give instructions on how to mix by hand, as well.
How To Make White Bread
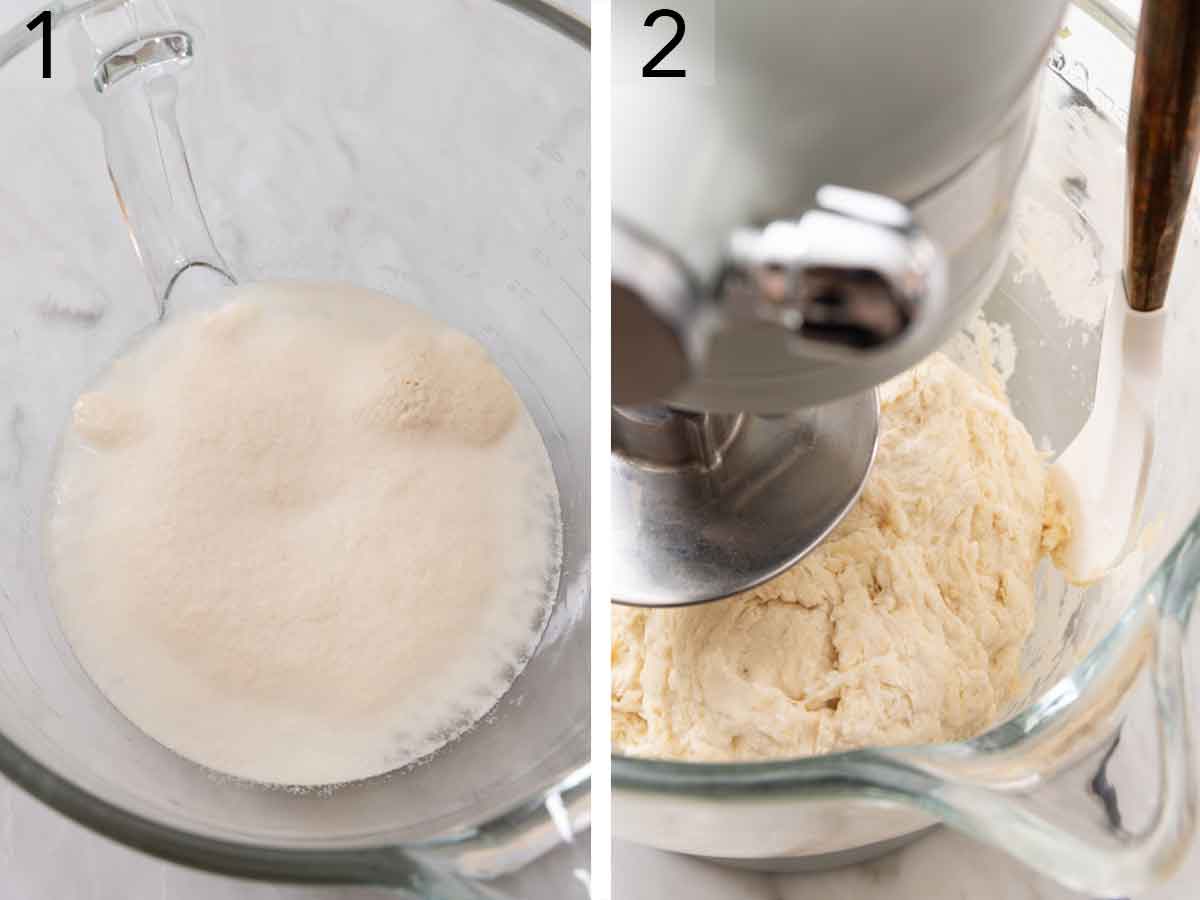
1. In the bowl of a stand mixer fitted with the dough hook attachment, add the warm water, sugar, and yeast and stir to combine. Let it stand for 5 minutes or until very foamy.
2. Add the all-purpose flour, melted butter, and salt to the activated yeast mixture. Mix on low speed for 1 minute or until the dough comes together in a shaggy ball and pulls away from the sides of the bowl.
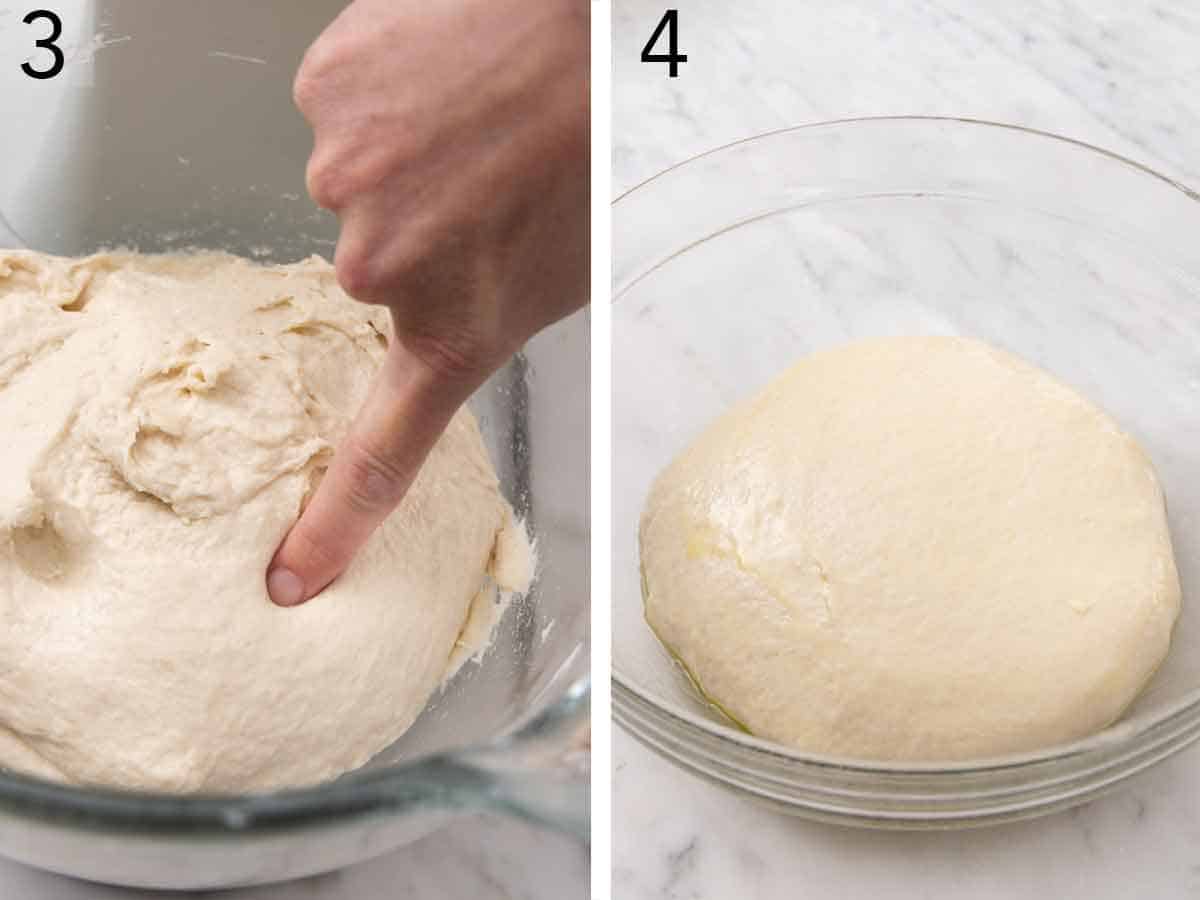
3. Increase the mixer speed to medium-low and knead for 5 to 7 minutes until the dough is smooth and springs back quickly when pressed with a finger.
4. Lightly grease a large bowl and place the dough in. Flip the dough over so that it’s fully greased. Cover with plastic wrap and let it rise in a warm, draft-free spot (about 75°F) for 40 to 50 minutes. The dough should nearly double in size and should also spring back slowly when pressed with a wet fingertip.
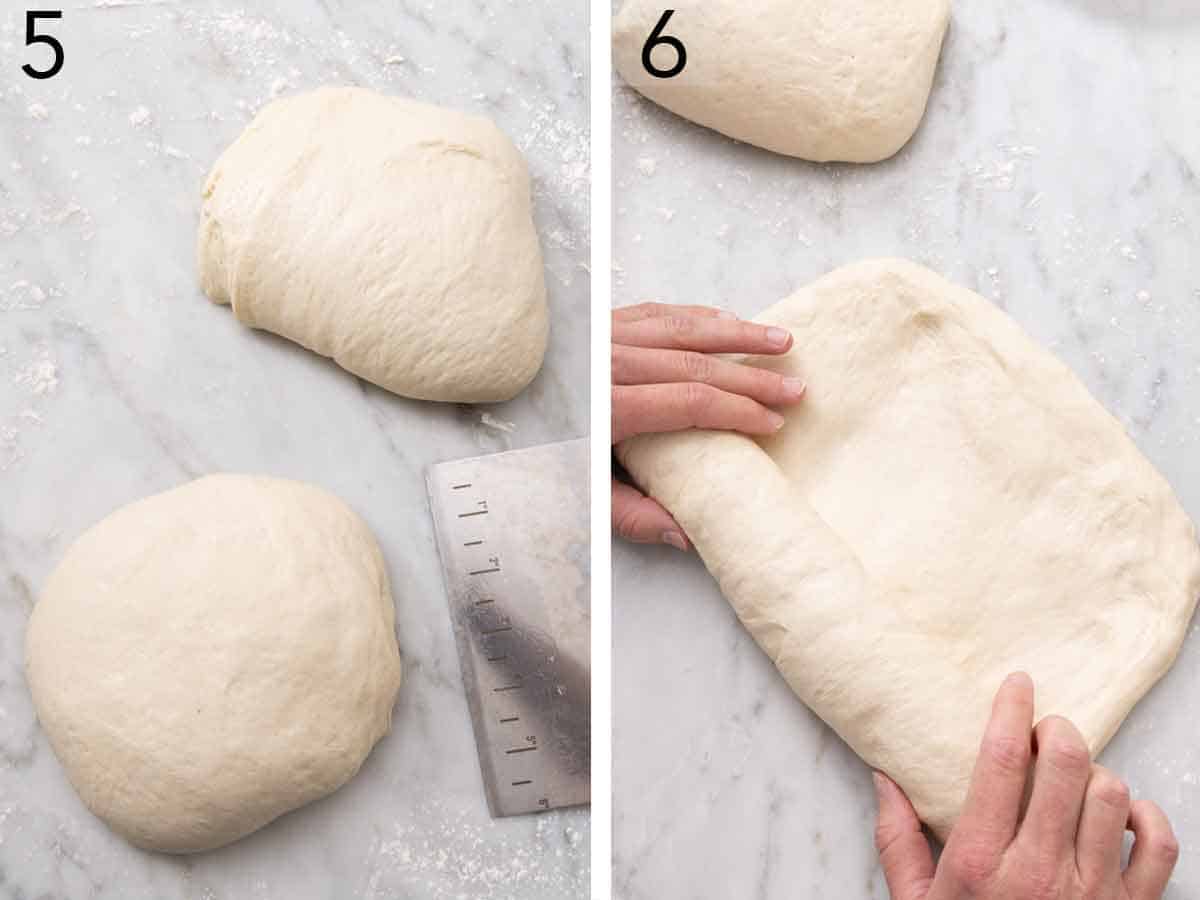
5. Grease two 9×5-inch loaf pans with butter or baking spray. Punch down the proofed dough to release air and turn it onto a very lightly floured surface. Divide the dough into 2 equal pieces (630g each).
6. Form each piece into an 8×12-inch rectangle. Starting with a short end, roll one piece into a tight log shape. Pinch the seams along the sides tightly together and gently tuck them under the loaf. Do the same with the other piece of dough.
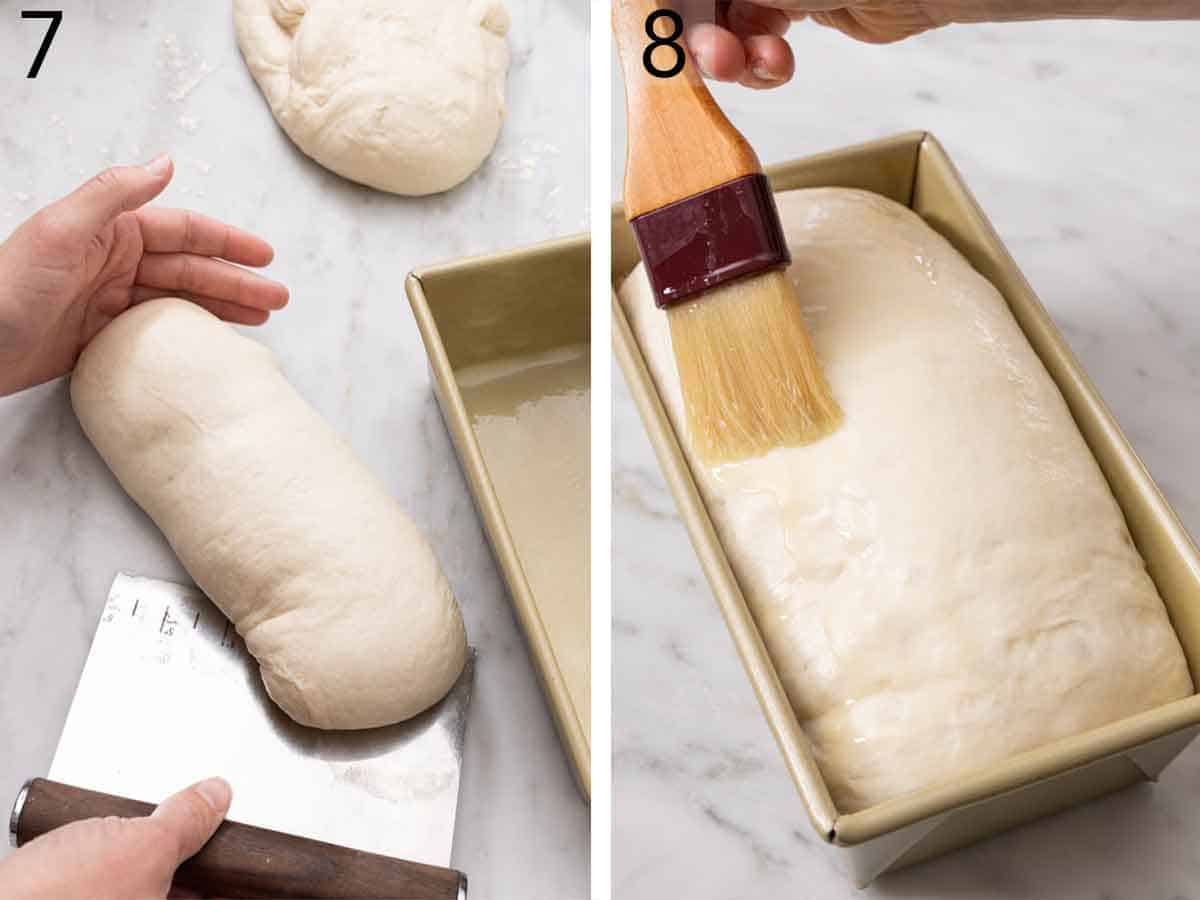
7. Use a bench scraper to pick up each loaf and place them seam side down into the prepared loaf pans. Spray sheets of plastic wrap with nonstick spray and loosely cover both pans. Let the loaves rise again in a warm place for 25 to 35 minutes, or until the height of the dough rises just above the top rim of the loaf pan.
8. While the dough is rising in the pans, preheat the oven to 350°F. Once the second rise is complete, brush the top of each loaf with more melted butter (optional). Bake for 30 to 35 minutes until the tops are golden brown. Let the baked bread cool for a few minutes in the pan, then transfer the two loaves of bread onto a wire rack to cool completely.
How To Form The Perfect Loaf Of Bread
The key to a perfect loaf with a smooth, rounded top is all in how you shape it. And it’s easy! All you have to do is flatten the dough and roll it up into a log!
Once your dough is divided into two portions, flatten each portion into a rectangle. Start at a short end and begin rolling the dough (like you would roll up cinnamon rolls!). You want to make sure the roll you make is fairly tight. This will create tension on the outside of the roll to help create the smooth top of the loaf.
Once the dough is rolled into a log, pinch the ends of the loaf together and tuck them under slightly. This helps ensure the ends don’t rise up unevenly from the rest of the loaf. Place the dough in the pan with the long seam on the bottom of the pan to keep the dough from unrolling during the rise. That’s it!
How To Know When The Bread Is Properly Risen
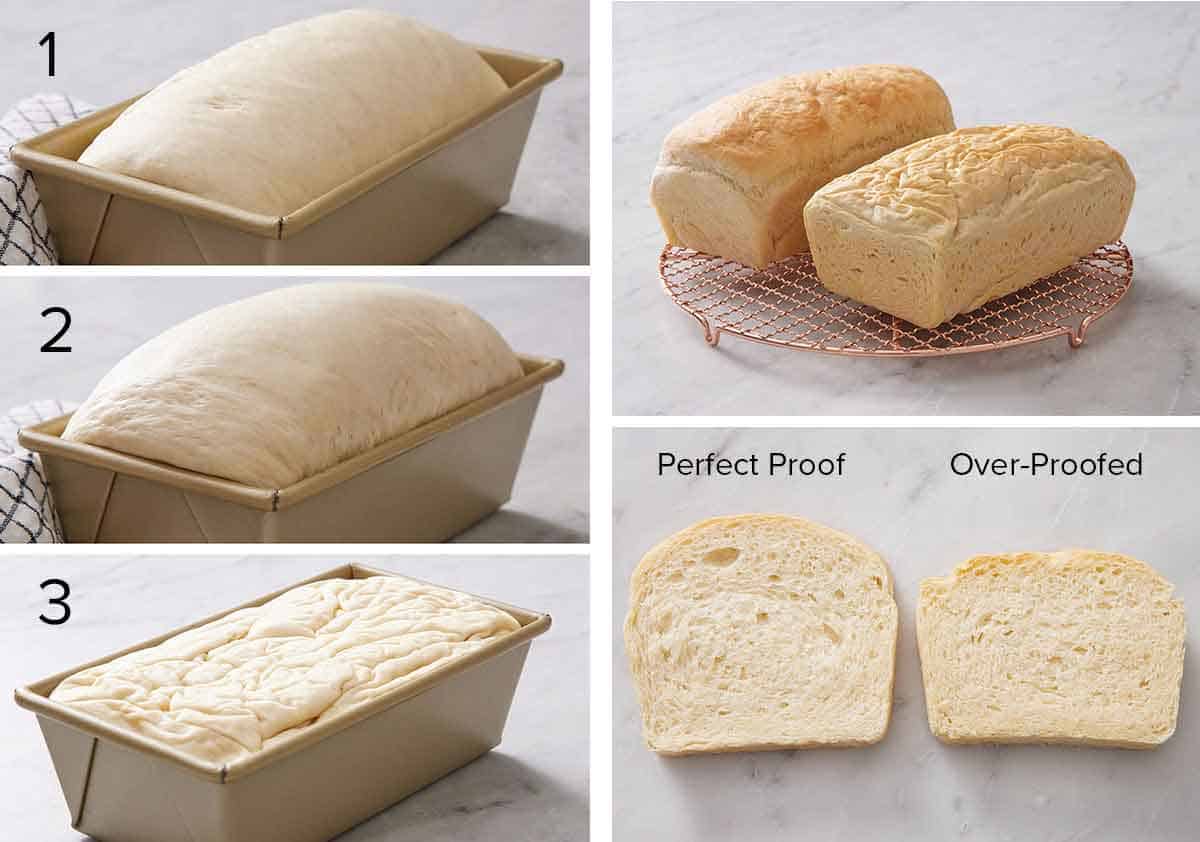
Once the dough is shaped, it needs to rise for a second and final time. If you haven’t baked bread before, this can be the trickiest part. To know when the white bread is perfectly proofed, You can lightly oil your finger and press it into the top of the loaf (I like to do this closer to the edge so I don’t leave a mark on top). This should leave an indentation that slowly springs back into shape. If the indentation stays, continue rising. If the loaf collapses, the bread is over-proved. The loaf will be denser when baked, but still bake it!
Below is an example of a loaf perfectly proofed (1), then allowed to over-proof (2), and how it collapsed after the poke test (3). You can also see the difference between baking a perfect loaf and one that is over-proofed. The over-proofed loaf is shorter and denser but still delicious! This is why I recommend baking it anyway. It can be used for croutons, stuffing, or bread pudding.
How To Tell When The Bread Is Perfectly Baked
There are two easy ways to check bread for doneness. The most accurate way is to use an instant-read thermometer to check the internal temperature of the bread. Insert it into the center of the loaf and remove the bread from the oven when it reads between 195°F and 200°F. Alternatively, you can give the top of the loaf a light tap. If it sounds hollow, the bread is ready. The top crust should be a warm, golden brown color and feel hard or firm (it will soften as the bread cools).
Using Homemade Sandwich Bread
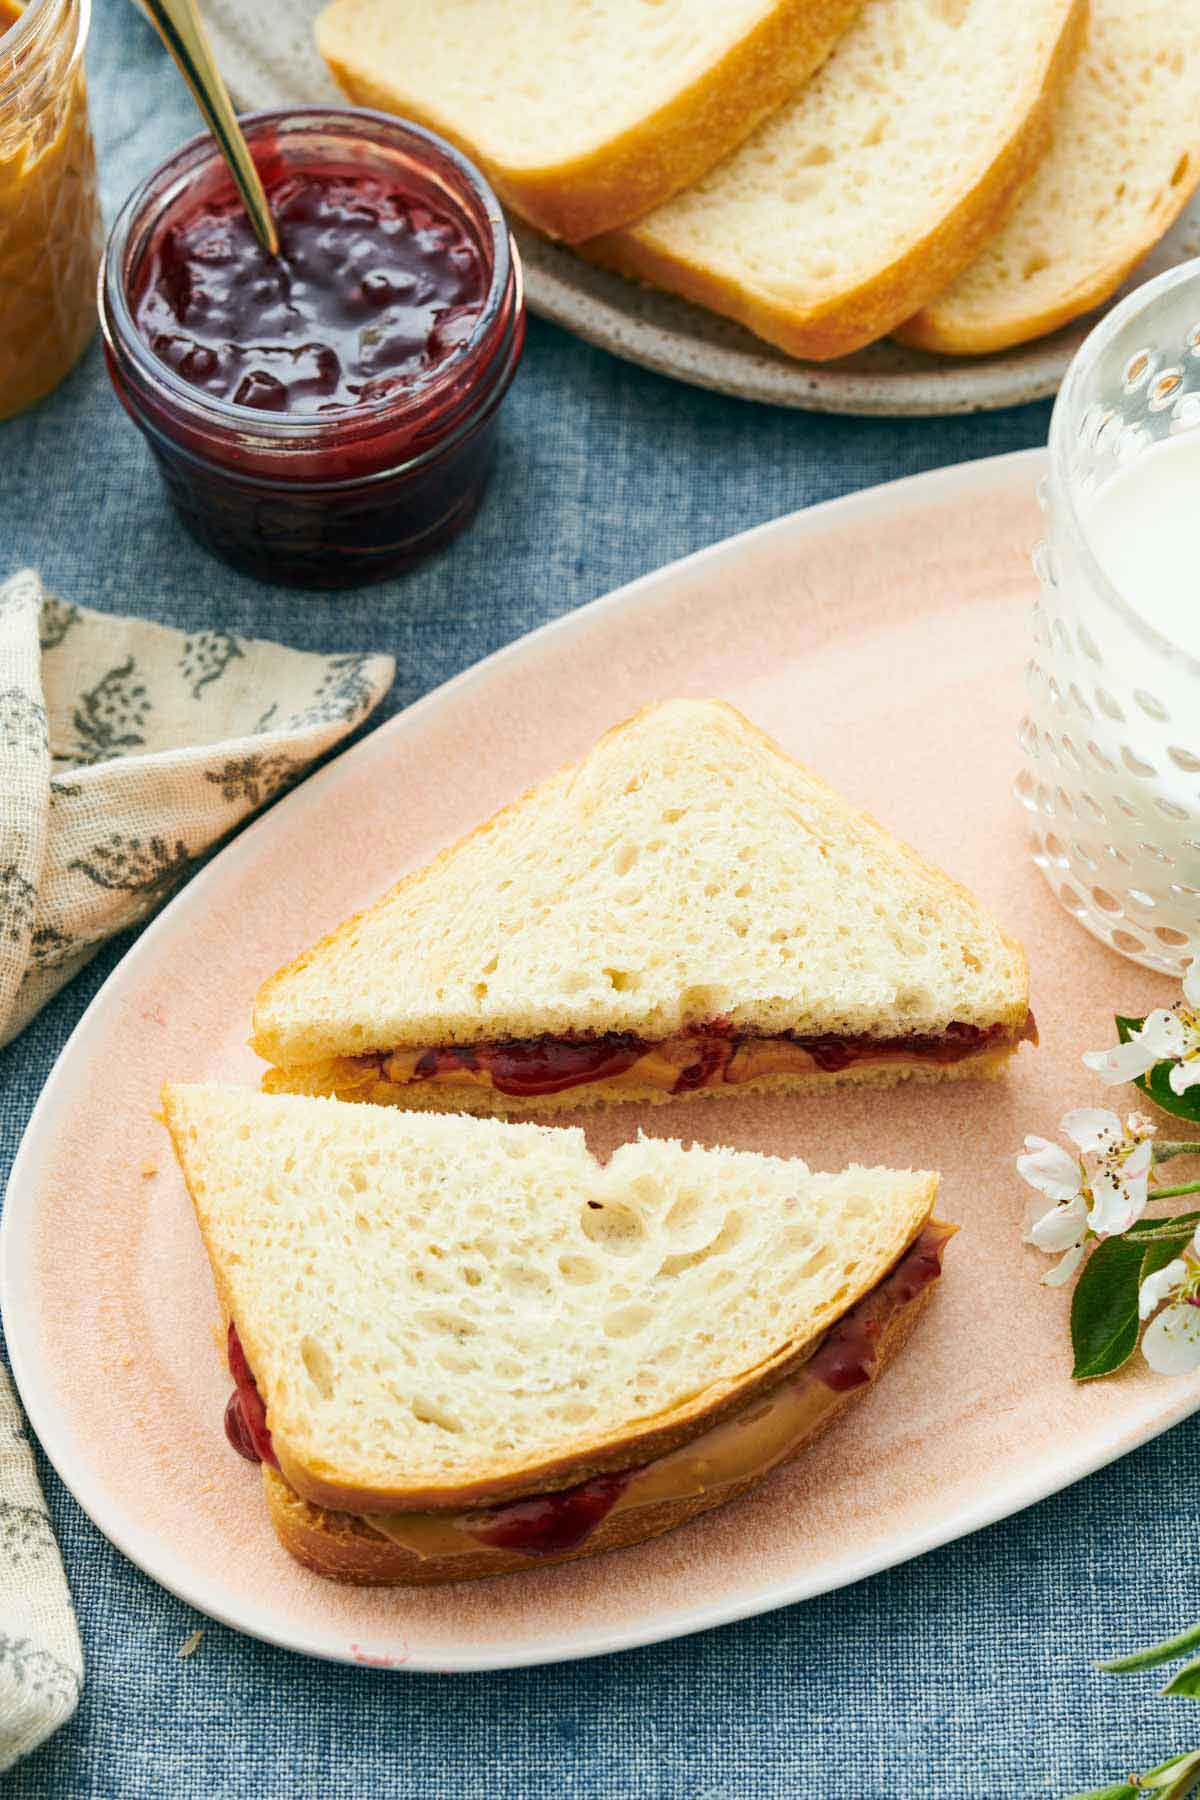
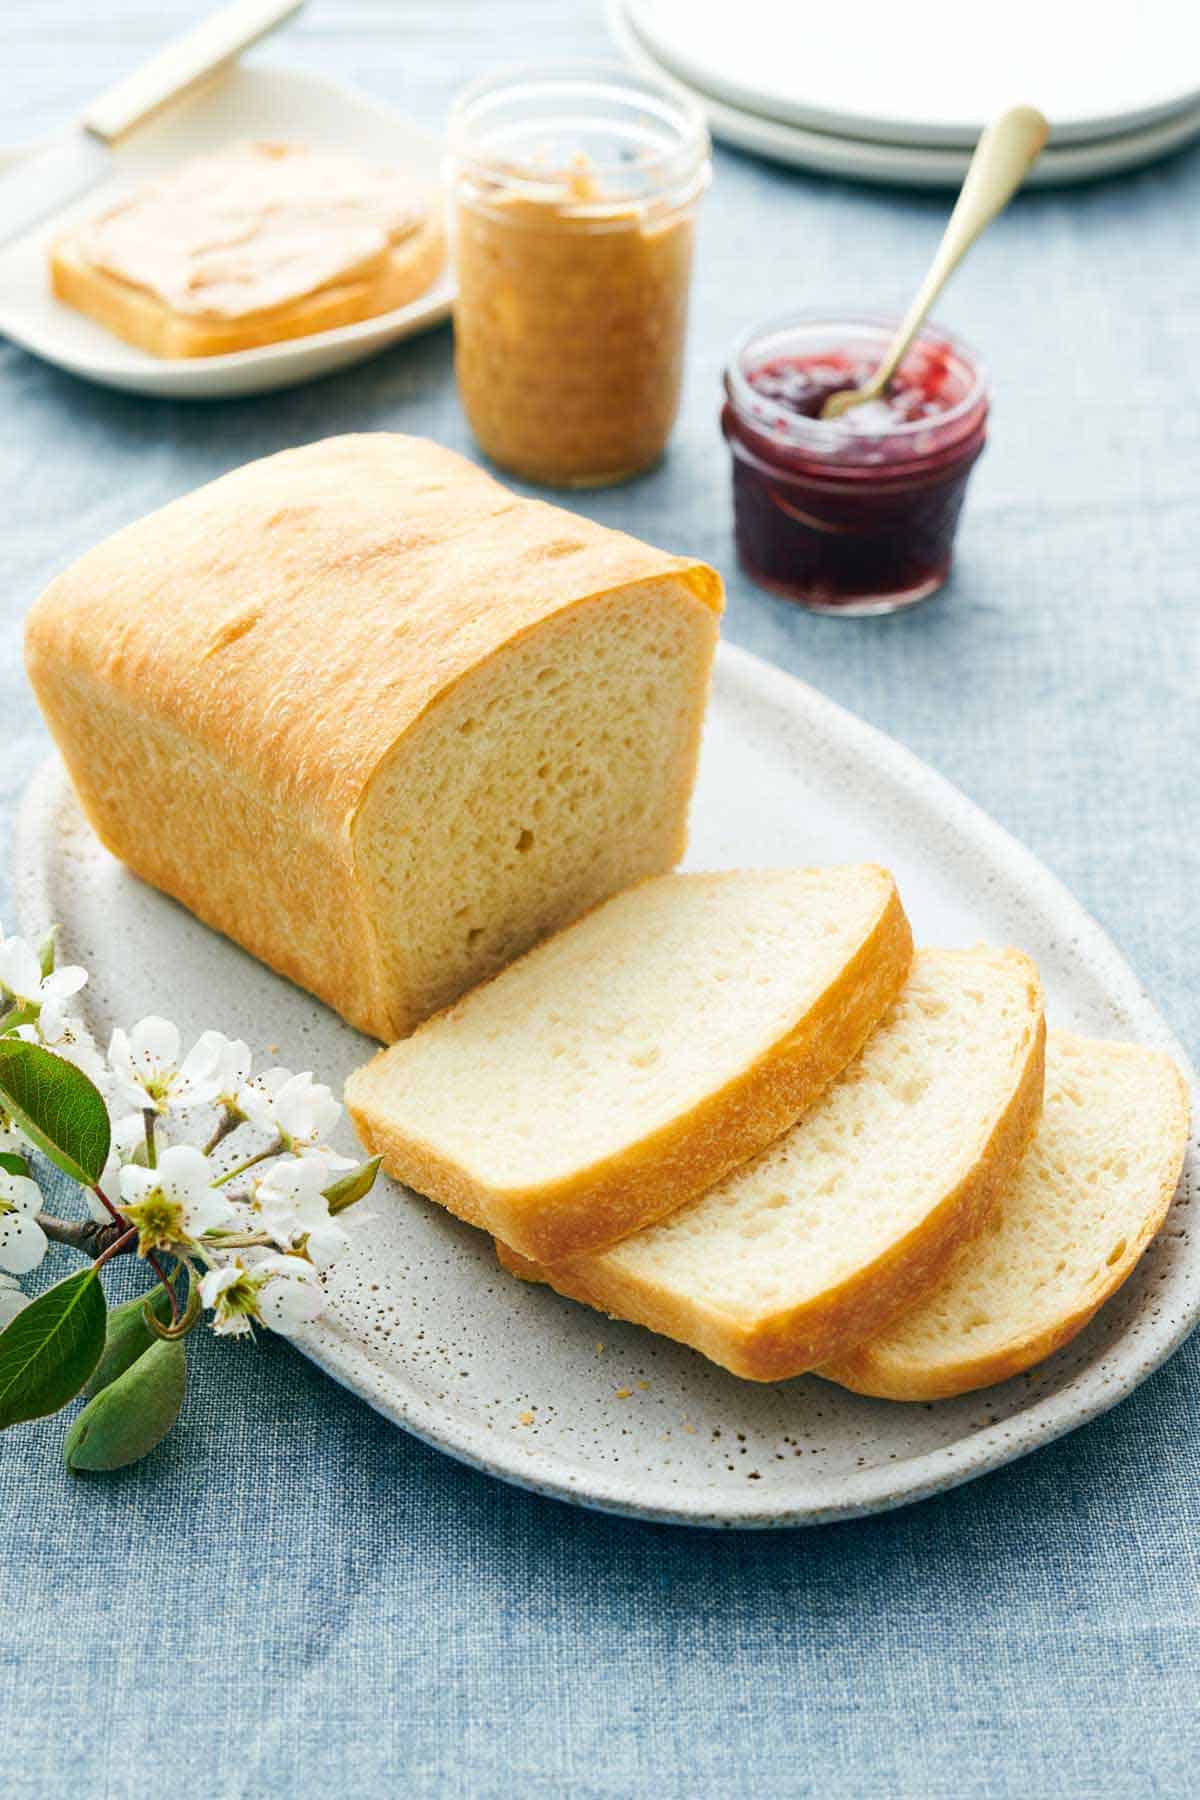
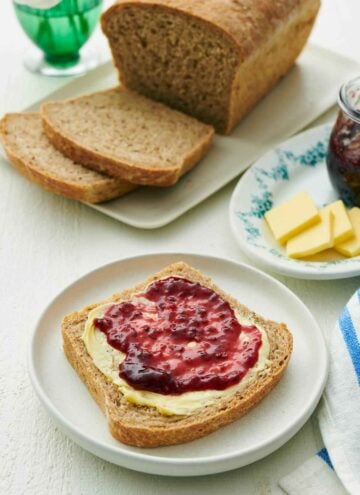
This classic white bread recipe is perfect for a grilled cheese sandwich, thinly sliced for English tea sandwiches, or layered with turkey and cheese for Monte Cristo sandwiches. You can also simply smear generously with honey butter or peanut butter and homemade strawberry jam.
If you have leftover bread that goes slightly stale, cut it into thick slices for classic French toast or French toast sticks.
Storage Instructions
Homemade bread becomes stale faster than store-bought bread because it doesn’t contain preservatives. It will be best for about two days at room temperature in an airtight container. Refrigerating bread causes it to become stale faster.
If you don’t think you will finish the bread in that time, go ahead and freeze it for up to 3 months. Freezing bread perfectly preserves the bread’s freshness! I like to freeze sliced bread so I can thaw a few slices at a time as needed. To do this, separate the slices with parchment paper or wax paper and store in a freezer bag after removing as much air from the bag as possible. Thaw at room temperature for a few hours or toast the bread from frozen.
Since this recipe yields 2 loaves, I often slice and freeze 1 loaf of bread immediately after it cools so I have it on hand for a later date.
Expert Tips
- Do not use hot melted butter. Melt the butter, then let it cool slightly, about 10 minutes. When added to the yeast mixture, it should be less than 105°F, or it could kill the yeast. I like to melt the butter first, then measure out all of my ingredients and bloom the yeast so it cools during that time.
- For a softer loaf: You can replace up to 1 cup of water with warm milk.
- Sugar swap: You can use honey in place of the granulated sugar to feed the yeast.
- To make 1 loaf: You can halve the recipe to make one loaf instead of two.
Frequently Asked Questions
If you don’t have a stand mixer, this dough can be mixed together by hand. In step 2, use a wooden spoon or spatula to stir the dough together into a shaggy ball. Then, turn it out onto a lightly floured surface and knead it by hand for 6 to 8 minutes until it’s smooth and springs back quickly when pressed with your finger. If the dough becomes sticky while kneading, sprinkle it with 1 to 2 teaspoons of flour at a time.
Using too much flour will cause this homemade bread recipe to turn out dry. The best way to accurately measure flour is to weigh it using a kitchen scale. If you do not have one, fluff up the flour in its canister, spoon it into the measuring cup, and level off the top with a knife. Overbaking will also cause it to be dry.
If you under-prove or over-prove the dough, it will turn out dense. During the first rise, the dough should almost double in size. During the second rise, it should grow until the top of the dough rises just above the top rim of the pan. Keep an eye on how much the dough has risen because your dough could take more or less time, depending on the temperature of your kitchen.
It is absolutely essential to let bread dough rise for tall, fluffy, soft bread. If you do not let the dough rise, the loaves will be tough and dense.
Yes! Divide the dough into pieces that are 90g each (13 to 15 pieces). Then, follow the shaping, rising, and baking instructions in my homemade burger buns recipe!
If you’ve tried this white bread recipe, then don’t forget to rate it and let me know how you got on in the comments below. I love hearing from you!
White Bread Recipe
Video
Equipment
- 2 9-inch loaf pans
- Instant read thermometer
- Stand mixer with dough hook attachment
Ingredients
- 2 cups warm water (105 to 110°F) (480ml)
- 2 tablespoons granulated sugar
- 2 (0.25-ounce/7g) packets active dry yeast
- 6 cups all-purpose flour (720g)
- 4 tablespoons unsalted butter melted (56g)
- 2 teaspoons salt
Instructions
- In the bowl of a stand mixer fitted with the dough hook attachment, stir together the warm water, sugar, and yeast until combined. Let it stand for 5 minutes, or until very foamy.
- To the same bowl with the yeast mixture, add the flour, butter and salt. Mix on low speed for 1 minute or until the dough comes together in a shaggy ball and pulls away from the sides of the bowl. (If any small bits of dough remain on the sides of the bowl, stop the mixer and scrape them into the dough ball.)
- Increase the mixer speed to medium-low and continue to knead for 5 to 7 minutes, until the dough is smooth and springs back quickly when pressed with a finger. The dough should feel moist, but not sticky.
- Place the dough in a lightly greased bowl. Flip the dough over once so that the top is also greased. Cover it with plastic wrap and let it rise in a warm, draft-free spot (75°F) for 40 to 50 minutes, until the dough is nearly doubled in size and springs back slowly when pressed with a wet fingertip.
- Meanwhile, grease two 9×5-inch loaf pans with butter or baking spray.
- Punch down the dough and turn it onto a very lightly floured surface. Divide it into 2 equal pieces (630g each).
- Form each piece into an 8×12-inch rectangle. Starting with a short end, roll each piece into a tight, log shape. Pinch the seams along the sides tightly together and gently tuck them under the loaf. Use a bench scraper to pick up the loaves and place them seam side down into the prepared loaf pans. Loosely cover both pans with plastic wrap sprayed with nonstick spray and let them rise again for 25 to 35 minutes, or until the height of the dough rises just above the top rim of the pan.
- While the dough is rising in the pans, preheat the oven to 350°F. Once the loaves have finished their second rise, brush the top of each loaf with additional melted butter if desired.
- Bake for 30 – 35 minutes until the tops are golden brown. Let them cool for a few minutes in the pan, then tip them onto a wire cooling rack to cool completely.
Notes
- Do not use hot melted butter. Melt the butter, then let it cool slightly, about 10 minutes. When added to the yeast mixture, it should be less than 105°F, or it could kill the yeast. I like to melt the butter first, then measure out all of my ingredients and bloom the yeast so it cools during that time.
- For a softer loaf: You can replace up to 1 cup of water with warm milk.
- Sugar swap: You can use honey in place of the granulated sugar to feed the yeast.
- To make 1 loaf: You can halve the recipe to make one loaf instead of two.








Olivia says
So easy and delicious. No notes. *chefs kiss*
Hannah says
This is the best bread ever! I am 11 and it is so easy to make. I love the texture and taste.
Bethany says
I’ve tried several white bread recipes and this one is superior by far. Absolutely delicious and soft. I used half milk and half water but followed the recipe and instructions. I did have to let my dough rise a bit longer both times. My family of 3 bulldozed through an entire loaf in one day. Glad there is another loaf to enjoy. Soft and delicious bread! Thank you, John!