
This post may contain affiliate links. Please read our disclosure policy.
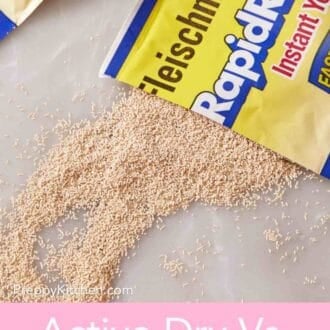
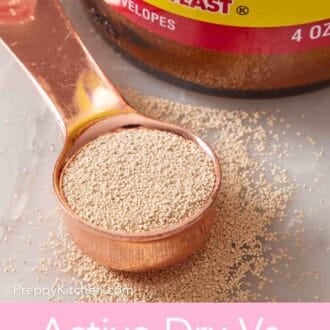

A practical comparison of the two yeasts that show up in most American bread recipes: active dry and instant. We’ll cover what each one is, how they actually behave in your dough, when to grab one over the other, and exactly how to swap them when your recipe calls for the one you don’t have.
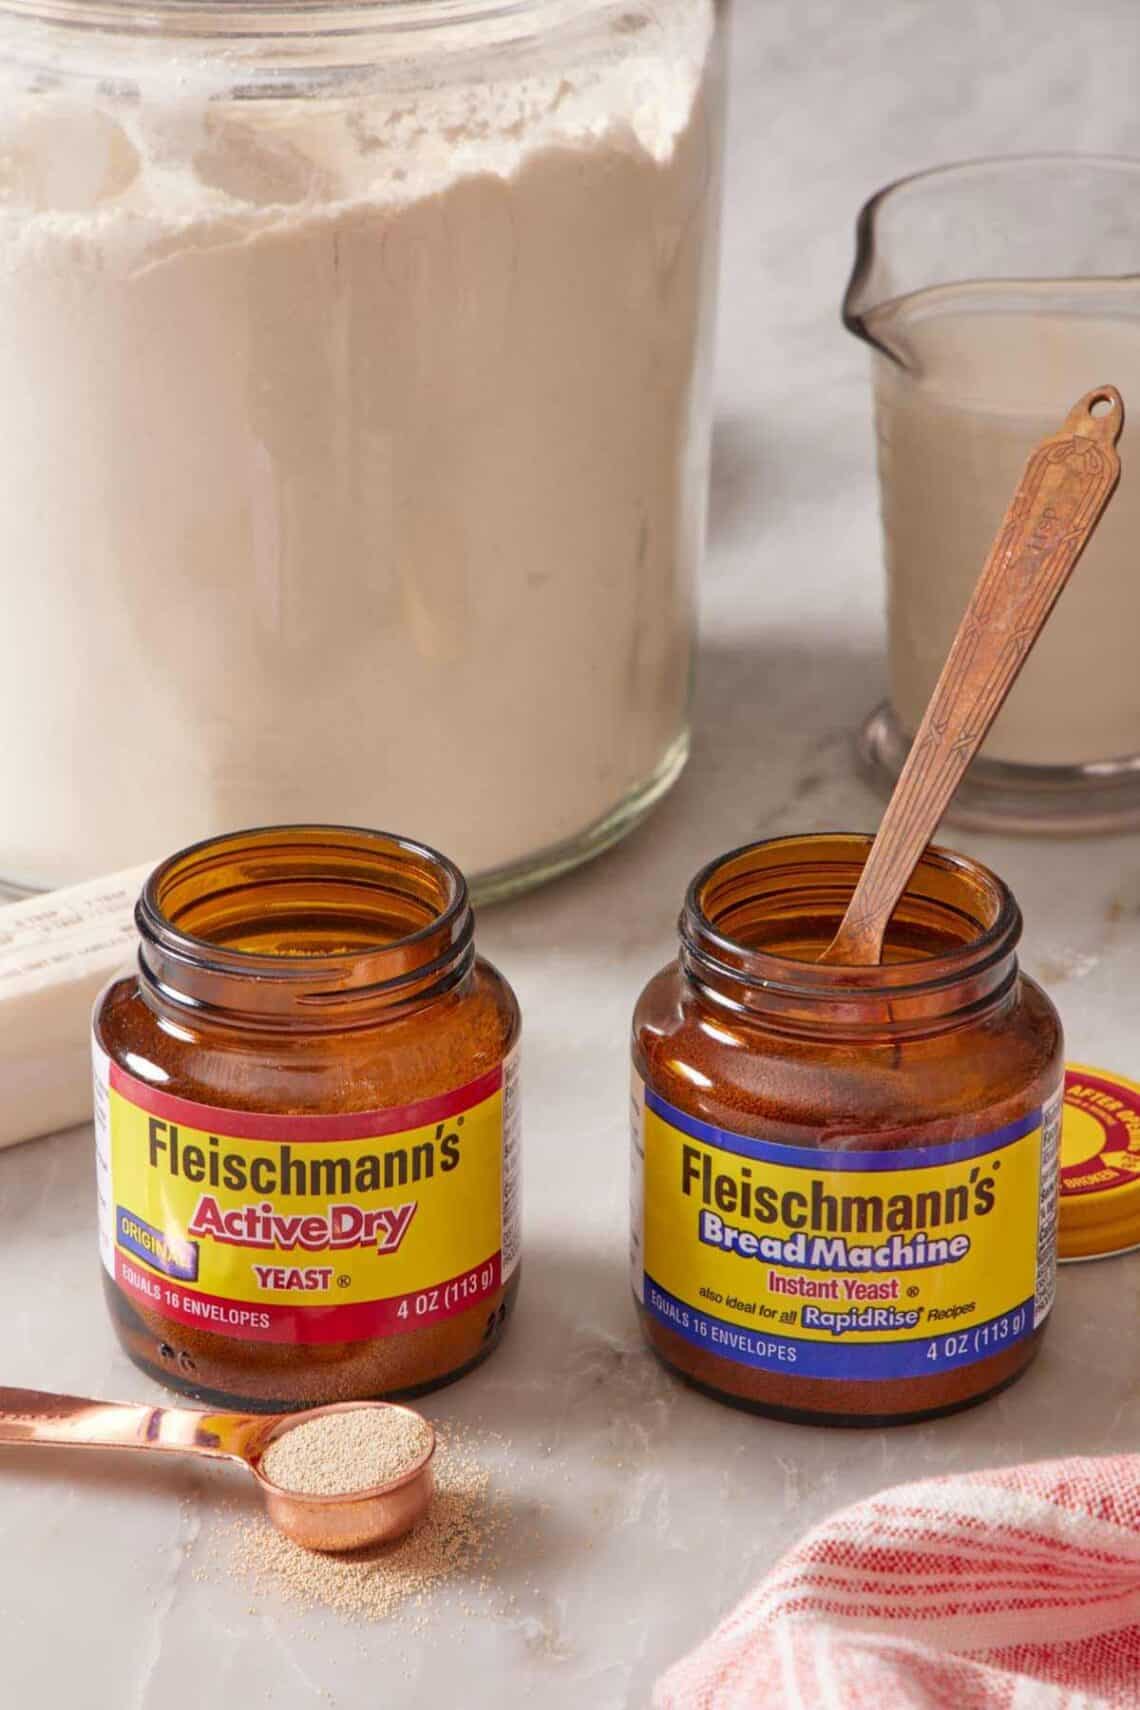
So what’s the main difference between active dry and instant yeast? The short answer most home bakers are looking for: Instant yeast doesn’t need to be bloomed first, and it produces a faster rise, and active dry and instant yeast can be substituted 1:1 in most recipes. That’s enough to get you through 90% of bread baking. The longer answer covers why those differences exist, when they actually matter, and the small adjustments that turn a successful swap into a great loaf.
In this lesson, I’ll walk you through what each yeast actually is, the side-by-side rise test I ran with the same pizza dough, when to use one over the other, the substitution rules I rely on for every recipe on the site, and how rapid-rise and bread-machine yeasts fit into the picture. By the end, you’ll be able to grab any packet of yeast at the store and know exactly how to use it in any recipe, even one that calls for the other kind!
“I have never truly understood why there are two different types of yeast! Now that I know how they both work, I feel confident swapping them out. I had a craving for pizza last night and made pizza dough in less than an hour with instant yeast after reading about your test. It was so delicious and fast!”
Julio
What Is Active Dry Yeast?
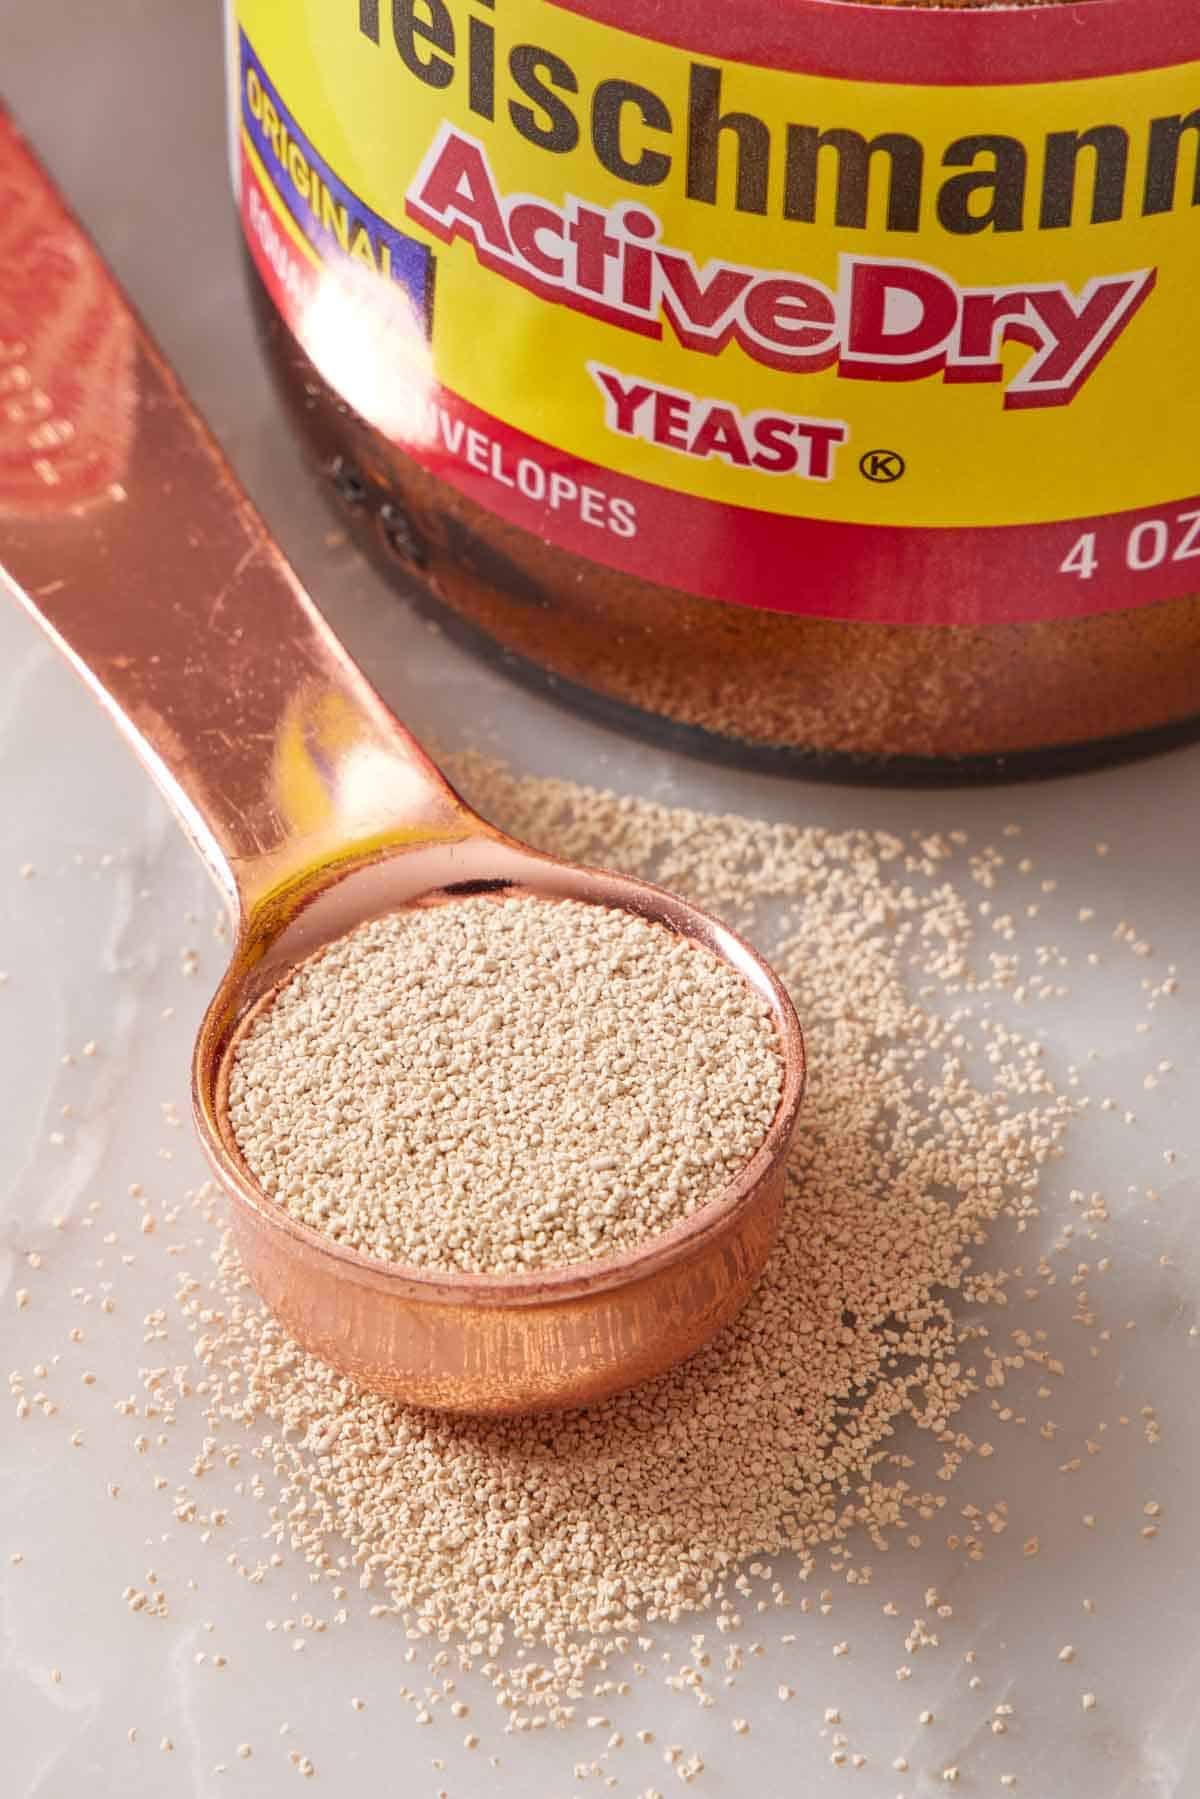
Active dry yeast is the standard yeast for home bakers in the US. It’s made by drying live yeast cells with heat, a process that drives out moisture and puts the yeast into a dormant state for storage. The drying also kills the outer layer of cells, which forms a protective coating around the live cells inside.
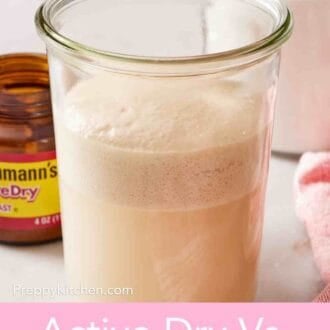
Because of that coating, active dry yeast must be activated—or “bloomed”—in warm liquid before use. The warmth dissolves the dead-cell layer and wakes up the live yeast underneath, which then starts feeding on sugars and producing the carbon dioxide that makes bread rise. The blooming step is also a freshness check: if the yeast doesn’t foam up after 5-10 minutes, it’s dead or not properly activated, and you’ve saved yourself hours of waiting on failed dough.
For the full step-by-step on activation, the right water temperature, and how to test old yeast for viability, see my Academy: How To Activate Yeast lesson.
What Is Instant Yeast?
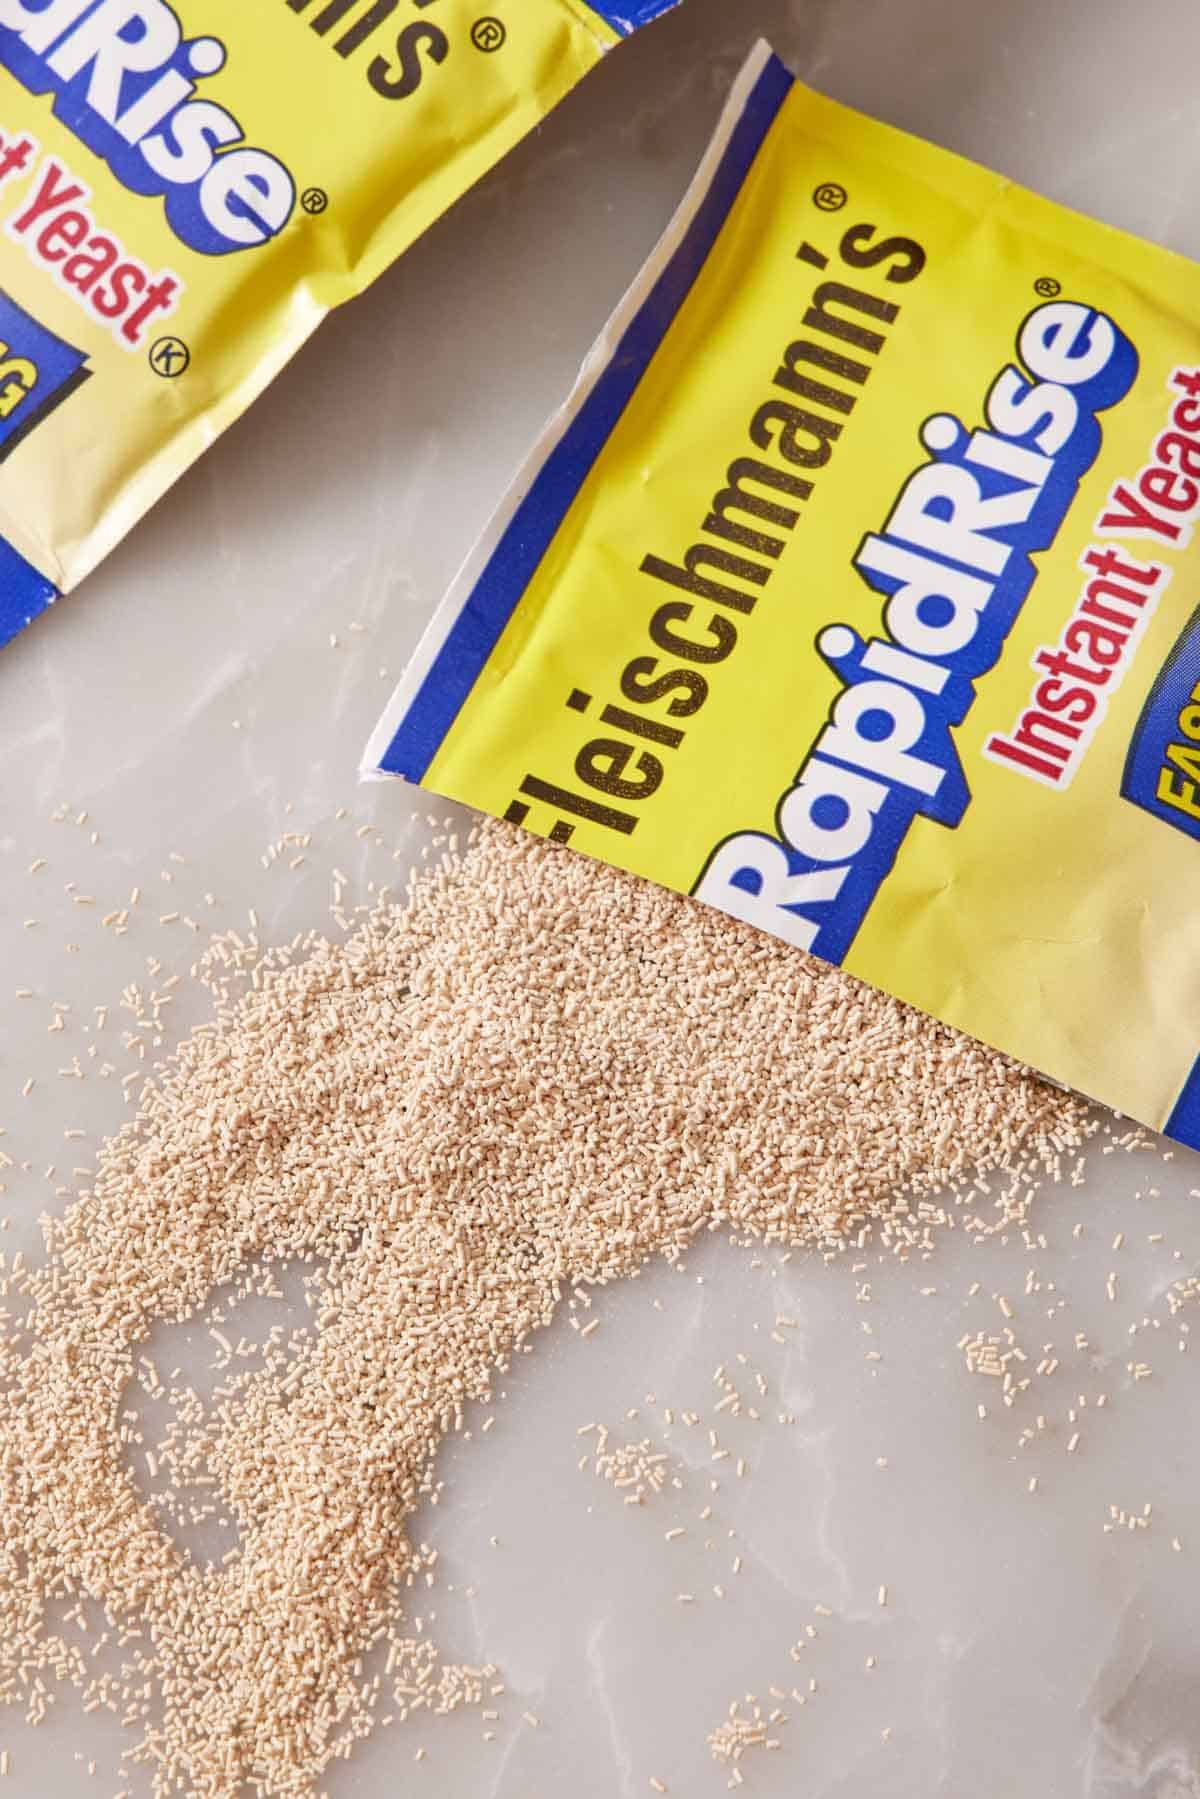
Instant yeast (sometimes labeled “rapid-rise” or “quick-rise” yeast) goes through a gentler drying process than active dry. The cells are dehydrated more carefully and ground into a finer grain, so there’s no dead-cell coating to dissolve. Instant yeast hydrates and starts working the moment it touches the moisture in your dough, which is why it can go straight into the dry ingredients without a blooming step.
The finer granules and lack of coating also mean instant yeast produces a faster rise than active dry—typically about half the time, sometimes less. This is because you get more active yeast cells per volume than you do with active dry. That speed is what makes instant yeast popular for weeknight bread baking, pizza dough, and bread machines.
A common mistake worth flagging: Don’t bloom instant yeast in warm sugar water. Because instant activates immediately, blooming it separately can cause it to overgrow and exhaust its food supply before the dough is ready to rise. Instant goes straight into the dry ingredients. (More on this in the substitution rules below.)
The Key Difference Between Them
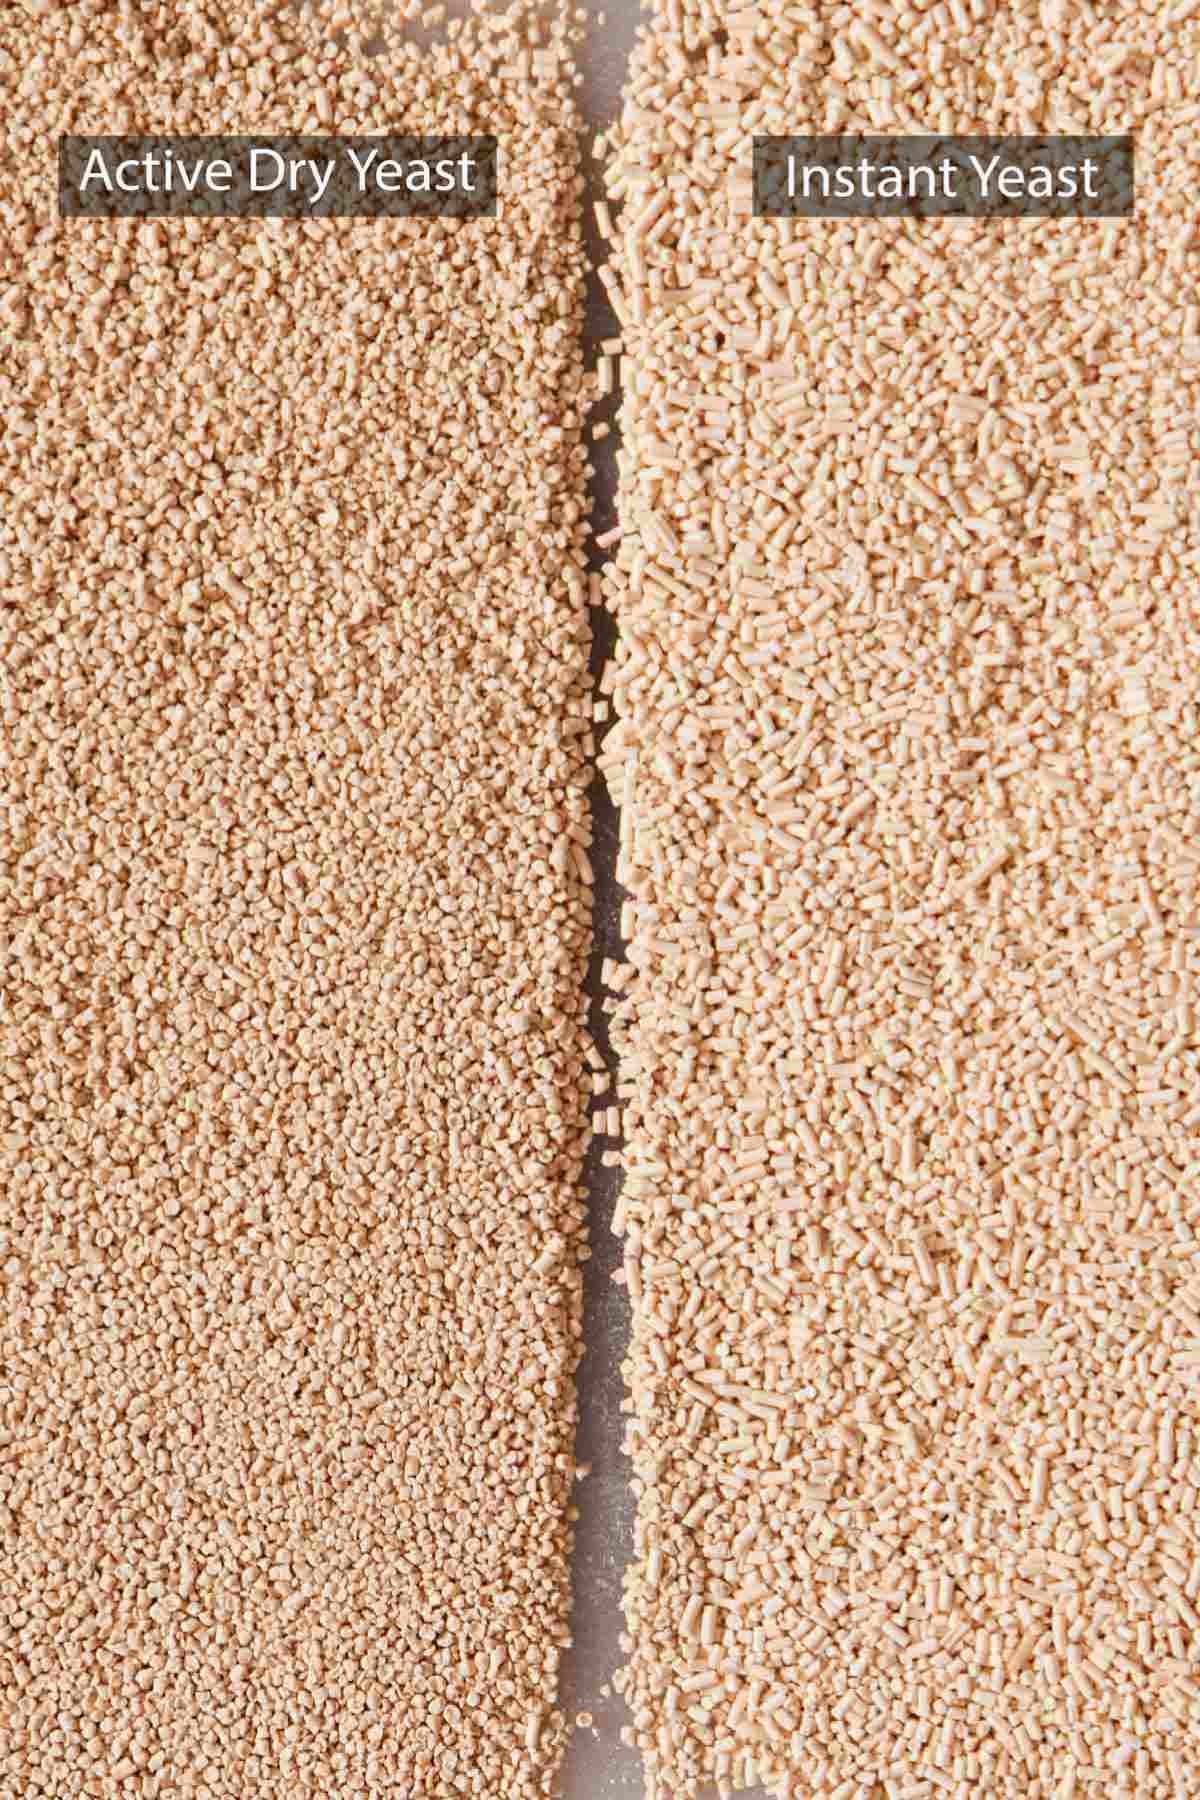
While both are dry yeasts, there are distinct characteristics that separate active dry and instant yeast that affect how you use them in recipes.
| Active Dry Yeast | Instant Yeast | |
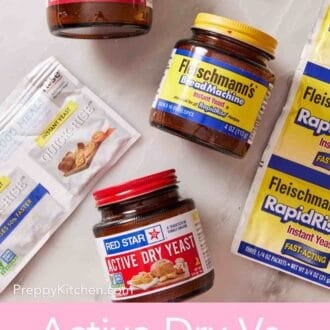
| Granule Size | Typically, larger grains, darker in color. Less powdery and slower to dissolve. | Typically, smaller grains, lighter in color. Powdery and fast to dissolve. (Fleischmann’s yeast—pictured below—is clumpier than some other brands, but the yeast grains are still more powdery and dissolve faster.) |
| Outer Coating? | Yes, a dead cell layer that needs to dissolve before it is active | No, hydrates and activates instantly |
| How To Mix | Must be activated first in warm liquid (105-110°F) with a pinch of sugar | Can be mixed directly into the dry ingredients without blooming. |
| Rise Speed | Moderate to slow (colder temperatures slow it down further) | Fast (about half the time as active dry) |
| Best Use | A good standard for bread baking or general yeasted doughs. Ideal for recipes with cold-fermenting or longer rise times. | Quick bakes, fast pizza dough, or bread machines. It can also be used for slower rise times when used in small amounts (like ciabatta). |
| Shelf Life | About 2 years unopened; 6 months opened in the fridge | About 2 years unopened, 6 months opened in the fridge |
| Viability Test? | Not needed. Activating it at the start of the recipe will tell you if it’s alive. | Needed. This extra step is important if your yeast is old; otherwise, your dough may not rise when mixed. |
The two main practical differences come down to time and activation. Active dry needs an extra 5-10 minutes for blooming and produces a slower rise, but the blooming step doubles as a “is my yeast still alive?” check. Instant skips both, which saves time and steps, but means you don’t find out the yeast is dead until you’ve already kneaded the dough and left it to rise. Use the blooming tip (viability test) in my Academy lesson on How To Activate Yeast to test if your yeast is viable before using it.
A Side-By-Side Rise Test
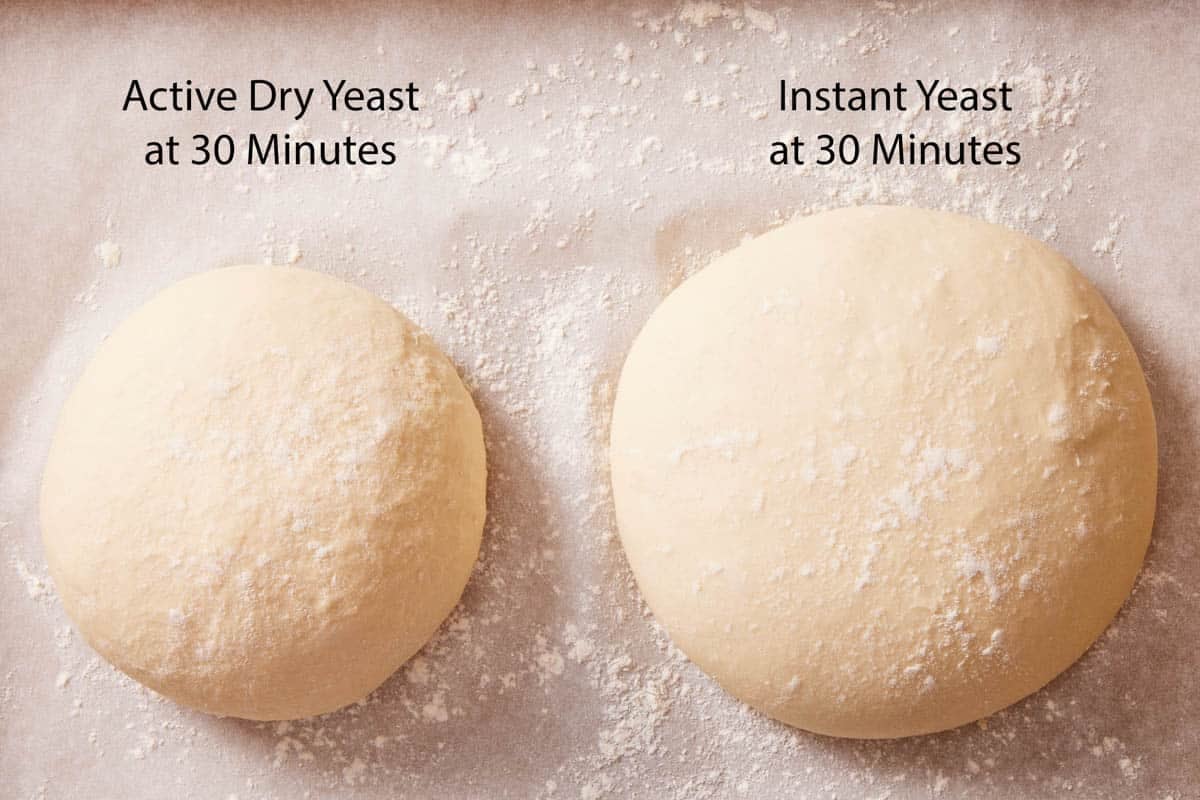
To prove the difference, I made the same pizza dough recipe twice: once with active dry yeast (bloomed first), once with instant yeast (mixed straight into the dry ingredients). I used the same flour, same hydration, same kitchen temperature (~72°F), and same weights of yeast (7g).
| Active Dry Yeast | Instant Yeast | |
| Time to double (first rise) | ~60 minutes | ~30 minutes |
| Time to rise (after shaping) | No second rise | No second rise |
| Total recipe time (start to finish/baked) | ~1 hour 30 minutes | ~1 hour |
| Final flavor | Slightly more developed; a bit more bready or yeasty in flavor | Slightly less developed; more floury tasting |
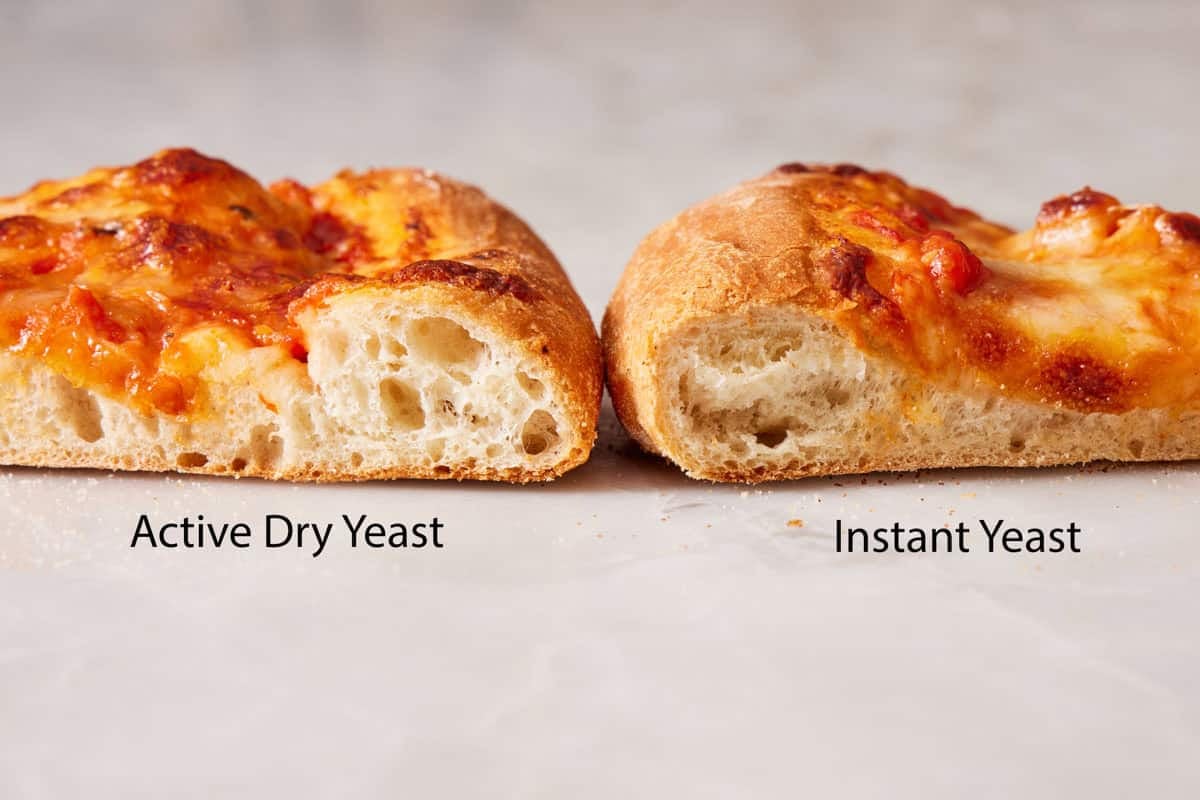
| Final crumb structure | Uniform and fluffy with good chewiness | Less uniform and less fluffy; chewiness about the same |
The instant yeast crust rose roughly twice as fast as the active dry crust. The active dry crust had a marginally more developed flavor (the longer fermentation produces slightly more flavor compounds), but the difference was subtle—most people in a blind tasting wouldn’t pick them apart.
For the crumb structure and texture once baked, the active dry crust was better. The dough was a bit fluffier because the yeast had time to produce more slowly, making more even-sized bubbles throughout the dough. The Instant yeast dough was still fluffy, but less even, and didn’t get as strong a rise when baked. There were more big holes mixed with tiny holes from the faster rise.
Practical takeaway: If you’re short on time, instant is a great choice. If you have time and want maximum flavor development, active dry produces a marginal but real improvement. For longer flavor development beyond what either yeast can give you, see my sourdough bread recipe.
Which Should You Use?
The honest answer: Either yeast works for almost any home recipe. My caveat is always to try to make the recipe as it was written, for the best results. But, if you do choose to make the swap, the choice usually comes down to convenience and what you happen to have in the pantry. But here’s the practical decision framework I use:
Use active dry yeast when:
- You’re baking with old yeast you’re not sure is still alive—the bloom step verifies before you commit
- You want maximum flavor development from a long, slow rise (overnight or cold-fermented doughs)
- You’re new to bread baking—the visible foam is a confidence-builder, and the slower rise allows you time to work on shaping without the risk of the dough overproofing
Use instant yeast when:
- You’re short on time and want a faster rise
- You’re using a bread machine (most bread machines specify instant)
- You’re making weeknight bread or pizza dough in a hurry
- The recipe specifies it (e.g., my dinner rolls and certain quick-rise recipes)
- You want one less step
For yeasted bakes that fall between these clear cases, either works. My white bread, brioche bread, and homemade cinnamon rolls all work with either yeast—just adjust your rise times and activation accordingly (see substitution rules below).
For recipes where you should NOT swap freely:
- Sourdough recipes use a wild yeast starter, not commercial yeast (see my sourdough starter tutorial).
- Recipes with very long, cold-fermented rises (24-72 hours in the fridge) are usually written for active dry; instant yeast in these recipes can over-proof unless specifically designed for them.
- Bread machine recipes are designed for instant. Using active dry can produce inconsistent rises since the machine doesn’t include a blooming step.
How To Substitute One For The Other
When a recipe calls for one yeast, and you only have the other, here’s the rule:
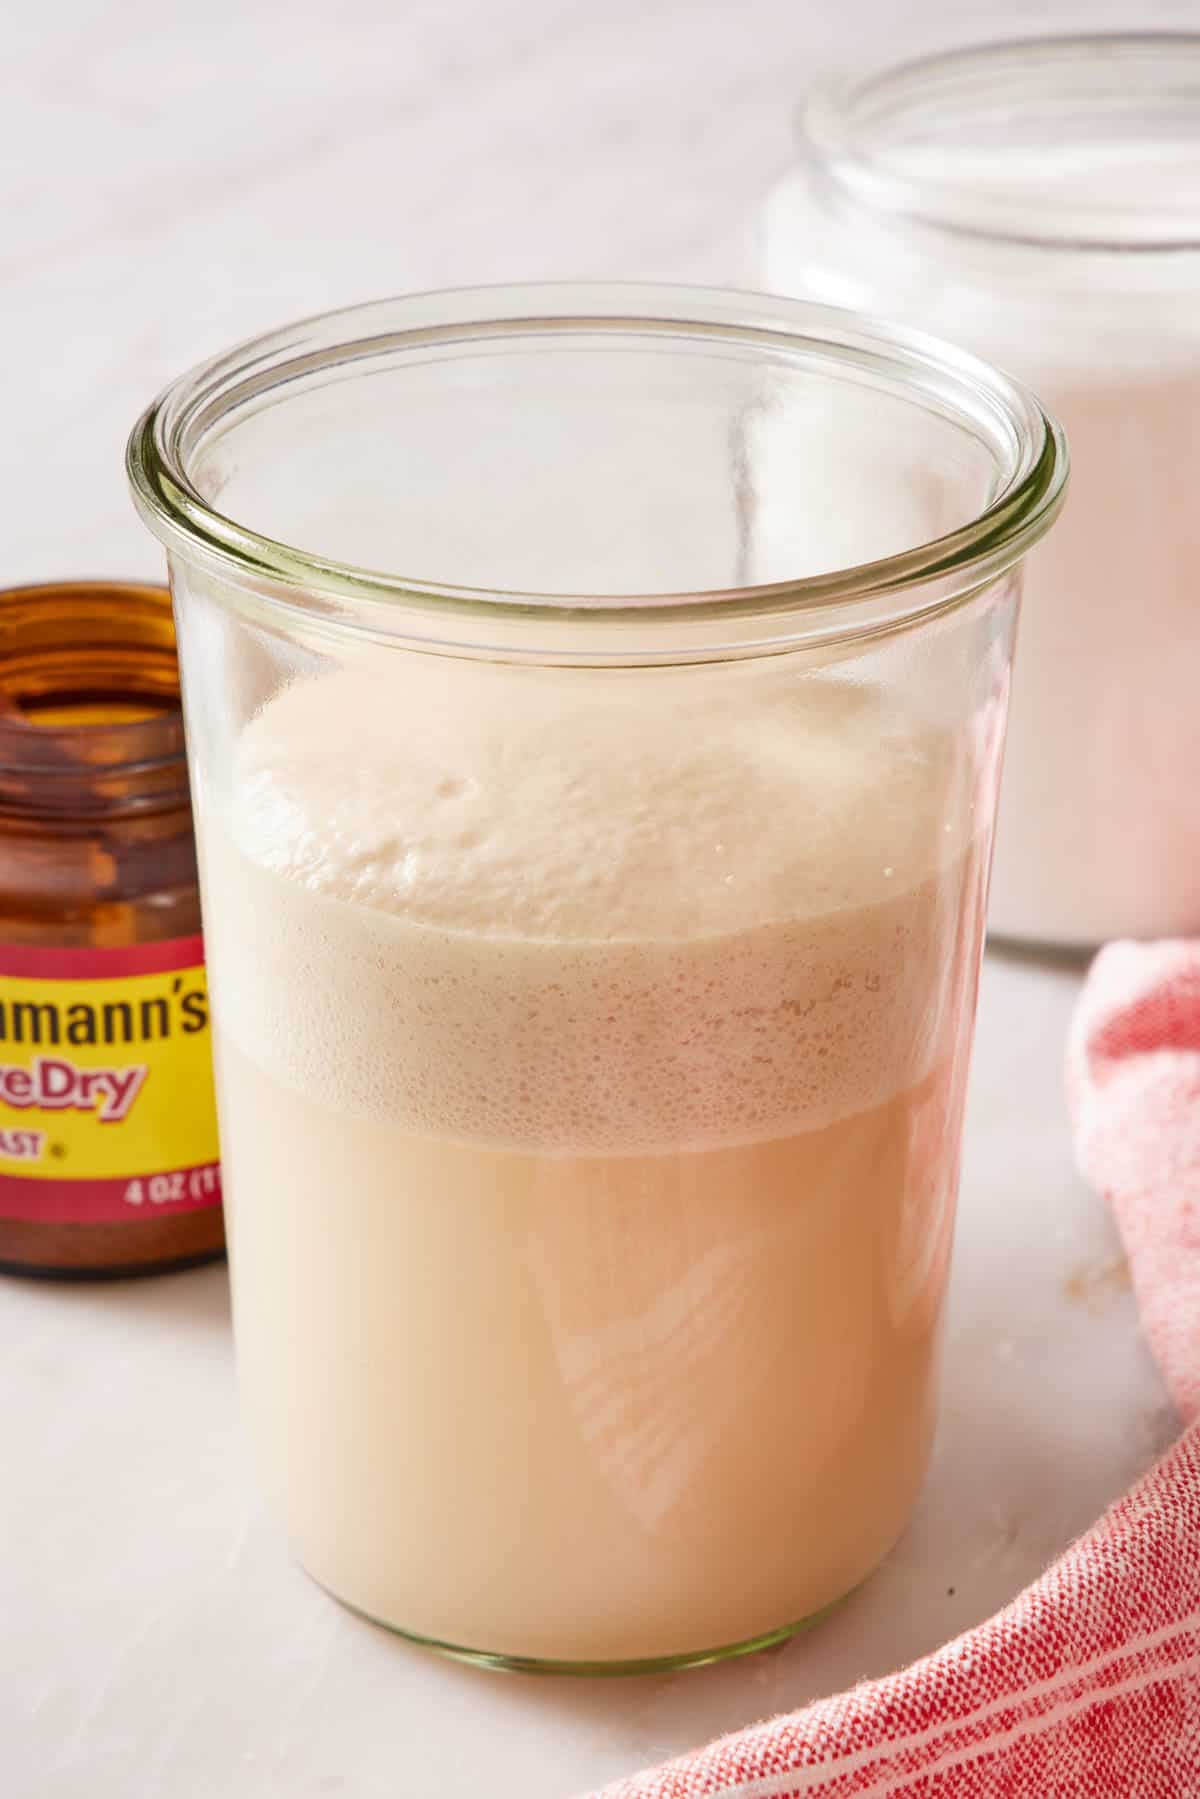
1:1 measurement swap. Active dry and instant yeast can be substituted in equal amounts by weight or volume in nearly every recipe. 1 teaspoon of active dry = 1 teaspoon of instant. No math required.
Adjust the rise time. The bigger consideration is timing. If you’re swapping active dry for instant (1:1), expect the rise to take roughly twice as long—start checking the dough at the recipe’s stated time, but be prepared to wait. If you’re swapping instant for active dry, the rise will be roughly twice as fast—set a timer for half the recipe’s stated time and check from there to avoid over-proofing.
To use instant yeast in place of active dry for slower rise times, reduce the amount of yeast in the recipe. Remember, instant yeast has more yeast cells per volume than active dry. So, to slow down the rise time, you simply use less. Adding fewer active yeast cells means it takes longer for the yeast to grow throughout the dough, lengthening the rise time, and reducing the risk of overproofing. Use this trick if you are making an overnight dough or one with a long, cold fermentation. I recommend cutting the measurement in half.
To use active dry yeast in place of instant for faster rise times, double the amount of yeast called for in the recipe. This adds more yeast at the start, so it takes less time for it to grow, and the bread rises faster.
Only bloom if using active dry. If you’re using active dry yeast in a recipe written for instant (where the recipe calls for adding yeast directly to dry ingredients), bloom the active dry first in some of the recipe’s warm liquid (subtract that liquid from the recipe’s main amount, then add it with the other liquid once bloomed).
If you’re using instant yeast in a recipe that calls for blooming active dry, don’t bloom it. Add the instant directly to the dry ingredients, dissolve any sugar from the bloom step into the warm liquid, and combine as the recipe directs.
Yeast packet conversions (for either yeast):
1 standard packet = 2¼ teaspoons = 7 grams = 0.25 ounces
For weight-based recipes, 7g of active dry and 7g of instant are interchangeable
For more on accurate measurement, see my Academy: How To Measure Ingredients Correctly lesson.
What About Rapid-Rise, Quick-Rise, And Bread Machine Yeast?
You’ll likely see these other yeast labels at the store, too. Here’s how they fit in:
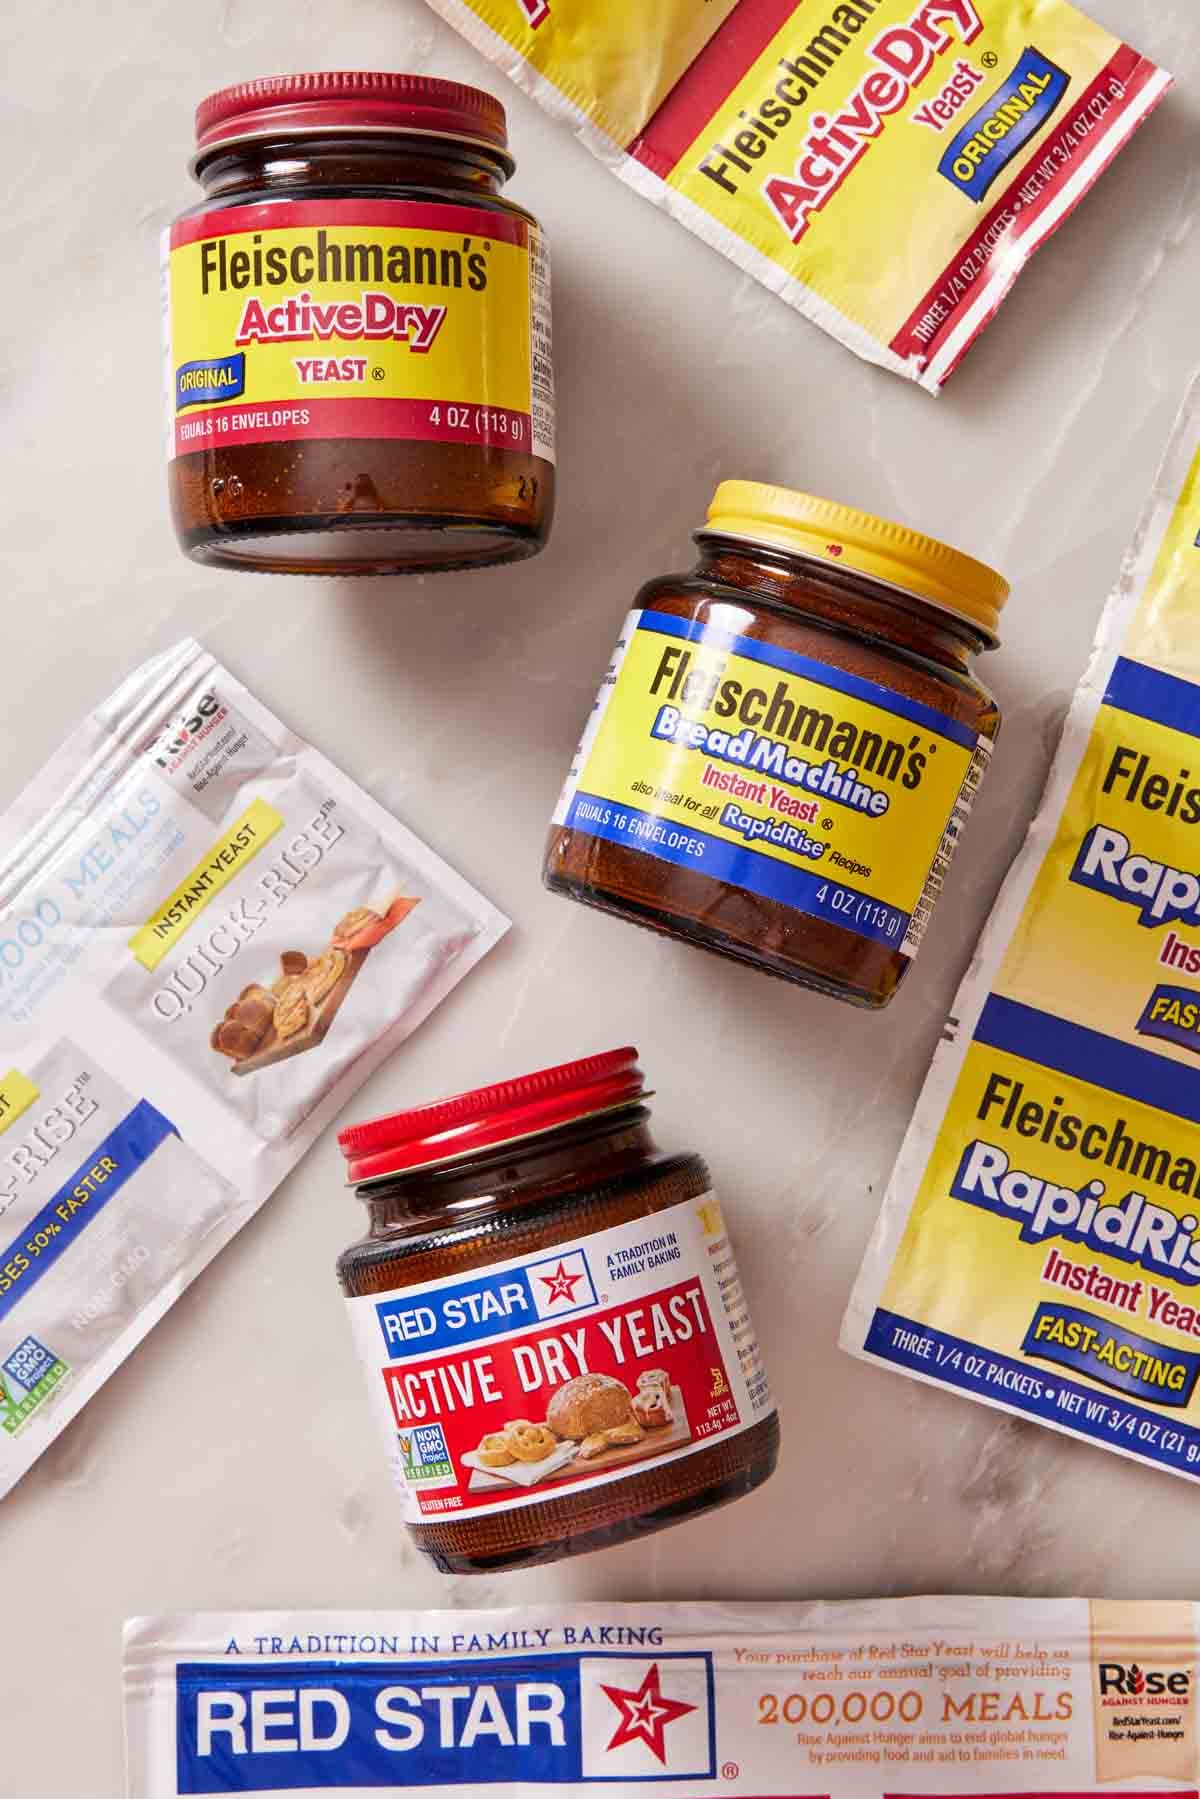
Rapid-rise yeast and quick-rise yeast. Both are essentially branded versions of instant yeast. Fleischmann’s “RapidRise” and Red Star’s “Quick-Rise” are the most common. Use them exactly like instant yeast, mixing directly into dry ingredients with no blooming for a faster rise. They’re 1:1 substitutes for instant in any recipe. They can also substitute for active dry yeast 1:1 by volume, with the same rise-time adjustment as any instant-for-active-dry swap.
Bread machine yeast. Also, a form of instant yeast, formulated specifically for bread machines. The granules are finer than standard instant, and the brand sometimes includes ascorbic acid (vitamin C) as a dough conditioner. It is functionally interchangeable with regular instant yeast for hand-mixed bread recipes. Likewise, regular instant yeast can be used in a bread machine without modification. SAF-Instant is one of the most popular bread machine yeasts, beloved by professional and home bakers for its consistency.
Fresh yeast (cake yeast). Not a dry yeast at all. It’s a moist, refrigerated yeast block sold in some specialty stores and commonly in Europe. To substitute fresh yeast for dry: use about ⅓ the weight (one ⅔-oz fresh yeast cake = about ¼ oz / 7g / 1 packet of dry yeast). Crumble fresh yeast directly into the warm liquid in the recipe before mixing it (no need to wait for it to foam up, though).
For a comprehensive look at all yeast types and how to identify, store, and proof each one, see my Academy: How To Activate Yeast lesson.
Pro Tips For Using Yeast
Check the expiration date before you start. Yeast loses its strength over time, even when stored correctly. I typically use yeast up to a month before its printed expiration date—past that, run the proofing test (¼ cup warm water + ¼ tsp sugar + 1 tsp yeast, wait 10 minutes for foam) before committing to a recipe.
Temperature matters more than people realize. For active dry yeast, the blooming liquid should be 105-110°F (warm to the touch, never hot). Below 100°F, the yeast won’t wake up reliably; above 130°F, and you’ll kill it. Use an instant-read thermometer to make sure your liquid is in the right range.
Store dry yeast in the refrigerator after opening. Both active dry and instant lose viability faster at room temperature once opened. An airtight jar in the fridge keeps yeast viable for about 6 months. I write the open date on the lid with a Sharpie so I can track how long it’s been around.
Salt and sugar both affect yeast activity. Salt slows yeast down (which is why bread recipes balance salt amounts carefully); sugar feeds yeast (which is why a pinch in the bloom step accelerates it). Don’t mix bloomed yeast directly with salt—the high local concentration can damage the cells. While this is somewhat unlikely, it’s better to be safe! Mix salt into the flour or with other ingredients first, then mix it with the bloomed yeast.
Cinnamon kills yeast. A surprising one, but real. Cinnamaldehyde, the main flavor compound in cinnamon, is antifungal and inhibits yeast growth. If you’re adding cinnamon to a yeasted dough that doesn’t already include it, increase the yeast by 50-100% and keep cinnamon under 2 teaspoons. My cinnamon roll recipe is calibrated for this.
FAQs
For most home recipes, no, the final bread is nearly indistinguishable. The differences that matter are method (instant skips the bloom step) and rise time (instant is roughly twice as fast). A skilled baker may notice a marginally deeper flavor from active dry in long-rise recipes, but in shorter or quick-rise breads, the difference is negligible.
The main disadvantage is the lack of a built-in viability check. With active dry yeast, the bloom step tells you whether the yeast is alive before you commit to mixing the dough. With instant yeast, you only find out if the yeast is dead when the dough fails to rise, typically an hour or more into the recipe. If you’re using instant yeast that’s been sitting in your pantry for a while, run the proofing test first as a precaution.
Functionally, yes. Rapid-rise yeast (Fleischmann’s brand) and quick-rise yeast (Red Star brand) are both forms of instant yeast, with brand-specific names. They can be used interchangeably when regular instant yeast is called for in any recipe with no adjustment.
No, and you should specifically avoid it. Instant yeast is designed to activate in the dough itself. Blooming instant yeast in warm sugar water can cause it to overgrow and exhaust its food supply before the dough is mixed, leading to a slow or failed rise. Add instant yeast directly to the dry ingredients as the recipe directs.
If a recipe calls for you to dissolve the instant yeast in liquid before mixing it into the dough, that’s okay. Just don’t leave it to bloom—stir it with the liquid and immediately mix the dough.
More Tutorials To Try
If you’re working through bread basics, these foundational lessons pair well:
- Academy: How To Activate Yeast — the full tutorial on blooming, proofing, and storing yeast. Step-by-step.
- Academy: How To Knead Dough — by hand or with a stand mixer, including the windowpane test.
- Academy: How To Proof Bread — what happens during the rise, the poke test, and how to tell when dough is ready to bake.
- Academy: How To Make Sourdough Starter — the wild-yeast alternative for any time you want to skip commercial yeast.
- Academy: How To Measure Ingredients Correctly — including the standard yeast measurements and why a kitchen scale matters.
If you’ve read this lesson on active dry vs instant yeast, then don’t forget to rate it and let me know how you got on in the comments below. I love hearing from you!






