
This post may contain affiliate links. Please read our disclosure policy.
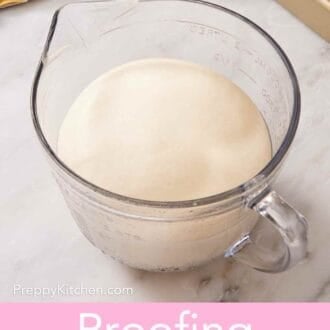
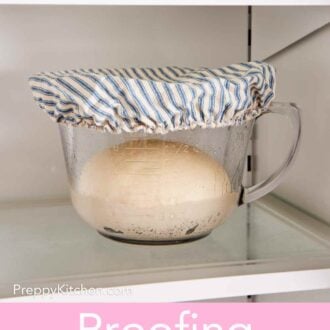
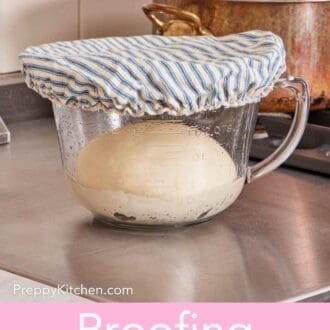
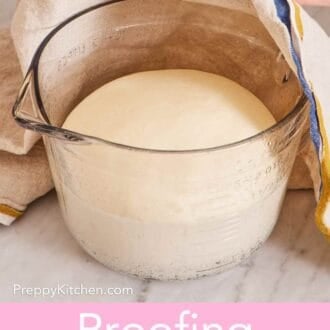
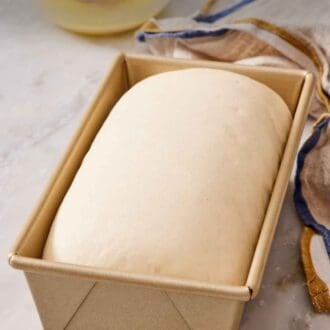
Proofing dough doesn’t have to be the part of bread baking that intimidates you. This guide covers everything I’ve learned from years of testing: the right temperature, the difference between bulk fermentation and the final proof, and exactly how to tell when your dough is ready to bake.
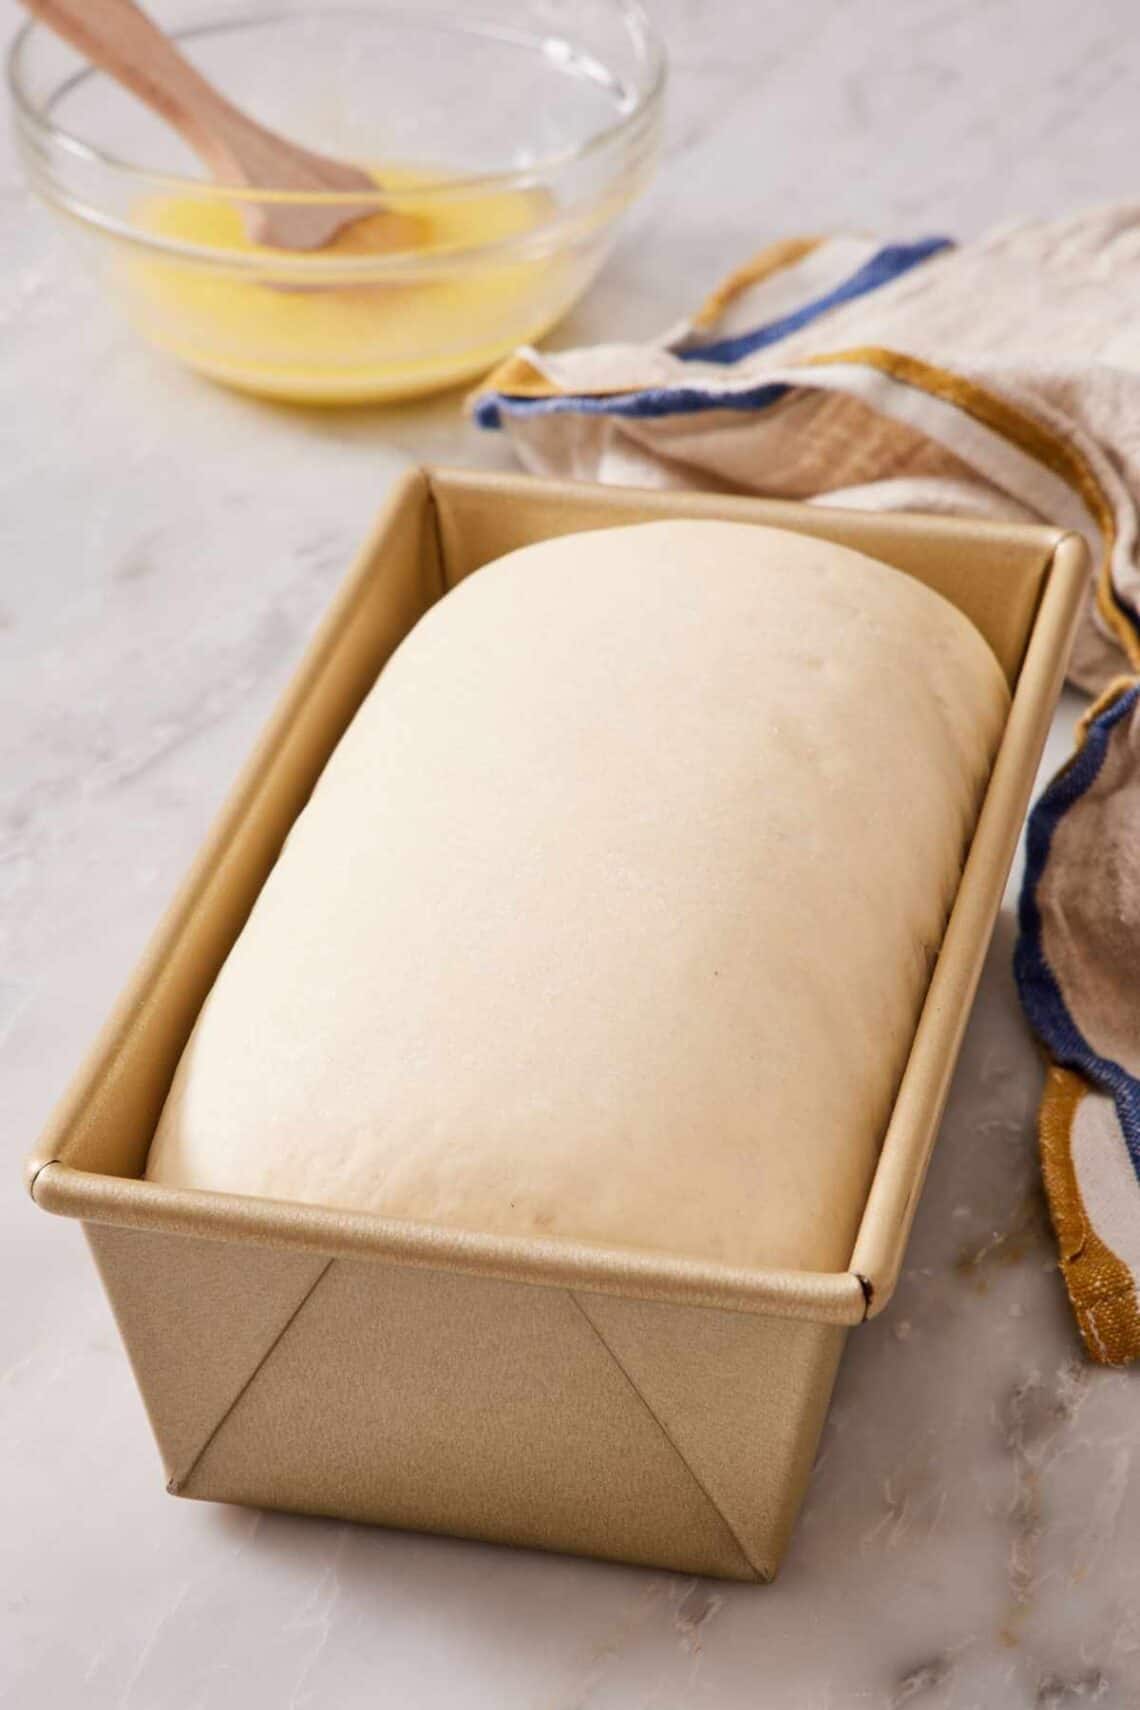
Proofing dough can be one of the trickiest parts of baking with yeast, but it’s also one of the most important. Get it right, and you end up with a tall, light, airy loaf. Get it wrong, and your bread bakes up dense, gummy, or collapsed. The good news: It’s not that hard once you understand what’s actually happening in the dough and what to look for.
I tested everything in this guide using my own bread recipes: Proofing the same dough in the fridge (42°F) and a bread proofing cabinet (95°F) to see how rise times changed. Running my white bread through deliberate underproofing and overproofing to compare crumb structure. And trying every warm-spot trick the internet recommends to figure out which actually works in a real home kitchen. By the end of this lesson, you’ll be able to confidently proof any yeasted dough, from pizza dough to cinnamon rolls to sourdough bread.
“I’ve always had a hard time telling when my bread has risen enough, and now I know exactly when it’s ready to shape. I never considered using a clear container and marking the volume. Such a brilliant tip!”
Jamie
Why Do You Proof Bread Dough?
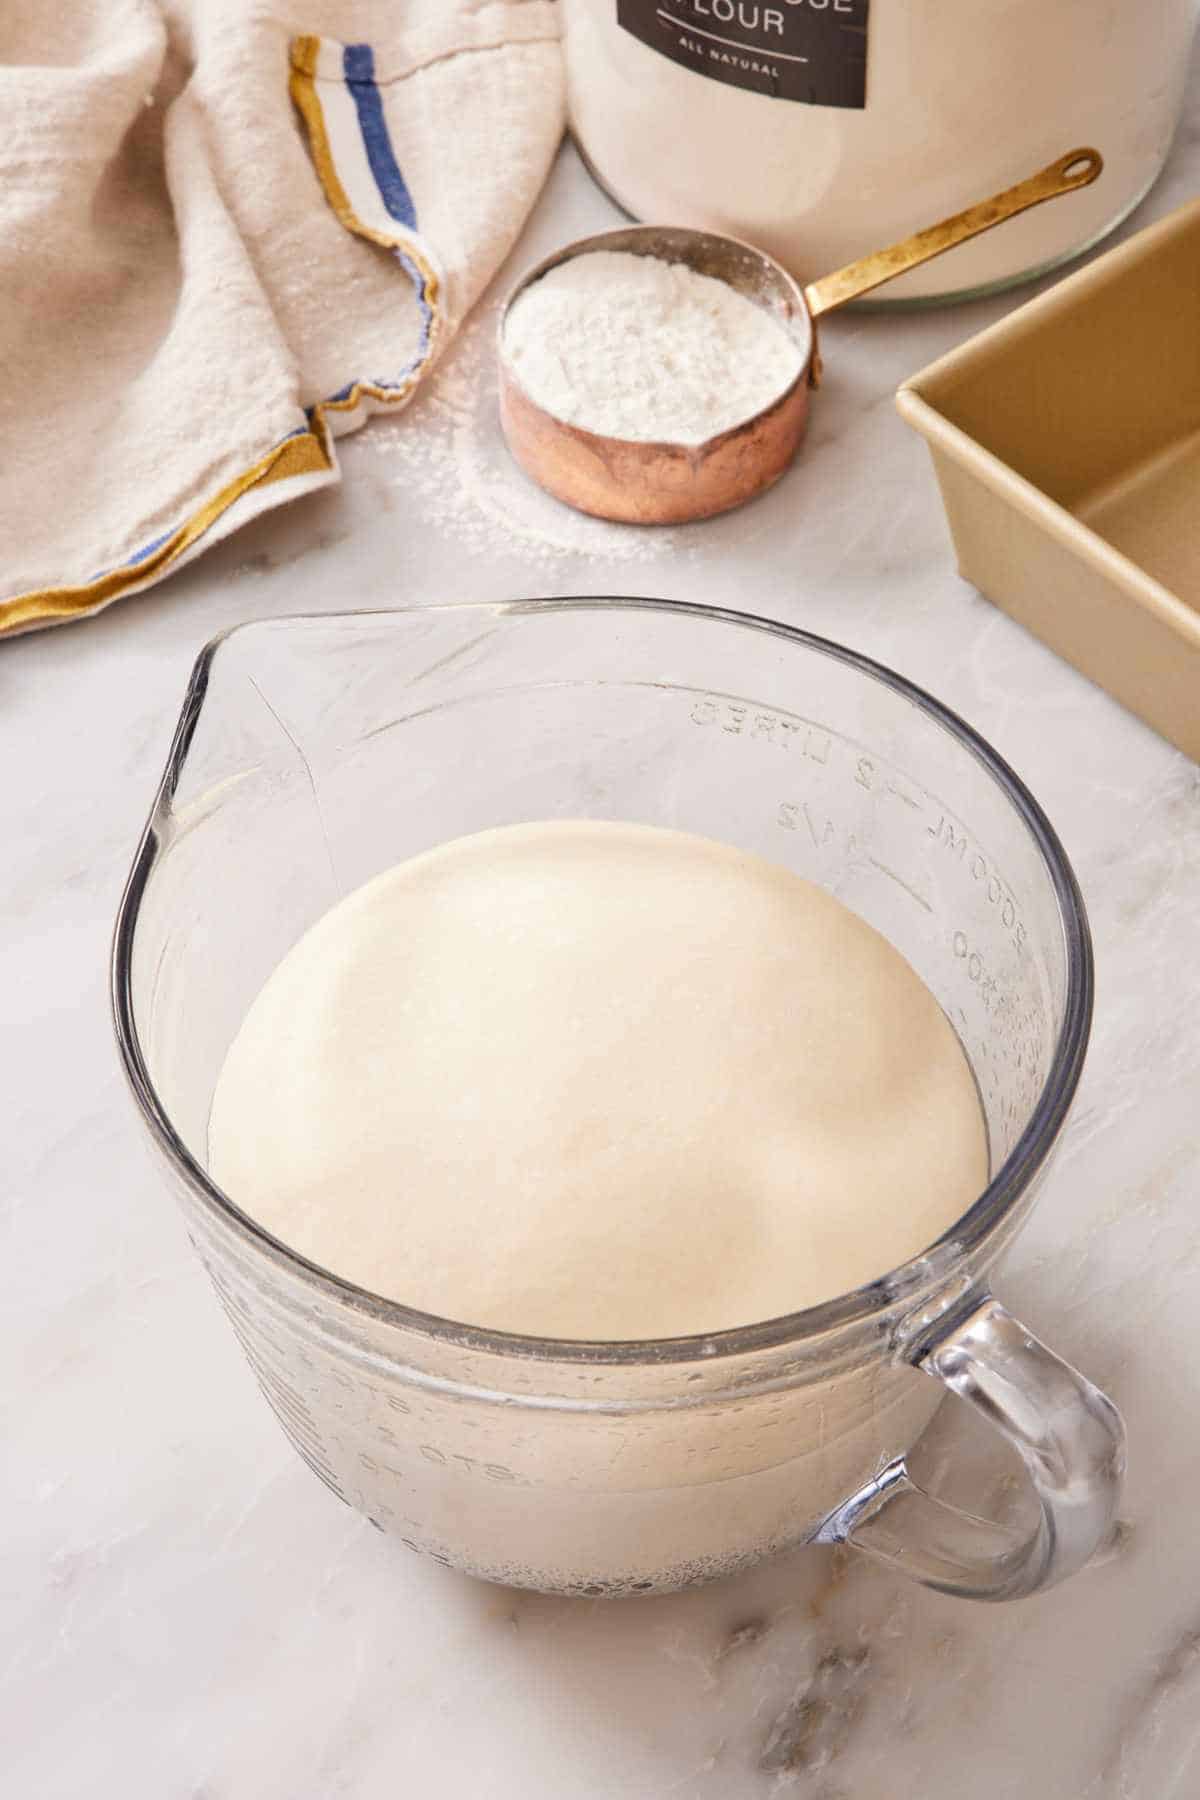
Proofing is when shaped or unshaped yeasted dough is left to rest so the yeast can do its work. Breads that use yeast are in a category called leavened bread (leavened bread = bread that uses a leavener to create a light and fluffy texture). Yeast is a microorganism that feeds on the sugars in flour and other ingredients, turning them into tiny carbon dioxide bubbles. Those tiny gas bubbles get trapped in the gluten network you developed when you mixed or kneaded the dough, making the dough rise and giving finished bread its open, springy crumb.
If you were to skip proofing bread dough, it would bake up dense and tough. Unlike baking powder and baking soda, which are leaveners that react instantly with heat or acid, yeast needs time. Proofing dough allows time for the yeast to grow for the perfect texture. The longer (and warmer) the proof, generally, the more rise you get, up to a point. Push it too far, and the structure collapses. The whole job of proofing is to find that sweet spot.
Proofing vs. Rising vs. Bulk Fermentation
Recipes use several terms that apply to yeasted doughs, specifically. These are used frequently and oftentimes interchangeably, which can make everything more confusing than it needs to be. Here’s what you need to know:
| Term | What It Actually Means | When It Happens |
| Bulk fermentation (or bulk proof, or first rise) | The whole mass of dough rises after mixing and before it’s divided or shaped | After mixing and kneading, before shaping |
| Second rise (or final proof) | Shaped dough rising in its final form | After shaping, before baking |
| Rising/Proofing (or fermentation) | Casual catch-all terms for either of the above | Anytime the dough is left alone to let the yeast do its thing |
“Proofing” and “rising” are used interchangeably for both stages (first or second). Both are correct in their own contexts, so don’t get hung up on it. What matters is recognizing which stage of fermentation you’re in, because the visual cues and timing can be different.
Other Terms To Know:
- Doubled in Size: A visual volume indicator of how much the dough rises. Typically, a dough will increase its volume by twice its original size. This can be at any stage of rising—bulk (first rise) or final proofing (second rise, after shaping).
- Lean Dough (French bread, pita bread, English muffins): A yeasted dough that does not contain added fat like eggs or butter. Typically uses water for hydration.
- Enriched Dough (brioche, challah): Yeasted dough that incorporates high amounts of eggs, butter, milk, or other fatty ingredients.
What Is Bulk Fermentation?
Bulk fermentation is the first rise—the whole, undivided mass of dough fermenting in a single container after you’ve mixed and kneaded it. This is where most of the dough’s flavor and structural development happens. The yeast is multiplying, the gluten network is strengthening, and the dough is building the elasticity it needs to support a tall rise during the final proof and oven bake.
Most yeasted bread recipes call for about 1 hour of bulk fermentation at room temperature, though some enriched doughs can take longer because the butter and eggs slow the yeast down. Dough with heavy mix-ins like cheese, nuts, or dried fruit can also take longer because those items weigh the dough down. Sourdough bulk ferments for 4 to 6 hours or more because the wild yeast in a sourdough starter works more slowly than commercial yeast.
The dough should roughly double in size during bulk fermentation. After bulk, you punch the dough down (which redistributes the yeast and degasses the dough), shape it, and then move into the second or final proof.
Equipment You need
You don’t need anything fancy or specialty to proof bread well, but a few tools make it much easier:
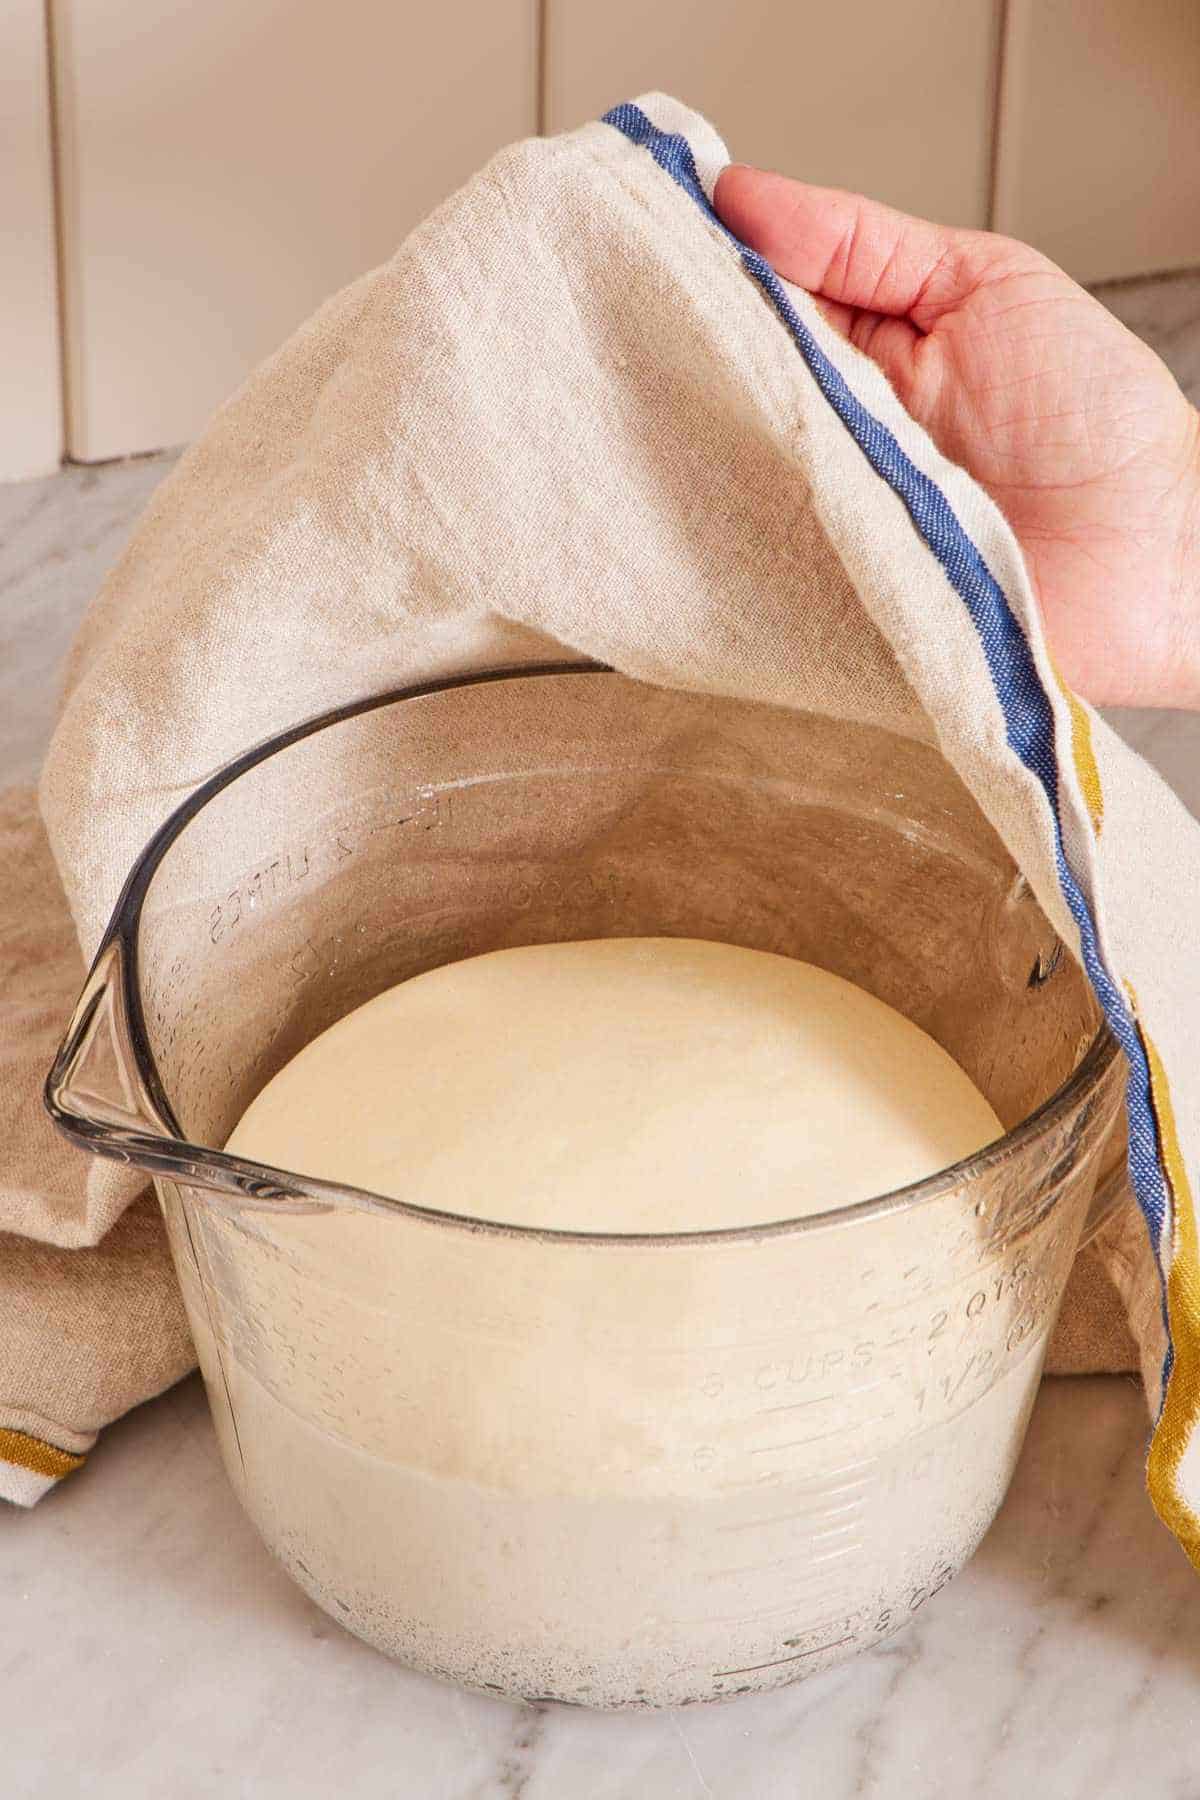
Clear container — ideally with volume markings on the side, like a large glass measuring bowl or bulk container. The clear walls let you see the dough’s volume from the side. A straight-sided container (like a Cambro) makes doubling easier to spot than a bowl that’s wider at the top, but use whichever you have. Glass and plastic both work.
A piece of tape or a dry-erase marker — to mark the dough’s starting height on the outside of the container if it doesn’t have volume markings. You’ll see exactly when it’s doubled.
Bowl cover — a lid that fits the container is best. Plastic wrap, a sheet pan, or a reusable dough bowl cover works, too. The goal is to trap moisture so the dough doesn’t form a dry skin.
Thermometer (optional but useful) — for checking your kitchen’s actual ambient temperature and the temperature inside whatever warm spot you’re using.
Bench scraper — for dividing dough cleanly after bulk fermentation, especially for hamburger buns or dinner rolls.
The clear container with tape or markings on the side is the single most useful upgrade you can make, especially as a beginning baker. I used to proof in my metal stand mixer bowls and constantly second-guessed whether the dough had risen enough. Once I switched to a clear container with volume markings, I never doubted again!
What’s The Best Temperature For Proofing Bread?
The sweet spot for most yeasted doughs is 72-75°F (24°C), or average room temperature, in a draft-free spot. That’s the temperature that keeps yeast happily active without rushing it past the flavor-developing stage.
You can deviate up or down deliberately, depending on what you want:
- Warmer (above 75°F) = faster rise, less flavor development. Useful when you’re short on time, like making a quick pizza dough.
- Colder (below 75°F) = slower rise, more flavor development. Useful if you need to extend the rise time to fit your schedule, or you want to increase the depth of flavor.
- Cold (around 42°F) = dramatically slower rise, much deeper flavor, and better gluten development. Useful for overnight cinnamon rolls, ciabatta bread, or any dough where you want depth of flavor and better texture.
I tested the same white bread dough at three temperatures to see how the proofing time would vary: at 65°F (my average kitchen temperature in winter), bulk fermentation took just about 1½ hours to double; at 75°F (average room temperature), it took about 40 minutes; at 95°F (in my proofing cabinet), it took 25 minutes. Same dough, same recipe, same yeast—the only variable was temperature. It’s worth knowing if your kitchen runs cold in winter or warm in summer. The rising times in my recipes on this site and in my cookbooks are estimates anchored to ~75°F, and you’ll need to adjust if your kitchen is warmer or cooler.
One hard limit: Don’t go above 100°F or below 38°F. Over 100°F is where yeast starts growing too rapidly. You’ll over-activate the yeast in the short term, get a fast rise, and then the structure can collapse because there’s no live yeast left to support it during baking. Under 38°F, the cold will make the active yeast virtually dormant. If it freezes, the activated yeast can slowly start dying, causing your bread to never rise properly and turn out dense.
How To Proof Dough In A Warm Spot
If your kitchen runs cool, especially in winter or if you have A/C running, you’ll need to create a warm spot. Here are the methods I’ve actually tested, ranked roughly by reliability:
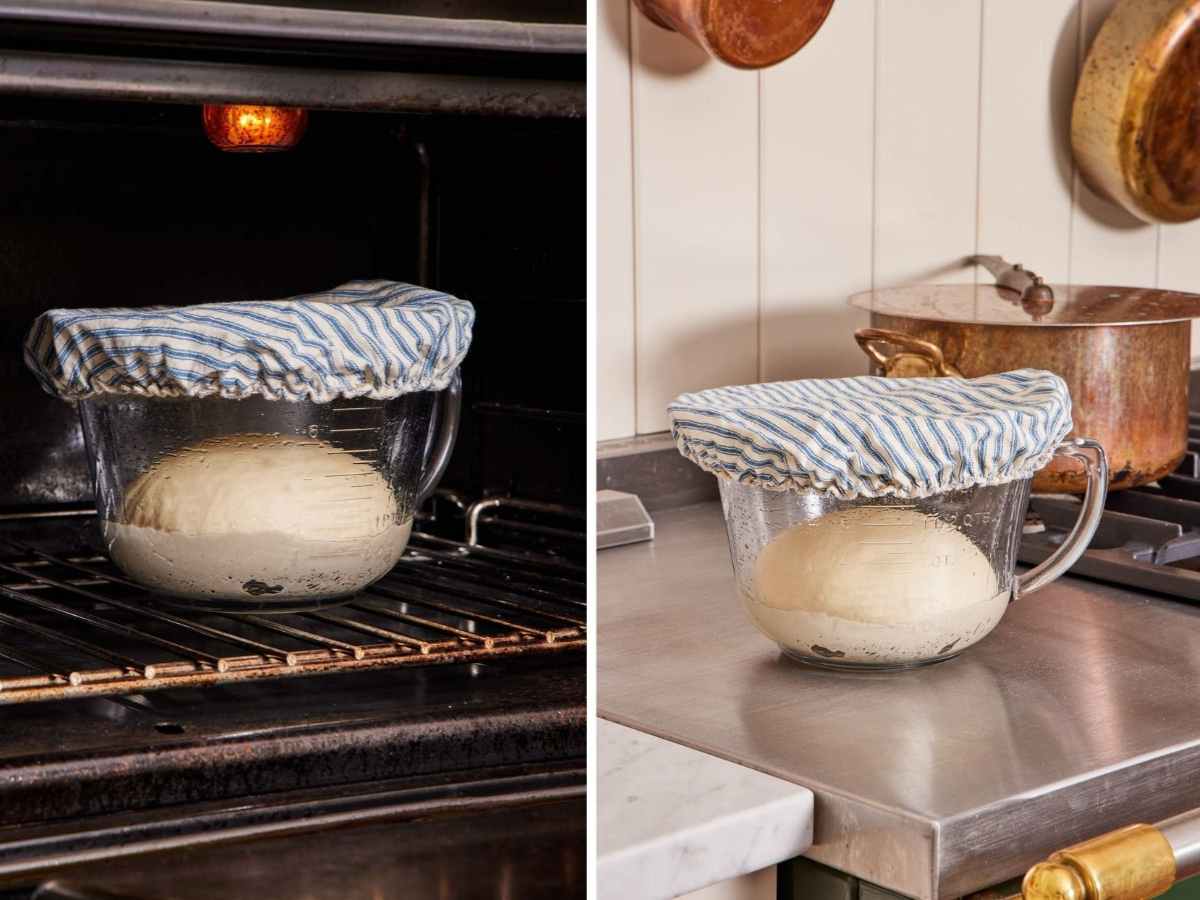
1. The oven with the light on. This is my go-to recommendation. The interior light from a standard oven bulb produces enough heat to bring an enclosed oven to about 78-82°F. It’s a bit above the ideal 75°F, but still very workable. Place your covered dough on the middle rack and shut the door. Crucial: Stick a Post-it on the outside of the oven that says “DO NOT TURN ON.” Yes, I have learned this the hard way…
2. A proofing drawer or dedicated bread proofer. If you have one, use it. They’re the gold standard. I have one built into my range, but you can also buy a counter top bread proofer. I don’t think it’s necessary for home bakers who only bake bread occasionally, though. Use the oven light trick above instead.
3. The oven on the bread proof setting. If your oven has a proof setting (some newer models do), use it. It typically holds around 80°F. Remember that this is a bit faster than most recipes account for, so check the dough sooner.
4. Near a running dishwasher. The counter above your running dishwasher is warm from the heat of the machine running beneath it. This is an excellent spot to stash your rising dough!
5. Next to a working oven or stove. If you’re already cooking dinner, the residual ambient heat near the appliance creates a workable warm zone. Less reliable than the enclosed oven methods because the temperature varies more, but still helpful.
Remember: If the recipe indicates “a warm, draft-free spot, about 75°F” for rising (as many of my bread recipes do), the rise time indicated in the recipe will be reduced if the environment is warmer than that. So keep that in mind! Warmer temperature = faster rise.
How To Proof In A Cold Spot
Cold proofing—also called “retarding”—is the opposite move. Instead of speeding the dough up, you slow it down, which gives the yeast more time to develop complex flavor compounds and gives the gluten more time to relax and strengthen.
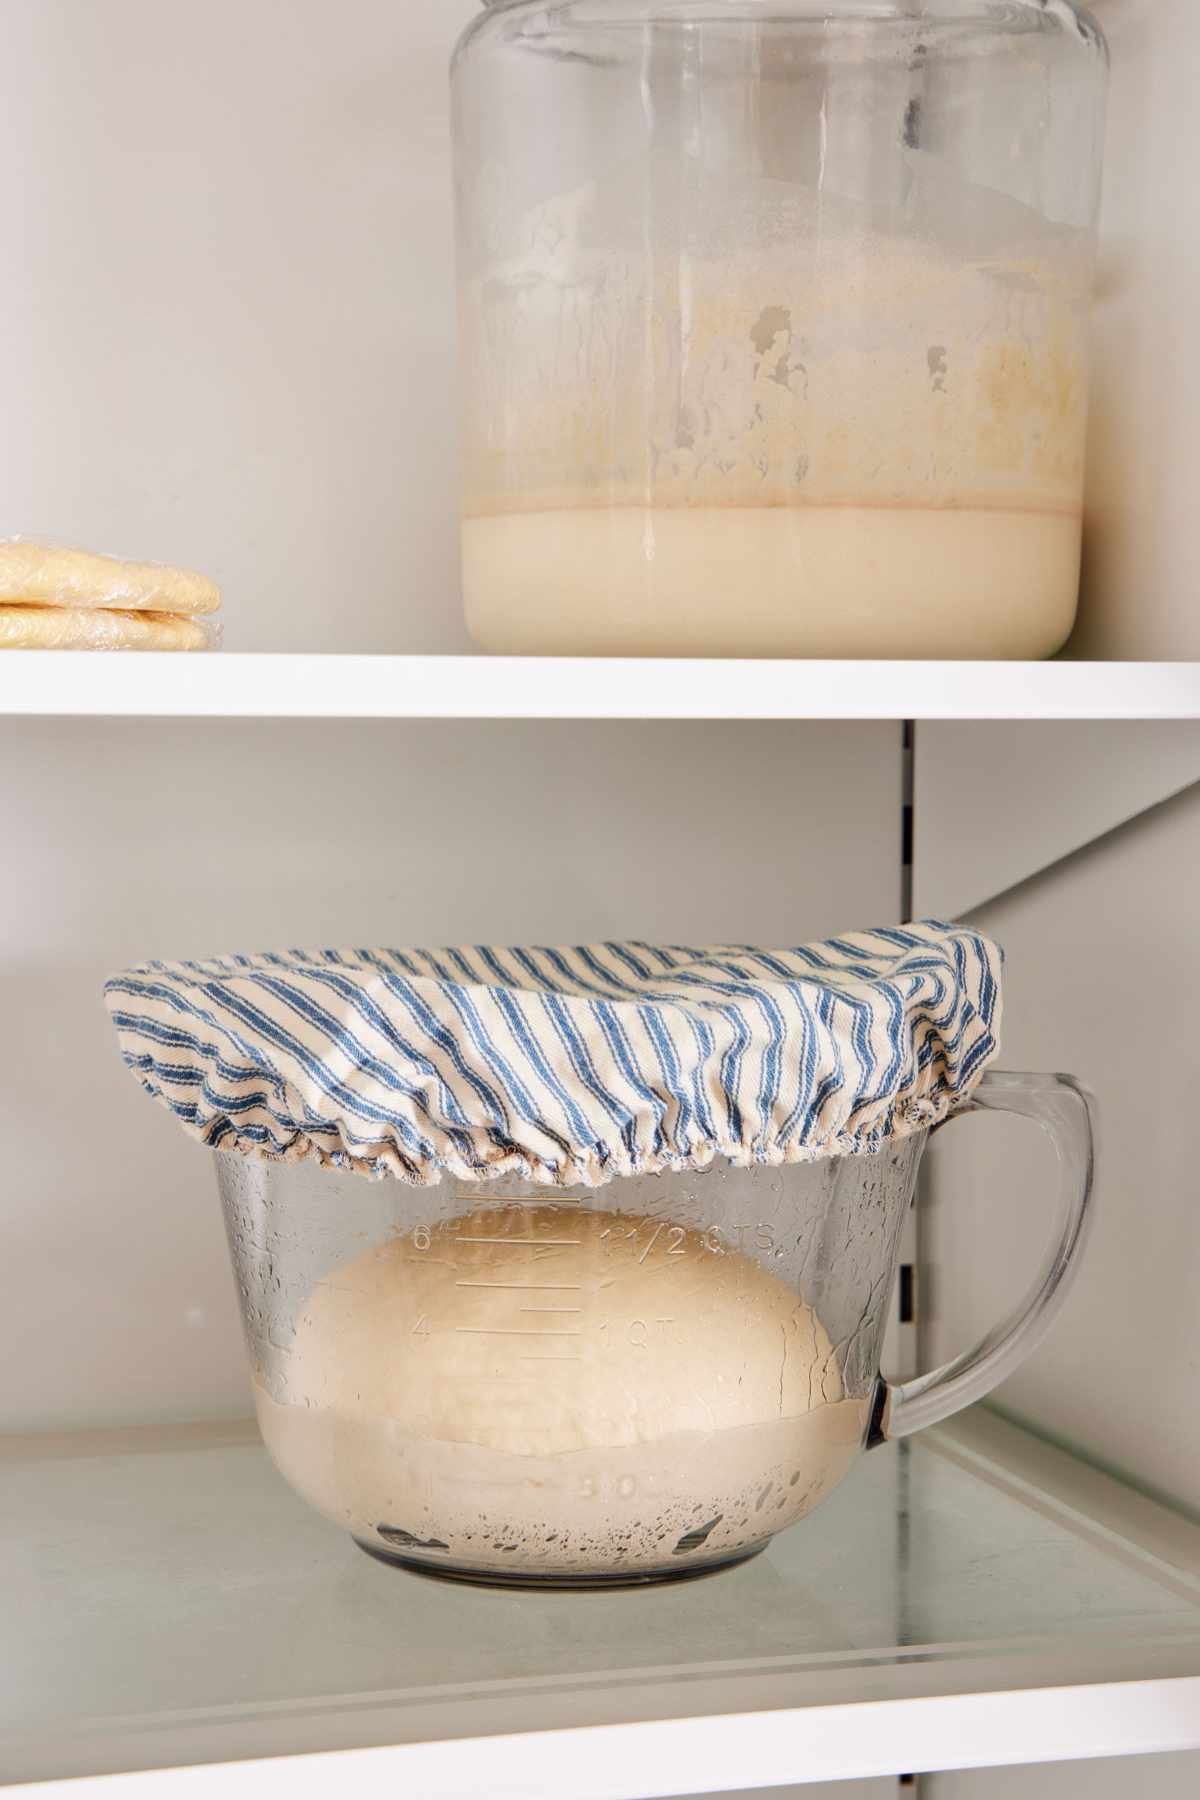
To cold-proof, place the covered dough in the refrigerator (about 38-42°F). The yeast doesn’t stop completely. Instead, it keeps working, just very slowly. Most recipes call for 8 to 24 hours of cold proofing. Past that point, the flavor keeps deepening, but you can start to lose rise, so follow the recommendation of the recipe. Cold proofing is the move for:
- Overnight doughs. Mix your focaccia and chill it overnight to deepen the flavor. Or laminate your croissants, then chill until the next day so the butter has plenty of time to firm back up before baking.
- No-Knead breads, like artisan bread, where you want time to develop the gluten structure without having to knead it. It also develops a more complex tasting crumb.
- Sourdough. Most sourdough bread recipes call for an overnight cold proof. The long fermentation is what gives sourdough its signature tang and deep flavor.
- Holding shaped dough like cinnamon rolls or hot cross buns, where the cold virtually pauses the rise, so you can bake on your schedule or fresh in the morning.
When you take cold-proofed dough out of the fridge, it’ll usually need 30 minutes to an hour at room temperature to warm and wake the yeast back up before baking, unless your recipe specifies baking straight from cold (some sourdough recipes do).
How To Tell When The Dough Is Fully Proofed
There are two methods to use together: looking at the volume and doing the poke test. First, the visual check.
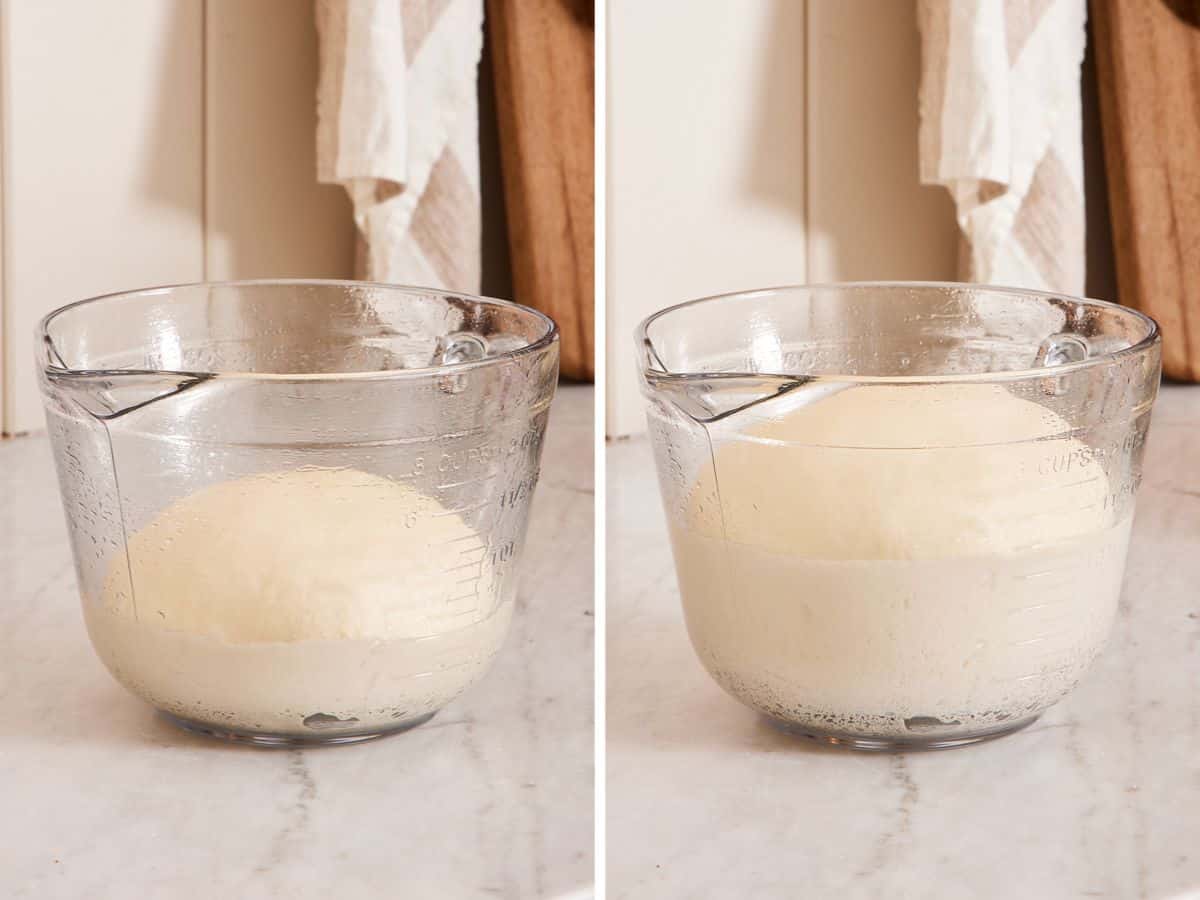
Doubled in size. Most yeasted doughs are ready when they’ve roughly doubled. If you marked the starting point on a clear container with tape, this is obvious. If you didn’t, the dough should look noticeably puffy, smooth, and almost domed on the surface.
A few exceptions to watch for: very enriched doughs may not fully double because the fat slows yeast activity. Same with high hydration doughs (like English muffins) and loaves with chunky mix-ins like dried fruit and nuts. They’ll look “visibly puffed” rather than dramatically larger.
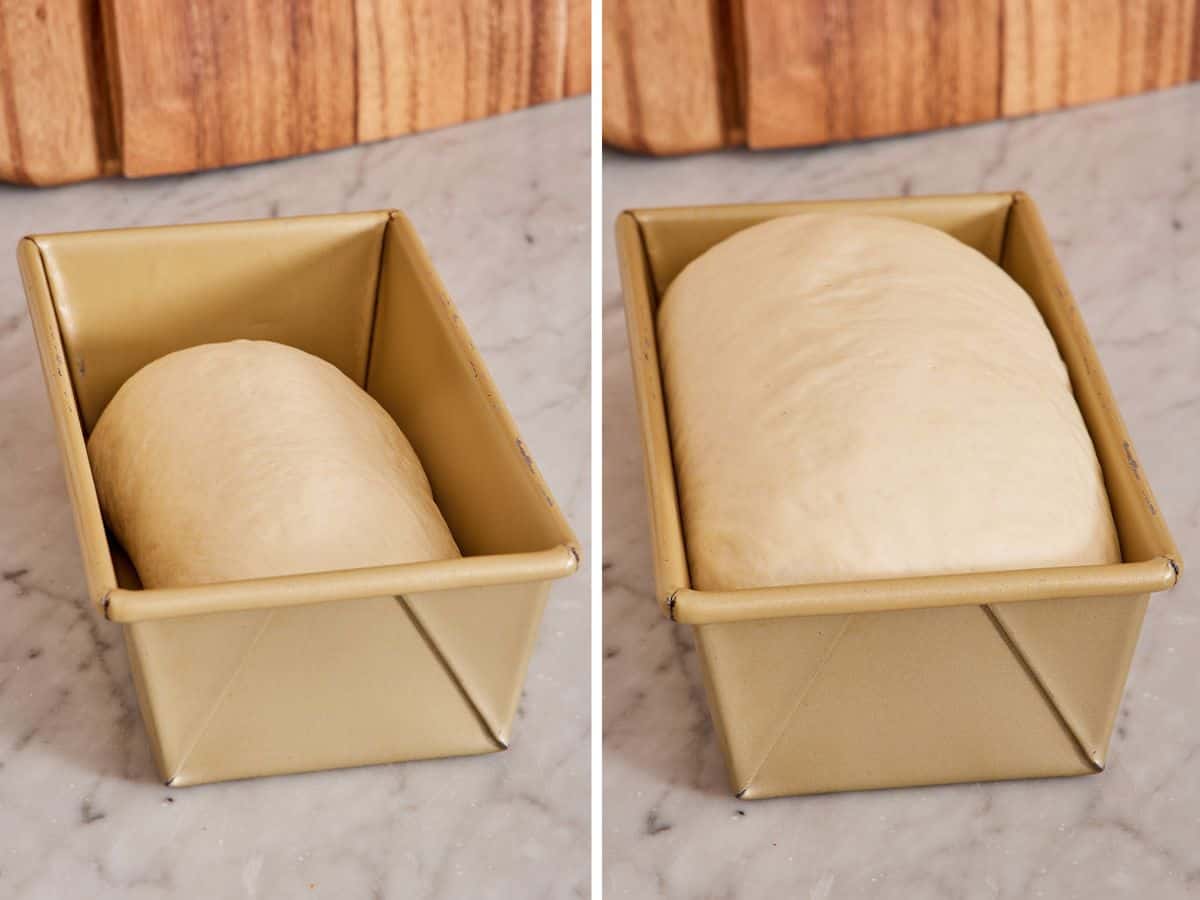
For shaped loaves in pans, the dough should generally rise about 1 inch above the rim of the loaf pan before baking. Get eye level with the rim of the pan and do a visual check. Sandwich-style loaves, like rye bread, generally follow this rule.
The Poke Test
The visual check tells you the dough has probably risen enough. The poke test confirms it. You can do this at any stage of rising—bulk or after it has been shaped.
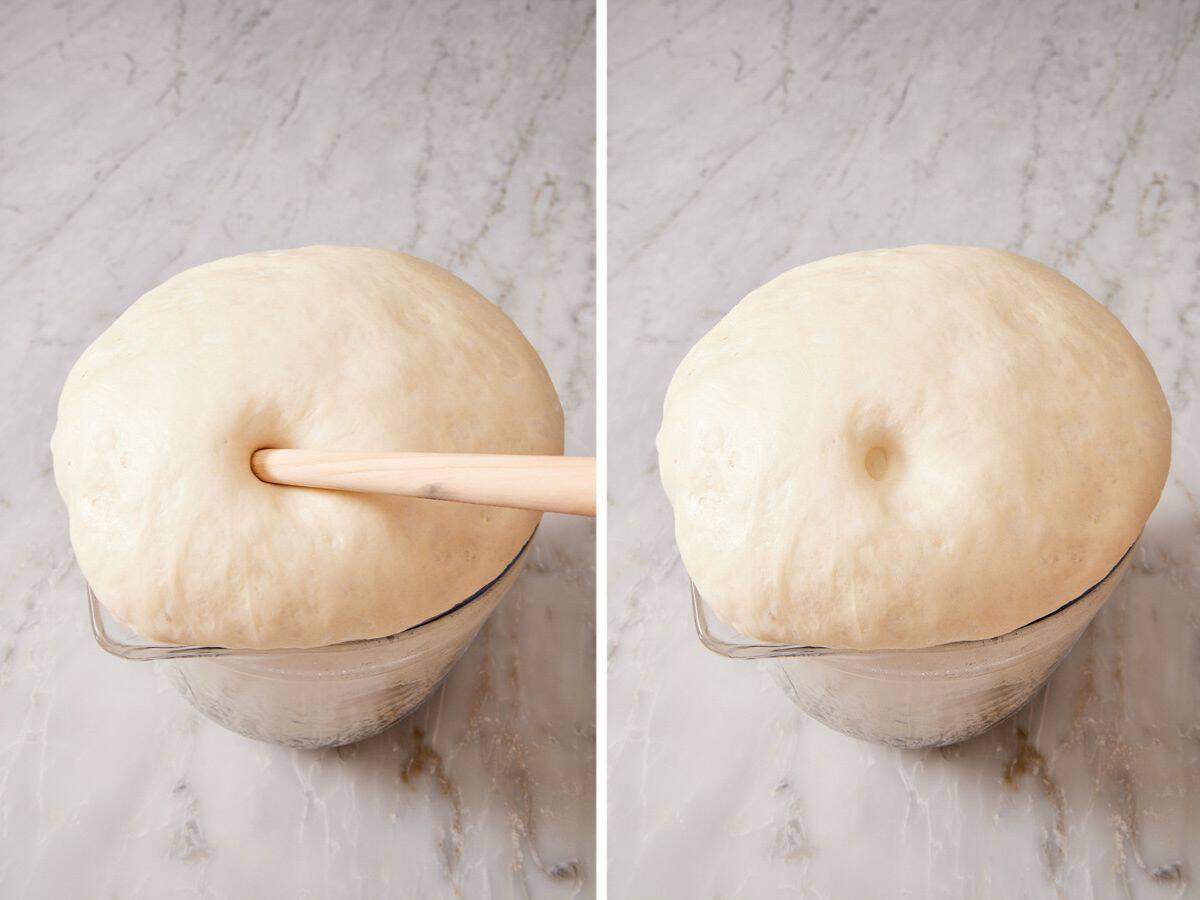
Lightly flour your finger or use the end of a wooden spoon (it’s less likely to stick to the dough than a finger). Press into the dough about half an inch deep, then watch what happens to the indentation when you release:
| What The Indentation Does | What It Means |
| Springs back quickly and completely | Underproofed. Give it more time |
| Springs back slowly, partly fills back in | Properly proofed. Shape or bake now (shown below) |
| Doesn’t spring back at all, dough deflates | Overproofed. Start over or bake immediately |
How Long To Proof Bread
The honest answer is “until it passes the poke test.” The time varies based on the type of yeast used (instant, active dry, or sourdough), and the other ingredients in the dough. Here are the typical ranges while rising at room temperature (75°F) so you have a starting expectation:
| Dough Type | Bulk Fermentation | Final Proof |
| Lean dough (white bread, focaccia, pizza dough) | Instant: 30-45 mins Active: 1-2 hours | Instant: 25-30 mins Active: 30-60 mins |
| Enriched dough (brioche bread, dinner rolls, cinnamon rolls) | Instant: 30-60 mins Active: 45 mins to 2 hours | Instant: 30-45 mins Active: 30-60 mins |
| Whole grain (rye bread) | Instant: 30-60 mins Active: 45mins to 1.5 hours | Instant: 30-45 mins Active: 30-60 mins |
| Sourdough (sourdough pizza crust) | 3-12 hours (or overnight) | 1.5-4 hours (or overnight for cold proof) |
Adjust longer if your kitchen is below 75°F, or shorter if it’s above. And again, these are starting estimates. The dough tells you when it’s ready, not the clock.
What Happens If Dough Is Overproofed Or Underproofed
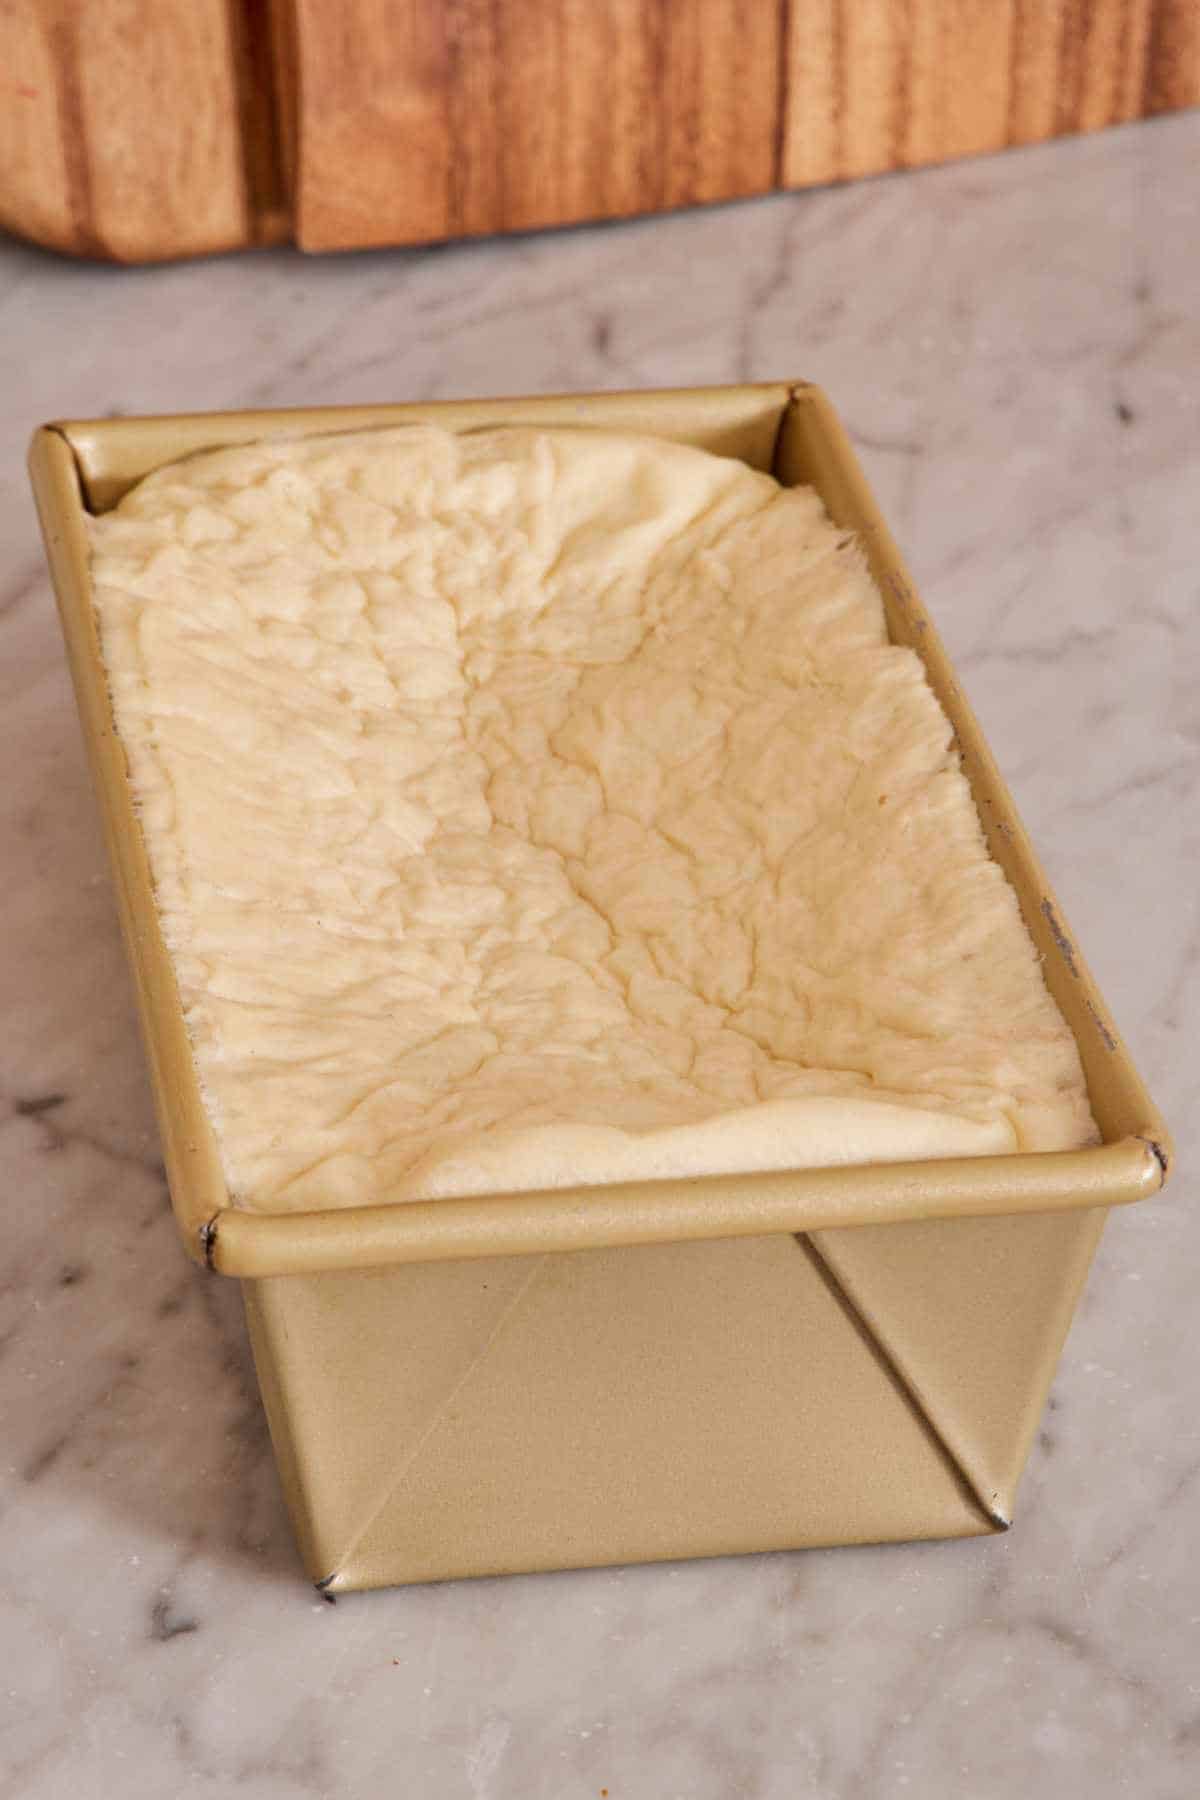
Overproofed dough means it has been rising too long, and the yeast has consumed all the available sugars, producing more carbon dioxide than the gluten network can handle. The dough collapses on itself, looks wrinkled or deflated, and won’t bounce back when poked. Once the dough is overproofed, you can’t really fix it, but you can pivot. Tip the dough into a greased cake pan and bake it like focaccia: dimple it, drizzle olive oil, and bake. The bread will bake up flatter, but can still be thinly sliced or used for croutons or breadcrumbs.
I tested this with my white bread recipe, deliberately letting a shaped loaf rise for 2 hours instead of the recipe’s 25-35 minutes. The result was a sad, wrinkled, deflated log that baked into a flat, dense brick. Compare that with a properly proofed loaf, and the difference is dramatic.
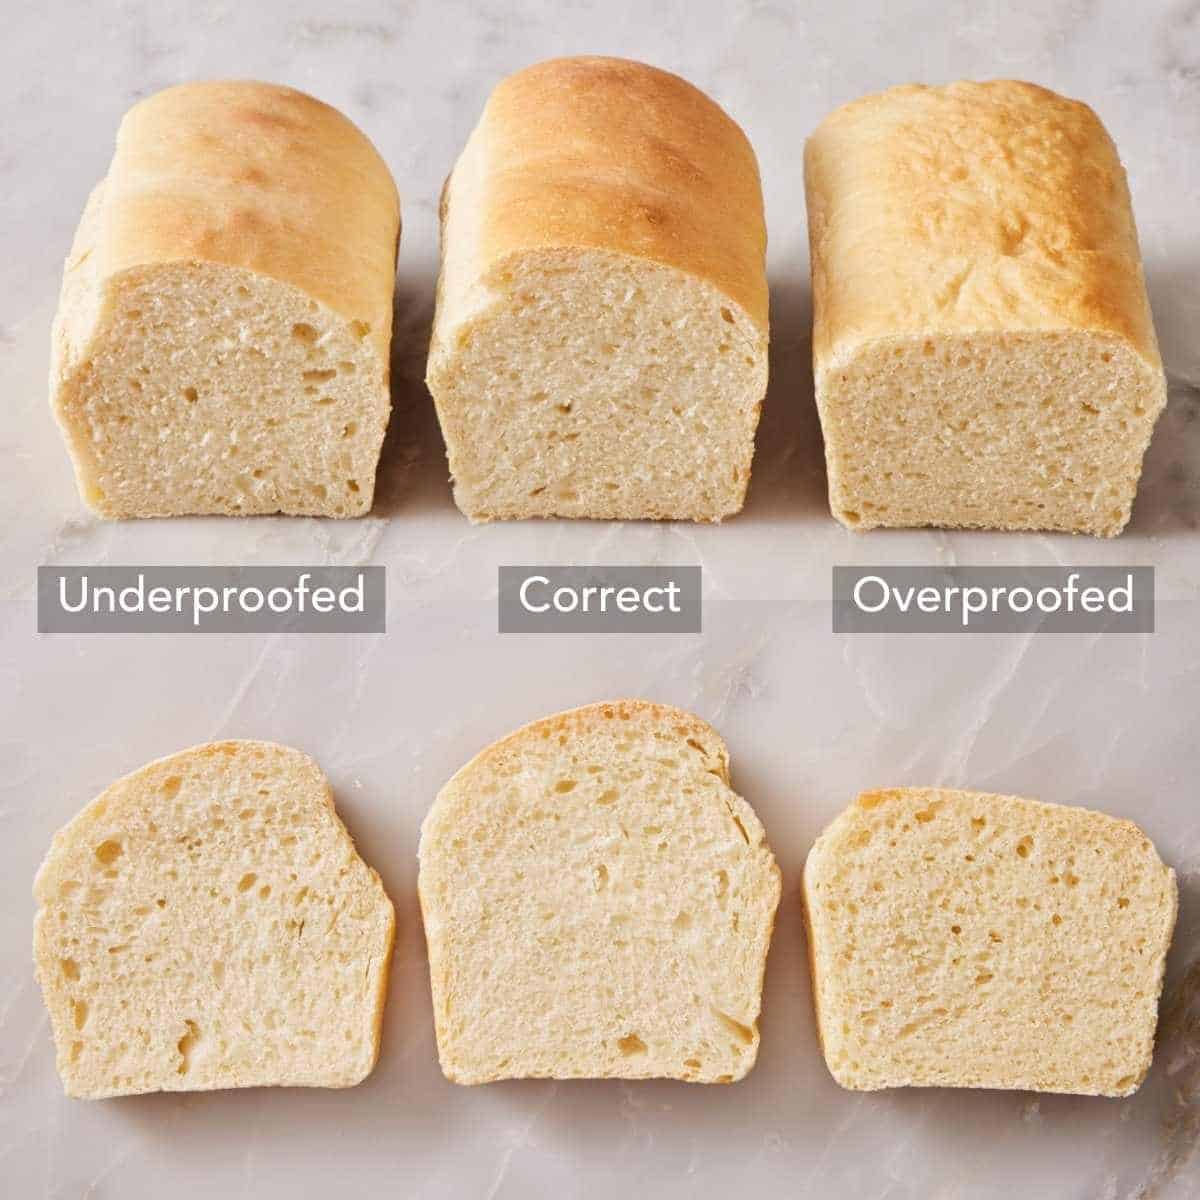
Underproofed dough hasn’t had enough time to rise. It’s still tight, dense, and resistant, so when you poke it, it springs right back. If you bake underproofed dough, you’ll get a smaller, denser loaf with a tighter crumb, larger air pockets, and possibly with explosive cracks. These cracks happen because the yeast is still underdeveloped, so it has a lot of power left, the gas expands rapidly, and breaks through the crust. The fix is simple: cover the dough back up and give it more time.
I baked three loaves of white bread: underproofed, properly proofed, and overproofed. You can see the slices from each one and how the height and texture changed. The underproofed loaf was shorter with bigger pockets from the yeast not having time to finish rising. The overproofed loaf was dense and flat on top after collapsing.
Pro Tips For Proofing Bread
Always cover the dough. If the dough dries out, it will develop a skin, which restricts how much it can rise and expand. Placing a cover on top keeps it moist. You can cover the bowl with plastic wrap, a sheet pan, a dough bowl cover, or a fitted lid. Just make sure it completely covers the container.
Measure your kitchen’s actual temperature. A kitchen thermometer is cheap and removes a major source of guesswork. My kitchen reads about 65°F on a winter day and 75°F on a summer afternoon. Same room, same year, with very different results that will affect your bread’s rise time.
Proofing time is an estimate. Remember not to just rely on the clock. The temperature of your kitchen will really dictate how quickly your dough will rise, and if you place it in a warmer or cooler spot. Use a marked container to indicate the dough’s starting point, and do the poke test to really know when it’s done rising.
Frequently Asked Questions
Almost always one of three things: Dead yeast (always check the expiration date and consider activating the yeast first to confirm it’s alive). A proofing environment that is too cold (yeast slows down dramatically below 65°F and effectively stops below 38°F). Other ingredients affect the yeast (high amounts of cinnamon, salt, and acid can inhibit yeast growth).
No, but almost every yeasted dough recipe will call for a second rise once the dough is shaped. A second rise improves and strengthens the gluten network, since more rise time allows more gluten to form. This will yield a stronger, more stable dough. It also makes the air bubbles smaller and more consistent for a more even crumb structure throughout the bread. Without punching the dough down and redistributing, large bubbles turn into large holes once baked.
Yes, but know that the bread won’t rise and bake up the same way once it has thawed. Activated yeast will slowly die in the freezing temperatures, giving your bread less lift afterward. You can increase the yeast in the recipe by ¼ to ½ a teaspoon to help account for the loss if you’d like. To freeze, make the dough up until shaping, but do not proof it for the second time. Freeze the dough well wrapped for up to 1 month. The day you want to bake, remove the dough from the freezer and leave it out at room temperature (covered) for 4-6 hours or until thawed and risen. Bake as directed.
More Tutorials To Try
I have loads of baking tutorials to make baking as uncomplicated as possible! Here are some others you can check out.
- How to activate yeast — the step before proofing, if you want to confirm your yeast is alive.
- How to make sourdough starter — the foundation for any wild-yeast bread.
- How to revive stale bread — what to do with bread that’s gone past its prime and how to bring it back to fresh-baked life.
- How to soften butter — useful for adding butter to any enriched dough.
- How to blind bake a pie crust — the secret to a perfect crisp crust for pies with custard and no-bake fillings.
If you’ve tried this “how to proof dough” recipe, then don’t forget to rate it and let me know how you got on in the comments below. I love hearing from you!






