
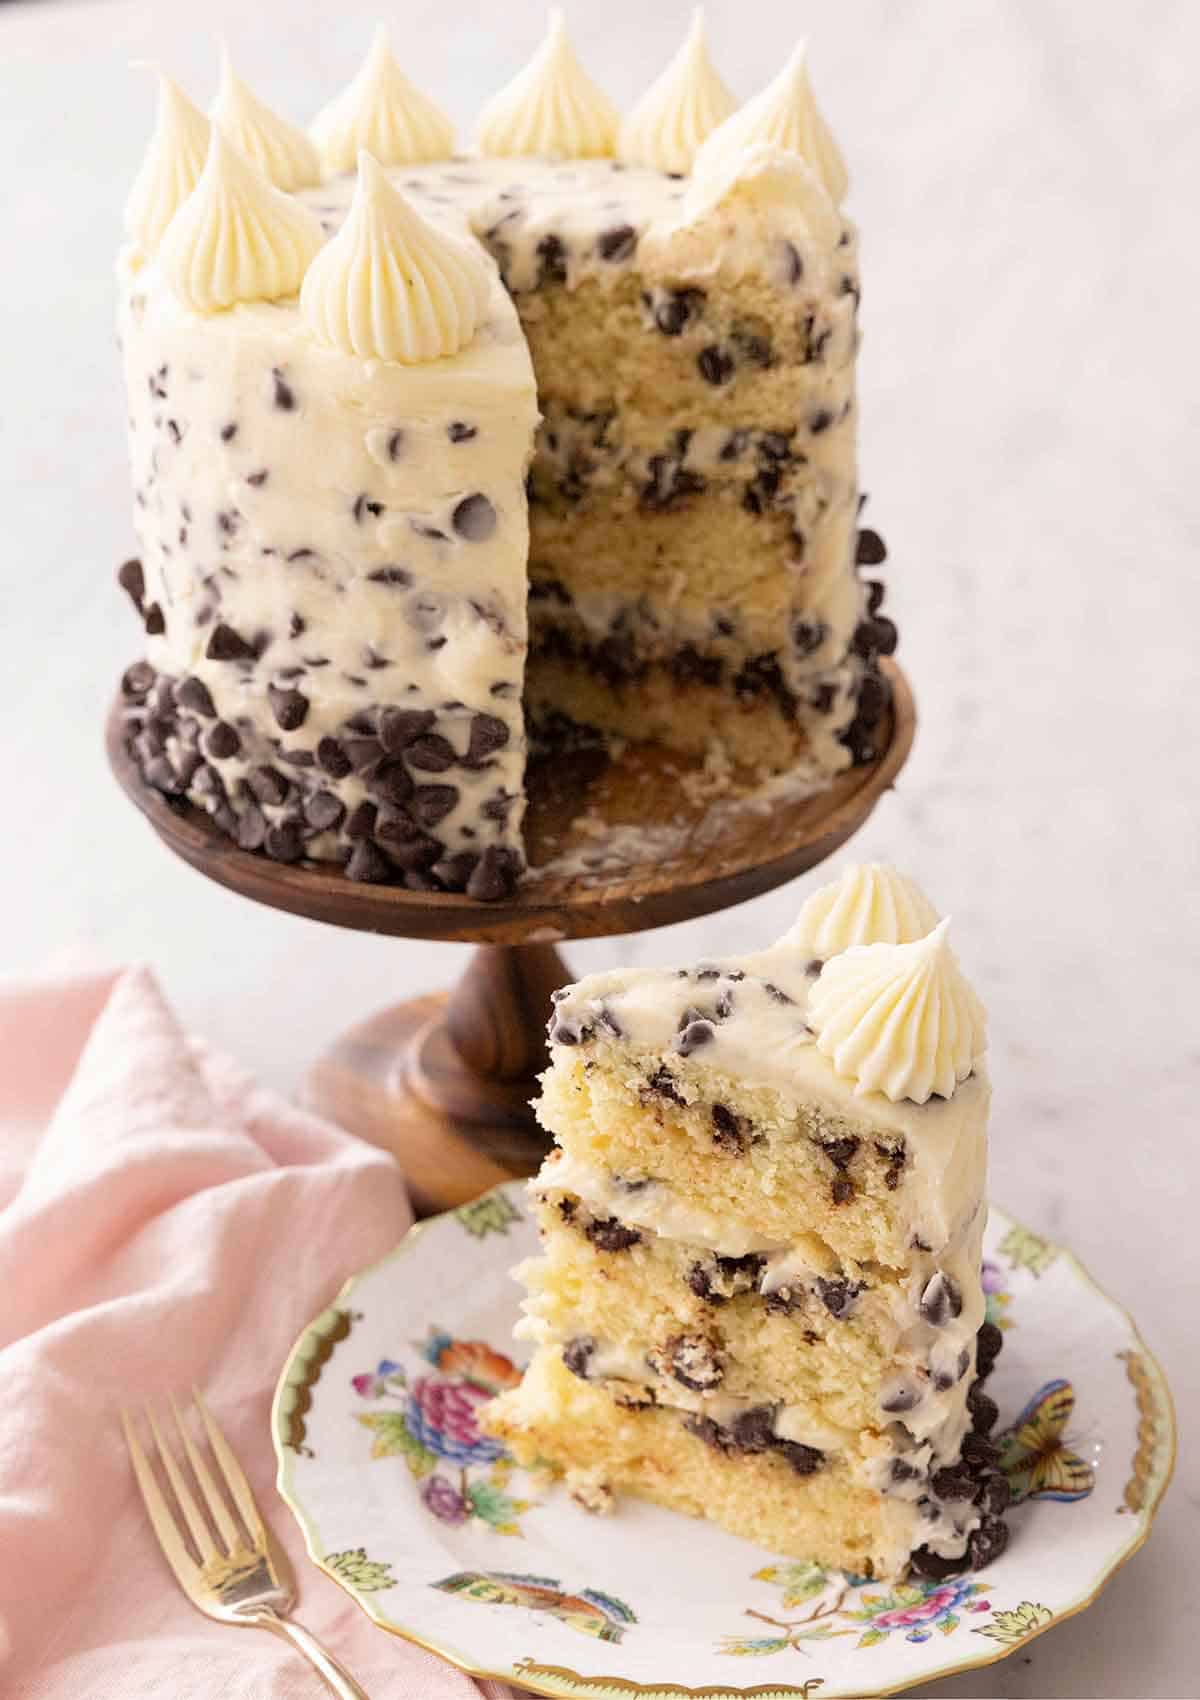
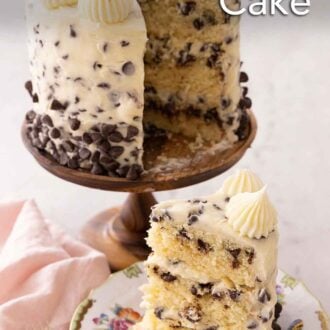
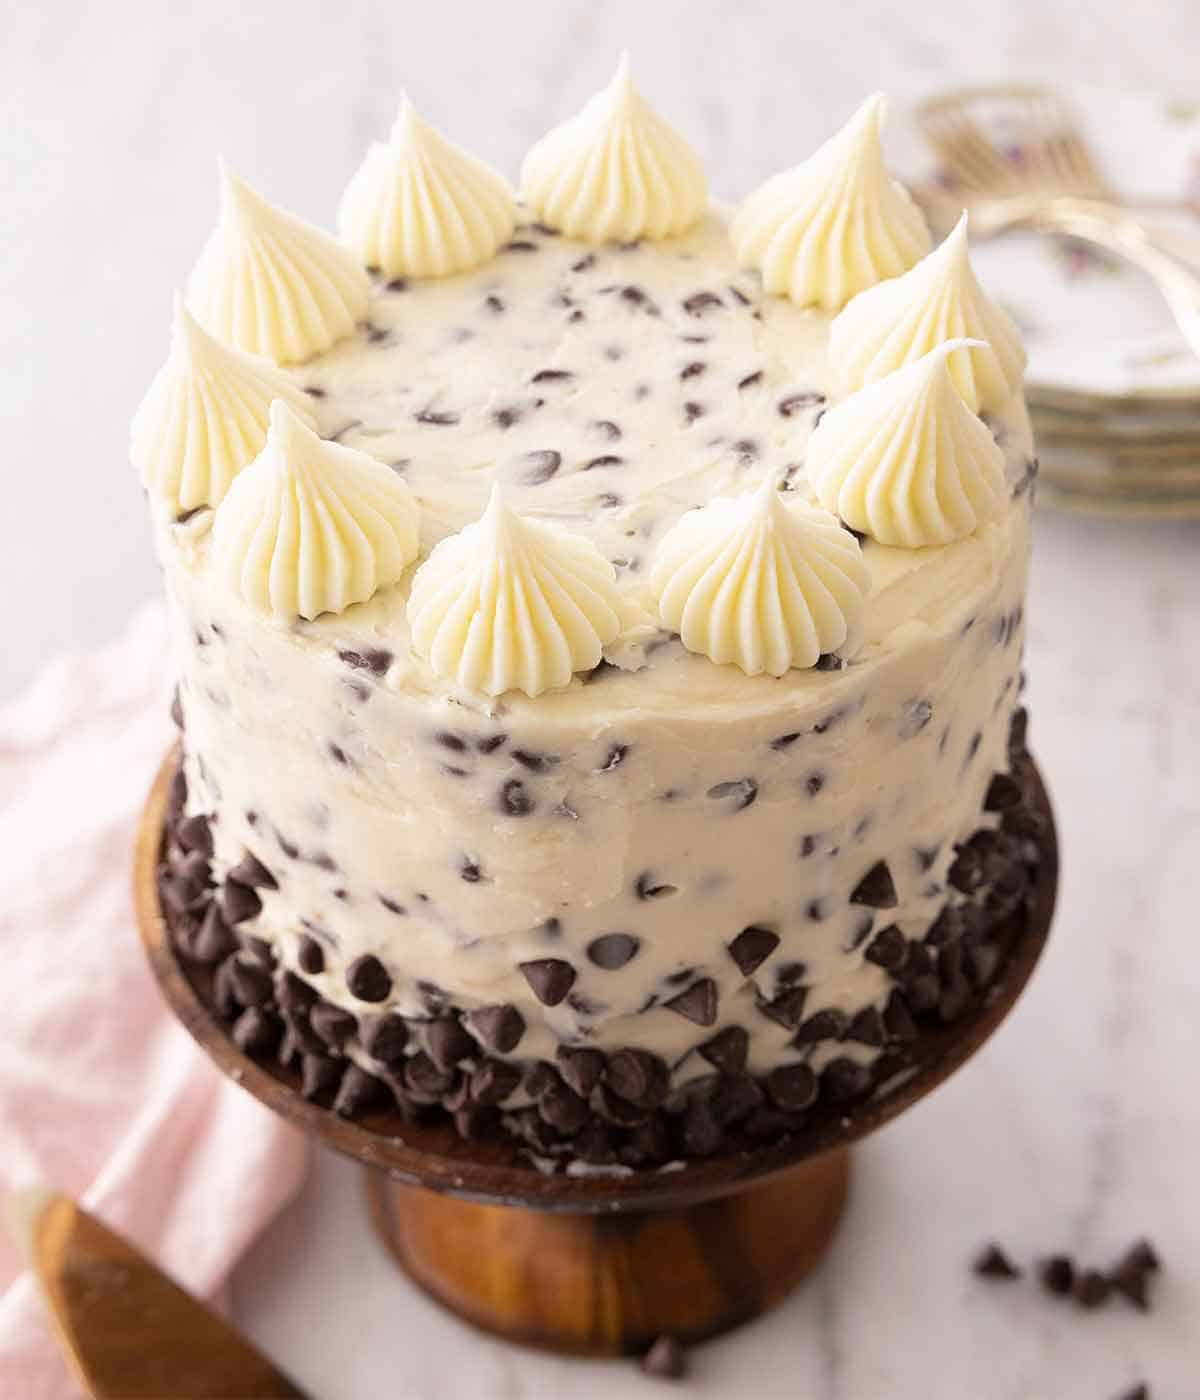
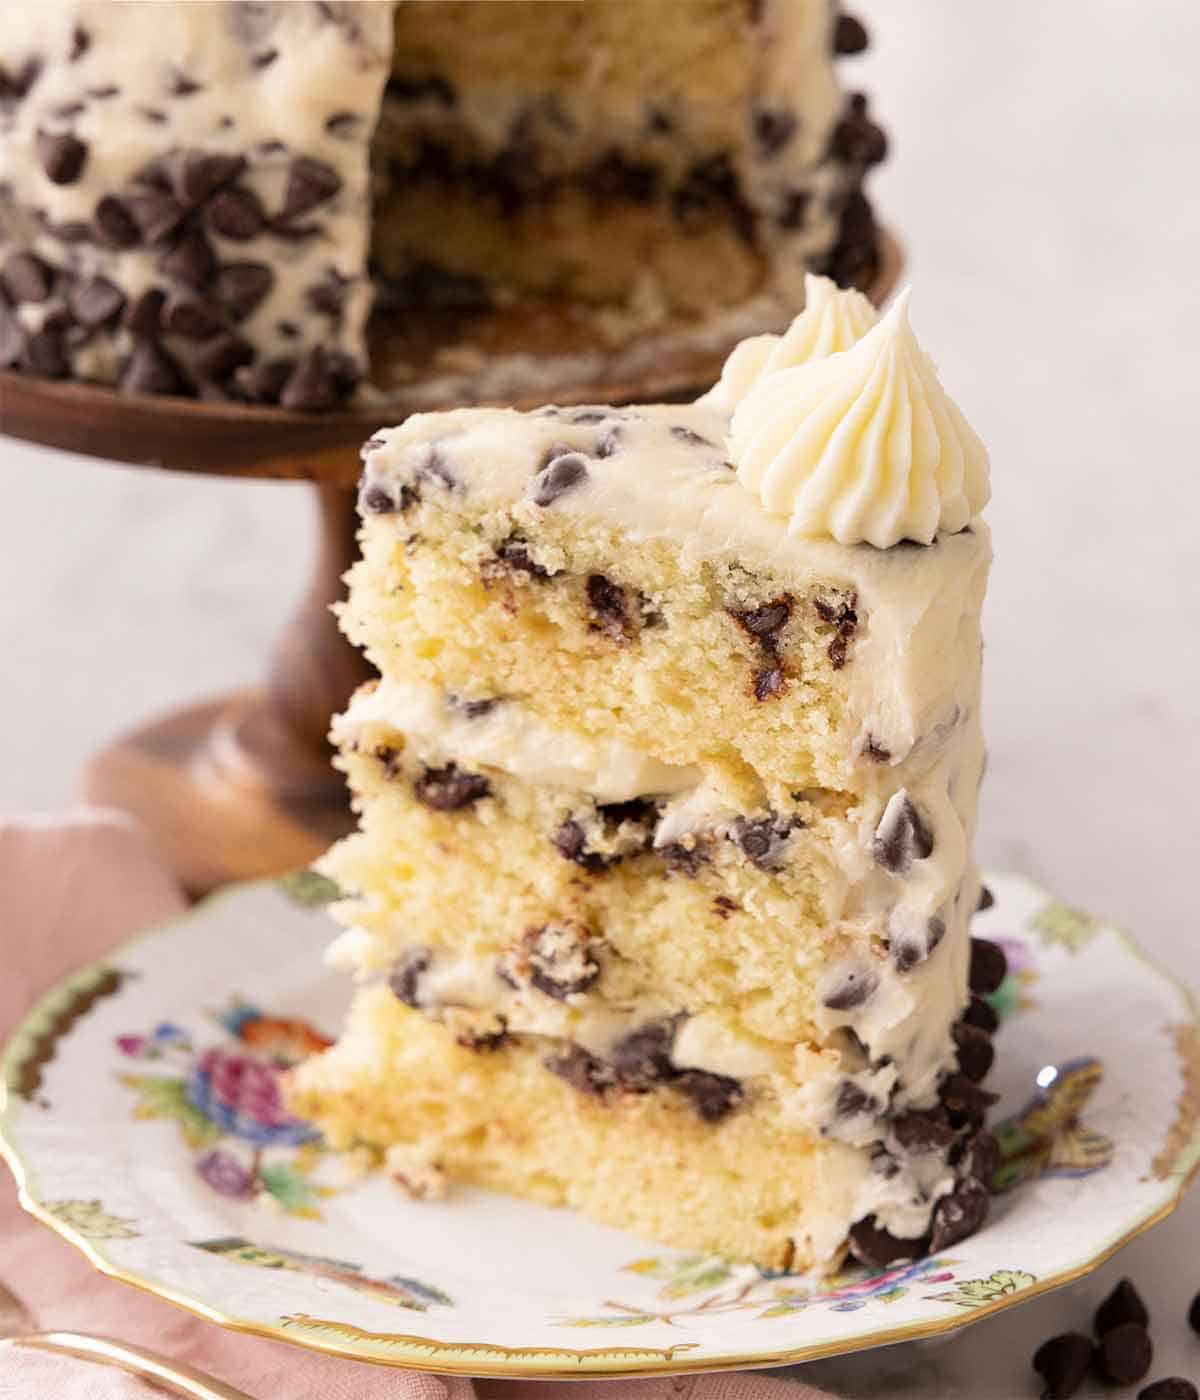
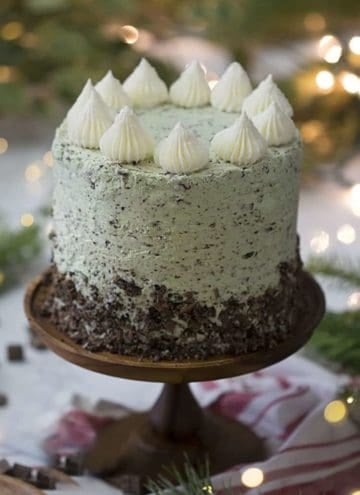
This is the perfect cake for chocolate chip cookie lovers! It’s a show-stopping dessert that is rich, tender, and tastes like cookie dough. Even better, it only takes a handful of pantry staples to make! The second you take a bite, it will practically melt in your mouth. Everyone will want a second slice.
Don’t let the layers scare you. This cake comes together easily, and you’ll have it done in no time. You can even make it ahead of time for a party. Want another delicious chocolate chip recipe? Try my easy and chewy chocolate chip cookie bars or chocolate chip muffins.
What You Need to Make This Recipe
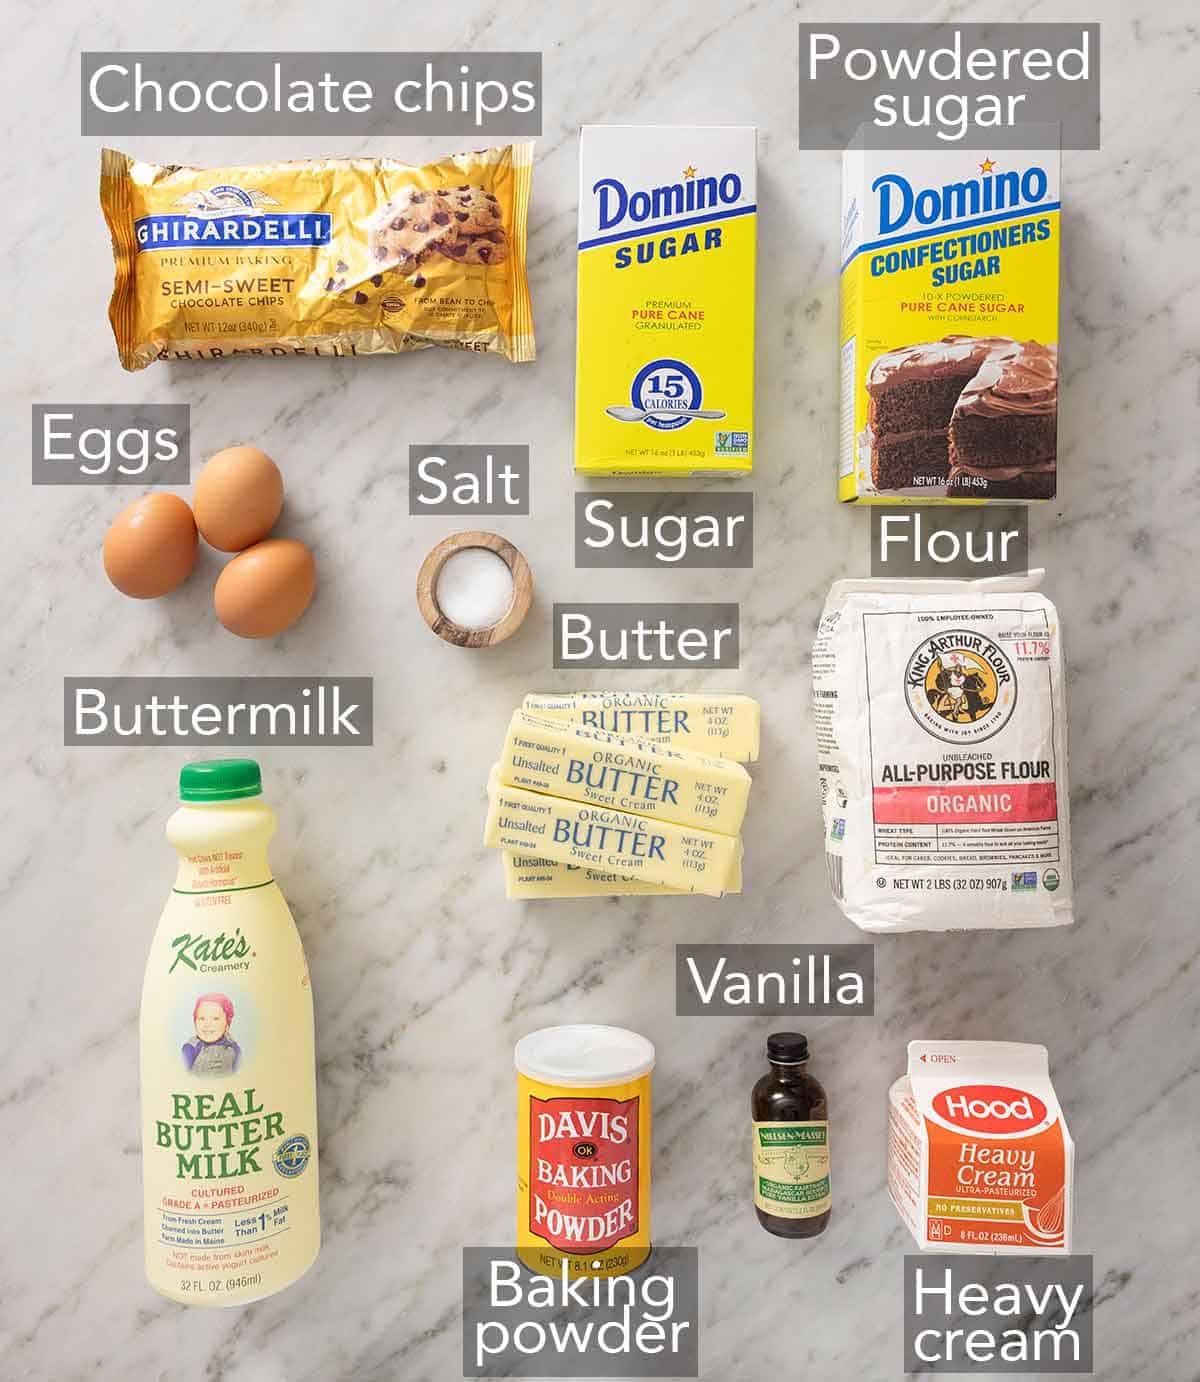
Butter — as the butter is for both the cake and buttercream, be sure to use unsalted butter. The amount of salt in salted butter is not consistent between different brands, so adding salt yourself is ideal. Be sure to set out the butter beforehand, as it needs to be at room temperature so you can cream it easily to avoid a lumpy batter and buttercream. Room temperature means you can press into the butter, and it’ll yield to the touch.
Baking powder — this helps the chocolate chip cake rise, so make sure it’s not expired.
Buttermilk – buttermilk brings a tangy flavor to your cake and keeps it super moist. If you don’t have buttermilk, see my easy post on making buttermilk at home.
Powered sugar — if you don’t have powdered sugar, you can see my post here on making powdered sugar at home.
How to Make Chocolate Chip Cake
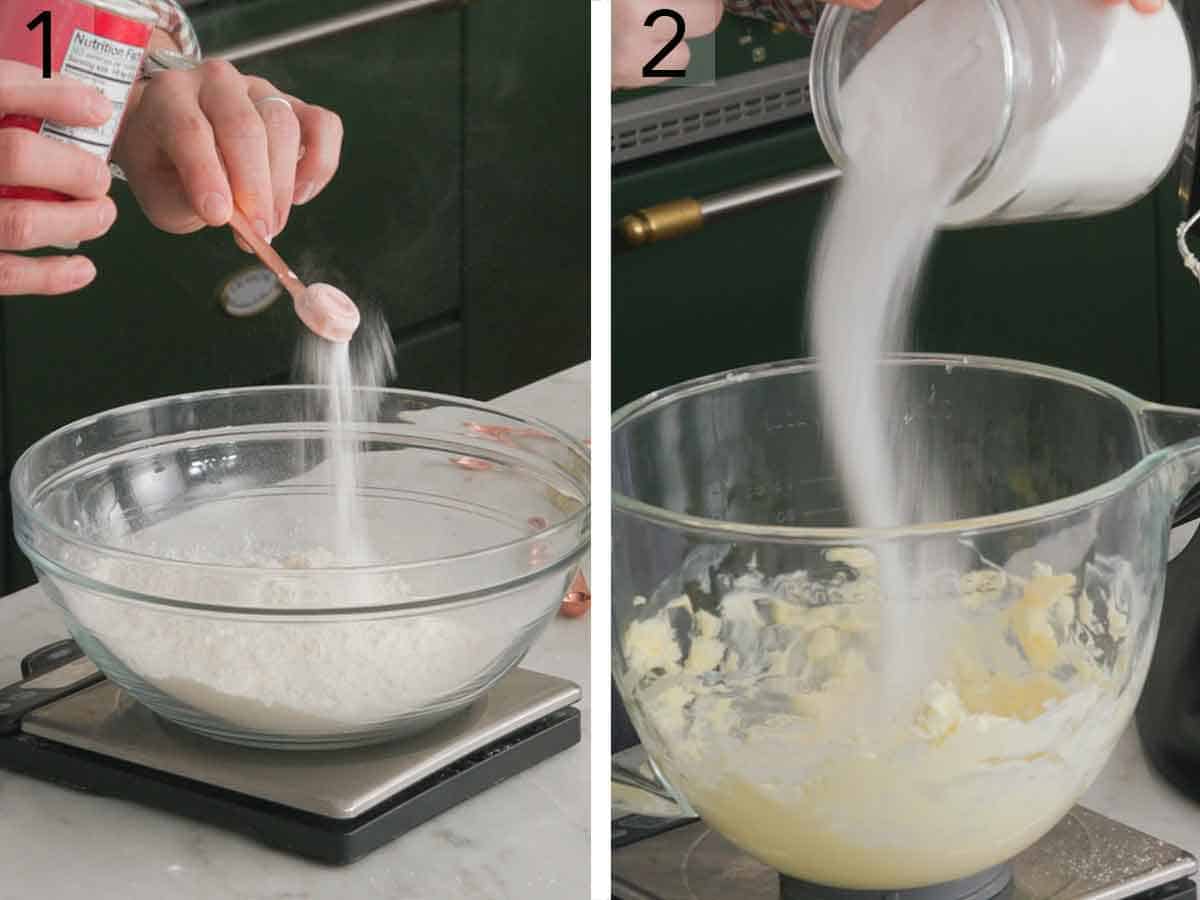
1. Sift the flour, baking powder, and salt into a bowl, then whisk together and set aside.
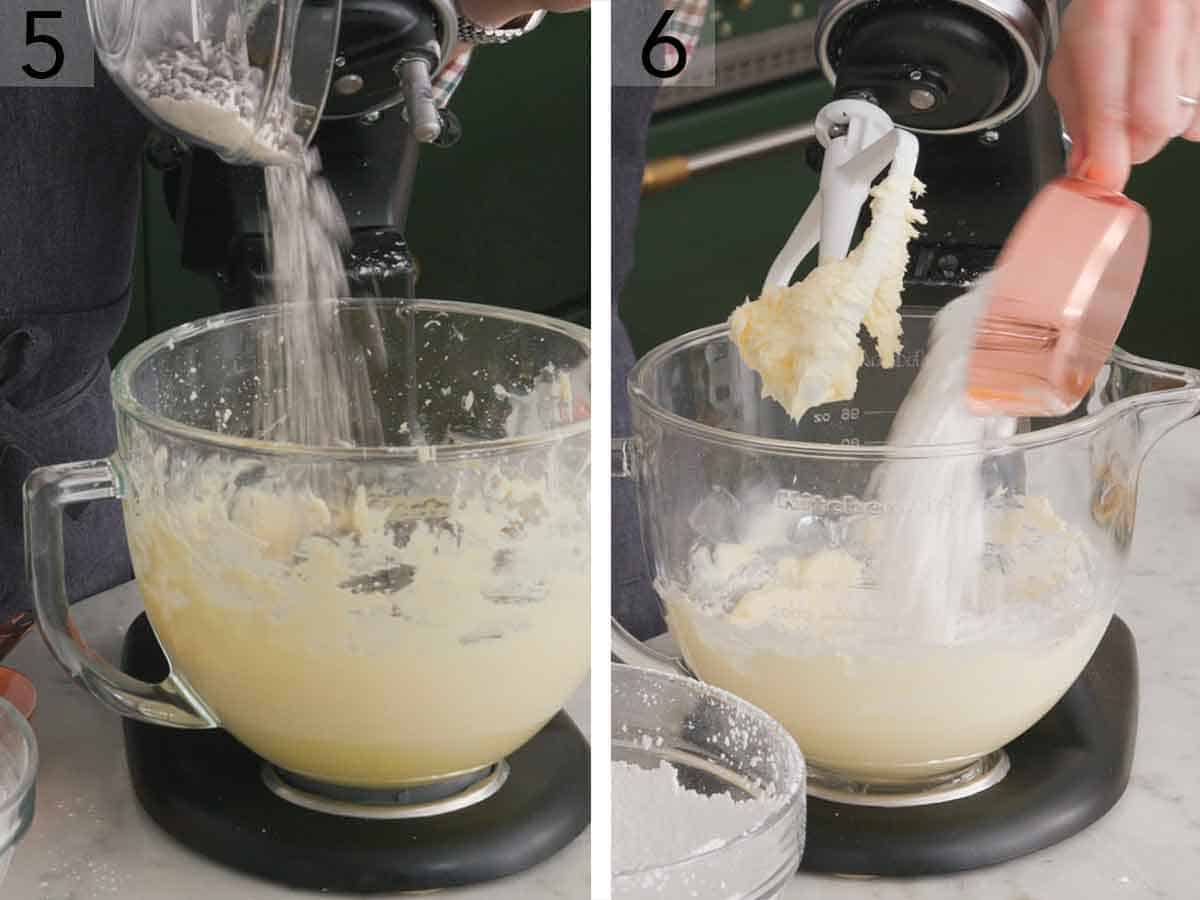
2. Cream the butter in a stand mixer fitted with a whisk attachment or an electric hand mixer. Add the sugar and beat on high for 3-4 minutes, scraping the bowl down as needed.
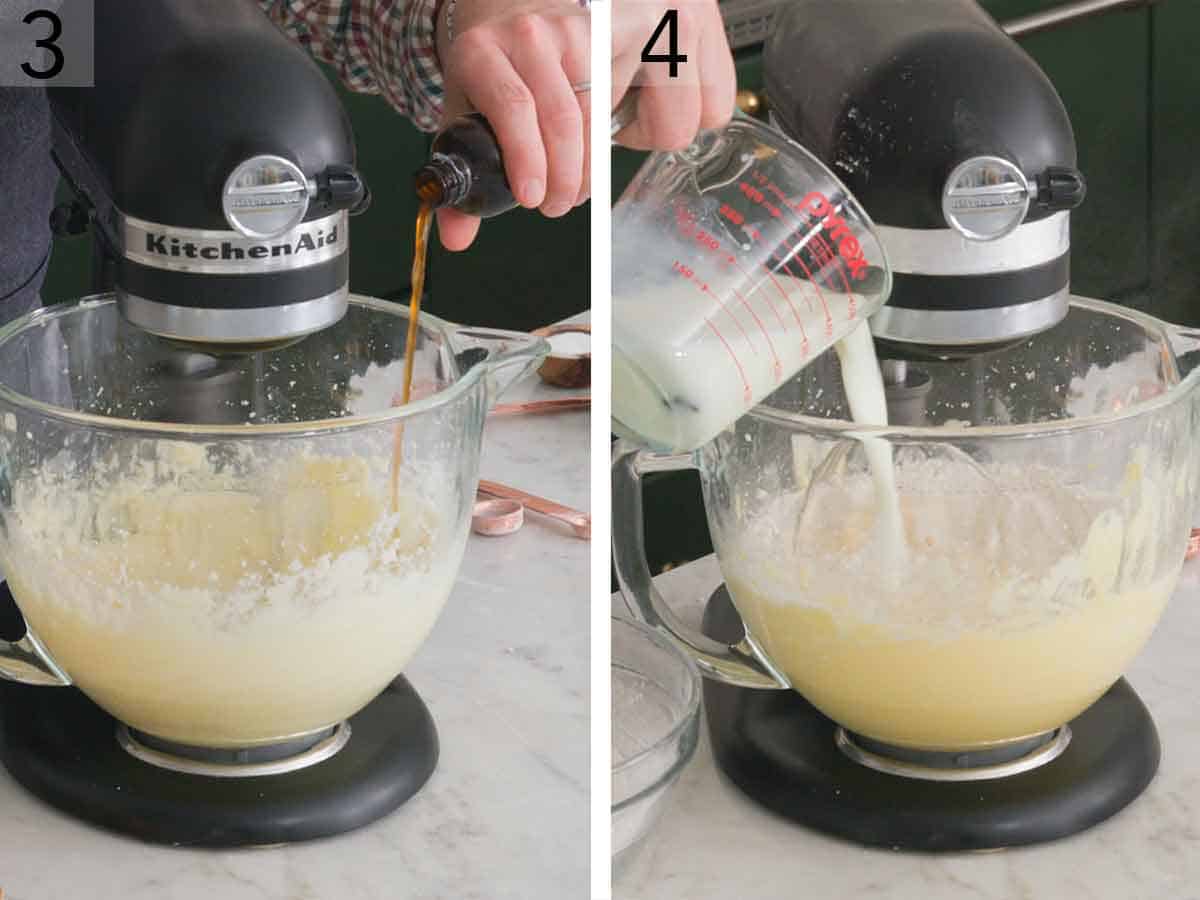
3. Add the vanilla, then eggs one at a time while mixing on medium speed, then scrape the bowl down and mix on high for a minute.
4. Reduce speed to low and add the buttermilk in three batches.
5. Alternate the three batches with the flour. Once almost combined, remove the whisk attachment and fold in the chocolate chips. Divide batter equally between the pans, then bake them until done. Allow to cool before transferring to a cooling rack.
6. Make the frosting by creaming the butter, salt, and sugar before adding the cream and vanilla. Reserve a ⅔ cup of buttercream for the dollops, then add the chocolate chips to the remaining buttercream and mix on low until distributed.

7. Add a thin layer of buttercream onto the first layer and stack the second layer on top. Repeat with the rest of the layers, then cover with buttercream.
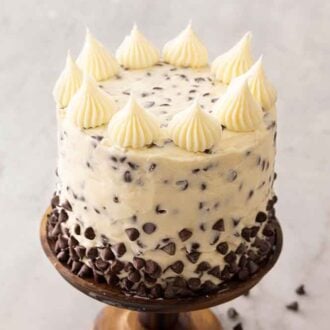
8. Pipe dollops on top and press chocolate chips onto the lower third of the chocolate chip cake.
Pro Tips for Making This Recipe
- I highly recommend using a scale to measure your flour. However, if you don’t have a scale, be sure to fluff your flour with a spoon and then spoon it into your cups before leveling it off with a knife. This method is the best way to measure flour without overpacking the measuring cup.
- Listen to your cake. The cake layers have finished baking when they are quiet. If it makes a crackling sound when you put your ear close, it needs another minute or two.
- You can use cake strips to help your layers come out evenly. Cake strips work by keeping the outside edge of the pan cooler to ensure that the entire cake rises at the same rate, preventing a dome from forming in the middle. If you don’t want to purchase a set, check out my post on getting flat cake layers to learn how to DIY the strips.
- Avoid over-mixing as you risk over-developing the gluten in the batter leading to a tough, dry, and dense cake.
- An offset spatula or bench scraper is perfect for frosting the cake.
- The eggs should be at room temperature to ensure they incorporate evenly into your batter without accidentally over-mixing. If you forgot to bring out your eggs, you could quickly bring them to room temperature by placing them in a large bowl and covering them with warm tap water for 5 minutes.
- I recommend tapping the cake pans on your counter to pop any air bubbles.
- To make the dollops like mine, use an 869 piping tip.
- Mini chocolate chips will be best for the frosting but regular sized chocolate chips will work as well! You can use semisweet or bittersweet depending on your preference.
Frequently Asked Questions
Why did my chocolate chips sink?
Mini chocolate chips weigh less than regular chocolate chips, so it helps prevent them from sinking too much. Avoid over-mixing the batter as well as it makes the batter thin which allows the chocolate chips to sink more rapidly as it bakes. Tossing the chocolate chips in a little bit of flour before baking will help as well. This trick works for nuts and dried fruits in cakes as well.
Will chocolate chips melt inside the cake?
The chocolate chips won’t melt when baked in a cake. They will maintain most of their shape and texture after baking.
Can I make this ahead of time?
If you are making your chocolate chip cake in advance, you can keep the layers at room temperature double wrapped tightly in plastic wrap for up to 3 days. Frosting can be kept in an airtight container for a week in advance. Bring it to room temperature before transferring it to a piping bag. You can also double wrap the cake layers to freeze in a freezer-safe bag for up to a month.
How do I store leftovers?
Wrap any leftover slices of cake in plastic wrap and store them in the fridge. You can also keep them in an airtight container if you have a large enough container.
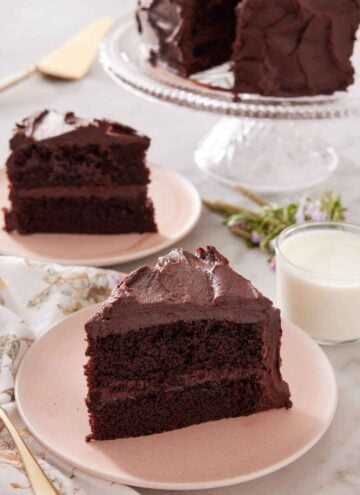
If you love this recipe try these out!

If you’ve tried this Chocolate Chip Cake recipe, then don’t forget to rate the recipe and let me know how you got on in the comments below, I love hearing from you!
Chocolate Chip Cake
Video
Equipment
- 6-inch cake pan
- Mixer
- Piping tip
Ingredients
For the Cake:
- 2½ cups all-purpose flour (280g)
- 2¼ tsp baking powder
- ¾ tsp salt
- 1⅔ cups granulated sugar (333g)
- ¾ cup unsalted butter room temperature (170g)
- 3 large eggs room temperature
- 1 Tbsp vanilla (15mL)
- 1 cup buttermilk (240mL)
- 1 cup mini chocolate chips or regular sized
For the Frosting:
- 1½ cups unsalted butter room temperature
- ¼ tsp salt
- 5 cups powdered sugar
- ¼ cup cream or milk plus more as needed
- 2 tsp vanilla (10mL) plus more to taste if desired
- 1 cup mini chocolate chips or regular sized. Plus more for decorating.
Instructions
For the Cake:
- Preheat oven to 350F and line three 6 inch or two 8 inch pans with parchment paper and butter the sides. Sift the flour, baking powder, and salt into a bowl, then whisk together and set aside.
- Add the chocolate chips to a small bowl and toss with a tablespoon of the flour mixture then set aside.
- Cream the butter in a stand mixer fitted with a whisk attachment or an electric hand mixer. Add the sugar and beat on high for 3-4 minutes, scraping the bowl down as needed. Add the vanilla, then eggs one at a time while mixing on medium speed, then scrape the bowl down and mix in high for a minute.
- Reduce speed to low and add the flour in three batches alternating with the buttermilk. Once almost combined, remove the whisk attachment and fold in the chocolate chips. Do not over-mix the batter.
- Divide batter equally between the pans, then bake at 350F for about 30 minutes or until the edges pull away from the pan, and a toothpick inserted in the center comes out clean.
- Allow to cool in pan for about two minutes, then invert layers onto a cooling rack, remove the paper, and set aside to cool completely.
For the Frosting
- Cream the butter and salt in a stand mixer fitted with a paddle attachment or an electric hand mixer. Add the sugar a few cups at a time while mixing on low. Drizzle in the cream and vanilla, then scrape the bowl down and increase speed to high. Mix for about three minutes, then reduce the speed to low and mix an additional minute. Reserve a 2/3 a cup of buttercream for the dolls then add the chocolate chips to the remaining buttercream and mix on low until distributed.
- Once the cake layers are cool add a thin layer of buttercream onto the first layer and stack the second layer on top. Repeat until the cake is built then cover with buttercream and smooth. Pipe dollops on top and press chocolate chips onto the lower third of the cake.
Notes
- I highly recommend using a scale to measure your flour. However, if you don’t have a scale, be sure to fluff your flour with a spoon and then spoon it into your cups before leveling it off with a knife. This method is the best way to measure flour without overpacking the measuring cup.
- Listen to your cake. The cake layers have finished baking when they are quiet. If it makes a crackling sound when you put your ear close, it needs another minute or two.
- You can use cake strips to help your layers come out evenly. Cake strips work by keeping the outside edge of the pan cooler to ensure that the entire cake rises at the same rate, preventing a dome from forming in the middle. If you don’t want to purchase a set, check out my post on getting flat cake layers to learn how to DIY the strips.
- Avoid over-mixing as you risk over-developing the gluten in the batter leading to a tough, dry, and dense cake.
- An offset spatula or bench scraper is perfect for frosting the cake.
- The eggs should be at room temperature to ensure they incorporate evenly into your batter without accidentally over-mixing. If you forgot to bring out your eggs, you could quickly bring them to room temperature by placing them in a large bowl and covering them with warm tap water for 5 minutes.
- I recommend tapping the cake pans on your counter to pop any air bubbles.
- To make the dollops like mine, use an 869 piping tip.
- Mini chocolate chips will be best for the frosting but regular sized chocolate chips will work as well! You can use semisweet or bittersweet depending on your preference.
Nutrition
Janet Wadlington says
I have made this cake several times and everyone loves it!
Caity says
I made this last week for my daughter’s birthday. It was absolutely delicious! The cake itself was amazing, but the frosting was incredible! I want to use it all the time now. Thank you for the recipe. I will definitely make this again!
Karen Koeberlein says
Hi! I used kefir instead of buttermilk and I also did 1/2 brown sugar and 1/2 granulated. I wanted it to be flavored like a choc chip cookies. I can’t wait to try it. It’s for my husband’s b day tomorrow
Amy says
Hello! I made this cake for my mom’s 82nd birthday which we celebrated today. The cake was beyond amazing and I will definitely be adding it to my scape book of cake recipes. It was perfectly delicious! Another plus was the recipe directions were precise and easy to follow. If I could attach a photo I would include a picture of my cake. Thank you!!!
Erin says
This is fantastic! It is our new go to for birthdays. Thank you so much.
Cake recipe says
very nice and Helpful
Freni says
I love this cake! I enjoyed creating it! Thanks John for this beautiful and delicious cake! You always amaze me with your recipes! Thank you! 😃👏👏👏
Kate says
This was the first cake I made and I didn’t use cake strips. It may have turned out sloppy looking but man it was DELICIOUS! So buttery and addictive. I used cake strips on a white cake later that was looked amazing and I can’t wait to do this one again with them.
John K. says
Hi Kate,
It always makes me happy when I hear that someone is just as excited about cake strips as I am!
I’m also glad you enjoyed the cake.
Best,
John
Norma Byron-Corbo says
Will you be making this cake for your YouTube channel? I am somewhat of a visual learner and would love to try this cake!
John K. says
Hello Norma,
I completely understand. It is on my list of many things to film. I will try to get to it soon so you can get to baking!
Best,
John
Norma Byron-Corbo says
Awe, thank you so much!
Paula says
Nice looking cake! I actually made a vanilla cake tonight (also in 6″ pans) using mini chocolate chips. My family said it was really good, but I am curious about yours, as some of your ingredients are different. I love to make tall cakes and wonder about how tall yours was? And, as yours has only egg whites, do you consider this a white cake with chocolate chips, or a vanilla cake? Thanks very much!
Tammie says
I’m a bit confused. I just read the ingredient list and directions. In your reply you state that John is using egg whites only but I don’t see that written anywhere. Did the recipe change at some point? I know when I’m using just egg whites in a cake it is considered a “white cake”. Just thought I’d add that previous sentence to hopefully answer your question. Happy baking…