
This post may contain affiliate links. Please read our disclosure policy.
Confused by the difference between a cupcake pan and a muffin pan, or unsure which size to use for which recipe? This guide covers the three standard pan sizes, five materials worth knowing about, specialty pans like muffin top and popover pans, and how to get great results from each.
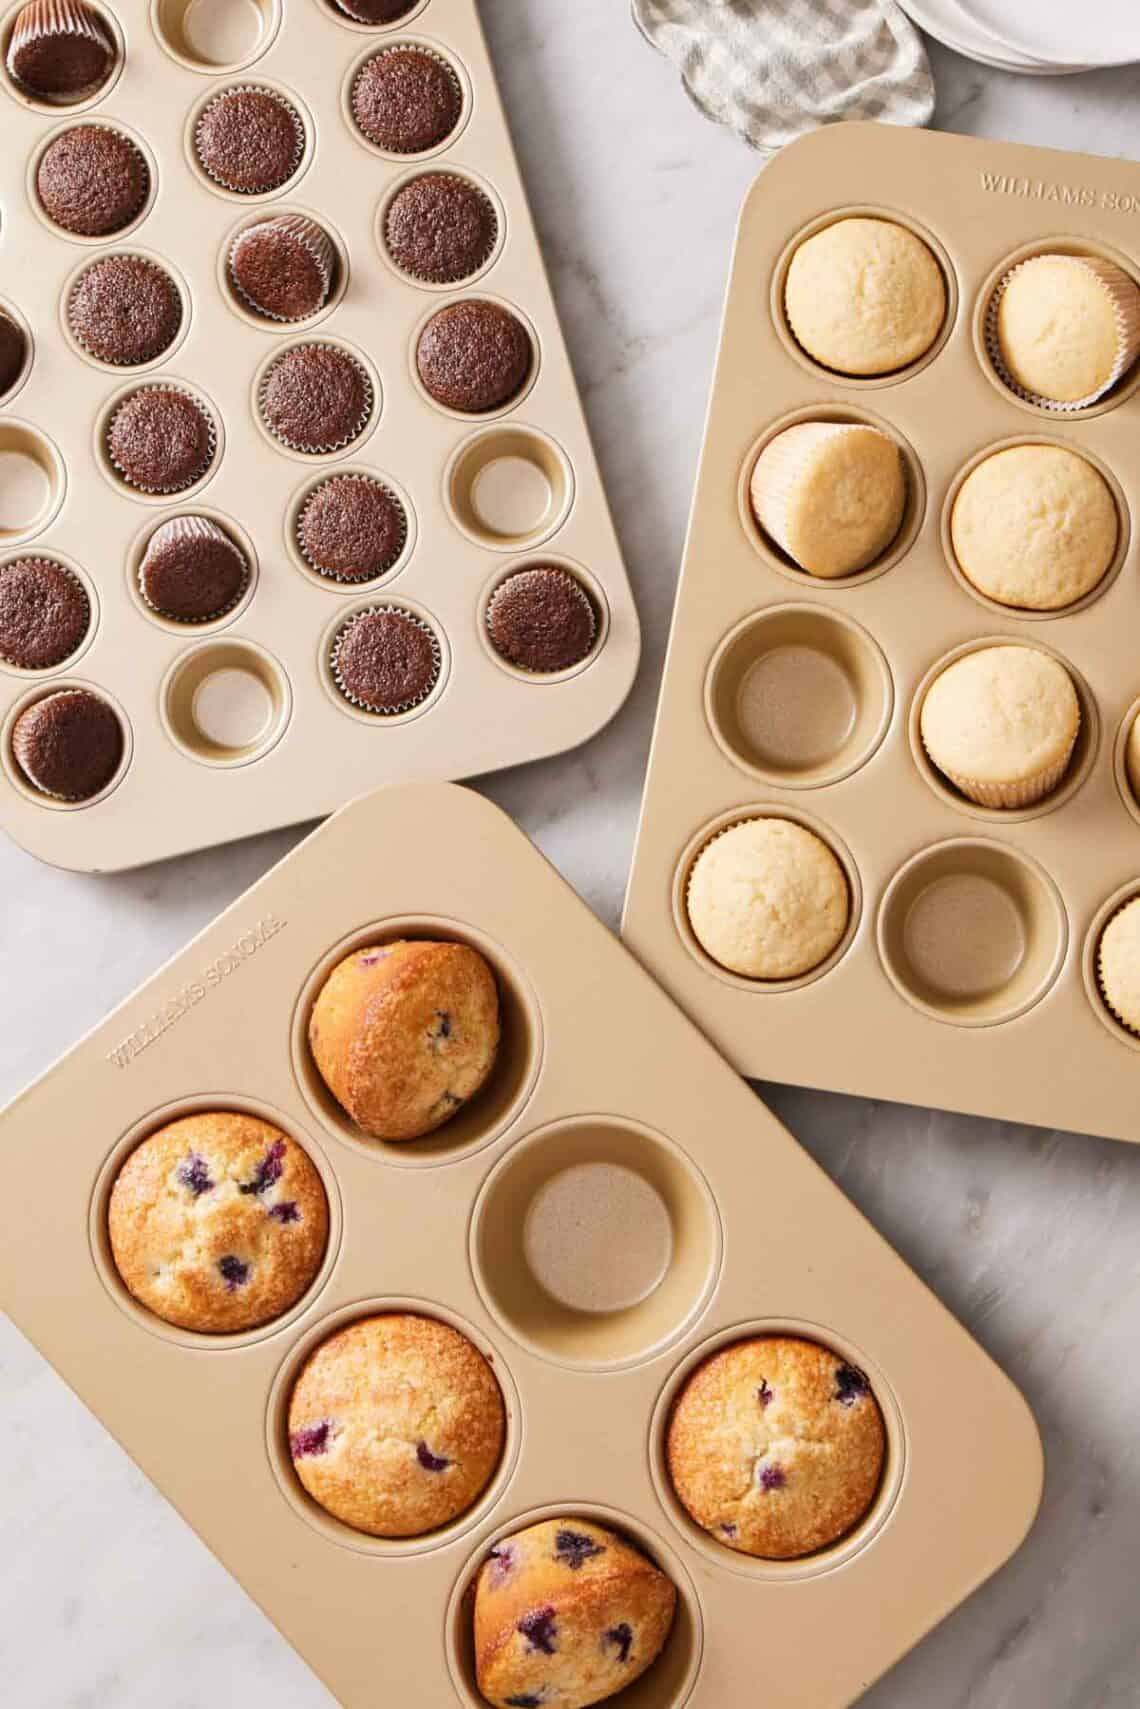
A “cupcake pan” sounds like a specific tool, and it is generally a specific type of pan with different labels—muffin pan, cupcake tray, muffin tin, cupcake pan. After enough years of baking, I can tell you most of the difference is just labeling. The pans are the same, and the name generally reflects what’s getting baked in it. The differences that actually matter are size (mini, standard, jumbo, muffin top), material (nonstick steel, natural aluminum, silicone, ceramic, cast iron), and finish (light vs. dark). Those genuinely change how your cupcakes bake.
In this lesson, I’ll walk you through the three standard cupcake pan sizes with the dimensions and yields I use in my testing, the five pan materials I’ve baked in repeatedly with the pros and cons of each, the specialty pans worth knowing about, and why pan color matters more than most bakers realize. I’ll also cover the question I get most often: can I use a muffin pan to bake cupcakes? (Yes. They’re the same pan!)
“I’ve always wondered if I was missing some detail about muffin pans and cupcake pans being different. Thank you for clarifying! Also, the chart on batter volumes was so helpful for me. I love being able to modify my favorite cupcake recipes to make standard and mini cupcakes.”
Martine
Are Cupcake Pans And Muffin Pans The Same Thing?
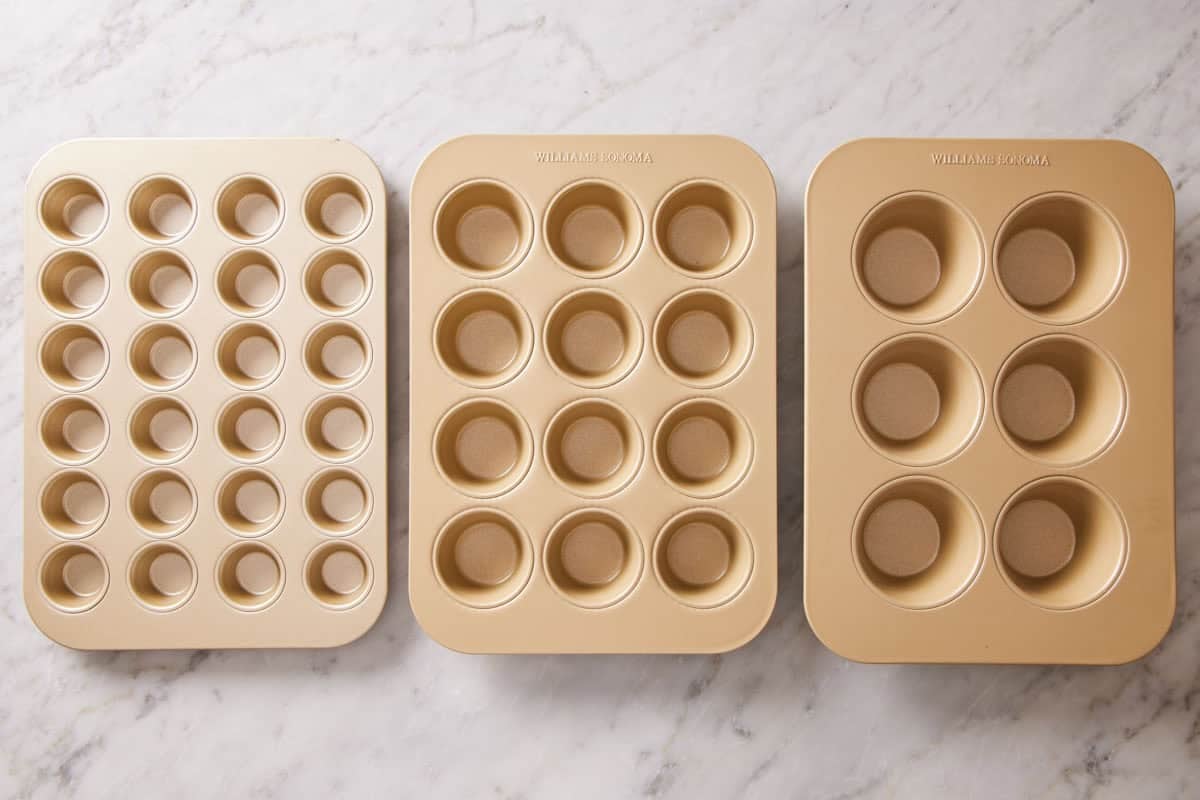
Yes, a cupcake pan and a muffin pan are the same thing. The label depends on what manufacturers expect you to bake in it, not on any actual structural difference. A standard 12-cup pan with 2½-inch round cavities bakes cupcakes and muffins equally well.
The reason the names are interchangeable is that cupcakes and muffins are both baked the same way—they need a volume-controlled cavity to hold their shape. The cavity dimensions are what matter, not the pan’s name on the label. If your recipe calls for a cupcake pan and you think, “I only have a muffin pan,” you’re already done because that is also a cupcake pan!
What does change between recipes is the size of the cavity, the material of the pan, and the color of the finish, all of which affect bake time, browning, and how easily the finished cupcake releases. This is what we’ll cover throughout the rest of this lesson.
The Three Standard Cupcake Pan Sizes
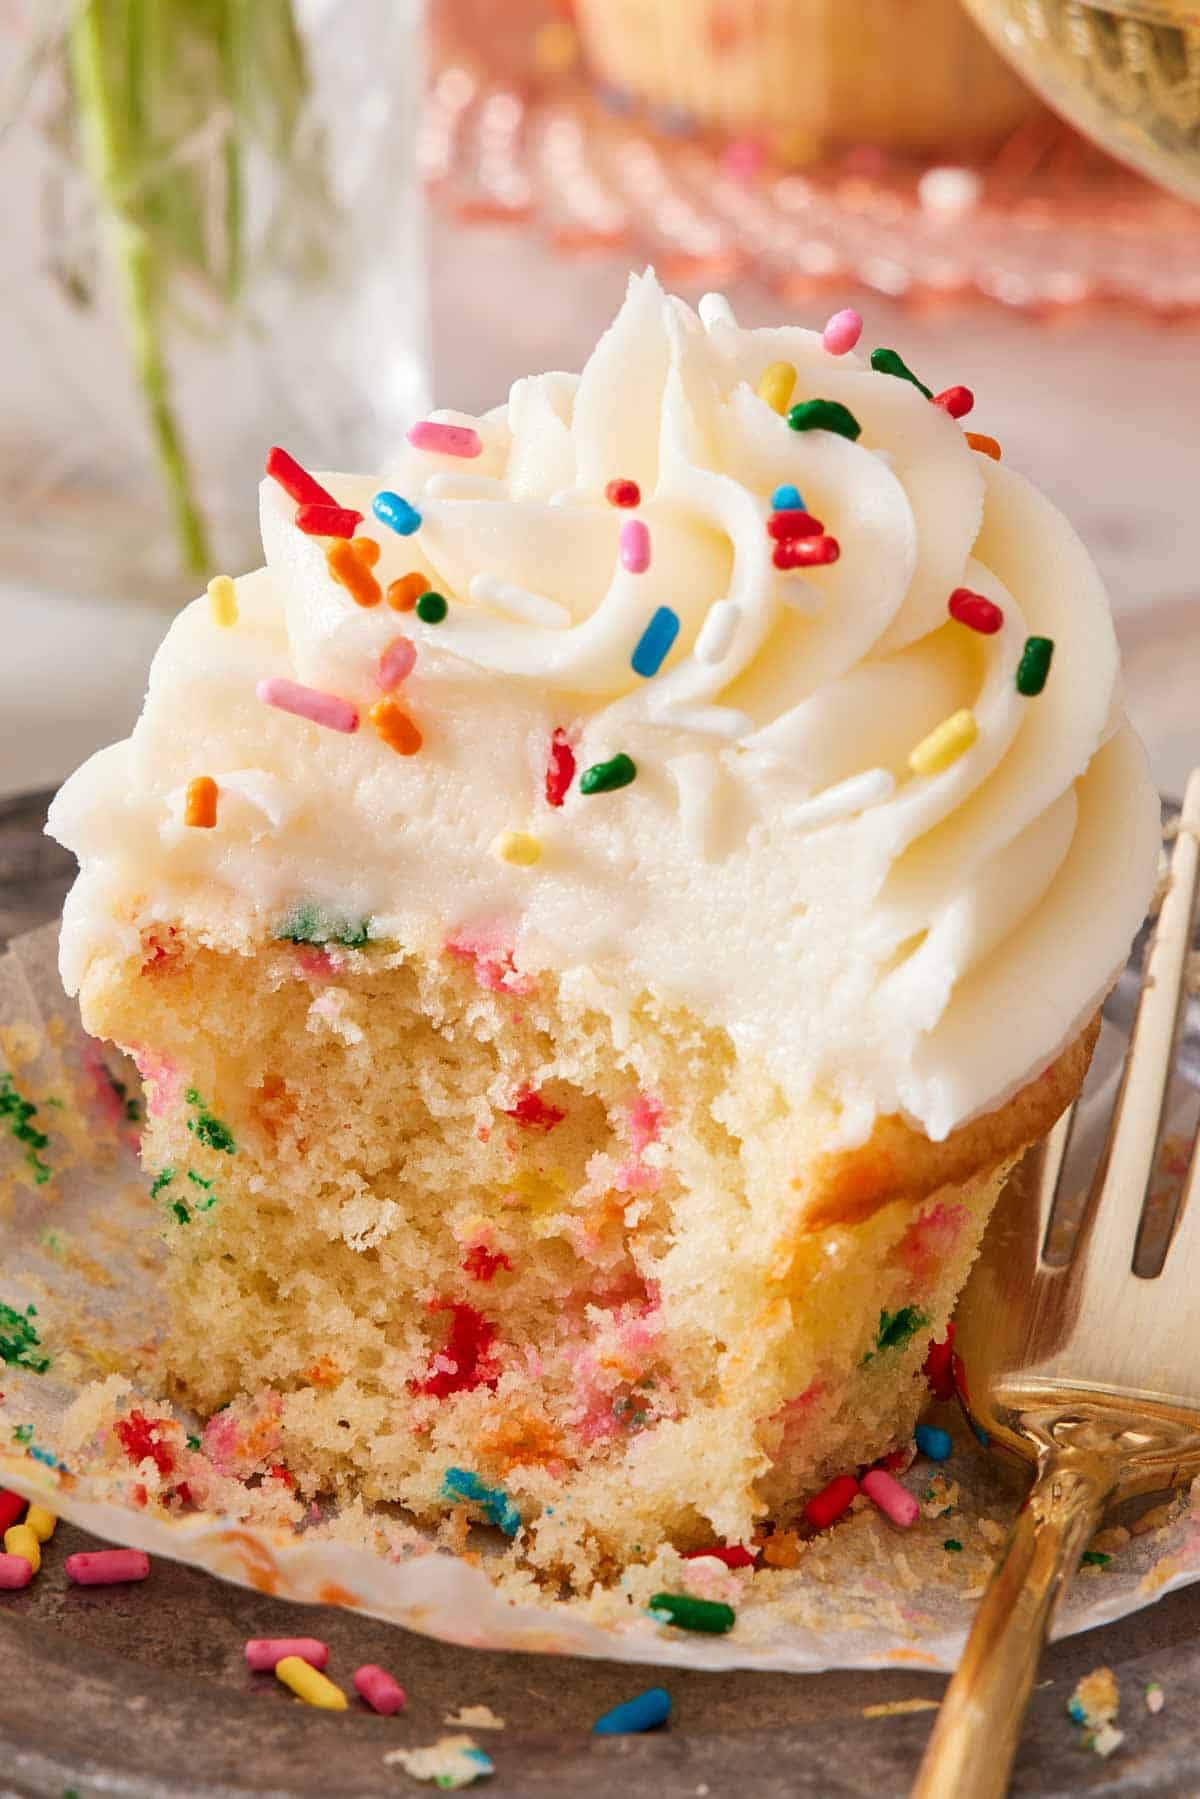
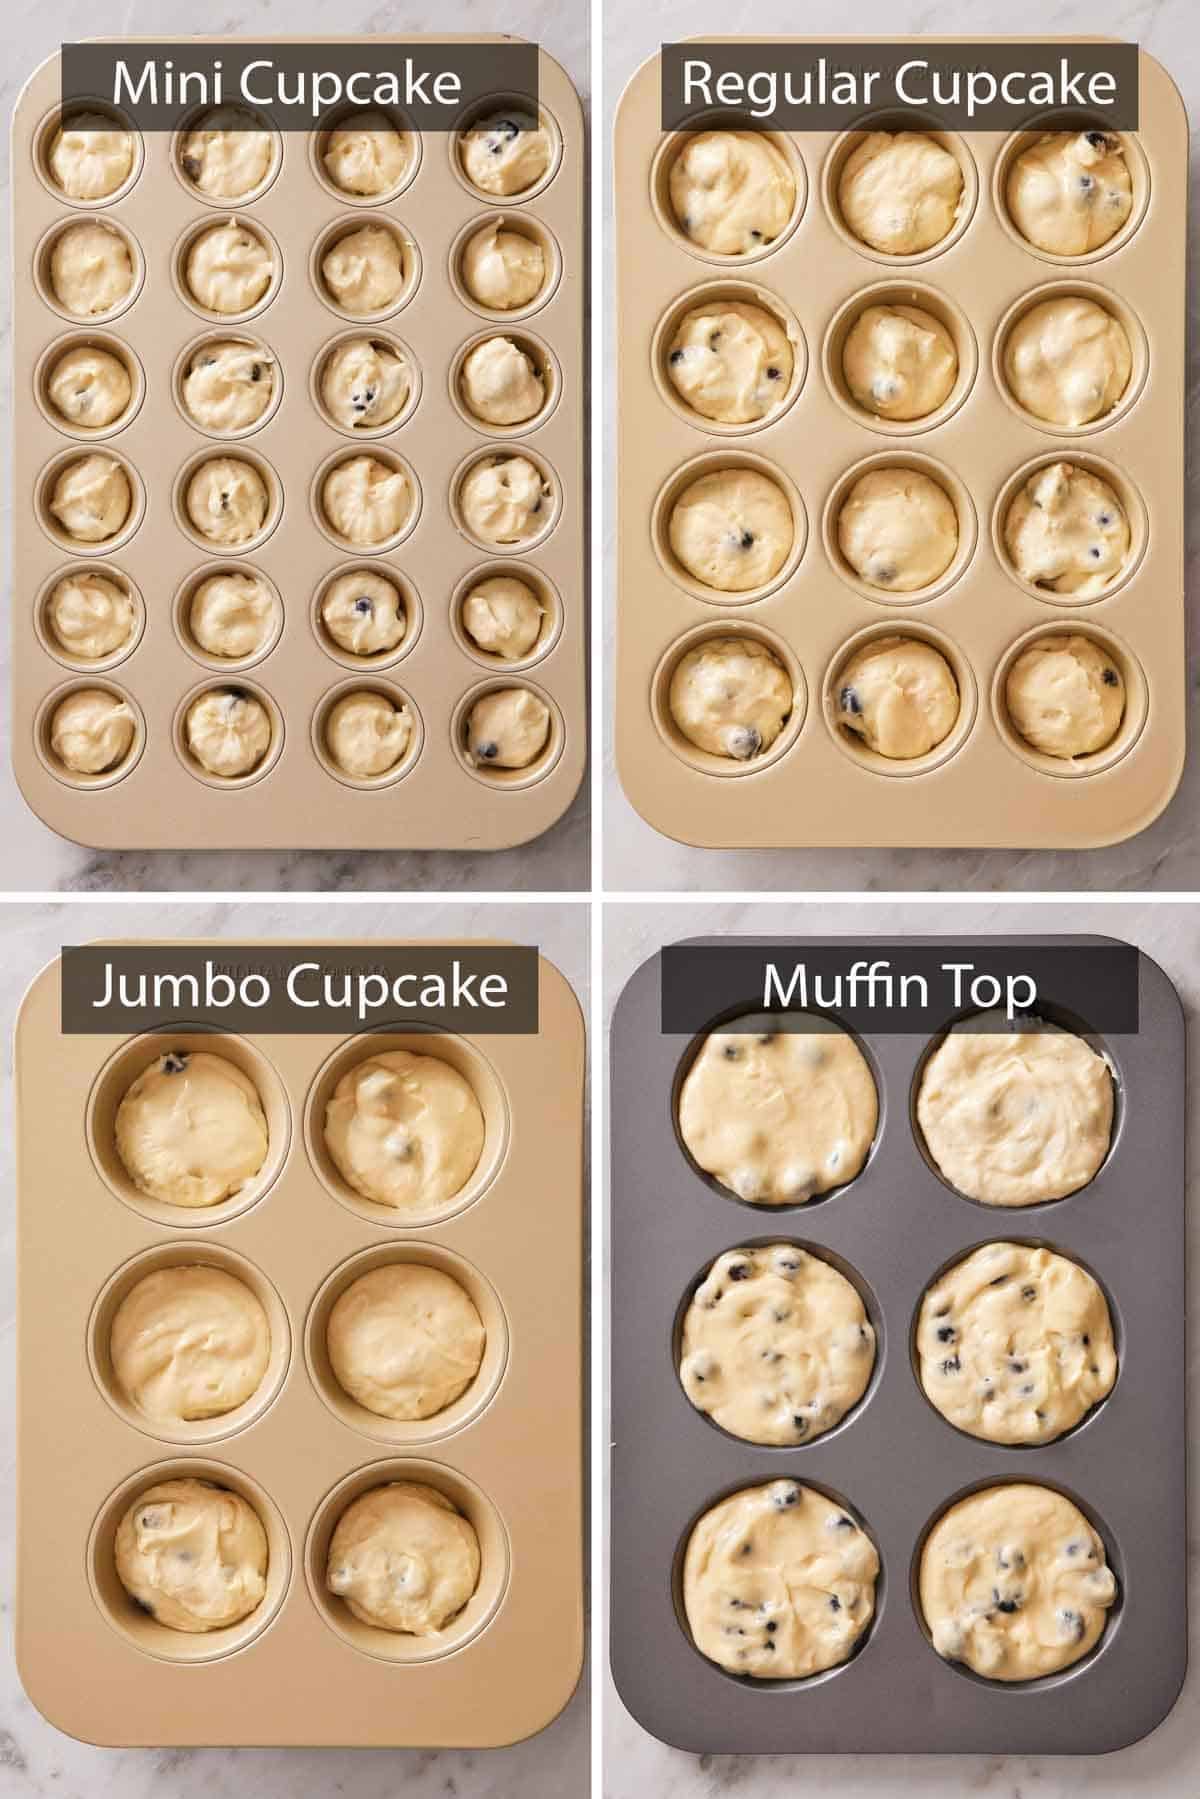
Most cupcake pans you’ll find at a grocery store, kitchen shop, or online fall into one of three sizes. Here’s what each one looks like in use and how the recipes I use translate between them.
| Pan Size | Cavity Dimensions | Batter Per Cavity | Yield from a Standard Recipe* | Bake Time |
| Mini | 1¾-2″ diameter x 1″ deep | ~1 tbsp | ~48 mini | 10-14 min |
| Standard | 2½” diameter x 1¼” deep | ~3 tbsp (filled ⅔) | 12 standard | 18-22 min |
| Jumbo | 3½” diameter x 1¾” deep | ~⅔ cup | 6 jumbo | 22-28 min |
| Bonus: Muffin Top | 3″ diameter x ⅝” deep | ~3 tbsp | 6 muffin tops | 12-16 min |
*Yield based on a standard recipe sized for a 12-cup pan, like my vanilla cupcakes (about 3 cups of batter total).
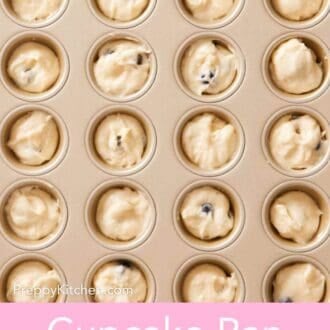
Mini cupcake pan. A mini pan typically has 24 cavities arranged in a 4×6 grid, each holding about a tablespoon of batter. Mini cupcakes are bite-sized—perfect for parties, kids’ birthdays, or tea services. They bake fast (10-14 minutes versus 18-22 for standard). I use mini pans for big events where I want a higher volume from the same volume of batter. My mini cupcake recipe is designed just for that!
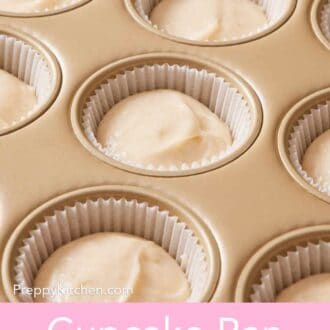
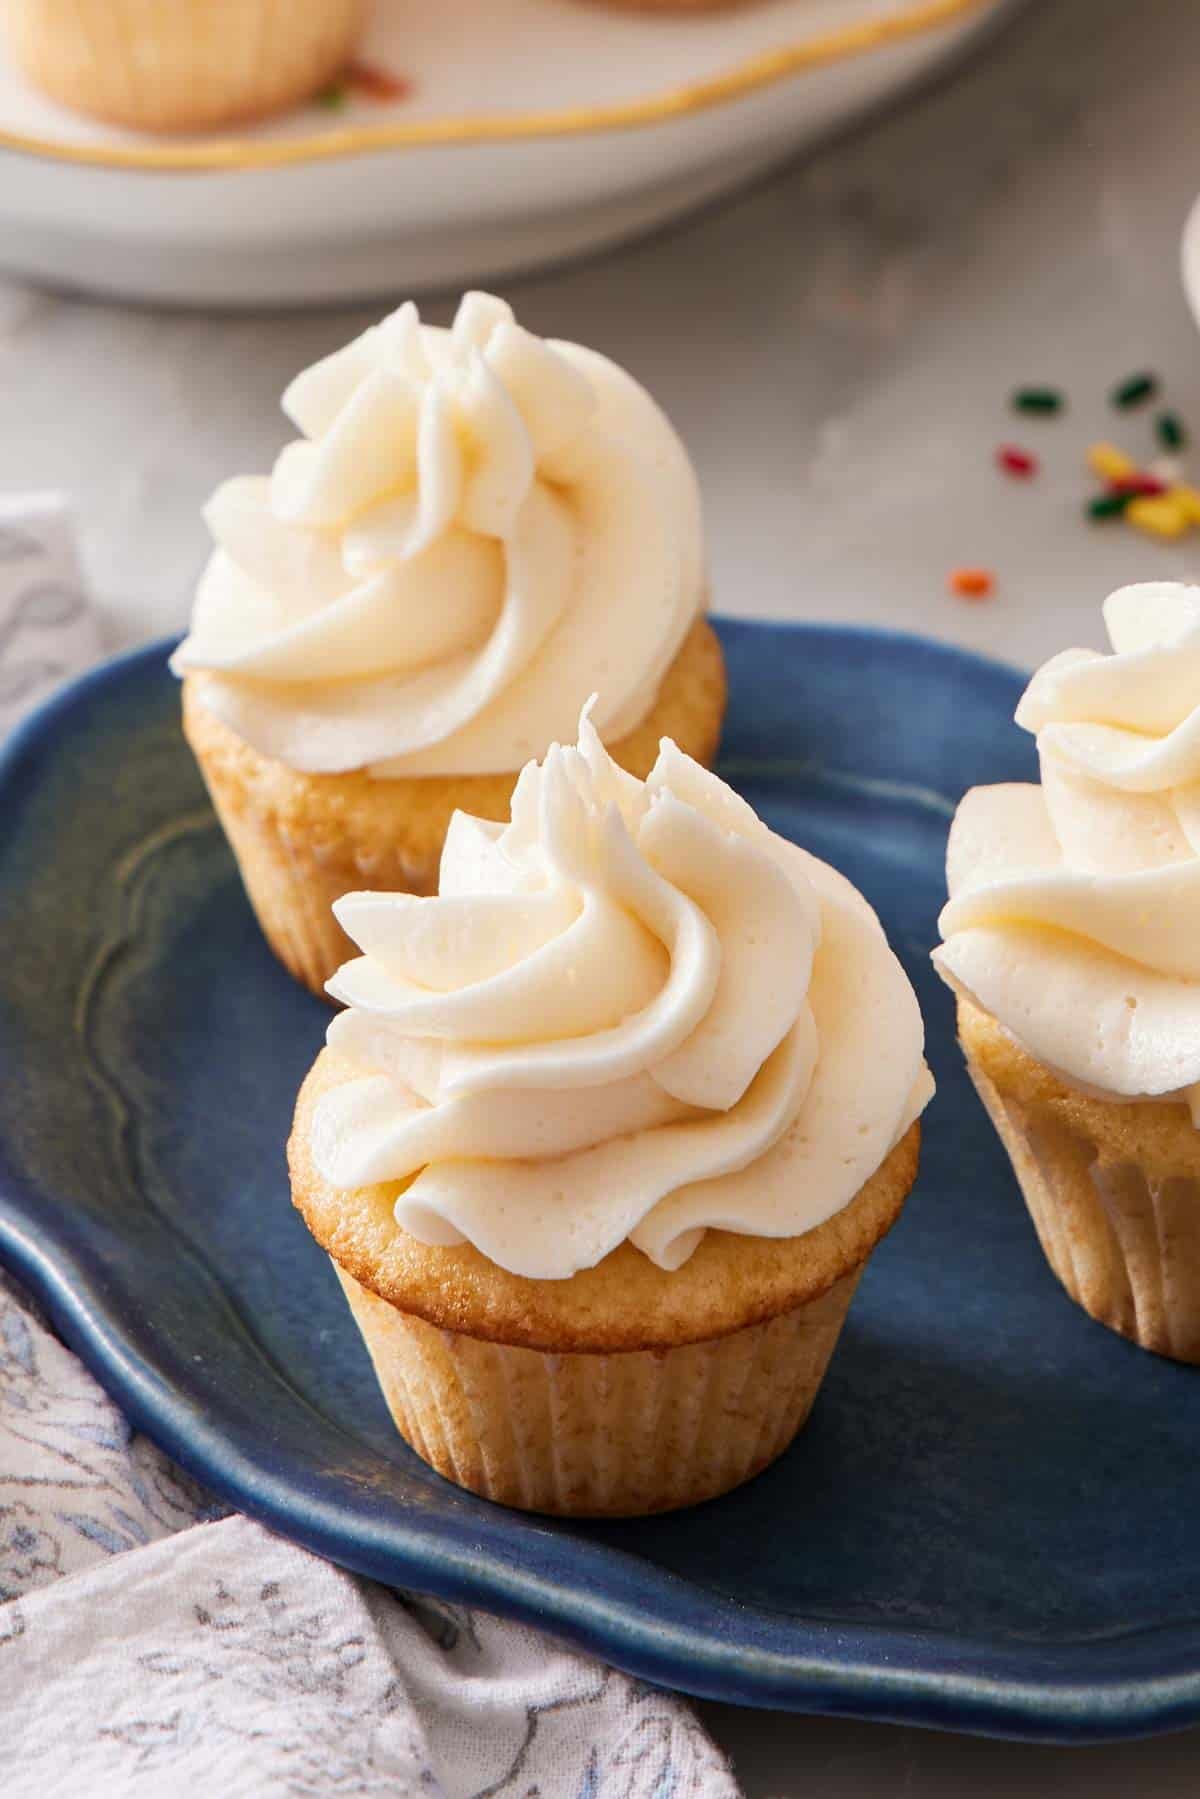
Standard cupcake pan. This is the pan most recipes are written for, and what I use the vast majority of the time for cupcakes and muffins. Pans typically have 12 cavities, though you can find half pans with 6 cups each. My vanilla cupcake recipe, lemon cupcake recipe, and red velvet cupcake recipe are all written for this size.
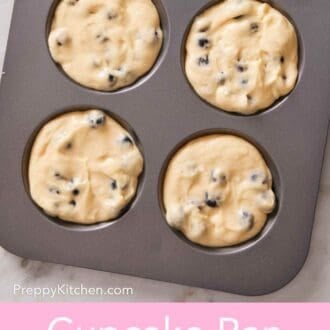
Jumbo cupcake pan. A jumbo pan has 6 large cavities, closer to the size of a small cake than a cupcake, honestly! They’re impressive for individual servings (think: bakery-style muffins), and they take significantly longer to bake. The most common mistake I see with jumbo cupcakes is bakers using the same bake time as a standard pan. In my testing, the same vanilla cupcake batter went from 19 minutes in a standard pan to 26 minutes in a jumbo pan—about a 35% longer bake. Add roughly 5 to 8 minutes onto the top range of the baking time in the recipe, and always use a toothpick test to determine if they are done.
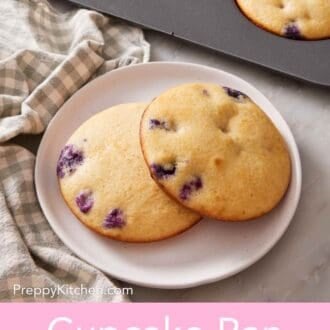
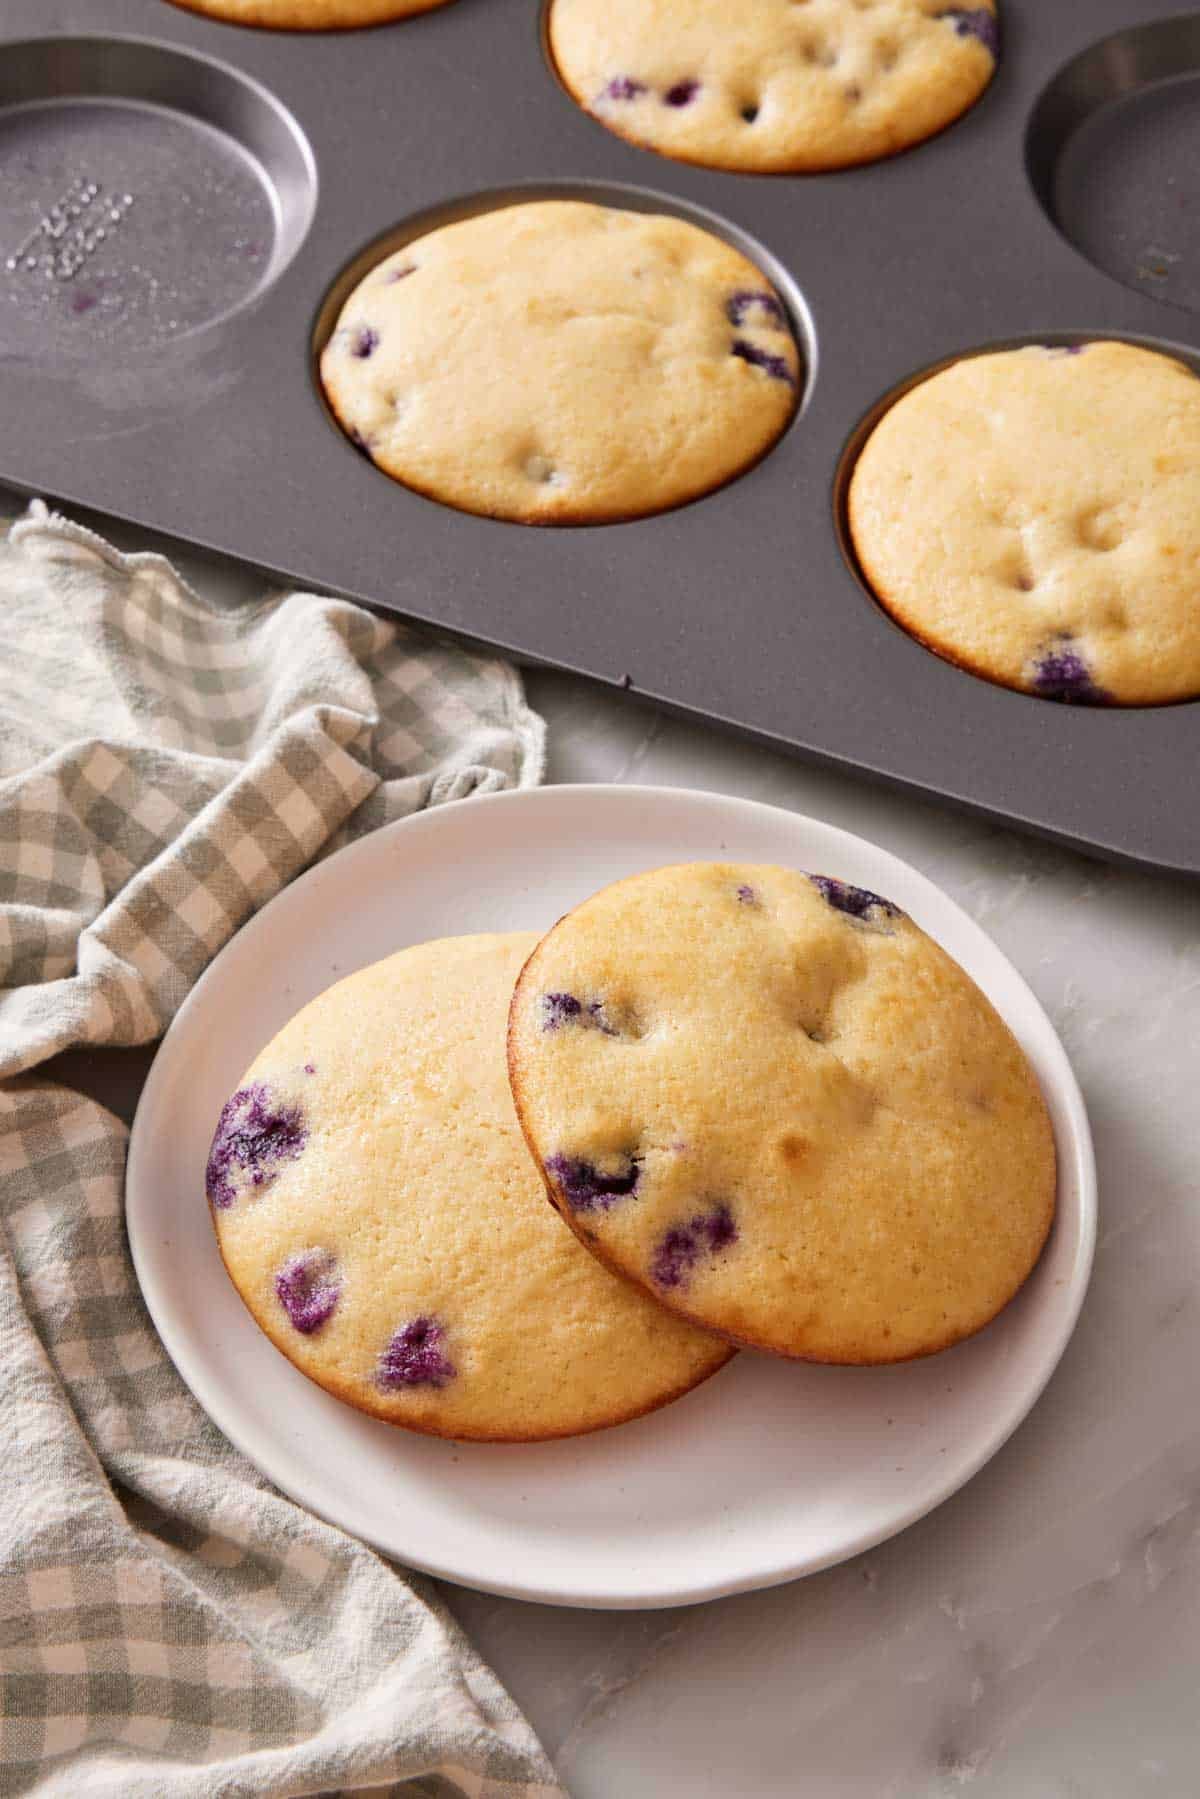
Specialty: Muffin top pan. Six wide, shallow cavities that bake just the dome of a muffin or cupcake. They’re great for making your favorite muffin-tops, whoopie pies, and even baked eggs for breakfast sandwiches. There’s more on this pan in the Specialty section below.
Which Material Bakes Best?
The material your pan is made of changes how it conducts heat, how cupcakes brown, and how easily they release. Here are the five main materials used to make cupcake pans and the pros and cons of each:
| Material | Pros | Cons |
| Nonstick steel (my default) | Warp-resistant at high baking temperatures. The nonstick coating helps cupcakes release easily if you skip liners or if the tops spread over the rim. Widely available and affordable. | Some are hand-wash only because of the coating. Darker-colored coatings run hotter and can over-brown the bottoms and sides. |
| Natural aluminum | Durable and warp-resistant. Excellent heat conductor. What most professional bakeries use. Even browning, slightly darker than light-colored stainless steel pans. | Not nonstick. Reacts with acidic ingredients (lemon, buttermilk), so you have to use liners or grease the pan well. Hand-wash only. |
| Silicone | Releases cupcakes effortlessly. Freezer- and dishwasher-safe. Forgiving for sticky batters and beginners. | Flimsy, and must be set on a baking sheet before filling. Doesn’t conduct heat the way metal does, so the bottoms and sides don’t brown well; the outside can come out soft or slightly sticky. Retains odors over time. |
| Ceramic | Pretty enough to double as a serving dish. The glossy glaze creates a semi-nonstick surface naturally, no coating required. | Insulates so well that baked goods don’t develop much of a crust. That’s fine for egg bites or recipes that should stay tender, but not great for cupcakes or muffins that benefit from a structured outside. Bulky and typically come in 6-cup-sized pans. |
| Cast iron | Conducts heat exceptionally well. Develops the most pronounced, even crust of any material. Ideal for cornbread muffins or pull-apart-style baked goods where crisp edges are part of the appeal. | Heavy. Requires seasoning and special maintenance to stay nonstick. Overkill for standard frosted cupcakes. The wells are typically a bit smaller than a standard cupcake pan. |
Nonstick steel is my default for everything. It conducts heat well enough to brown reliably, releases cleanly, and survives the dishwasher (with brand-specific exceptions). Natural aluminum is the upgrade if you do a lot of high-volume baking and don’t mind hand-washing. The other three each have a use but aren’t general-purpose.
Specialty Cupcake & Muffin Pans
These aren’t strictly “standard” cupcake pans, but they live in the same drawer and come up in the same conversations.
Muffin top pans. As covered in the sizes table above, muffin top pans have wide, shallow cavities that bake just the dome of a muffin or cupcake. They’re not a substitute for a regular cupcake pan since they make a different shape entirely. If you’re new to baking, you don’t need one, but if you love muffin tops, it can be worth having.
Popover pans. Popover pans look like cupcake pans but with deep, narrow cavities, designed to give popovers the height they need to balloon up. The cavities are typically 2½ inches deep (versus 1¼ for standard cupcake pans). Don’t substitute these for cupcakes; the depth-to-width ratio is wrong, and you’ll end up with awkward column-shaped cakes.
Fluted or textured pans. This category includes canele molds, mini bundt-style cupcake pans, and patterned pans with ridges or fluted sides. They’re built for specific recipes—caneles, mini bundts, gugelhupfs—where the dramatic shape is the point. They tend to be coated, non-stick steel with intricate textures. They’re not interchangeable with a standard cupcake pan, though. The heat distribution and shape are wrong for cupcake batter, and the textured surface makes liner-less release tricky for batters that aren’t designed for it. If a recipe calls for one, like my mini bundt cakes, use it. If a recipe doesn’t, you don’t need it.
Light vs. Dark Pans: Why Color Matters
This is one of the most overlooked things about pan choice, and it changes results more than most home bakers realize. Two pans of the same shape and size can produce noticeably different cupcakes if one is light-colored aluminum and the other is dark non-stick steel.
Light pans (raw aluminum, light gold, or silver finishes). Reflects more radiant heat and runs cooler at the same oven setting than a dark pan. Browning is gentler and slower, with more even color across the top, sides, and bottom. Light pans are the safer default if you’re working with delicate or pale-colored cupcakes (vanilla, lemon, white) where over-browning would show. Most professional bakery pans are light aluminum for exactly this reason.
Dark pans (dark non-stick coatings, blackened steel). Absorb more radiant heat and run hotter at the same oven setting—sometimes 25°F hotter or more, depending on the finish. Browning is more pronounced, with deeper color on the bottoms and sides. Dark pans are good for cornbread muffins or anything where you want a robust crust, but they can over-brown and dry out delicate batters if you’re not paying attention.
I tested my vanilla cupcake batter in three different pans to show you the results. I baked in my go-to William Sonoma Gold Touch pan (steel, non-stick), a Nordic Ware Naturals aluminum pan (uncoated), and a Wilton Premium pan with a black finish (steel, non-stick). The cupcakes in the gold pan turned out with a softer browning on the edges and a good rise. The cupcakes in the aluminum pan rose about the same way with slightly darker edges, but overall had great results. The cupcakes in the dark pan browned far more on the sides and bottom, setting the structure and limiting the rise, so the cupcake baked up smaller and denser.
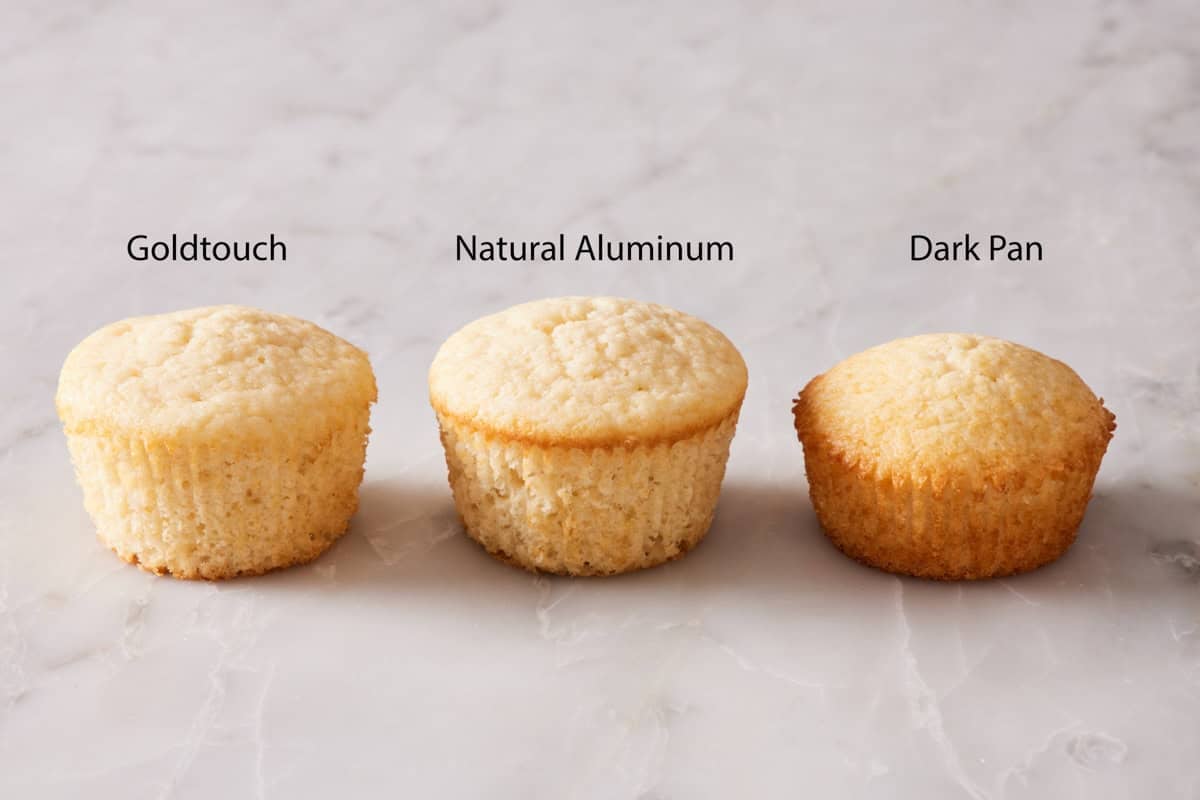
The practical fix: if your dark pan keeps over-browning your cupcakes, lower your oven by 25°F. Or, if you’re shopping for a new pan, lean toward a lighter-finish pan. The difference is real, and accounting for it solves a lot of “why are my cupcakes always too brown and small” complaints.
How To Bake Well In Any Cupcake Pan
Regardless of which pan you’re using, a few rules apply across the board.
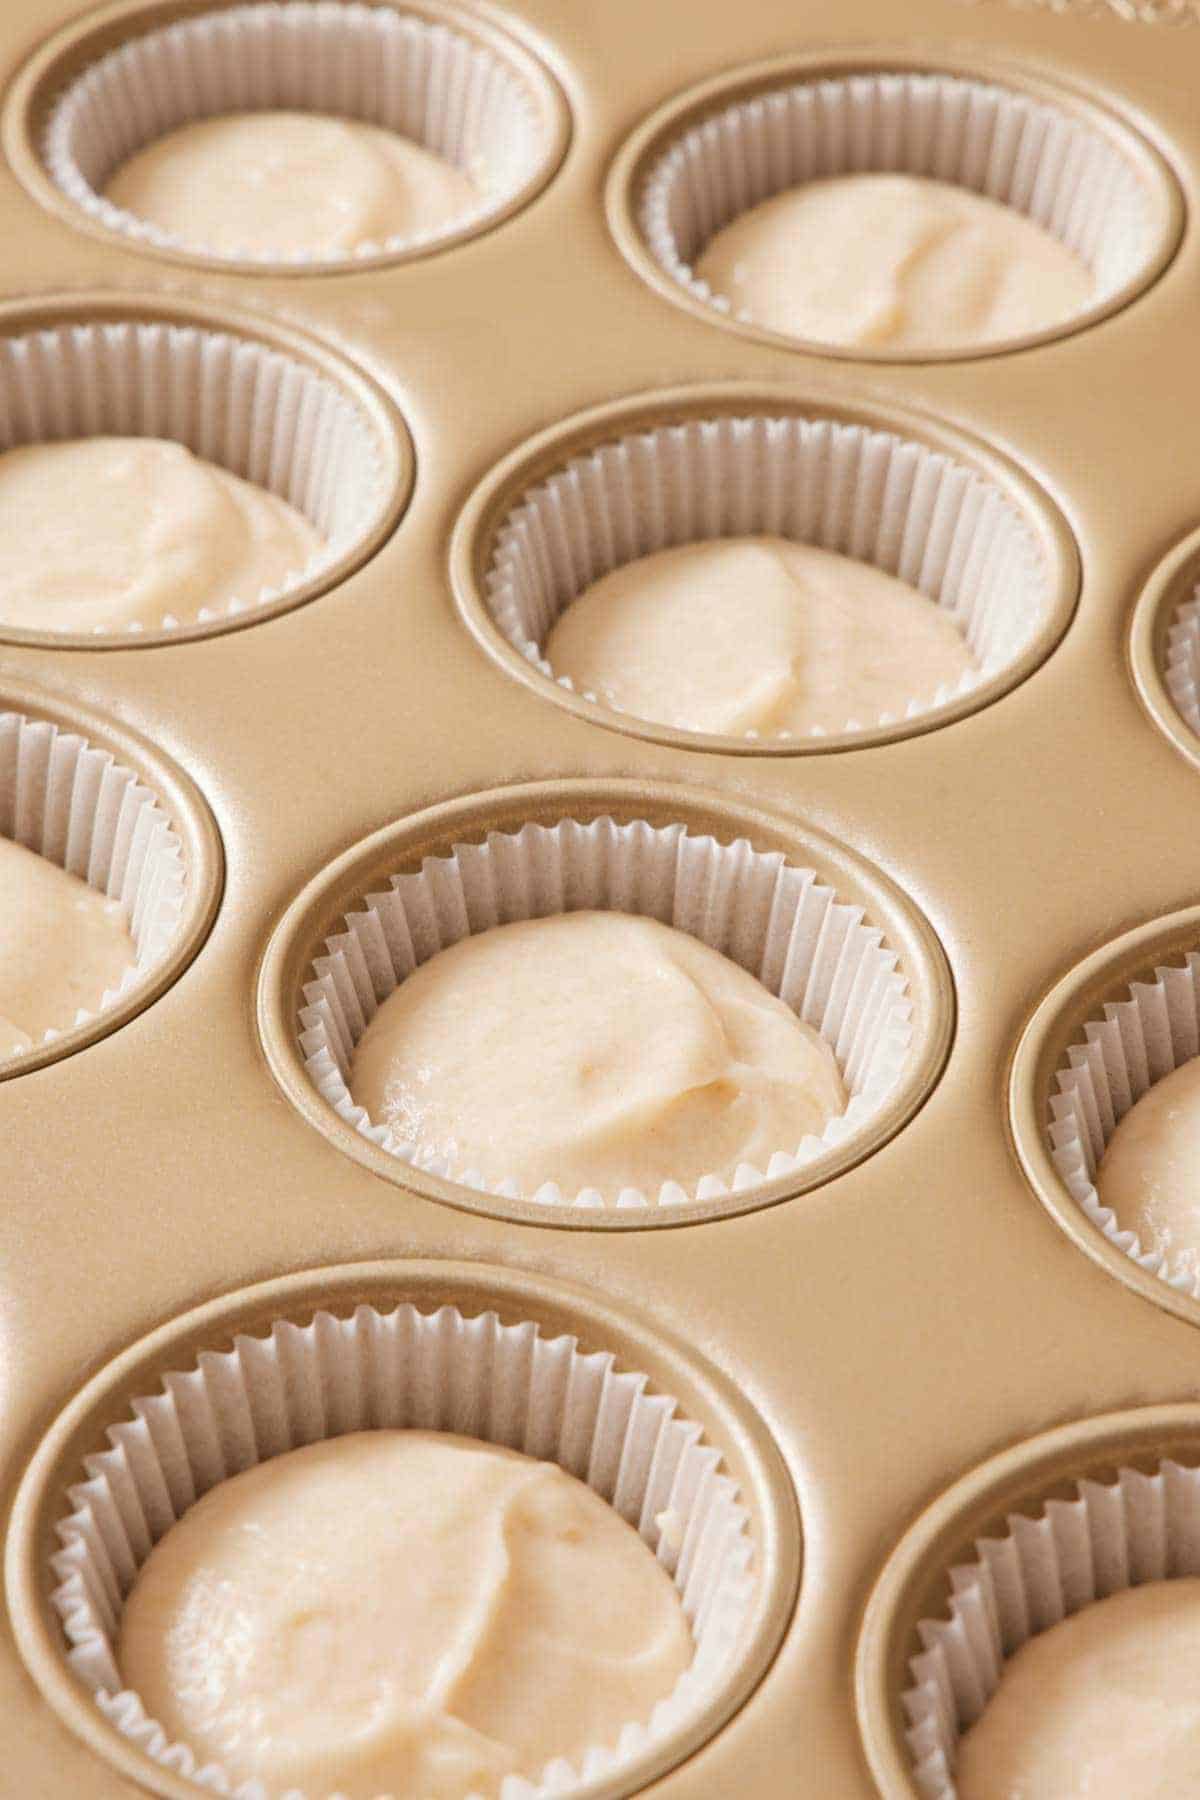
Fill cups ⅔ full, generally. Filling more can produce overflowing mushroom tops. Filling less produces flat or smaller cupcakes. Two-thirds full leaves room for the batter to rise and dome without spilling over. For a standard pan, that’s about 3 tablespoons of batter per cavity. This may vary based on your recipe—anything from how thick the batter is to how much leavener is used can affect just how much it rises. Use this general rule if you are adapting a recipe to a different cupcake pan size.
Use liners most of the time. Liners make release easy, keep cleanup simple, and add visual interest to finished cupcakes. The exception is when the recipe specifically calls for a pan-greased approach (some muffins benefit from direct pan contact for a crisper edge). For pans without liners, a quick brush with oil or butter plus a light dusting of flour, or a baking spray that includes flour, prevents sticking.
Match liners to pan size. Standard cupcake liners fit standard pans. You’ll need different liners for mini and jumbo. Don’t try to make standard liners work in a mini pan—they crumple, and you end up with misshapen cupcakes. You usually find all three sizes in your grocery store baking aisle with the sprinkles and cake decorations.
Bake one pan at a time on the center rack for the most even results. If you have to bake two pans simultaneously, position them on the upper-middle and lower-middle racks and rotate at the halfway point. Check out my lesson on Knowing Your Oven to learn exactly what position your oven racks should be for the best results.
Let the pan cool before re-using it. A hot pan will start cooking the second batch of batter the moment you scoop it in, which can affect the final shape and rise. 5-10 minutes on a cooling rack once the cavities are empty is generally enough.
FAQs
Yes. Without a pan, paper liners on a flat baking sheet will spread outward as the batter heats up, and your cupcakes will be flat and saucer-shaped instead of tall and upright.
For some uses, yes. Silicone pans release cupcakes effortlessly and are dishwasher-safe, which is genuinely useful for kids’ baking and for sticky bakes. The trade-off is browning: silicone doesn’t conduct heat the way metal does, so cupcake bottoms and sides come out paler. They are also floppy, so you should always set silicone pans on a sheet pan before filling, and bake them on the pan. I find them more obnoxious to use than a metal pan, so I recommend those first.
Many recipes are designed this way to hold frosting well. I typically test my cupcake recipes to have a flatter or slightly domed top versus the tall, impressive dome I like on muffins. If your recipe bakes flat, almost concave, most often, the batter was overmixed (which knocks out air structure), or the pan was overfilled. Overfilling causes the batter to spread sideways before rising, so it bakes flat. A few other culprits: oven temperature too low, leavener (baking powder/soda) past its date, underbaked (it rose then fell before it was actually set), or the batter sat too long before baking (the leavener reacted before hitting the oven).
Usually, the opposite of the flat-top issue. It’s possible the oven was too hot, or the batter was too thick. A high oven temperature sets the cupcake’s outer crust before the center has finished rising, forcing the wet batter in the center to push up through the set crust as a peak. Drop the oven temperature by 25°F and check your oven with a thermometer. If the batter is too thick (from mismeasured ingredients), then it will have the same effect.
More Tutorials To Try
More baking fundamentals for cakes and cupcakes:
- Academy: How to Freeze Cupcakes — save your cupcakes for months with that fresh-baked- flavor and texture
- Academy: How to Frost Cupcakes — learn how to top your mini, regular, or jumbo cupcakes with the perfect frosting swirl, swoop, rosette, and more.
- Academy: 3 Ways to Fill Cupcakes — hide a surprise filling in your cupcake with two techniques.
- Academy: Knowing Your Oven — identify hot spots and learn how to use an oven thermometer so you can bake perfect cupcakes every time.
- Academy: How to Line A Cake Pan — learn exactly what it means to line a pan on the bottom, with a sling, or fully lined with parchment paper.






