
This post may contain affiliate links. Please read our disclosure policy.



My tested method for freezing frosted and unfrosted cupcakes for up to three months. I share the science behind why most thawed cupcakes go soggy, how to prevent it, and the best frostings to freeze.
The first time I froze a batch of cupcakes for a party, I did everything I thought was right. I let them cool, I put them in a Tupperware, labeled it, and I felt very organized. A week later, when I pulled them out to thaw on the counter, the lids were beaded with water, the cupcake liners had peeled away from the sides, and the cake was wet.
The fix was almost embarrassingly simple, and I’ll explain it below: the cupcakes weren’t fully cooled when I packed them, I didn’t wrap them beforehand, and I thawed them at room temperature. Three small mistakes, all rooted in the same issue. Once I understood what was actually happening—condensation was forming from improper thawing and storage—the problem solved itself, and I’ve frozen hundreds of cupcakes since without a single soggy batch.
This guide is the version I wish I’d had then. It covers unfrosted cupcakes (the easiest way), frosted cupcakes (the slightly more complex method), what frostings actually freeze and which ones don’t, and the thawing technique that makes the difference between “you’d never know these were frozen” and “what happened to my cupcakes?” Plus, I’ll answer your questions about freezing filled cupcakes, how long they’ll last, and whether you can freeze the batter itself.
“I used this method to freeze 50 unfrosted cupcakes for a big birthday party and it was a life-saver! The cupcakes had the same texture when I thawed them a month later and no one knew they weren’t freshly baked the day before.”
Sandra
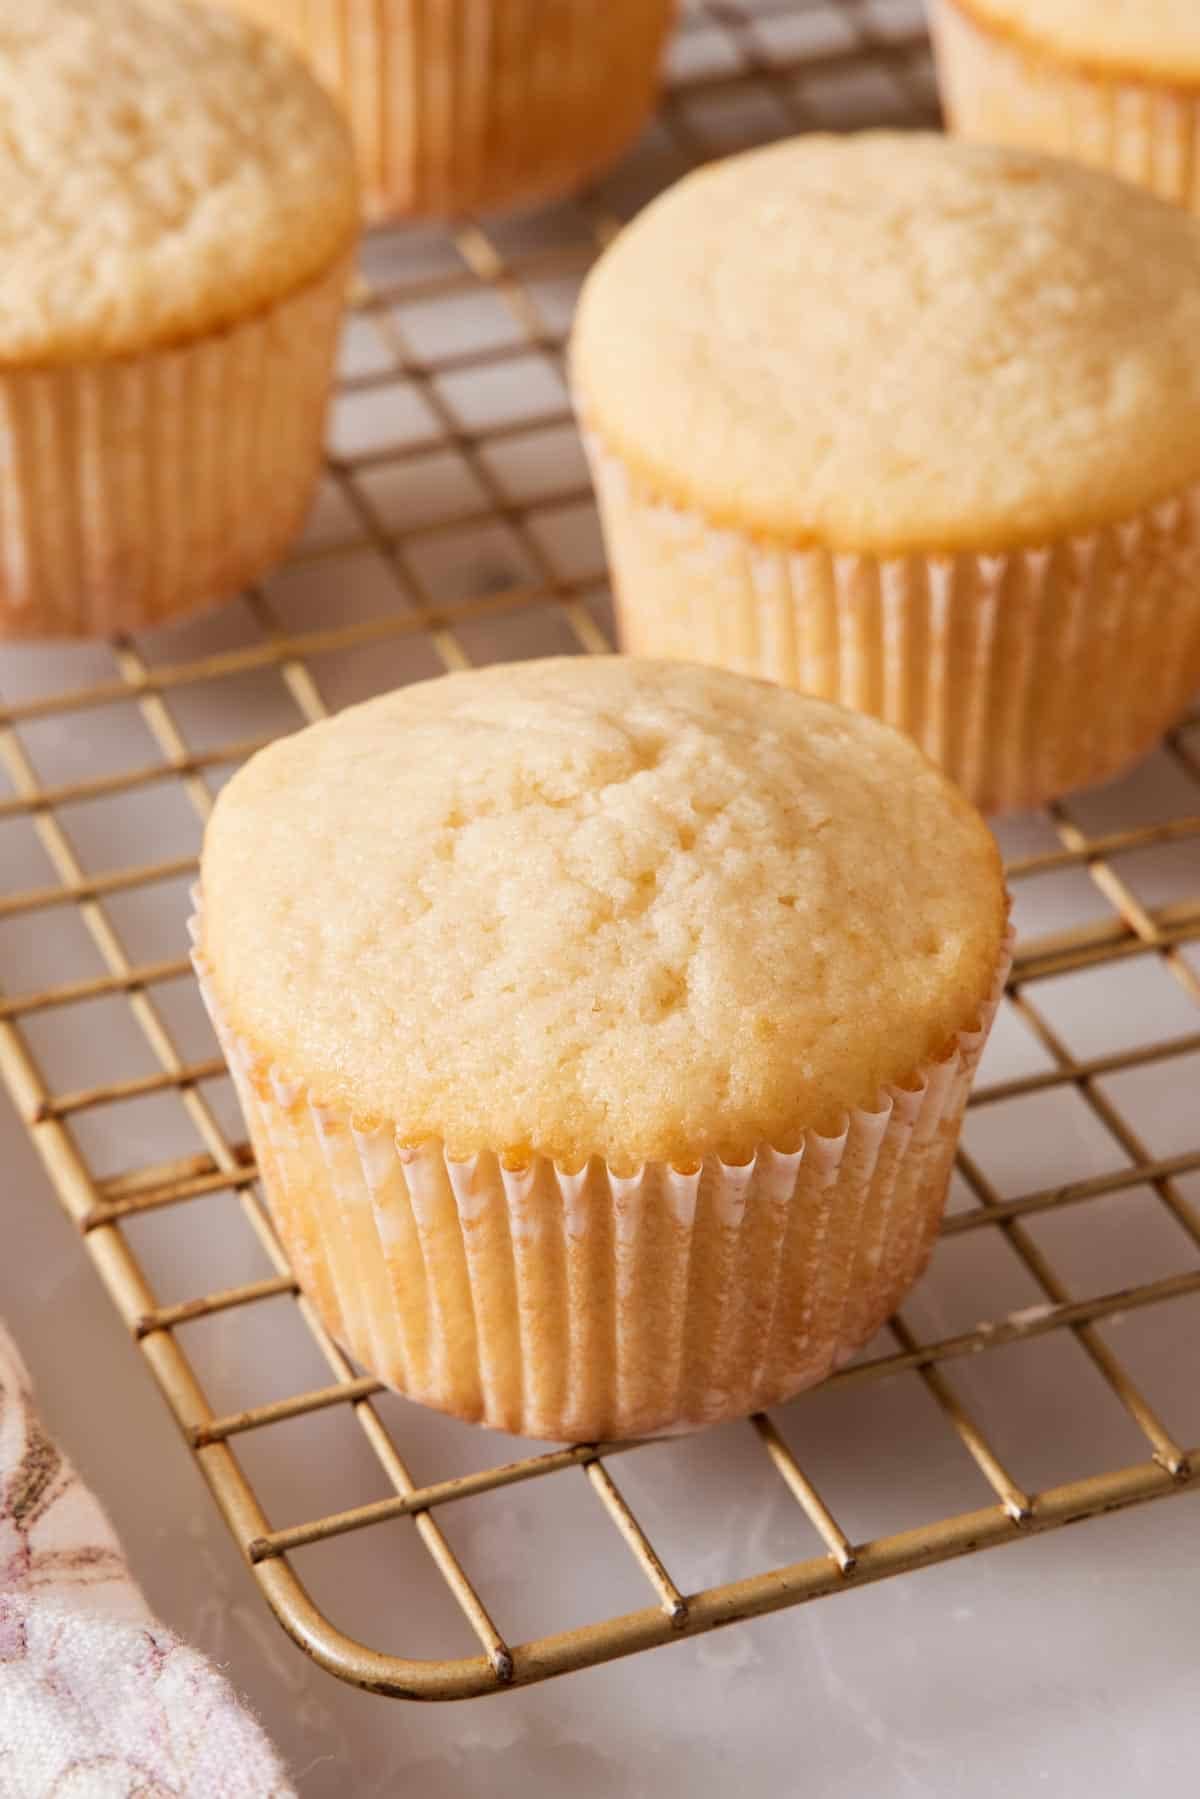
Why Cupcakes Freeze Well (When You Do It Right)
Cupcakes are actually better candidates for freezing than full-sized cakes, and not for the reason most people think. The standard answer is “they’re smaller, so they freeze faster,” which is true but misses the more important point: the smaller cupcake size means a faster pass through the temperature zone where ice crystals form, and faster passage through that zone means smaller ice crystals, which means less damage to the cake’s gluten structure responsible for its fluffy texture. (This was all proven by an NIH study that analyzed freezing rates and the effects on sponge cake.)
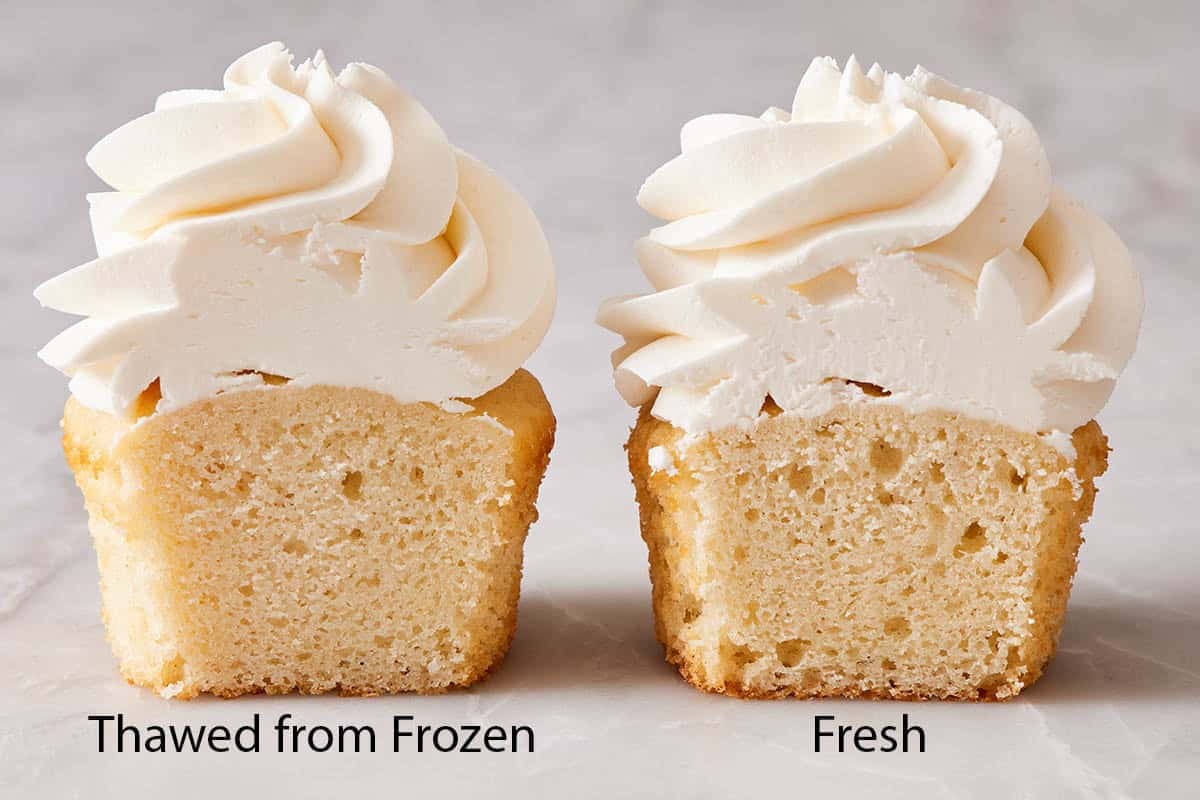
Here’s what’s happening at the chemistry level. When water freezes slowly, it forms larger ice crystals that rupture cell walls and tear apart the protein matrix that gives cake its tender crumb and fluffy texture. When water freezes quickly, it forms small crystals that don’t do meaningful damage. A typical cupcake reaches its core freezing temperature in about 30-60 minutes in a home freezer. A full-sized layer cake takes about 4 hours. The cupcake passes through the danger zone up to eight times faster. This is why properly frozen cupcakes really do come out feeling almost identical to fresh.
Freezing cupcakes is also the best way to keep them fresh. The freezer halts the staling process that begins the moment a cupcake cools from the oven. When a baked good goes stale (or turns dry), it is the gelatinized starch molecules in the cake’s crumb crystallizing and squeezing out moisture that then evaporates. Freezing stops this by trapping the moisture in the cake.
What ruins frozen cupcakes is moisture moving in the wrong direction. Either condensation forms inside the wrapping (because the cupcakes were warm when you wrapped them) and freezes onto the surface. Or condensation forms on the outside of the cake during thawing (because the cold surface is below the dew point of the warm room air) and turns the cake sticky or soggy. Both problems are about water vapor, and they have the same fix: completely cooling before wrapping, and thawing slowly in the wrapping rather than out of it. (Exact steps below in the section “How To Thaw Cupcakes Without Sogginess.”)
How To Freeze Unfrosted Cupcakes
This is the easier method in four simple steps: (I tested this with my classic vanilla cupcake recipe.)
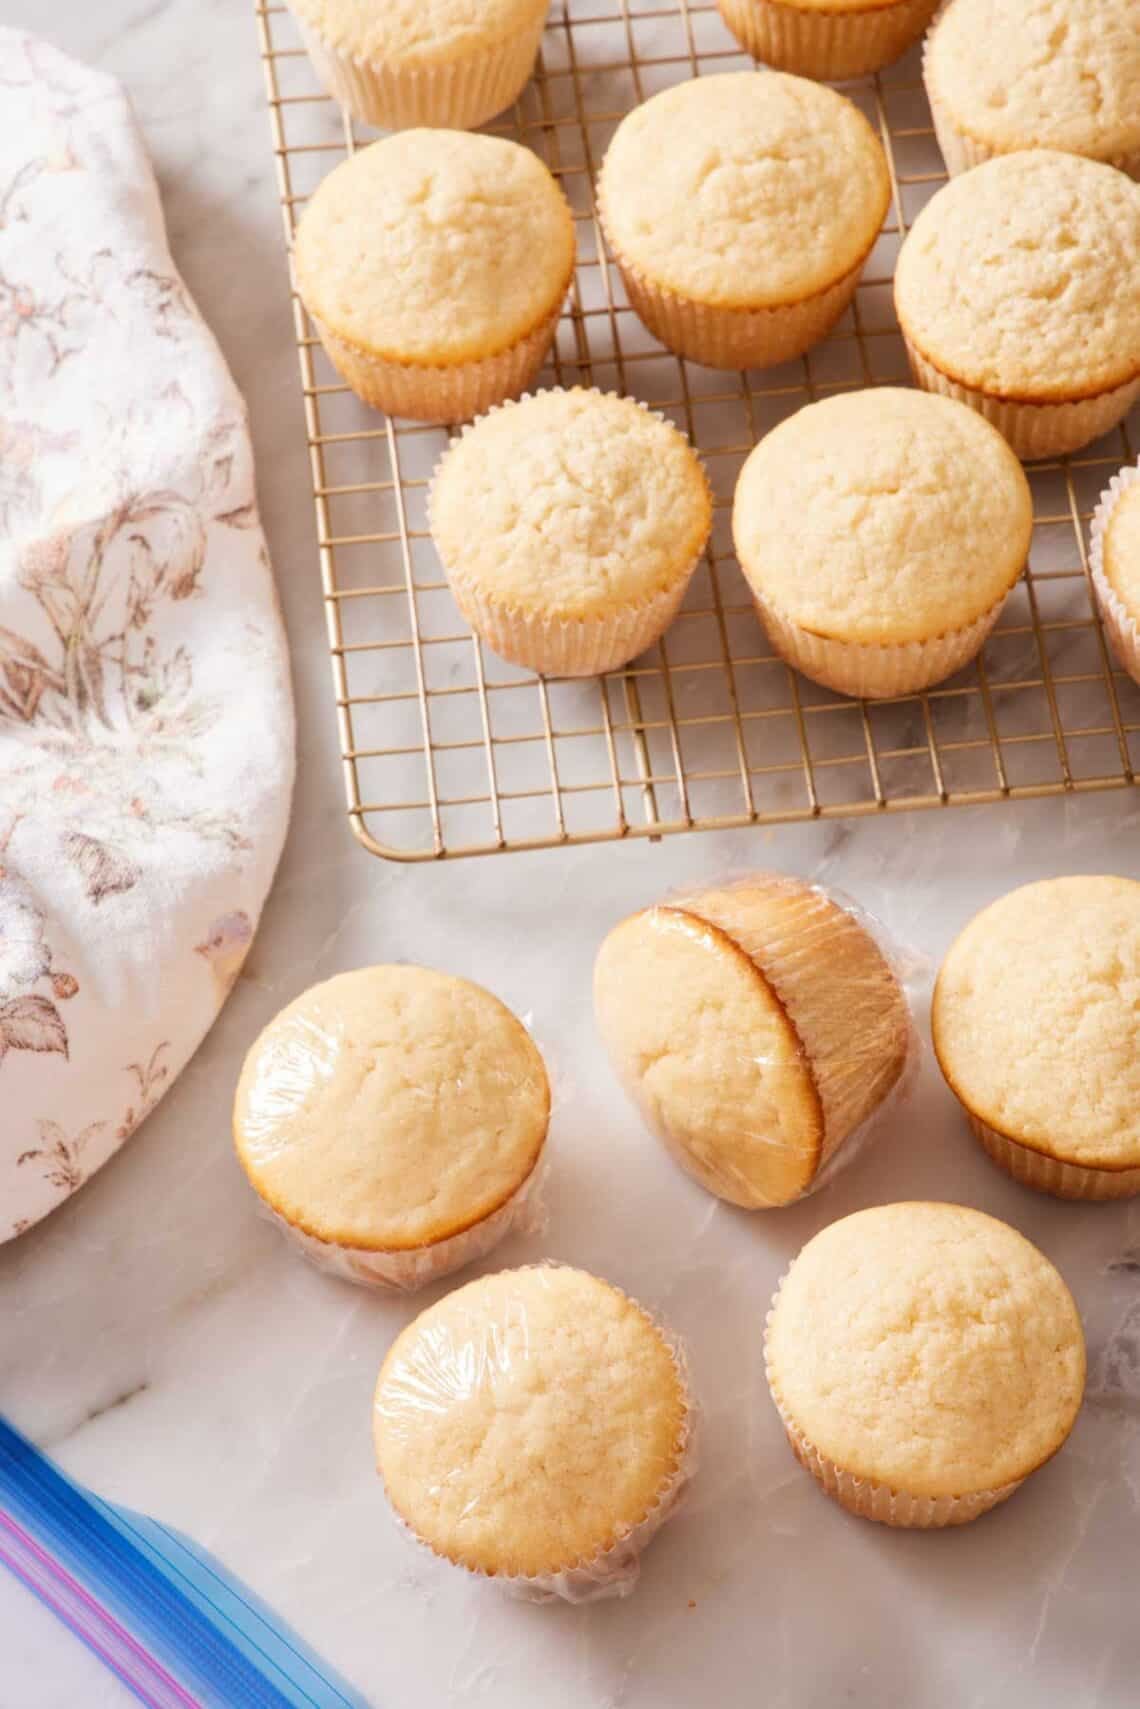
1. Cool completely on a wire rack. Press your fingertip against the bottom of a cupcake. If you feel any warmth at all, even slight, keep waiting. From oven to fully cool takes about an hour for a standard-sized cupcake.
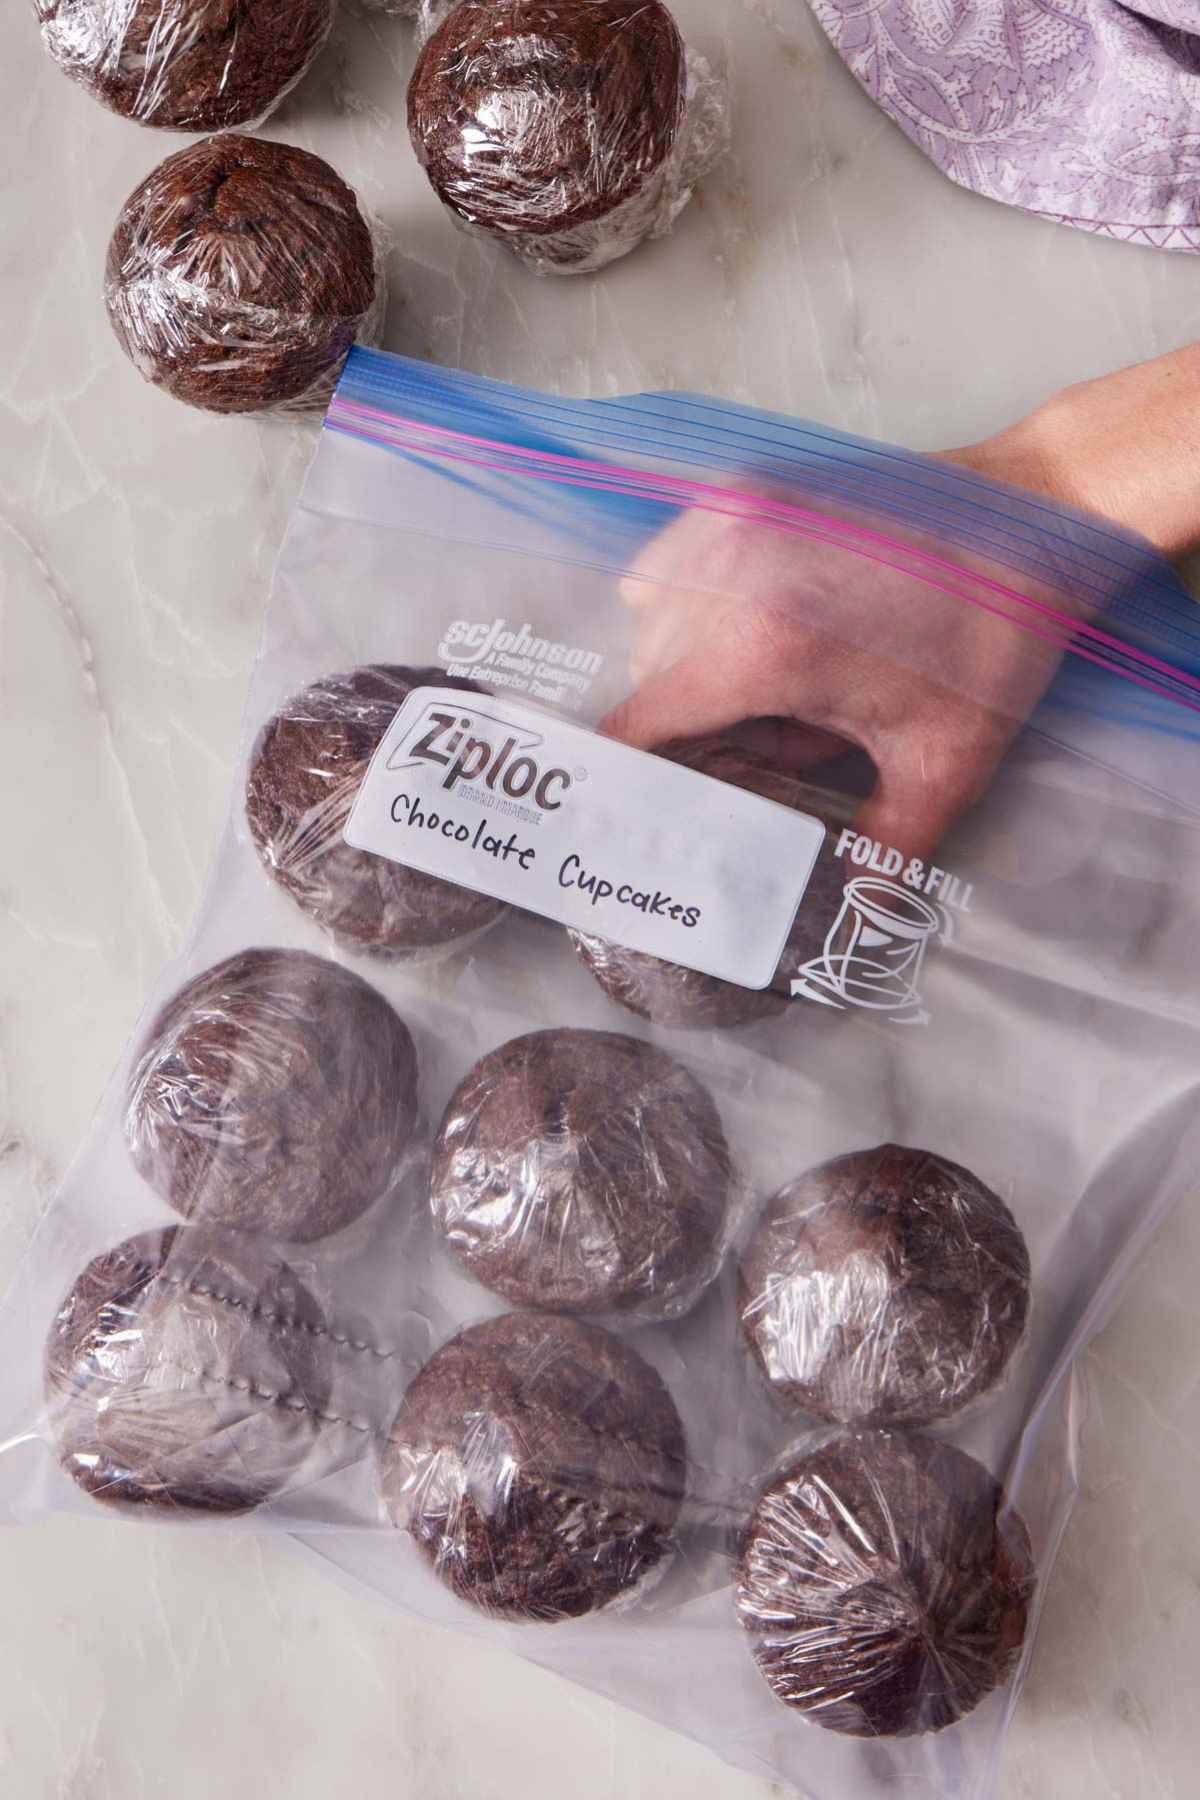
2. Wrap each cupcake individually in plastic wrap. This is non-negotiable for the best results. I know it’s tedious, but don’t skip it. The plastic creates a moisture barrier that prevents water from migrating between the cupcake and the surrounding freezer air, which is what causes both freezer burn (water leaving the cupcake) and condensation damage (water moving into the cupcake from outside). Press-and-seal style plastic wrap holds tighter than regular plastic wrap if you have it; regular plastic wrap is fine if you wrap snugly.
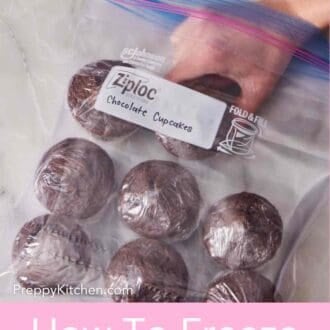
3. Place wrapped cupcakes in an airtight freezer bag or container. This serves as a second moisture barrier. A standard zip-top freezer bag holds eight to ten wrapped cupcakes comfortably. Press out as much air as you can before sealing. A rigid container is better if you have one, because it also prevents the wrapped cupcakes from getting smashed under whatever else ends up in your freezer. However, you can’t press air out, so there is a slightly greater chance of freezer burn. It’s a trade-off of one benefit over the other, so choose what works best for you.
4. Label and date. They keep for two to three months at peak quality. Beyond three months, they’re still safe to eat, but the texture starts to degrade noticeably—the crumb dries out, and the flavor flattens. I’ve eaten cupcakes I forgot about for six months, and they were edible but obviously past their prime.
How To Freeze Frosted Cupcakes
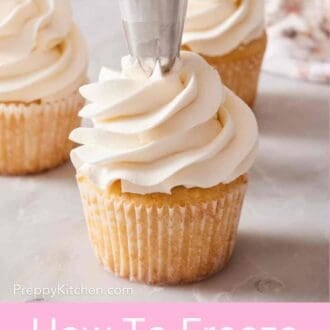
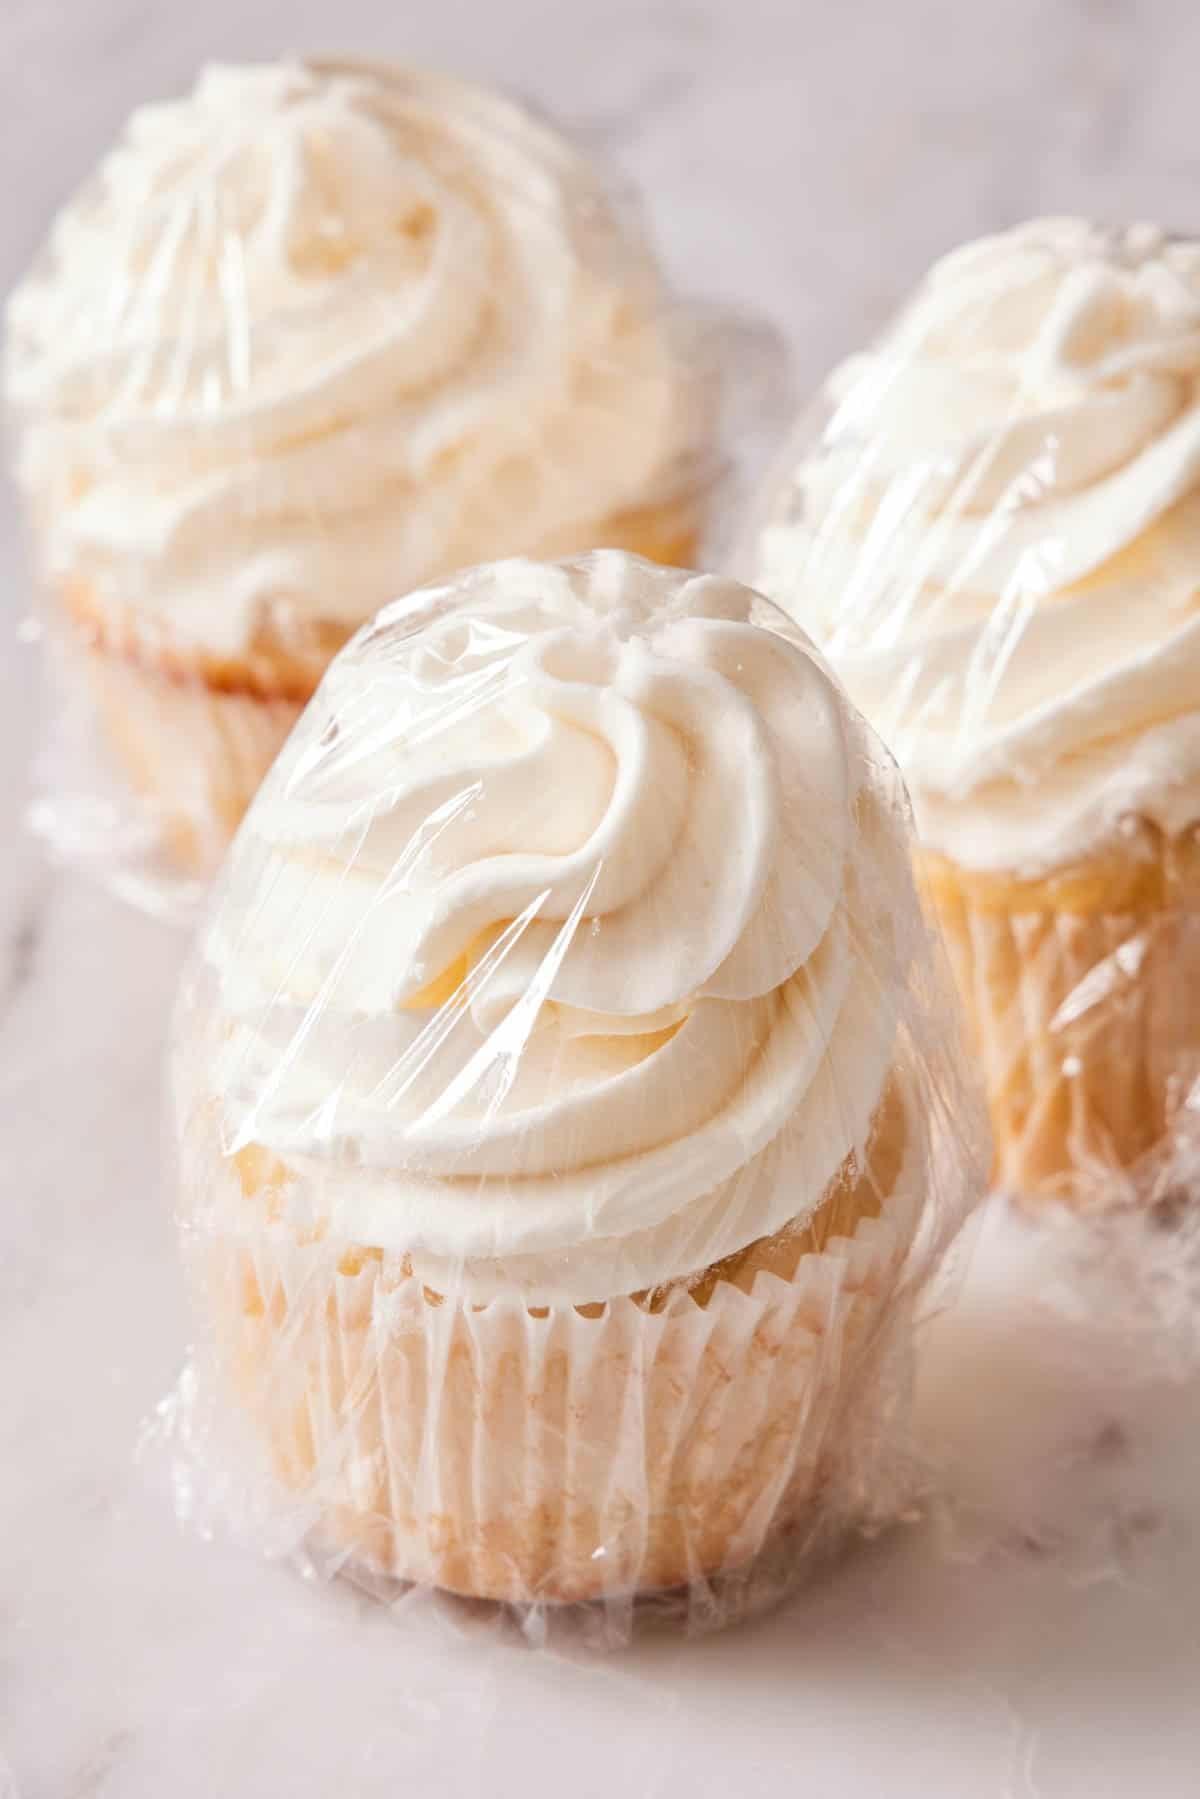
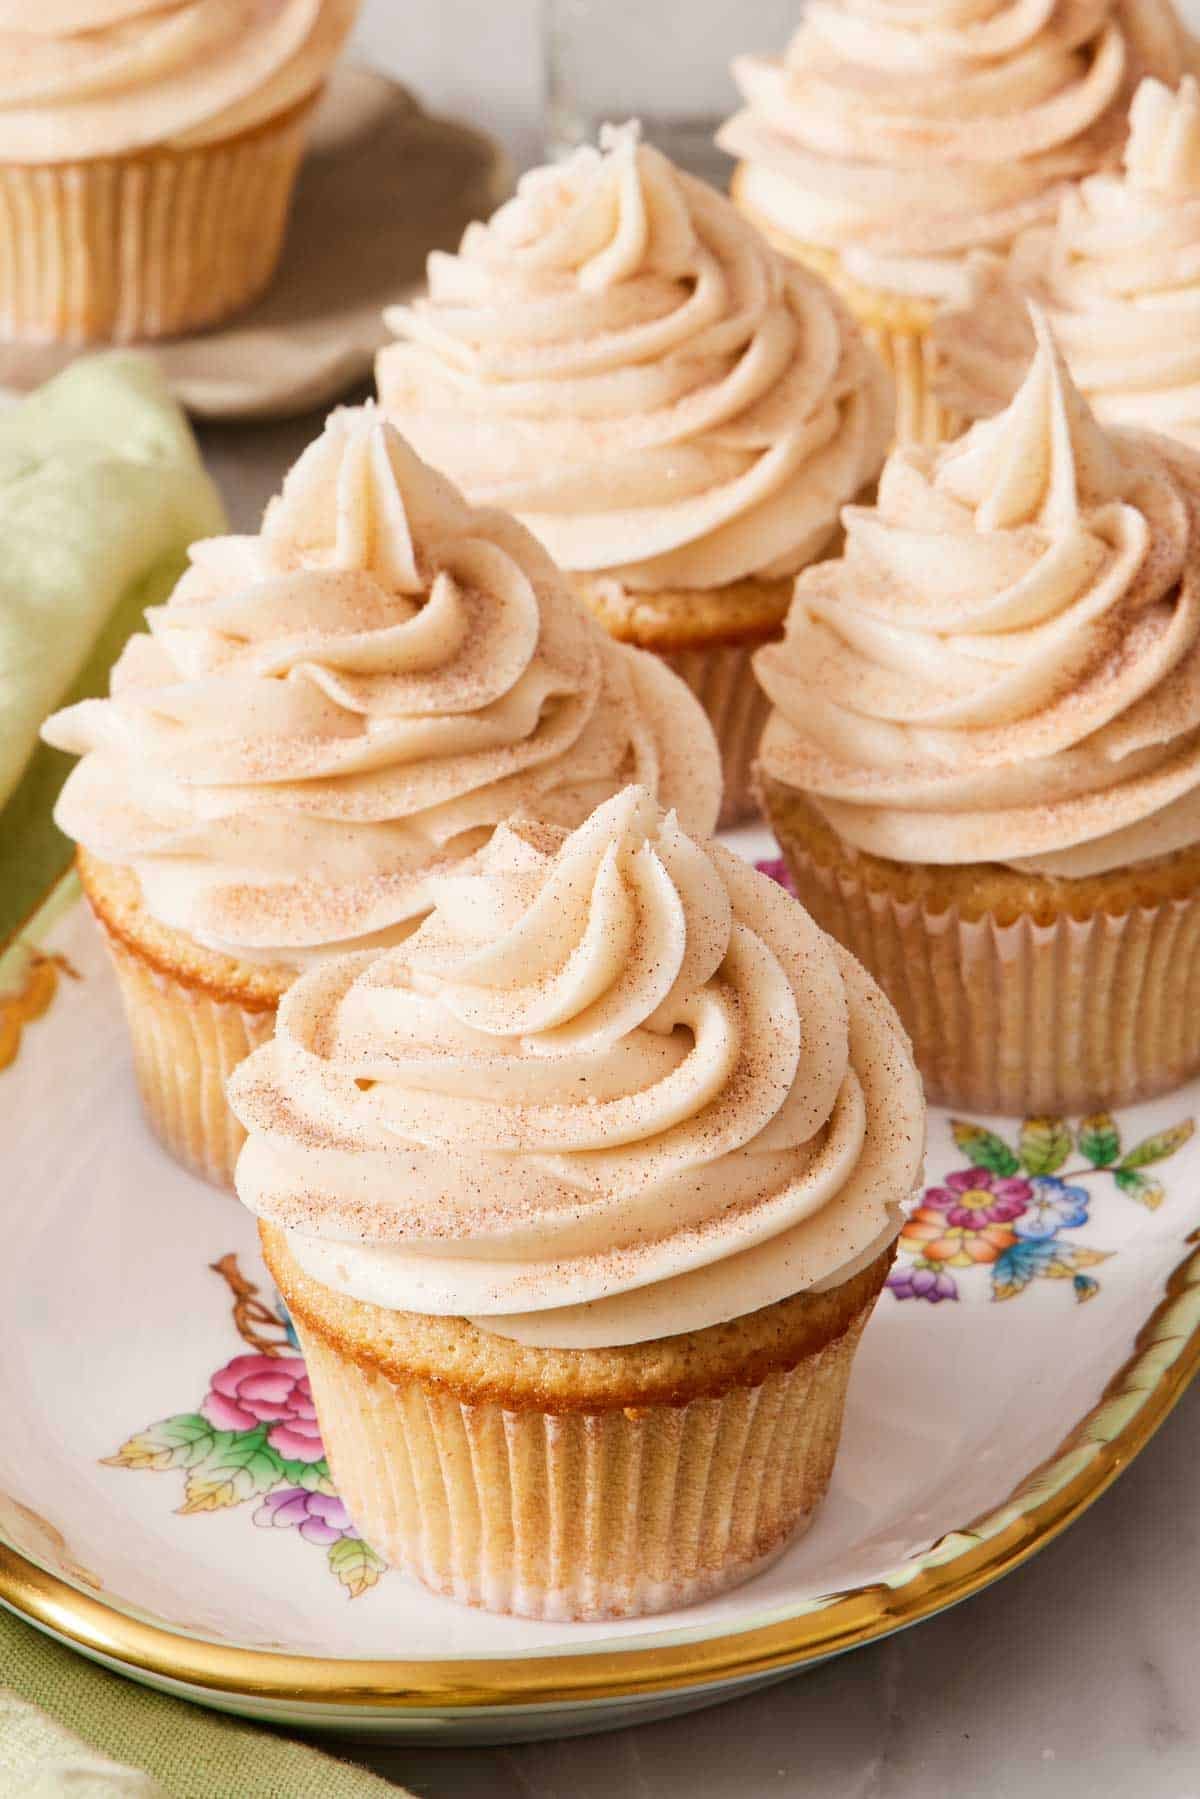
Frosted cupcakes are harder because the frosting is delicate, and you can’t wrap them tightly in plastic wrap before freezing without ruining the design. The trick is a two-stage freeze: flash-freeze uncovered first to firm the frosting, then wrap. (I tested this by frosting my vanilla cupcakes with my classic buttercream.)
1. Flash-freeze uncovered for 1-2 hours. Place the frosted cupcakes on a sheet pan in a single layer with space between each one. Slide the sheet pan into the freezer. Wait until the frosting feels solid when you press your finger into it—this typically takes 60 to 90 minutes for cupcakes with classic buttercreams and slightly longer for ones like red velvet cupcakes that have a cream cheese frosting. The cupcakes won’t be completely frozen yet; you’re just hardening the frosting so it can survive being wrapped.
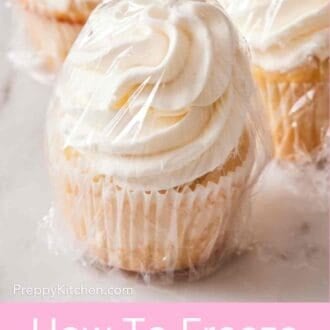
2. Wrap each cupcake carefully. Once the frosting is solid, plastic wrap can touch it without smashing the design. Wrap each cupcake individually, taking care to press the wrap against the bottom and sides without distorting the top. If you have a particularly intricate design—a piped rosette or a tall swirl—you can skip the plastic wrap and place the flash-frozen cupcakes directly into a tall, rigid airtight container. I only recommend this for very short-term storage, though, up to a week.
3. Transfer to a sturdy freezer container. A tall, rigid container designed for cupcakes is ideal. A regular Tupperware works as long as it’s tall enough for the frosting to stand upright. I avoid bags here because they won’t protect the cupcakes from damage if they are bumped or smashed by other freezer items.
Store for up to three months. The frostings and cake stay good for the full three months without any flavor degradation if they are wrapped well.
Which Frostings Actually Freeze Well
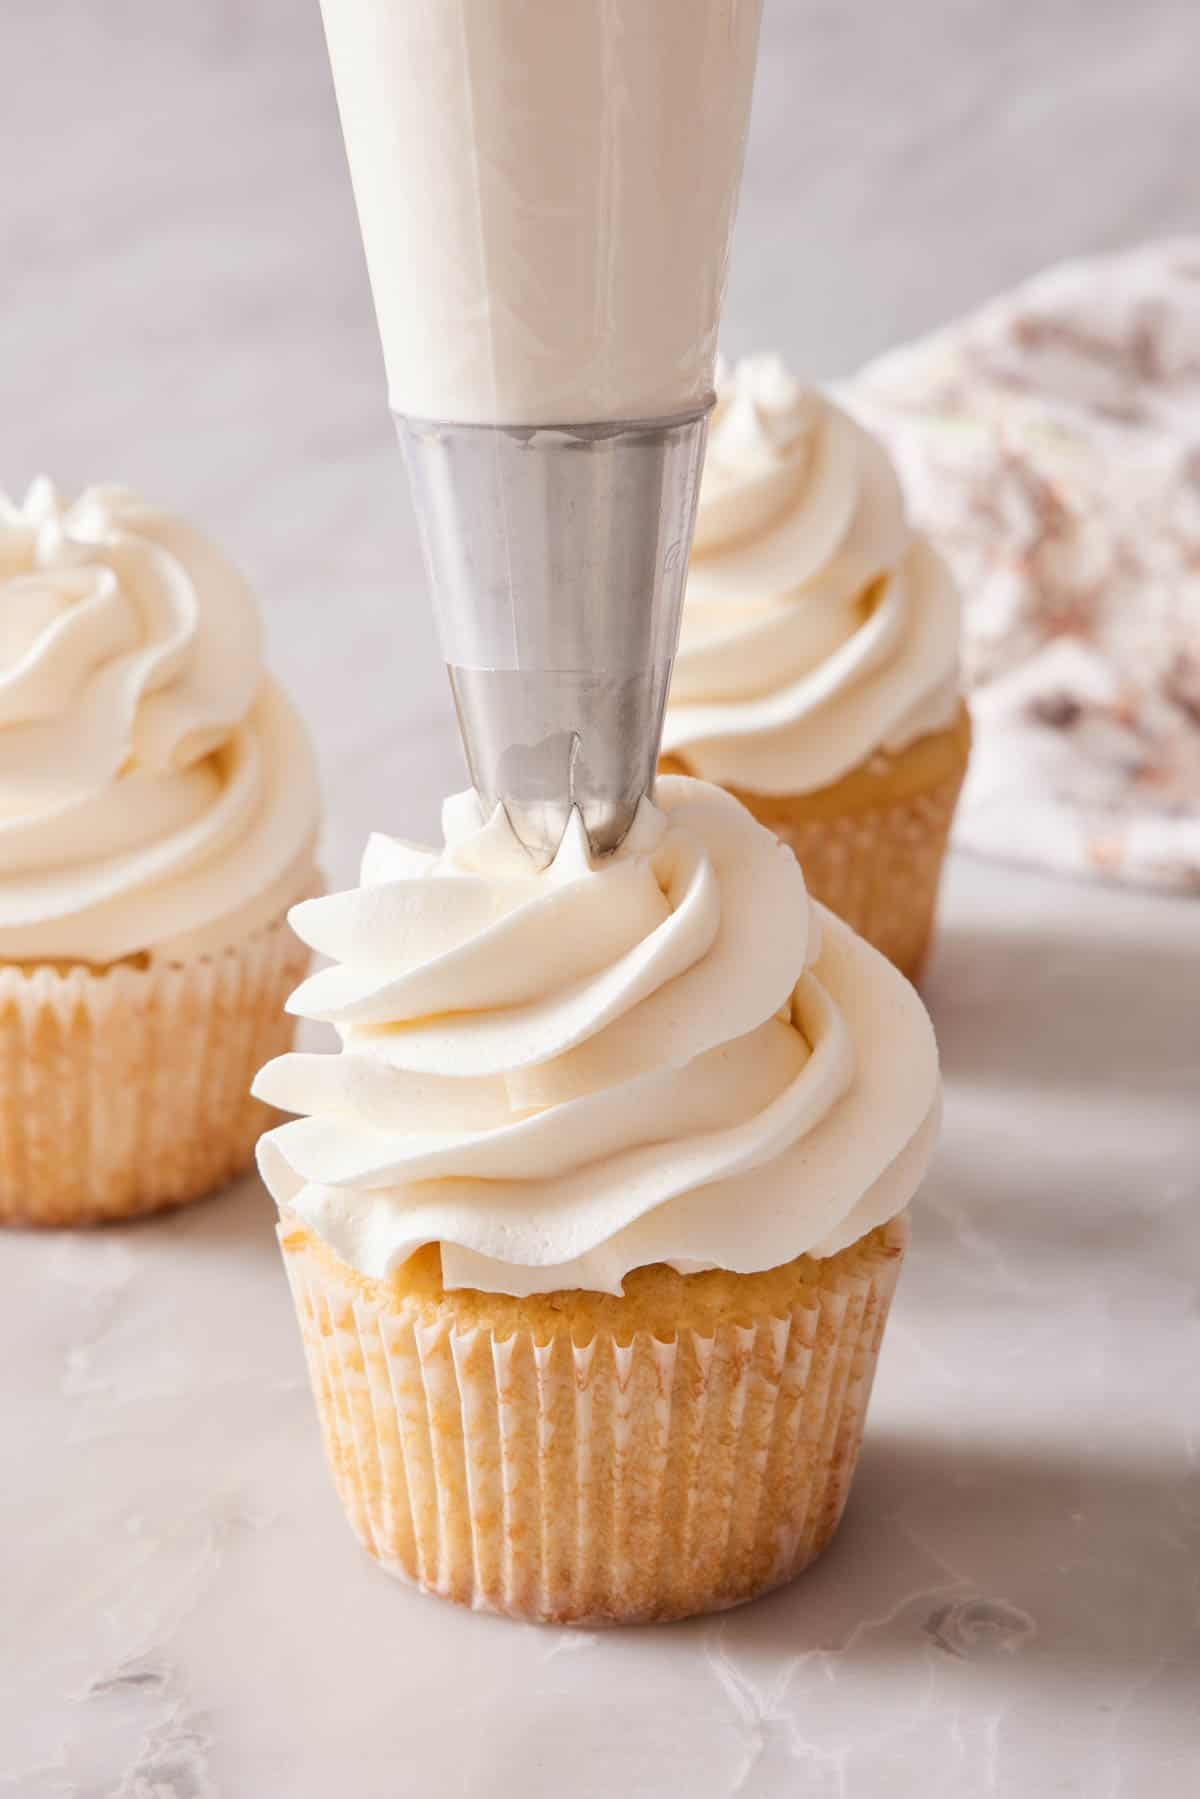
This is the section many other cupcake-freezing guides skip, but I wanted to give you a cheat sheet for easy reference. Frosting type matters more than the cake type when freezing because the texture can change dramatically when thawed. Here’s my guide based on what I’ve actually tested:
| Frosting Type | Does it freeze? | Results |
| American buttercream (butter + powdered sugar) | Freezes excellently | No texture loss after thawing. Stays glossy and holds piped designs. This is the freezer’s best friend. My vanilla buttercream and chocolate buttercream both work. |
| Chocolate ganache frosting | Freezes excellently | Ganache is the second most freeze-stable frosting of the bunch because it’s mostly fat and emulsified cream. It’s a stable structure that doesn’t have much to lose from a temperature drop. |
| Swiss and Italian meringue buttercream(egg white-based) | Freezes well | The texture survives freezing well. When freezing a batch for spreading or piping later, it needs to be rewhipped briefly after thawing. If piped onto cupcakes and then frozen, this isn’t an issue. |
| French buttercream (egg yolk-based) | Freezes well; similar to Swiss | Because the eggs are emulsified with butter, they freeze great here (unlike freezing straight custard). You will need to thaw and whip it again if piping after freezing. |
| Cream cheese frosting | Freezes well with a caveat | Up to 3 months, it’s indistinguishable from fresh. Beyond that, the dairy fat starts to develop a slight graininess that some people will notice and others won’t. If you’re concerned, freeze the cupcakes unfrosted and make fresh frosting when it’s time to use them. |
| Whipped cream frosting | Freeze under certain conditions—already piped/frosted and served partially frozen. | Whipped cream is mostly air trapped in fat, and thawing collapses the air pockets so the frosting weeps into a puddle. If it is spread or piped onto a dessert that is intended to be served frozen or only partially thawed, it’s fine to freeze. |
| Marshmallow / 7-minute frosting | Does not freeze | The egg white and sugar foam structure collapses on thawing and turns gummy. |
The pattern: anything based on a butter or fat emulsion freezes well. Anything based on whipped air or foam does not.
How To Thaw Cupcakes Without Sogginess
This is where most home bakers go wrong, including myself, in my first experience freezing cupcakes. Soggy cupcakes are one of the biggest complaints from readers when it comes to freezing and thawing. Here’s how to avoid it:
Thaw in the wrapping. Always. The instinct is to unwrap before thawing, but please don’t. When a frozen cupcake hits warmer air, the cold surface drops below the dew point of the surrounding air, and water vapor condenses on whatever cold surface it touches first. If the cupcake is wrapped, the condensation forms on the outside of the plastic, where it can evaporate harmlessly or simply be removed when the plastic wrap is peeled off. If the cupcake is unwrapped, the condensation forms on the cupcake—beading on the surface, soaking into the crumb, or dampening the frosting.
Thaw in the fridge—usually. Thawing in the fridge takes longer, but it reduces the amount of condensation that forms because the temperature rises more slowly. Fridge thawing takes about 4 hours for unfrosted cupcakes and 6-8 hours for frosted cupcakes. If you don’t have that much time, you can thaw on the counter, but be careful unwrapping the cupcakes since there will be more moisture present. Counter thawing takes 1-2 hours for unfrosted cupcakes and 2-3 hours for frosted ones.
Unwrap only after the cupcake is fully thawed. Press your finger against the side. If it still feels very cold or hard, leave it wrapped. Any residual condensation on the wrapping comes away with the wrapping, not onto the cupcake.
If you absolutely must speed-thaw an unfrosted cupcake, you can microwave one at 50% power for 15-20 seconds. The crumb won’t be quite as good as a slow-thawed cupcake, but it’ll be edible. Don’t ever microwave a frosted cupcake—the frosting melts immediately.
Frost after thawing: Once thawed, unwrap the cupcakes and pipe fresh frosting on top. The cupcake will taste freshly baked, and the fresh frosting will have the perfect texture. This is how most professional bakeries handle their cupcake production for weddings and big orders—bake and freeze unfrosted, frost fresh on the day.
Freezing Filled, Decorated, And Specialty Cupcakes
Filled cupcakes (ganache, jam, lemon curd centers). Treat the same as frosted: flash-freeze uncovered, then wrap. Jam and ganache fillings hold up best; curd fillings can weep slightly due to their egg content, but are generally okay with such a small amount. My German chocolate cupcakes and similar filled-style recipes freeze well using this method. Avoid freezing cupcakes with custard or fresh-fruit fillings (sliced strawberries, banana). The water content in both destroys their texture during freezing.
Decorated cupcakes (fondant, sprinkles, marzipan). Freeze them like frosted cupcakes, but be sure to thaw them slowly in the fridge to minimize condensation, which can cause fondant and marzipan to develop sticky spots, and sprinkles to bleed color into the frosting. After thawing in the fridge, leave the cupcake in its container for an additional hour at room temperature before opening—this lets the air around the cupcake equalize before exposing the decoration to the room.
Tall, piped cupcakes with intricate designs. Skip the plastic wrap entirely for any decorative work you don’t want to touch. Flash-freeze uncovered until the frosting is solid, then transfer to a tall airtight container. The container is your moisture barrier. This should only be used for very short-term storage, up to 1 week, because you risk freezer burn or ice crystals forming on the surface of the decorations since there is no direct barrier.
Can You Freeze Cupcake Batter?
Technically, yes, but I don’t recommend it. Cupcakes often use chemical leaveners, like baking soda and baking powder, that begin activating when the batter is mixed. Though freezing will stop that reaction, by the time the batter thaws and is baked, you will have lost some of that power, and your cakes won’t rise the same way.
In addition, certain ingredients like eggs or some dairy products don’t always hold up well to thawing. The proteins and structure of those ingredients break down when thawed, which can make your cupcakes turn out soggy, gummy, or denser than normal.
For most home bakers, freezing the baked cupcakes is easier and gives a better result, with the thawed cupcakes tasting just like freshly baked ones.
If you really want to freeze unbaked cupcake batter, portion the unbaked batter into a lined cupcake pan, freeze the pan for 1 hour until the portions are solid, then pop the frozen batter “pucks” out of the liners and into a freezer bag. Keep for up to 2 months. To bake from frozen, place the pucks back into a lined cupcake pan, let them thaw at room temperature for 20-30 minutes (still cold but soft enough to spread), and bake as normal, usually adding 2-3 minutes to the bake time.
The Four Things That Go Wrong (And How To Fix Them)
Soggy cupcakes after thawing. Almost always one of two causes: the cupcakes were warm when wrapped (condensation formed inside the wrapping and soaked back into the cake during thawing), or the cupcakes were unwrapped during thawing (condensation formed on the cake surface). Fix: cool completely before wrapping, thaw fully wrapped in the fridge, and only unwrap once thawed.
Wrappers peeling away from the sides. This is residual moisture either from incomplete cooling or from condensation. The cure is the same as for sogginess—proper cooling and proper thawing. If it happens anyway, you can place them in cupcake cups or use foil cupcake liners next time. They are more peel-resistant than paper liners and are worth using if you bake for events where this matters.
Frosting that cracked, separated, or weeps after thawing. You used a frosting that doesn’t freeze well or wasn’t properly mixed. Scrap off the frosting, and decorate with a fresh frosting batch.
Freezer-burned tops that look pale and dehydrated. The wrapping wasn’t tight enough, or the cupcakes spent more than three months in the freezer. Freezer burn is moisture leaving the cupcake into the surrounding air, forming dry, faded patches on the surface. The fix is double-wrapping (plastic wrap then a freezer bag or container) and using cupcakes within 2-3 months for the best texture.
Frequently Asked Questions
Two to three months at peak quality for both frosted and unfrosted. Beyond three months, they remain safe to eat, but the texture starts to noticeably degrade. The crumb dries out, and the flavor flattens.
Unfrosted is easier and gives a slightly better final result, because you can frost with fresh frosting on the day you serve. This is how most professional bakeries do it. Freezing frosted cupcakes is fine if your frosting is butter-based (American buttercream, Swiss, Italian, French, cream cheese) or a ganache, and flash-freeze them, then wrap them.
Technically, yes, but the quality drops noticeably. Each freeze-and-thaw cycle causes more moisture loss and ice crystal damage. If you’ve thawed more cupcakes than you need, your better option is to keep the extras at room temperature for 2-3 days in an airtight container rather than refreezing. If you must refreeze, expect a drier crumb and less fluffy cake after the second thaw.
I don’t recommend this. The pan slows the freeze considerably (more thermal mass means slower ice crystal formation), and the metal traps more moisture during the eventual thaw. Always remove cupcakes from the pan and cool on a wire rack before freezing. The wire rack step is also important—it lets air circulate underneath the cupcakes during cooling, which speeds the cooling process and prevents soggy bottoms before you ever get to the freezer.
More Tutorials To Try
Try one of these other Baking Academy guides:
- Academy: How To Freeze Cakes — a similar method to cupcakes, for freezing layer cake layers, sheet cakes, and fully frosted cakes
- Academy: 3 Ways to Fill Cupcakes — walks through the techniques for adding centers
- Academy: How to Freeze Cookie Dough — parallel freezer techniques for freezing cookie dough balls before baking
- Academy: How to Freeze a Pie — the best way to freeze whole pies before freezing and tips for freezing baked pies






