
This post may contain affiliate links. Please read our disclosure policy.





If you’ve ever wondered how long to chill cookie dough (and why it even needs to be chilled in the first place), this post is for you. I tested chill times from 30 minutes to 72 hours on the same chocolate chip cookie dough and recorded what actually changes in spread, texture, and flavor at each stage.
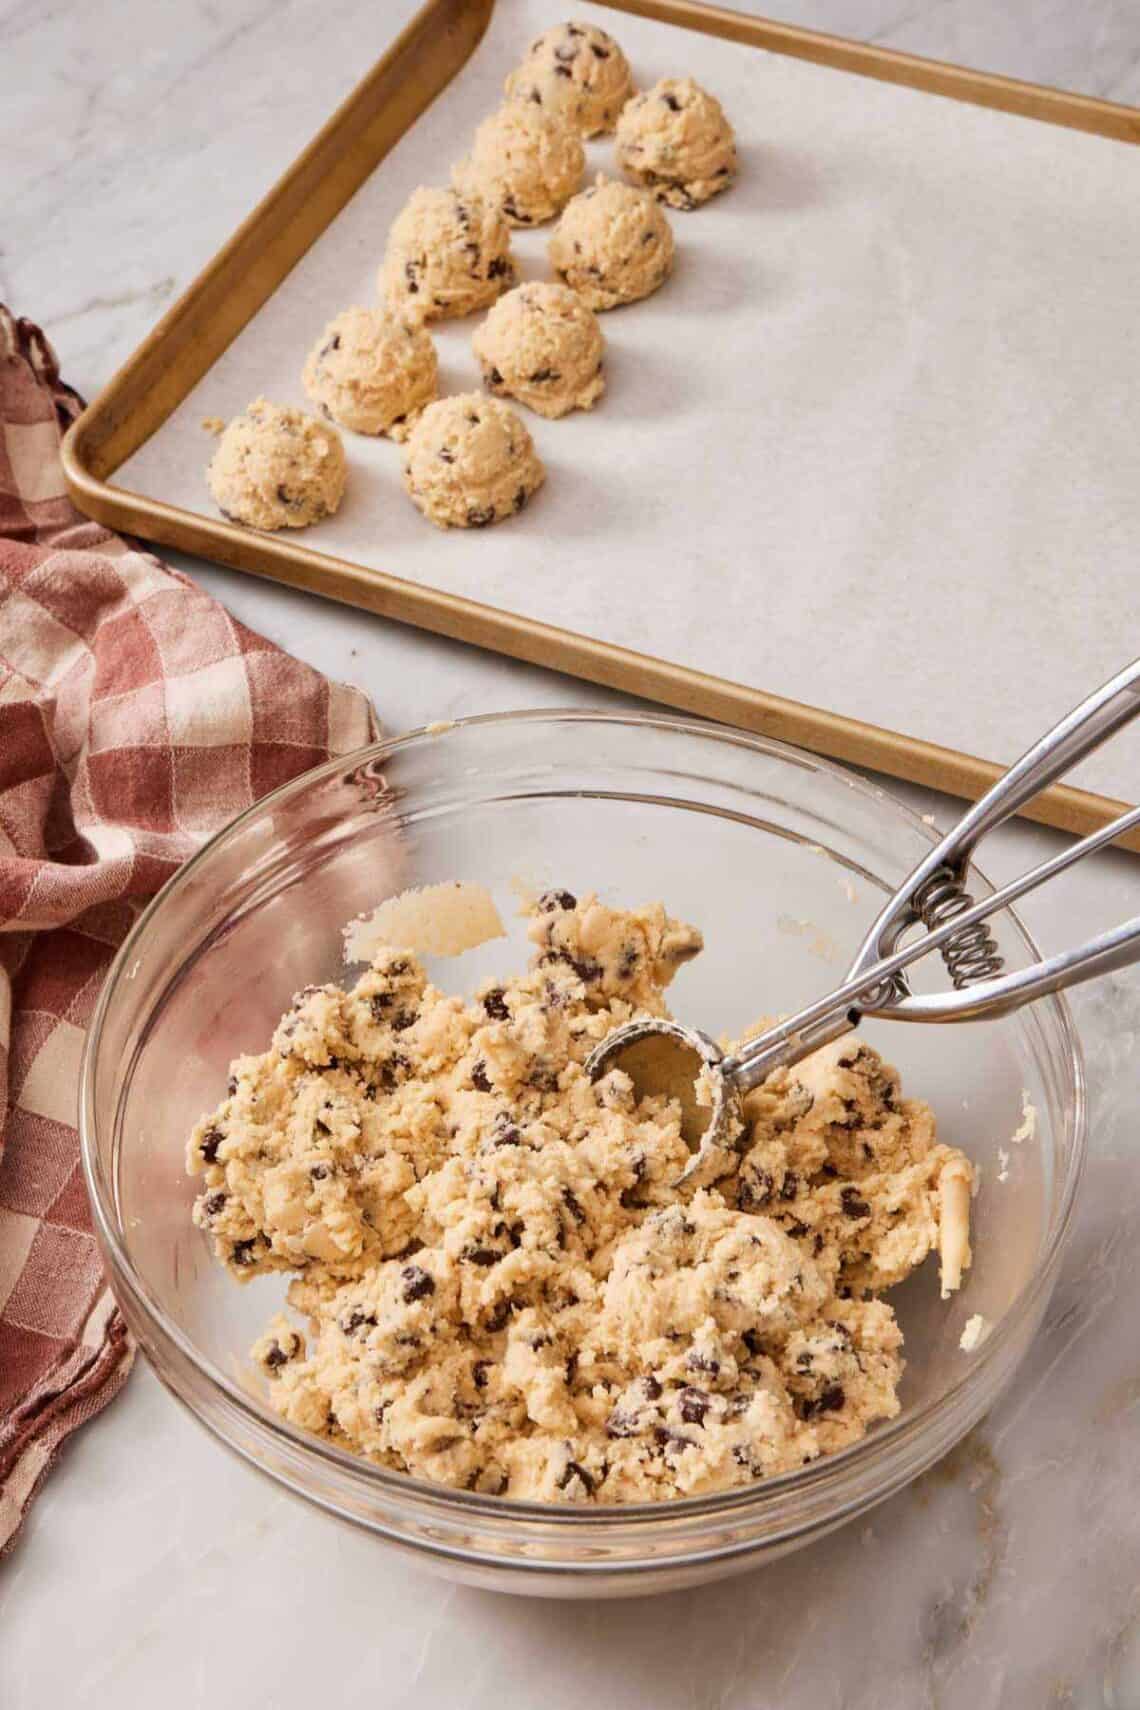
You may have come across a recipe that insists the cookie dough is chilled before baking. So the natural question is “Why does chilling cookie dough matter?” The short answer: this seemingly small step has an outsized payoff in flavor, texture, and how much your cookies spread. The longer answer is what this lesson is for.
I tested four chill durations side by side using my chewy chocolate chip cookies recipe — same dough, same scoop weight, same oven, baked from each chill stage and tasted by my team. The results are below, along with the science behind why chilling works, the cookies that shouldn’t be chilled, and how to handle dough that contains baking soda or melted butter.
“Thank you for this guide! I started chilling my chocolate chip cookies and now they are insanely delicious. I still bake a few when I make the recipe, because sometimes you just can’t wait. But the ones that chill for a few days in the fridge have the chewiest texture and such a good flavor.”
Matthew
What Does Chilling Cookie Dough Actually Do?
If you’re familiar with baking at all, you know that baking is essentially just a tasty science experiment. Chilling cookie dough has three distinct effects on how the cookies bake. They build on each other, and a longer chill gives you more of all three.
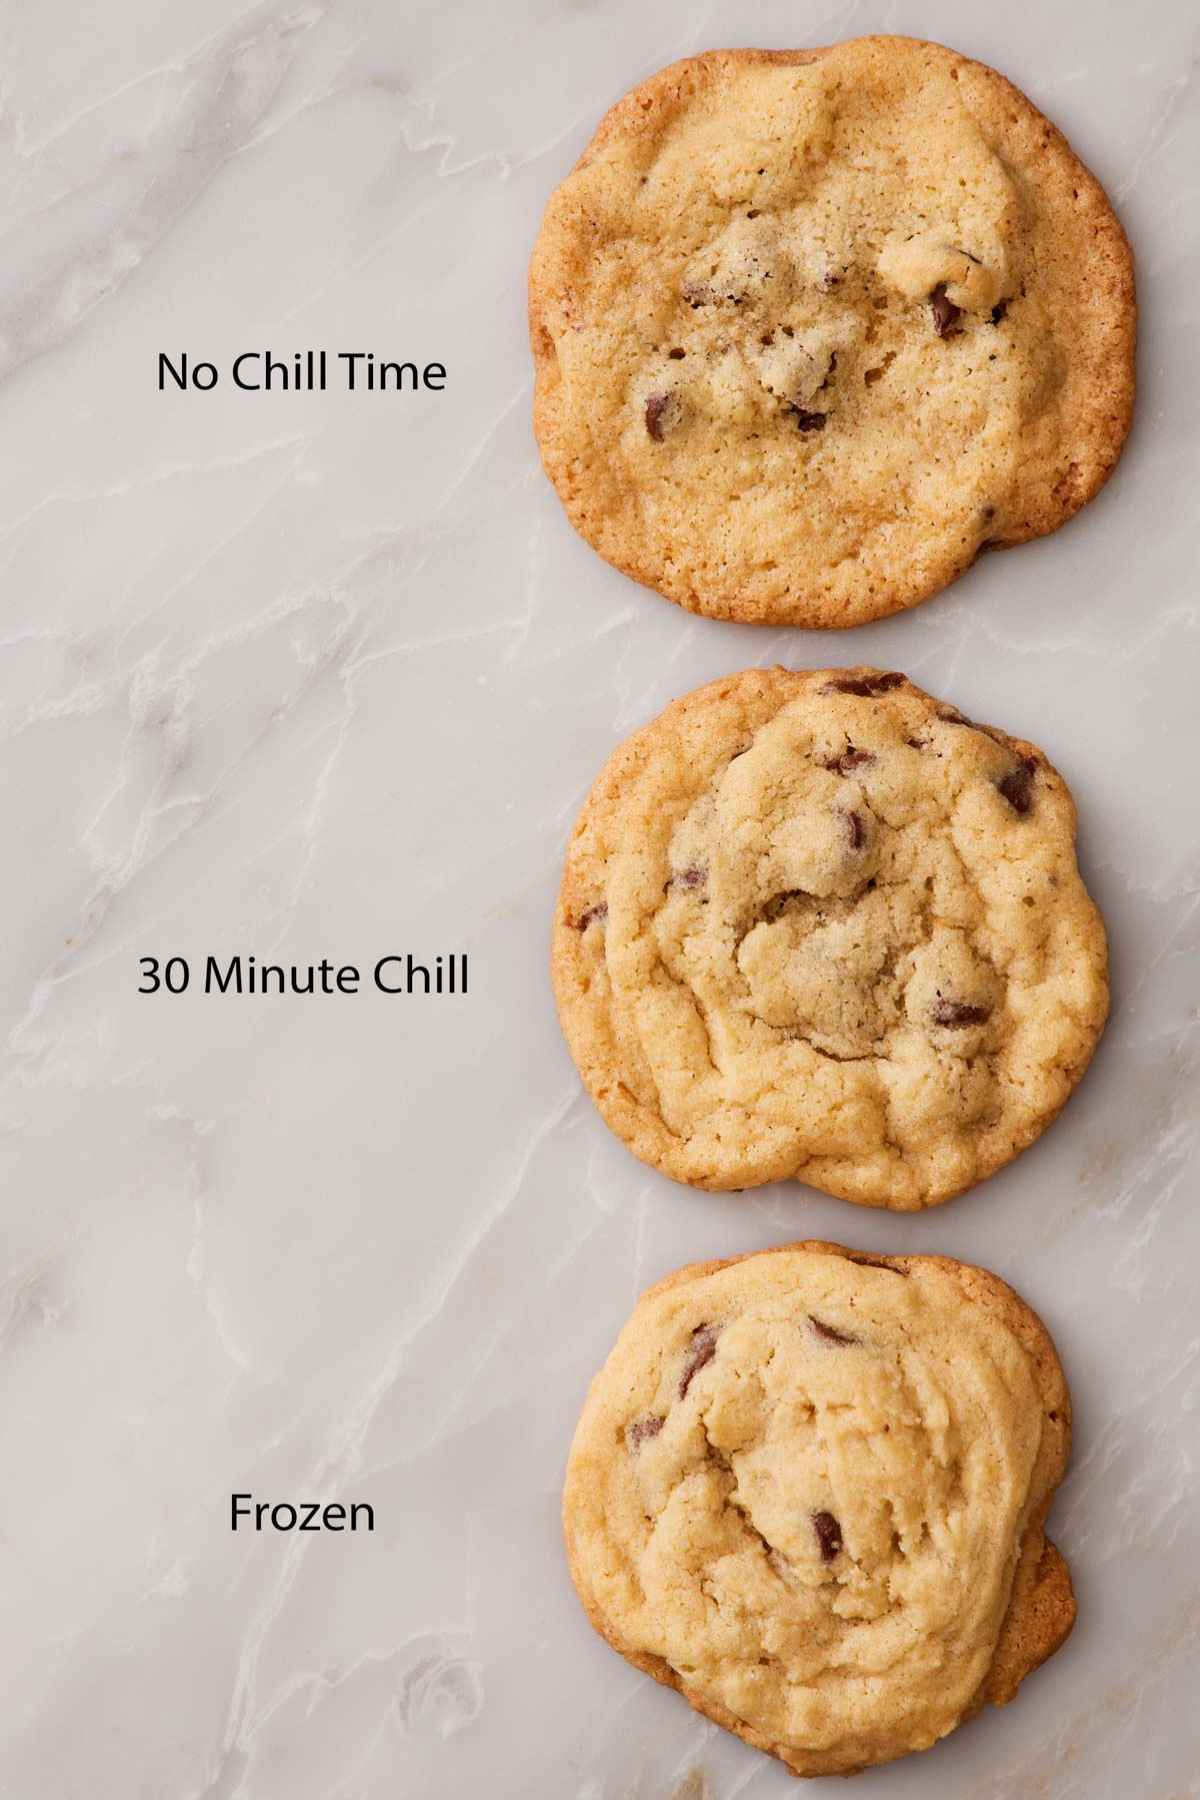
1. It controls how much the cookies spread. The cold temperature solidifies the fat (butter) in the dough. When the cookies hit the oven, that solid butter takes longer to melt, which gives the starches in the flour time to gelatinize and set the cookie’s structure before the dough has a chance to flatten out. Chilling also lets the flour and sugar absorb the free moisture in the dough — yes, sugar is hygroscopic and absorbs moisture — and dough with less free moisture spreads less. You can see all three states (no chill, 30 minutes in the fridge, frozen) compared in the image below.
2. It changes the texture. A colder, firmer cookie dough that spreads less yields a thicker cookie with a chewy or fudgy center and crisp, caramelized edges. The sugar molecules retain more moisture during baking, which is what makes the finished cookie chewy. Think of it like chewy vs. hard caramel—both are made with cooked sugar, but a chewy caramel has more retained moisture than a hard caramel. Same principle.
3. It deepens the flavor. As the flour hydrates and rests, the starches and proteins gradually break down, forming sugars and other compounds that contribute to flavor. If you’ve ever made bread that chills overnight, you’ve tasted this exact difference. The same thing happens in cookie dough on a smaller scale. Chilling also helps the cookies brown more (more sugar in the dough means more sugar to caramelize while baking), which adds another layer of complexity.
A Guide To How Long To Chill Cookie Dough
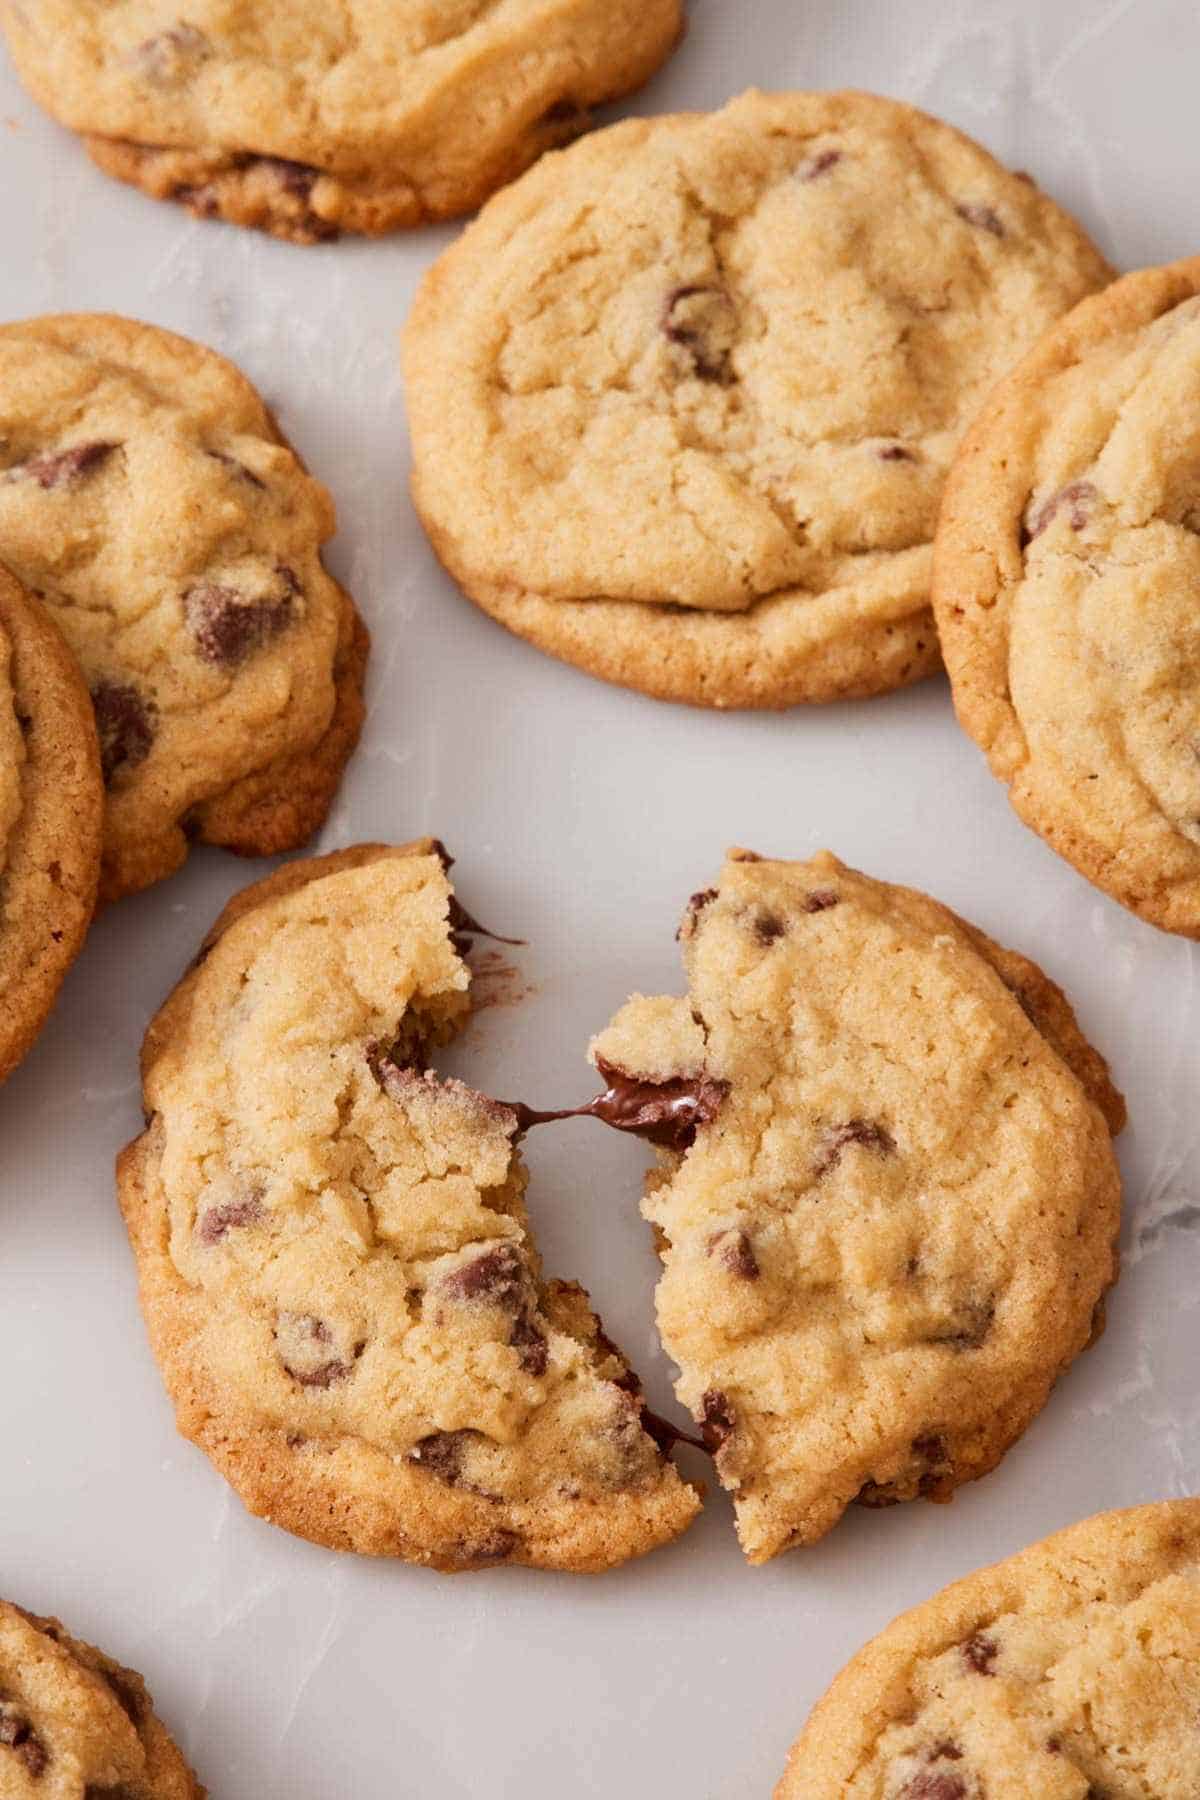
I tested four chill durations on the same chocolate chip cookie dough: 30 minutes, 1-2 hours, 24 hours, and 48-72 hours, plus a control batch baked immediately and a frozen batch. Here’s what changed at each stage:
| Chill Time | Spread | Texture | Flavor |
| No chill | Maximum spread; thinnest cookies | Crispy from spread and not very chewy. Fairly even texture throughout. | Tasty but flat; tastes mostly of butter, sugar, and vanilla |
| 30 minutes | Noticeably less spread than no-chill | Contrast starts to form with crispier edges, center stays soft | Roughly the same as no-chill |
| 1-2 hours | Spread just enough; cookies have shape | Chewier center with crisp edges | Subtly deeper; sugar starting to dissolve |
| 24 hours | Same as 1-2 hours | Distinctly chewier, almost fudgy in the center | Big jump; toasty, more complex, slightly caramel-like |
| 48-72 hours | Same as 24 hours | Chewiest of all the test cookies | Slightly deeper than 24 hour |
| Frozen | Least spread of any tier | Thicker; texture similar to 24-hour chilled | Similar to 24-hour chilled |
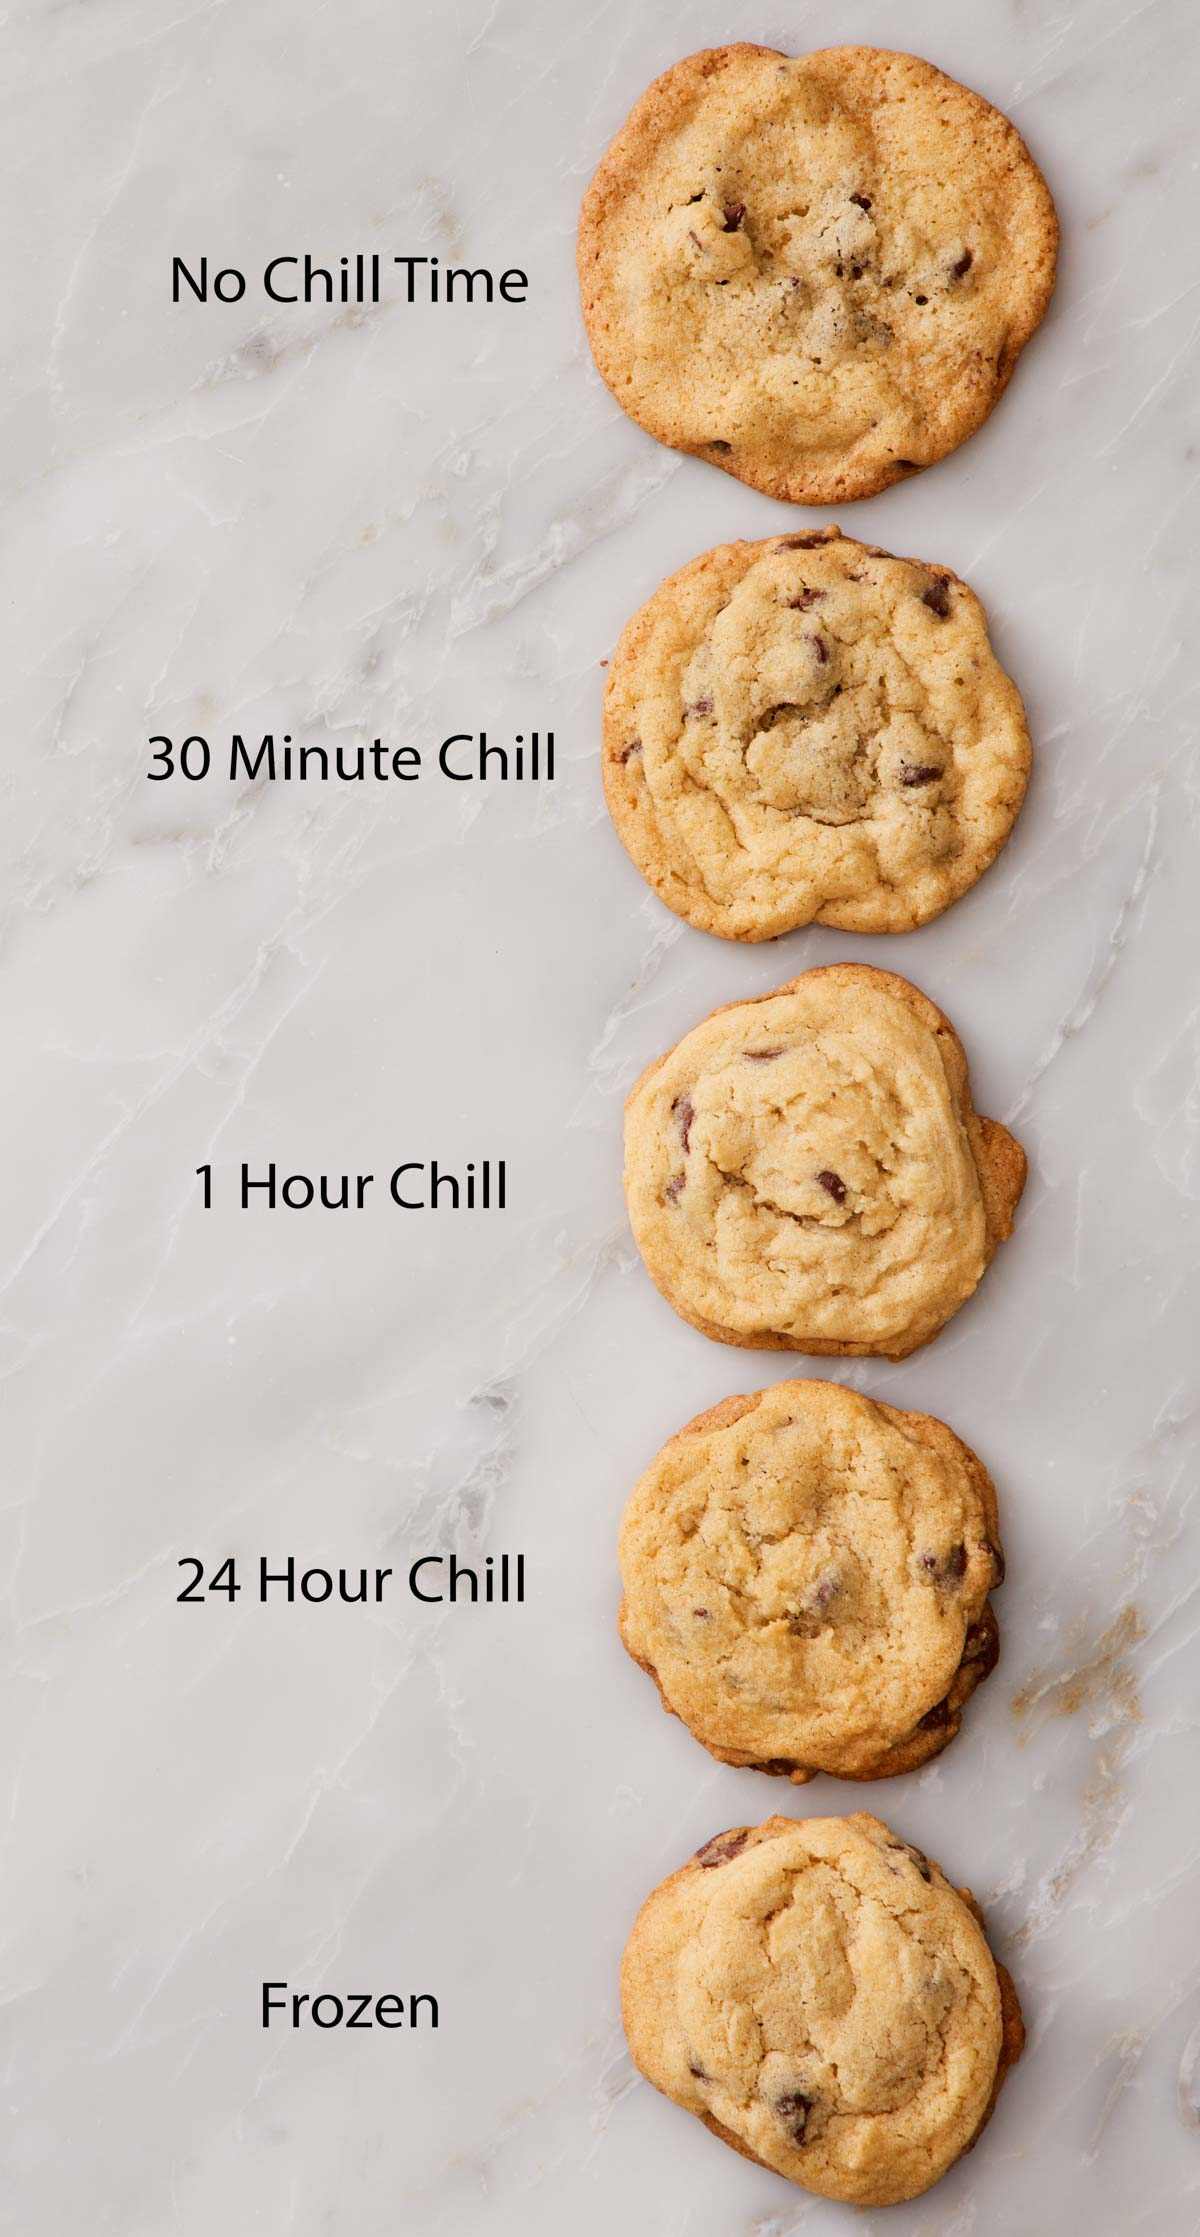
The biggest jump in spread reduction is between no-chill and 30 minutes. After that, the spread continues to reduce gradually but the difference is minor.
The biggest jump in flavor is between 1-2 hours and 24 hours. This was the result that surprised me most in testing. I expected flavor to develop linearly across all four tiers, but in our blind taste test, the 24-hour cookie was clearly more complex than the 2-hour cookie, while the 24-hour and 72-hour cookies were very similar.
The biggest jump in texture keeps building all the way to 72 hours. The 72-hour cookies were the chewiest of the bunch, noticeably so, even compared to the 24-hour batch.
Practical takeaways:
- 30 minutes is the absolute minimum that produces a real visible improvement. (If you’re really in a hurry, 10 minutes in the freezer gets you to roughly the same dough temperature.)
- 1-2 hours is the standard recipe-chill, and fine for most situations.
- 24 hours is when the dough actually gets good. If you can plan ahead, do this.
- 48-72 hours is for when you’re chasing the best version of a cookie. There are diminishing returns past this point—see the “Can Dough Be Chilled For Too Long?” section below.
Does All Cookie Dough Need To Be Chilled?
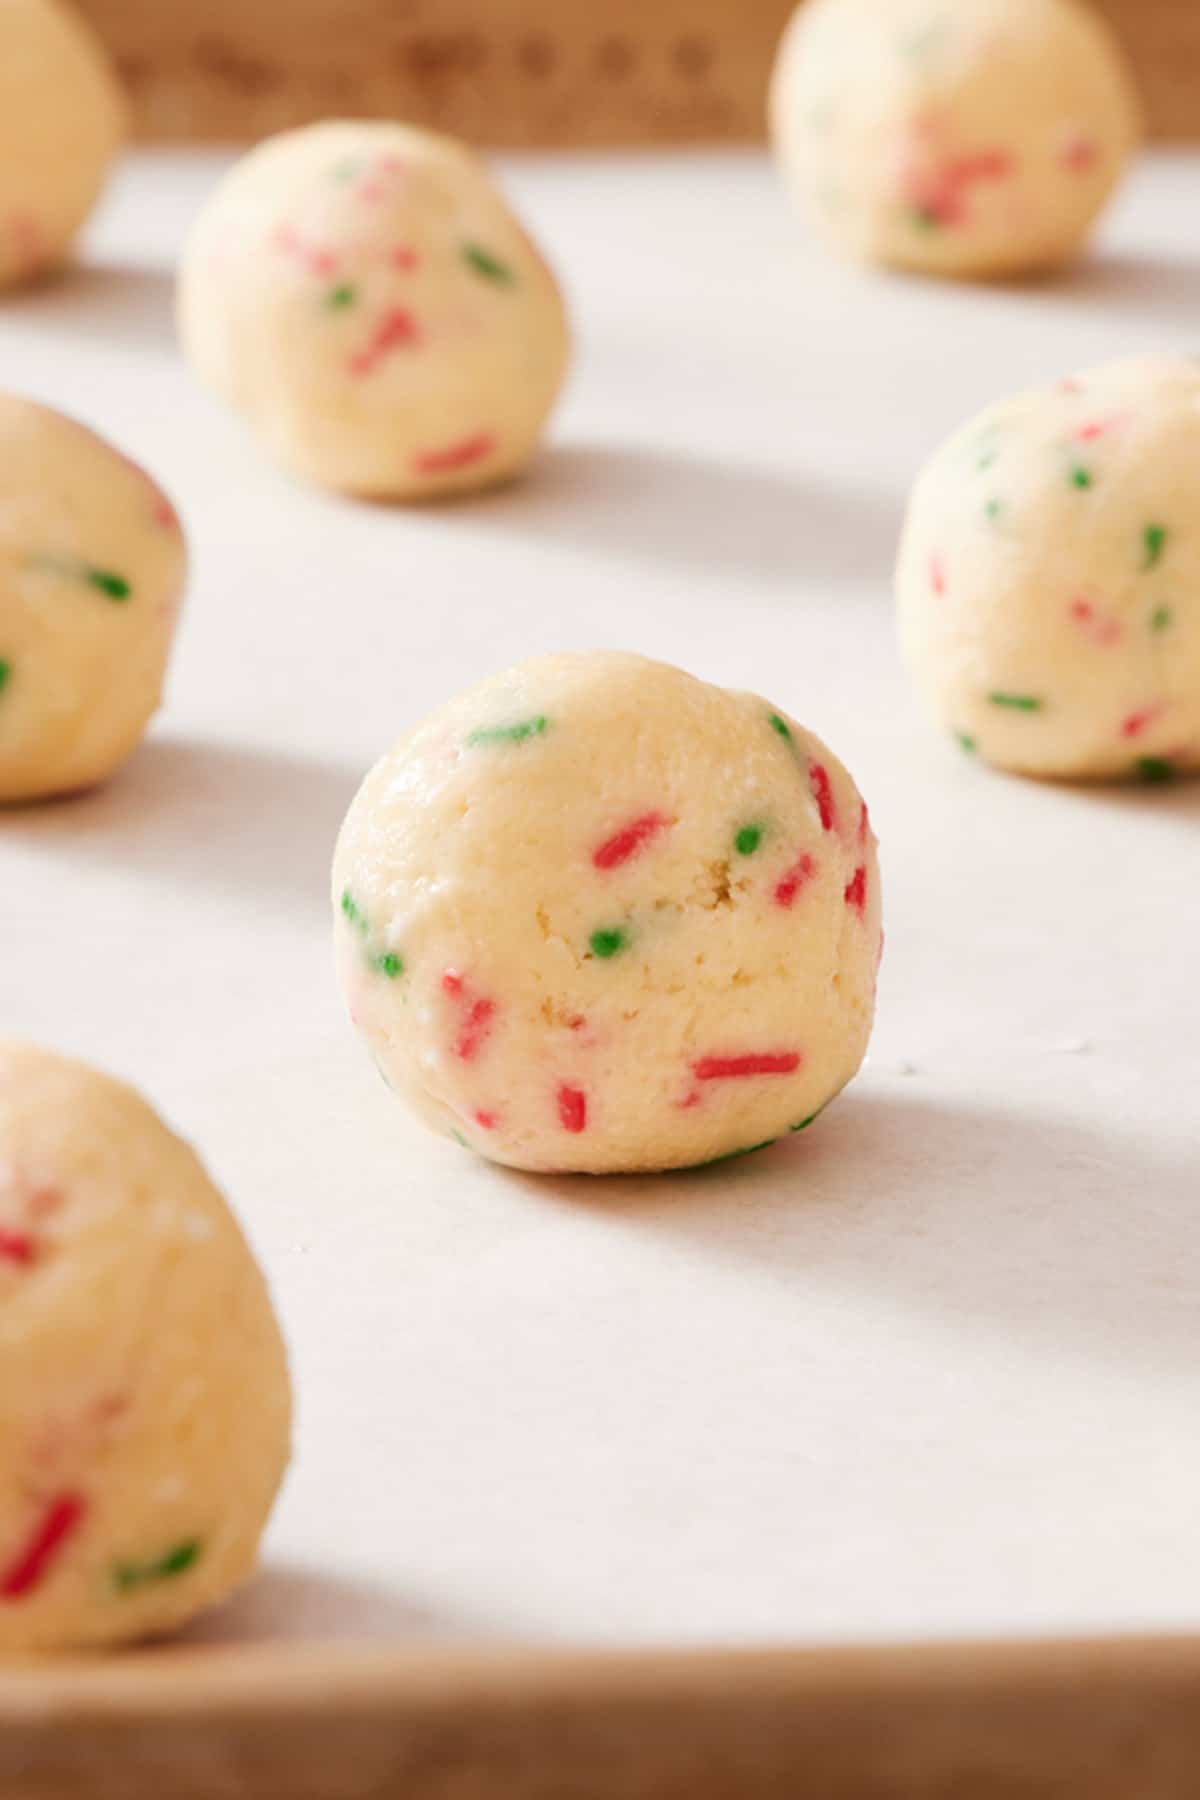
No, it depends on the type of cookie dough and the recipe. Many of my cookie recipes are tested to be scooped and baked straight from the bowl without any chilling: oatmeal cream pies, peanut butter oatmeal cookies, and molasses cookies to name a few. However, these cookies can still reap the benefits of chilling for texture and flavor, as previously mentioned.
These are the cookie types that benefit most from chilling, where I’d recommend it even when the recipe doesn’t strictly call for it:
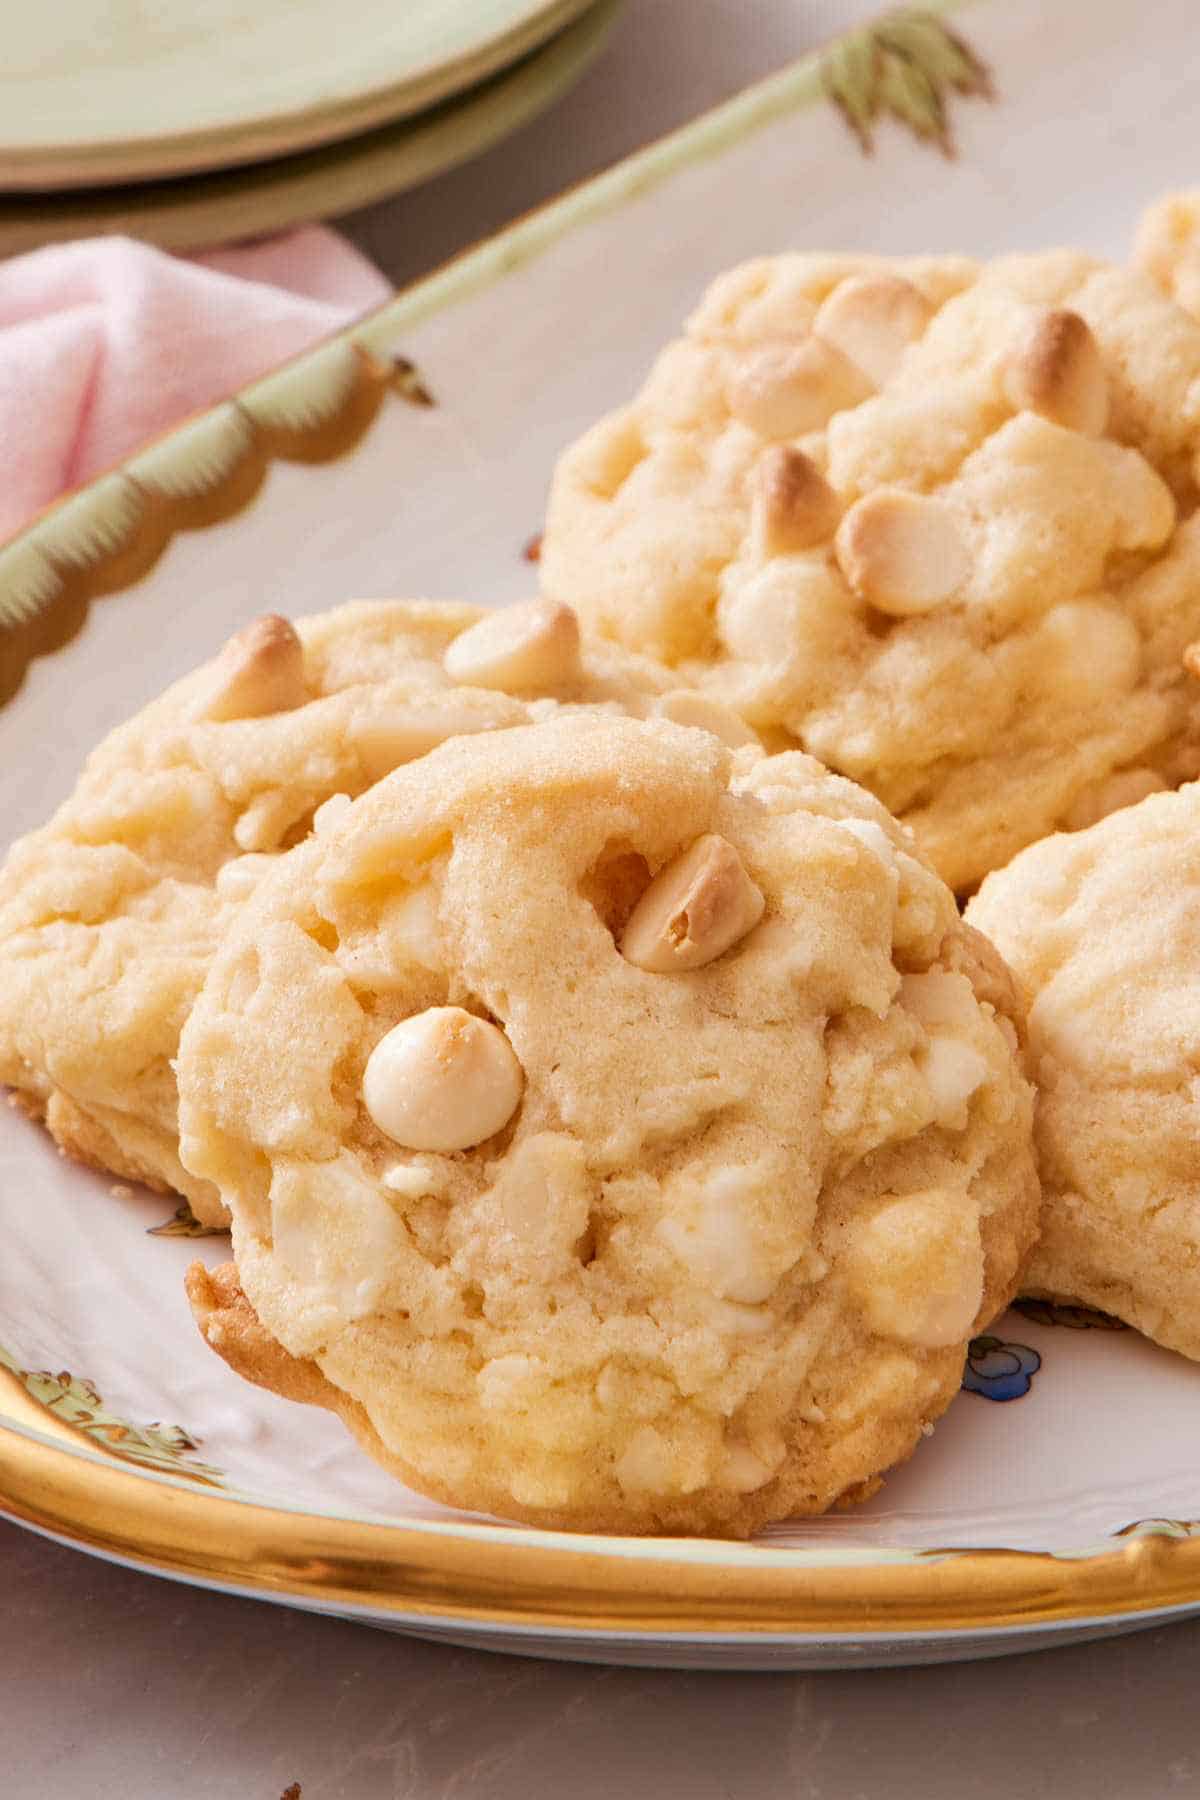
- Drop cookies: Chilling helps texture, spread, and flavor. Examples include white chocolate macadamia nut cookies, lemon crinkle cookies, and cowboy cookies.
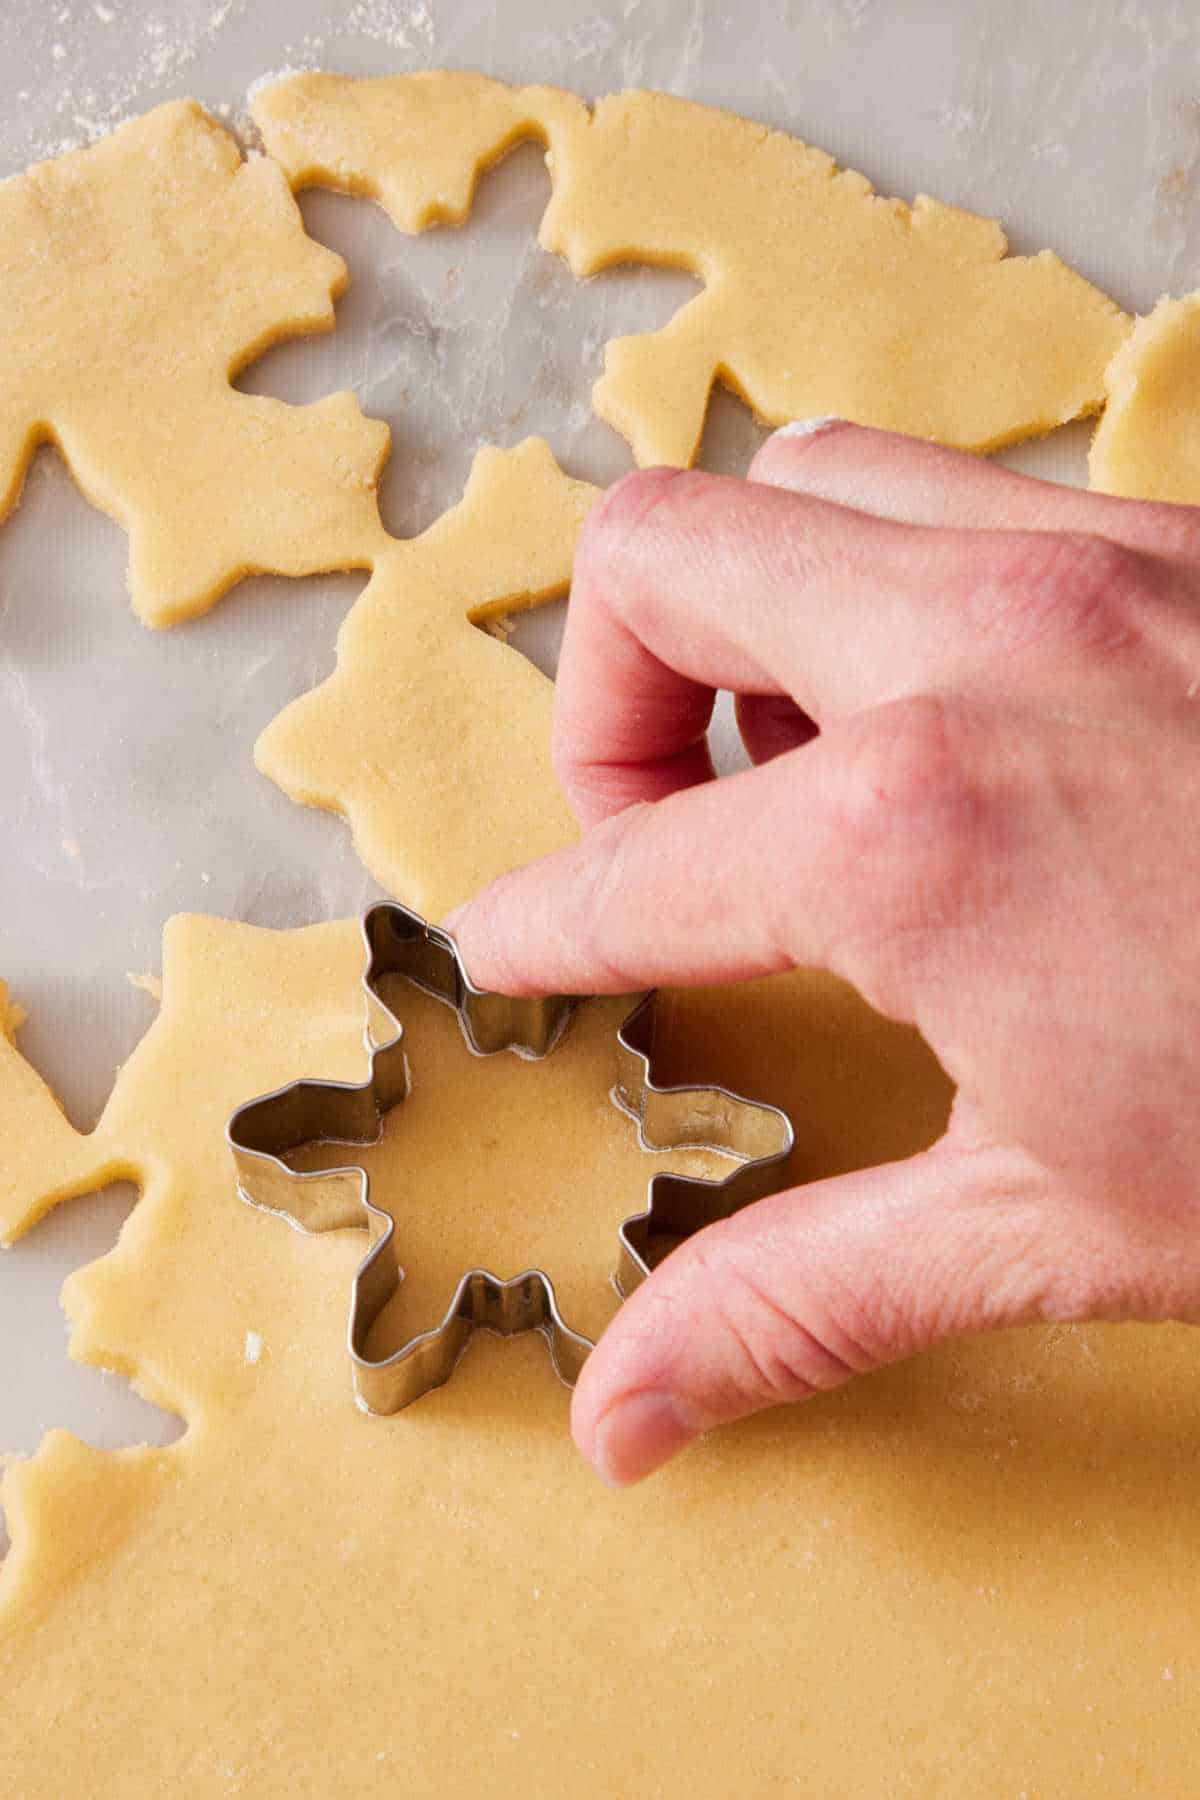
- Rolled and cutout cookies: Chilling the dough helps to keep the sharp edges for cutout shapes, like gingerbread men, sugar cookies, Lofthouse cookies, and snowflake cookies. It also makes the dough easier to roll without sticking.
- Shortbread and other slice-and-bake cookies: Chilling gets the butter cold so the dough is easy to slice, and also gives baked shortbread cookies the perfect melt-in-your-mouth texture. Other slice-and-bake cookie recipes you can try include pecan shortbread cookies.
Can I Chill Cookie Dough That Doesn’t Require It?
Generally, yes, and you’ll get a better cookie for it. Scoop or shape the dough first (instead of chilling the dough as a mass in the bowl), as the dough may be too hard after it has chilled. With my peanut butter cookies, for example, you’d roll the dough into balls and press them with the fork before chilling.
There are a few exceptions where chilling actually hurts the dough. Meringue-based doughs don’t survive a chill — the air structure breaks down. That’s why you shouldn’t chill the dough for meringue cookies, coconut macaroons, or French macarons. The recipes will specify when this is the case.
What If the Dough Contains Baking Soda or Baking Powder?
This is a very common question I get on cookie posts, so it’s worth addressing directly.
Baking powder is fine. Baking powder mainly reacts with the heat of the oven, not in the dough at room temperature, so long chill times don’t affect it.
Baking soda technically degrades over time. It reacts with the acid in other ingredients (like brown sugar and eggs) and can lose effectiveness. But baking soda needs moisture to react, and cookie dough is dry compared to something like a cake batter, so the reaction happens very slowly. In my testing, I baked cookies from the same dough at 24 hours and 72 hours and saw no meaningful difference in rise or texture from leavener loss. If you’re chilling for under 3 days, don’t worry about it. Freezing the dough halts the reaction entirely, so for longer holds, freezer is the answer.
Should I Scoop The Dough First, Or Chill It As A Mass?
The recipe will usually tell you, but here’s the rule of thumb:
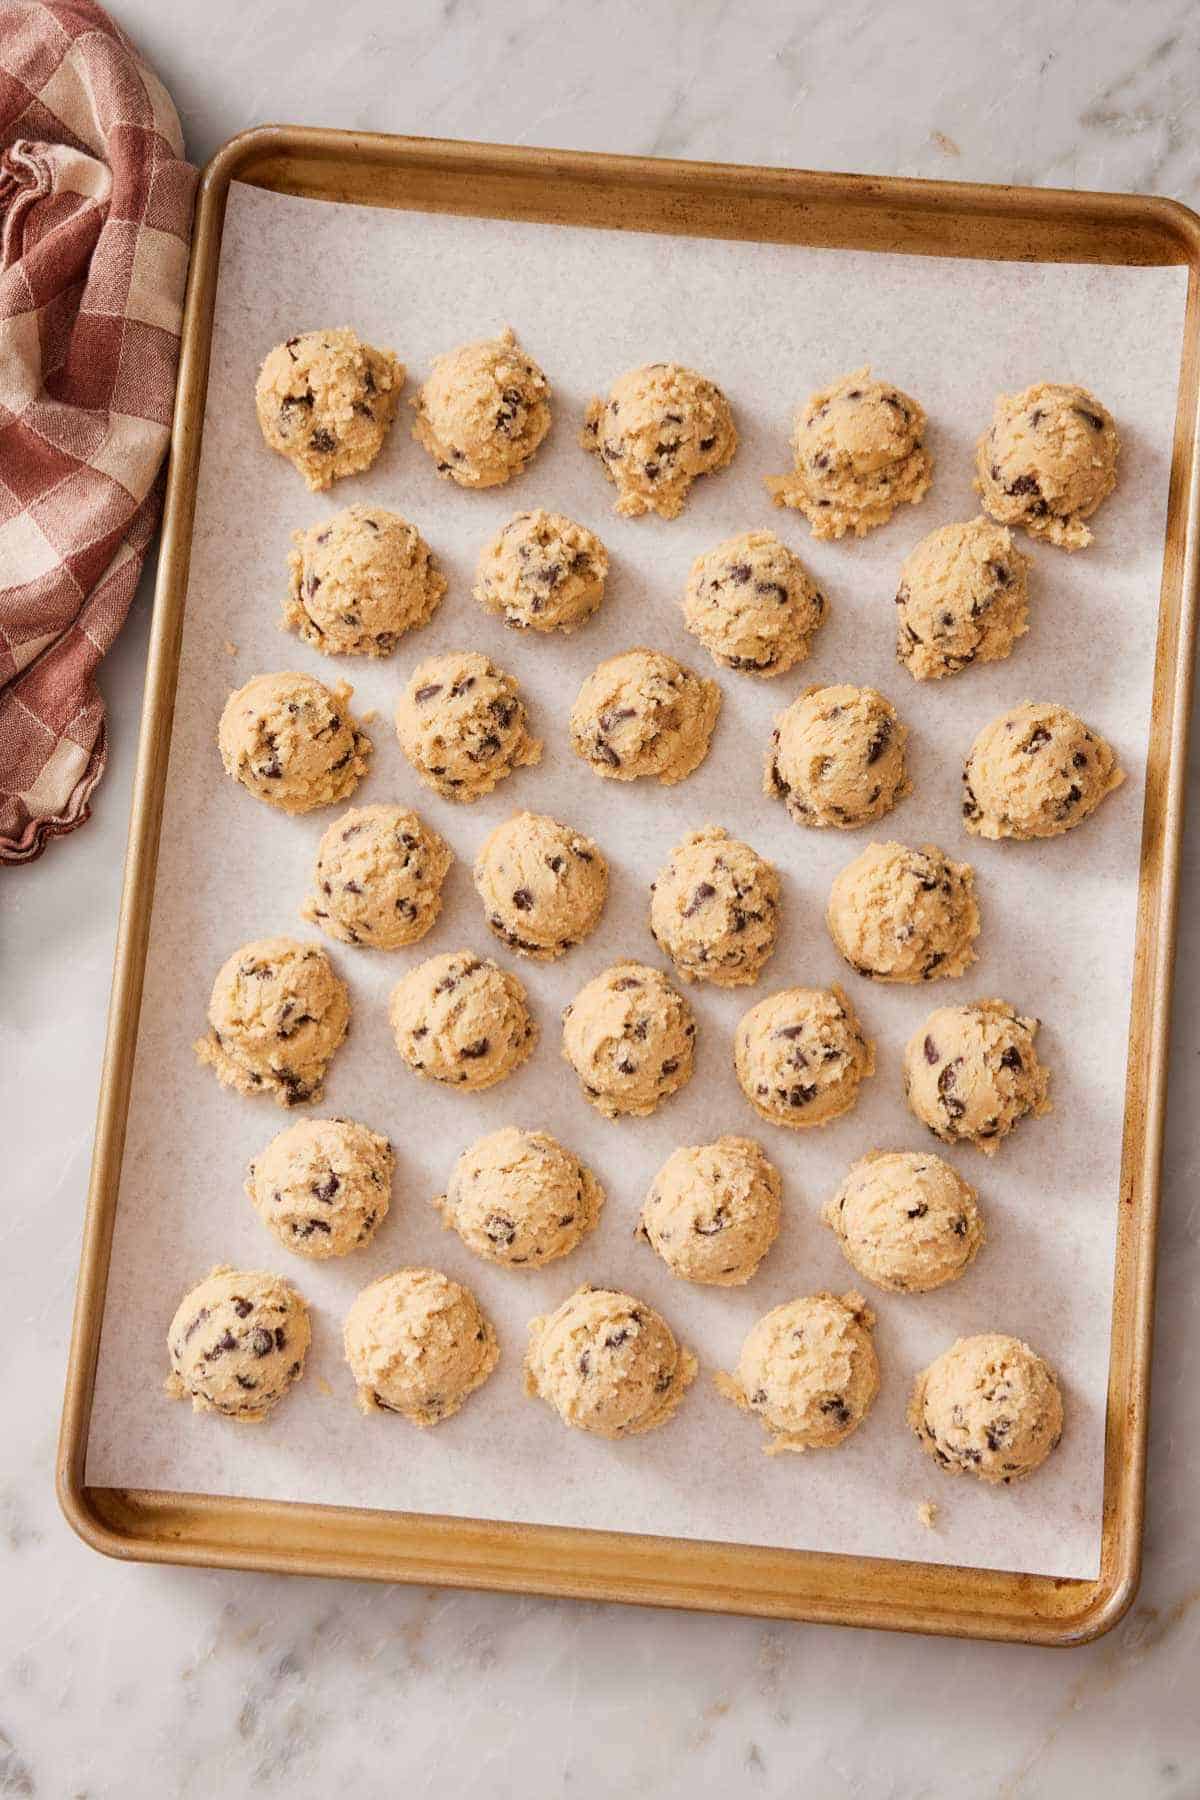
Scoop before chilling is my preferred default and is so convenient for drop cookies like snickerdoodles or chewy chocolate chip cookies. The dough is at its most workable straight from the mixing bowl. Once chilled, you can take the dough balls straight from the fridge to the oven.
Chill as a mass when the dough is too soft to scoop cleanly. Doughs made with melted or browned butter fall into this category, as do very sticky doughs like chocolate crinkle cookies. Chilling firms them up enough to scoop and roll. Cover the bowl tightly with plastic wrap or use an airtight lid. When you’re ready to bake, if the dough has chilled for longer than directed and is rock-solid, let it sit at room temperature for about 30 minutes (depending on how warm your kitchen is) until it’s soft enough to scoop.
Can I Freeze Cookie Dough Instead?
Yes, and frozen cookie dough produces the absolute least spread of any chill state, which makes it ideal for thick cookies or cutout shapes that need to hold sharp edges. In my testing, frozen dough spread less than even the 72-hour fridge-chilled dough.
A few quick freezer guidelines:
- Most cookie doughs freeze well for 3-6 months (drop, cutout, slice-and-bake).
- Scoop or shape before freezing. Freezing as a mass means you’ll need to thaw it before working with it. Freezing pre-portioned dough means you bake directly from frozen.
- Bake from frozen with a 1-2 minute longer bake time. No need to thaw drop cookies.
- Meringue-based doughs don’t freeze well. If a recipe says it shouldn’t be frozen, follow those guidelines. (You may be able to freeze it after baking.)
For full details—including specific times by dough type, flash-freezing technique, and storage—see my dedicated tutorial on how to freeze cookie dough.
Pro Tips For Chilling Cookie Dough
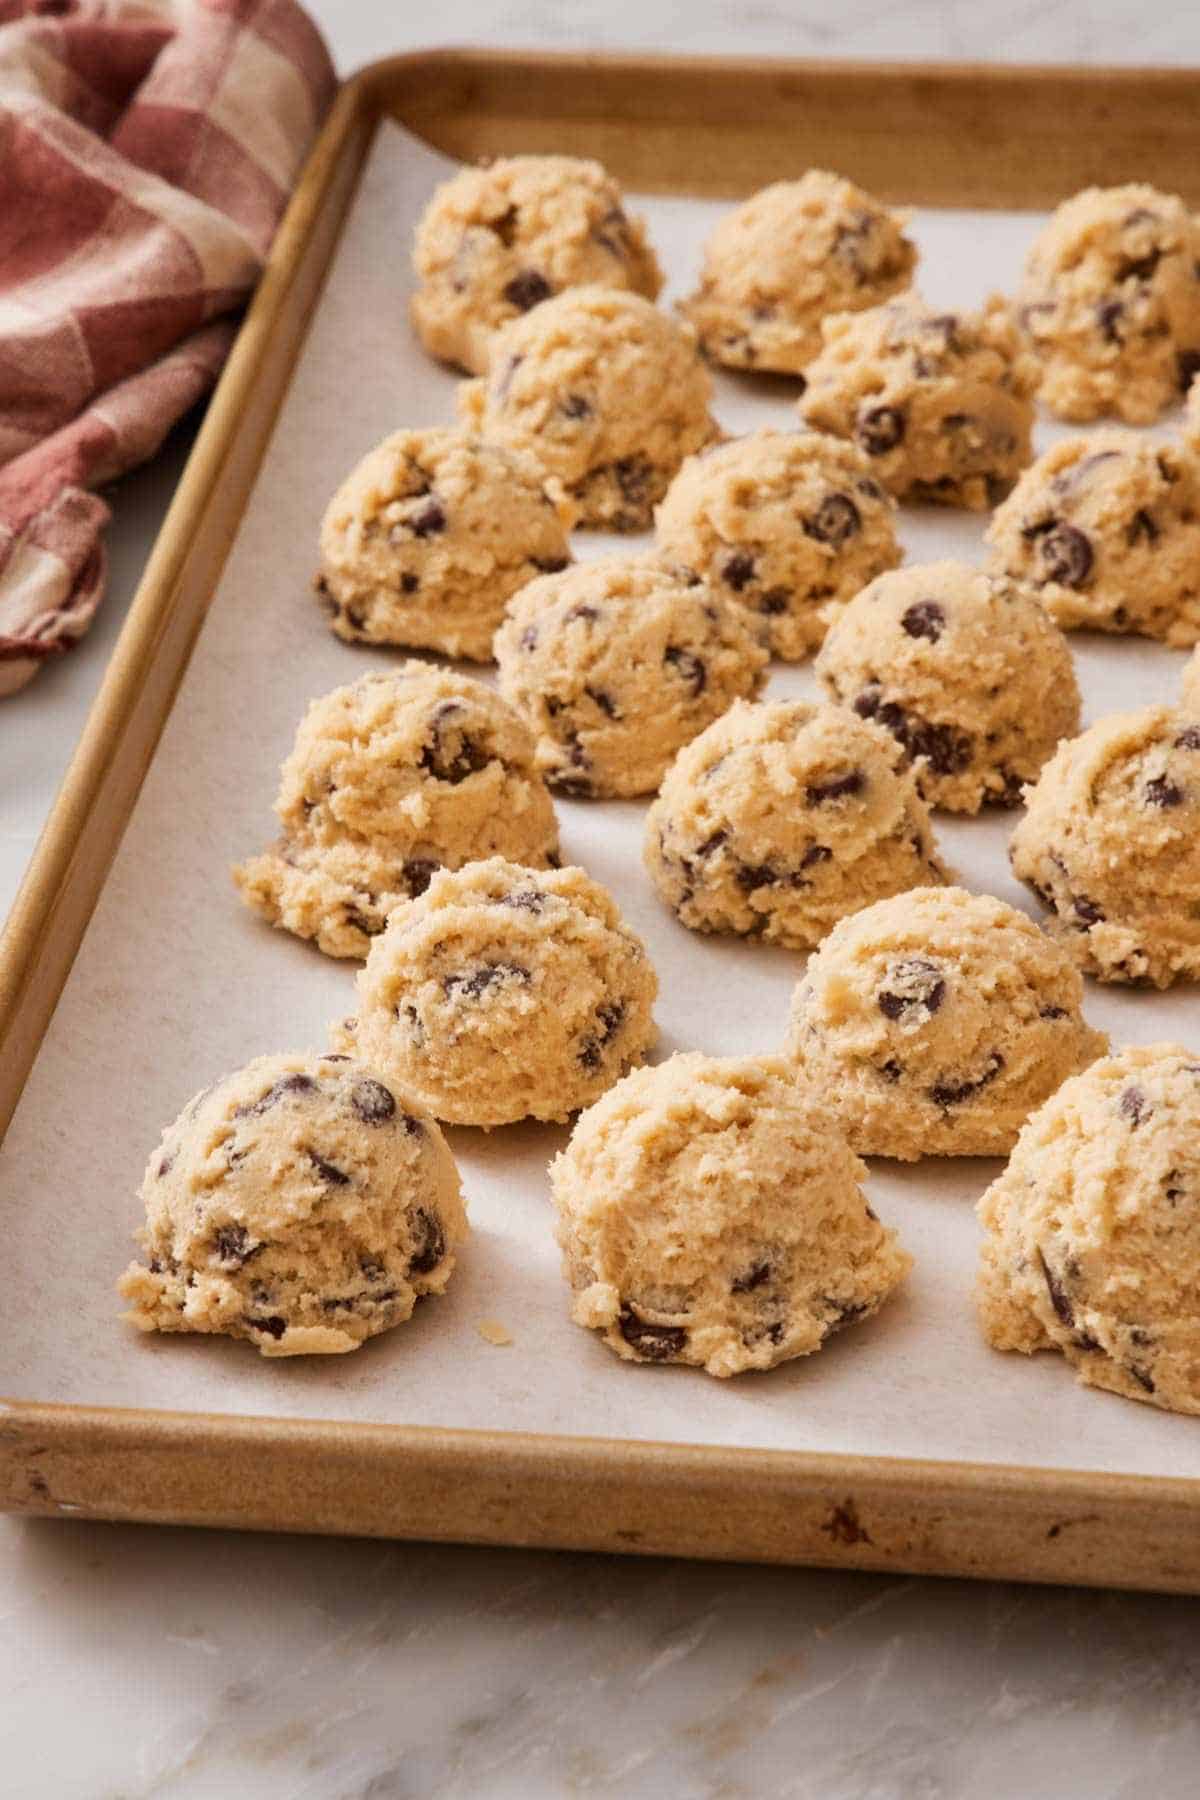
Line the tray for chilling the dough balls. The dough will be firm in the fridge and can easily stick to whatever surface you’re chilling the dough balls on. To help them release easily, line the tray with wax paper, parchment paper, a silicone mat, etc.
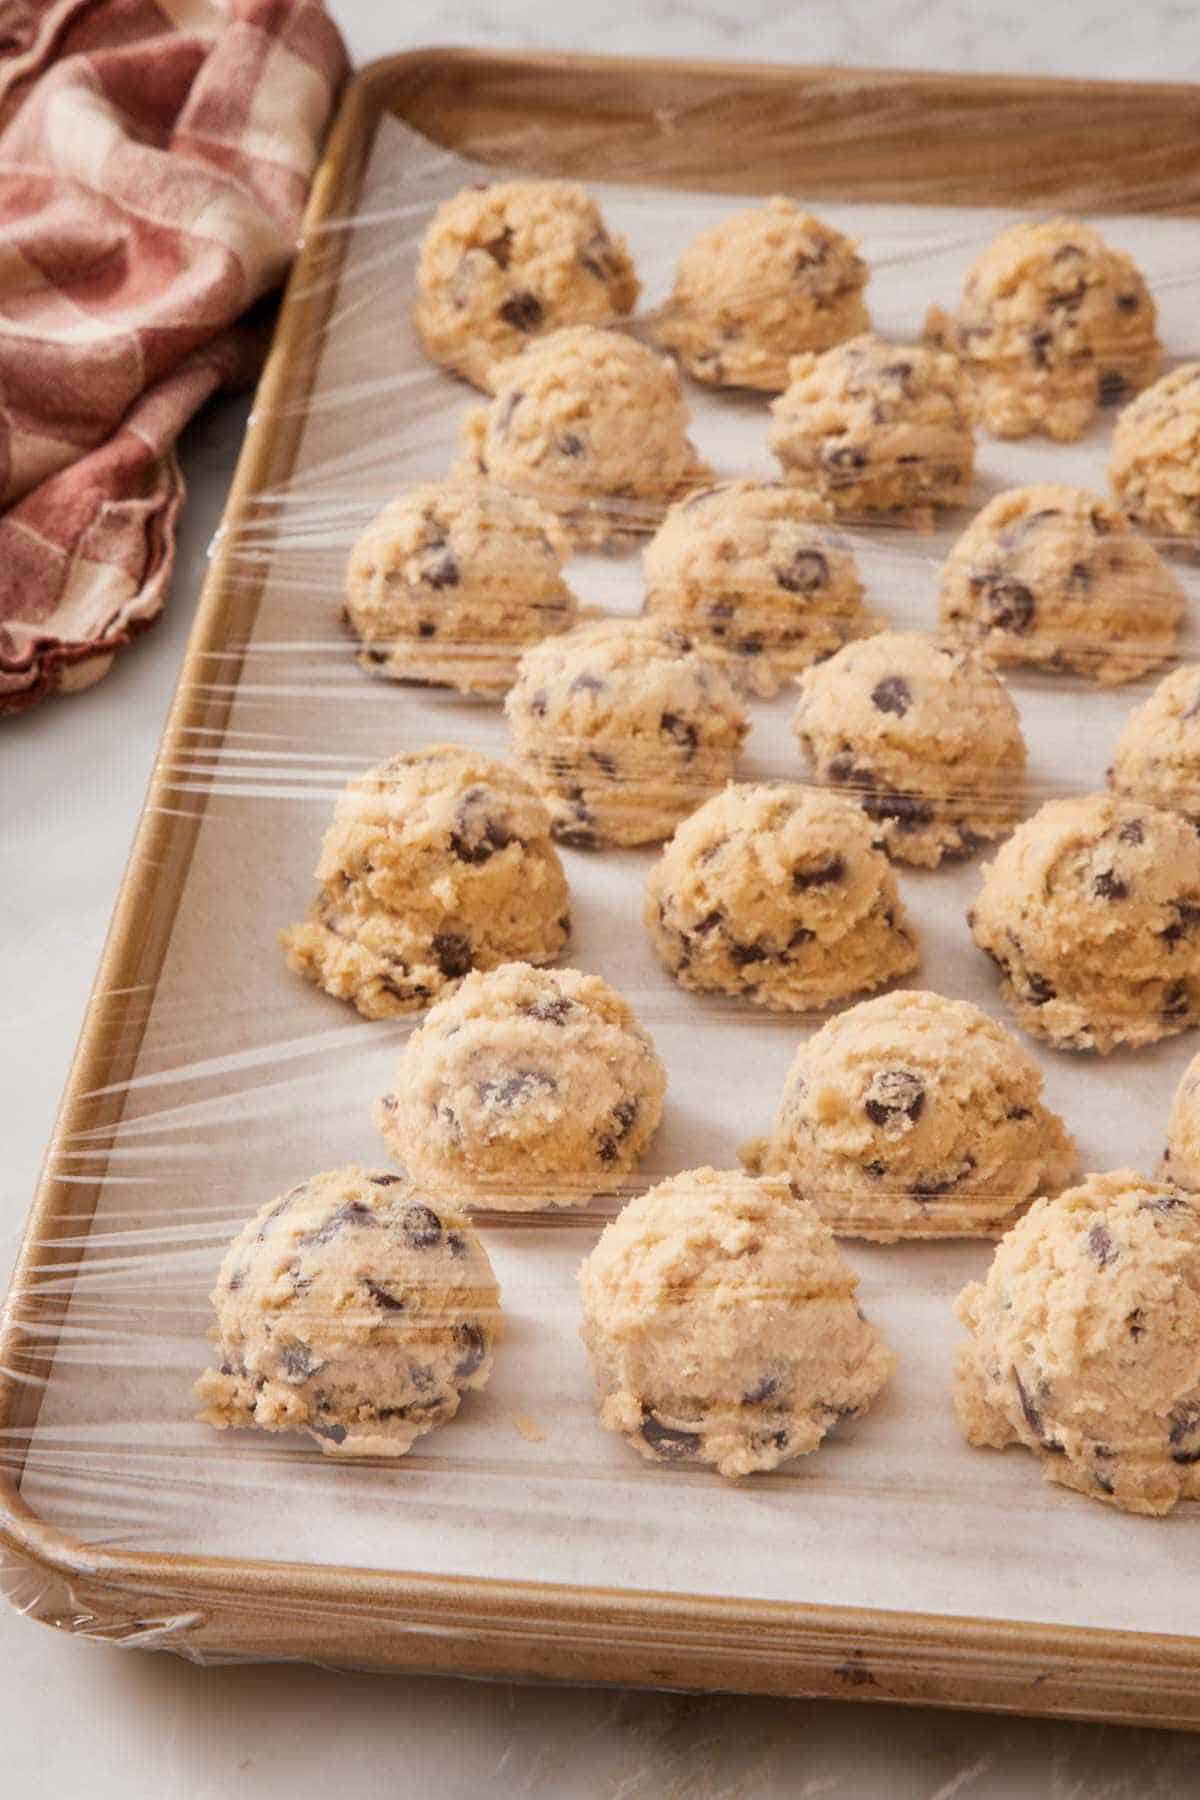
Place cookie dough balls close together. When baking the cookies, I usually recommend spacing them out to give them room to spread. They don’t need this space when chilling in the refrigerator, so you can use a smaller tray and arrange the dough balls close together (it’s totally fine if they’re almost touching). This will save space in your fridge! Before baking, spread the cookie dough balls out on a large baking sheet.
Keep the dough tightly covered so it doesn’t dry out. Cover the tray tightly with plastic wrap before chilling so the dough doesn’t dry out and become crumbly. If you need the fridge space, you can transfer the chilled dough to an airtight container once it’s firm, and stack layers with wax or parchment paper between them.

Can Dough Be Chilled For Too Long?
Yes, eventually. The two main risks of chilling cookie dough beyond about 72 hours are the dough drying out (which makes the cookies refuse to spread at all and bake up dense) and ingredient spoilage (eggs and dairy do have a shelf life even in dough form).
There are real flavor-and-texture gains in chilling for at least 30 minutes and up to 72 hours. Past 72 hours, the curve flattens. The dough doesn’t keep getting better; it just gets older. The rule of thumb: chill up to 72 hours (3 days), then transfer to the freezer if you want to keep it longer.
Baking Chilled Cookie Dough
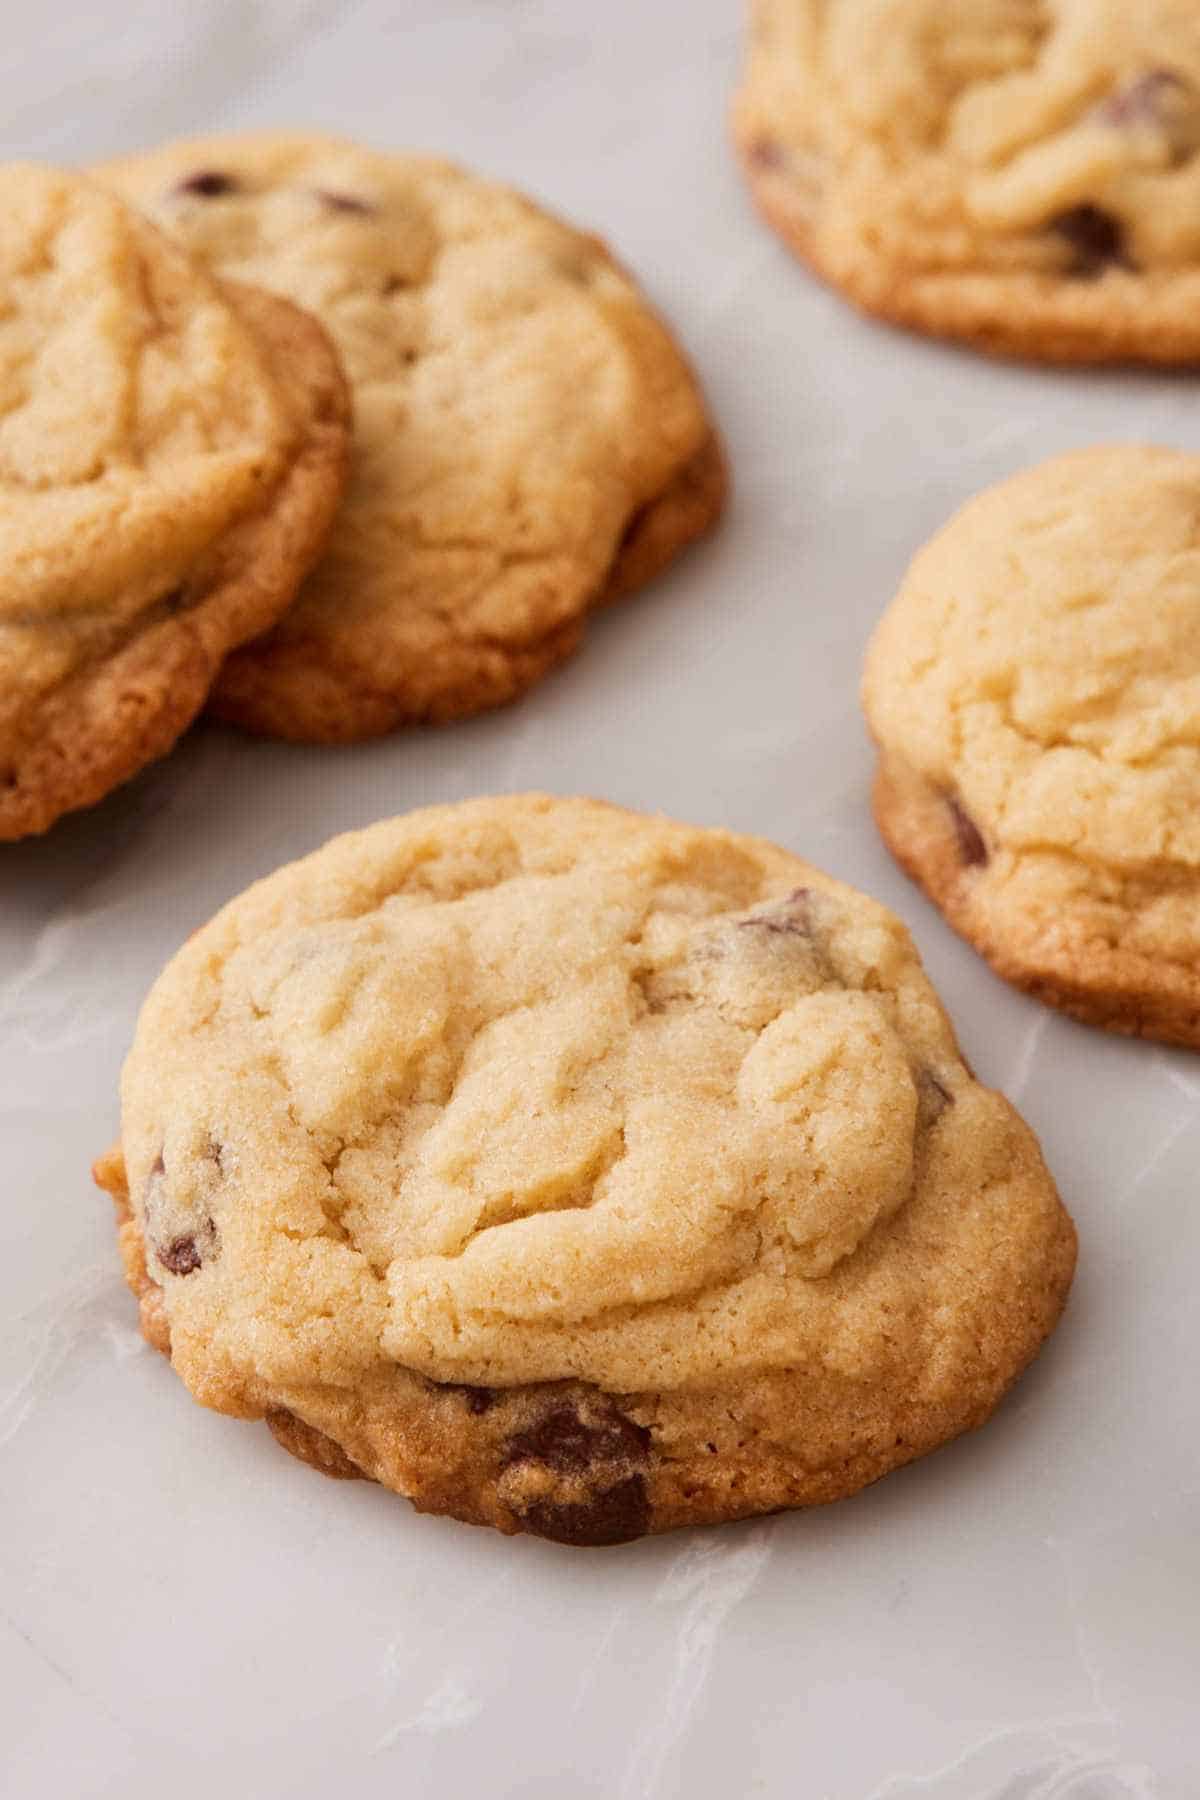
You can bake straight from the cold dough as the recipe directs. If you’re chilling a recipe that doesn’t call for chilling, just add an extra minute or two to the bake time — the cold dough takes a little longer to reach the right temperature in the oven.
If your chilled dough isn’t spreading as much as you’d like (which can happen with longer chill times or particularly dry doughs), drop the oven temperature by 25°F. The longer melt time gives the cookies a chance to spread before the structure sets.
FAQs
Thirty minutes is the minimum amount of time that produces a visible improvement in how the cookies bake. The butter solidifies, which slows melting in the oven and reduces spread, and the flour starts to absorb free moisture, which also reduces spread. You won’t get the chewy-texture or deep-flavor benefits of a longer chill, but you’ll get noticeably thicker cookies with crisper edges than you’d get from baking immediately.
Yes — and I’d argue overnight (8–24 hours) is the sweet spot for most drop cookies. The flavor jump between 1–2 hours and 24 hours is the most dramatic of any tier in my testing, and the texture gets distinctly chewier. As long as the dough is tightly covered, overnight chilling is the move.
Up to 72 hours (3 days) is the safe limit for most doughs. Egg-containing doughs especially shouldn’t sit longer. After 3 days, transfer to the freezer for storage for up to 6 months.
The fridge is the default. Most recipe instructions to “chill” mean refrigerate at 38-40°F. The freezer is a separate technique used either for very fast firming (10 minutes substitutes for 30 minutes in the fridge) or for long-term storage (several months). When a recipe specifies freezing, it’ll say so explicitly.
Two options. First, scoop the dough into balls before chilling. Small dough balls cool dramatically faster than a single mass, and 30 minutes in the fridge will fully firm up scooped dough. Second, use the freezer for 10 minutes instead of the fridge for 30 minutes; the dough hits roughly the same working temperature.
More Tutorials To Try
If you’re looking for more baking tutorials, I’ve got you covered with really helpful ones!
- Academy: How To Soften Butter — for when you forget to set the butter out in advance. Several easy methods, all in about 10 minutes.
- Academy: How To Make Brown Sugar — out of brown sugar? Make it from white sugar and molasses in two minutes.
- Academy: How To Soften Brown Sugar — easy tricks for when your brown sugar has hardened into a brick in the pantry.
- Academy: How To Brown Butter — a simple technique that adds nutty complexity to almost any cookie recipe.
- Academy: How To Melt Chocolate Chips — microwave and stovetop methods, plus when each is the right call.
If you’ve tried this “how long to chill cookie dough” tutorial, then don’t forget to rate it and let me know how you got on in the comments below. I love hearing from you!






