

This post may contain affiliate links. Please read our disclosure policy.
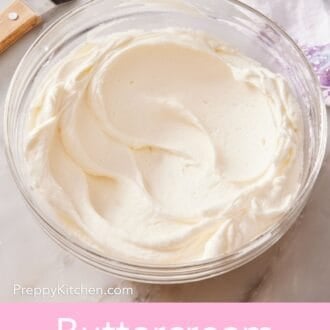
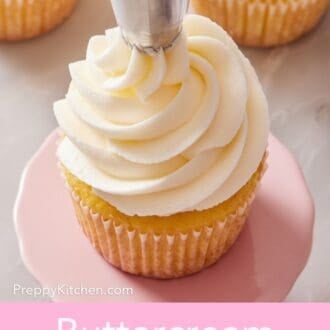
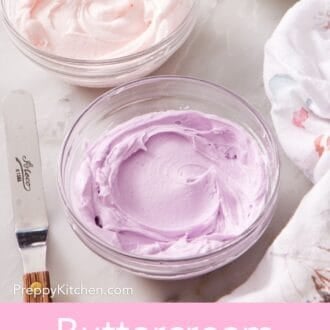
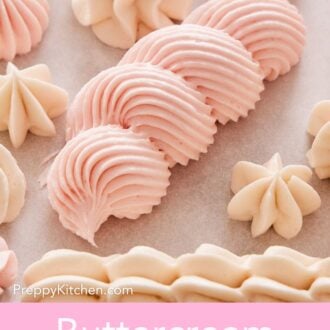
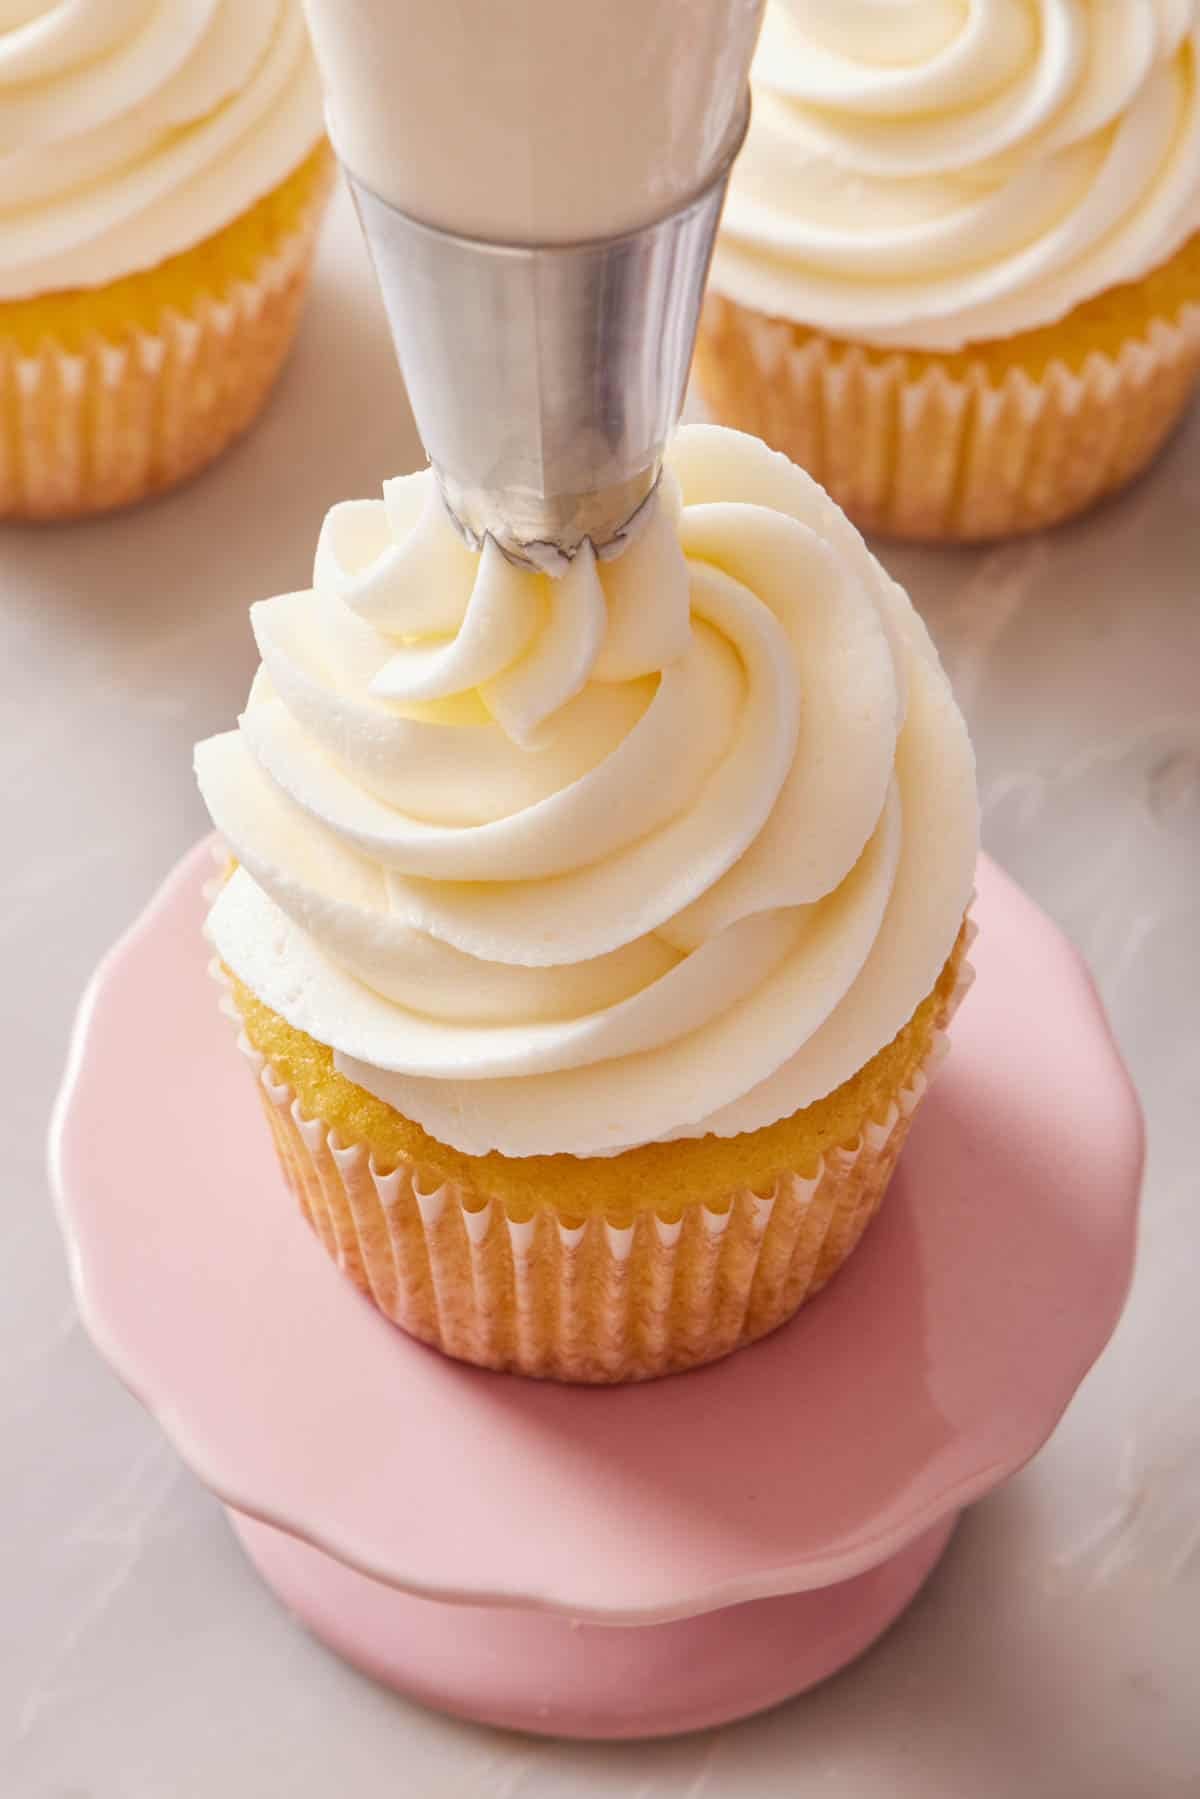
A silky, pipeable American vanilla buttercream that holds its shape, and you only need a few ingredients! Learn how to get a smooth frosting that isn’t too sweet, how to color and flavor it, plus all of my tips to troubleshoot every way it can go wrong.
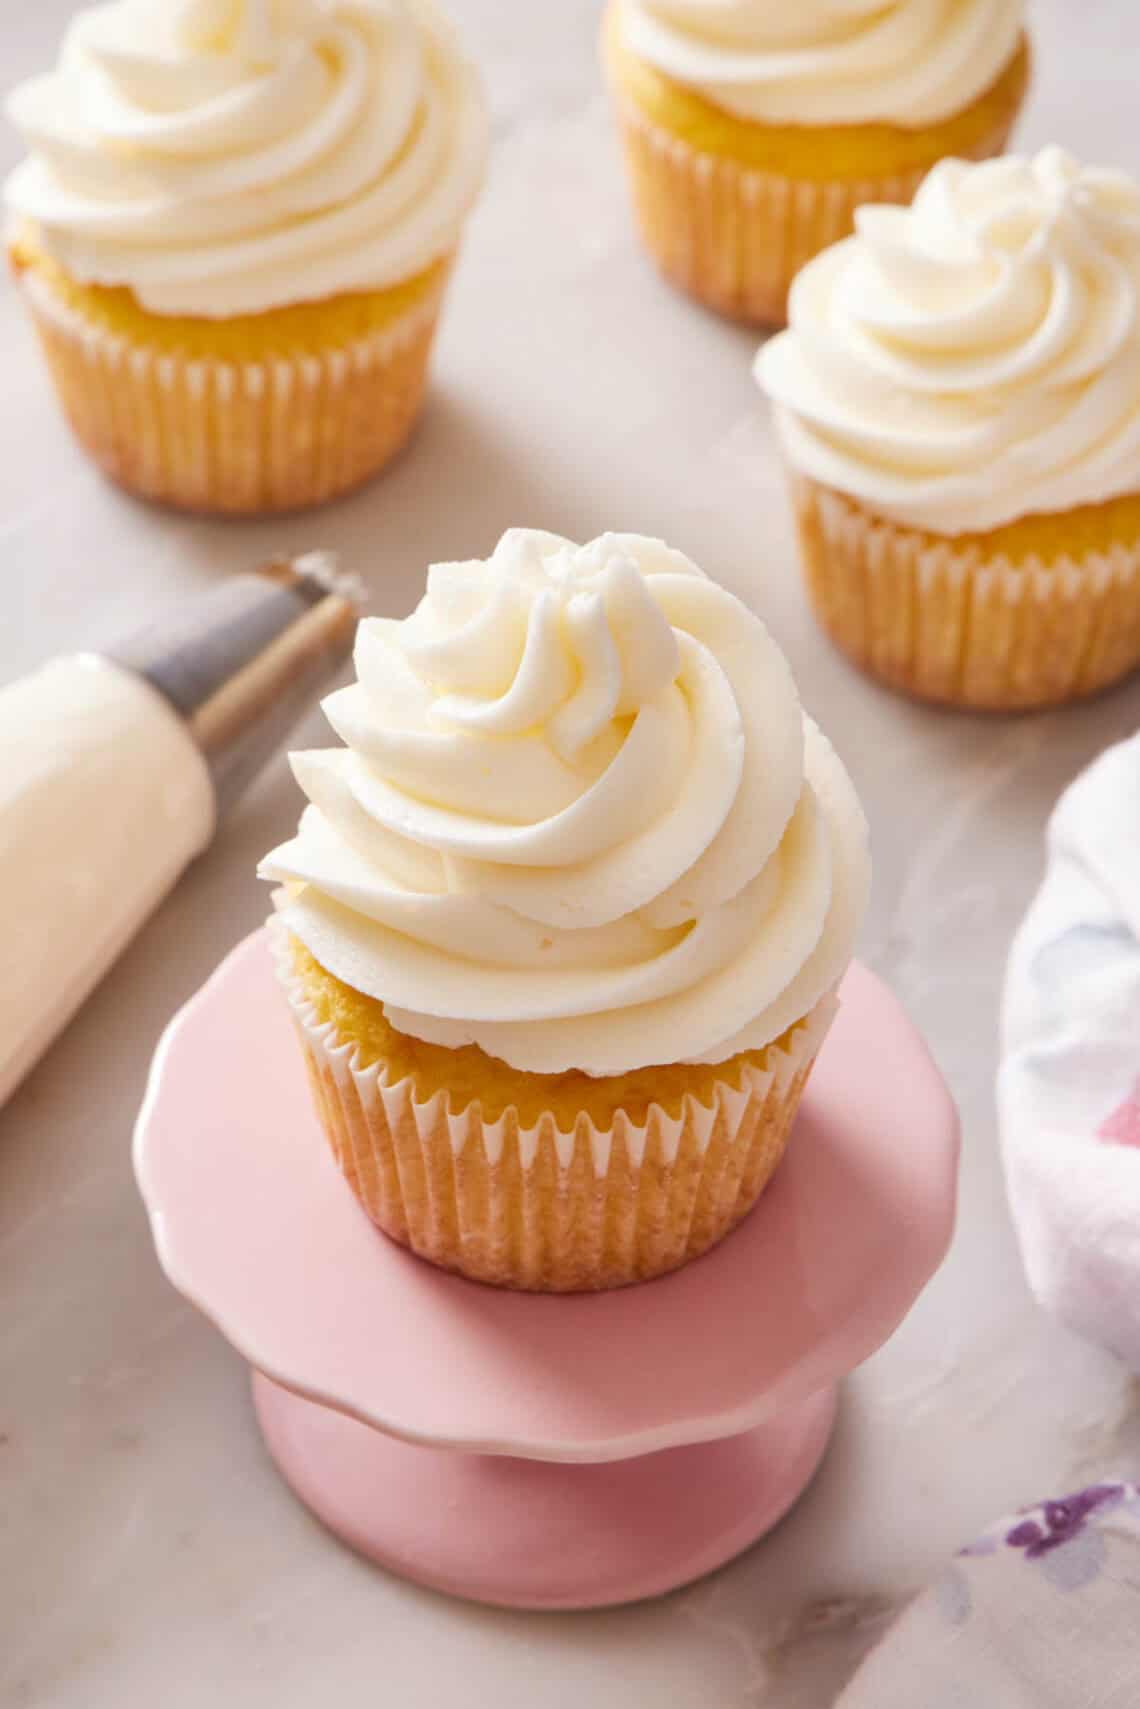
I’ve made this buttercream more times than any other recipe in my kitchen. It’s the frosting on the smash cakes for both my boys’ first birthdays, hundreds of cupcakes for school events and birthdays, and years’ worth of other layer cakes. With just five ingredients—butter, powdered sugar, vanilla, heavy cream, and salt—it’s a very simple recipe, and yet I still get more questions about it than almost any other recipe on the site. So, I’m updating this post to answer all of them!
After making this recipe literally hundreds of times at this point, the thing I have discovered in all of this trial and error that makes the biggest difference between a stiff buttercream and one that is velvety and smooth is beating the butter significantly before the sugar enters the picture. If your frosting turns grainy in texture, has air bubbles, separates, or tastes “too sweet,” it is solvable, and it isn’t a sign you’ve done something irreversibly wrong. I’ll walk you through my tests and everything you need to know to get a buttercream that pipes cleanly, holds a decorative shape without slumping, tastes like vanilla and butter (not just sugar), and can recover gracefully from every common problem.
“John, I used your vanilla buttercream recipe on the weekend and felt the need to tell you that it’s the best I have ever eaten. It was so deliciously creamy and not too sweet and also easy to make. After watching the video on how to make it, I had no idea that you could freeze the frosting. I will be doing that next time as I don’t want to waste a mouthful of deliciousness.”
Lisa St Clair
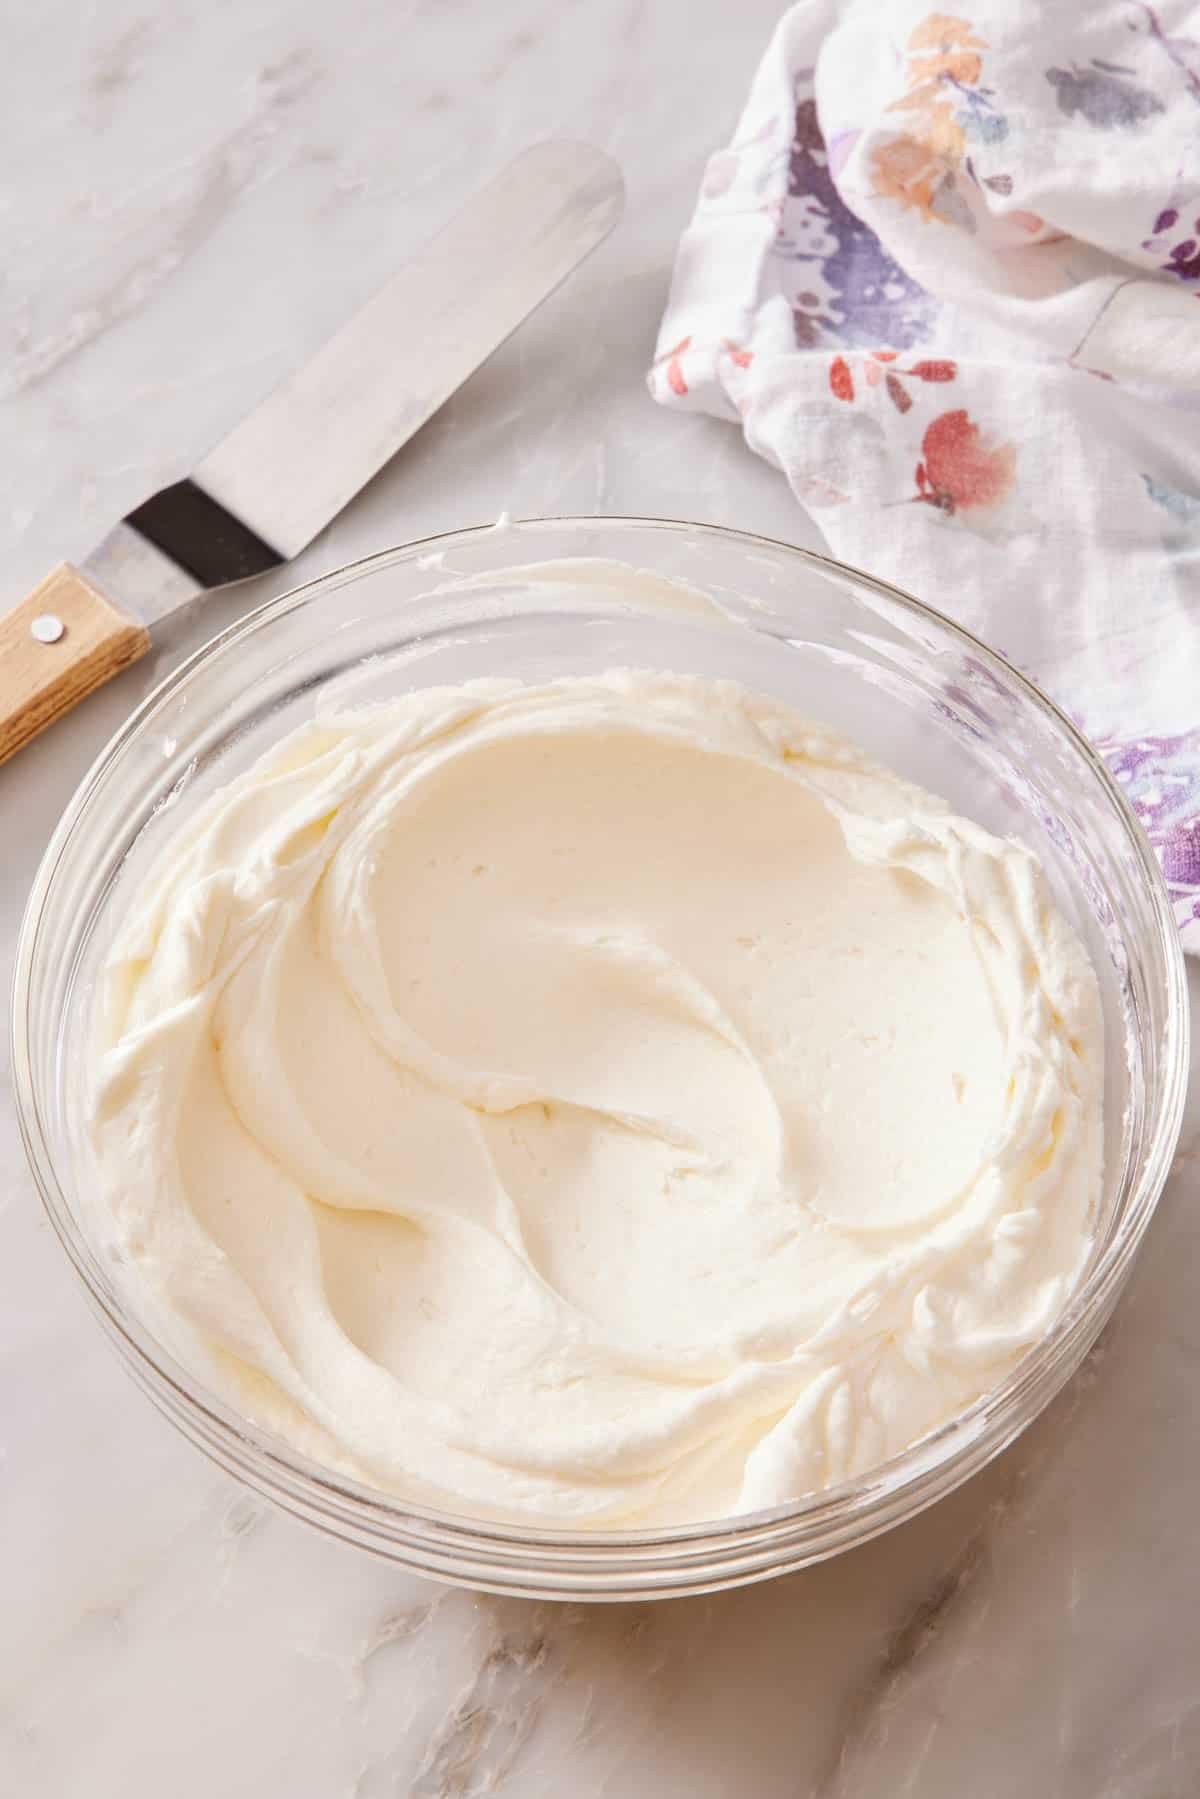
What Makes This American Buttercream Different
Every American buttercream is some combination of butter or solid fat, powdered sugar, liquid for thinning, and a flavoring. The difference is in the ratios and how they’re combined. I’ve tested dozens of variations over the years, and the two factors that matter most are the butter-to-sugar ratio and how you whip the butter.
- Butter to sugar: 1:2 by weight. My recipe uses 1 cup (226g) of butter to 1 pound (450g) of confectioners’ sugar. That’s a 1-to-2 ratio. Some recipes go heavier on sugar (1:3 or even 1:4), and the result is sweeter and stiffer but tastes like buttery sugar rather than a balanced vanilla buttercream. Some go lighter (1:1.5), and the frosting is softer and won’t hold a piped shape on a warm day. The 1:2 ratio is perfect—there’s enough sugar to give structure and a clean white color, and enough butter to taste like buttercream rather than candy.
- Beat the butter before the sugar goes in. This was the biggest game-changer for a smooth buttercream! Once I nailed the butter-to-sugar ratio, I tested this recipe so many times by changing how much I beat the frosting once combined or how slowly I incorporated the sugar, but it always had tons of air bubbles throughout it by the end. Then, I decided to whip the butter first for 5 minutes, and it made a huge difference! Butter will trap air, but with much finer bubbles. Sugar changes the structure and allows more air to be trapped, resulting in larger bubbles. By trapping some air first in a finer texture, you don’t need to beat it as long once the sugar is added. So now, my buttercream is always smooth, velvety, and pipable, but without it being filled with hundreds of tiny holes from trapped air.
- Salt is non-negotiable. Without salt, this frosting tastes flat and feels one-dimensionally sweet. With it, the vanilla pops and the sweetness recedes into the background. Use fine sea salt or table salt; flaky finishing salts or chunky kosher salts don’t dissolve as well.
The Five Ingredients (And Why Each One Matters)
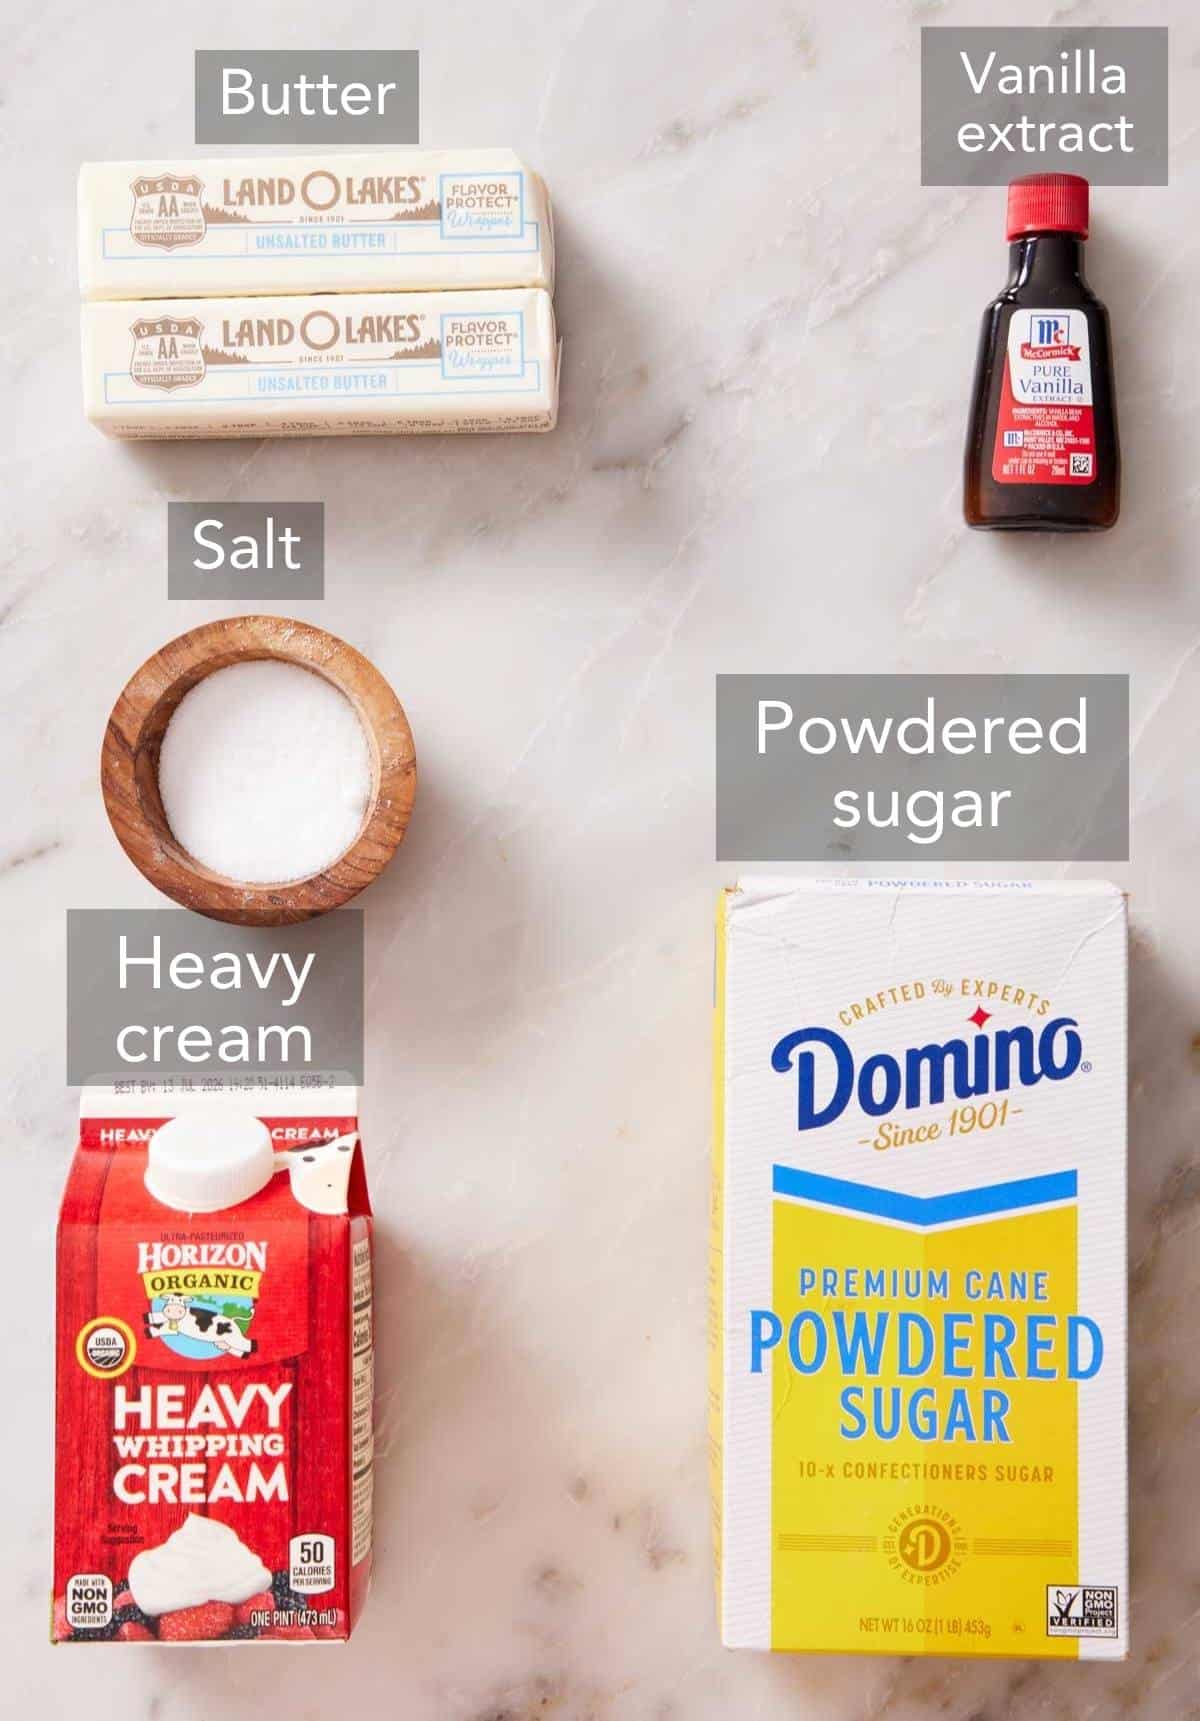
These are the main ingredients you need to make this easy vanilla buttercream. You can find the full list of ingredients and measurements in the recipe card below.
Unsalted butter — I always specify “unsalted” because every brand of salted butter has a different sodium content, and that variation will throw off your frosting flavor. If salted is all you have, skip the added salt and taste before adding a pinch at the end. Learn more about the differences in butter in my Academy lesson: Salted vs. Unsalted Butter. The brand also matters more than people realize—European-style butters (Plugrá, Kerrygold) have higher butterfat (82-85% vs. American standard 80%) and produce a richer, slightly yellower buttercream that will also be softer. Land O’Lakes (my go-to) or any standard American unsalted brand gives you a more pure-white frosting that will be stiffer.
Powdered sugar — also sold as confectioners’ sugar or 10X sugar, is granulated sugar ground to a fine powder with about 3% cornstarch added to prevent caking. The cornstarch is what gives American buttercream its slight matte finish and helps it set up. Sifting matters here! The lumps in unsifted powdered sugar will clog any small decorating tip or closed star, and you’ll get sputtering. I typically measure out my sugar, then sift it into a bowl through a fine-mesh strainer before I start the recipe. Sifting only takes a minute or so in total, and skipping this step costs you so much more time trying to work out the lumps and cursing clogged piping bags later.
Heavy whipping cream — a bit of liquid helps the sugar dissolve, so the frosting doesn’t have a grainy feeling. The 36% butterfat in heavy cream emulsifies into the buttercream and makes it smooth and spreadable while still being sturdy enough to pipe. Half-and-half (10-12% fat) and whole milk (3.5% fat) both work but are thinner and can produce looser frostings, so use less. I tested this frosting recipe using each dairy type in three different batches, using 5 tablespoons in each batch. The milk made a looser buttercream that didn’t hold piping well. Half and half worked better, but the frosting was less rich and still a bit soft for holding crisp piped details. Heavy cream gave it the velvety-smooth texture I wanted and held a sharp piped peak even after thirty minutes on the counter. If you only have milk or half and half, start with 1 tablespoon, and add a little bit more as needed until your frosting is smooth but sturdy.
Vanilla extract — use real vanilla, not imitation flavoring. The extract carries the entire flavor of this frosting, so you want to use a good-quality one. I use 1 tablespoon (15mL) for a single batch, which is more than many other recipes, but I love vanilla, and it really sets my frosting apart from the others. Vanilla bean paste works beautifully, too, and gives you visible flecks of vanilla bean seeds throughout the frosting.
Salt — half a teaspoon of fine salt is just the right amount to amplify the vanilla and butter flavor without the frosting tasting salty. Don’t skip it, or your buttercream will taste flat and too sweet.
Butter Temperature Changes Everything
If only one tip from this article sticks, make it this one. The most common reason homemade buttercream goes wrong is the butter temperature. If this is wrong at the start, you have a bad foundation for the rest of the process. If the butter is too cold, it won’t aerate—you’ll get dense, lumpy frosting that breaks even after several minutes of mixing. Too warm and the butter is already starting to melt—you’ll get a soupy frosting that won’t hold any pipe shape, or turns greasy and looks curdled.
The right temperature is roughly 70°F, which is colder than most people realize. You should be able to press your finger into the stick of butter fairly easily and leave a clean dent without the butter feeling greasy or completely giving way to the pressure. If your finger comes away coated in butter, it’s too warm (pop it in the fridge for 10 minutes). If it’s hard, it’s too cold (keep it out, or warm it in the microwave for 5 seconds, and test it again).
Starting with the butter at the right temperature means it will whip properly, getting smooth and velvety while also working in the right amount of air. Watch my YouTube video in the recipe card below, where I show the exact butter texture to start, and how it transforms after 5 minutes of whipping.
How to soften the butter: take the butter out of the fridge about 1 hour before you need it on a normal kitchen day, 30 minutes on a hot summer day, or 90 minutes on a cold winter day if your kitchen is cold. If you forgot, follow one of my tips for how to quickly soften butter!
How To Make Buttercream Frosting
Below, I’ve highlighted portions of the recipe in step-by-step process images along with instructions for making classic vanilla buttercream. You can find the full set of instructions in the recipe card below.
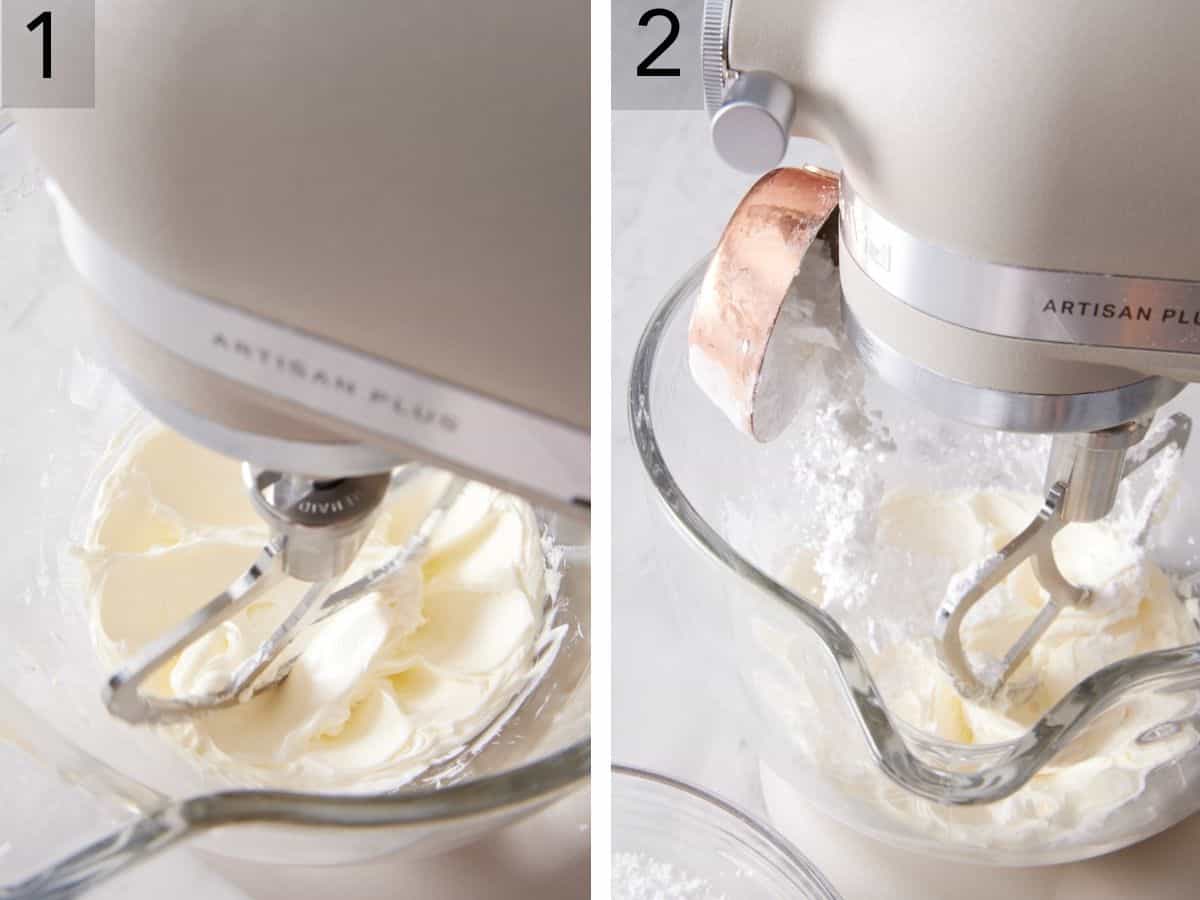
1. Whip the butter. Drop your softened butter and salt into the stand mixer bowl with the paddle attachment. Whip on medium-high for 5 minutes, stopping occasionally to scrape the bowl. The butter should go from yellow in color to very pale and cream-colored and visibly increase in volume. This step is the foundation of a smooth frosting—under-whipped butter gives you a buttercream that is stiff and has a lot of air bubbles in the finished frosting. You can use a hand mixer instead, with a big bowl if you don’t have a stand mixer.
2. Add powdered sugar in batches. Add ½ cup (60g) of the powdered sugar. Mix on low speed until incorporated, add another ½ cup, stop and scrape the bowl occasionally, and repeat until all the sugar is mixed in. Adding it in batches prevents the powdered sugar from being thrown out of the bowl in a dust cloud and helps prevent clumping in the bowl. Mixing on low matters—a high speed at this stage just throws sugar everywhere!
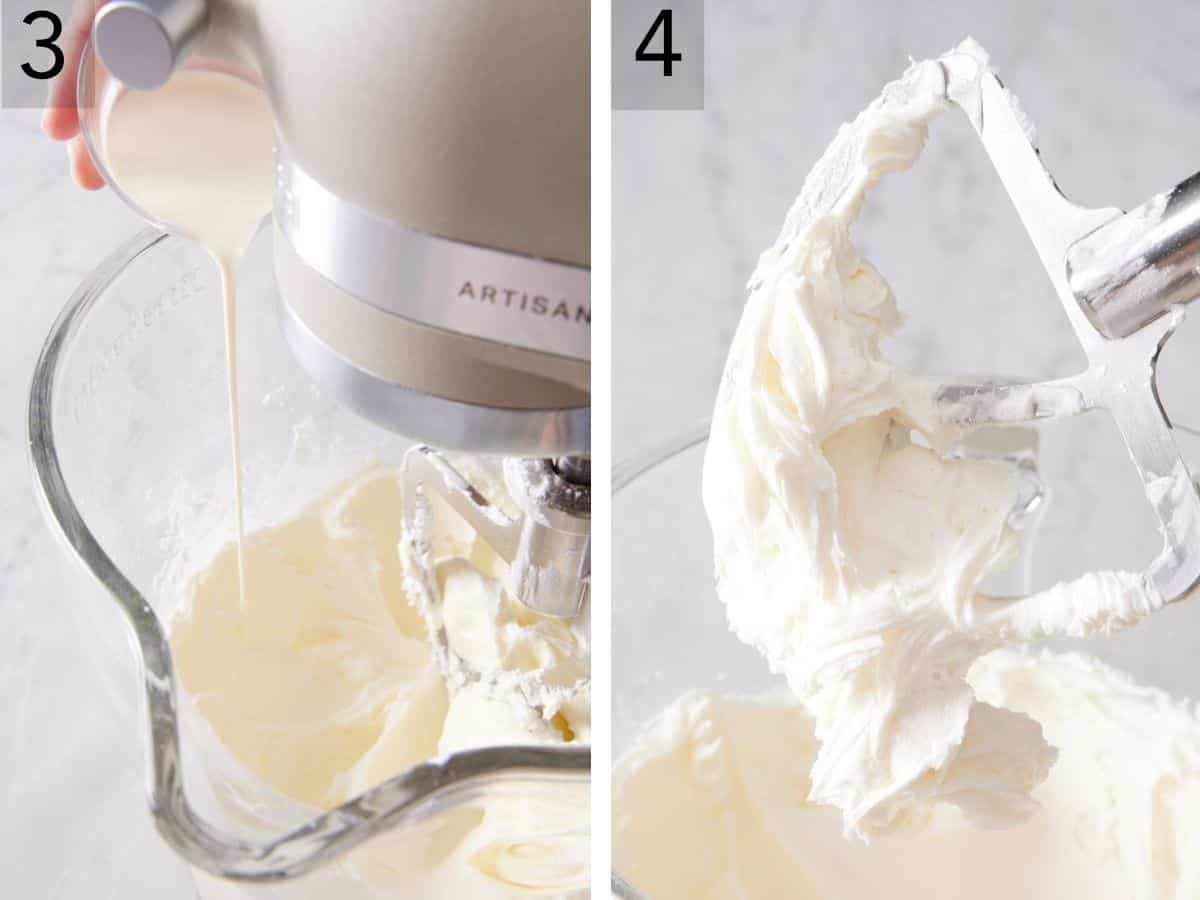
3. Add cream and vanilla. Pour in a little bit of the cream occasionally as you add in the sugar. I like to stop at 2 tablespoons until all of the sugar is added. Then, add the vanilla, and mix until smooth, then scrape the bowl. Continue mixing in another tablespoon or two of cream if the buttercream is stiffer than you want. If you want it spreadable, you can make it a bit softer. For piping, keep it a bit stiffer.
4. Whip on medium-low to finish. Once everything is incorporated, run the mixer on medium-low for 60-90 seconds just to make sure everything is well combined. If needed, you can increase the mixer speed to medium so it becomes noticeably fluffier.
How to Fix Buttercream That Went Wrong
Almost every buttercream problem is fixable. The most common problems are a frosting that looks very airy or full of gaps, or a frosting that splits and looks greasy, grainy, or curdled.
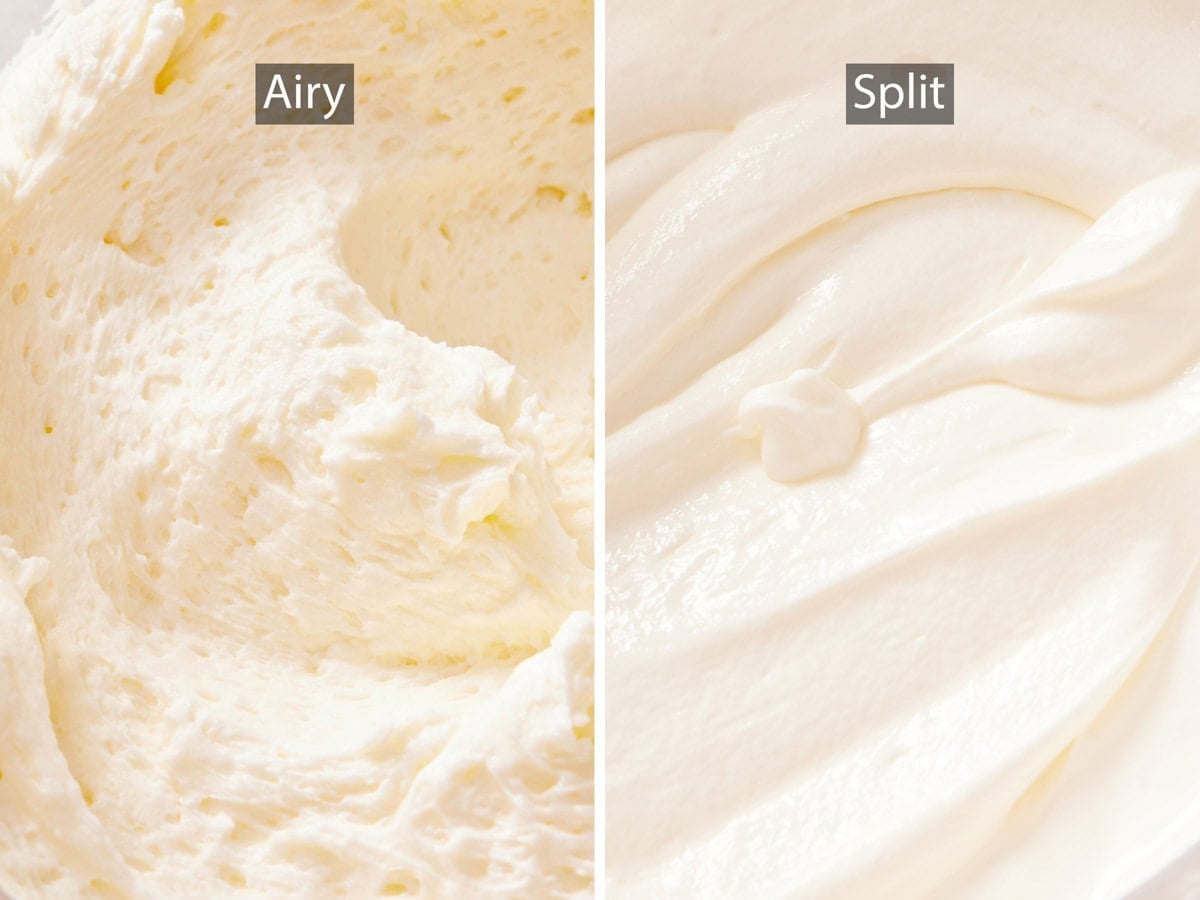
Here’s how to determine what went wrong and how to fix it:
| Problem | What Happened | The Fix |
| It has air bubbles or a pebbly texture. | This is from overwhipping, or from the buttercream sitting for a while before being used. | The fix: Mix on low speed for about 20 seconds or stir by hand with a spatula for about a minute. If you’ve already piped onto the cake and it looks pebbly, smooth the surface with an icing spatula warmed in hot water and dried. |
| It looks split or broken. | Broken buttercream has visible separation between fat and liquid, sometimes with a soupy puddle at the bottom of the bowl. This usually happens when the butter is too cold or the cream is too cold, and the emulsion doesn’t form. Or the buttercream was overbeaten, breaking the emulsion. | The fix: Warm the outside of the mixer bowl with a kitchen towel soaked in hot water and wrung out, hold it against the bowl for 30 seconds, then whip on medium speed for 12 minutes. (You can also warm the bowl with a kitchen torch or air dryer for a few seconds.) The heat brings the butter’s temperature up just enough to re-emulsify. Works 95% of the time! |
| It’s grainy and won’t smooth out. | The sugar didn’t dissolve or wasn’t sifted. | The fix: Keep mixing or add a bit more cream. Run the mixer on medium-low for another minute or so, scraping the bowl every minute. The friction warms the butter slightly and gives the sugar time to dissolve. Then add cream if needed. If a few more minutes of mixing don’t resolve it, the sugar may have been particularly coarse. Press the buttercream through a fine-mesh strainer using a spatula to push it through, and re-whip. |
| It’s too soft and won’t hold a pipe shape. | Either the butter was too warm, the room was too warm, or you added too much cream. | The fix: Refrigerate the bowl for 15 minutes, then re-whip for 30 seconds. The butter firms up enough to take piping again. If your kitchen runs above 78°F, work in shorter sessions and refrigerate the bowl or piping bag occasionally. |
| It’s too stiff and won’t spread. | Not enough cream, the butter wasn’t whipped enough at the start, or the frosting is too cold. | The fix: Add cream a teaspoon at a time, mixing on low between additions. Stop the moment the spatula moves through the buttercream cleanly. The cream loosens the frosting, so don’t add it by the tablespoon—if you add too much, it can turn runny, and you will have to add more sugar to stiffen it back up, making it too sweet. If it’s too cold, you can heat the bowl slightly (same towel or torch trick) and beat it for another minute. The warmth will soften the frosting, making it easier to spread. |
| It’s too sweet. | Mismeasurement of the sugar amount, or your taste preference leans less sweet. | The fix: Add salt, ⅛ teaspoon at a time, mixing in between. The salt doesn’t reduce the sugar, but it shifts the perception. If salt isn’t enough, beat in 2-3 tablespoons of softened cream cheese—it cuts the sweetness without changing the visual character. For the next batch, drop the powdered sugar by 25% to start and add more to taste. |
How Much Buttercream Do You Actually Need?
This recipe makes about 3⅓ cups (730g) of buttercream. Here’s what that covers:
- A single batch frosts a standard 9×13-inch sheet cake with a generous swoop on top, and a two-layer 8-inch round cake or a three-layer 6-inch cake with a thin coat between layers and a moderate finish on the outside.
- One batch for cupcakes: this recipe generously frosts 12-14 cupcakes if you’re piping tall swirls, moderately frosts 18-20 with flatter swirls or rosettes, and covers 24 if you’re spreading a thinner layer on with an offset spatula. You will use roughly 2 tablespoons per cupcake for tall piping, 1.5 tablespoons for moderate coverage, and 1 tablespoon for spreading.
- Make 1.5 times the recipe for a decorated two-layer 8-inch cake with thick frosting between layers and a piped border or other piped decorations.
- Double the recipe for a three-layer 8-inch or 9-inch cake, a two-layer 9-inch cake with substantial decorating, or a fully frosted and decorated 9×13-inch sheet cake.
- Half the recipe for a two-layer 6-inch cake, or spreading on top of 24 sugar cookies, or using as a filling for 12 cookie sandwiches.
If you’re scaling up beyond a doubled recipe, do it in two separate batches rather than trying to whip everything in one bowl. Most stand mixers don’t have enough headroom for a triple batch, and you’ll either lose air that makes the buttercream fluffy, or the sugar will not stay contained in the bowl while beating.
Buttercream Variations Beyond Vanilla
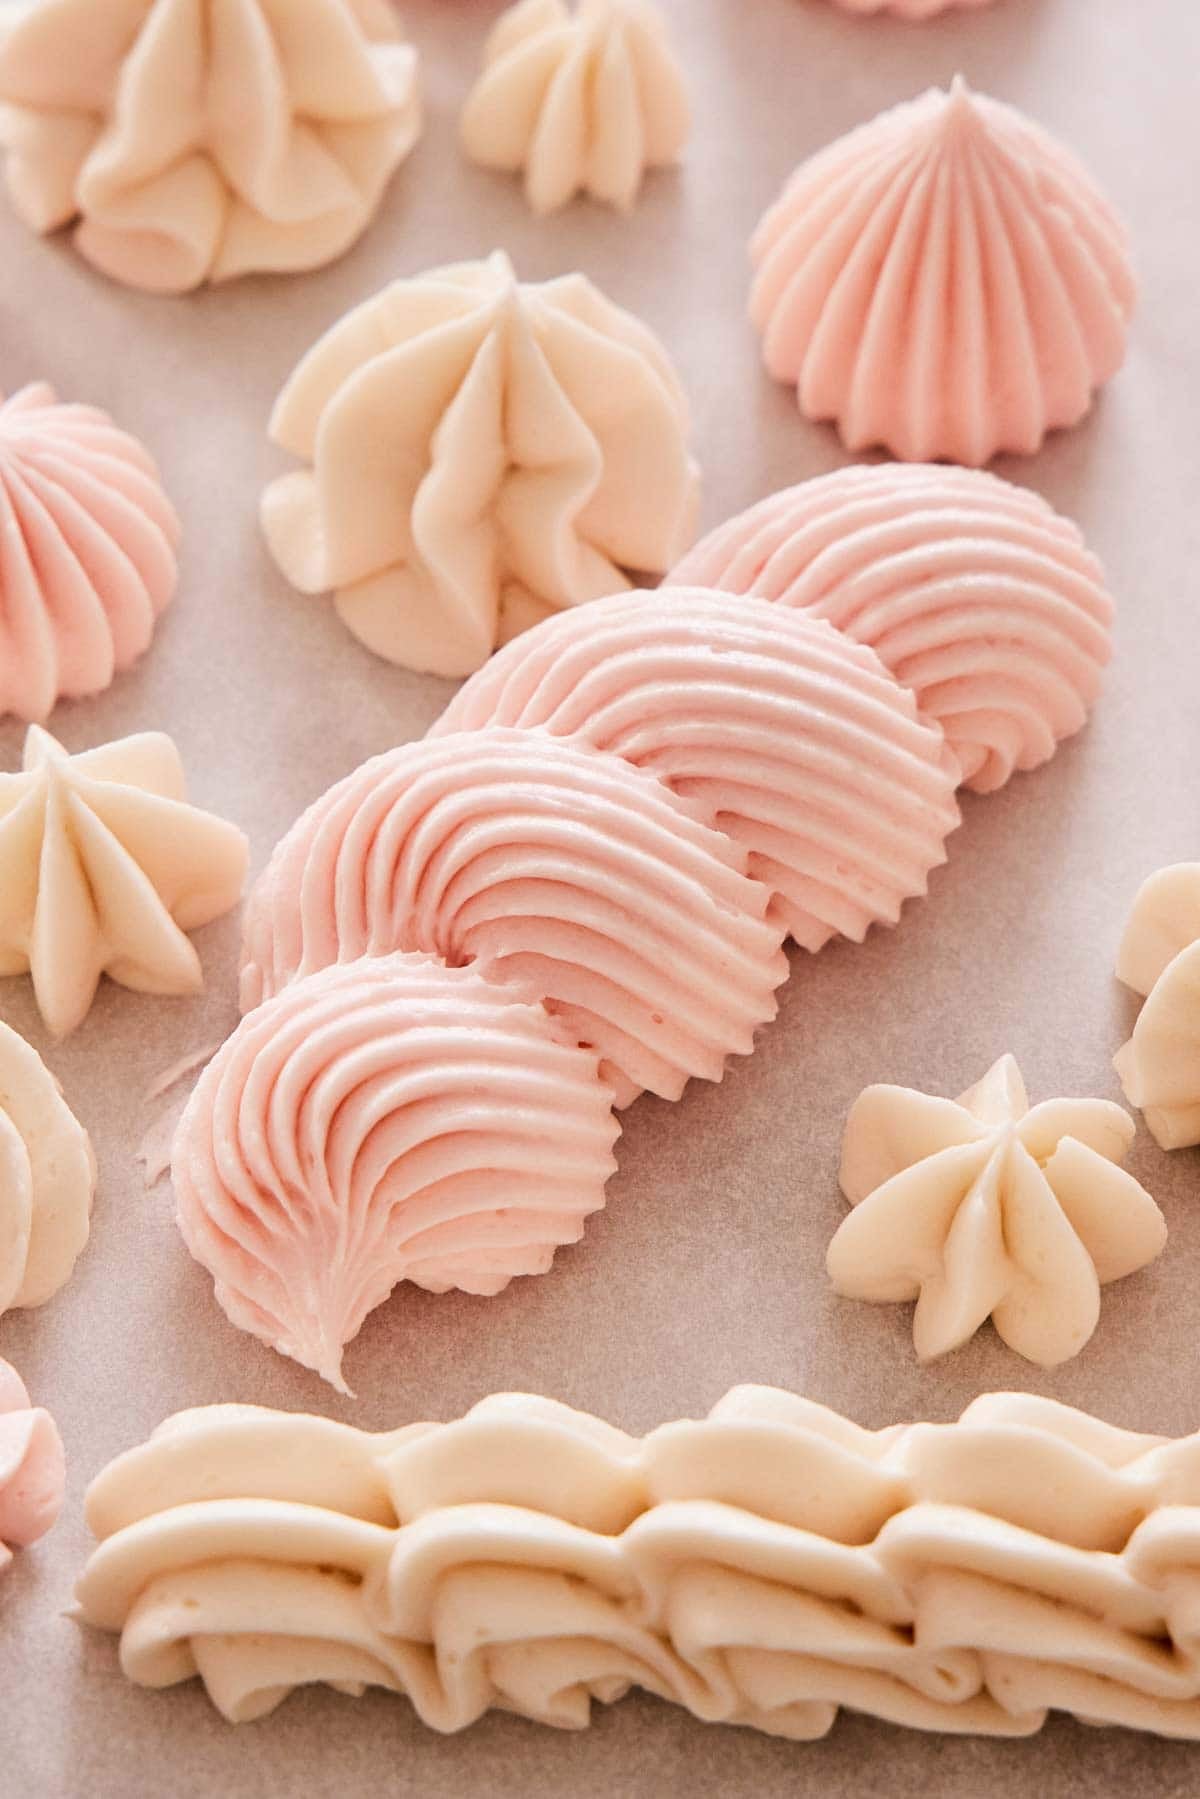
This base recipe is the launch pad for every American-style buttercream variation. Once you’ve nailed the vanilla, the rest is just an easy ingredient substitution or addition!
- Chocolate buttercream: Replace ⅓ cup of the powdered sugar with unsweetened cocoa powder, sifted into the butter after whipping it. Add an extra tablespoon of cream because cocoa absorbs liquid. The full method is in my chocolate buttercream recipe.
- Strawberry buttercream. Beat in 2-3 tablespoons of freeze-dried strawberry powder (just freeze-dried strawberries pulsed in a food processor). You can use fresh strawberry purée, but it adds more liquid to this recipe, and you should skip the cream. Freeze-dried strawberries give you both flavor and color without moisture. Full recipe in my strawberry buttercream post, with different ratios for using fresh berries.
- Lemon buttercream. Replace the vanilla with the zest of 2 lemons and 2 tablespoons of fresh lemon juice (added with the cream). The juice will slightly thin the buttercream, so pull back the cream by a tablespoon to compensate.
- Coffee buttercream. Dissolve 2 tablespoons of instant espresso powder in the heavy cream before adding. If it doesn’t dissolve, slightly warm the cream and cool it back down before adding it to the frosting.
- Citrus, almond, peppermint, or other extracts. Reduce the vanilla to 1 teaspoon and add up to 1 teaspoon of your alternate extract. Taste and add more in ¼ teaspoon increments to suit your taste. Extracts are concentrated and easy to overshoot with other strong flavors like almond or coconut.
The Frosting Family: When to Choose Buttercream vs. Other Frostings
American buttercream is one of six major frosting families. Knowing when to use each one is the difference between a cake you love and a cake that isn’t stable or is just okay.
| Frosting Type | Method, Texture, Flavor | Best Uses |
| American buttercream (this recipe) | Sweet, sturdy, easy. Simply beat butter with powdered sugar and cream. It holds piped detail well. The sweetest of the buttercreams. | The default for cupcakes, sheet cakes, sugar cookies, and any project where speed matters. Not ideal for very warm days if you are serving the cake outside. |
| Swiss meringue buttercream | Silky, light, less sweet, more sophisticated. Egg whites are cooked with sugar over a double boiler, then whipped with butter. It takes longer and requires a thermometer. | The standard for wedding cakes and patisserie work. Pipes and spreads beautifully for cupcakes and layer cakes, and is more stable in warmer temperatures than American. |
| Italian meringue buttercream | Even silkier than Swiss, but it’s the most technical to execute. Egg whites whipped with hot sugar syrup, then butter beaten in. | The most stable for outdoor events. Great for piping on cupcakes or spreading smoothly on layer cakes. |
| French buttercream | Made with egg yolks instead of whites. This frosting is the richest, with a custardy flavor and a yellow color. | Pairs with chocolate cakes and dense layer cakes. Also makes a great macaron filling. |
| Ermine frosting | Silky, airy, and pipeable. A flour-and-milk pudding base whipped with butter. Much less sweet than American buttercream. | The traditional frosting for Southern red velvet cake. It has an airy texture but is fairly stable in warmer temperatures. |
| Cream cheese frosting | Tangy, less sweet, and very smooth. Replace some of the butter with cream cheese and beat with powdered sugar like American buttercream. | The default for carrot cake, red velvet, banana cake, and pumpkin spice anything. It is not stable in warm temperatures and must be refrigerated. |
| Chocolate ganache | Not technically a buttercream, but is used to coat cakes in place of frosting or as additional decoration. Made with chocolate and cream melted together. | Use it as a glaze, a filling, or whip it to use as a frosting. Best is refrigerated. |
For everyday baking, kids’ birthdays, school events, sugar cookies, and cupcakes, start with this American buttercream. For weddings, anniversaries, anything that needs to sit out for hours, or for anyone who finds American buttercream too sweet, make the Swiss or Italian meringue versions next. Cream cheese frosting is another easy, less-sweet frosting, but it must be refrigerated to stay sturdy and last for several days.
Coloring Buttercream
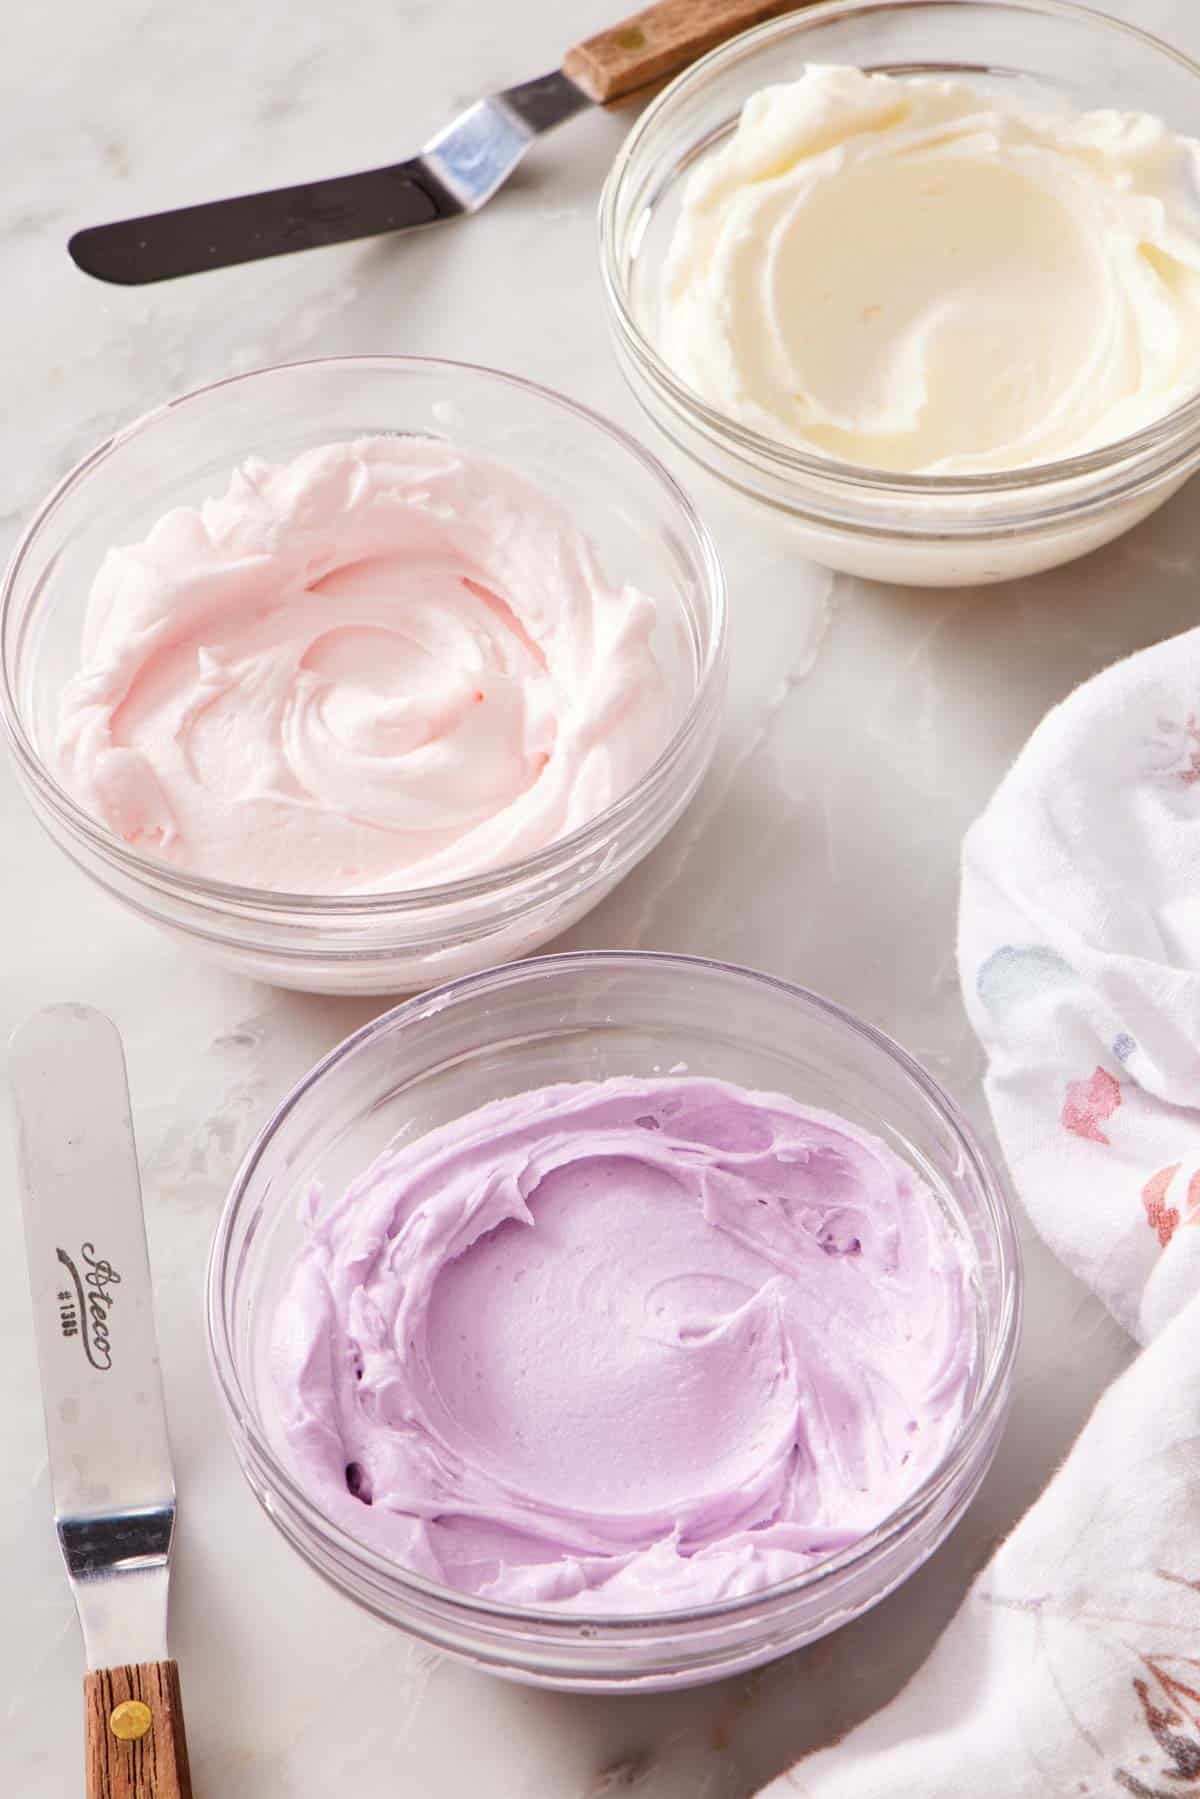
Use gel food coloring, never liquid. Liquid food coloring (the kind in the small bottles you can find in most grocery stores) will thin your buttercream noticeably, especially if you want a deep color. Use gel coloring (Wilton, AmeriColor, Chefmaster). A few drops of gel get you the same color as a teaspoon of liquid, with no consistency change.
For rich colors, color the buttercream several hours in advance. Deep colors like rich reds and an intense black are stubborn—they look pink or gray when first mixed, then deepen with time as the dye continues to permeate the ingredients in the frosting. Adding more dye to get the right color when freshly mixed usually leads to bitter buttercream and a strange aftertaste. For the best results, let the frosting rest or color the night before, cover at room temperature, and lightly re-whip the next day.
Want a bright white buttercream? Add a tiny drop of purple food coloring to your frosting! The purple counterbalances the yellow hue from the butter and makes the frosting appear pure white. A plain buttercream will always look creamy in color because of the butter, so this is an easy trick to make it pure white!
Pro Tips For The Best Buttercream
Sift your powdered sugar to avoid clogging piping tips. I mention this as part of the ingredients in the recipes, but it’s so important! If you end up with lumps in your frosting, it will clog the piping tips and cause the frosting to not come out smoothly.
Match the powdered sugar brand for consistency. Different brands of confectioners’ sugar absorb cream differently because of variations in cornstarch content. If you find a brand that works for you (Domino, C&H, store brand), stick with it when you make a new batch. Switching brands can throw off the cream-to-sugar balance, and you’ll wonder why your usual recipe suddenly feels different.
Stir out the air bubbles by hand after your frosting sits. This is the step most home bakers skip, and it’s why their frosting looks pebbly on the cake. Your frosting will most likely sit for 5-10 minutes while you are getting the counter cleared and ready to assemble or frosting your cake. This changes the texture, and it will look quite airy and full of little holes when you run a spatula through it. Either mix it again on low speed for about 20 seconds or switch to a silicone spatula and stir by hand for a minute or so. You’re not pressing hard to deflate the buttercream; you’re just gently smoothing it to pop the small air pockets trapped after the final whip. The result is a smoother finish that holds crisp, piped lines without gaps from trapped air.
Buttercream Frosting Recipe
Equipment
- Stand mixer
Ingredients
- 1 cup unsalted butter room temperature (226g)
- 4 cups powdered sugar sifted (480g)
- ½ teaspoon salt
- 1 tablespoon vanilla extract
- 3-5 tablespoons heavy cream room temperature
Instructions
- In a large bowl with an electric mixer or the bowl of a stand mixer fitted with a paddle attachment, beat the butter and salt on medium-high speed for 5 minutes or until pale, smooth and creamy (scraping down the bowl halfway through.)
- Reduce the mixer to low, and add the sugar ½ cup (60g) at a time. Add 2 to 3 tablespoons of cream intermittently as you are mixing in the sugar. Stop occasionally to scrape down the bowl and make sure all of the sugar is getting mixed in. Add in the vanilla extract.
- Once all of the sugar is added, mix on medium-low for 1 minute until light and fluffy. If desired, add the additional cream 1 teaspoon at a time until the frosting is smooth and easily spreadable or thick enough for piping your decorations. If you frosting sits for 5-10 minutes while you are getting your workspace set for decorating, you may notice the texture has turned very airy looking. Give it a quick mix on low speed or stir by hand with a spatula to smooth out the texture again.
Notes
- Take time to scrape the bowl down while mixing in the sugar to help ensure even consistency throughout. Just stop mixing, use a silicone spatula to scrape the frosting off the sides and bottom of the bowl, then continue mixing.
- If you’re looking for a very spreadable frosting, you can add a little bit more cream (6-7 tablespoons). It will be a bit too soft for holding sharp piping details, but it will spread like a dream on a sheet cake with gorgeous swoops!
- Keep the frosting covered if you are working slowly! Buttercream easily dries out on the surface, developing a crisp shell as it sits. If you make the frosting in advance or are working slowly, keep the bowl covered with plastic wrap or a lid to help prevent it from crusting over. If that does happen, just give it a mix and add a tiny splash of cream if needed.
Nutrition
Have you tried this recipe? Tag me today!
Mention @preppykitchen and tag #preppykitchen!
Storing and Freezing
Refrigerated in an airtight container, this buttercream keeps for 1-2 weeks. Once refrigerated, bring it to room temperature on the counter for an hour or two, then re-whip on medium speed for 30-60 seconds. The structure comes back to feeling just like it was freshly made.
Buttercream freezes for two months. Pack into a zip-top bag with the air pressed out and freeze it flat. Or pack it into a container, press plastic wrap to the surface, and seal it with an airtight lid. Thaw overnight in the fridge, then bring to room temperature and re-whip on medium for about 60 seconds before using it. The texture comes back perfectly.
Store frosted cakes at room temperature unless it’s hot. Frosted cakes and cupcakes are fine on the counter for a few days as long as your kitchen is below ~75°F. Above that, refrigerate them to keep the frosting from slumping. Plain American buttercream with butter and sugar doesn’t host harmful bacteria because of the high sugar content—the food-safety concerns kick in mainly when you’ve added cream cheese, fresh fruit purée, or eggs.
Frequently Asked Questions
Just over 3 cups, which covers a 9×13-inch sheet cake, a two-layer 8-inch cake with moderate frosting, or 12-14 cupcakes piped with tall swirls. For details on scaling for larger or smaller projects, see the “How Much Buttercream Do You Actually Need” section above.
Plain American buttercream (butter and sugar only) is stable at typical room temperatures up to about 75°F. Above that (hot kitchens, outdoor summer events, humid environment), the butter softens, and the buttercream can slump, losing details or shape. Refrigerate decorated cakes ahead of time and pull them out 30-45 minutes before serving so the buttercream is firm, but the cake isn’t fridge-cold.
Three options, in order of escalation. Add salt, ⅛ teaspoon at a time, up to a full teaspoon. The salt shifts the perception of sweetness without changing the volume or texture of frosting. Add 2-3 tablespoons of softened cream cheese—it cuts the sweetness directly and adds tang. Or build a Swiss or Italian meringue buttercream instead next time! Both use significantly less sugar relative to butter and taste much less sweet on the tongue.
More Recipes To Try
If you love this recipe, try one of my other frosting recipes or cupcake recipes to decorate!
- Cream Cheese Frosting — a classic, tangy frosting perfect for carrot cake or red velvet cake.
- Chocolate Buttercream — a chocolate version of American buttercream.
- Chocolate Cupcakes — the perfect combination of chocolate cake and vanilla frosting for any celebration.
- Moist Vanilla Cupcakes — the best vanilla cupcakes that are perfect topped with vanilla buttercream.
- Funfetti Cupcakes — easy cupcake recipe filled with sprinkles! Top with vanilla buttercream for birthday parties.
If you’ve tried this buttercream recipe, then don’t forget to rate it and let me know how you got on in the comments below. I love hearing from you!





