This post may contain affiliate links. Please read our disclosure policy.




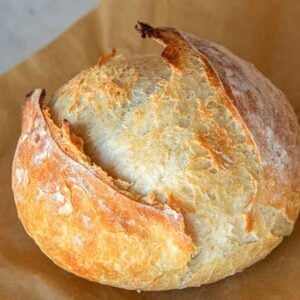
This easy homemade Artisan Bread recipe only requires 4 simple ingredients to make! This crusty bread recipe will be the easiest yeast bread you’ll ever make. You don’t even need a mixer to make this bread with its thick, crispy crust and chewy crumb. It’s a forgiving recipe that comes out perfect every time and is excellent for beginners or pros who want a flavorful bread recipe.
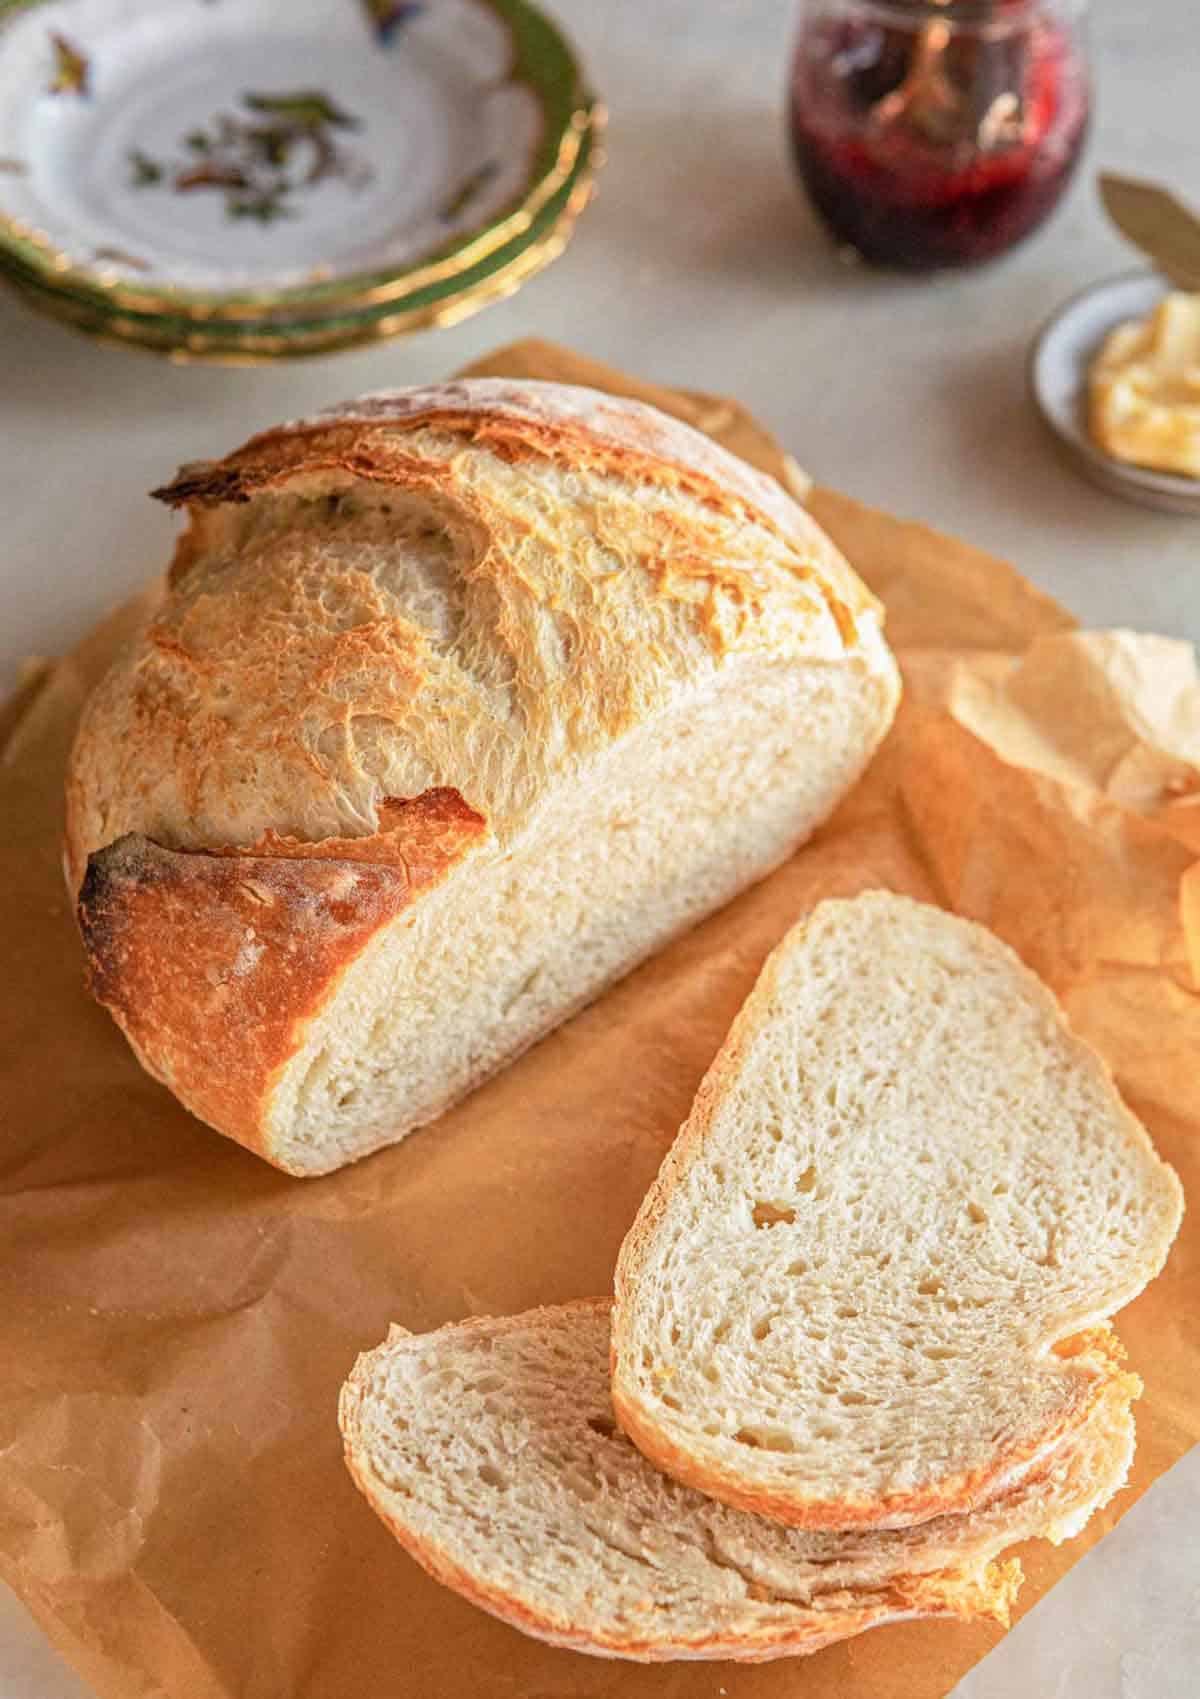
There is nothing better than homemade bread straight from the oven, especially this artisan bread. It’s such an easy bread recipe to make, and it pairs perfectly with any dips, soup recipes, and saucy recipes. It’s so flavorful and chewy on the inside and delightfully crispy outside. You won’t be able to get enough of it.
Baking bread can be intimidating, but this bread recipe comes together so effortlessly you’ll want to make it again and again. You don’t need any special equipment, and you don’t have to spend ages kneading it; the bread practically comes together on its own after you’ve combined the ingredients. For another bread recipe, check out my focaccia recipe, brioche bread, and dinner roll recipe as they also come together easily with minimal ingredients.
This recipe is top tier. I have stopped buying bread at the store and this has become my go-to whenever we need a crusty bread! Highly recommend!
Rachel
What You Need to Make This Recipe
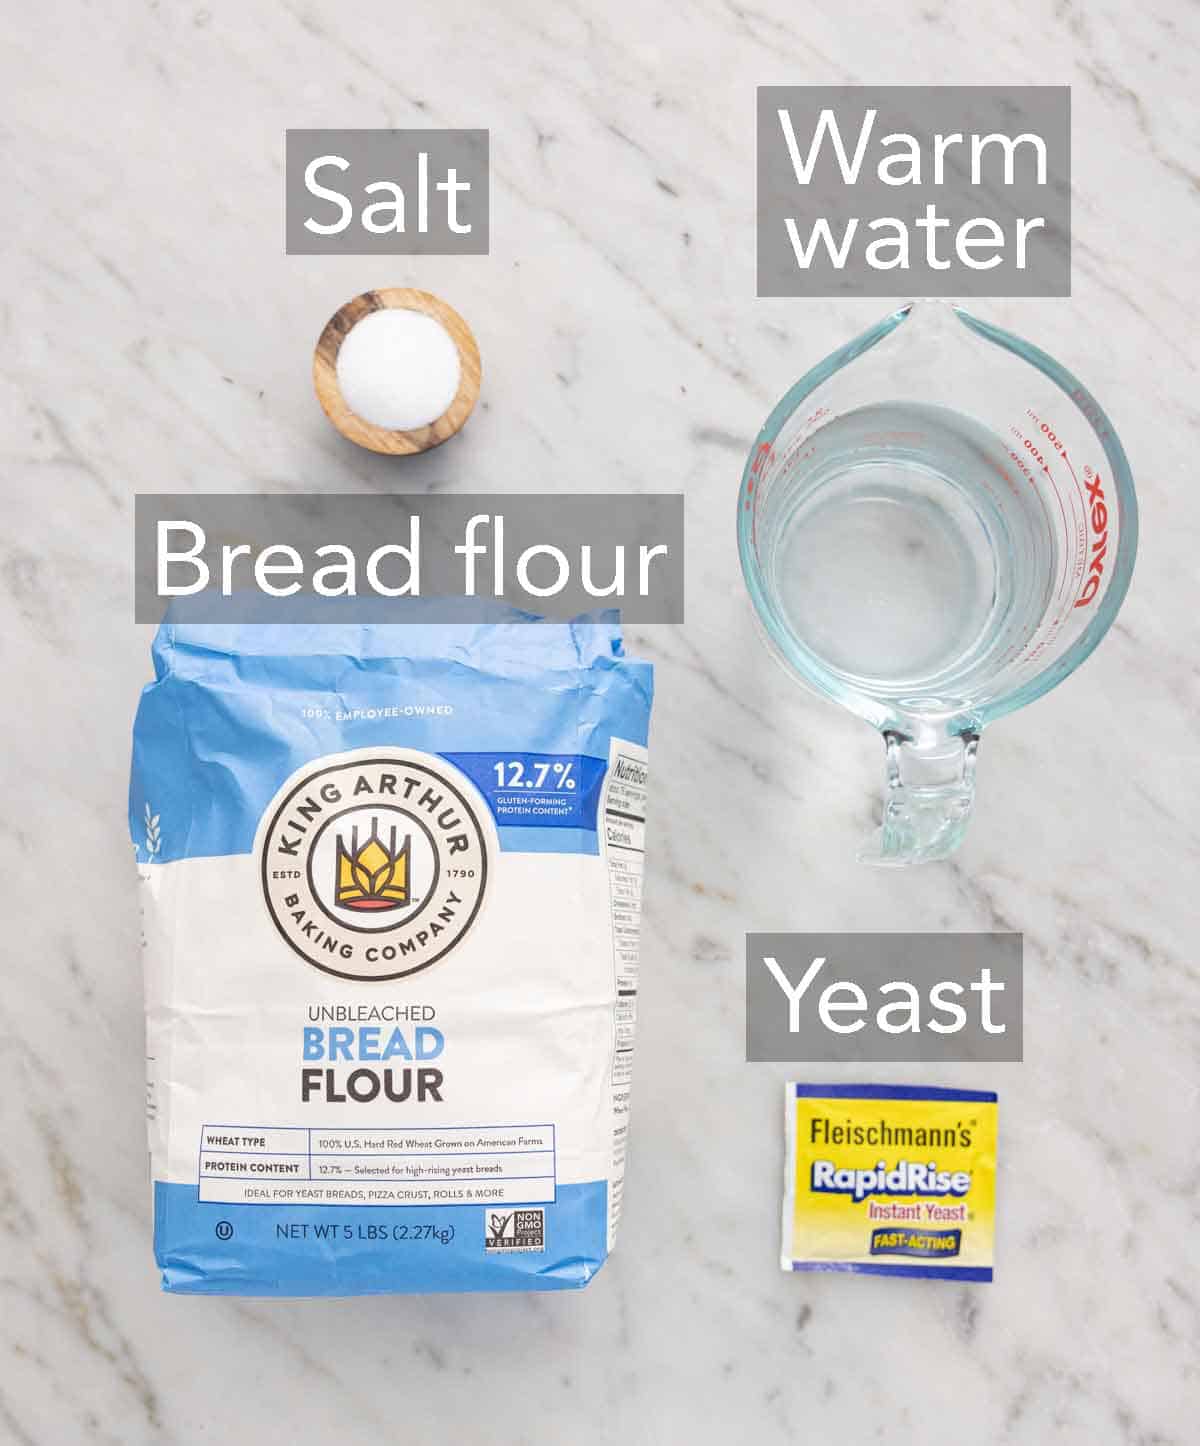
Bread flour — while you can use all-purpose flour if you do not have bread flour, I highly recommend using bread flour for this artisan bread as the higher amount of protein in bread flour produces a more robust and chewier bread. I have tested this with both flour types and there is a noticeable difference in texture when switching to all-purpose flour. The lower protein in the all-purpose flour means it produces less gluten, so when you eat it, the bread crumb texture feels spongy and like it breaks (similar to cake or an airy bread) instead of feeling elastic or chewy.
Instant yeast — always double-check that your yeast has not expired! I’m using instant yeast for this bread recipe, so I don’t have to dissolve the yeast in water first. If you only have active dry yeast, use my Active Dry vs. Instant Yeast guide to learn how to swap them. If you do not have any yeast on hand, try making my Irish soda bread instead.
Salt — do not skip out on the salt as it adds flavor to your bread. It also strengthens the dough so that as the bread rises, the gluten network that forms is sturdy enough to hold the little bubbles of carbon dioxide the yeast produces to make the bread rise. This is especially important since this is a no-knead recipe and you aren’t doing any mechanical gluten strengthening. I go into more detail about salt’s role in bread dough in my sourdough bread recipe if you’re curious to learn more!
How to Make Artisan Bread
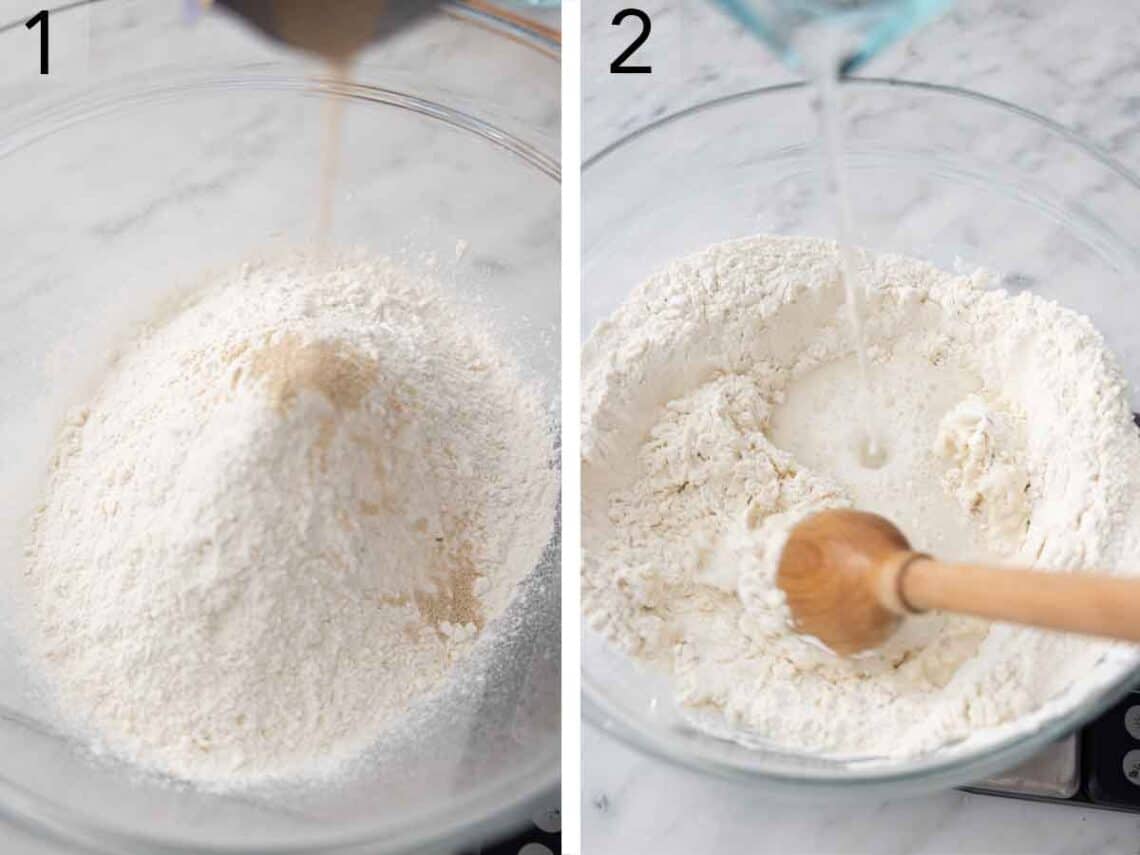
1 In a large mixing bowl, add the flour, yeast, and salt, stirring to combine with a large wooden spoon.
2. Stir in warm water until the mixture is very sticky and no lumps of flour remain. This is the only mixing the dough needs. You will not be kneading it later, so make sure there aren’t any dry pockets or they can form dense, hard lumps in your dough.
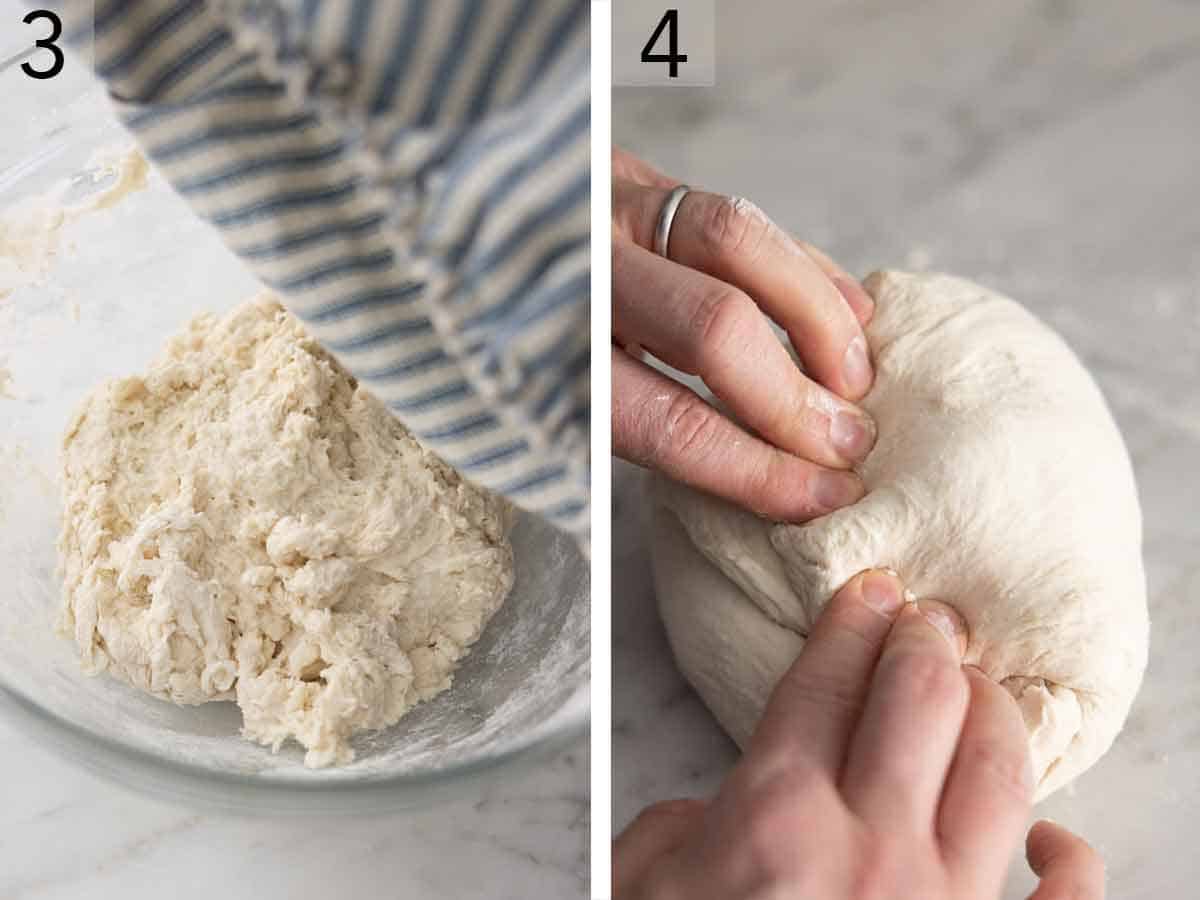
3. Cover and place in a warm, draft-free area until doubled in size, about 1½ to 2 hours. During this time, the yeast is feeding off the sugars in the dough to create gas that expands the dough. The flour is also hydrating and the glutenin proteins are forming the gluten network that produces the bread’s chewiness. Alternatively, allow for an overnight rise by covering and refrigerating until doubled in size, about 8 hours.
4. Preheat the oven to 450°F. Place a large empty Dutch oven with a lid in the oven for at least 30 minutes. Next, uncover your risen dough and using lightly floured hands, reach down one side of the dough to the bottom of the bowl, pull up, and stretch the edge of the dough over the center toward the opposite side. Turn the bowl 90 degrees and repeat the folding and turning, working in a circle around the dough until it starts to hold its shape, about 8 to 10 rotations. Turn out the dough onto a lightly floured surface, placing it seam side down. Shape into a round loaf. This stretching and folding pulls the dough, forming tension on the outside of the dough call so it bakes tall and round. It also gives a final strengthening to the gluten network by pulling and tightening the structure.
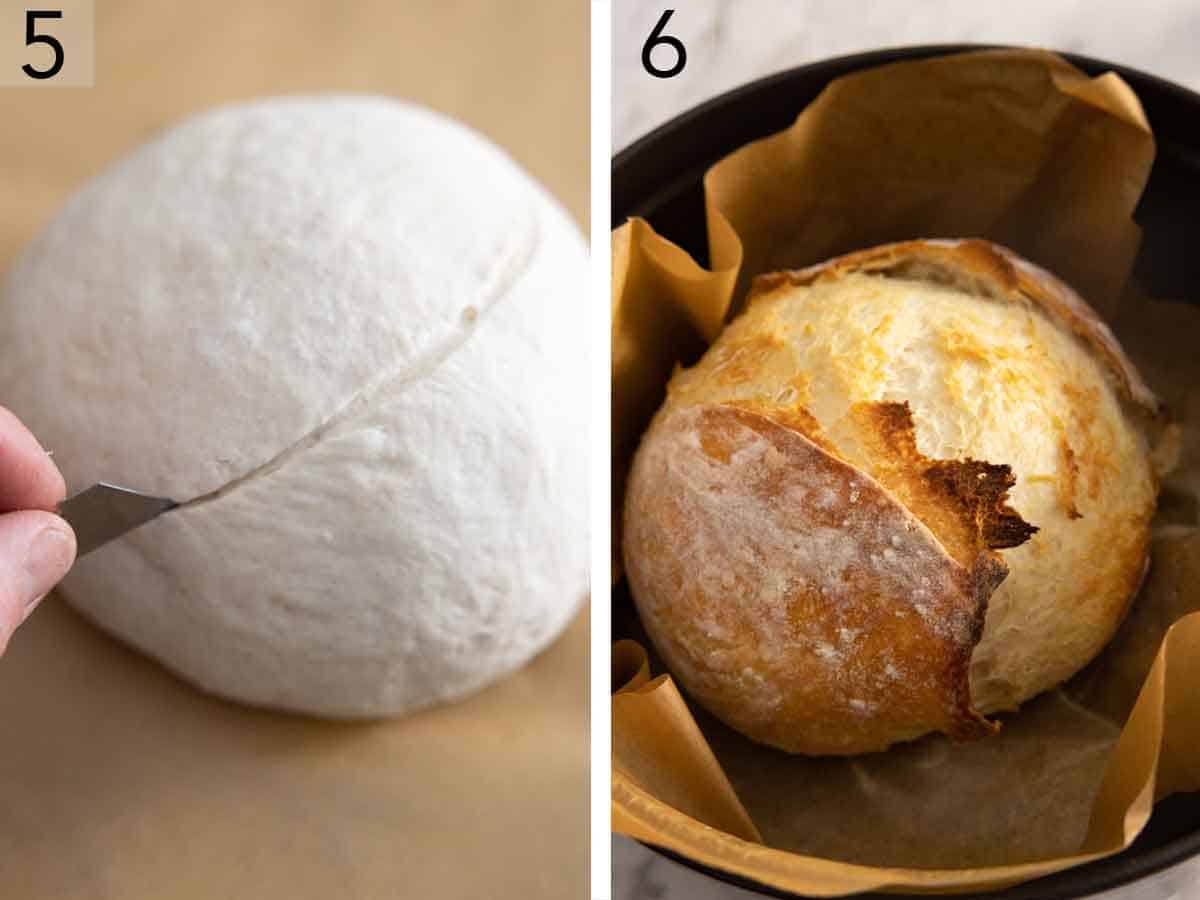
5. Transfer the dough onto parchment paper and sprinkle it with flour. Loosely cover with plastic wrap or a tea towel for 10 minutes to help the gluten slightly relax so the dough doesn’t burst through the seam in the next step. Using a sharp knife or bread lame, cut a slit about ¼-inch deep across the top of the dough.
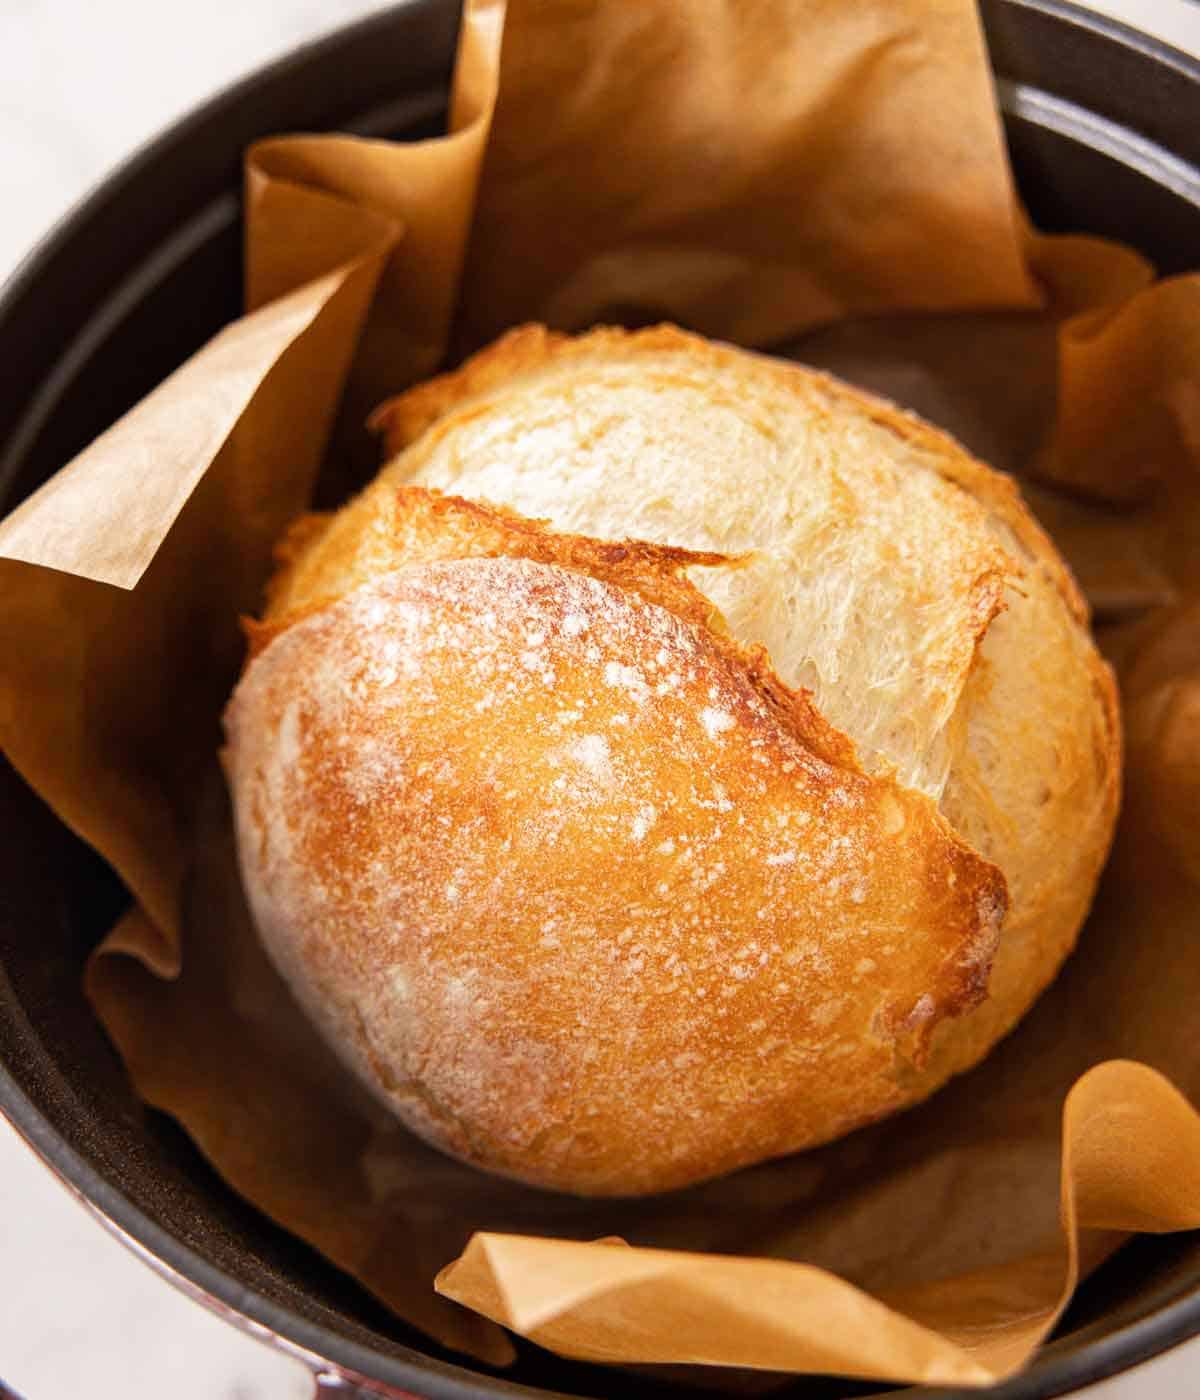
6. Place the dough with the parchment paper directly into the preheated Dutch oven. Cover with the lid. Bake for 30 minutes. Remove the lid and bake until deeply golden brown, about 15 to 17 minutes more. Carefully remove the artisan bread, and place it on a wire rack to cool for at least 20 minutes before slicing.
Pro Tips for Making This Recipe
Make sure to check your water temperature before adding it to the dry ingredients. If the water is too hot, you risk killing the yeast. However, if the water is too cold, it won’t activate the yeast.
For a more robust flavor, refrigerate the dough overnight as it develops more flavor the longer it is refrigerated. I have tested this bread mixing and baking it the same day as well as letting a loaf rise overnight in the fridge. They are both delicious, but the overnight rise gives more time for the starches in the flour to break down more, producing more flavor. The gluten also has more time to develop, and it does so more slowly, which produces a more even crumb structure with a chewier texture. If you have the time, it’s worth it!
Do not skip the parchment paper as it helps you move the dough in and out of the dutch oven. It also prevents the bread from burning and sticking to the bottom of the pot.
Avoid adding too much flour to the dough by measuring your flour correctly with a scale! Adding too much flour to the recipe is the most common mistake leading to dense bread. If you don’t have one, then fluff your flour with a spoon and sprinkle it into your measuring cup, and then level it off. I show exactly how to do the spoon and level method in my How To Measure Ingredients guide.
Make sure you are using a large enough bowl for the dough. The dough should double in size as it rises. Learn more in my Bread Academy guide on How to Proof Bread, including how to tell when the dough had doubled in volume.
Make sure you’re using a large enough Dutch oven as the bread rises as it bakes. A 5- to 7-quart pot will work great.
Don’t worry too much about making sure the dough is perfectly round. Since it’s artisan bread, it’s meant to look a little rustic. Any uneven bits give you more crispy ridges.
Frequently Asked Questions
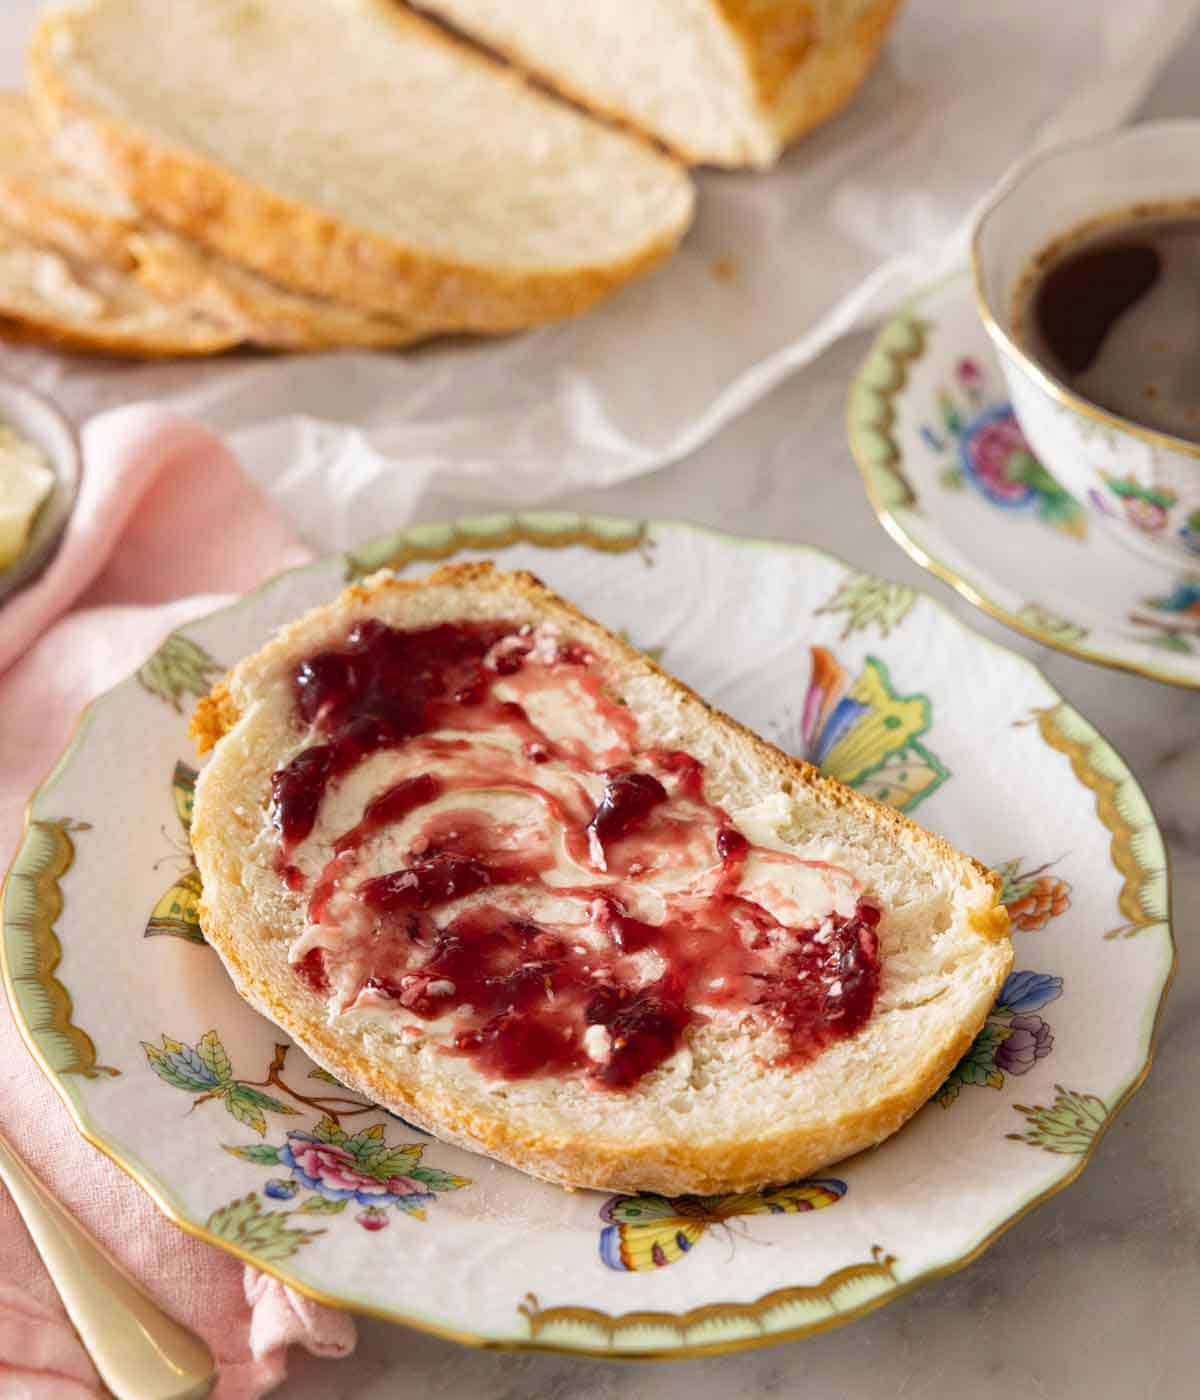
This artisan bread tastes fantastic alongside a big bowl of my chicken noodle soup recipe or my tomato soup recipe. It’s also perfect for slathering on a generous helping of pumpkin butter, honey butter, apple butter, or strawberry jam. I also love baking a loaf of artisan bread if I’m serving baked brie as it’s perfect for dipping into the melty cheese.
This homemade bread is very easy to modify. Mixing in fresh herbs or dried herbs, garlic, shredded cheese, dried fruit, chopped nuts, or sprinkling extra flaky sea salt on top make for tasty flavor boosters.
I have made this bread with all kinds of mix-ins! I found that adding small, flavorful ingredients like herbs or spices are best when incorporated into the flour at the start. For chunky mix-ins, add them after the water has been incorporated. If there are a few dry streaks left, that’s fine; you can finish mixing when you distribute the added ingredients.
This homemade bread is very easy to modify. Mixing in fresh herbs or dried herbs, garlic, shredded cheese, dried fruit, chopped nuts, or sprinkling extra flaky sea salt on top make for tasty flavor boosters.
I have made this bread with all kinds of mix-ins! I found that adding small, flavorful ingredients like herbs or spices are best when incorporated into the flour at the start. For chunky mix-ins, add them after the water has been incorporated. If there are a few dry streaks left, that’s fine; you can finish mixing when you distribute the added ingredients.
If you do not have a Dutch oven to bake the bread in, you can use a sheet pan, pizza stone, or even a roasting pan with a large metal bowl placed on top to cover the bread. A Dutch oven is ideal as the lid that traps the steam released by the bread as it bakes, giving you a crustier exterior, but the bowl helps do the same thing! It’s not has tightly sealed and it’s thinner, but it’s better than nothing.
Store leftover bread loosely covered at room temperature, such as in a brown paper bag, for up to 5 days or in the refrigerator for 7 days. It will start to dry out the longer you keep it, but you can simply toast it.
You can also freeze baked bread. Allow it to fully cool before wrapping it in a layer of plastic wrap and then tin foil and storing it in the freezer for up to 3 months. Thaw overnight before enjoying.
Artisan Bread
Equipment
- Dutch oven
Ingredients
- 3 ¾ cups bread flour (450 grams)
- 2 ¼ teaspoons instant yeast
- 1 ¾ teaspoons kosher salt (10 grams)
- 1 ½ cups warm water between 120°F and 130°F (360 grams)
Instructions
- In a large mixing bowl, add flour, yeast, and salt, stirring to combine with a large wooden spoon. Stir in water until the mixture is very sticky, and no lumps of flour remain. Cover and place in a warm, draft-free area until doubled in size, about 1 ½ to 2 hours.
- For an overnight rise: After mixing the dough, cover and refrigerate until doubled in size. This will take about 8 hours but will keep in the fridge up to 24 hours total.
- Preheat the oven to 450°F. Place a large Dutch oven with a lid in the oven for at least 30 minutes.
- Remove the dough from the refrigerator and let rest at room temperature for 15 minutes.
- Using lightly floured hands, reach down one side of the dough to the bottom of the bowl, pull up, and stretch the edge of the dough over the center toward the opposite side. Turn the bowl 90 degrees and repeat the folding and turning, working in a circle around the dough until the dough starts to hold its shape, about 8 to 10 rotations. Pinch any seams together at the center of the dough ball.
- Turn out the dough onto a lightly floured surface, placing it seam side down. Shape into a round loaf. Transfer the dough onto parchment paper and sprinkle it with flour. Loosely cover with plastic wrap or a tea towel for 10 minutes.
- Using a sharp knife or bread lame, cut a slit about ¼-inch deep across the top of the dough. Very carefully place the dough with the parchment paper directly into the preheated Dutch oven. Cover with the lid.
- Bake for 30 minutes. Remove the lid and bake until deeply golden brown, about 15 to 17 minutes more. Carefully remove the bread from the Dutch oven using the parchment paper to help, and place on a wire rack to cool for at least 20 minutes before slicing.
Notes
- Make sure to check your water temperature before adding it to the dry ingredients. If the water is too hot, you risk killing the yeast. However, if the water is too cold, it won’t activate the yeast.
- For a more robust flavor, refrigerate the dough overnight as it develops more flavor the longer it is refrigerated.
- Do not skip the parchment paper as it helps you move the dough in and out of the dutch oven. It also prevents the bread from burning and sticking to the bottom of the pot.
- Avoid adding too much flour to the dough by measuring your flour correctly! Adding too much flour to the recipe is the most common mistake leading to dense bread. The best way to measure flour is by using a scale. If you don’t have one, then fluff your flour with a spoon, sprinkle it into your measuring cup, and use a knife to level it off.
- Make sure you are using a large enough bowl for the dough. The dough should double in size as it rises. The same goes for the dutch oven!
- Make sure you’re using a large enough Dutch oven as the bread rises as it bakes.
- Don’t worry too much about making sure the dough is perfectly round. Since it’s artisan bread, it’s meant to look a little rustic. Any uneven bits give you more crispy ridges.
Nutrition
Have you tried this recipe? Tag me today!
Mention @preppykitchen and tag #preppykitchen!
More Recipes To Try
Advance your bread skills by baking one of these bread recipes next:
- Rye Bread: a whole wheat and rye loaf, perfect for slicing.
- White Bread: the classic sandwich bread that bakes into a soft, fluffy loaf.
- Ciabatta: a crusty no-knead bread that also benefits from an overnight proof.
- Italian Bread: soft and fluffy inside, this recipe makes two loaves, perfect for making sandwiches or turning into garlic bread.
- French Bread: crispy, golden long loaves that are ready from start to finish in about 2 hours.
If you’ve tried this Artisan Bread recipe, then don’t forget to rate the recipe and let me know how you got on in the comments below, I love hearing from you!