This post may contain affiliate links. Please read our disclosure policy.
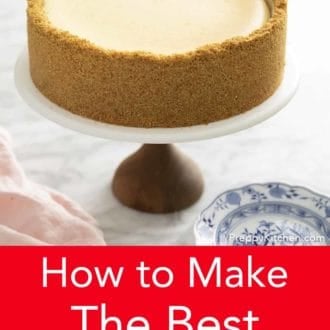
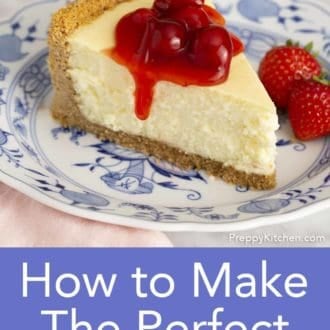
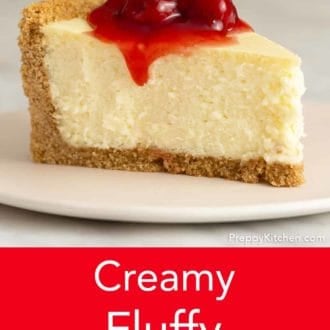

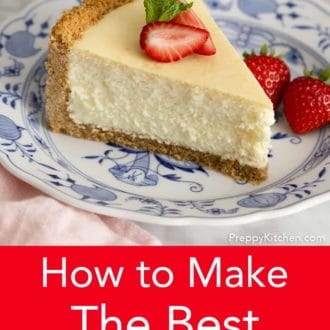
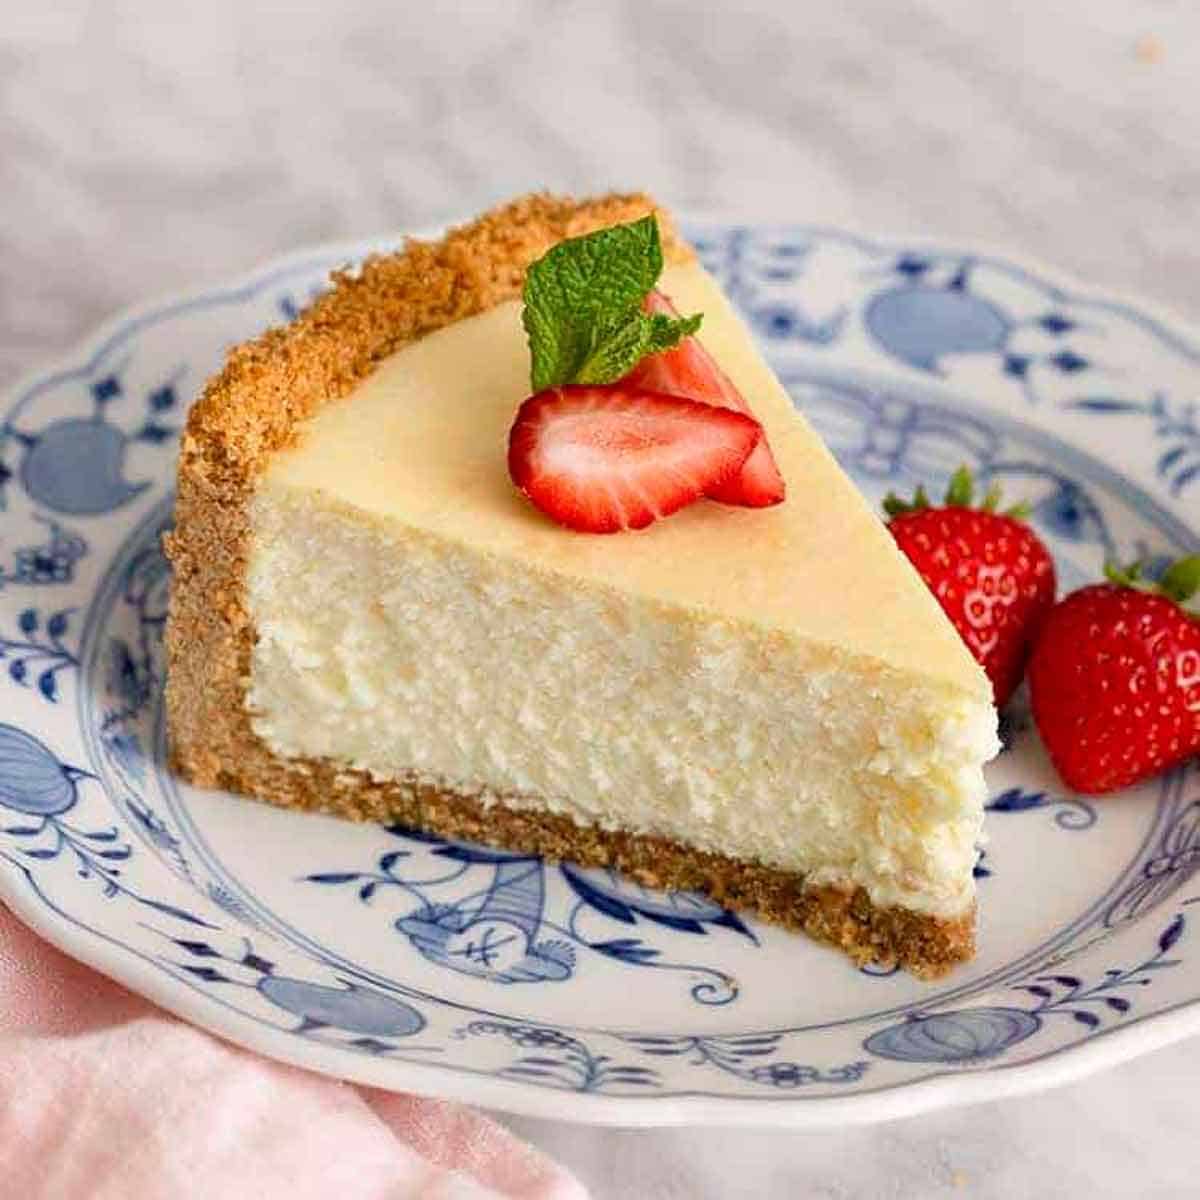
Bake a classic Cheesecake with a buttery graham cracker crust and the perfect creamy filling. My recipe bakes crack-free without a water bath for a smooth top and a cheesecake texture that has the right balance between dense and velvety.
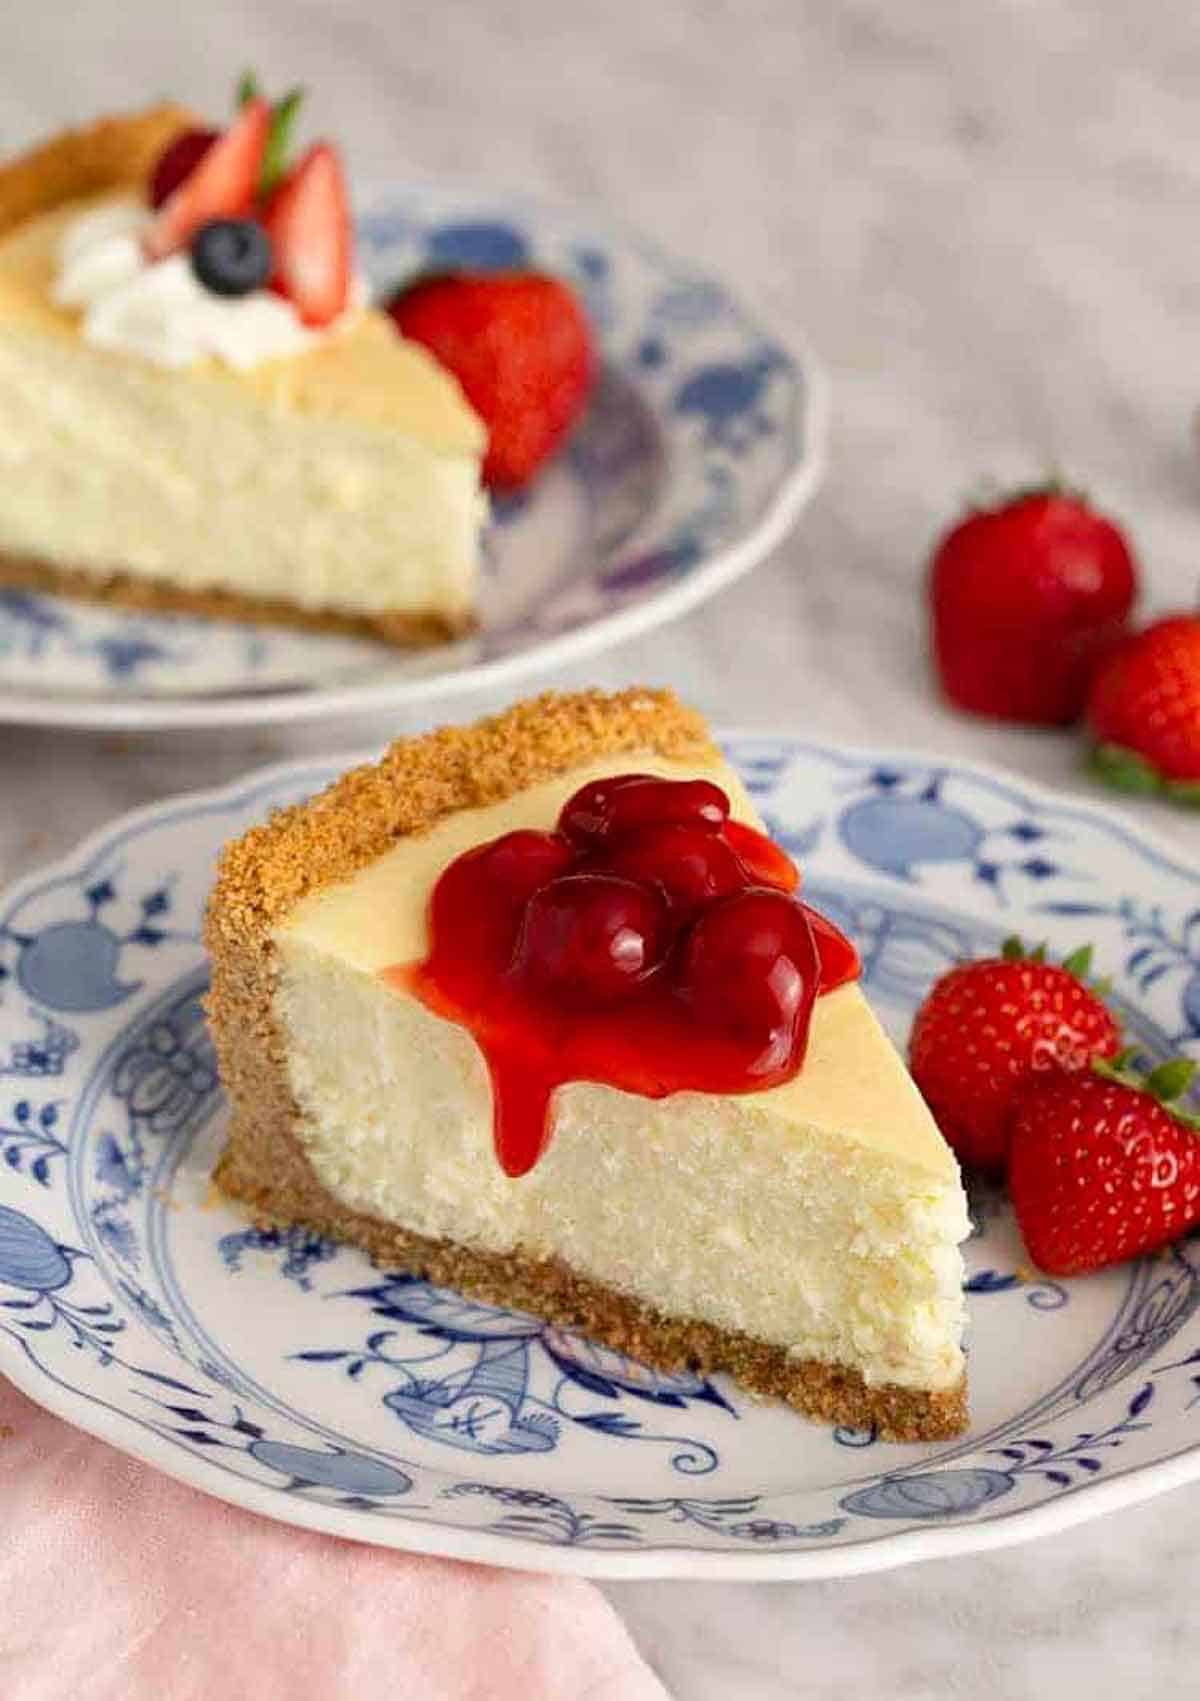
This is my classic baked cheesecake using full-fat cream cheese and baked in a buttery graham cracker crust. It’s a New York-style cheesecake at heart: the rich American classic that’s just dense enough, made tangy with sour cream and lemon but tested to bake without a water bath.
I recently retested this recipe to prove just how well it bakes without a water bath! I’ve also added a tip for when you can add a steam pan to the oven if you’re worried about cracking or browning. Add your favorite toppings to make this cheesecake for any occasion or season!
“I’ve made this cheesecake recipe over 2 dozen times, and it has yet to disappoint. It has never cracked nor been dense. I’ve made the crust with a variety of cookies and my favorite has been Lorna Doones shortbread! It’s a must bake!”
Maria
Key Ingredients
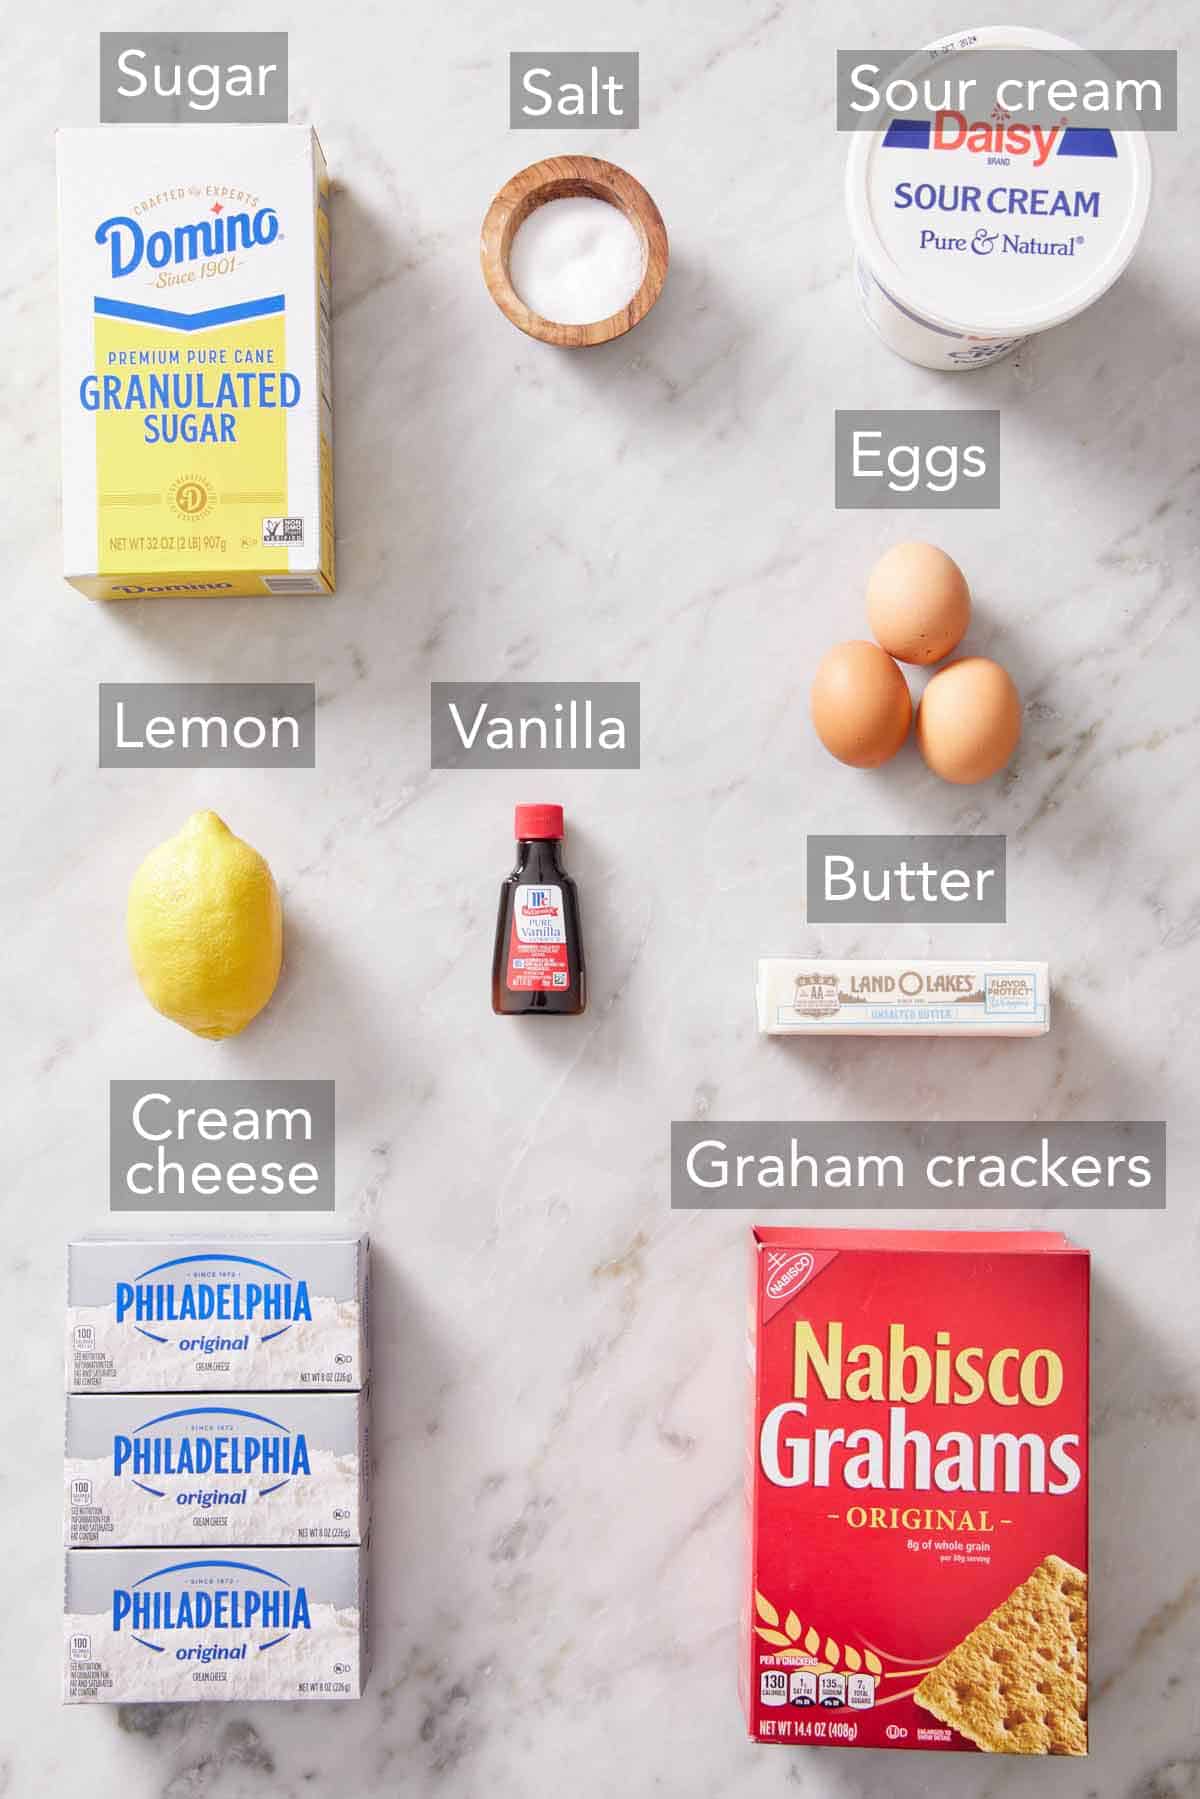
These are the main ingredients and why you need them to make a cheesecake. You can find the full list of ingredients and measurements in the recipe card below.
Cream cheese — use full-fat bricks, not spreadable tubs. I use Philadelphia because, over years of testing, I find it to be the most consistent, with moisture and flavor variations between other brands. Low-fat cream cheese or Neufchatel cheese each have more water and less fat, so they can bake up grainy; I would avoid them for this recipe. Set the blocks out for at least 2 hours so they soften and beat smooth; the warm-bowl trick I use to soften butter speeds this up. When soft enough, the cream cheese should be very easy to spread.
Eggs and sour cream — both should be at room temperature. Cold eggs and sour cream firm the cream cheese back up and make lumps in the batter. Let them sit out for 30 minutes to an hour to warm up at room temperature. Use full-fat sour cream for the creamiest filling texture.
Sugar, vanilla, and lemon — sugar sweetens the filling and helps produce a soft, velvety texture. A teaspoon of lemon juice cuts the richness just enough without making it taste like my lemon cheesecake, and pure vanilla, like my homemade vanilla extract, rounds it all out.
Crust — you can use freshly ground graham cracker crumbs or boxed crumbs for the crust. Depending on which kind you use, you may need a bit more melted butter. Squeeze a handful of the mixture in your fist; if it doesn’t hold together, add more butter a tablespoon at a time. More details are in my graham cracker crust recipe! For a chocolate crust, use my Oreo pie crust. For Biscoff cookies, finely grind them in a food processor with the sugar, then start with adding 2 tablespoons of butter, adding more butter if it doesn’t hold together.
Why This Cheesecake Doesn’t Need a Water Bath
A water bath is typically used for recipes that are sensitive to heat, allowing gentle, even heating and keeping the edges from overcooking while the center sets. I developed this recipe to get a smooth, crack-free top without one, and it comes down to three things:
- The right ratio of ingredients: I use 1 large egg per 8-ounce block of cream cheese. Eggs set the filling as their proteins firm up in the heat. Too many eggs, and the filling puffs, then sinks and cracks as it cools.
- The right temperature: A short start at 350°F followed by a long bake at 300°F gives the cheesecake a quick warm-up so the heat starts to penetrate the filling faster. But dropping to the gentler heat for a longer period of time prevents the eggs from puffing too much or the filling from drying out, both of which cause cracks.
- A slow cooling down: leaving it in the oven to slowly cool and finish setting for 1 hour prevents drastic temperature changes, which can shock the filling and cause it to shrink rapidly and split open.
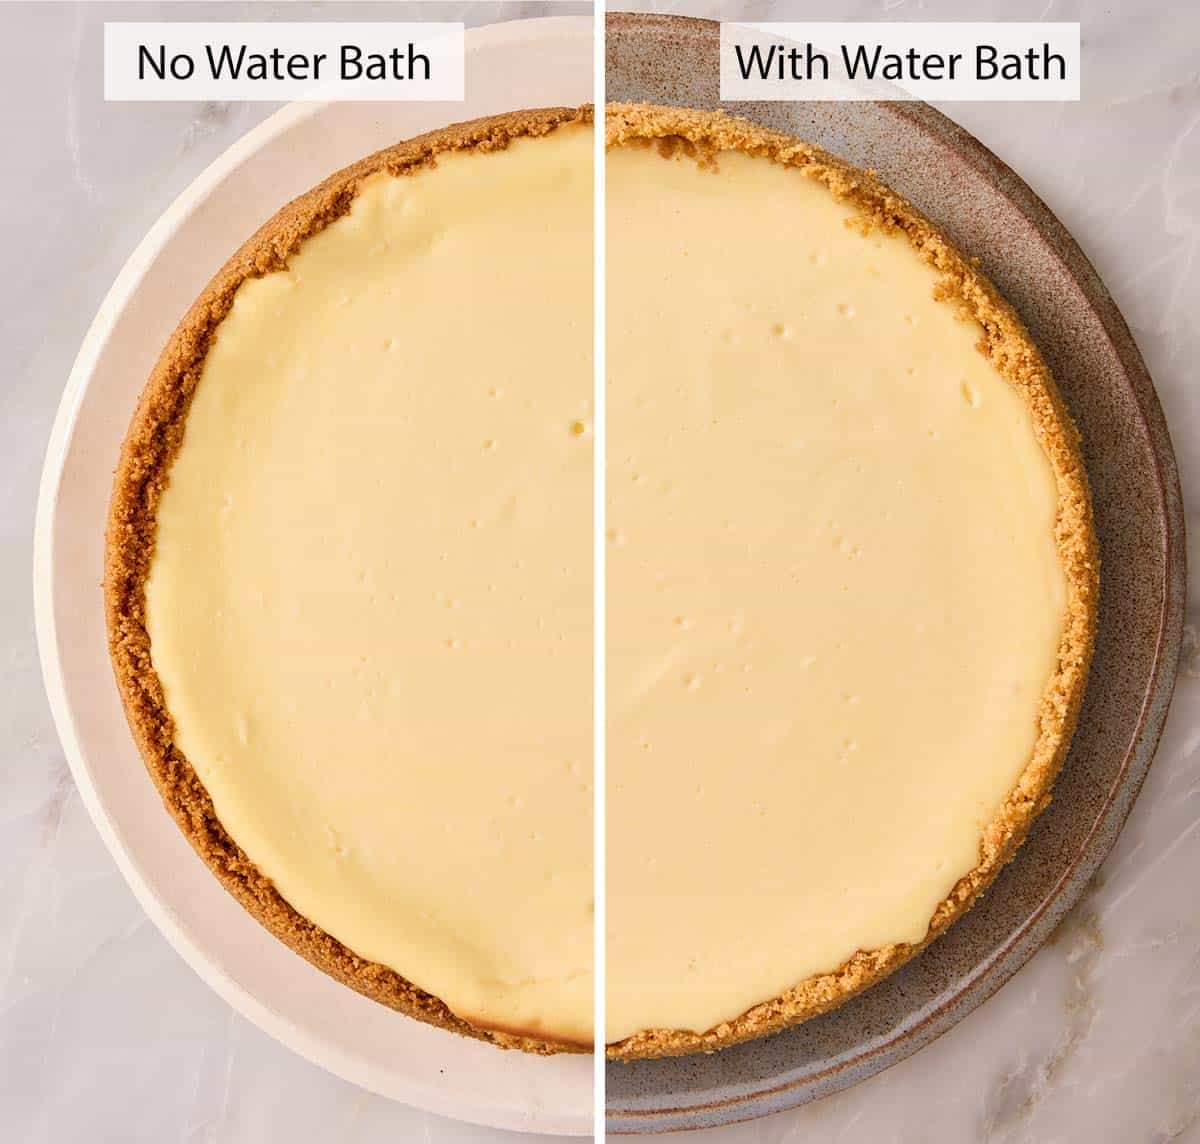
I had my team test this recipe twice, once as written without a water bath and again by wrapping the pan in foil and placing it in a roasting pan of water to bake. The only noticeable difference we found between the two tests was that the edge on the cheesecake without a water bath puffed ever so slightly. The texture of both was exactly the same, and neither cheesecake cracked.
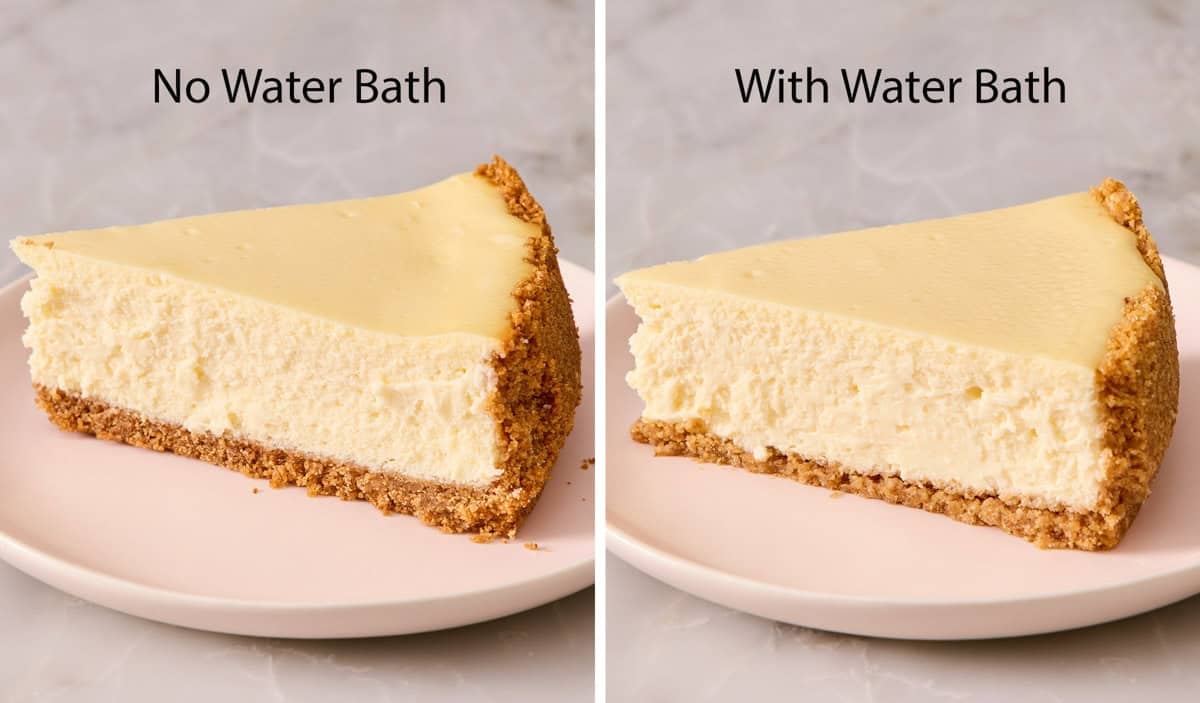
No foil, no leaks, no soggy crust. Without a water bath, there’s no pan to wrap and no water to seep into the crust. Since our test showed that the difference between using a water bath and not was negligible, it’s not worth the leaking risk or extra steps!
Use A Steam Pan If Needed
If your oven runs hot or only on convection, you can use a steam pan to add humidity to the oven for added insurance. Set a dish of hot water on the rack below the cheesecake to add moisture without the pan ever touching water. When I’ve baked this in an oven that runs hot, the dish of water has kept the top from drying out and browning. Since this isn’t a Basque-style cheesecake, the top should stay very pale and moist.
I suggest testing your oven (see Knowing Your Oven) before you bake a cheesecake in it, if you have concerns that your oven may run hotter than it should. For more tips on baking a crack-free cheesecake, see A Baker’s Guide To Cheesecake.
Pro Tips For The Best Cheesecake
Use the whisk attachment for the mixer. Many cheesecake recipes call for using a paddle attachment when beating the filling together. I used to do the same, but it was easy to find little lumps of cream cheese even when scraping down the bowl many times during mixing. I found that the whisk actually helps incorporate all of the ingredients more thoroughly! Just don’t increase the mixer speed above medium-low to avoid incorporating too much air.
Let the cheesecake cool gradually. Don’t place it directly into the fridge to speed up the process, or it can easily crack.
How To Make Cheesecake
Step-by-step process images for making this cheesecake recipe are below. You can find the full set of instructions in the recipe card.

1. To make the crust, mix graham cracker crumbs, melted butter, and sugar until it feels like wet sand. It should hold together when squeezed without crumbling apart.
2. Press it into the bottom and slightly up the sides of a 9-inch springform with the flat bottom of a measuring cup or glass, then bake for 10 minutes at 350°F. Pre-baking sets the butter and sugar so the crust stays crisp under the filling. When I skipped the pre-bake, the crust came out soft.
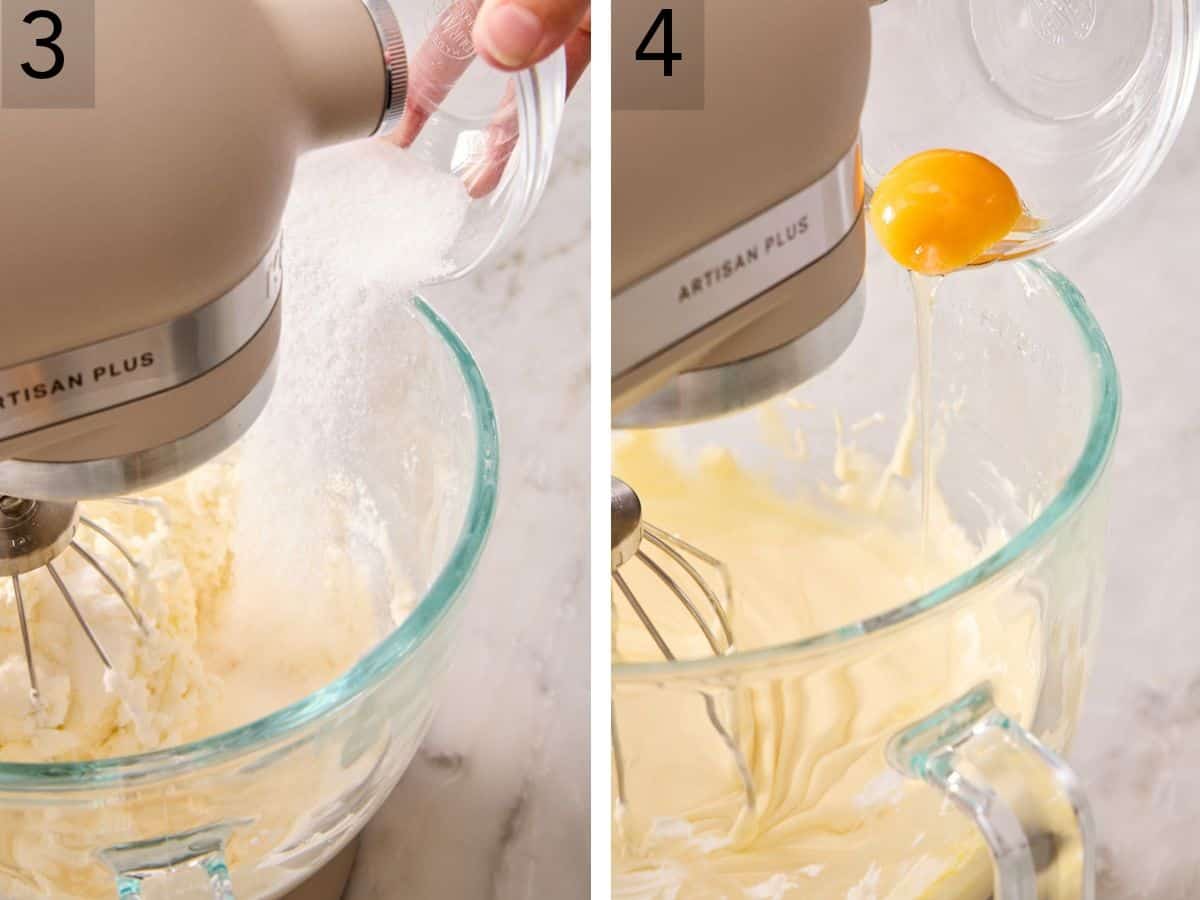
3. Make the filling by beating the cream cheese with the whisk attachment on medium-low for about 1 minute, or until smooth. Add the sugar, salt, vanilla, and lemon juice, then beat and scrape the bowl down a few times. Keep the mixer at medium-low: higher speeds beat in air, and air makes the filling puff and crack.
4. On medium-low, add the eggs one at a time, stopping and scraping the bowl between each one. If you add the eggs all at once, the mixture is likely to form lumps that won’t fully beat out.

5. Then mix in the sour cream until well incorporated.
6. Pour the batter into the cooled crust, gently tap the pan on the counter to pop any large air bubbles, and smooth the top with an offset spatula. The batter may cover the top edge of your crust depending on just how high you pressed it up the side of the pan. Don’t worry if that happens; it will bake fine! Set the pan on a baking sheet and bake for 15 minutes at 350°F. Lower the oven to 300°F and bake for 30 to 35 minutes more. It’s ready when the edges are slightly puffed, and the center still wobbles when you gently shake the pan, but it doesn’t look like sloshing liquid in the center. It finishes setting as it cools.
Turn off the oven and leave the cheesecake inside with the door closed for 1 hour. Opening the door lets cold air rush in, and a sudden drop in temperature is a common cause of cracks. Cool it on the counter for another hour, then chill for at least 6 hours, or up to 3 days.
Troubleshooting
The Top Cracked
Cracks come from too much air in the batter, too much heat, or a sudden temperature change. Edge cracks usually mean the oven ran hot, so check it with an oven thermometer and use the dish of hot water on the lower rack next time. When mine has cracked, a layer of jam, whipped cream, or ganache covers it completely. (A crack affects appearance, not taste!)
The Batter Is Lumpy
Lumps mean the cream cheese or eggs were too cold. Keep beating on medium-low and scrape the bottom of the bowl to see if you can work the lumps out at all. Turning up the speed only adds air, so don’t be tempted.
In tests when I used cream cheese that was still cool in the center, the batter ended up with small lumps I couldn’t beat out on medium-low, and the cheesecake baked with tiny globs of cream cheese throughout it. If you have a few stubborn lumps, push the filling through a fine-mesh strainer to remove them before pouring it into the crust.
The Center Sank or Is Wet
A center that sinks or stays wet is usually a sign that it was underbaked, or it was removed from the oven before the cooling hour was up. The center should wobble as one unit, like set gelatin, not ripple like liquid. When I’ve pulled one too early, the middle sank as it cooled, but once I chilled it, the center was still soft, but the overall texture firmed up well enough to slice, and it was still very enjoyable to eat.
Pan Sizes
This recipe is built for a 9-inch springform, because the removable sides let you slide the cheesecake onto a plate. Make sure your springform pan is at least 2½ inches deep. If your pan is any shallower, the cheesecake crust and batter won’t fit.
In a pinch, you can bake it in a 10-inch pie dish and serve it from the dish; the filling is thinner, so start checking 10 to 15 minutes early. In an 8-inch springform, the filling is deeper; make sure the pan is at least 3 inches deep so the filling will fit. When I baked it that way, it needed longer at 300°F. Start by adding an extra 10 minutes, check, and continue in 5-minute intervals until it’s just wobbly in the center.
For individual servings, make my mini cheesecakes!
Toppings and Variations
I serve it plain or with fresh berries, strawberry sauce, lemon curd, chocolate ganache, caramel sauce, cherry pie filling, or whipped cream.
For a fruit-topped version, see my strawberry cheesecake or blueberry cheesecake. For other flavors, try my chocolate cheesecake, peanut butter cheesecake, or cheesecake brownies.
Cheesecake Recipe

Equipment
- Electric or stand mixer
- mixing bowl
- 9 inch springform pan
- Baking Sheet
Ingredients
For the Crust
- 1½ cups graham cracker crumbs (180g)
- 4-6 tablespoons unsalted butter melted and divided (56-85g)
- 2 tablespoons granulated sugar
For the Filling:
- 3 (8-ounce/227g) blocks cream cheese room temperature
- 1 cup granulated sugar (200g)
- ¼ teaspoon salt
- 2 teaspoons vanilla extract (10mL)
- 1 teaspoon lemon juice
- 3 large eggs room temperature
- ½ cup sour cream room temperature (120g)
Instructions
For the Crust:
- Preheat the oven to 350°F.
- In a medium bowl, combine the cracker crumbs, 4 tablespoons of melted butter, and the sugar. Stir together until the mixture feels like wet sand. If needed, add additional butter a tablespoon at a time.
- Pour into a 9-inch springform pan. (If your pan isn’t non-stick, you can lightly spray it with baking spray before adding the crumb mixture.) Press the crumbs into the bottom and slightly up the sides of the pan using the bottom of a glass or measuring cup. Place on a baking sheet.
- Bake for 10 minutes. Remove from the oven and let cool while making the filling.
For the Filling:
- Place the cream cheese in a large mixing bowl or the bowl of a stand mixer with the whisk attachment. Beat on medium-low speed until creamy and smooth, about 1 minute. Add the sugar, salt, vanilla, and lemon juice. Beat until the mixture is well combined and completely smooth. Stop and scrape down the bowl a few times during mixing. (Don’t increase the mixer speed or you can beat in too much air and cause the filling to puff up, then crack.)
- With the mixer on medium-low speed, add in the eggs one at a time. Stop and scrape down the bowl between additions. Once the eggs are well combined, mix in the sour cream until well incorporated. Pour the batter into the cooled crust.
- Bake for 15 minutes. Reduce the oven temperature to 300°F (without opening the door) and continue baking for another 30 to 35 minutes or until the edges of the filling are just slightly puffed and the center wobbles slightly when gently shaken.
- Turn off the oven and leave the cheesecake in the oven with the door closed for 1 hour. Remove the cheesecake and let cool at room temperature for another hour, then chill for at least 6 hours or up to 3 days before serving. (If refrigerating for more than 6 hours, cover after the cheesecake is fully chilled.) Run a thin knife around the edge between the cheesecake and the pan before you release the side.
Notes
- If your springform pan is not nonstick: You can lightly spray it with baking spray or rub the pan very lightly with oil before pressing in the crust mixture.
- Remove air bubbles: When you pour the batter into the pan, gently tap the cheesecake on the counter to pop any air bubbles in the batter.
- Use an offset spatula: It is a great tool for this recipe as it helps get the top of the cheesecake super smooth before baking. You can also use it to run between the cheesecake crust and side of the springform pan, loosening any stuck portions before releasing it.
- For perfect slices: Warm a sharp knife with hot water for a few seconds, then dry it. Wipe off the knife between slices and rewarm it as needed.
Nutrition
Have you tried this recipe? Tag me today!
Mention @preppykitchen and tag #preppykitchen!
How to Store and Freeze Cheesecake
Fridge: Keep it in the fridge for up to 3 days before serving. I like to keep it in the pan, place a paper towel or kitchen towel on top of the pan (to catch condensation), then cover it with foil to prevent it from drying out. Leftovers will keep for up to a week in the fridge.
Freezer: Freeze it whole in the pan, or in slices wrapped in plastic wrap, then foil, for up to 3 months. Thaw overnight in the fridge for a whole cheesecake, or for a few hours for slices, not on the counter (as FoodSafety.gov advises). For wrapping tips, see my guide on how to freeze cakes.
When I’ve frozen slices, they thawed with the same creamy texture! Cheesecake is an excellent dessert to make ahead and freeze for holiday meals.
More Cheesecake Recipes To Try
Bake one of these cake recipes next:
- Pumpkin Cheesecake: a spiced pumpkin cheesecake in a graham cracker crust, baked low and slow in a water bath.
- No-Bake Cheesecake: a creamy cheesecake that sets up in the fridge instead of the oven, for warm days or when you have less time.
- Cheesecake Bars: an easy, quick-baking version of this classic cheesecake that doesn’t require a springform pan.
- Oreo Cheesecake: cookies-and-cream version of the classic, baked inside a chocolate cookie crust.
- Air Fryer Cheesecake: a creamy classic cheesecake that bakes in a smaller pan in the air fryer; no oven required!
If you’ve tried this cheesecake recipe, then don’t forget to rate it and let me know how you got on in the comments below. I love hearing from you!